When you click on links to various merchants on this site and make a purchase, this can result in this site earning a commission. Affiliate programs and affiliations include, but are not limited to, the eBay Partner Network.
My 7 is up for a hiatus soon, and it probably wont be ready for some years.
That is a great offer. I�m not sure if I�m returning to DGRR but if I did it�d be in my Miata. Since this 7 is leaving I�m finishing miata with coil overs, upsized rims, 225�s slotted brakes/hawk pads. When is DGRR? With this Covid nonsense I haven�t kept up with rotary events/changes.
Yes, Rotary Auto Repair is doing all of the engine work. My car has 197,000 miles and we are hoping that the rear housing is still good; I lost compression in the rear rotor, 40psi. He does have a pretty good network in getting parts. He definitely is knowledgeable and is the person I purchased my fb from originally.
Luis Roman
678-358-0242.
I had a good talk with Luis. Sounds like a good lead on a 12A rebuild. Thanks corolla13b.
Gone... never forgotten. The new owner is going to be a fine steward of this most excellent Award winning FB. His heart is in the right place and so was his wallet. Hard to believe.
... � drums keep poundin a rhythm to the brain... la dee da dee dee.... la dee daw dee die...�� as one of us goes out another one comes in.. Life goes on. Nice fB there �newbie�. You�ve stumbled into the finest group of rotor heads ever assembled in one thread... hands down.
Rebuilding Power Steering Control Valve for the 1984 Rx-7 GSL
Rebuilding Power Steering Control Valve for the 1984 Rx-7 GSL
Mine had been leaking badly for some time. It would leak a 12oz bottle of fluid in seventy-five miles. The part is simply not available.
I bought a Power Steering Pump repair kit and the rubber replacement return hose from Rockauto. I had Garmon Automotive in Lilburn rebuild the pump and install the hose. I could only jack the car up 12� and it was impossible for me to see what I was doing. They did not charge me much for and besides they are much better mechanics than me. They did point out however that there was still a leak coming from the Power Steering Control Valve. They could actually see it leaking while it was up on the lift. Anyway with the Power Steering Pump repaired I deducted that this was the next likely source for the leak. I bought a used Power Steering Control Valve on E-Bay, but it leaked even worse. I assumed it was left sitting out in the sun in a junk yard in Texas for years. So, buying used ones are a bad idea.
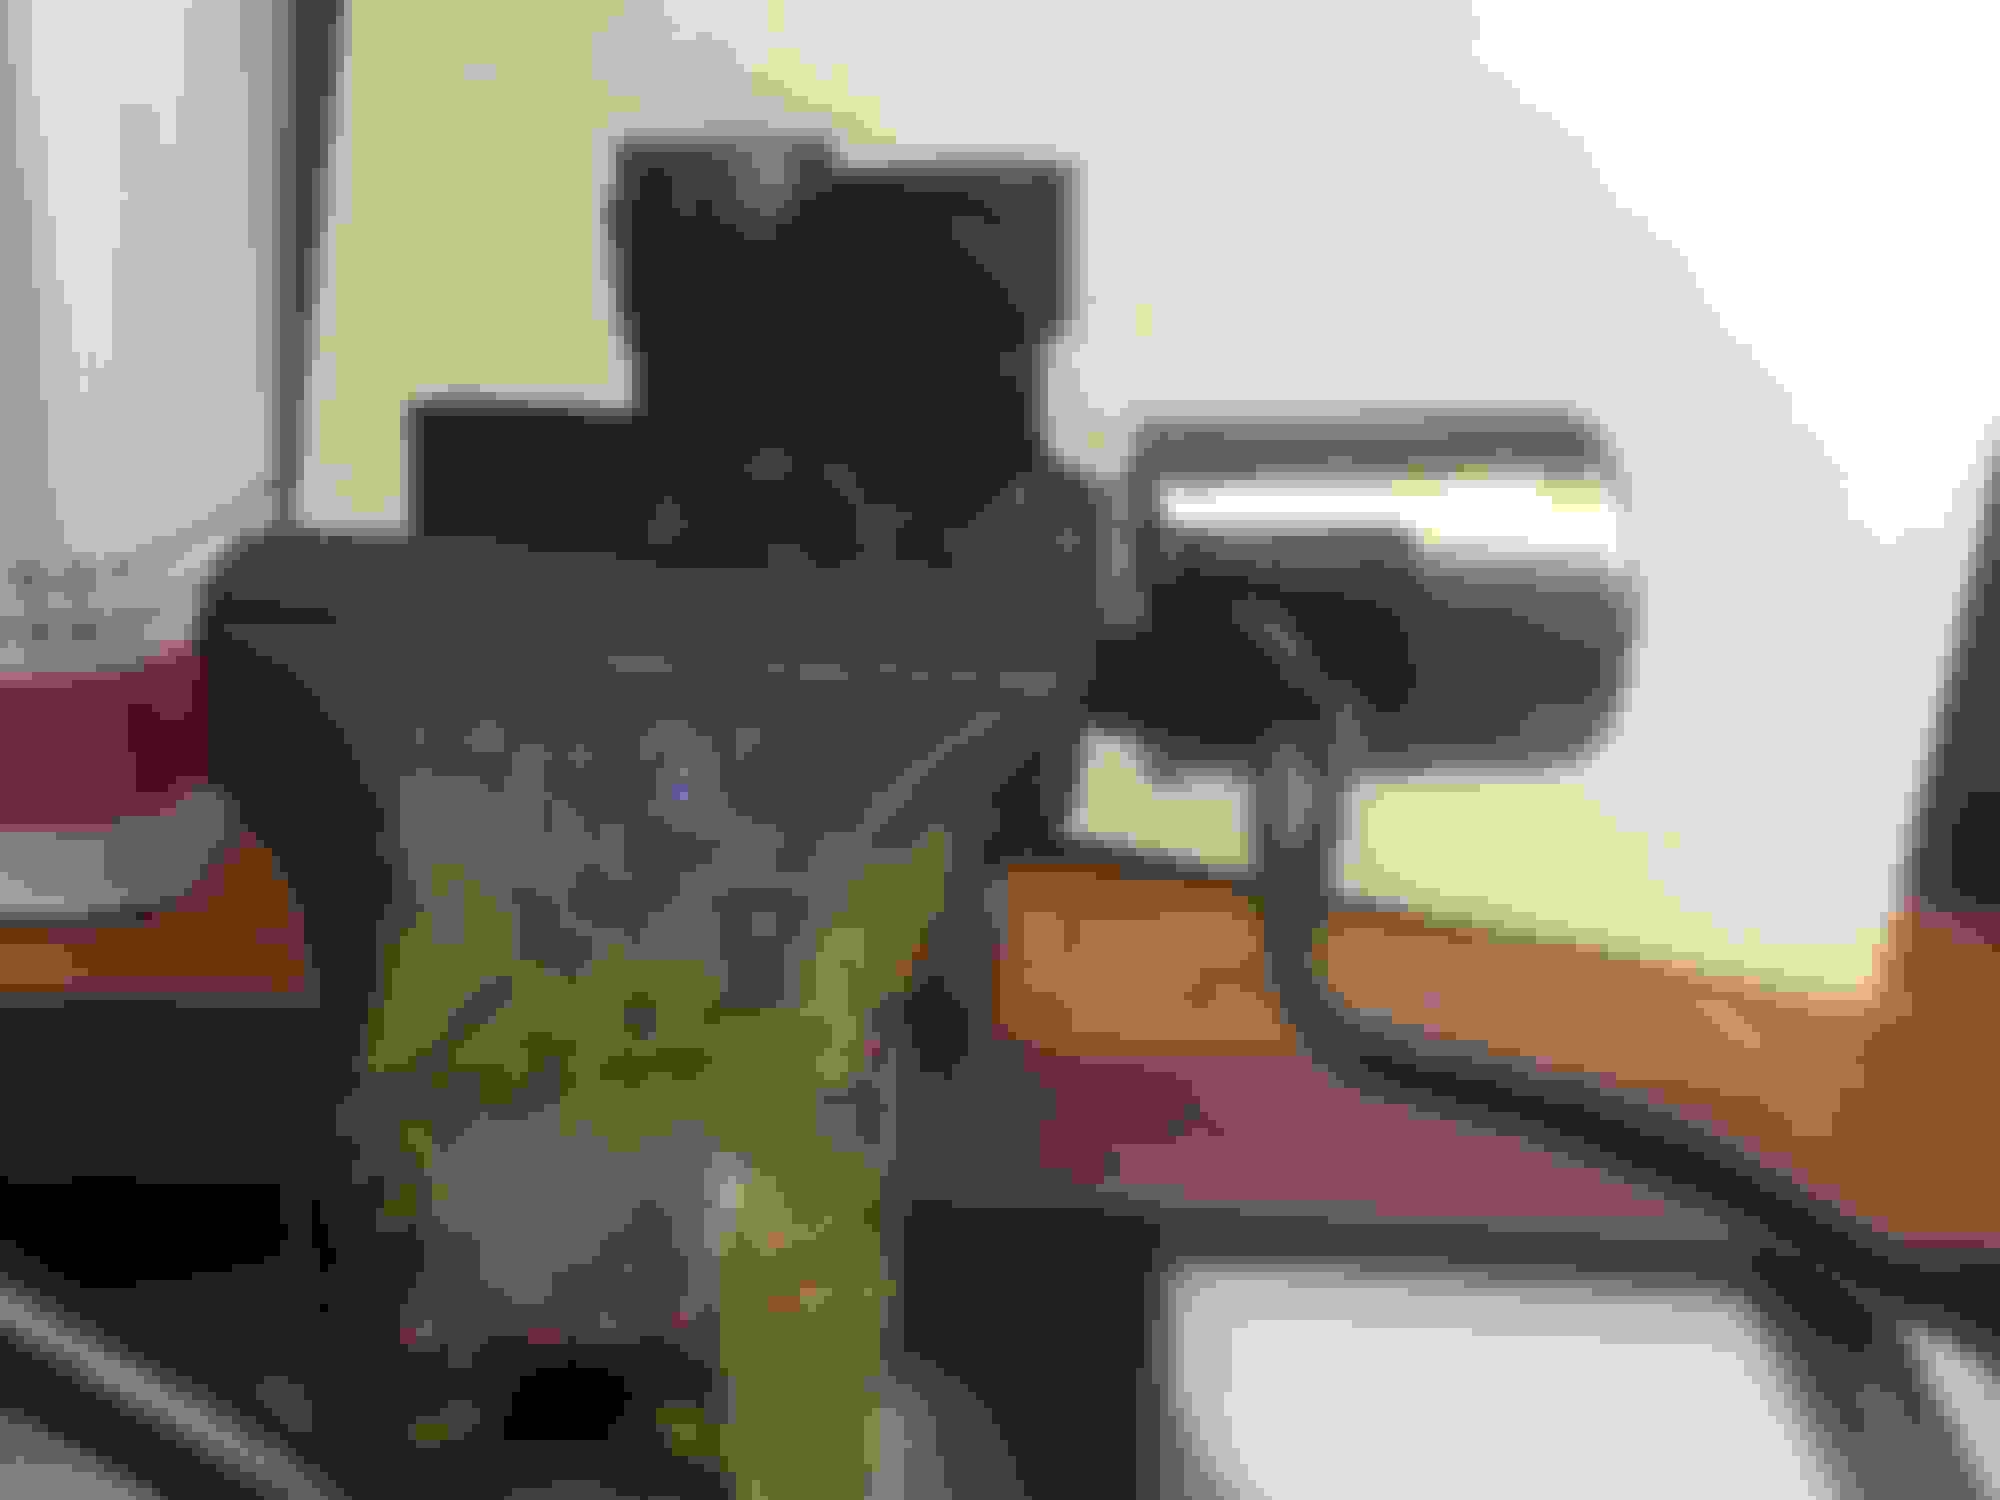
Removing and installing this little beast is time consuming. It is located on Th left side wall underneath all of the hydraulic lines for the Master Brake cylinder. There are three hydraulic lines and because of clearance issues you can only turn them one sixth or a turn at a time with an open end wrench. You have to keep flipping the wench over for each 1/6th turn. It�s time consuming and takes about an hour to remove it and another hour to reinstall it. I did it four times with the old one and the junkyard part, so I guess now I�m an expert.
To remove it you first loosen the three hydraulic lines as much as possible (see below). For the one towards the rear of the car it helps if you detach both ends of its short little �S� shape hydraulic line. Pop all of the lines off and then remove the electrical line, two ten millimeter bolts from the top of the mounting bracket and the 14 mm nuts where the bracket attaches to the steering box and then lift everything out.
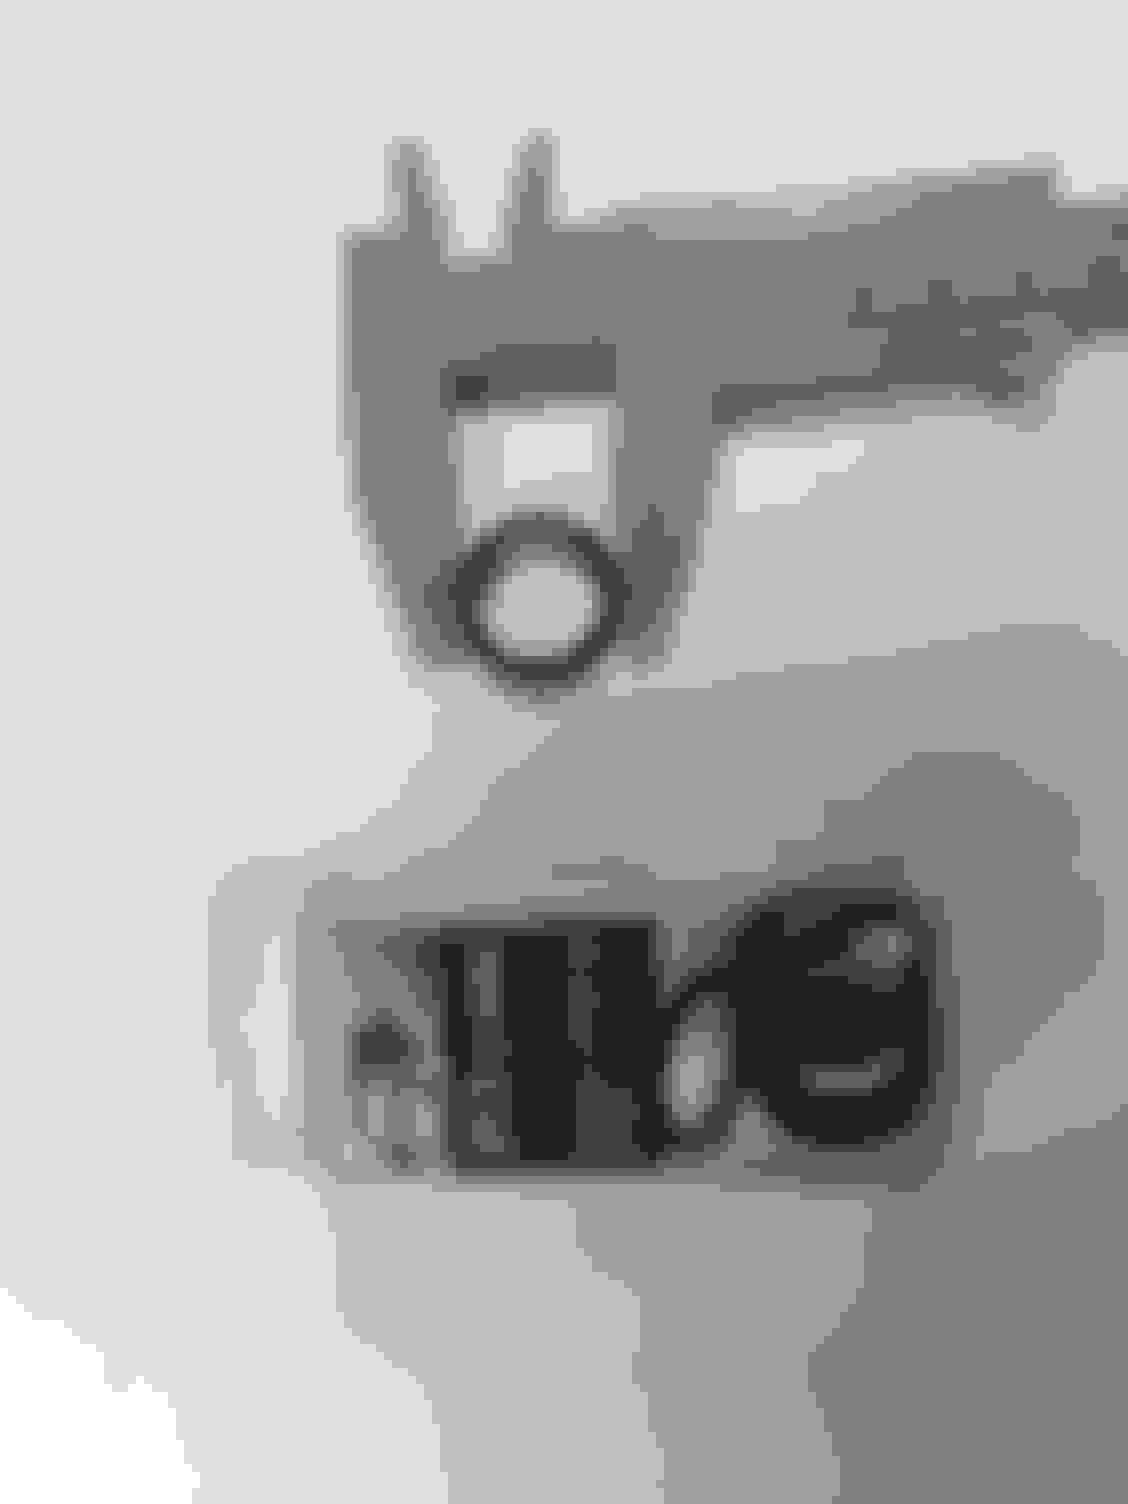
Once you have it out you will notice the there is a 27mm nut built onto the solenoid of the valve. You will also notice that an ordinary wench is too thick to fit between the solenoid and the body of the valve. You can order a set of Grand Rapids Industrial Flat Wrenches for 29.99$ from Home Depot.
Once you have that simply put the cast iron section of the Control Valve in a vice and unscrew the solenoid with the 27mm wench. There is a 20mm �O� Ring that keeps the valve from leaking. I bought a set of these from the Plumbing Dept. of Home Depot. I also added a homemade gasket with some gasket cement for good measure and tightened down the 27mm nut.
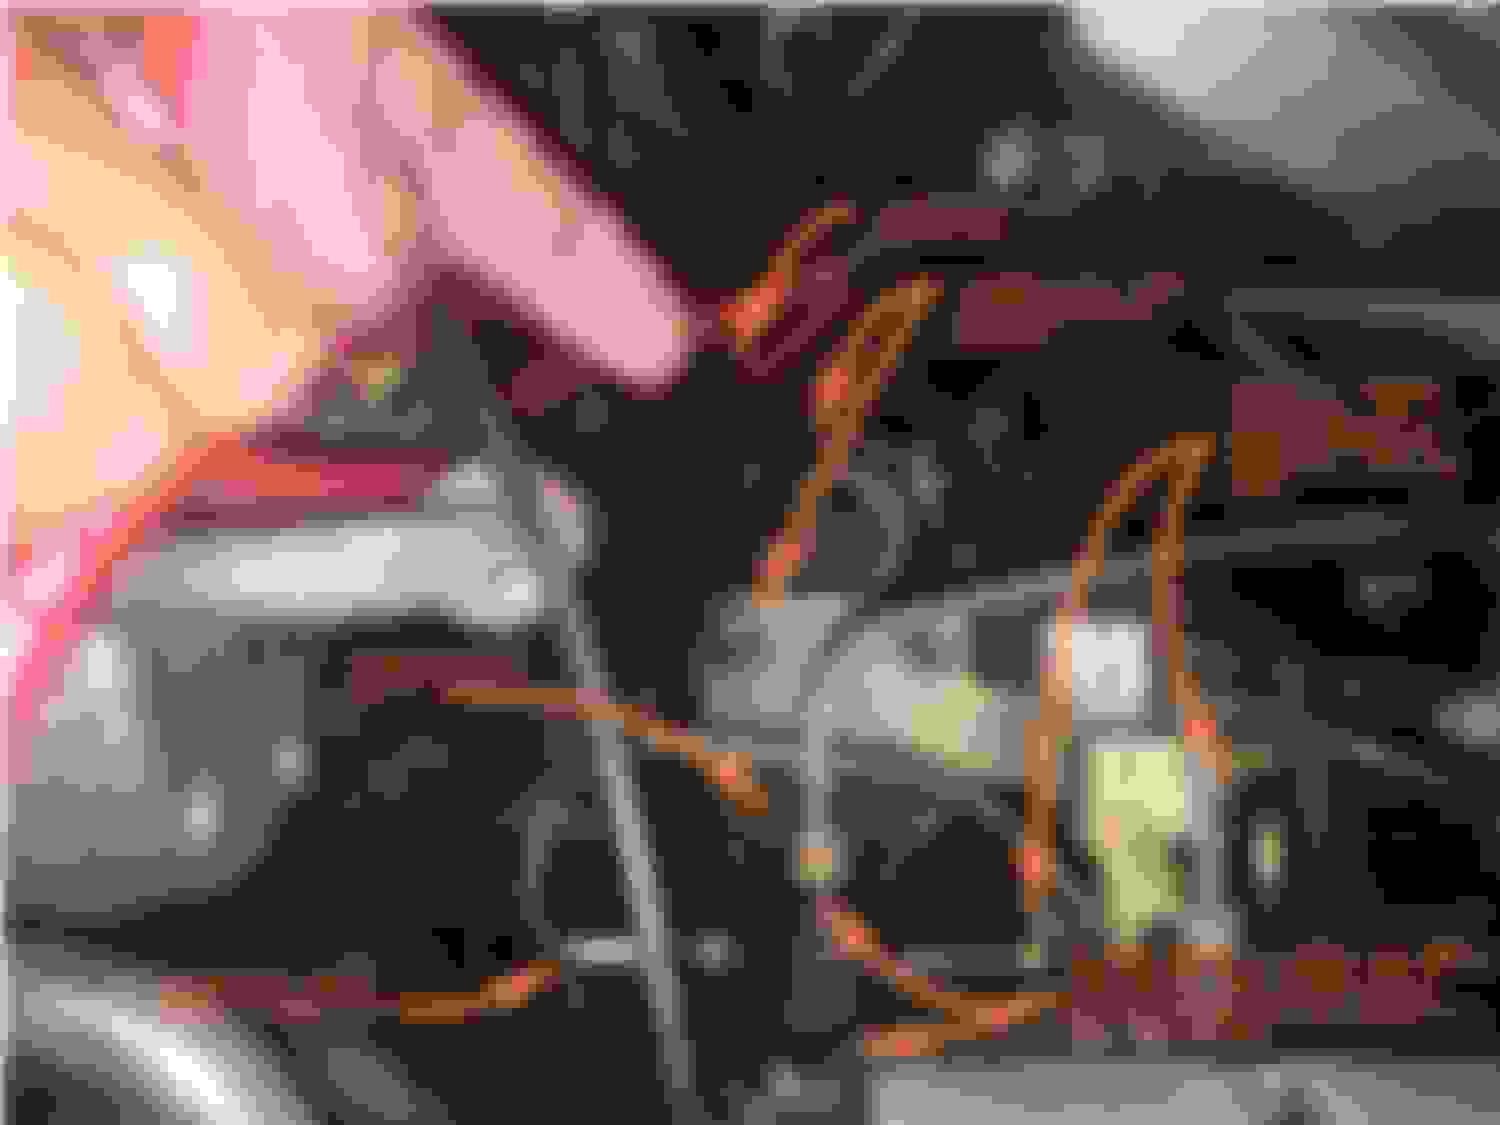
When re-installing it the sequence in which you reattach the hydraulic lines does make a difference. Before installing the mounting bracket hook up all three lines to the Control Valve. Hook up the rear hydraulic line first with its little �S� shaped line left unattached from the Steering Box. This will give you some wriggle room later. Hook up the second line on the side of the Control Valve next and then the line to the front of the Control Valve. Getting the hydraulic lines to fit into the rear and side holes can be a Bitch as there�s not much space and the line on side does not move at all.
Once you have all three started install the mounting bracket securely and then tighten down the hydraulic lines, hook up the fan belt and top it off with fluid.
You can now once again enjoy passing people on the sidewalks.
Rebuilding Power Steering Control Valve for the 1984 Rx-7 GSL
Rebuilding Power Steering Control Valve for the 1984 Rx-7 GSL
Mine had been leaking badly for some time. It would leak a 12oz bottle of fluid in seventy-five miles. The part is simply not available.
I bought a Power Steering Pump repair kit and the rubber replacement return hose from Rockauto. I had Garmon Automotive in Lilburn rebuild the pump and install the hose. I could only jack the car up 12� and it was impossible for me to see what I was doing. They did not charge me much for and besides they are much better mechanics than me. They did point out however that there was still a leak coming from the Power Steering Control Valve. They could actually see it leaking while it was up on the lift. Anyway with the Power Steering Pump repaired I deducted that this was the next likely source for the leak. I bought a used Power Steering Control Valve on E-Bay, but it leaked even worse. I assumed it was left sitting out in the sun in a junk yard in Texas for years. So, buying used ones are a bad idea.
Removing and installing this little beast is time consuming. It is located on Th left side wall underneath all of the hydraulic lines for the Master Brake cylinder. There are three hydraulic lines and because of clearance issues you can only turn them one sixth or a turn at a time with an open end wrench. You have to keep flipping the wench over for each 1/6th turn. It�s time consuming and takes about an hour to remove it and another hour to reinstall it. I did it four times with the old one and the junkyard part, so I guess now I�m an expert.
To remove it you first loosen the three hydraulic lines as much as possible (see below). For the one towards the rear of the car it helps if you detach both ends of its short little �S� shape hydraulic line. Pop all of the lines off and then remove the electrical line, two ten millimeter bolts from the top of the mounting bracket and the 14 mm nuts where the bracket attaches to the steering box and then lift everything out.
Once you have it out you will notice the there is a 27mm nut built onto the solenoid of the valve. You will also notice that an ordinary wench is too thick to fit between the solenoid and the body of the valve. You can order a set of Grand Rapids Industrial Flat Wrenches for 29.99$ from Home Depot.
Once you have that simply put the cast iron section of the Control Valve in a vice and unscrew the solenoid with the 27mm wench. There is a 20mm �O� Ring that keeps the valve from leaking. I bought a set of these from the Plumbing Dept. of Home Depot. I also added a homemade gasket with some gasket cement for good measure and tightened down the 27mm nut.
When re-installing it the sequence in which you reattach the hydraulic lines does make a difference. Before installing the mounting bracket hook up all three lines to the Control Valve. Hook up the rear hydraulic line first with its little �S� shaped line left unattached from the Steering Box. This will give you some wriggle room later. Hook up the second line on the side of the Control Valve next and then the line to the front of the Control Valve. Getting the hydraulic lines to fit into the rear and side holes can be a Bitch as there�s not much space and the line on side does not move at all.
Once you have all three started install the mounting bracket securely and then tighten down the hydraulic lines, hook up the fan belt and top it off with fluid.
You can now once again enjoy passing people on the sidewalks.
AND!!! He knows how to use Vernier Calipers!!! Not many people out there that still know how to use any measuring device that does not have batteries in it!!
And, I agree a great presentation for any political affiliation. Ha!
Do any of yall have a first gen for sale? I already miss both of mine that I sold to Johnny K.
I have a two-time first place winner at the Deals Gap GSL-SE that I will be selling, I think you have seen it. Only Dusty and still looks good! Sexy!
15,*** miles since build! Pricy but a Gem!

 07-19-20, 06:49 AM