
Some S4 NA porting


 02-14-07, 11:12 AM
#2
Passing life by
Thread Starter
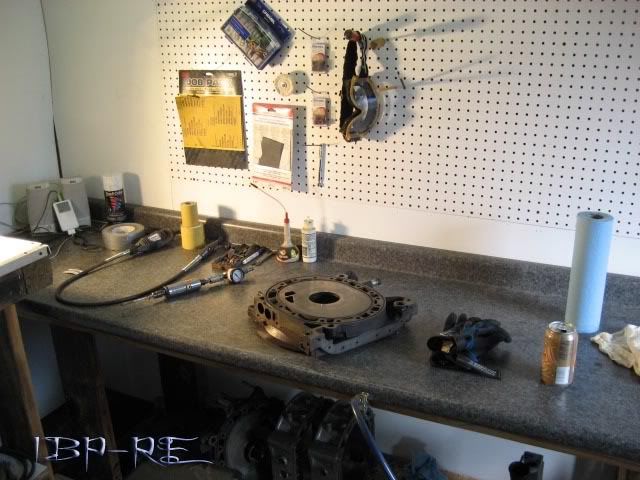
I am having a prob with reflection and lighting effects when taking the pics. I tried backing up the camera and taking pics a minute ago and they came out bettor your don�t see all the lighting hatches crossing each other and reflections that make the port look like it jumps around. But still not that great.
Is there any like camera experts that can give a few pointers on getting the port photos to come out bettor?
In real life they don�t look blotchy, wavy or jumpy. My lighting above is florescent non incandescent and halogen shining at the port, tried without halogen minute ago to achieve the slightly bettor results but not much.
02-15-07, 12:30 AM
#4
Passing life by
Thread Starter
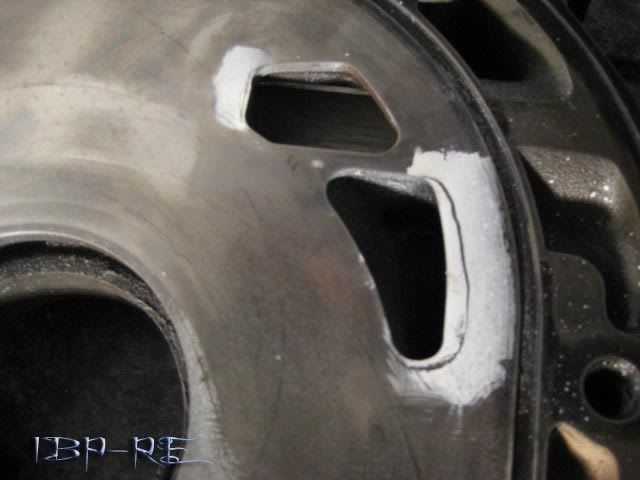
Well the photos of the ports for you who are viewing it now were very bumpy looking and reflective. I think I got bettor pics now and no I haven�t figured out macro yet. Disregard the images ^ that still show as they are pulling from the new files that had the same file name as the old ones.
Ok after a lot of experimenting and asking people for help with my camera I finally got some decent pics that do not reflect everything under the moon.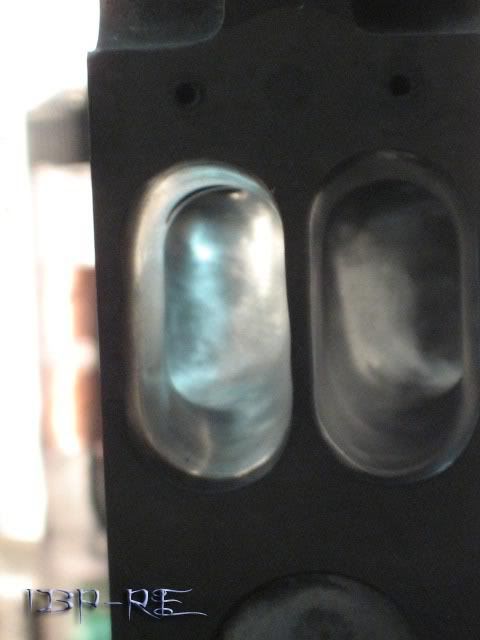


Ok after a lot of experimenting and asking people for help with my camera I finally got some decent pics that do not reflect everything under the moon.
 02-15-07, 03:15 PM
#7
Home-brew Rotary
Join Date: Nov 2004
Location: GooseCreek SC
Posts: 902
Likes: 0
Received 0 Likes
on
0 Posts
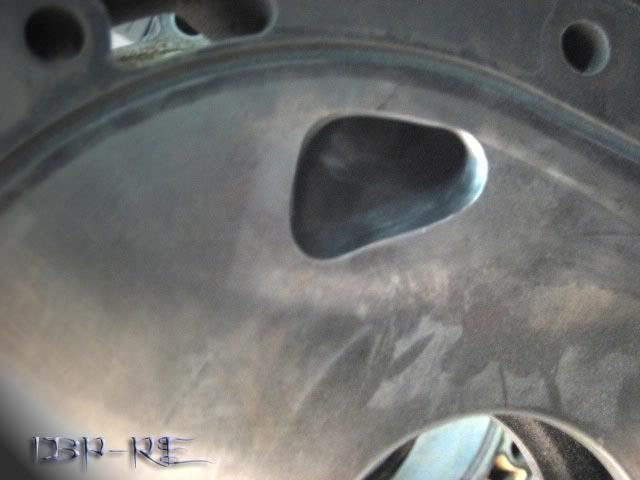
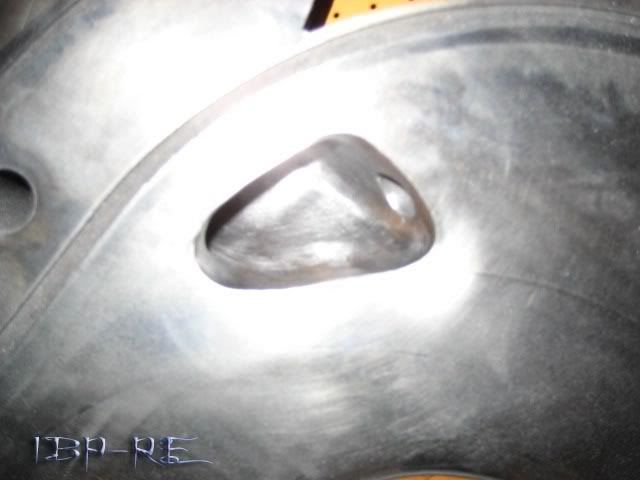
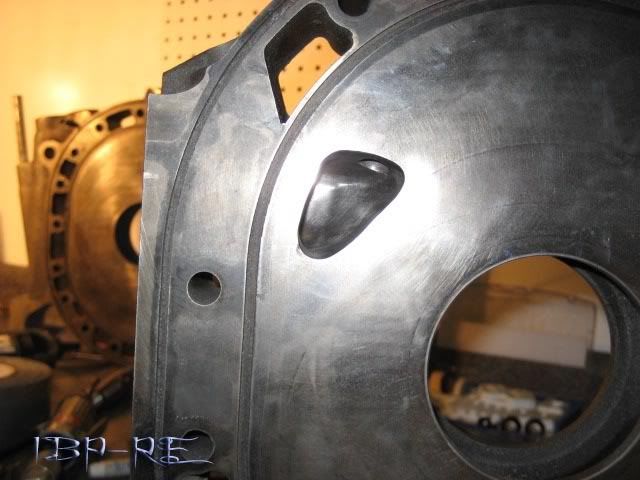
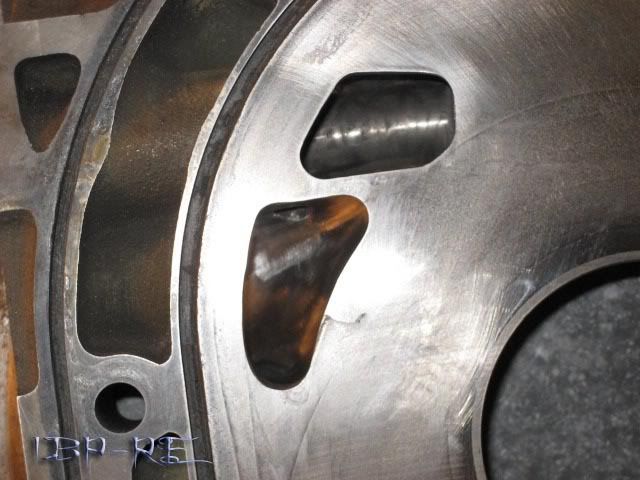
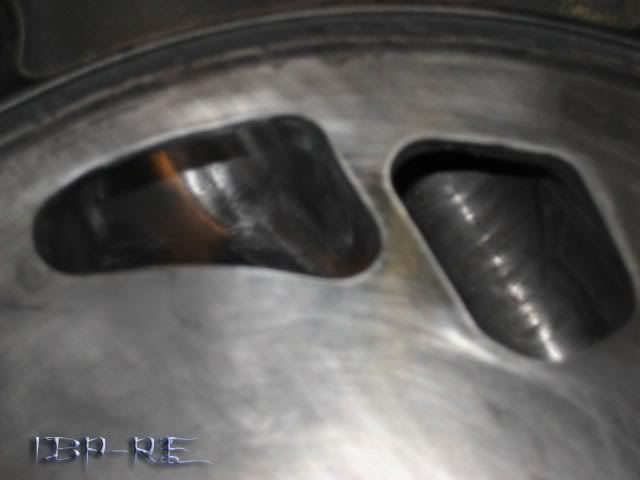
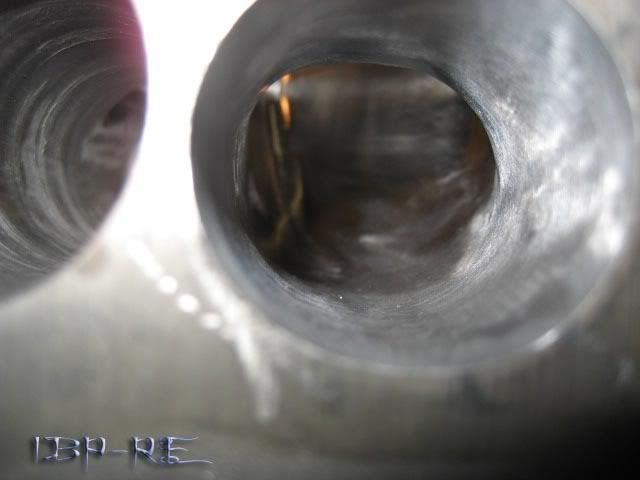
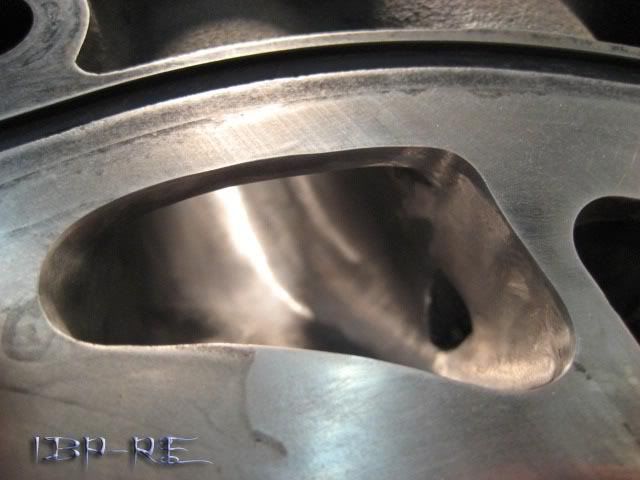
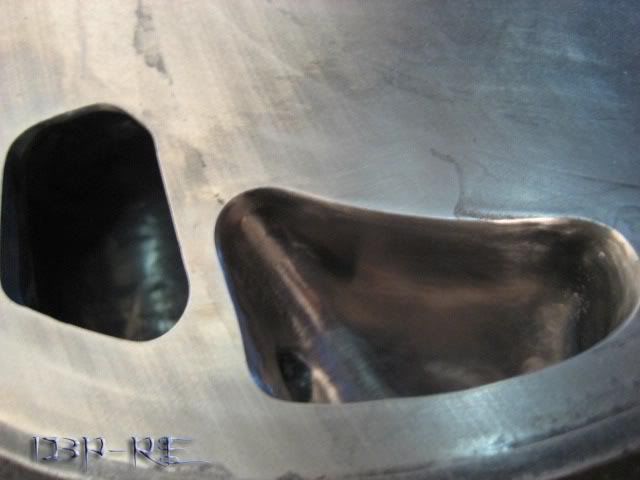
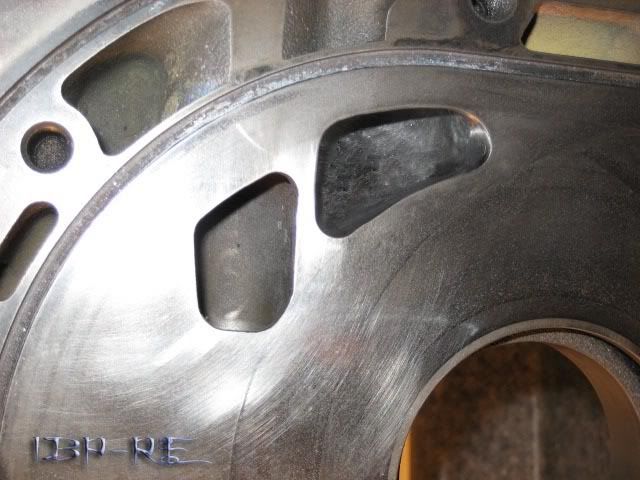
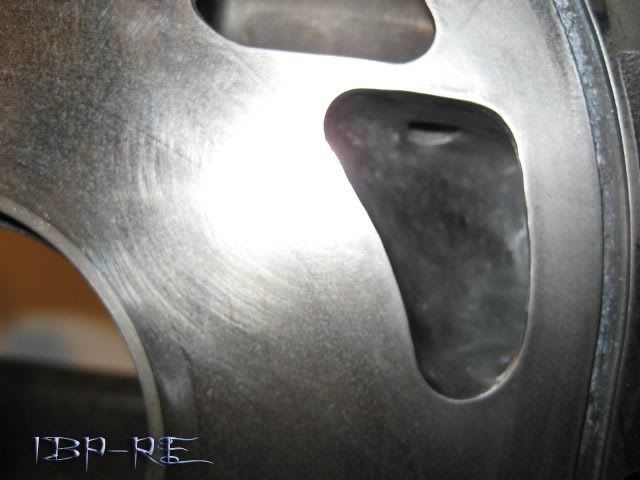
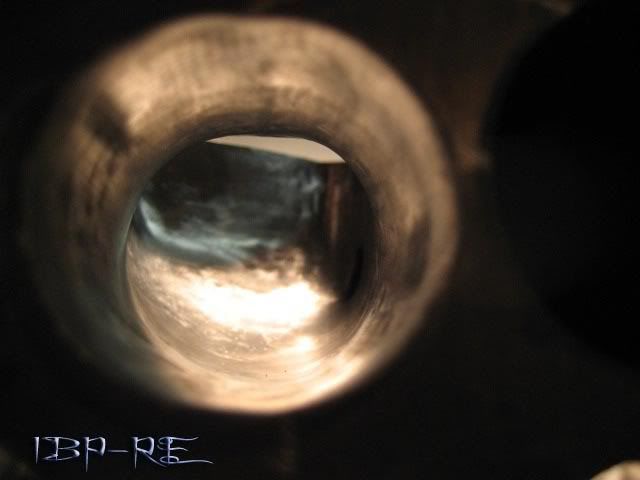
This might be a dumbass question but...in the 2nd and 3rd picture from the last picture, also in the 1st picture at top of the page...There is a hole in the top of the port? wtf?
Trending Topics
 02-16-07, 07:20 PM
#10
Thats a pretty good size 2ndary port!
It is hard to say from the pics, but it looks like in my porting I tried to make the short radius (the port's opening side) a bit thinner/ more gentle radius so the flow stays attached better (it gets thick when you go early opening timing).
Also on the short radius most of the time you see the "corners" of the port on the short radius squared out a bit more so if you look down the runner w/ the wear surface up it looks kinda like an upside down D.
With that early opening does the top sideseal edge drop down into the port? If so, you may want to give that port top edge a bit of scissor and bevel action.
Looking good!

Thread
Thread Starter
Forum
Replies
Last Post