RHD Efini Project: 2JZ Swap
#104
#107
What do you mean by "how far back" for the engine? I set it as far back as I possibly could, without modifying the firewall. I don't know what the exact weight difference will be, but with all of the things I have removed or replaced with lighter parts, I can't imagine it will be a big difference. Also, most of the weight is behind the front wheels, so it probably won't really have much of a noticeable effect.
#108
i wondered if you had put the engine as close to the fire wall as you could or if you had pushed the engine forward, glad it sits mostly behind the wheels, that was my main thoughts over the build if i manage to do it,
#111
Thanks for the compliments :-). I hooked up my battery and checked some wiring over the last week, and everything is good to go so far. My running lights and interior lights all function, and the wires trace out to the correct sensors and ECU pins. I also have plumbed my surge tank and tested for leaks.
As for any planned events, I don't really have anything specific in mind. I will probably run it at the track for fun, and just enjoy it on the weekends.
As for any planned events, I don't really have anything specific in mind. I will probably run it at the track for fun, and just enjoy it on the weekends.
#113
Progress!
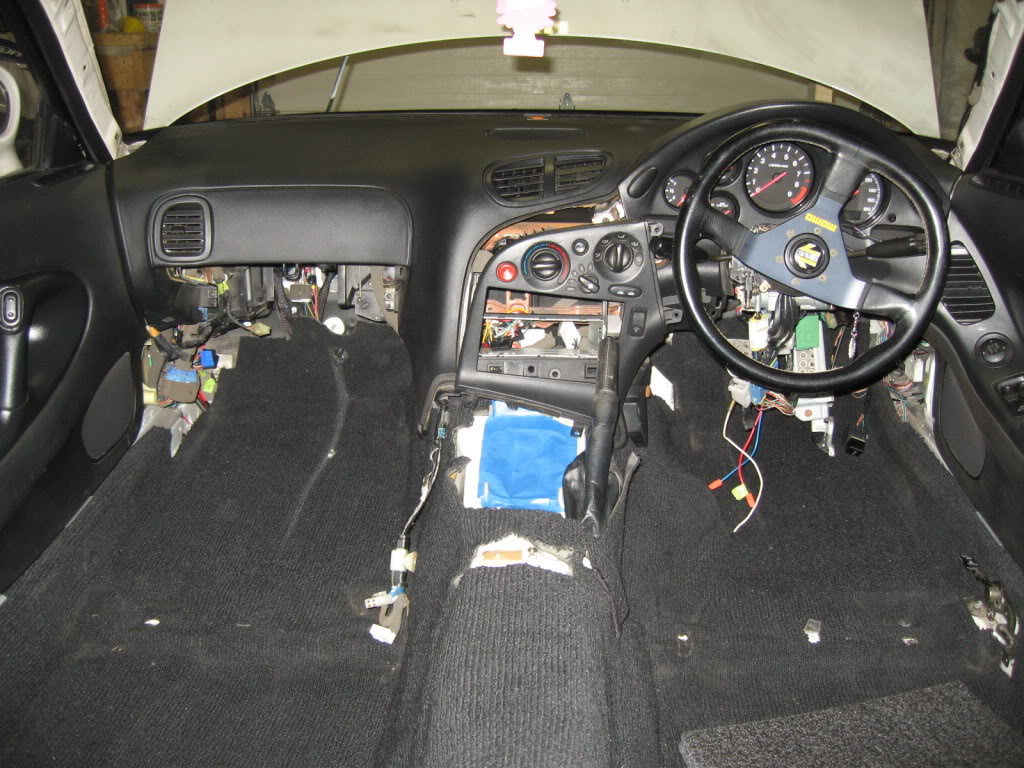
Getting the wiring sorted, and the interior is slowly going back together:

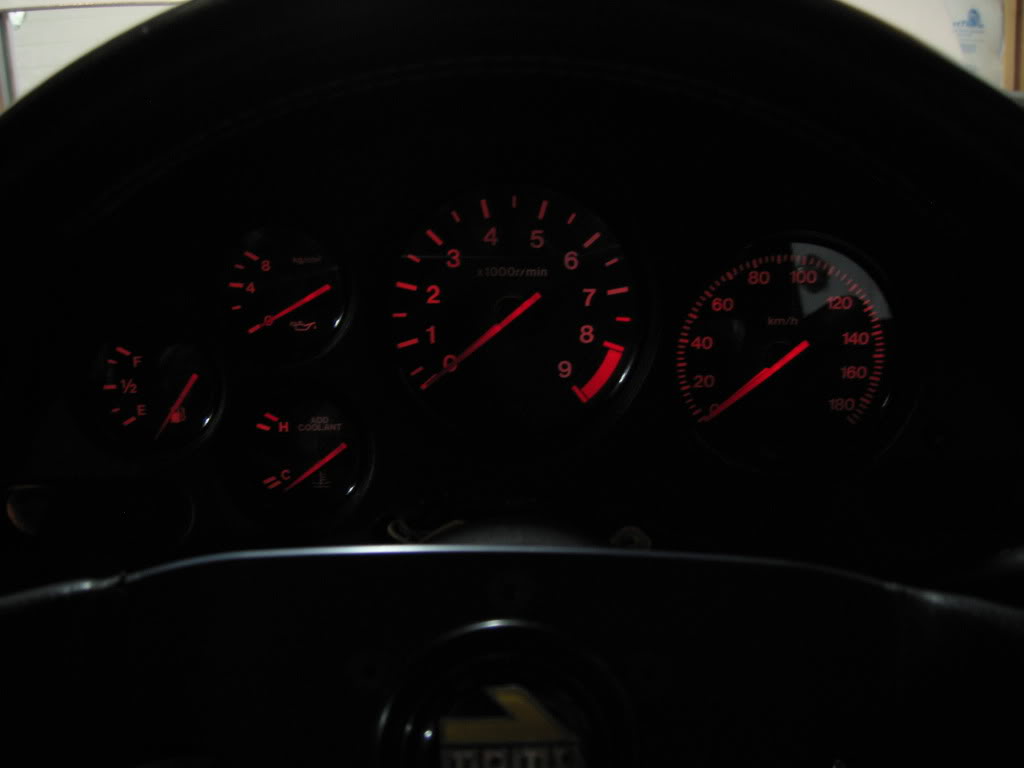
Gauge lights still work, yay!

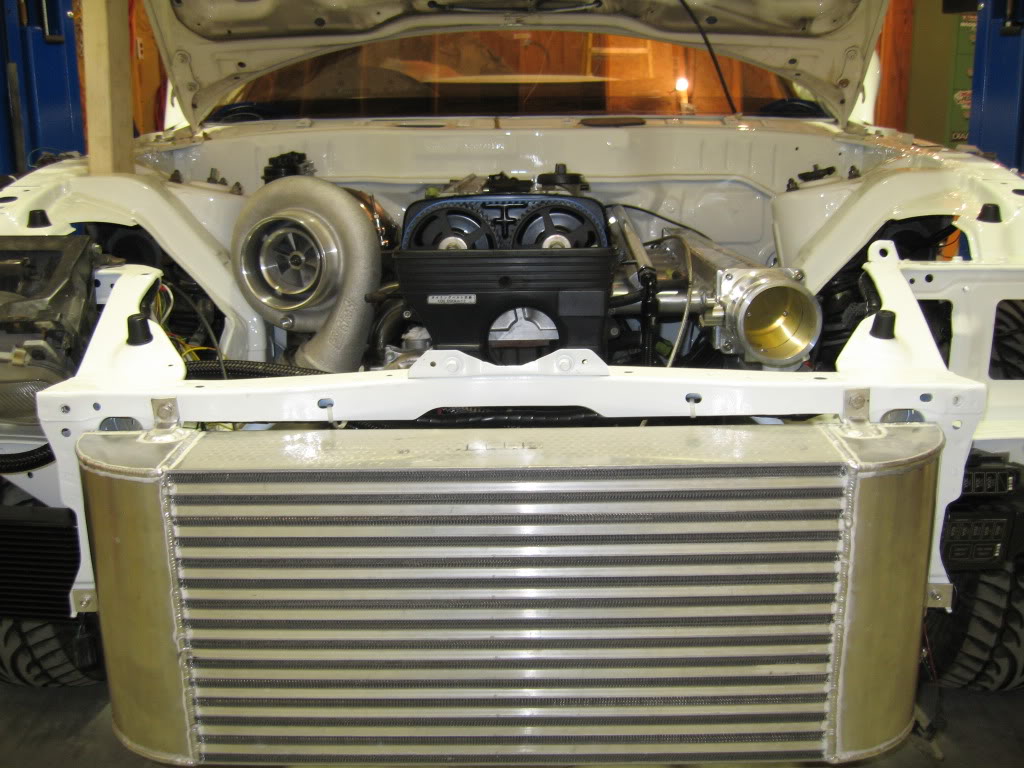
Putting the engine bay back together, ran fuel lines to the rail, mounted the master cylinder, etc.

Getting the wiring sorted, and the interior is slowly going back together:

Gauge lights still work, yay!

Putting the engine bay back together, ran fuel lines to the rail, mounted the master cylinder, etc.

#119
Updates:
Fixed the picture links from above:
Getting the wiring sorted, and the interior is slowly going back together:
Gauge lights still work, yay!
Putting the engine bay back together, ran fuel lines to the rail, mounted the master cylinder, etc.
Recent Updates:
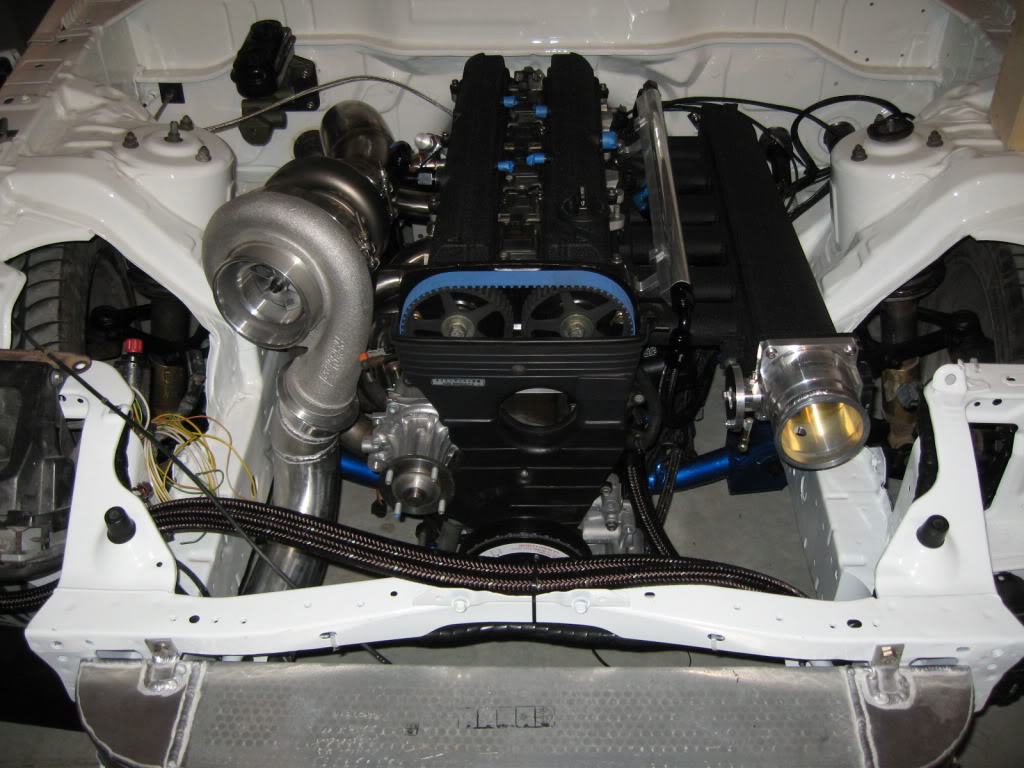
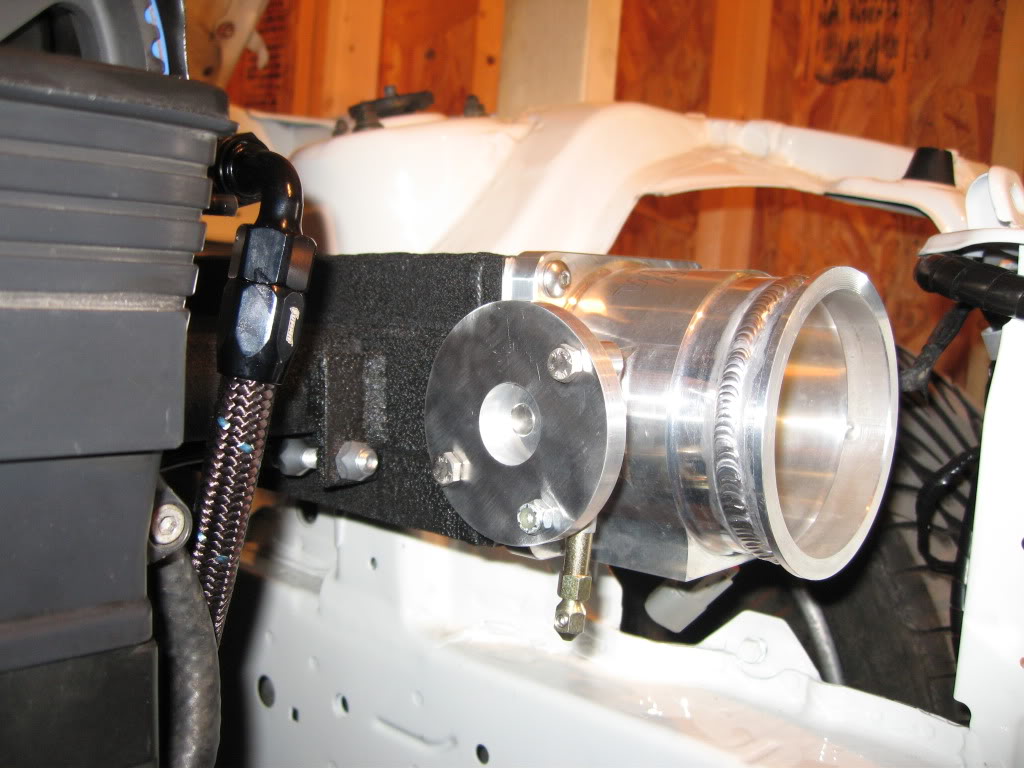
I welded/blended in some -10 AN fittings for my future catch can and powder coated the valve covers wrinkle black. Also, I made my throttle linkage bracket, and throttle cable adapter for my Wilson 90mm TB since the existing points didn't work for my setup with my Lokar throttle cable:
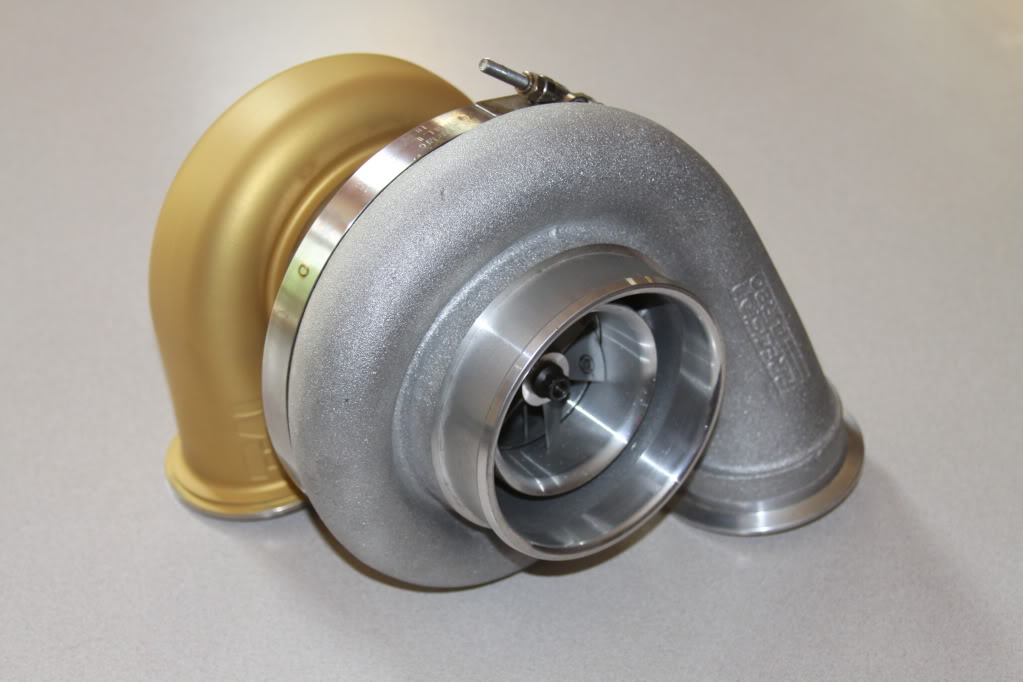
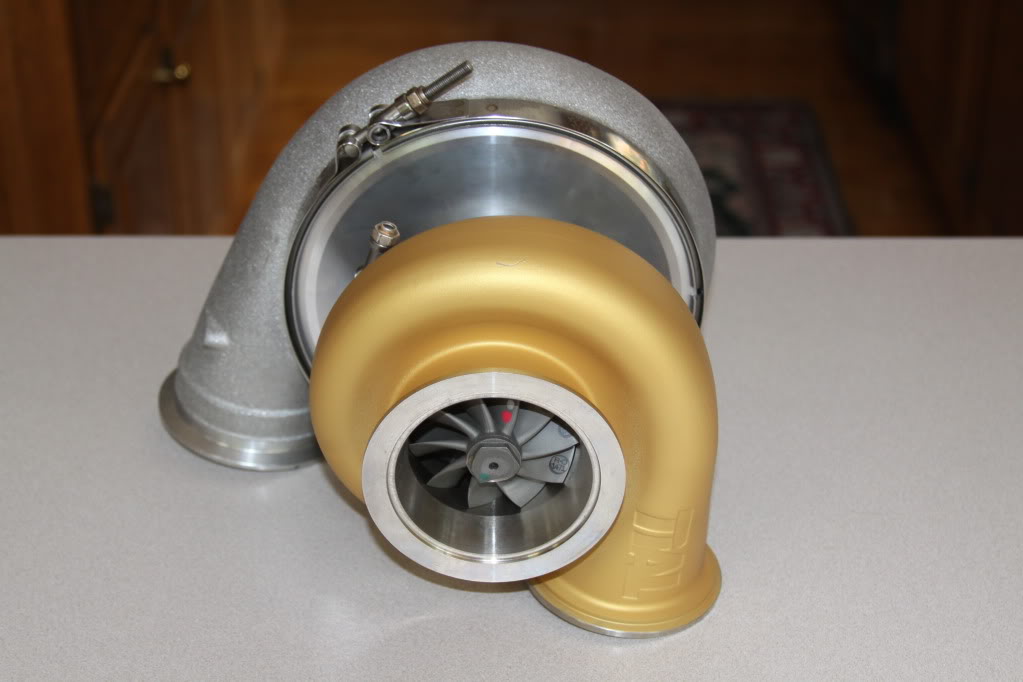
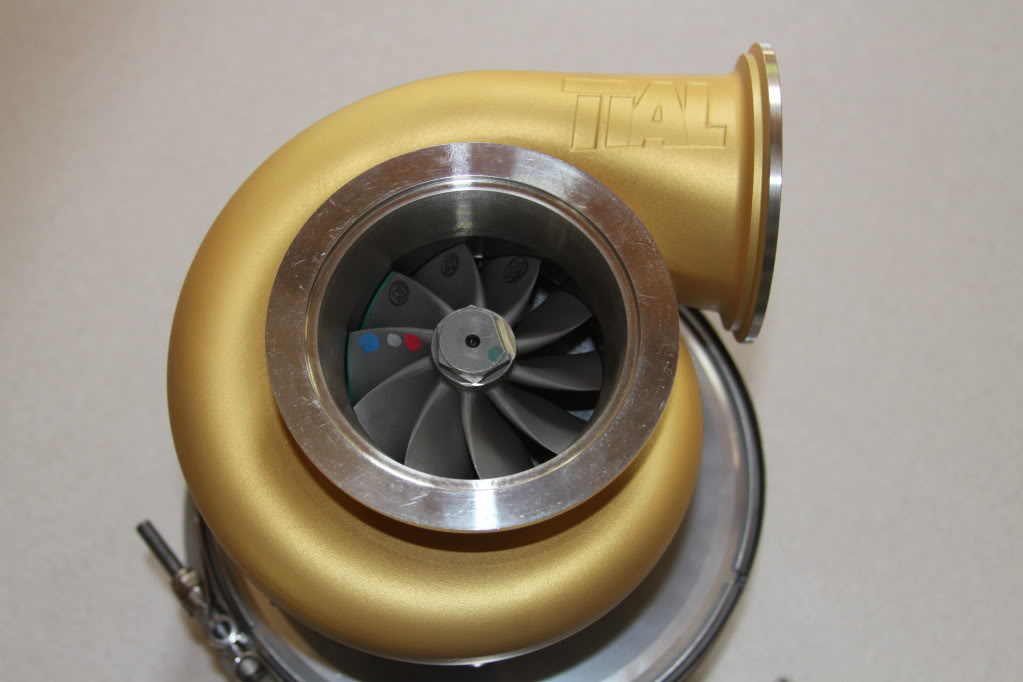
Sneak peak of the ceramic coating:
Fixed the picture links from above:
Getting the wiring sorted, and the interior is slowly going back together:

Gauge lights still work, yay!

Putting the engine bay back together, ran fuel lines to the rail, mounted the master cylinder, etc.

Recent Updates:
I welded/blended in some -10 AN fittings for my future catch can and powder coated the valve covers wrinkle black. Also, I made my throttle linkage bracket, and throttle cable adapter for my Wilson 90mm TB since the existing points didn't work for my setup with my Lokar throttle cable:


Sneak peak of the ceramic coating:


#122
Yeah, it was hours and hours of sanding, welding holes shut, priming, body filler application, and painting, but I think I turned out nice, lol. I'm glad I did it when I did.
#124
Yeah, let me know if you are ever up this way and want to check out the car.
#125
4 month update:
Installed the magnafuel FPR, polished & installed the fuel rail, and installed the ID1000's.
I also put in some heat reflective foil, installed my brake proportioning valve, and ran the line from the valve to the factory rear brake line.
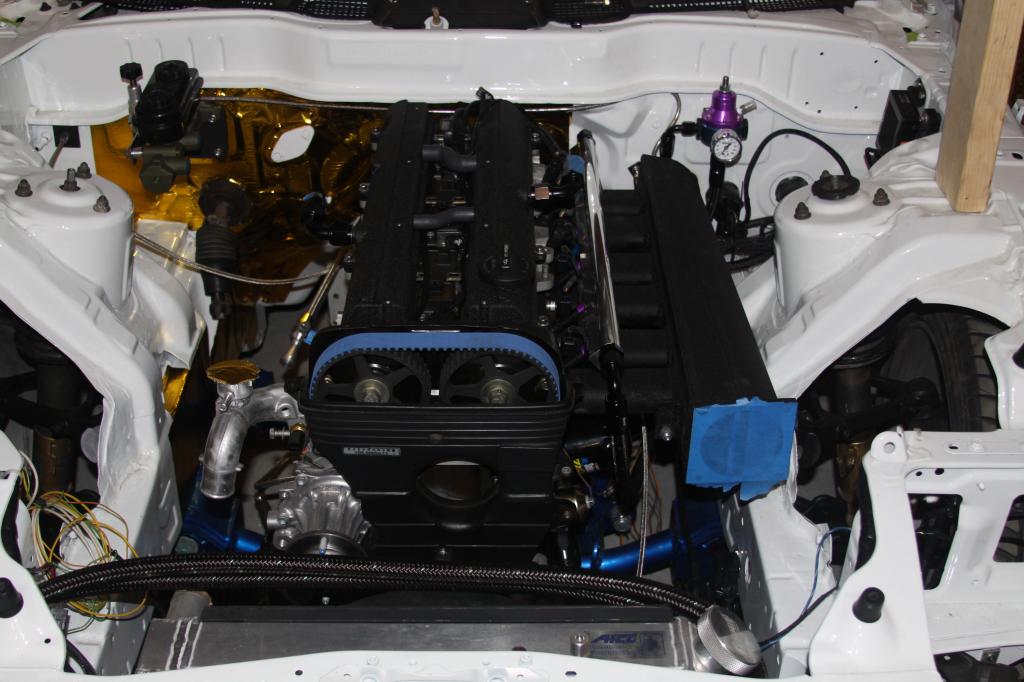
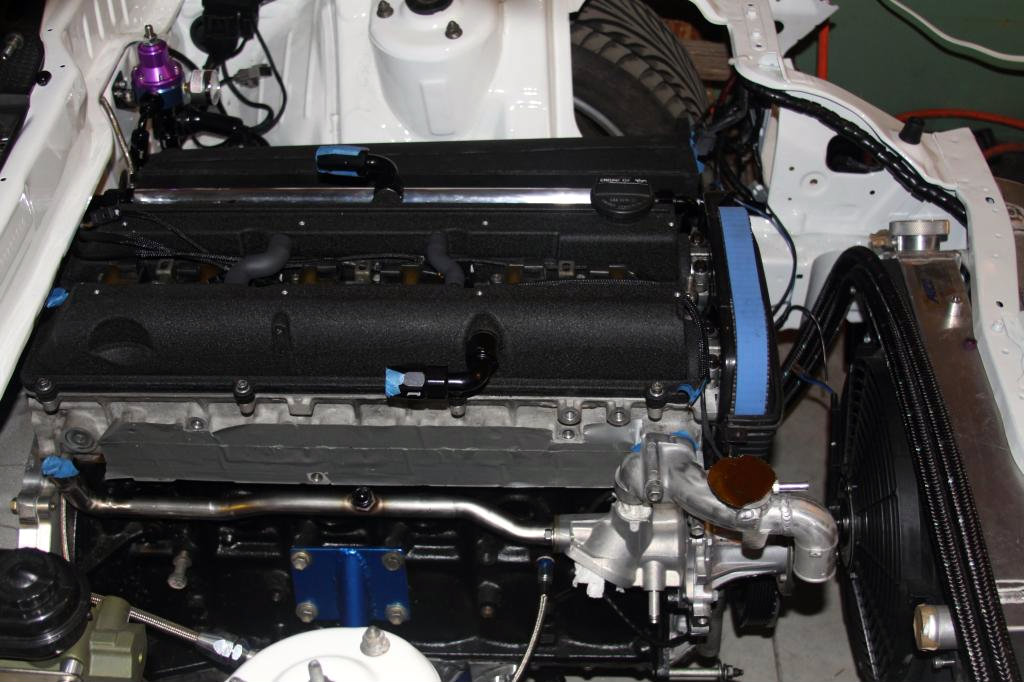
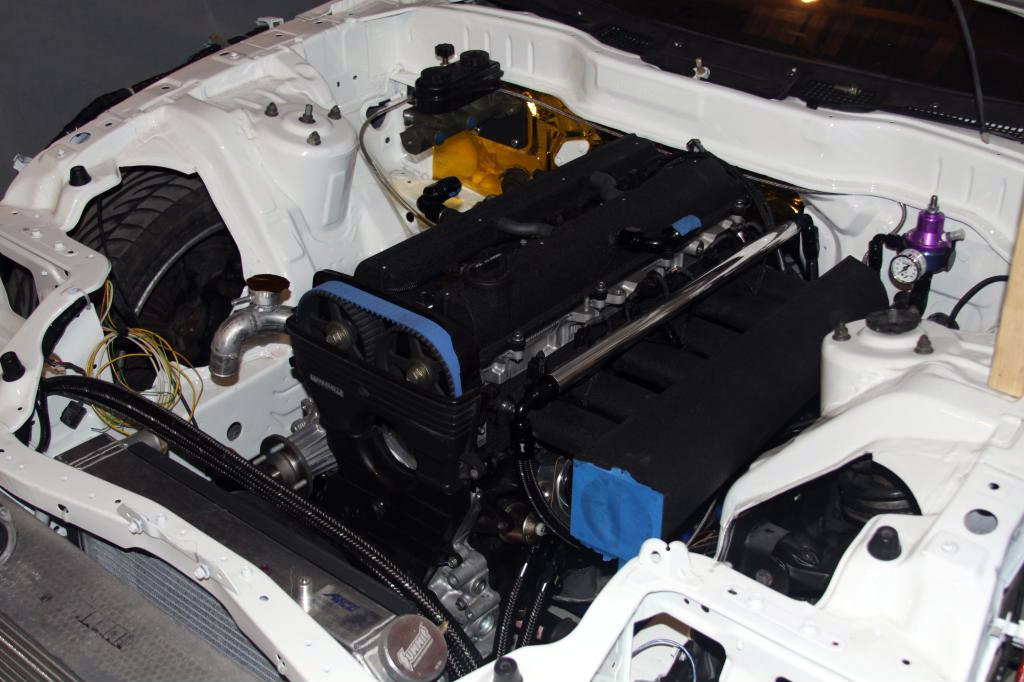
Installed the magnafuel FPR, polished & installed the fuel rail, and installed the ID1000's.
I also put in some heat reflective foil, installed my brake proportioning valve, and ran the line from the valve to the factory rear brake line.


 ...nice project my dude...looks fun