My new 73 Rx2!
#78
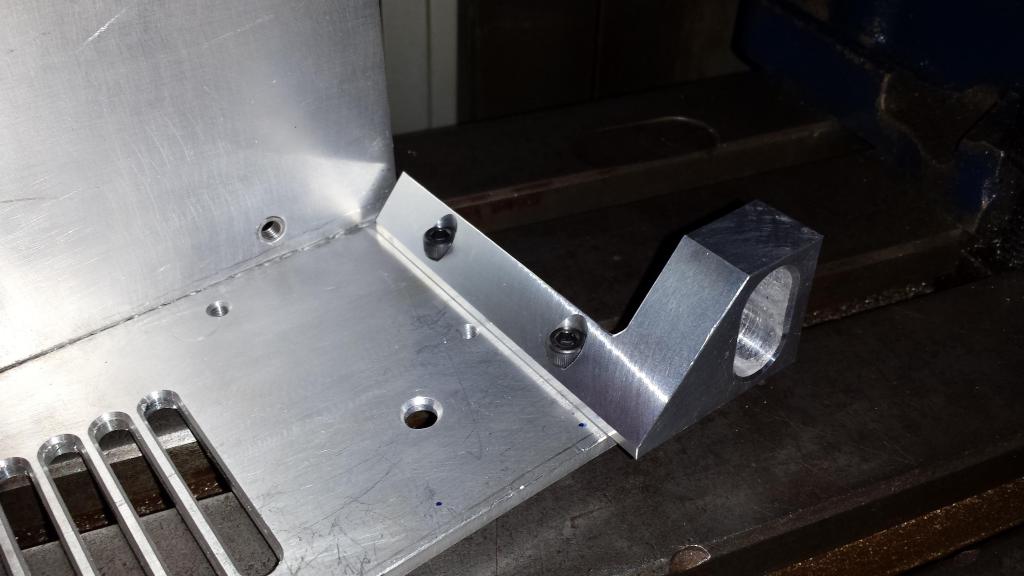
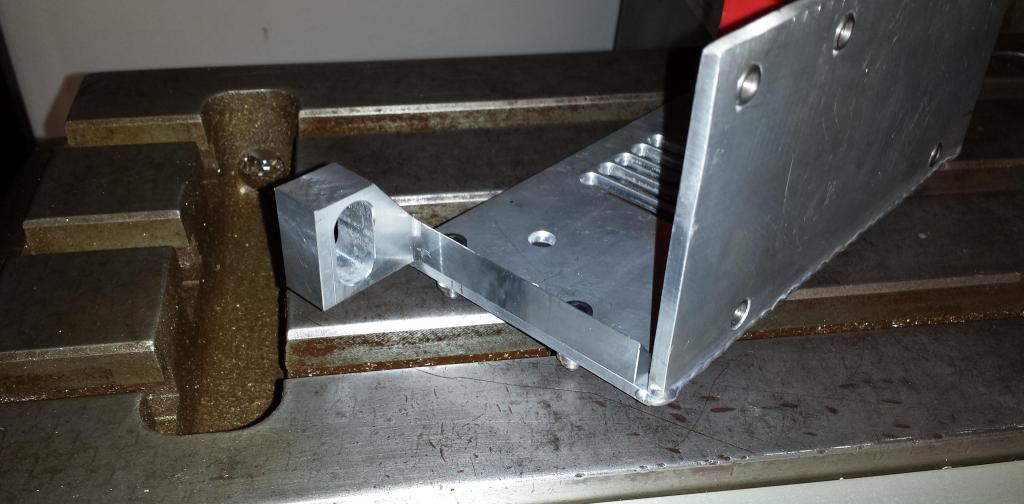
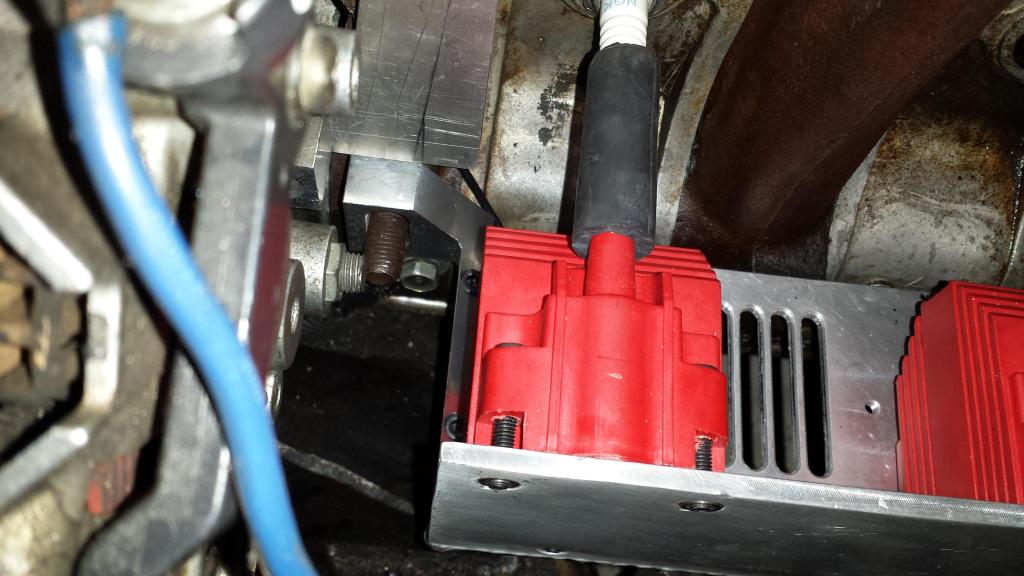
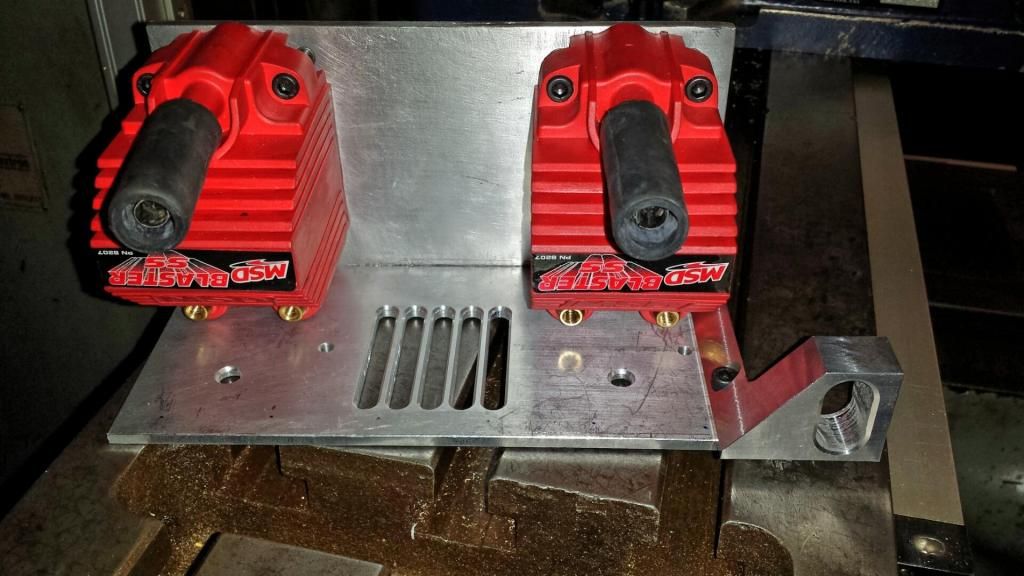
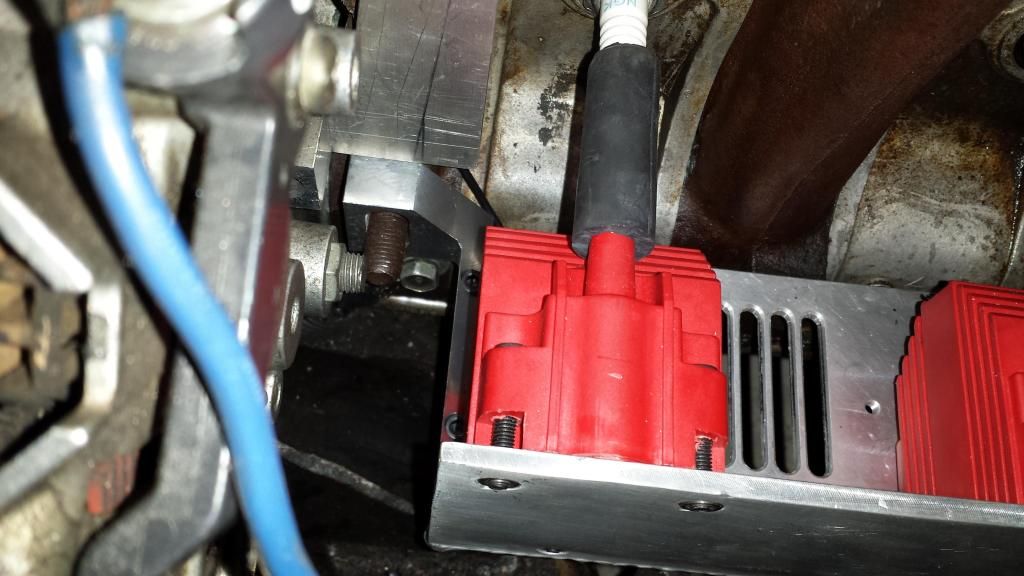
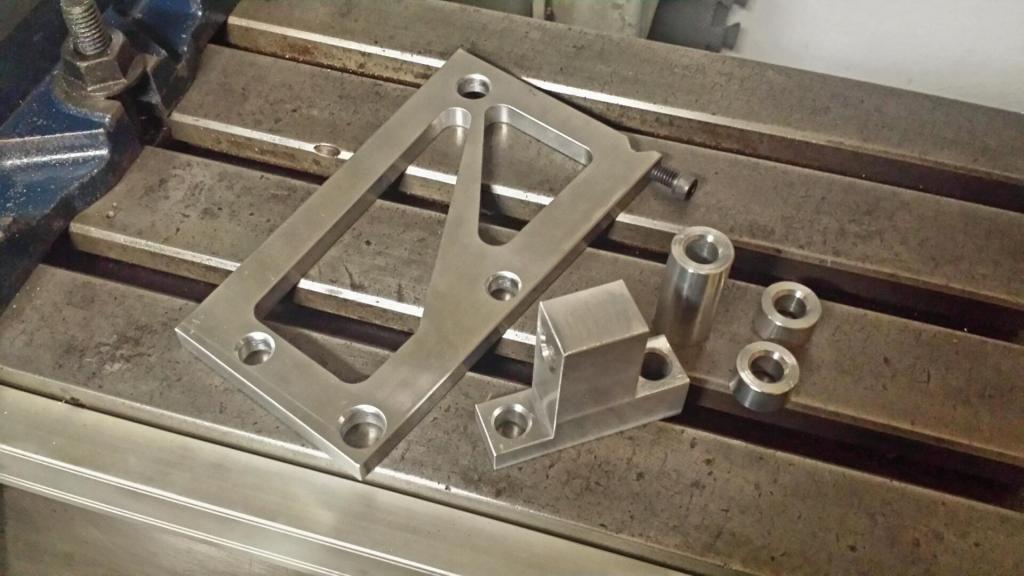
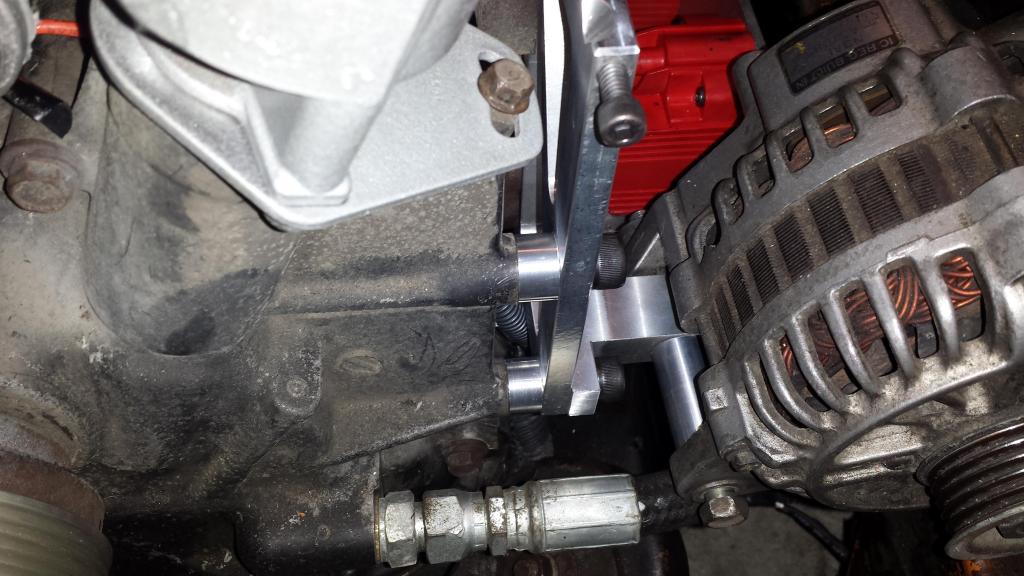
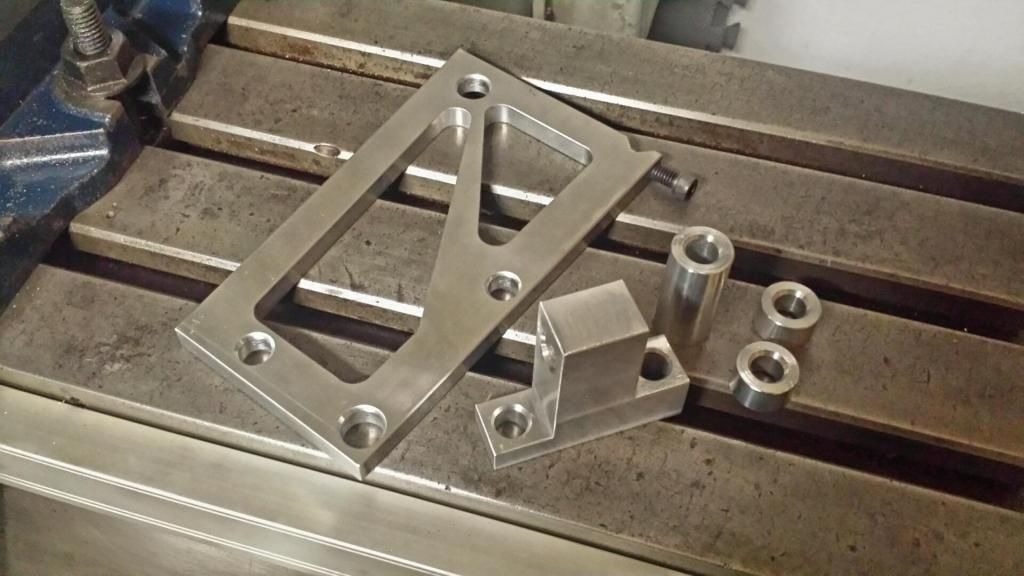
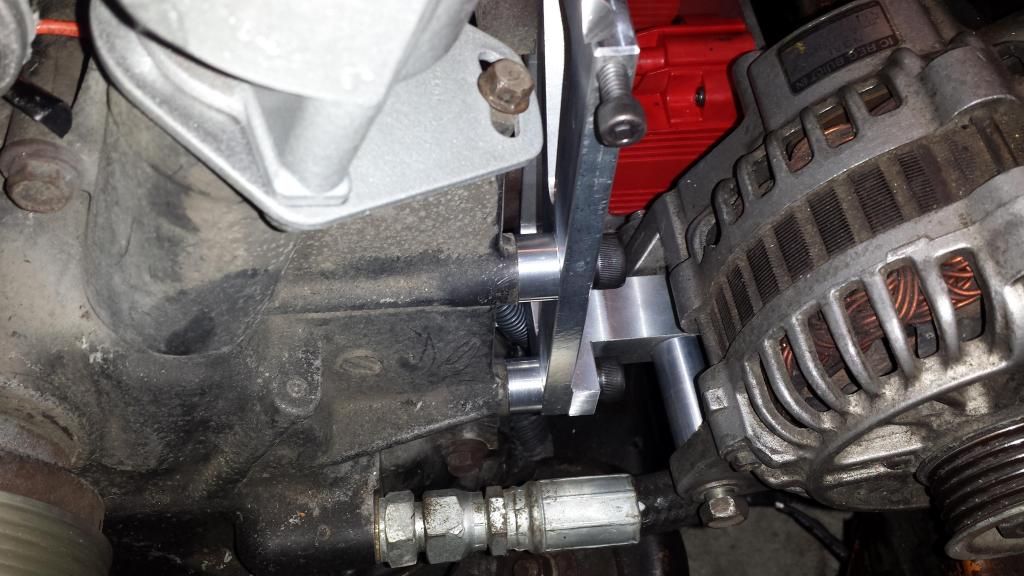
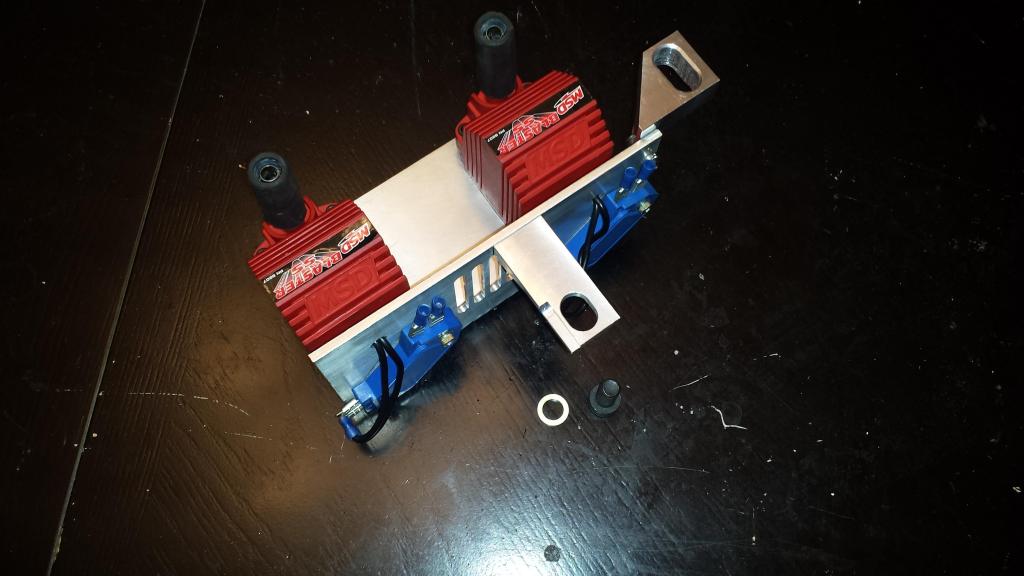
Next is is the final piece(s) to bolt this thing up for good. The lower mount along with some washers/spacers.The counter sunk screw had to be turned down and milled down to fit without hitting my fins on the plate. The lower mount bolts to the lower coolant plug on the center iron. Because of this, I had to make a very precise brass washer. If I got the thickness wrong on the washer, it would make the whole set up sit funny.
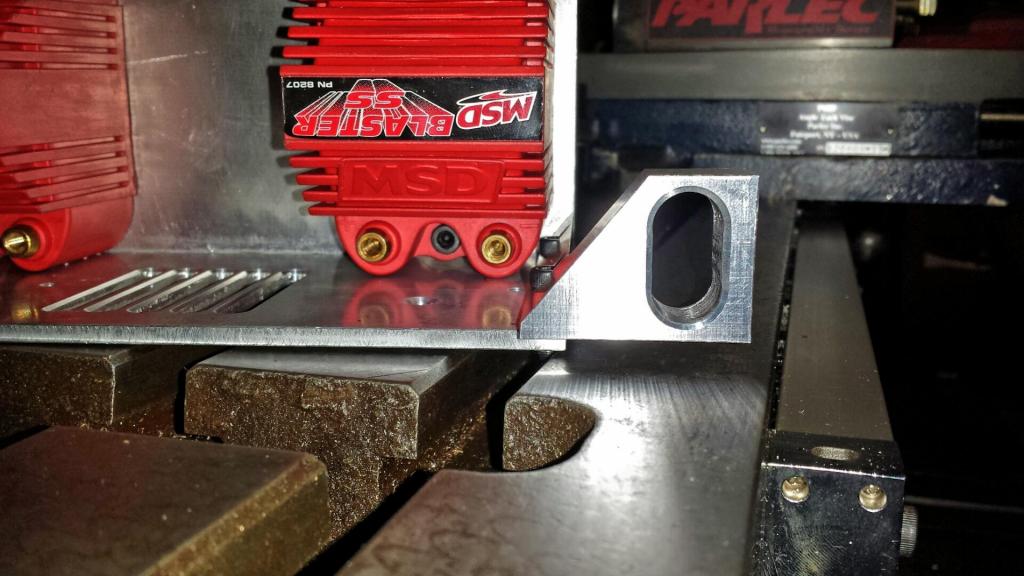
*Note: Notice the milled slot on the backside of the mount. My center iron I used for test fitting did NOT have anything pertruding out in this area. Well the 12a in my Rx2, and the 12a in the 1st gen had a rasied area and the slot was done for clearence. These minor differences in the housings and irons can be a real headache.
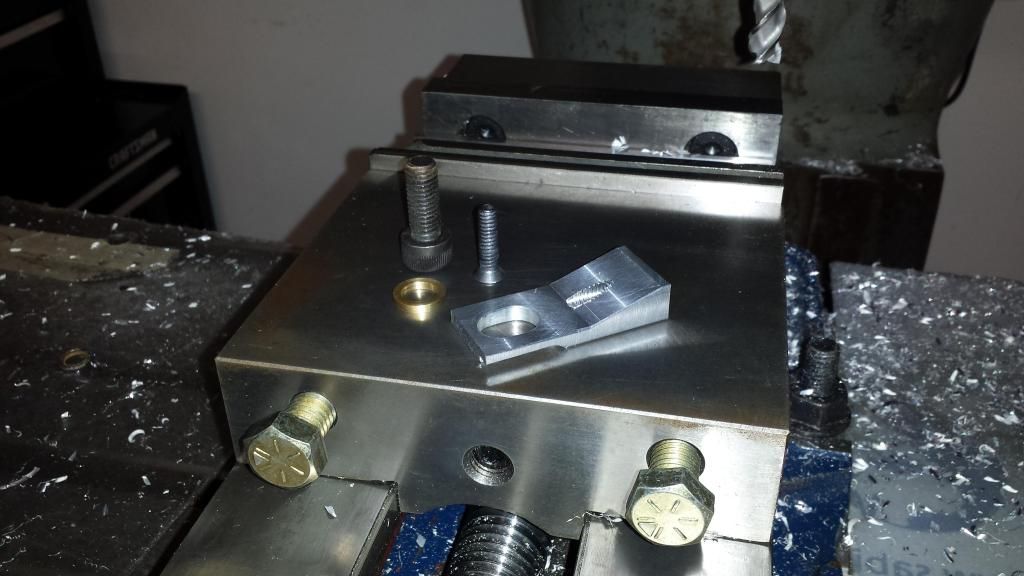
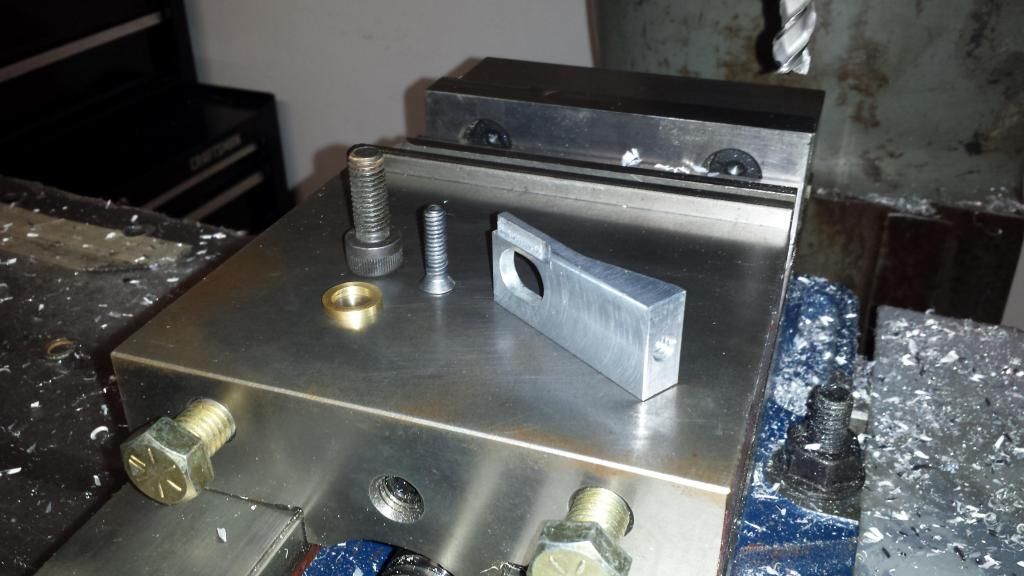
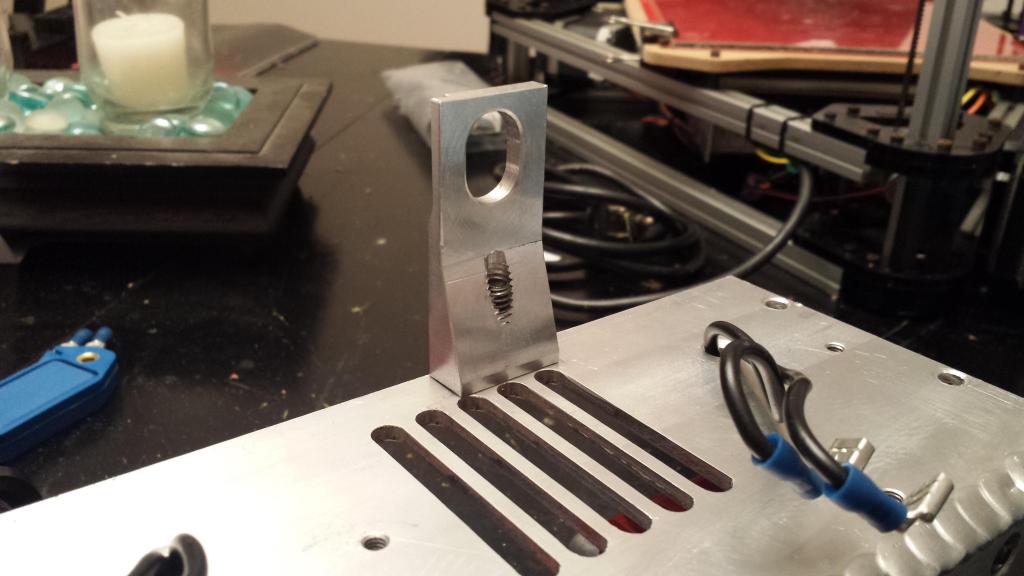
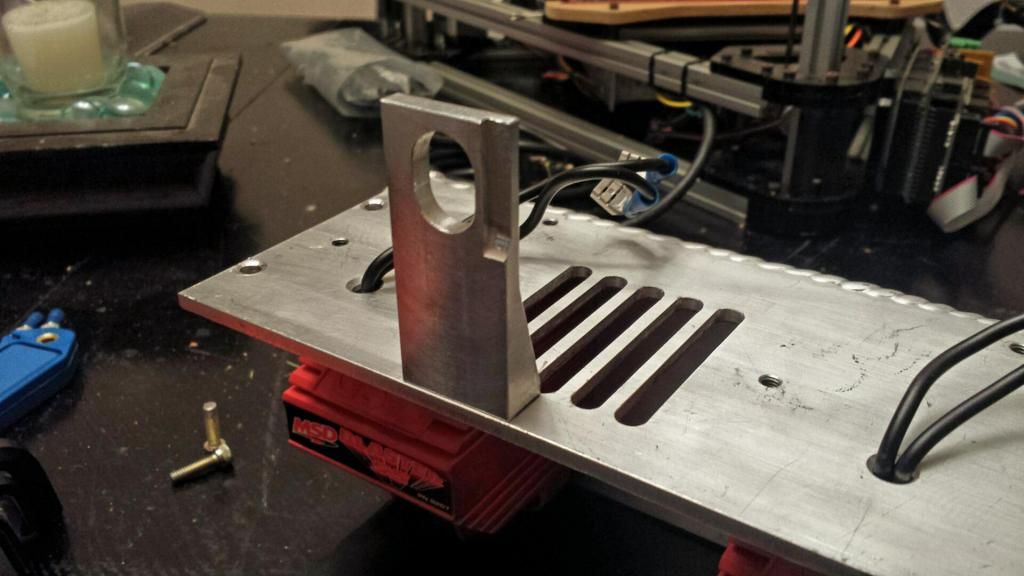
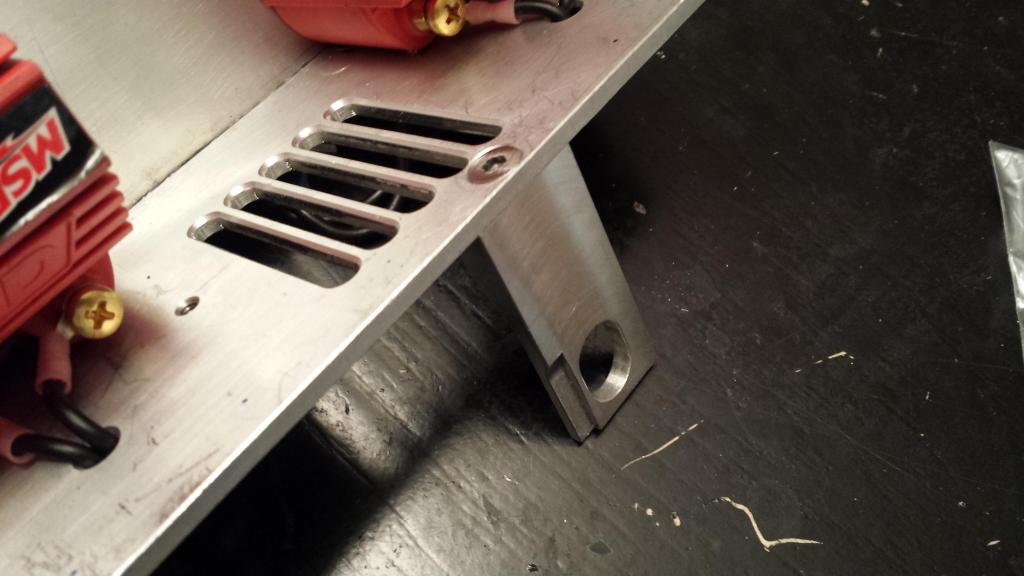
*Note: Notice the milled slot on the backside of the mount. My center iron I used for test fitting did NOT have anything pertruding out in this area. Well the 12a in my Rx2, and the 12a in the 1st gen had a rasied area and the slot was done for clearence. These minor differences in the housings and irons can be a real headache.


#79
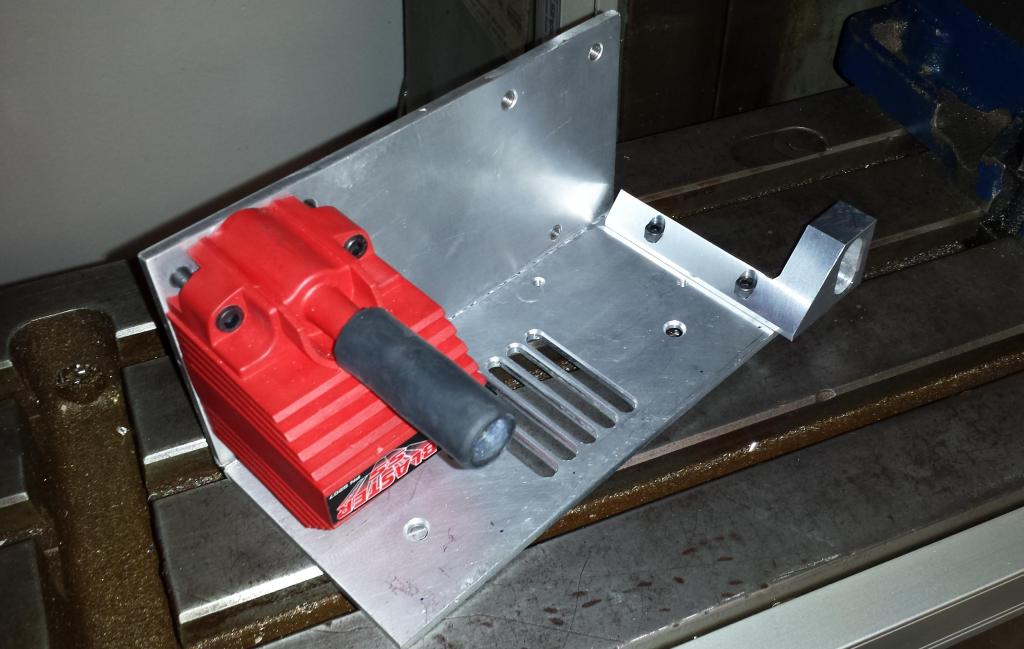
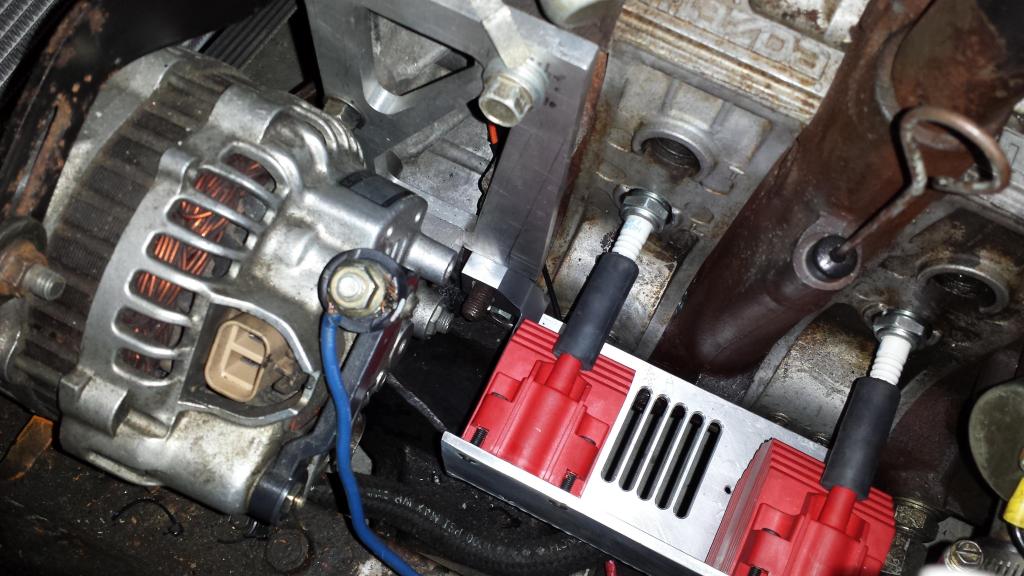
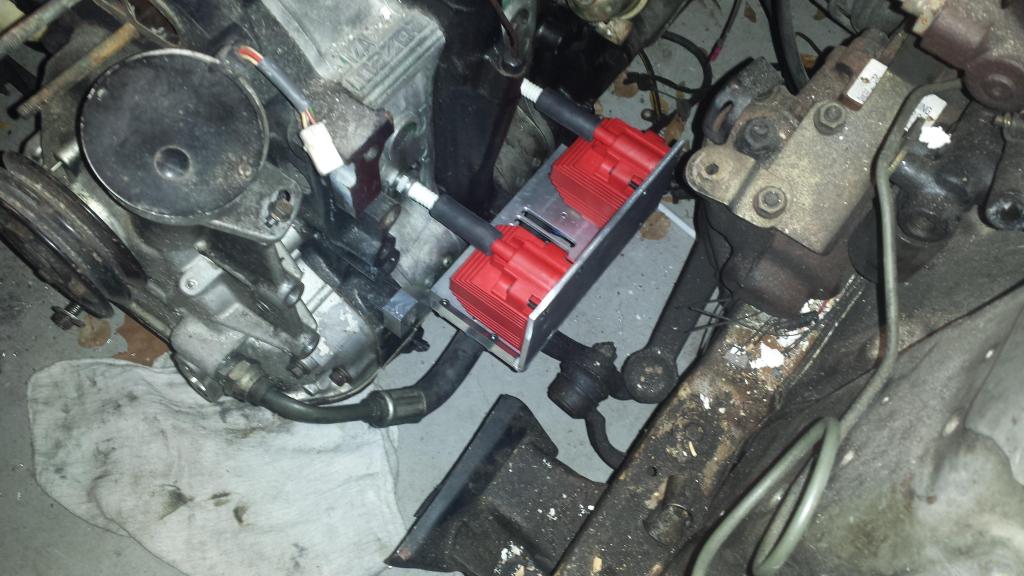
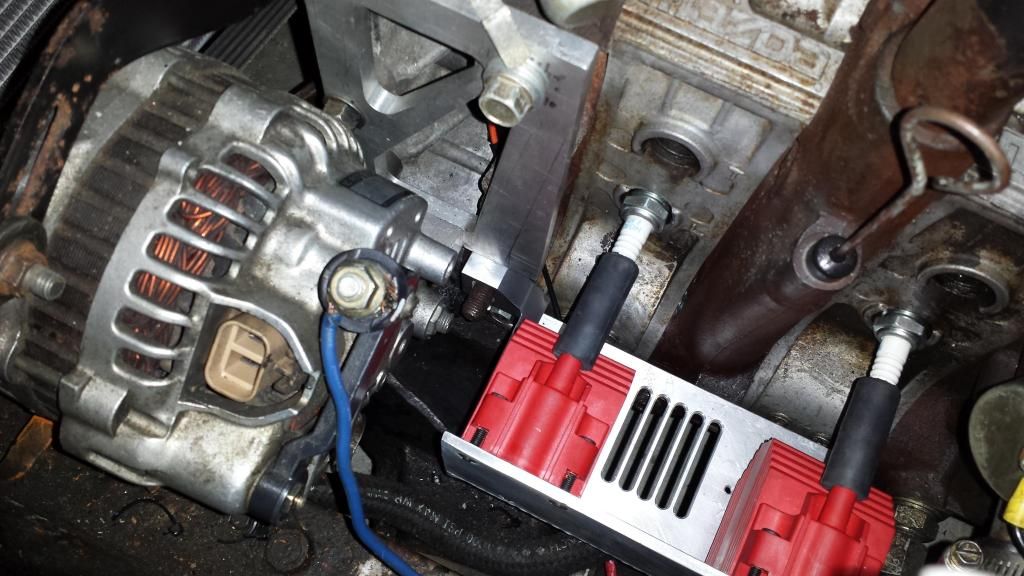
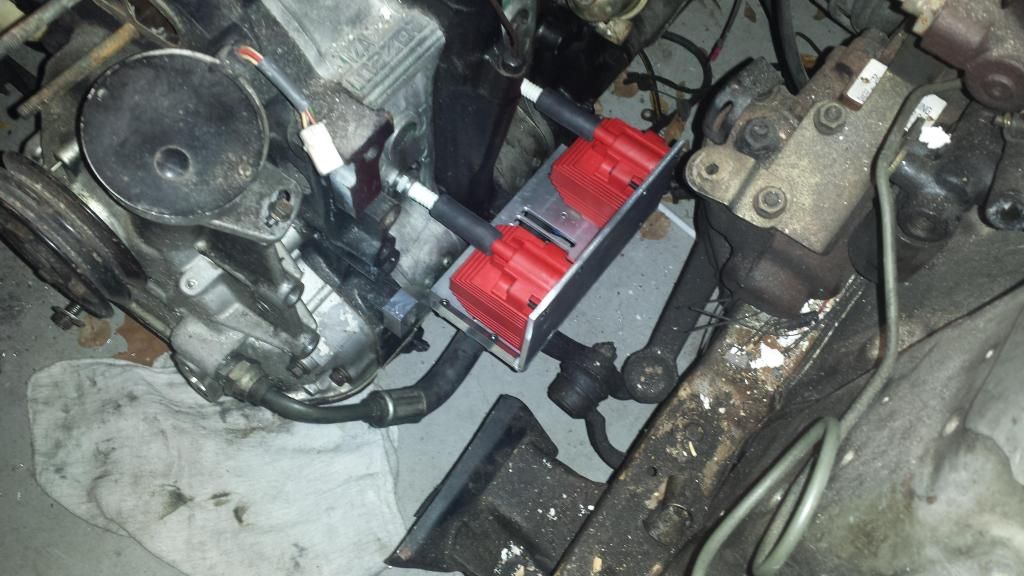
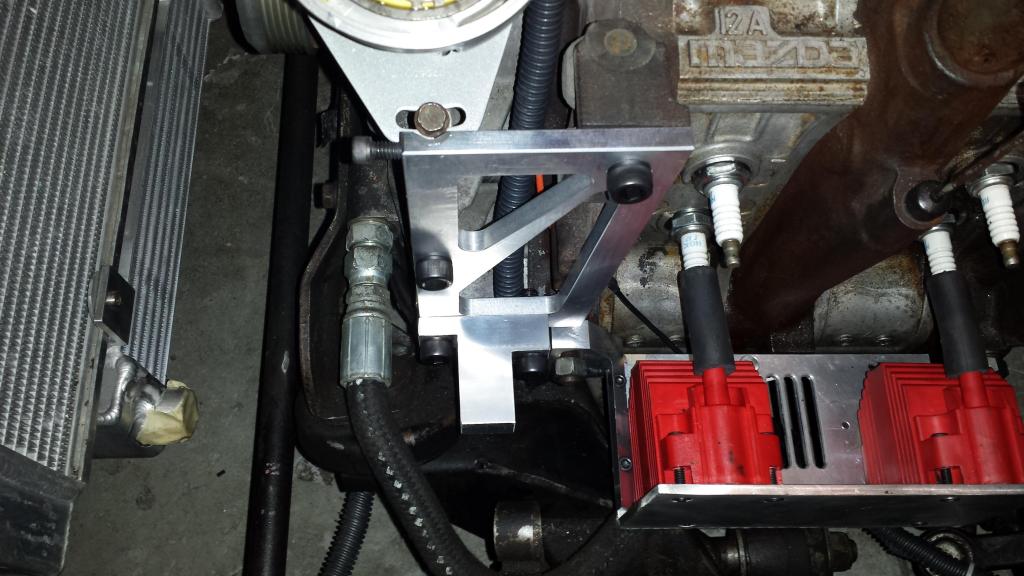
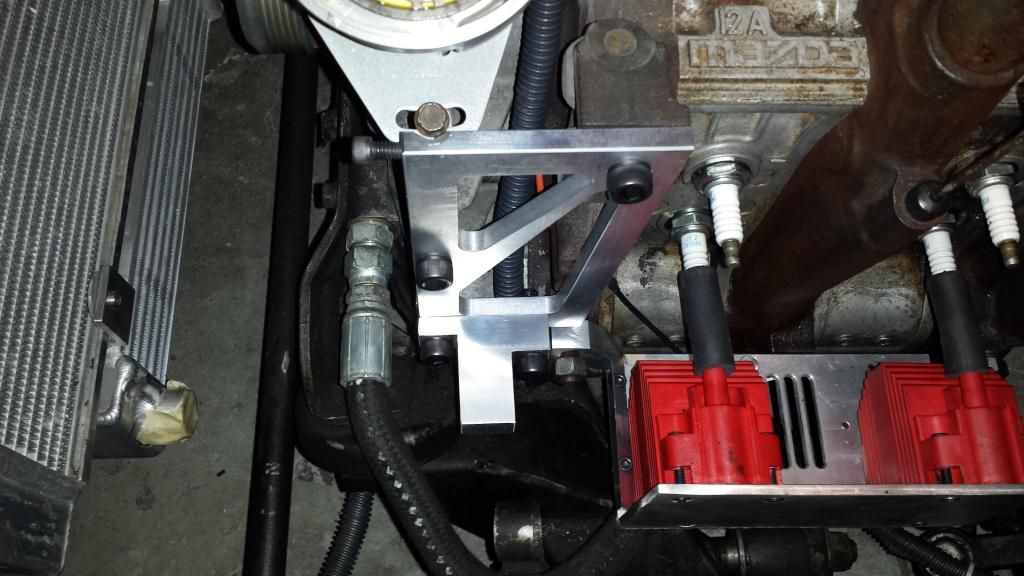
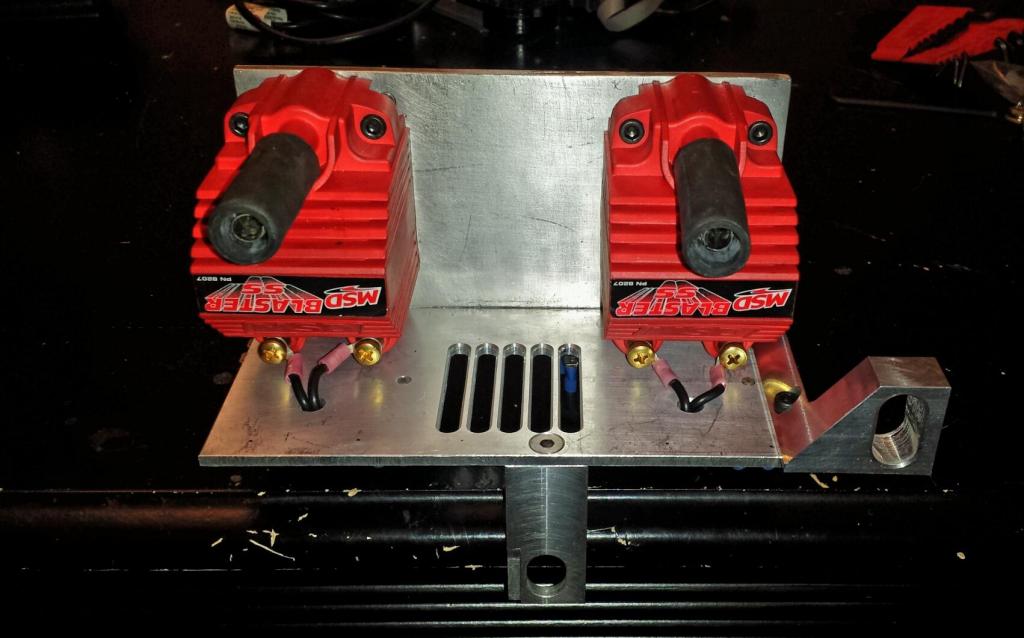
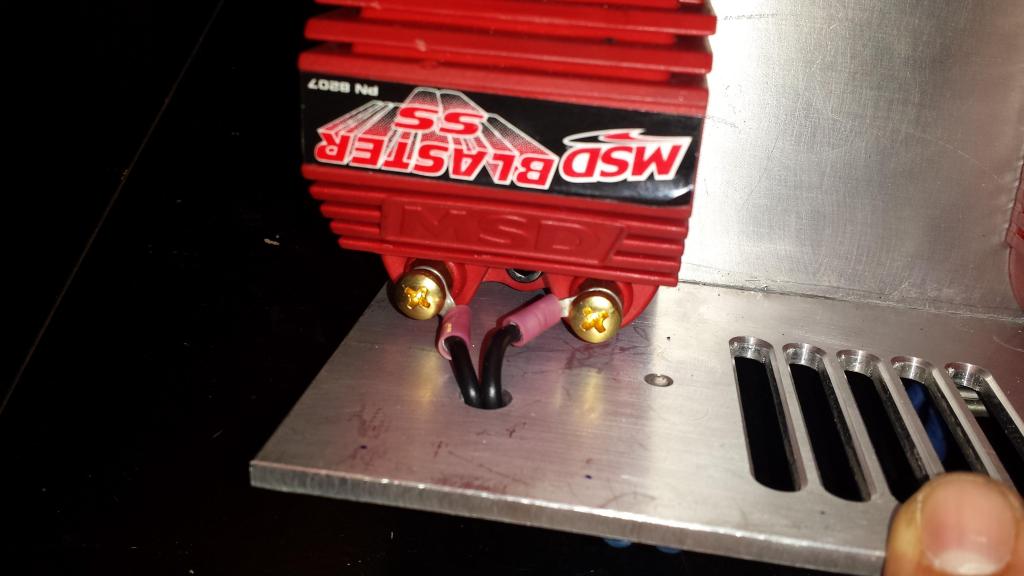
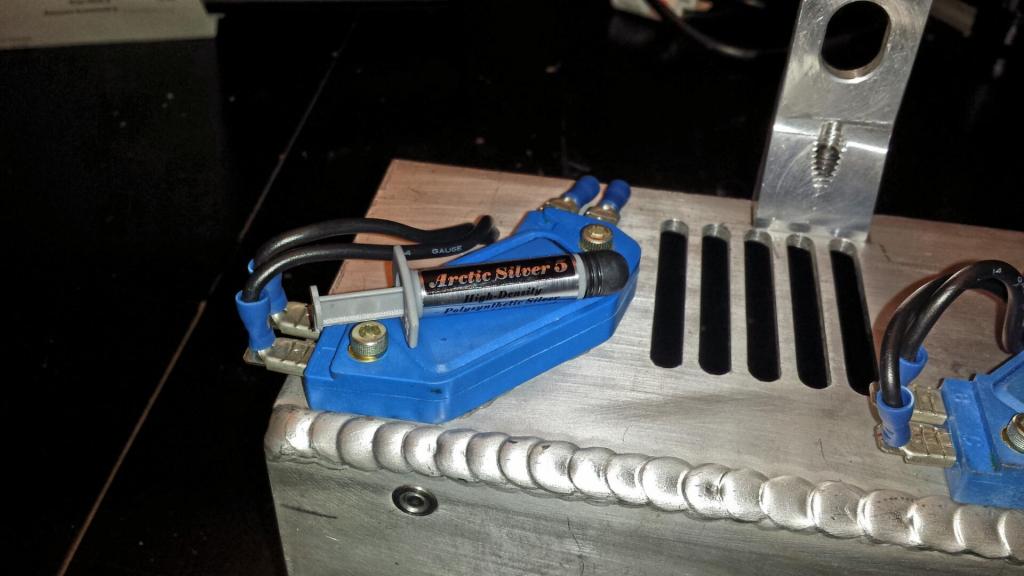
With all that done I test fitted it on the car and everything fit PERFECTLY. I couldnt be more happy with the fit. I think it looks cool too. I havnt seen anything like this before, which was the real goal. So Heres a few shots of it all together. Also showing the wires going through there hide away holes and the heat sink paste I used for the igniters.


#80
There is one more part I need to make to complete this ignition set up along with some minor wiring. Then its time to crank her up!!!
So after not updating this in quite a while, I'm sure I made up for it with close to 30 pictures. lol. Hopefully it will not be so long until the next update.
So after not updating this in quite a while, I'm sure I made up for it with close to 30 pictures. lol. Hopefully it will not be so long until the next update.
#82
And it runs!
After much trial and error of getting the float height set on the Webers, it will start up like a new car! But anything past idle is so rich it just bogs hard. So now starts the ever so fun Weber tuning.
After much trial and error of getting the float height set on the Webers, it will start up like a new car! But anything past idle is so rich it just bogs hard. So now starts the ever so fun Weber tuning.
#83
#85
Thank you sir.
It was, now I work as a welder. Well, I occasionally do some machining at work when the welding department gets slow. Keeps me fresh in both areas.
It was, now I work as a welder. Well, I occasionally do some machining at work when the welding department gets slow. Keeps me fresh in both areas.
#87
So here is what I been up to with my Rx2. It's slow progress. But at least it is progress...
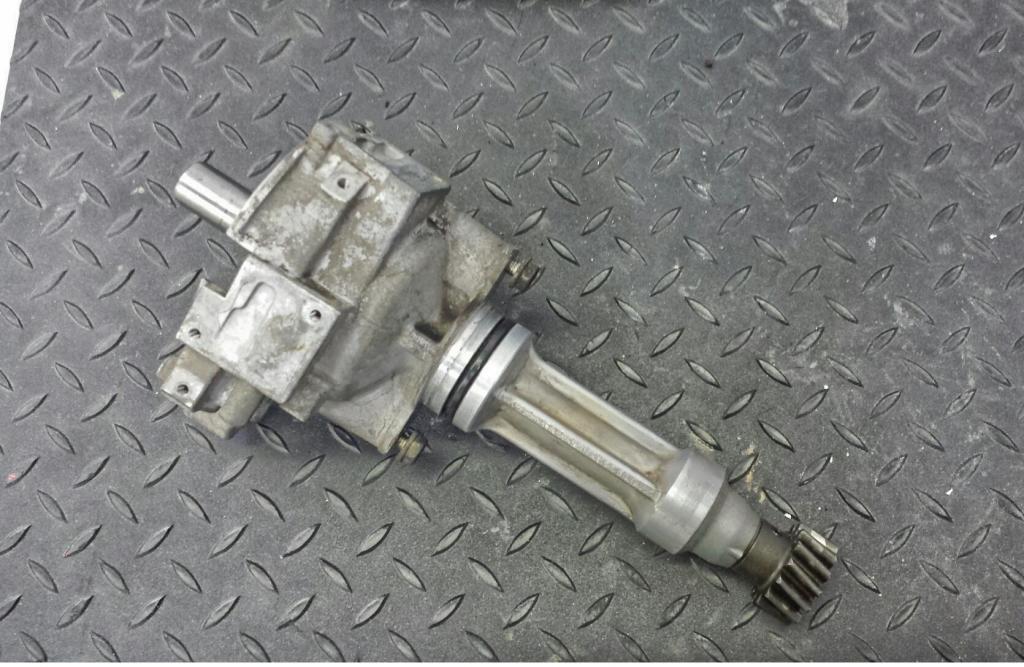
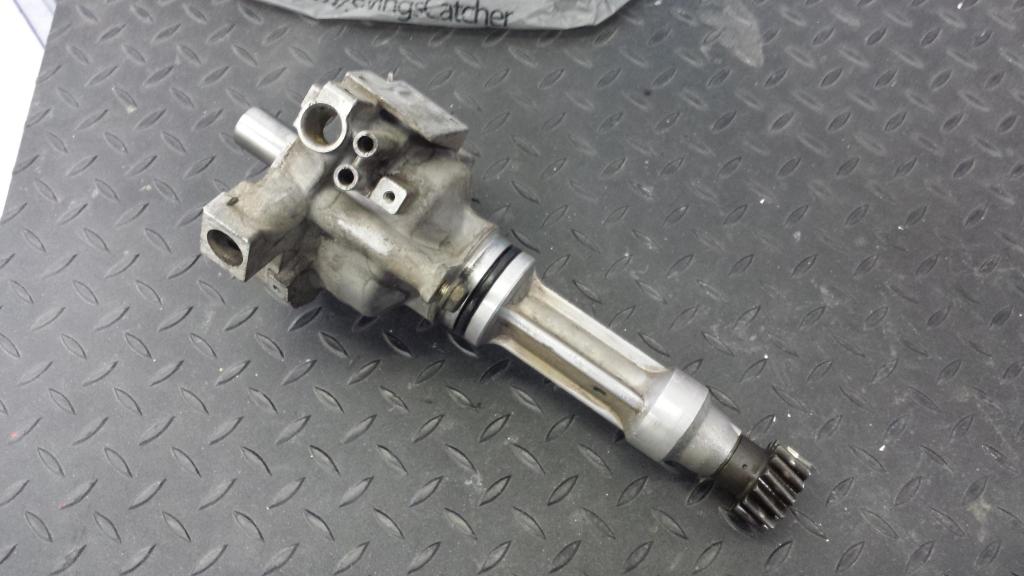
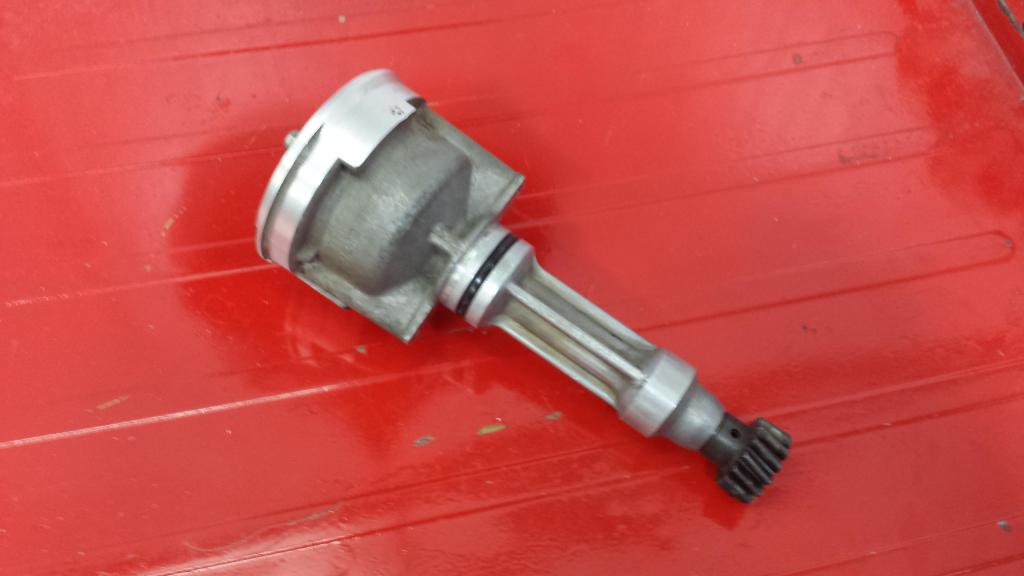
First up is finishing up the ignition to compliment the coil on plug set up. I always have a focus on less is more. So the stock distributor kust will not do. I gave thought to making a full custom distributor, but my knowledge on this is very low. I have the ability to machine one. But I lack the tech/know how of making one actually create spark in timing.... So I just decided to modify the stock one to be a clean looking as possible with removing everything that is no longer used and cleanign up the body of the dizzy.
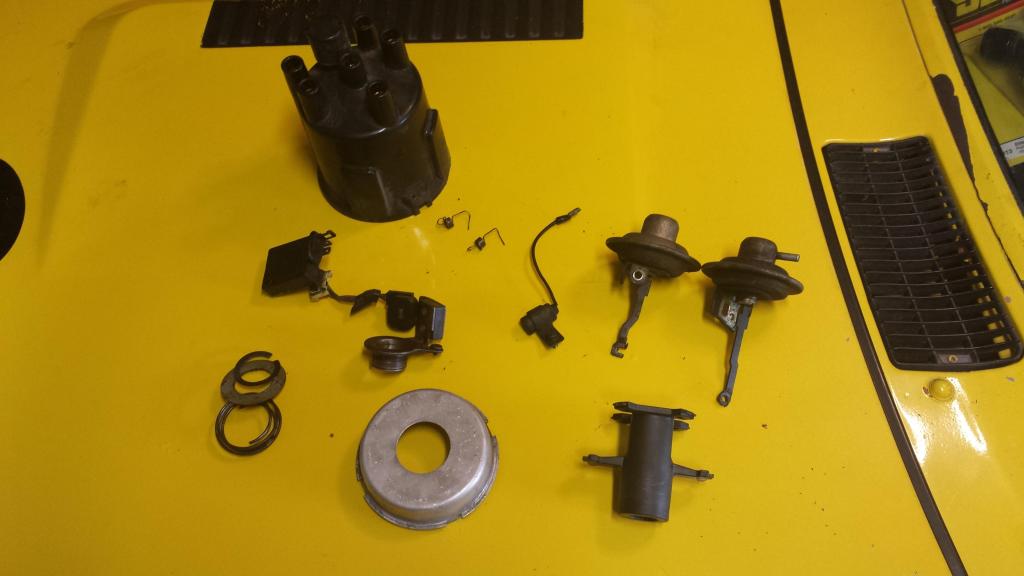
I did this by first removing all of these remaing parts here:
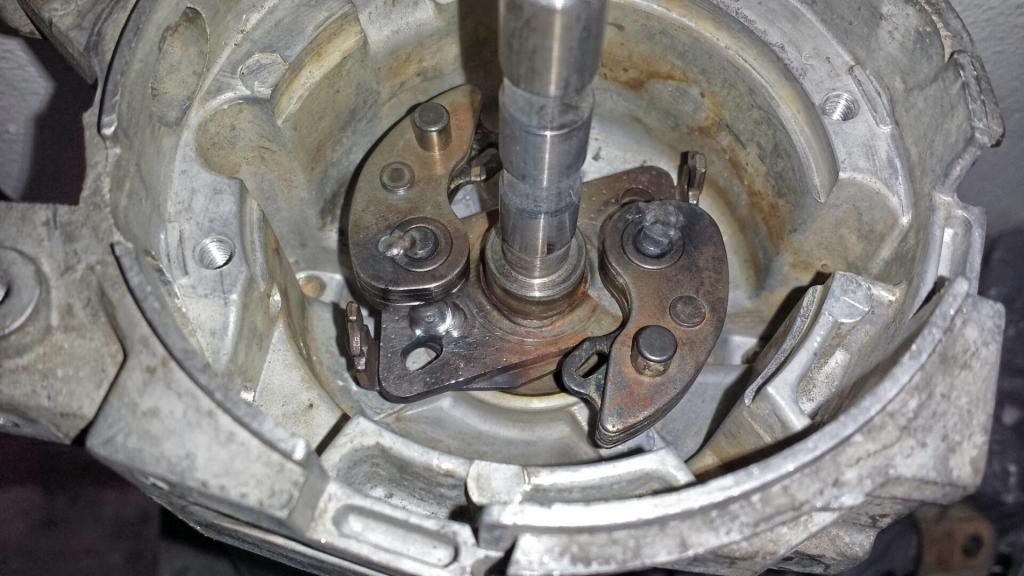
I also locked the dizzy because I will be going turbo very soon. Here is a shot of the weights welded at full advance:
First up is finishing up the ignition to compliment the coil on plug set up. I always have a focus on less is more. So the stock distributor kust will not do. I gave thought to making a full custom distributor, but my knowledge on this is very low. I have the ability to machine one. But I lack the tech/know how of making one actually create spark in timing.... So I just decided to modify the stock one to be a clean looking as possible with removing everything that is no longer used and cleanign up the body of the dizzy.
I did this by first removing all of these remaing parts here:

I also locked the dizzy because I will be going turbo very soon. Here is a shot of the weights welded at full advance:

#91
#93
#94
Now heres what it looks like on the inside.
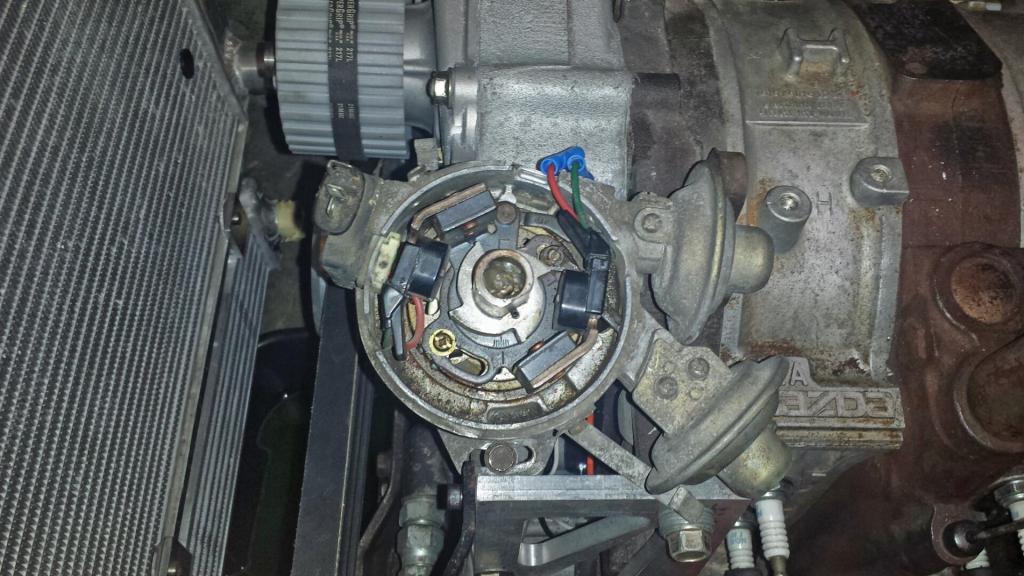
Notice all the areas for the igniters have been welded and machined to be as if they were never present. And many other holes and openings were welded shut before machining it. This had to be the absolute worst material I have ever tried to weld on in my life. No matter what I tried it left pores in the weld and wanted to blast itself away everytime I gave it some heat. I hope to never do this again...
Before:
After:
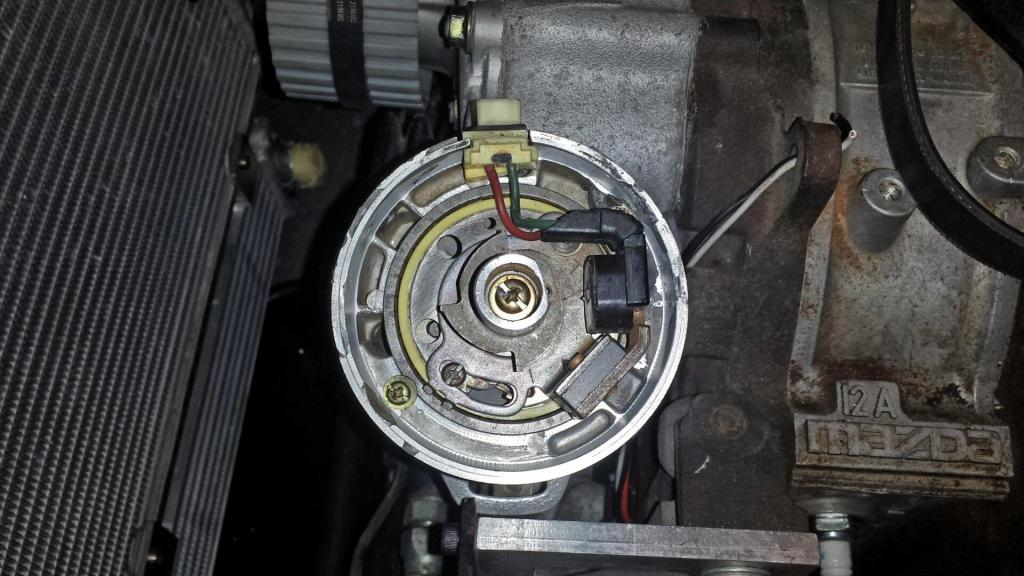
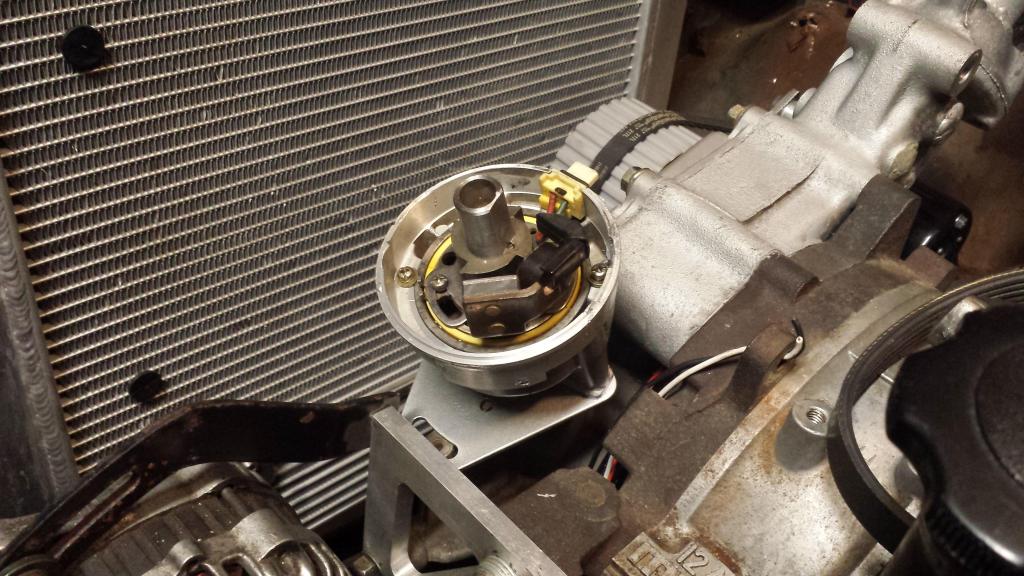
Notice all the areas for the igniters have been welded and machined to be as if they were never present. And many other holes and openings were welded shut before machining it. This had to be the absolute worst material I have ever tried to weld on in my life. No matter what I tried it left pores in the weld and wanted to blast itself away everytime I gave it some heat. I hope to never do this again...
Before:

After:


#95
#96
Oh, if you don't have one of these for your Weber. GET ONE! I got it from JayCee. Takes all the guess work out of setting the float height:
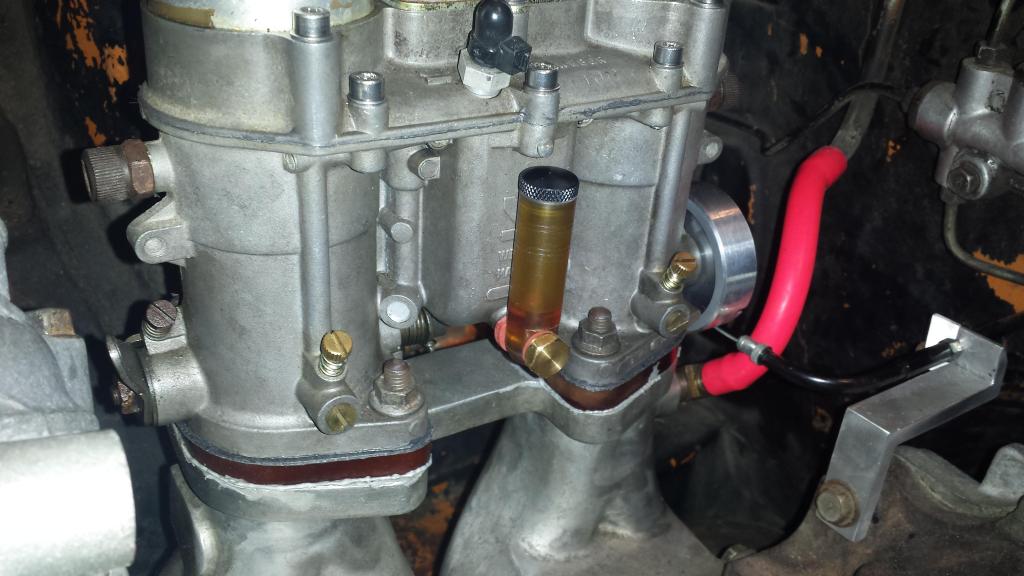
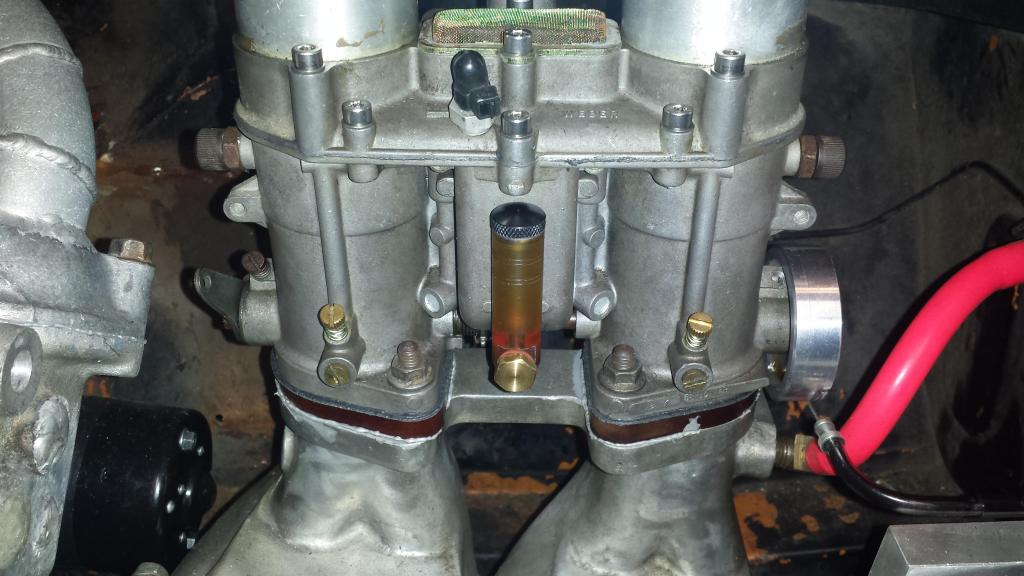
And on a side note, I decided to make it a little easier to remove my coil on plug set up. So I found this plug set up (used for trailer hitches) to easily plug and unplug it. Not bad for a $7 plug:
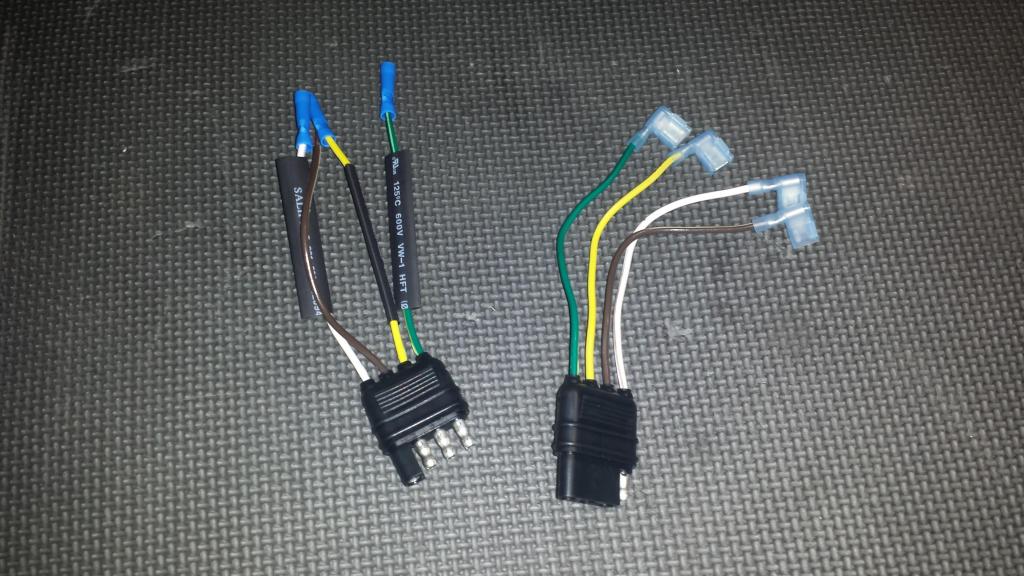


And on a side note, I decided to make it a little easier to remove my coil on plug set up. So I found this plug set up (used for trailer hitches) to easily plug and unplug it. Not bad for a $7 plug:

#99


