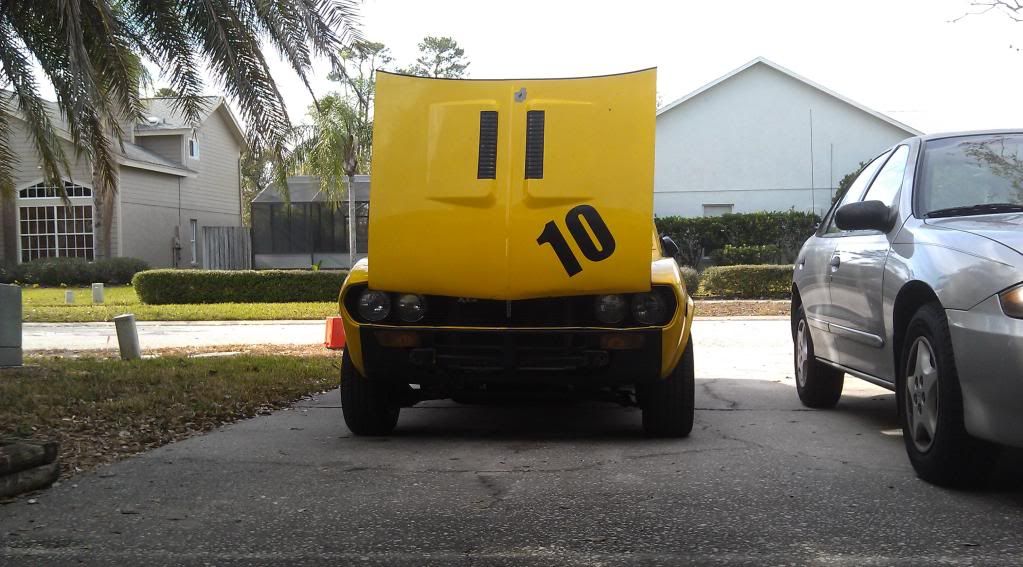
My new 73 Rx2!
#27
that's the plan. I started piecing together the motor the other day. It's gonna be a PP 12a from mostly 13b parts. Milled down housings, 6 port plates, all 13b oiling parts, ect... It will be done right, but on a budget. Got a set of 51ida Webers that I might use depending on the size of the PP I choose. Still might go with a 48 or even a 55 side draft to lengthen the runners for street use.
#28
#32
that's the plan. I started piecing together the motor the other day. It's gonna be a PP 12a from mostly 13b parts. Milled down housings, 6 port plates, all 13b oiling parts, ect... It will be done right, but on a budget. Got a set of 51ida Webers that I might use depending on the size of the PP I choose. Still might go with a 48 or even a 55 side draft to lengthen the runners for street use.
#34
And it begins!!!!
Removed the 44idf Webers and the Rotary Engineering manifold.
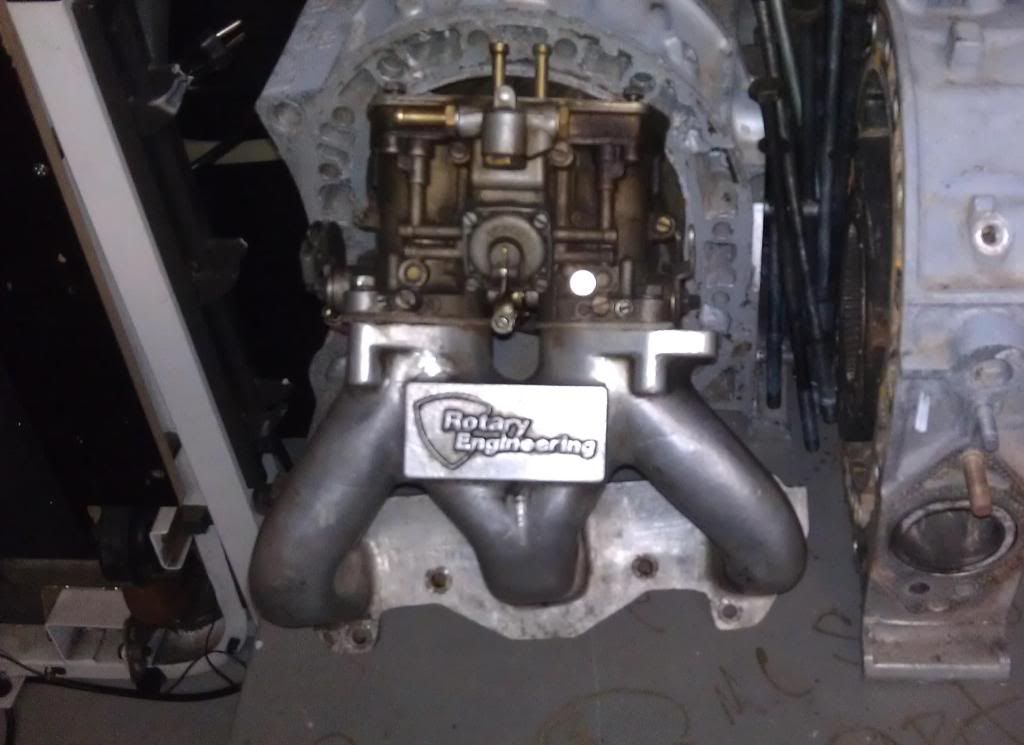
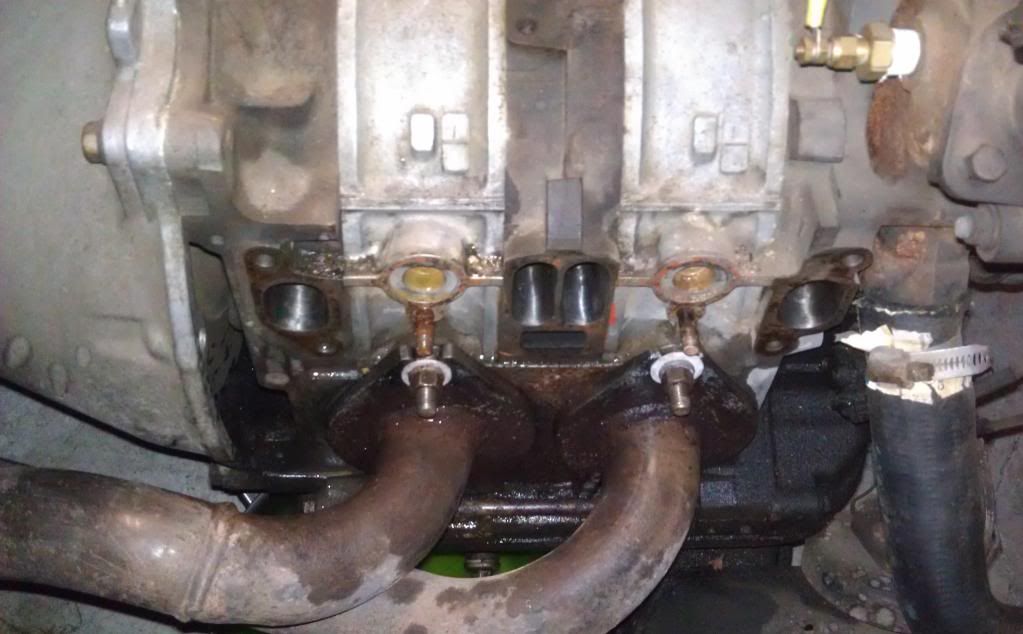
Here you can see the port work by one of the previous owners
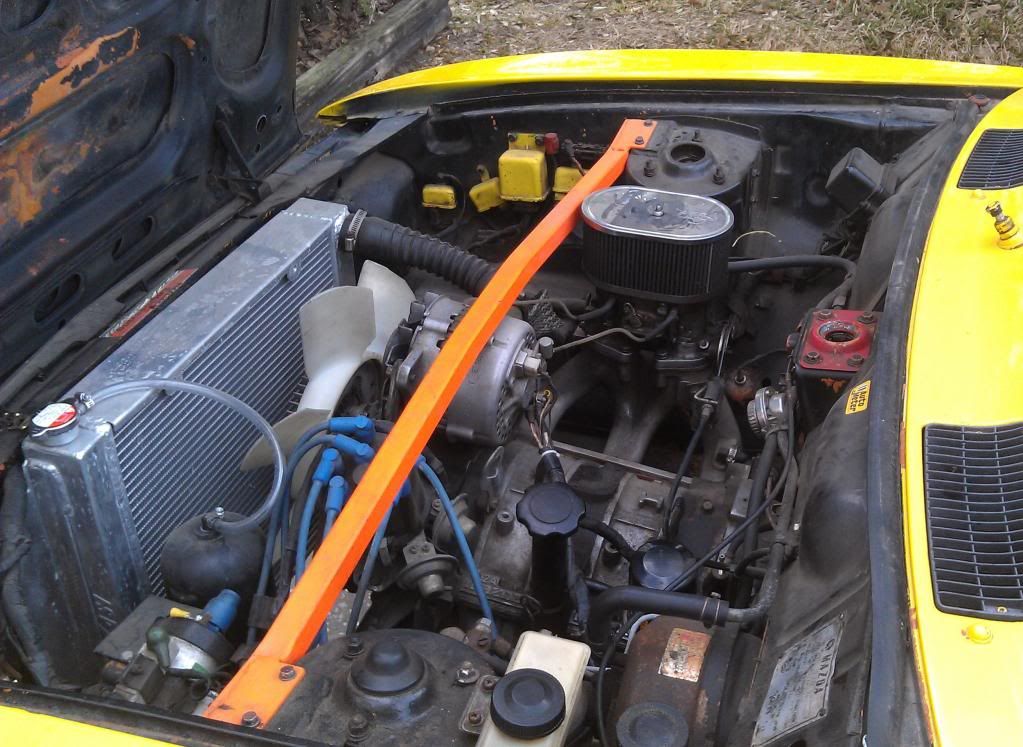
Had to remove this home made strut pair to fit my new set of Webers...
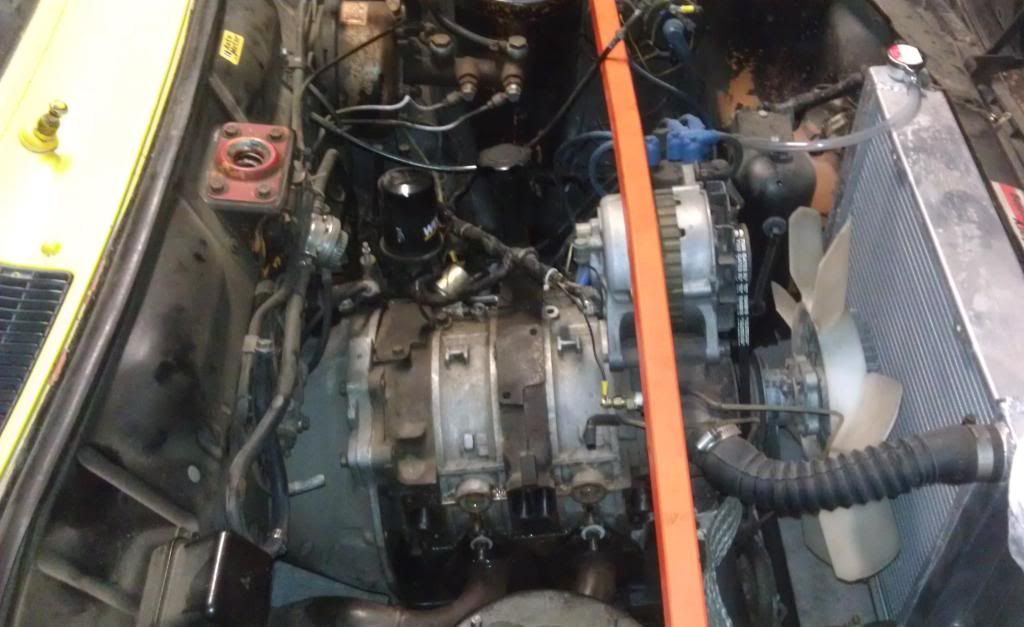
Removed the 44idf Webers and the Rotary Engineering manifold.

Here you can see the port work by one of the previous owners

Had to remove this home made strut pair to fit my new set of Webers...

#35
Getting rid of some junk...
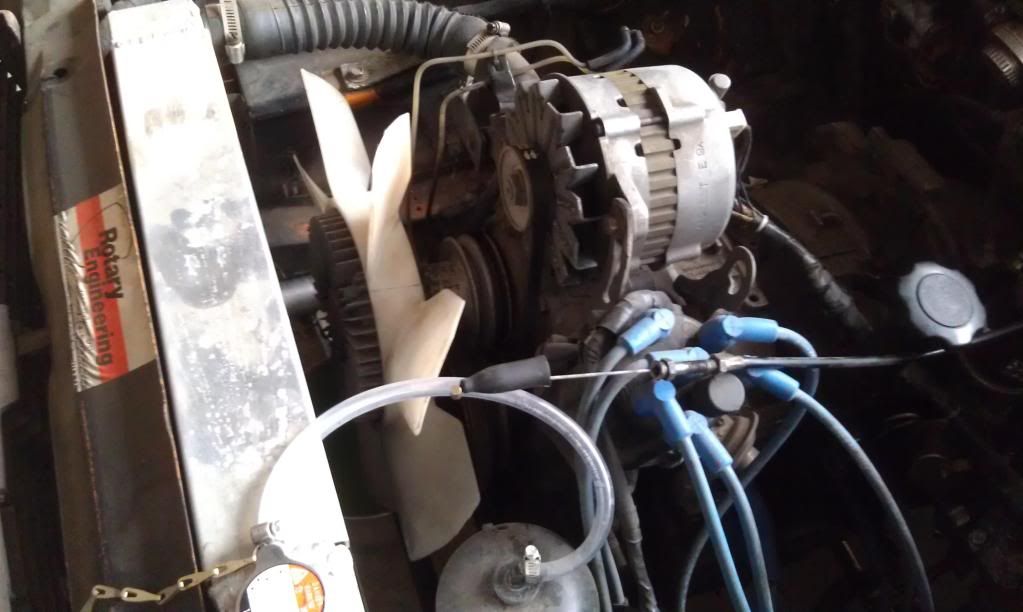
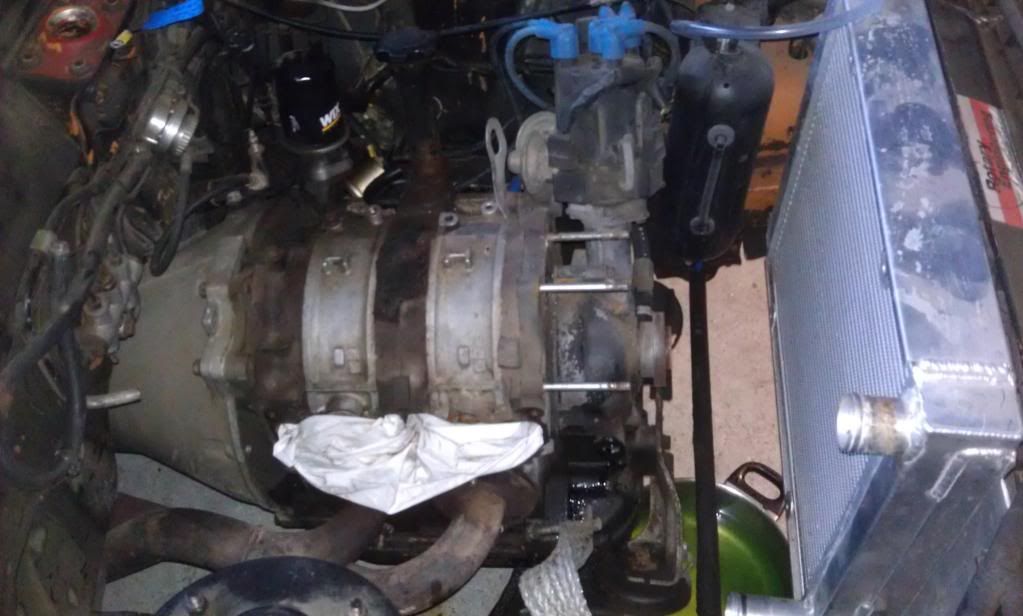
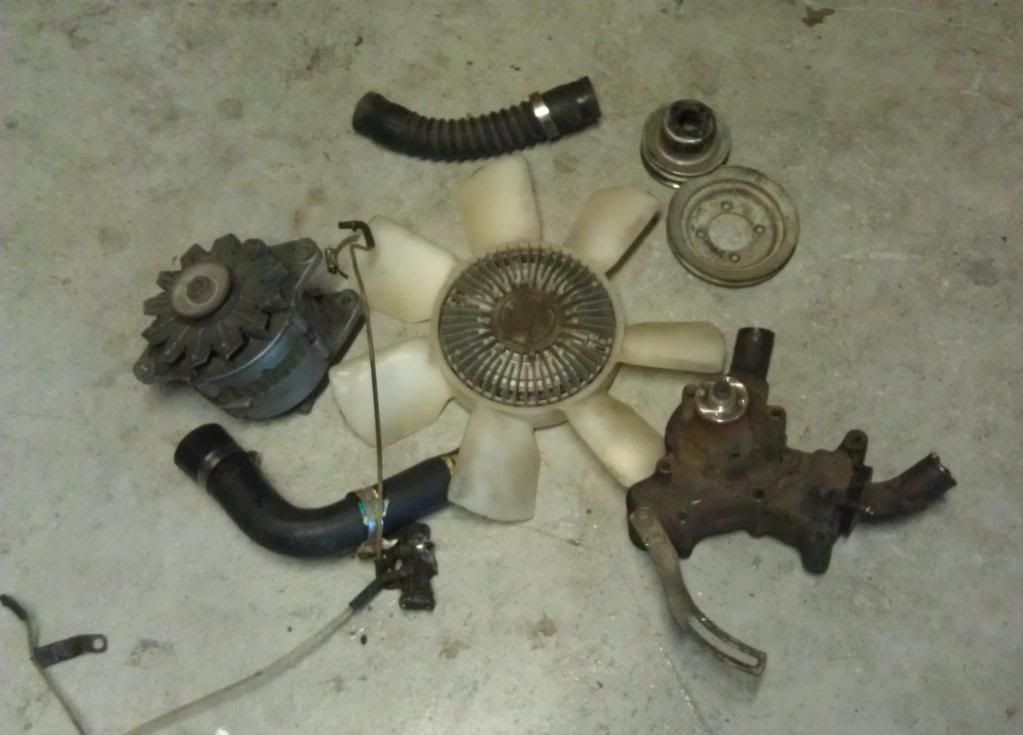
I'll be swapping the cast iron old school water pump assembly for the aluminum FC assembly and an S5 alternator. Also putting in an electric fan to get rid of the crappy clutch fan. I got a few tricks up my sleeves for this car with some parts on the way, stay tuned...


I'll be swapping the cast iron old school water pump assembly for the aluminum FC assembly and an S5 alternator. Also putting in an electric fan to get rid of the crappy clutch fan. I got a few tricks up my sleeves for this car with some parts on the way, stay tuned...
#39
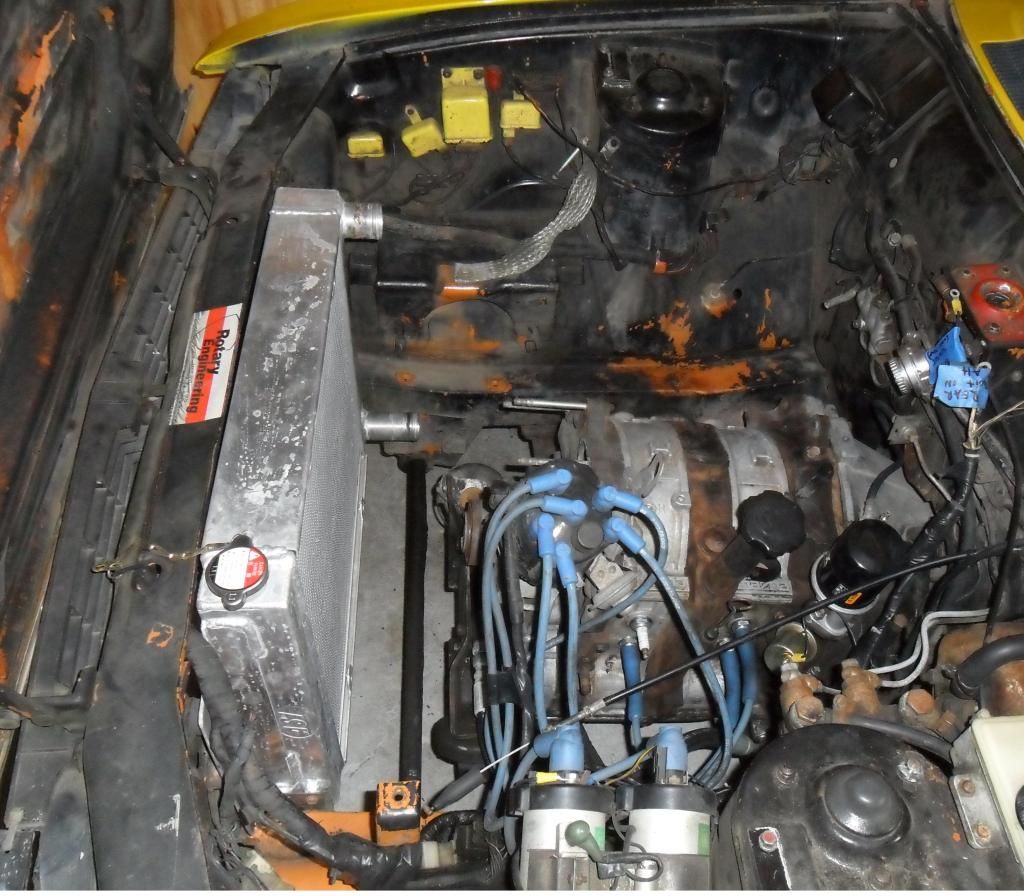
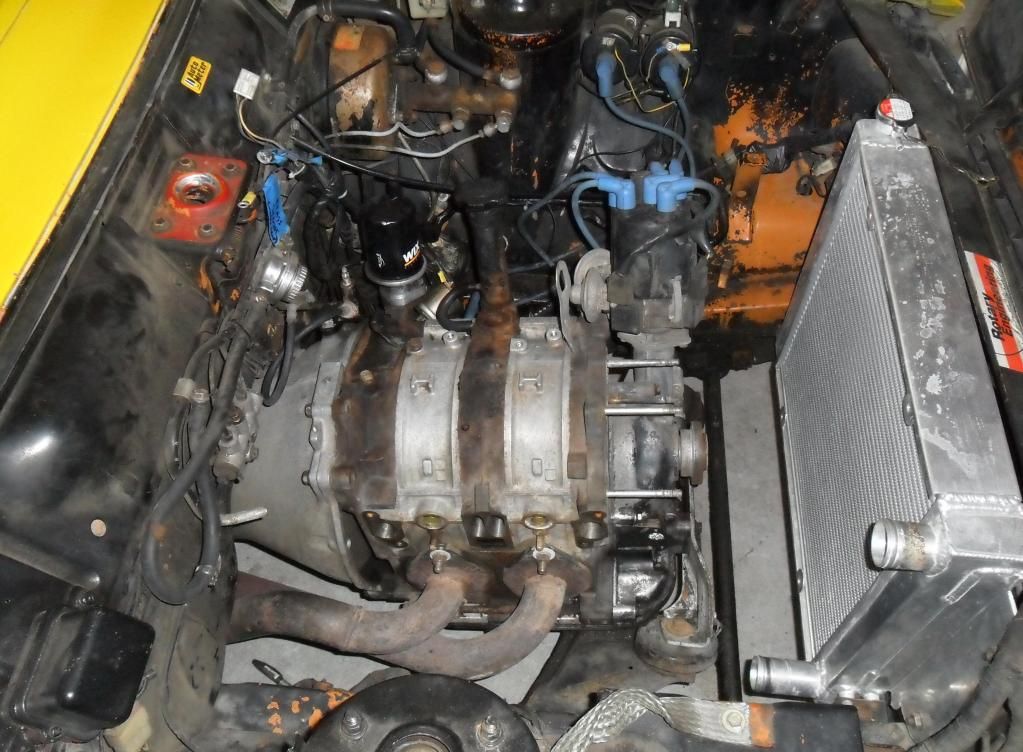
Here's how it sat while I was doing some test fits and deciding on how to mount a few things... I need to clean, strip, and paint the engine bay. But that will come later for stage two 


#40
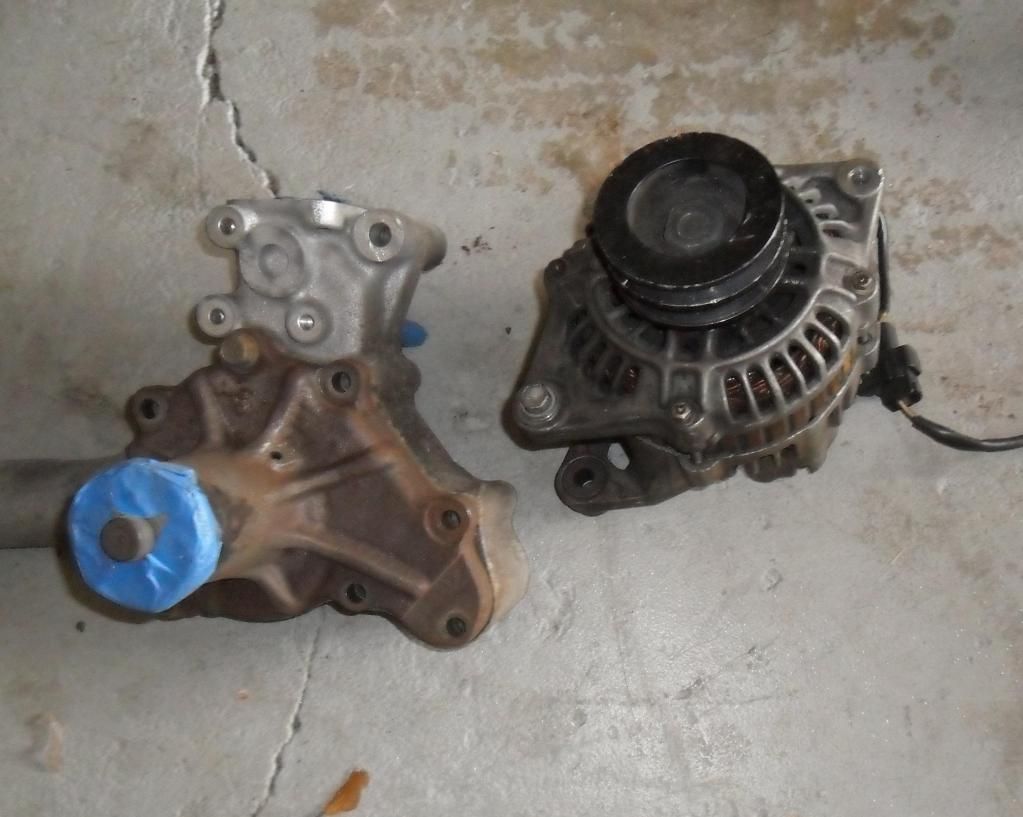
Heres a shot of the FC alternator and aluminum water pump housing. It was actually dirteir before thses pics too. I cleaned them up a little better and painted them with some high tewmp paint. Nothing special, just a quick dirty spray.
Aluminum piping which will become my new radiator lines.
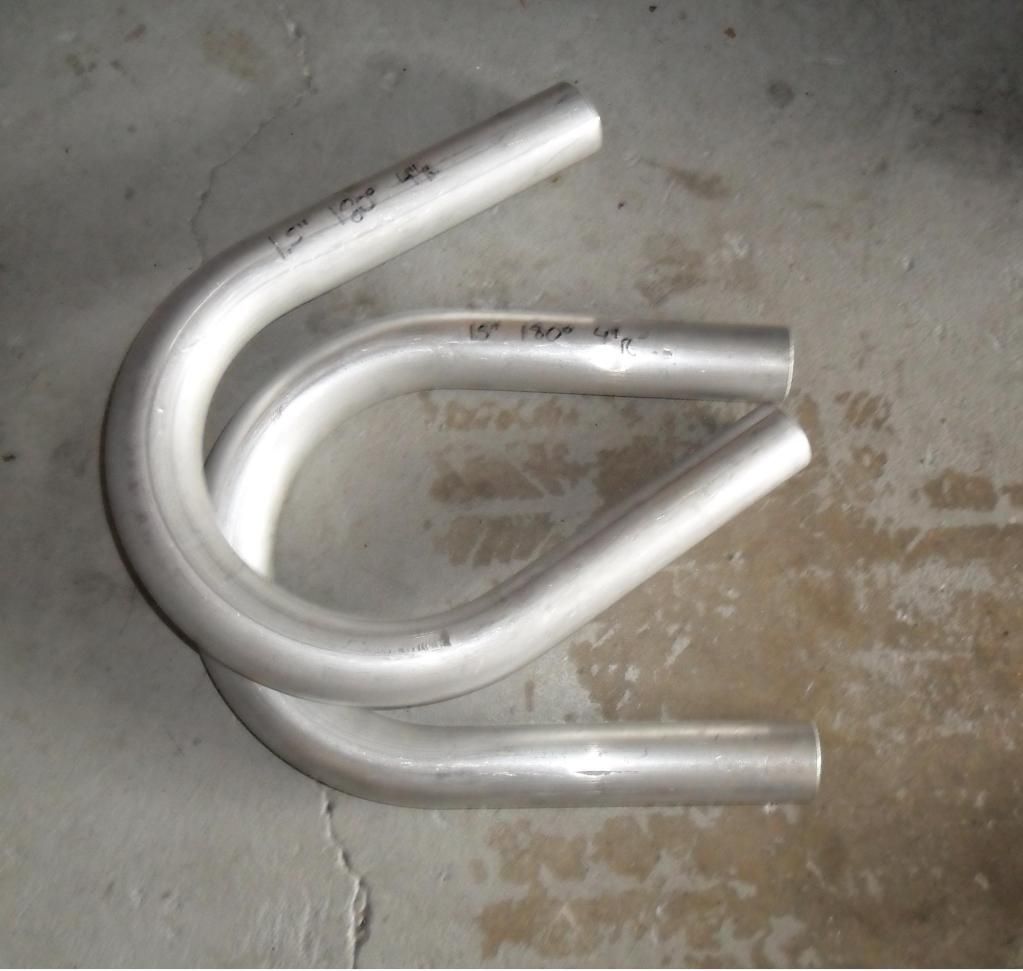

Aluminum piping which will become my new radiator lines.

#41
And heres what I planning for this car for now...
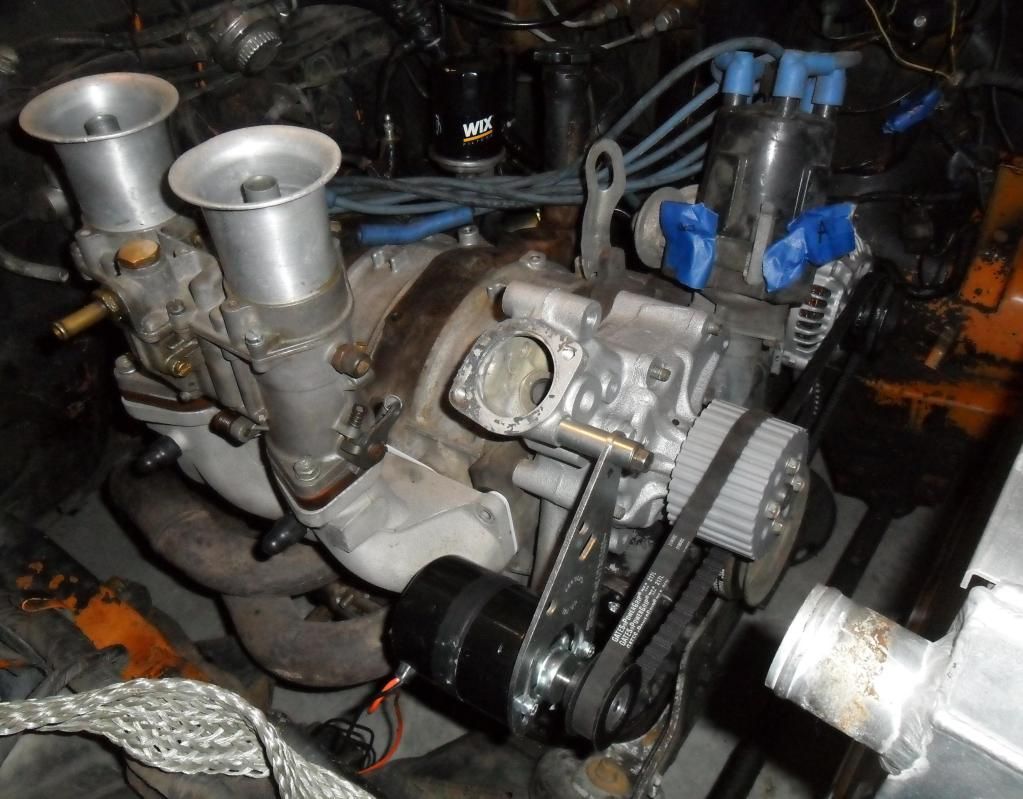
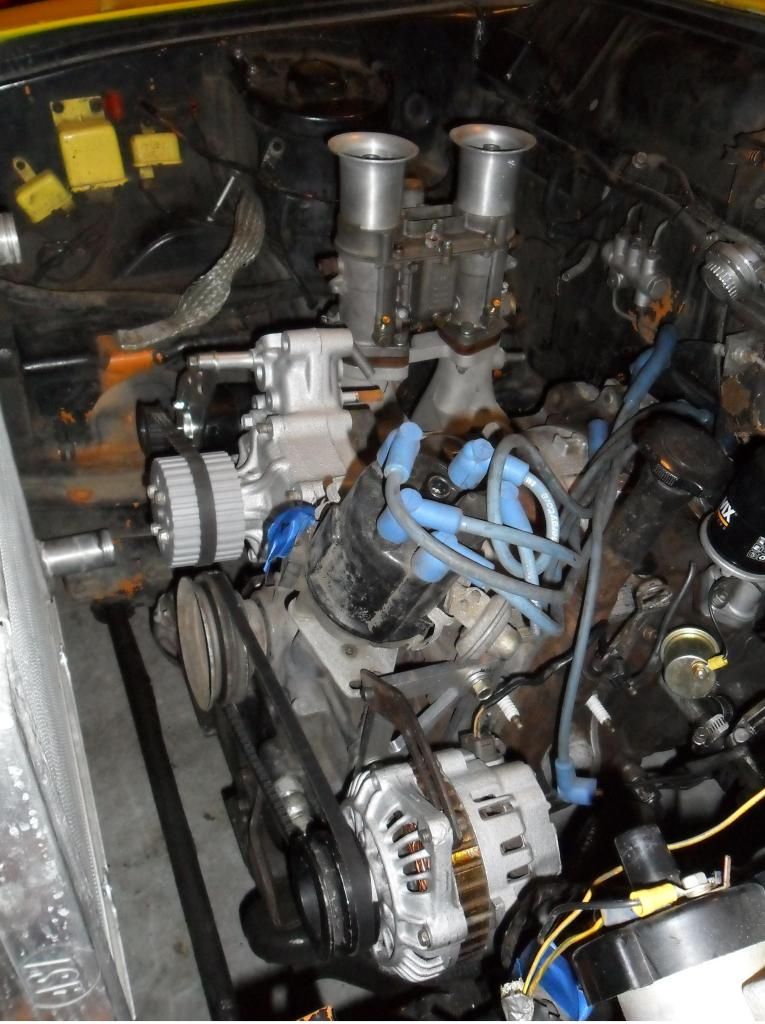
Side alternator bracket I made. I'll get better shots later when its finished. It still needs minor tweaking to be 100%.
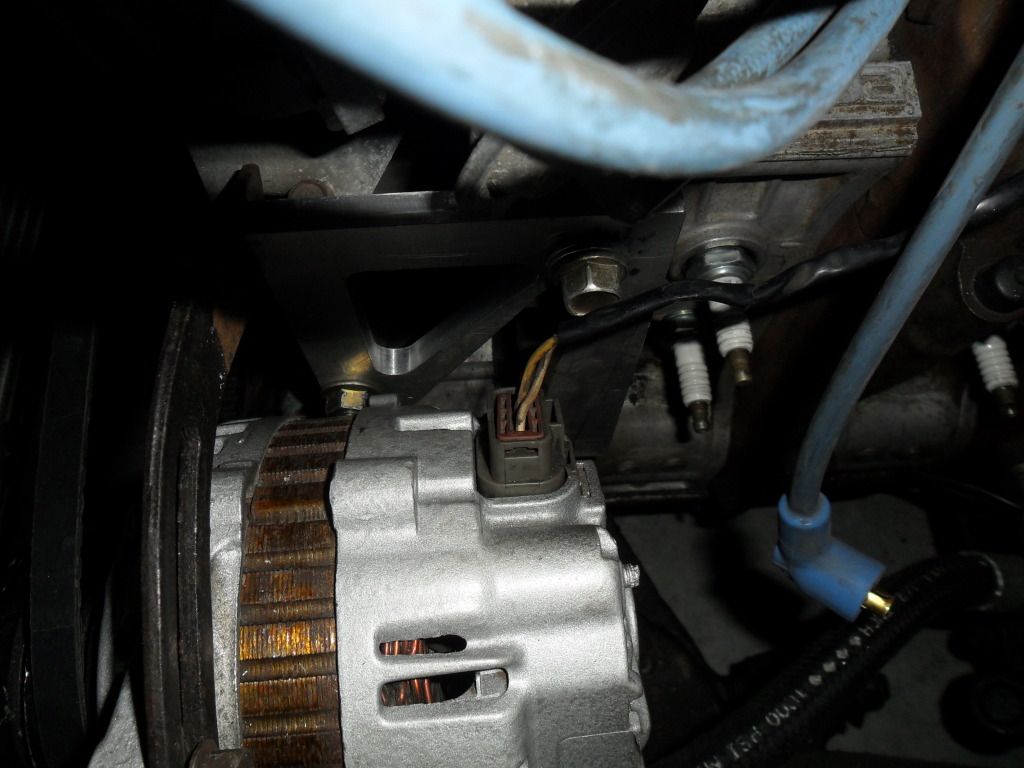


Side alternator bracket I made. I'll get better shots later when its finished. It still needs minor tweaking to be 100%.

#42
It's a RB 51ida Weber with a RB ida manifold using a phenolic gasket to the motor. These gaskets reduce heat transfer to the manifold and do not get wet, torn, or wore out like paper gaskets do.
Also, as you can see I have the electric drive motor to run the FC water pump. Do this removed the old heavy *** cast iron unit reducing weight off the front of the car and slighty better cooling. As well as removing A LOT of drag off the crank. This has been proven to add quite a few HP for the money at the top end. Plus it looks sweet! lol... I will most likely make a mount for the drive motor, but it will do for now.
I'll also be making a new main pulley and alternator pulley out of aluminum and single v-groove to further reduce weight and drag. oh, and removed the OMP and will be running pre-mix from now on.
Got some more plans for this one, Just been super busy lately and havnt had much time to make parts or get time to even draw them up...lol. I just want to get it back running now and make/install things as I go. Tis way I get to enjoy the car while adding parts, instead of my usual car sitting forever before I finally finish it.
#44
Small update...
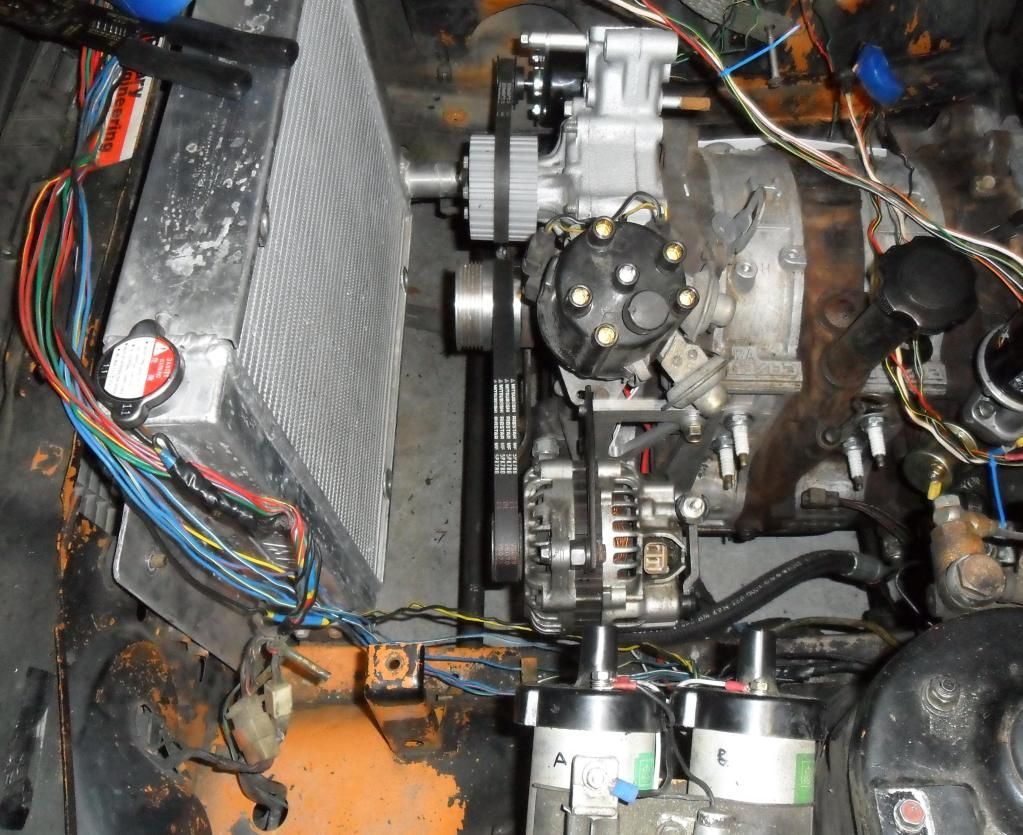
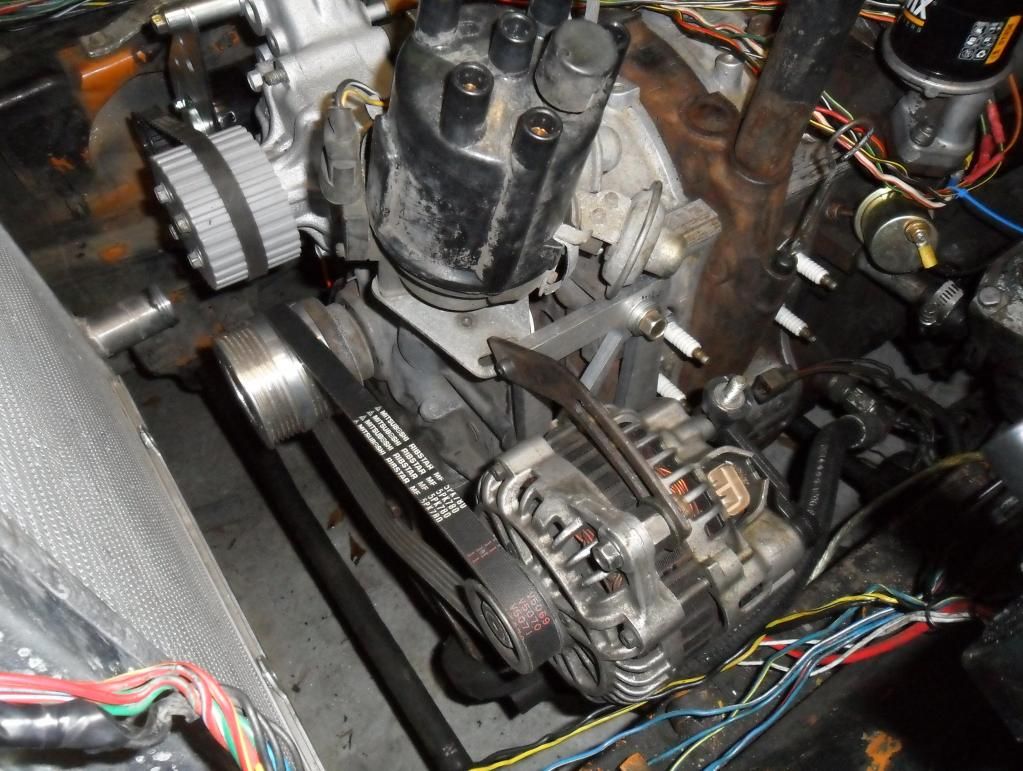
I was using an S5 FC alternator as my upgrade but the "B" post on the back of the alternator was stripped out. And barely enough threads to attatch anything to it. So upon trying to remove it, I broke it and the alternator...lol
I am now going back to what my original plan was in the first place. Using an S6 FD alternator. I will be also making a ribbed FD style aluminum pulley for the main crank as well. The one in the picture is a Greddy pulley for the FD. I will be using this as my template, but making one with one ribbed area for the belt instead of the two. I think the serpentine style belt looks better as well as performs better. But I didnt really want the car to have even more down time to make these pulleys. This is why i was saving this for a later date. But since my S5 alternator is now garbage, looks like I have no choice but to do it now...lol
Heres my mock up:
*Gotta make some spacers for it to sit exactly where I want it and adjust the bracket a little to get it just right. Hopefully I can find the right size belt.


#45
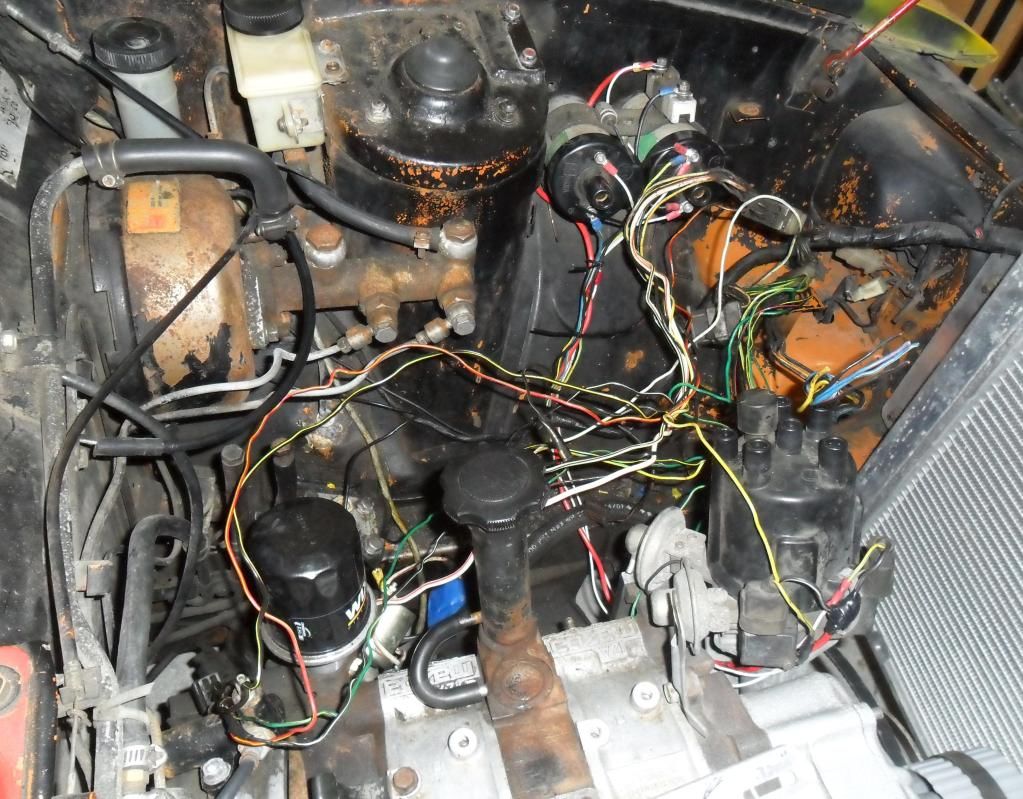
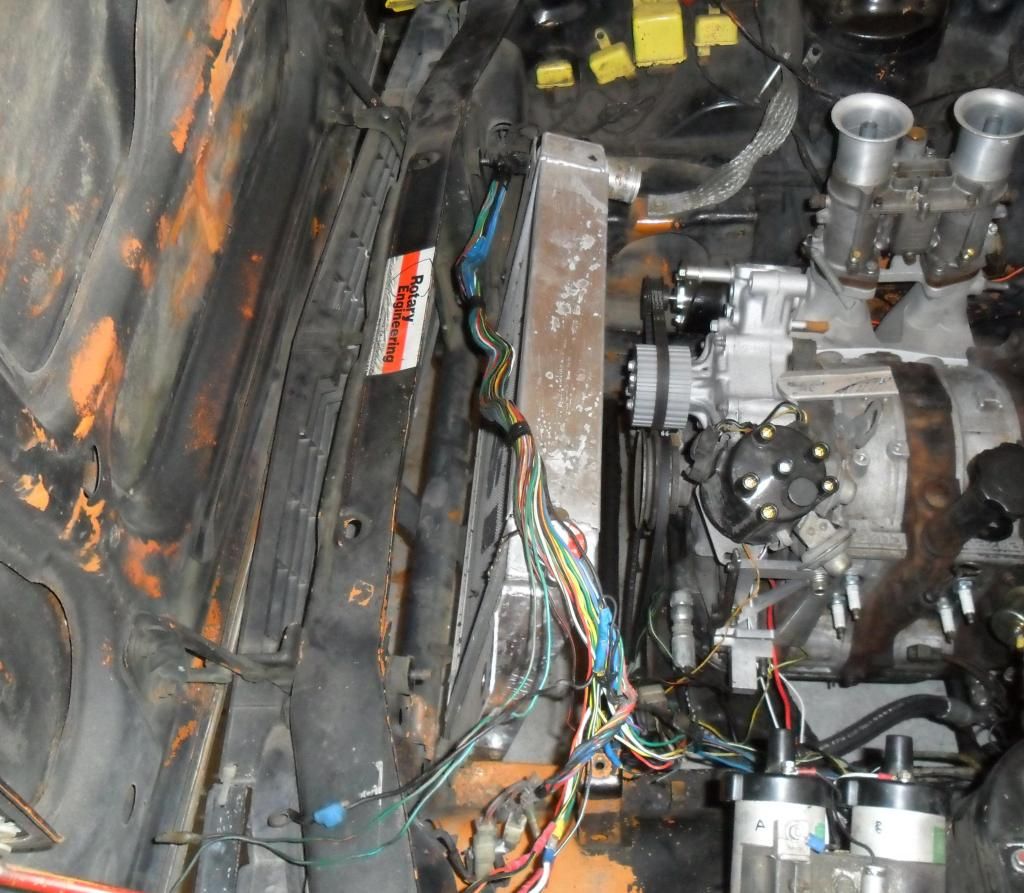
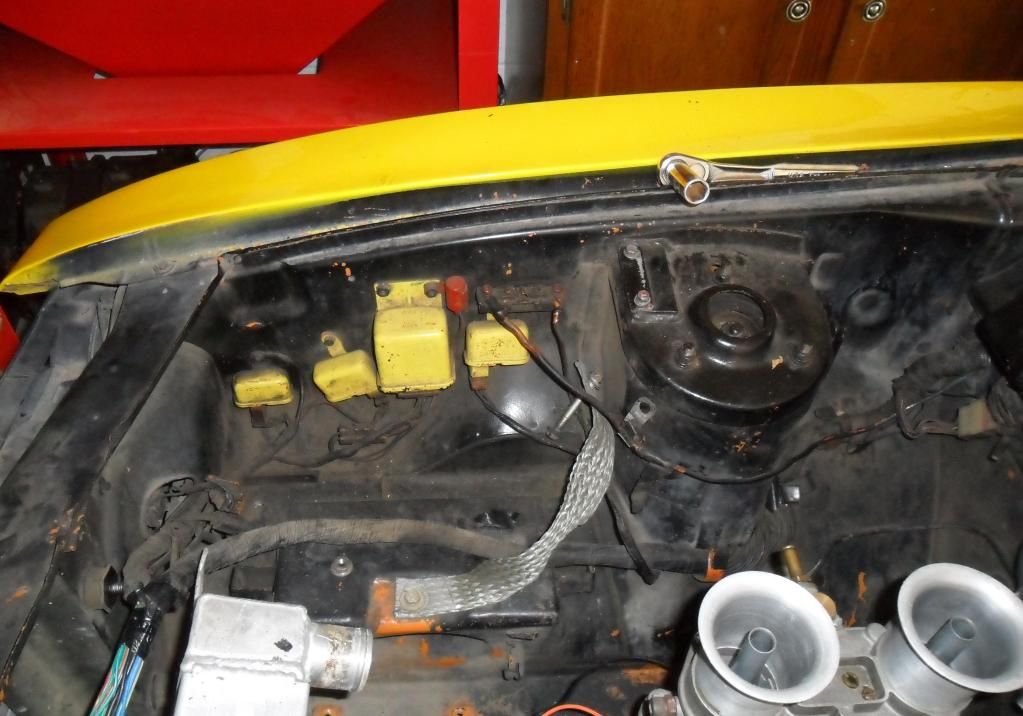
I also have been working on rewiring the engine bay to clean things up. A complete wire tuck will come in the future. The plan is to not see a single wire, hose, brake line, ect. But for now, I'm just doing a small clean up.
Ignition rewire start
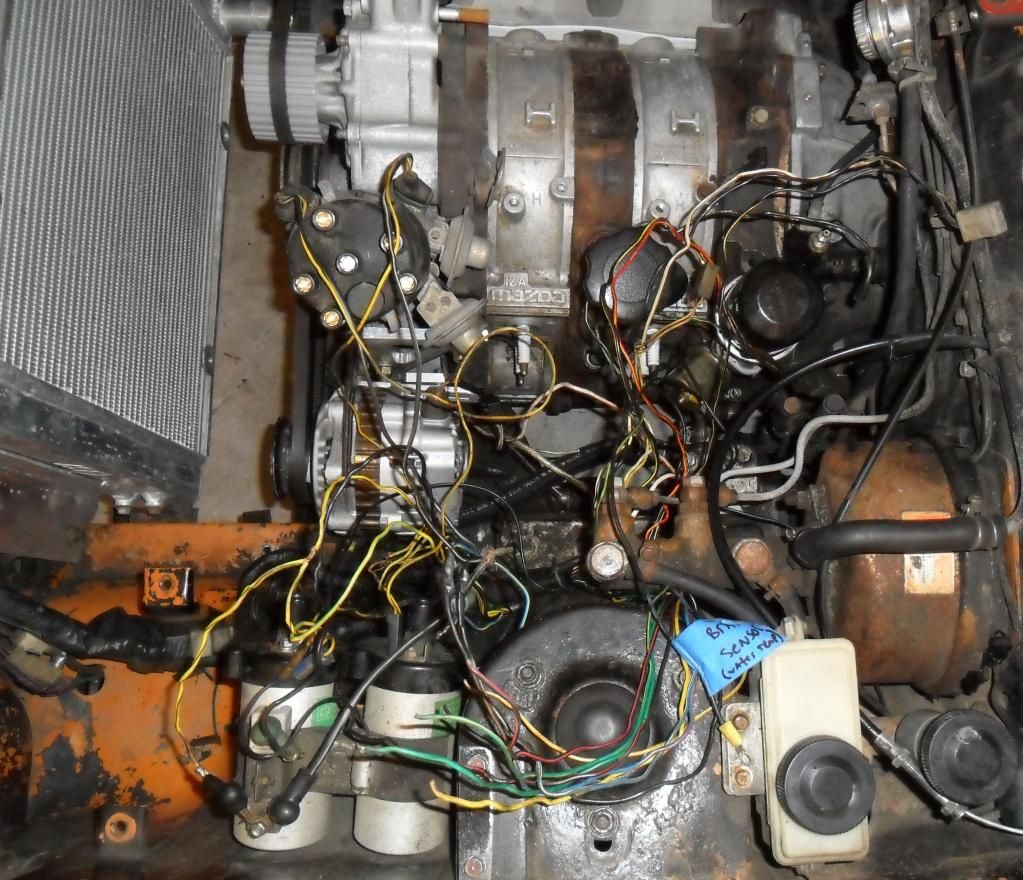
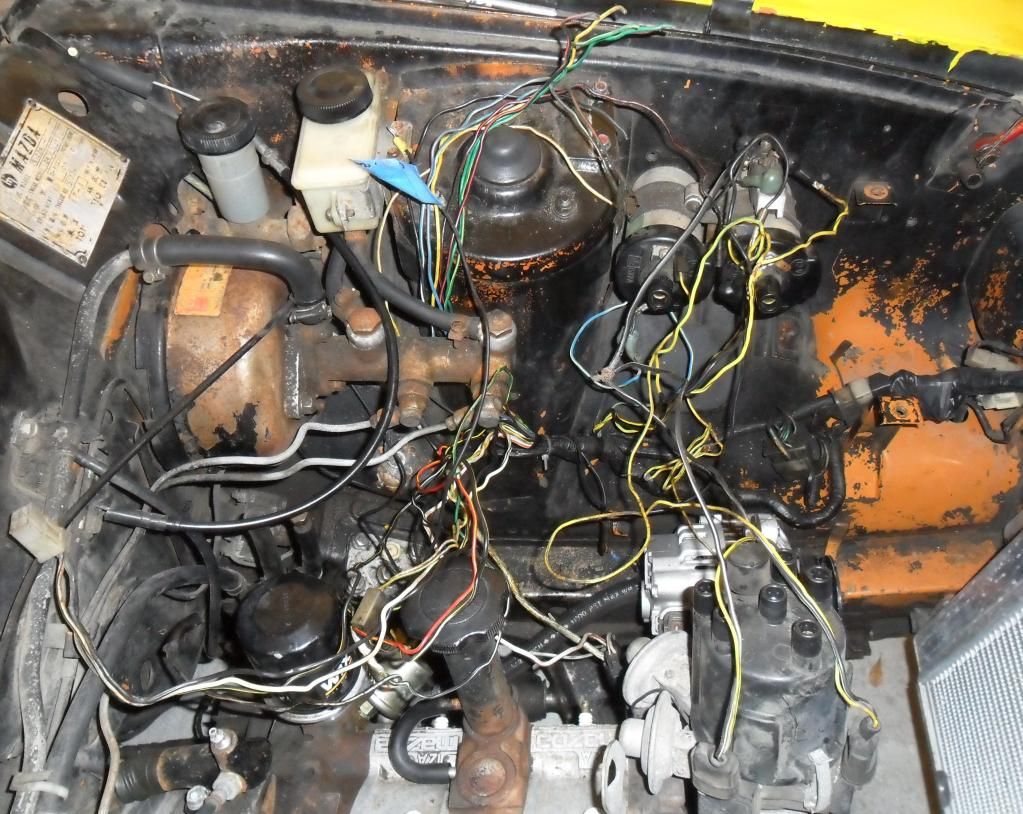
Ignition rewire progress
starting main harness behind rediator
relays to be removed
Untouched harness on passenger side
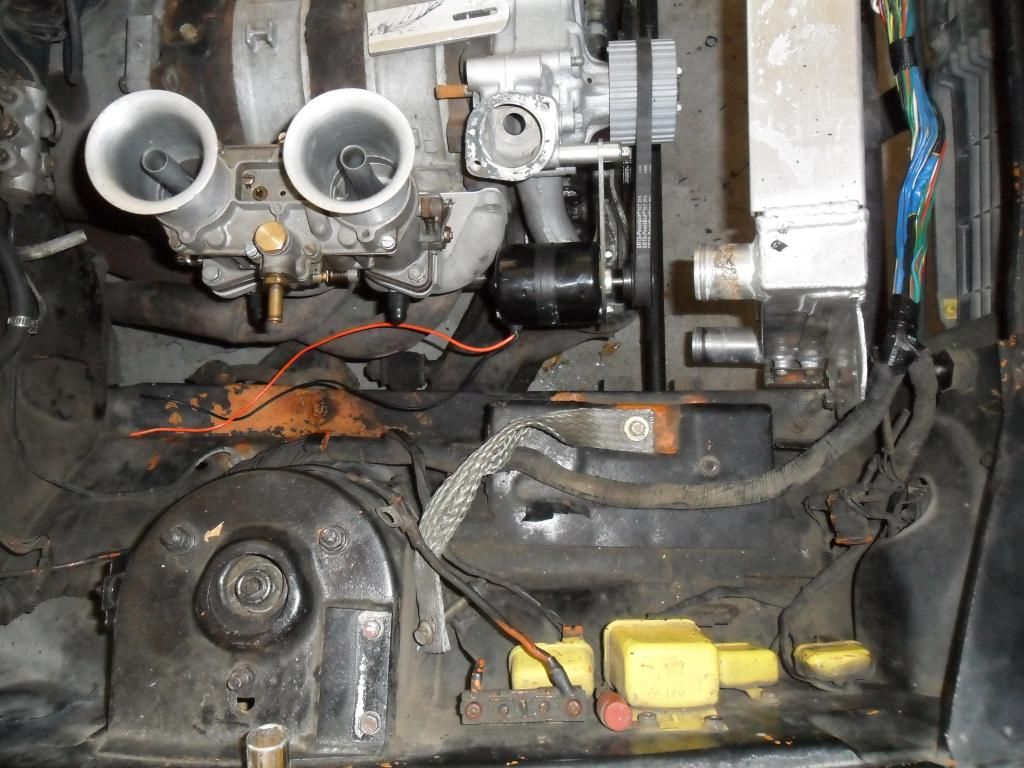
started stripping passenger side harness
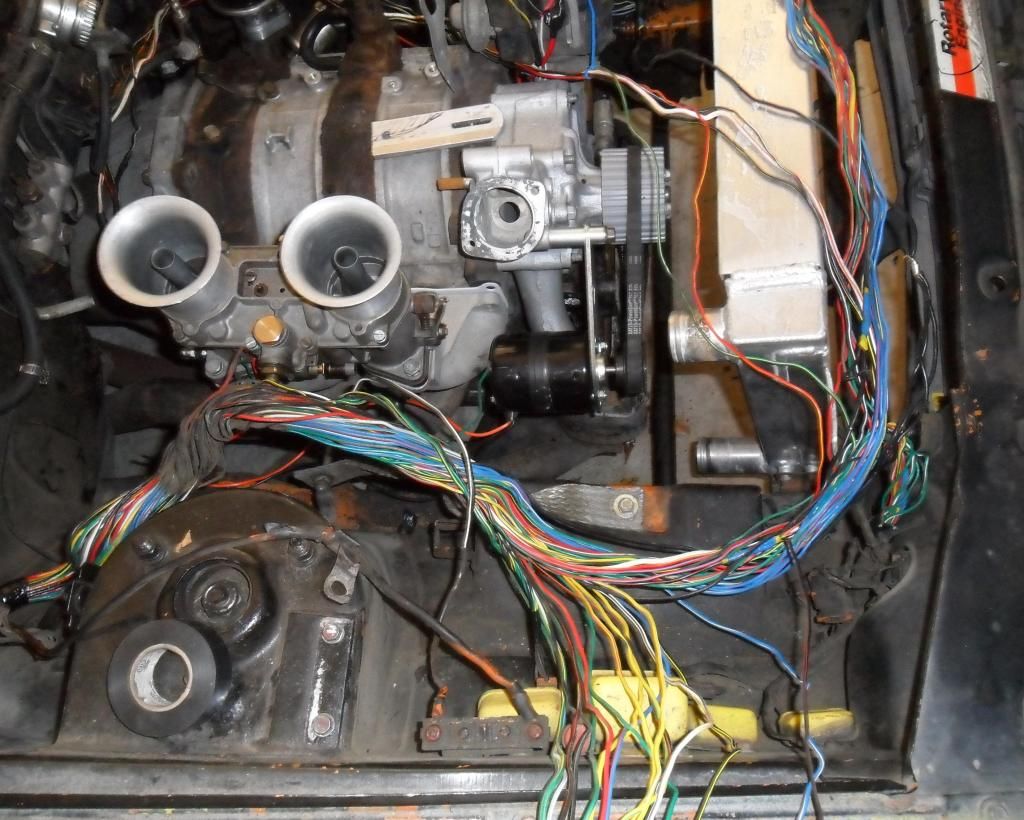
Ignition rewire start


Ignition rewire progress

starting main harness behind rediator

relays to be removed

Untouched harness on passenger side

started stripping passenger side harness

#46
I have probley thrown away 5lbs of wire and crap away from this harness already, and it's got a good amount of work left to do. I hate wiring, but I hate having visibily messy wiring even more...
#48
These pics were taken after I did a lot of cutting already, and looks like some had already been cut out some where in its 40 years of life. I wish it only had 8-10 wires! I would be done already.
#49
Minor update thats taken me quite a while...
95% of the wires that were once in the engine bay have been removed. The otheres have been hidden. Including all sylonoids, fuses, ect... Notice in the pics that even all the headlight wires are gone. I'm trying to get it to a state of "nothingness". Meaning, when I open the hood, you will wonder how the hell its runs.
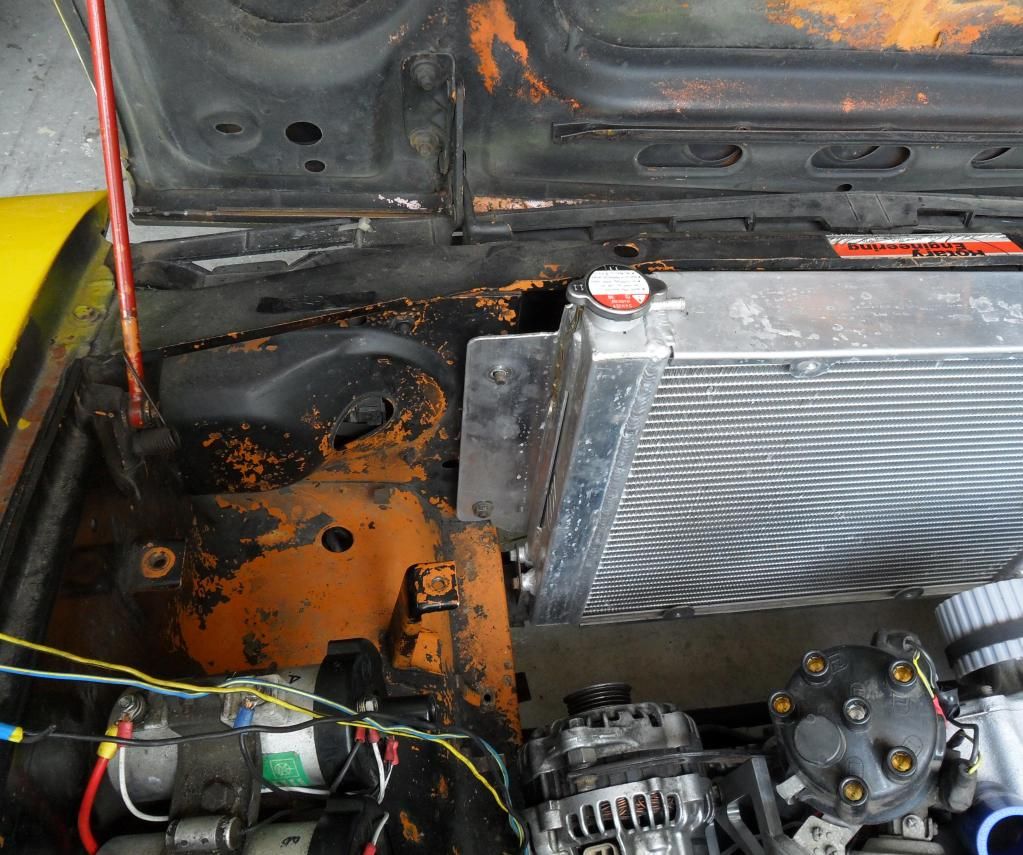
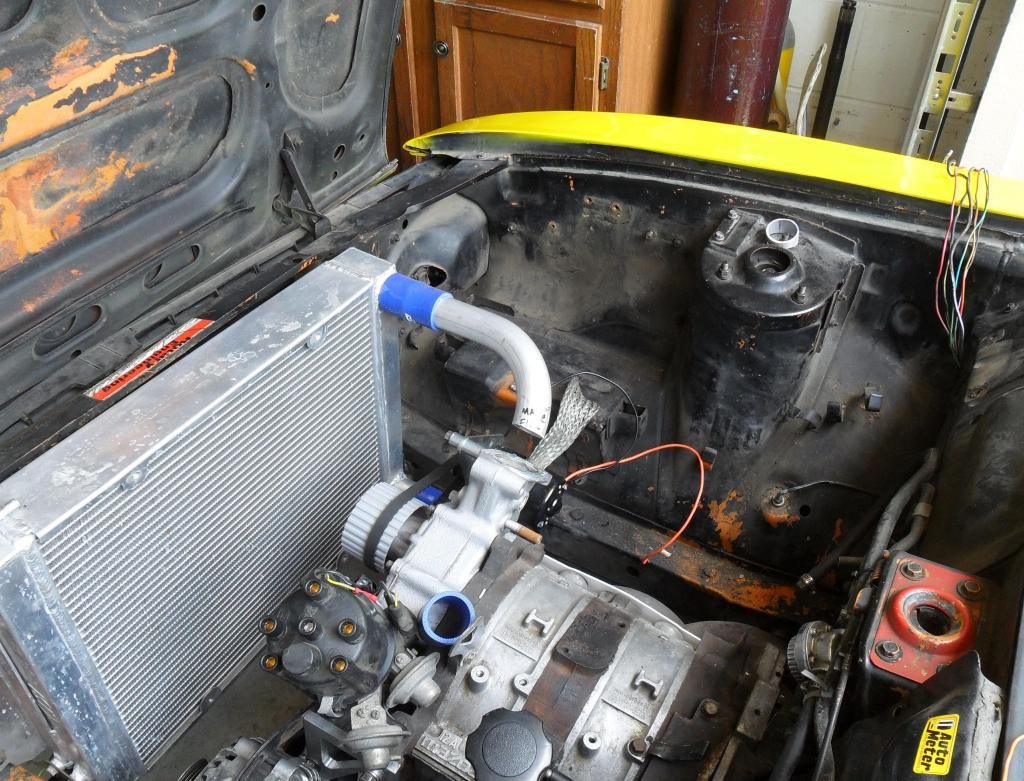
95% of the wires that were once in the engine bay have been removed. The otheres have been hidden. Including all sylonoids, fuses, ect... Notice in the pics that even all the headlight wires are gone. I'm trying to get it to a state of "nothingness". Meaning, when I open the hood, you will wonder how the hell its runs.


#50
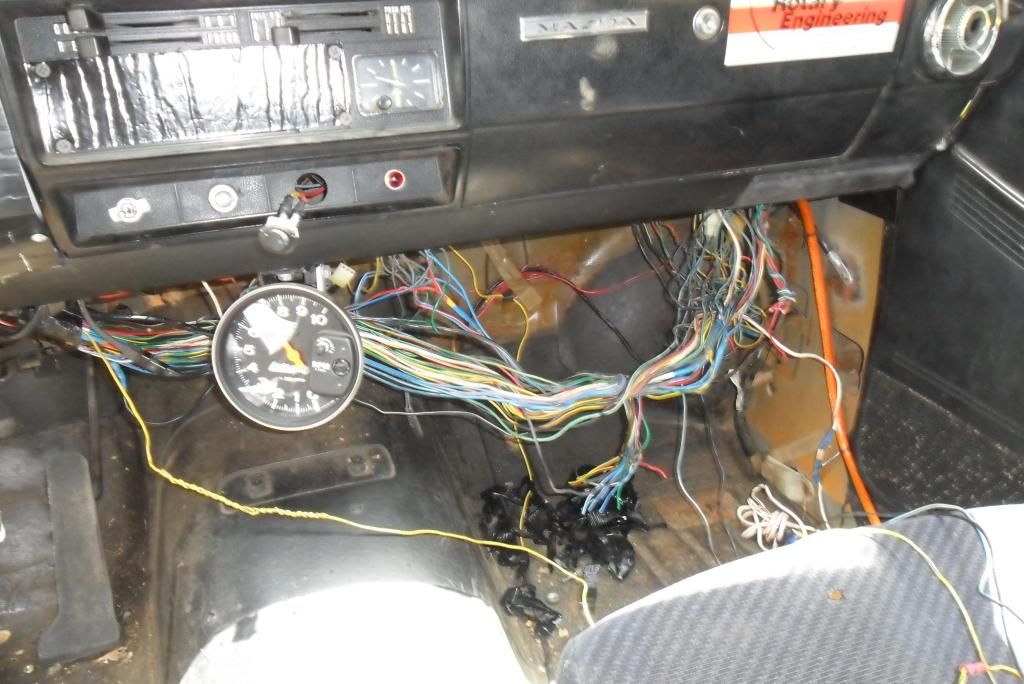
Although I didnt plan on ever touching the interior harness, one thing led to another. Heres a shot of the harness after removing a **** ton of wires. There's even less now. I'm guessingt that little by little I will dewire the entire car leaving only what needed to keep it legal, barely...
