
Turbo FB re-build thread
 06-08-11 | 01:29 PM
#1
Thread Starter
1 bar boost
iTrader: (4)
Joined: Jun 2005
Posts: 2,753
Likes: 5
From: Seattle, Washington
Turbo FB re-build thread
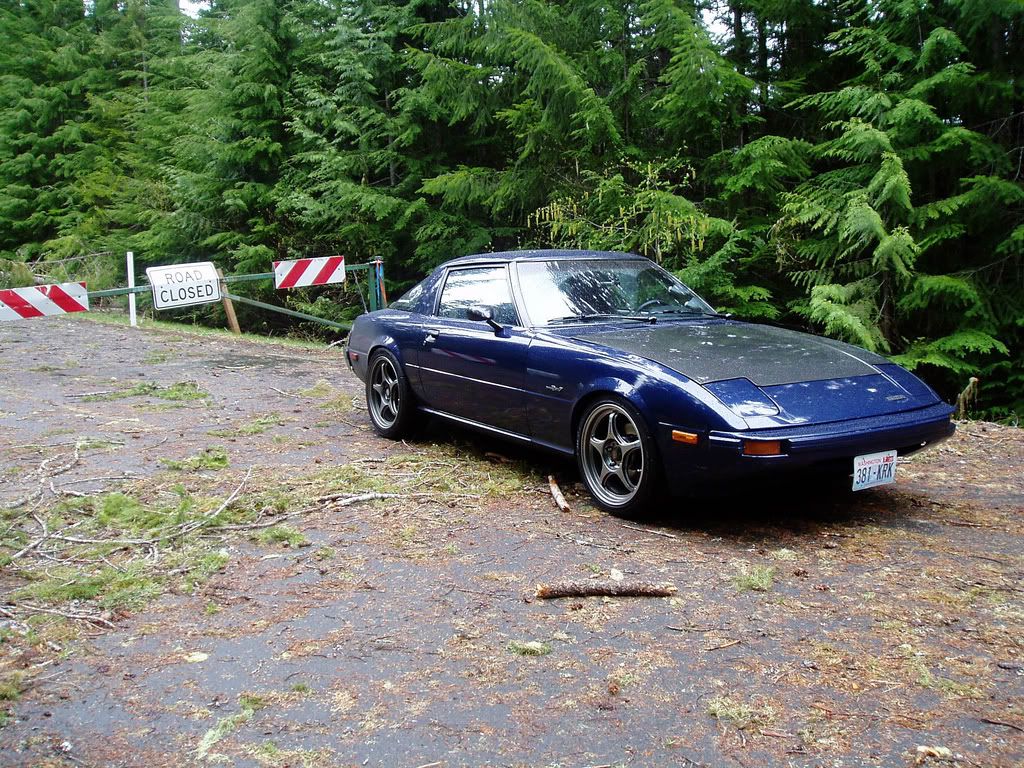
After chucking a rear apex seal in February 2010 and forgetting about the turbo FB for over a year I recently decided to start the rebuild process. With such an awesome base vehicle to work from and a little persuasion from (most) all of my friends to fix the car, I have decided to rebuild this beast back to its former glory! see below pics.
06-08-11 | 01:37 PM
#4
Thread Starter
1 bar boost
iTrader: (4)
Joined: Jun 2005
Posts: 2,753
Likes: 5
From: Seattle, Washington
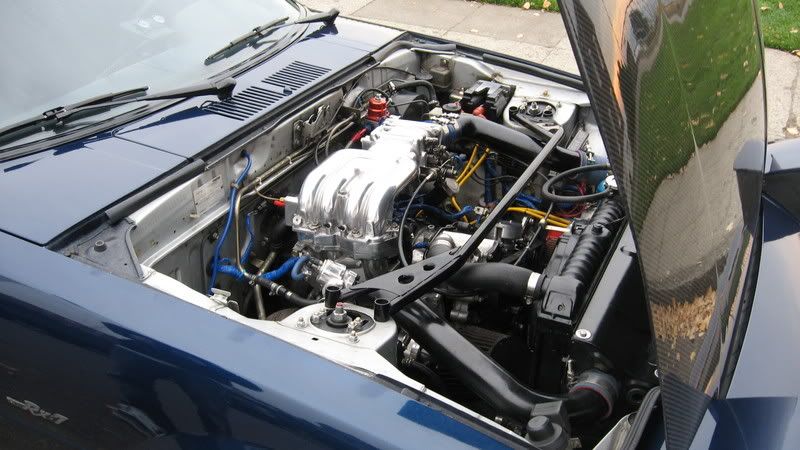
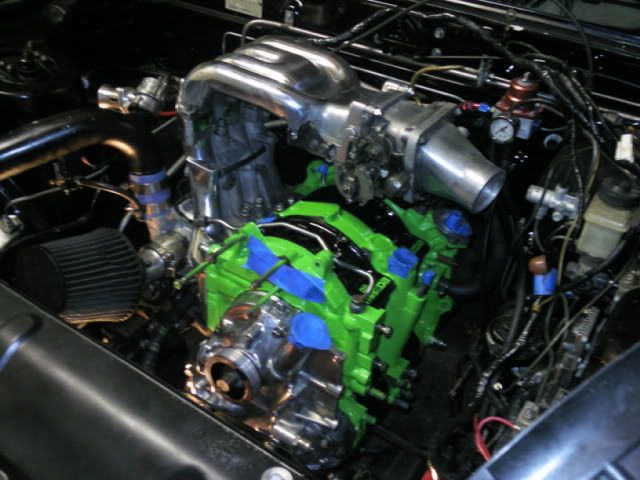
first things first, I pulled the JDM S5 13bt power plant from its coffin for disassemble (more pics and details too come) and see what the carnage was....
With the engine out I got 'motivated' to paint the engine bay all one color woot woot. Lots of un-bolting and removing pieces, I had this empty engine bay to degrease, clean, scuff, scrub and paint.
Before (technically after removing and cleaning)
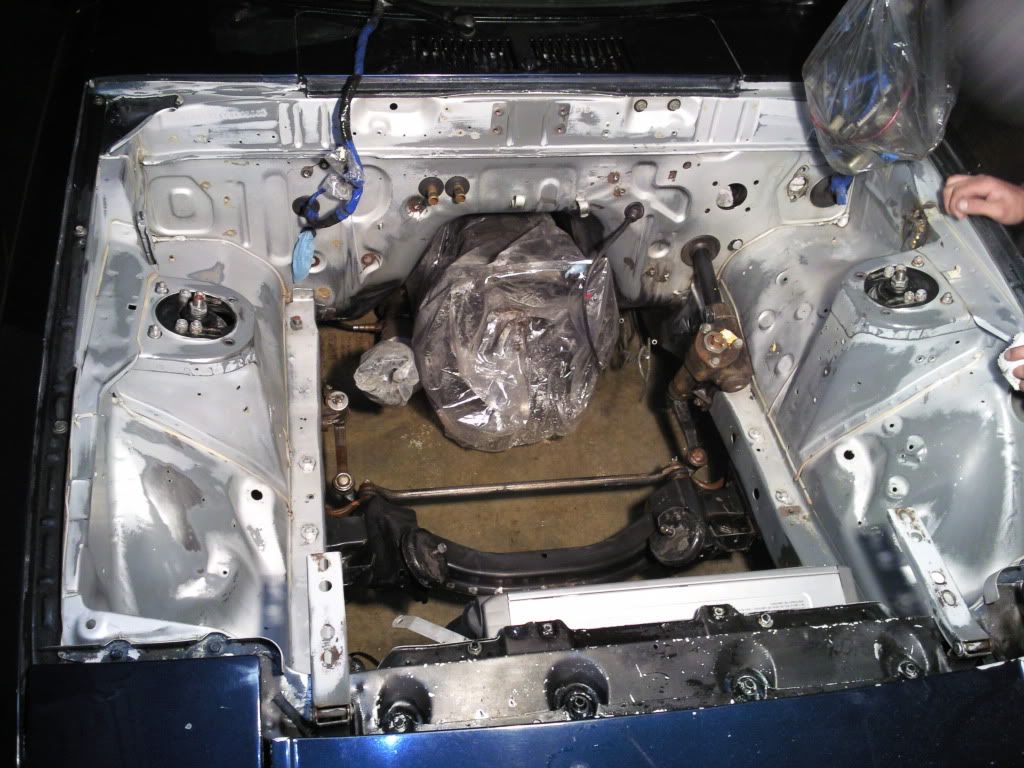
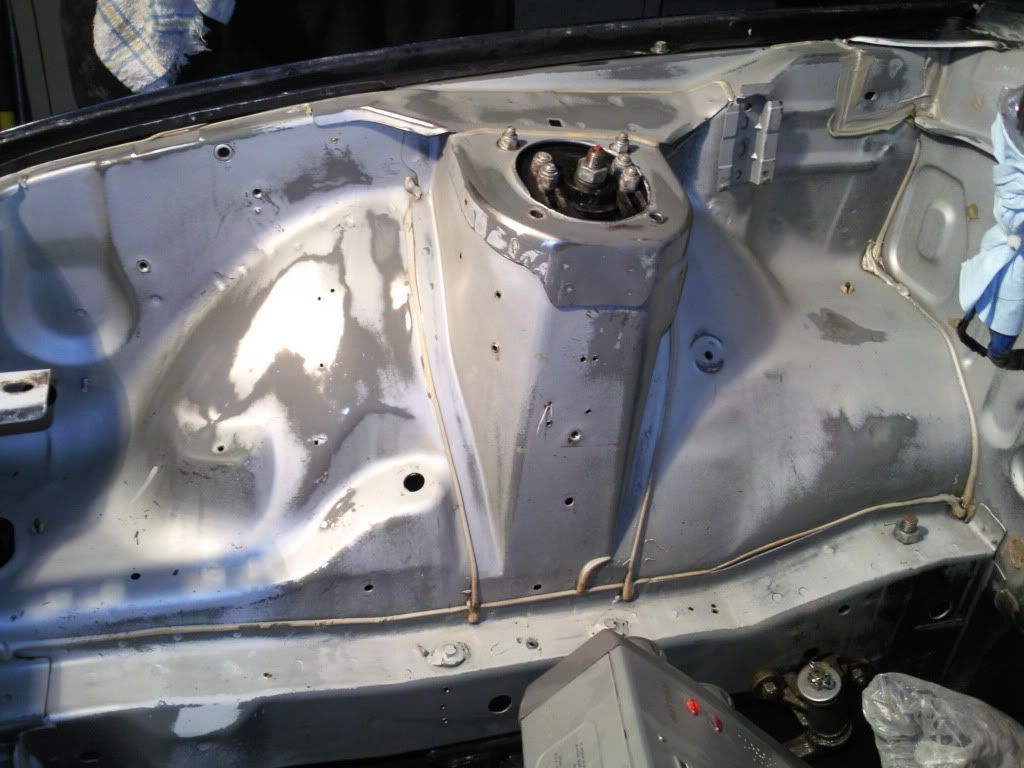
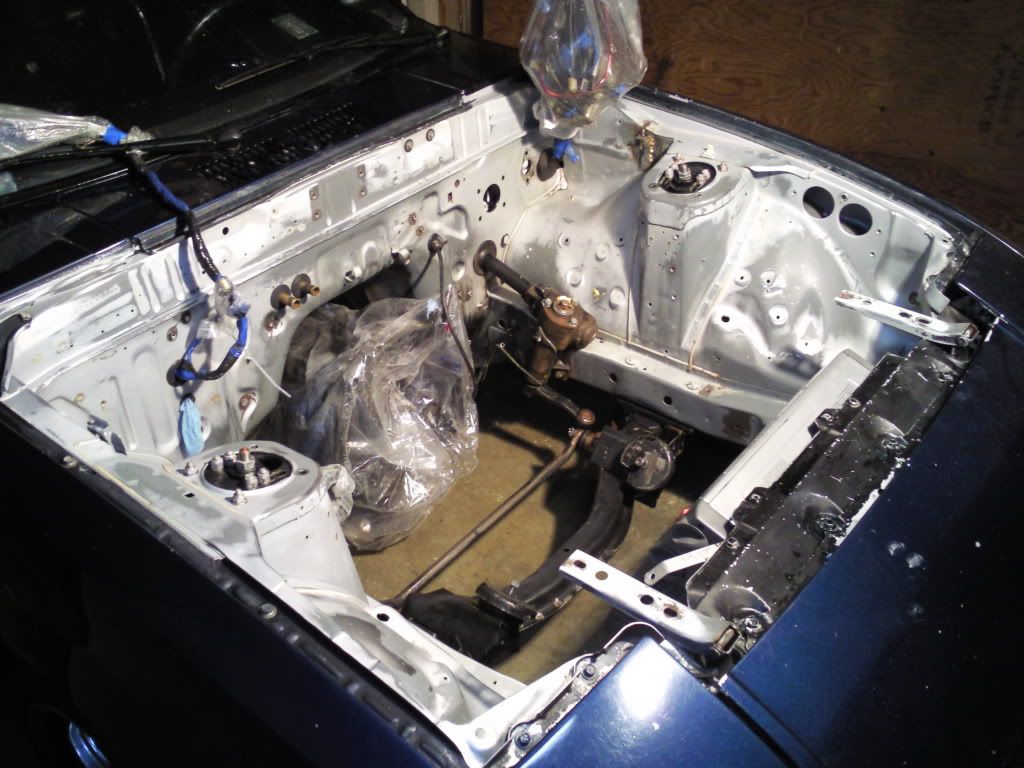
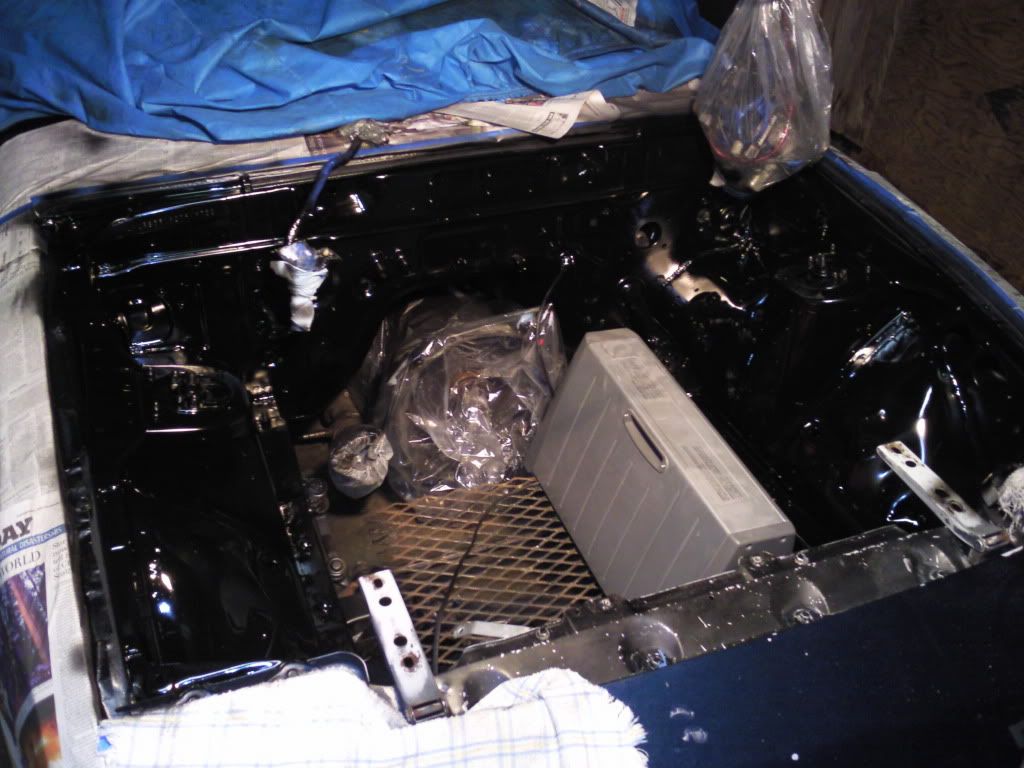
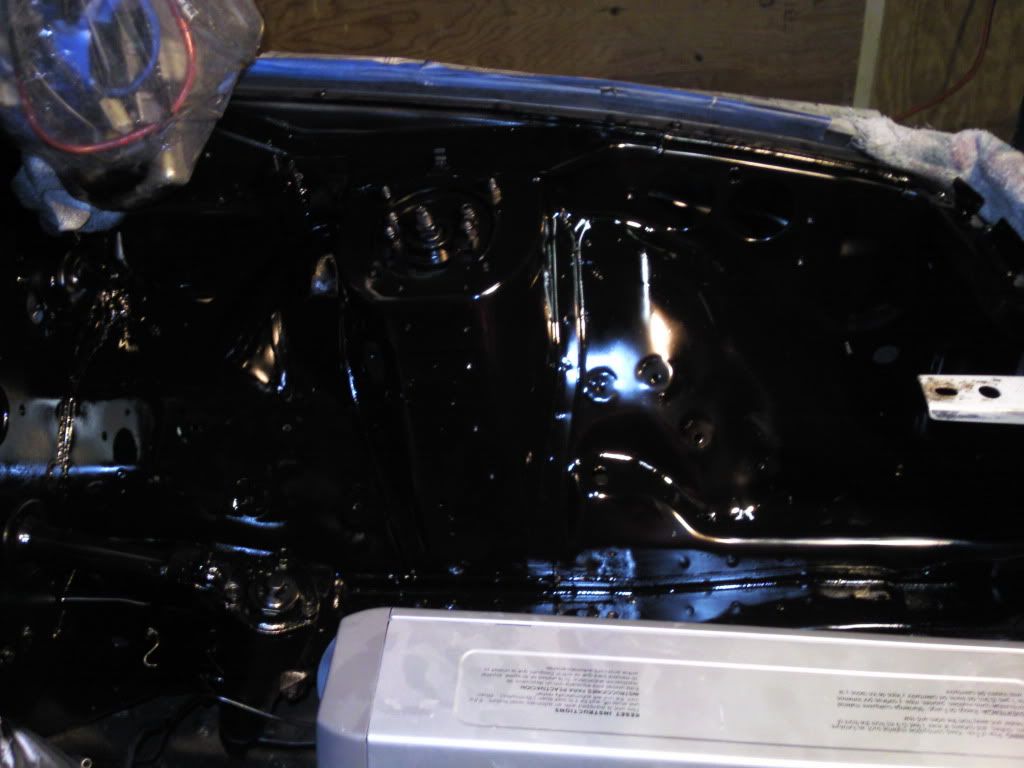
After (using $25 of VHT (250* resistant gloss roll cage and chassis paint)
check back soon ya'll
:P
With the engine out I got 'motivated' to paint the engine bay all one color woot woot. Lots of un-bolting and removing pieces, I had this empty engine bay to degrease, clean, scuff, scrub and paint.
Before (technically after removing and cleaning)
After (using $25 of VHT (250* resistant gloss roll cage and chassis paint)
check back soon ya'll
:P
Trending Topics
 06-12-11 | 12:10 PM
#11
Thats a good lookin car. I love that rollcage and chassis paint. Once that stuff cures its tough as nails. The suspension paint is great stuff as well. I think its just the same paint in a different can. lol. I gotta get my truck bed liner finished in mine now.
06-14-11 | 10:52 PM
#12
Thread Starter
1 bar boost
iTrader: (4)
Joined: Jun 2005
Posts: 2,753
Likes: 5
From: Seattle, Washington
so today I got a lot of things accomplished
-grinded all the hard brake lines to a nice finish, then hooked them back up
-grinded all the hard coolant lines and cleaned the hoses
-cleaned and re installed the brake booster and clutch master
-cleaned and re installed the fuel pressure regulator and hook up the fuel lines
-swapped the exhaust inserts from my old T2 housing into the new NA housing
-made a big list of pieces to order from Mazdatrix next time I have a chance
pic as it sits tonight

its all coming together now
-grinded all the hard brake lines to a nice finish, then hooked them back up
-grinded all the hard coolant lines and cleaned the hoses
-cleaned and re installed the brake booster and clutch master
-cleaned and re installed the fuel pressure regulator and hook up the fuel lines
-swapped the exhaust inserts from my old T2 housing into the new NA housing
-made a big list of pieces to order from Mazdatrix next time I have a chance
pic as it sits tonight
its all coming together now
06-14-11 | 11:38 PM
#13
Looks good!
I would recommend clear coating those lines though, they will re-corrode/rust. I had done the same thing to mine years ago and eventually ended up painting them. I wish I had clear coated them originally. My engine bay is white, so I painted them black.
~T.J.
I would recommend clear coating those lines though, they will re-corrode/rust. I had done the same thing to mine years ago and eventually ended up painting them. I wish I had clear coated them originally. My engine bay is white, so I painted them black.
~T.J.
08-11-11 | 02:18 PM
#14
Thread Starter
1 bar boost
iTrader: (4)
Joined: Jun 2005
Posts: 2,753
Likes: 5
From: Seattle, Washington
August 4th 2011 update
Jesus, Jason and I stacked a motor together Thursday last week.
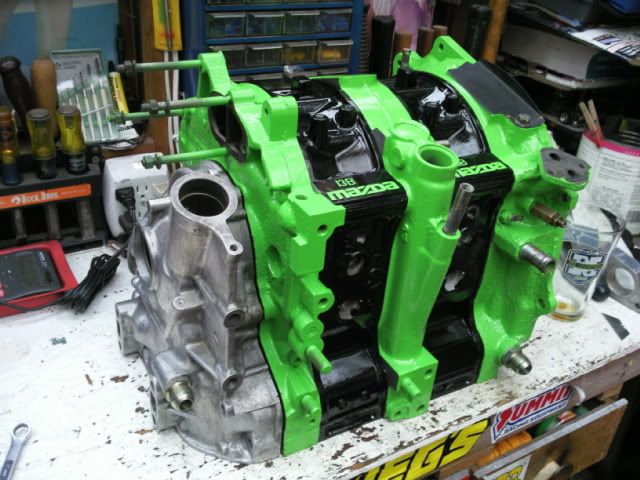
S5 Turbo Rotors w/ new Atkins solid corner seals, re-used FD corner seal springs, re-used 2 piece 2mm apex seals, new Mazda oem apex springs, new Mazda oem side seal springs, new unknown brand oil control seals, re-used oil control rings and springs, re-used side seals
S5 Stock port Turbo irons, freshly lapped by Mazdatrix and painted grabber green
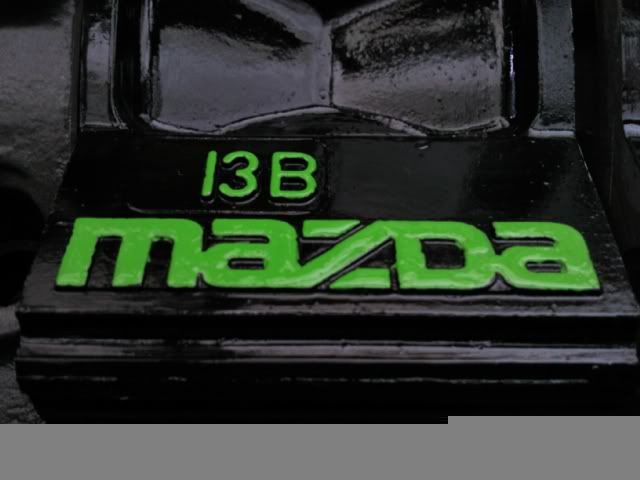
S5 Turbo housings stock ports and S5 N/A converted to turbo spec housing, painted gloss black w/grabber green accents
Now to get on with it and why your clicking here
\o\ \o\ /o/ /o/
Pretty sure Jesus could build one or two of these motors in his sleep...
...he is a monster and to him everyday is Halloween!
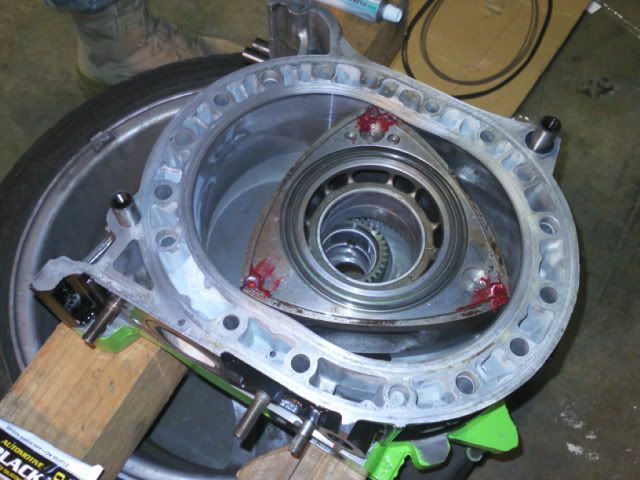
the e-shaft sittin in its place, Real Talk the e-shaft spun so easily!
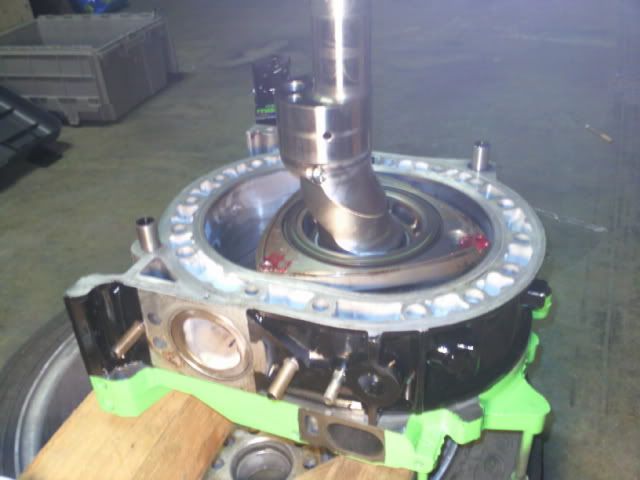
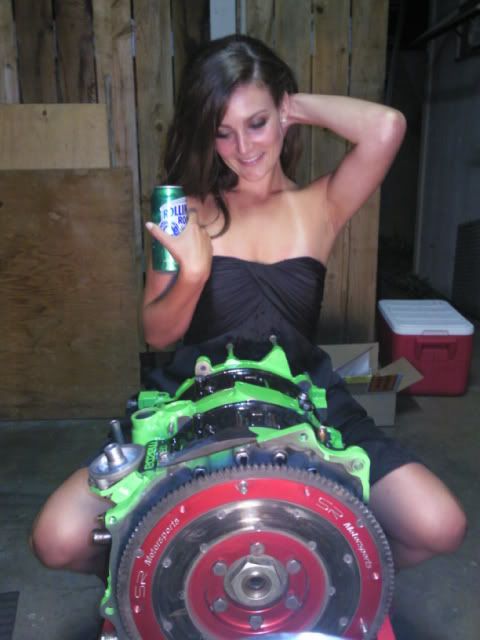
Engine took around 6hrs to hand assemble using the help of the Dream Team. About 1am after Jesus and Jason had just left I got a nice surprise from my little girlfriend (a very hot french woman) who wanted to pose for pictures, so i took the opportunity to snap a few pics, some of which I cannot post here :P
then she drank the rest of my beer... oh well Rollin Rock is one of her favorites beers too and I couldn't say no

no duck face here haha
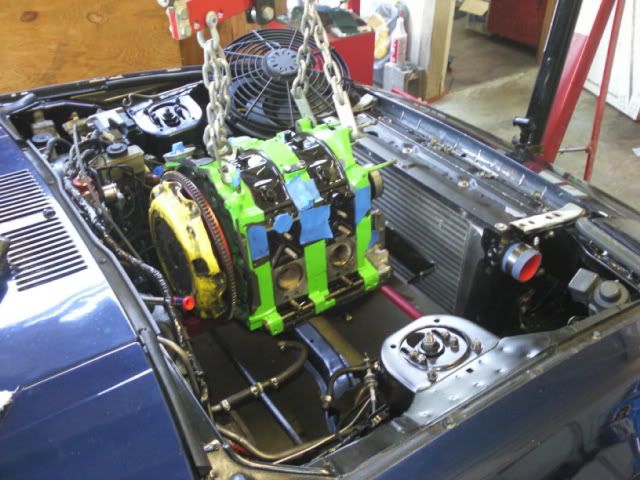
Fast forward a couple days, got the front of the motor all set up and bolted down, oil pan on, pulley on.
then I moved in for the kill! nom nom nom!
Jesus, Jason and I stacked a motor together Thursday last week.
S5 Turbo Rotors w/ new Atkins solid corner seals, re-used FD corner seal springs, re-used 2 piece 2mm apex seals, new Mazda oem apex springs, new Mazda oem side seal springs, new unknown brand oil control seals, re-used oil control rings and springs, re-used side seals
S5 Stock port Turbo irons, freshly lapped by Mazdatrix and painted grabber green
S5 Turbo housings stock ports and S5 N/A converted to turbo spec housing, painted gloss black w/grabber green accents
Now to get on with it and why your clicking here
\o\ \o\ /o/ /o/
Pretty sure Jesus could build one or two of these motors in his sleep...
...he is a monster and to him everyday is Halloween!
the e-shaft sittin in its place, Real Talk the e-shaft spun so easily!
Engine took around 6hrs to hand assemble using the help of the Dream Team. About 1am after Jesus and Jason had just left I got a nice surprise from my little girlfriend (a very hot french woman) who wanted to pose for pictures, so i took the opportunity to snap a few pics, some of which I cannot post here :P
then she drank the rest of my beer... oh well Rollin Rock is one of her favorites beers too and I couldn't say no
no duck face here haha
Fast forward a couple days, got the front of the motor all set up and bolted down, oil pan on, pulley on.
then I moved in for the kill! nom nom nom!
08-11-11 | 02:36 PM
#15
Looks awesome! I really like the green/black [even considering it for mine now..] ^_^
I'm a bit confused by one thing though... Your girlfriend wanted you to take NSFW pictures of a french girl and your engine...? o_O
I'm a bit confused by one thing though... Your girlfriend wanted you to take NSFW pictures of a french girl and your engine...? o_O
08-11-11 | 02:41 PM
#16
Thread Starter
1 bar boost
iTrader: (4)
Joined: Jun 2005
Posts: 2,753
Likes: 5
From: Seattle, Washington
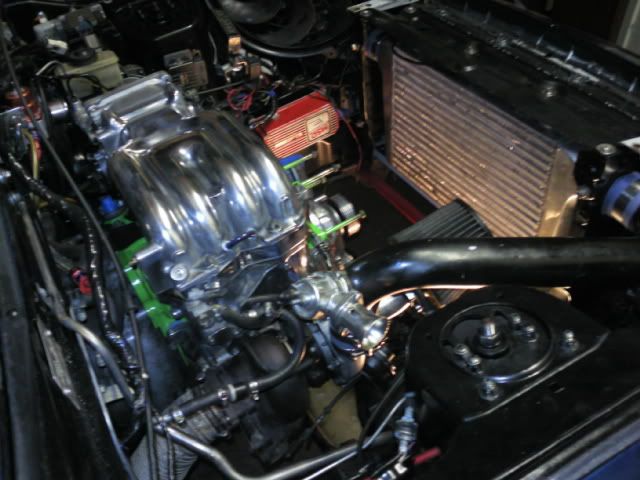
August 10th 2011 update
With a lot of trial and error I got the motor installed, correctly i hope  Its been 18 months since I have seen a motor in this car so alot of this is new to me once again.
Meanwhile, over in Kirkland cool **** is happening

Its been 18 months since I have seen a motor in this car so alot of this is new to me once again. Meanwhile, over in Kirkland cool **** is happening
 08-12-11 | 11:57 AM
#20
Thread Starter
1 bar boost
iTrader: (4)
Joined: Jun 2005
Posts: 2,753
Likes: 5
From: Seattle, Washington
Friday August 12th Update
did a whole lot of stuff.
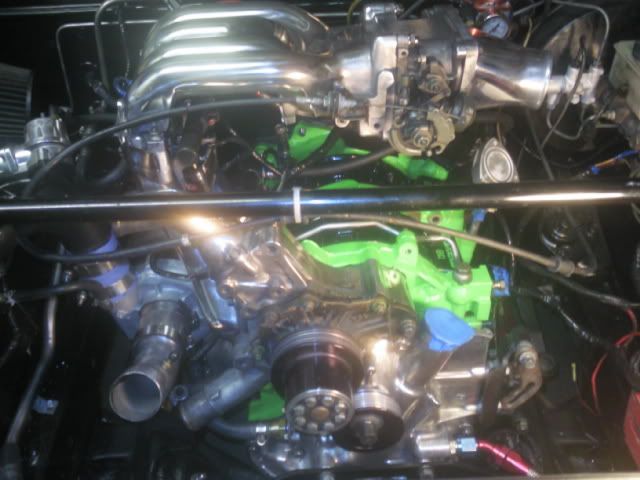
Water pump is shiny and bolted on.
Oil line from the front cover to the turbo is connected.
UIM is shiny and bolted on.
Freshly serviced fuel injectors are bolted and clipped in, now the fuel system is complete. Hose running from FPR is connected to secondary fuel rail.
New Oil filter is on.
Blocked off Oil line on rear iron.
New spark plugs with new wires are on.
Misc sensors are plugged in... Boost gauge/Oil psi/MAP/TPS/Water pump
front strut tower brace is bolted down
attempted to get the throttle cable installed properly one man army style, didn't work need an extra set of hands
R1 seats are installed, sparco harness have been added and adjusted to fit perfectly
list left to finish
install CAS properly and have the engine timed, add belt, run associated wires
wire up E-Fan, run associated wires
install radiator, cut both coolant hoses to fit
bolt on air filter
finish putting intercooler pipes on
polish and bolt the alternator on, run associated wires
bolt starter on, run associated wires
custom my oil cooler lines (again) and bolt the to the cooler
bleed the clutch and brakes
drain the fuel out of the tank, change fuel filter
drain and replace diff fluid
finish up misc wires
new front tires
paint brake calipers, replace pads/turn rotors
sew custom shift boot
then...
Start this Rude Boy Up and break it in
did a whole lot of stuff.
Water pump is shiny and bolted on.
Oil line from the front cover to the turbo is connected.
UIM is shiny and bolted on.
Freshly serviced fuel injectors are bolted and clipped in, now the fuel system is complete. Hose running from FPR is connected to secondary fuel rail.
New Oil filter is on.
Blocked off Oil line on rear iron.
New spark plugs with new wires are on.
Misc sensors are plugged in... Boost gauge/Oil psi/MAP/TPS/Water pump
front strut tower brace is bolted down
attempted to get the throttle cable installed properly one man army style, didn't work need an extra set of hands
R1 seats are installed, sparco harness have been added and adjusted to fit perfectly
list left to finish
install CAS properly and have the engine timed, add belt, run associated wires
wire up E-Fan, run associated wires
install radiator, cut both coolant hoses to fit
bolt on air filter
finish putting intercooler pipes on
polish and bolt the alternator on, run associated wires
bolt starter on, run associated wires
custom my oil cooler lines (again) and bolt the to the cooler
bleed the clutch and brakes
drain the fuel out of the tank, change fuel filter
drain and replace diff fluid
finish up misc wires
new front tires
paint brake calipers, replace pads/turn rotors
sew custom shift boot
then...
Start this Rude Boy Up and break it in
10-20-11 | 01:52 AM
#23
10-20-11 | 03:14 AM
#24
FD > FB > FC
Joined: Oct 2002
Posts: 3,873
Likes: 3
From: Bothell, WA
Generally, Line up the CAS, and stab it in when the red marker on the main pulley is lined up with the pin on the front cover. (This is usually 5 degrees ATDC) That will be good enough to get it started. Fine tune with a timing light.
10-20-11 | 03:19 AM
#25
FD > FB > FC
Joined: Oct 2002
Posts: 3,873
Likes: 3
From: Bothell, WA
Looking at your pics, those aren't the factory pulleys. Do they have timing marks on the front pulley? If that's a FD pulley set, FD pulleys wouldn't have marks on them, which is a problem for you.