Jeff Jones FD3S Formula-D car buid
#28
Rotary-works bought a new 1.5 Kaas lsd for the car. (sweet) No more rockin the welded diff.
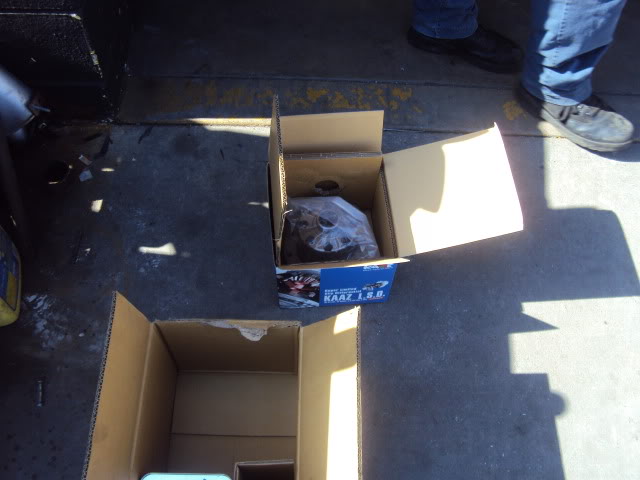
Old one out!!!
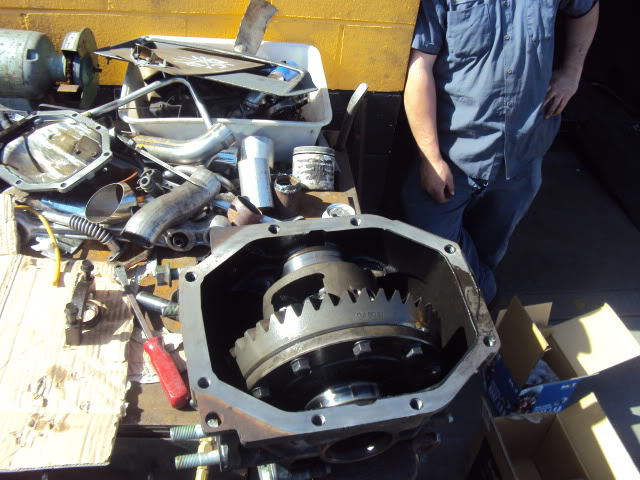
Just realized it needs new bearings . So more on that later.
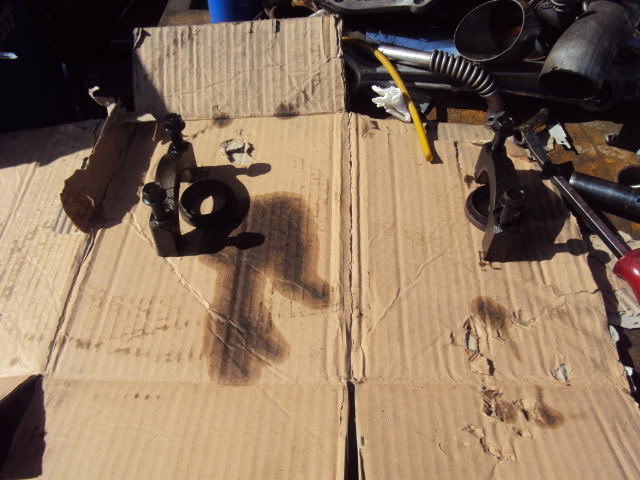
Stock junk.
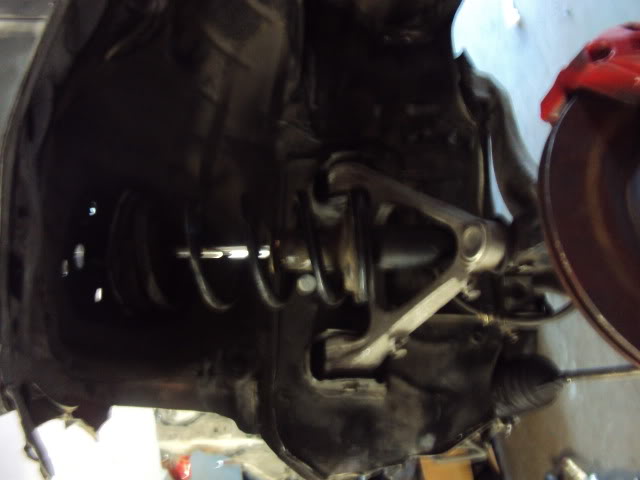
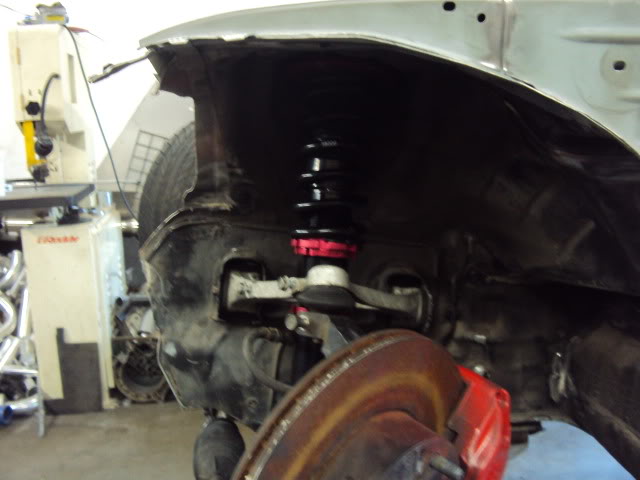
New coil overs. Time to slam this suck-a
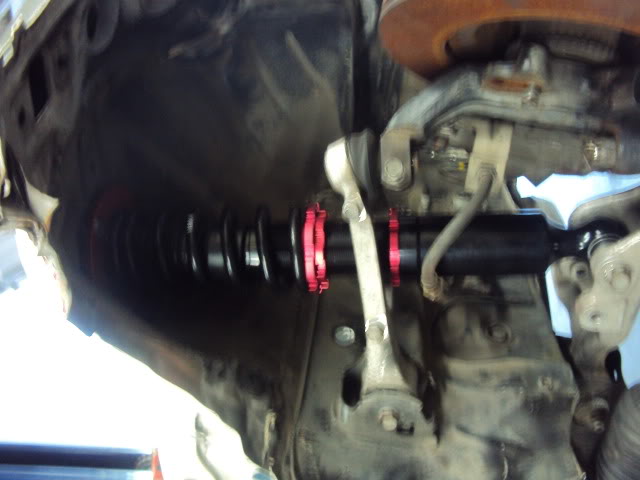
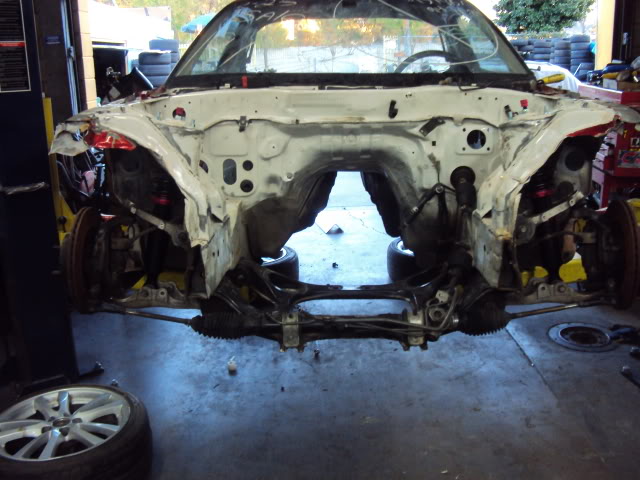
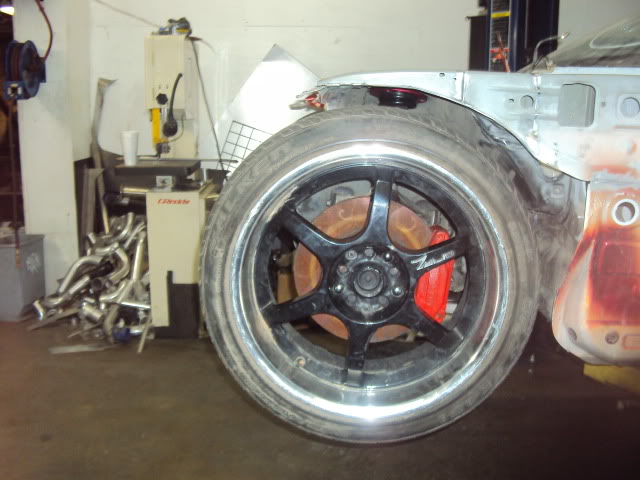
This one made me smile.
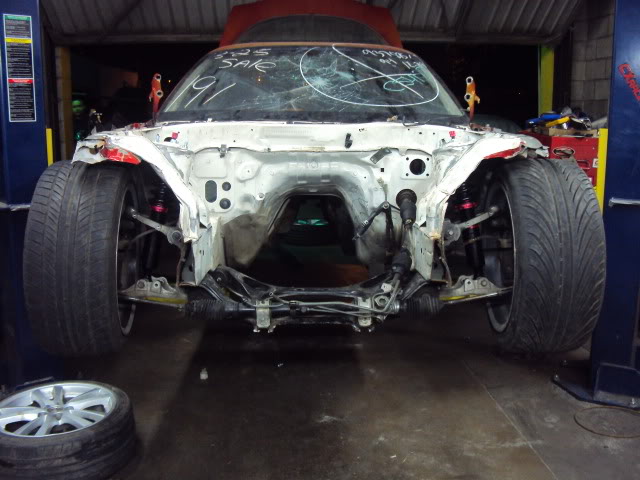
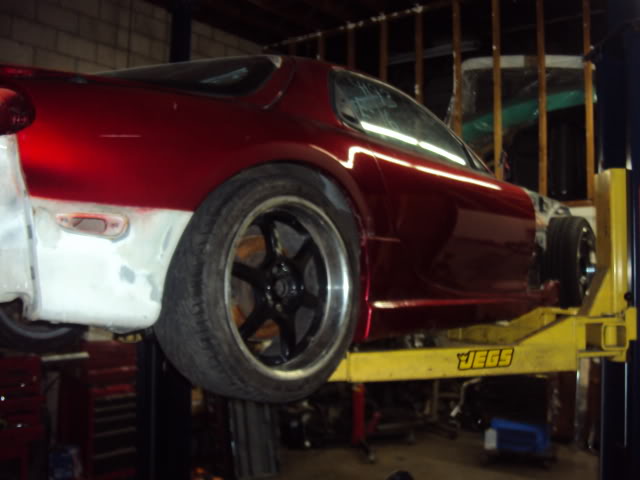
When this hits the ground, itíll be tucking for sure.
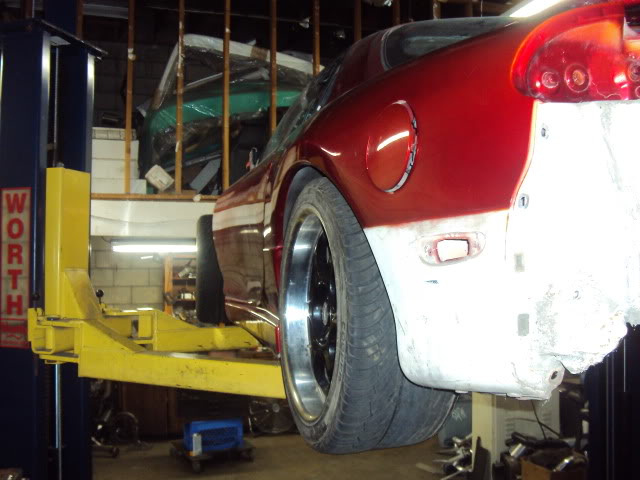

Old one out!!!

Just realized it needs new bearings
 . So more on that later.
Stock junk.

New coil overs. Time to slam this suck-a


This one made me smile.


When this hits the ground, itíll be tucking for sure.

#30
I finally went to pick up the cage supplies.
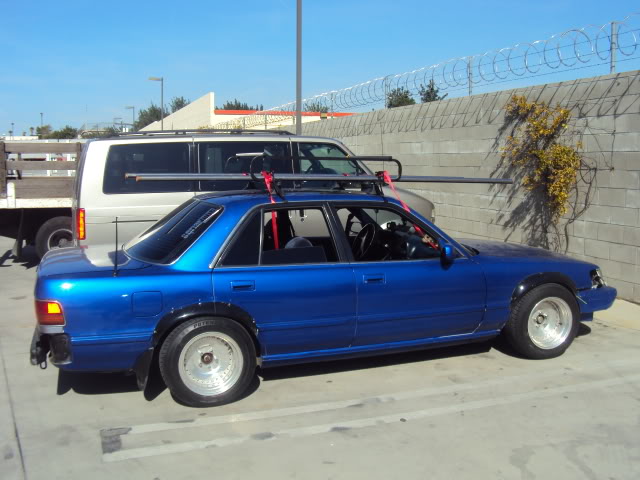
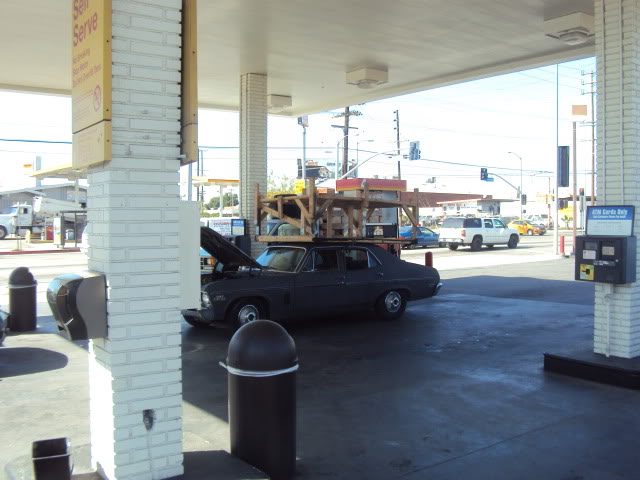
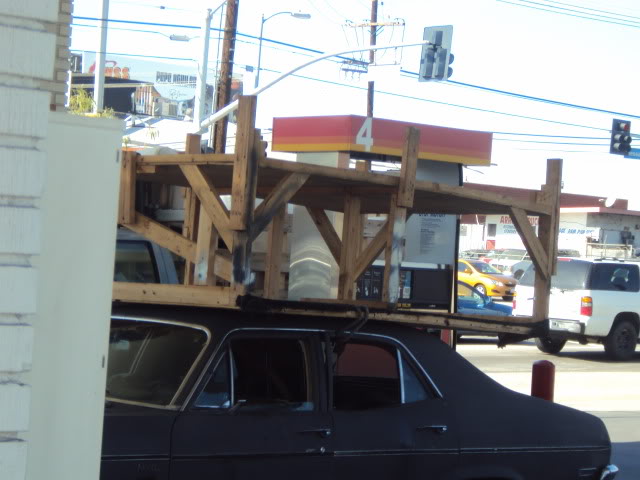
I thought my truck would be too small so went with my buds Cressida roof rack.
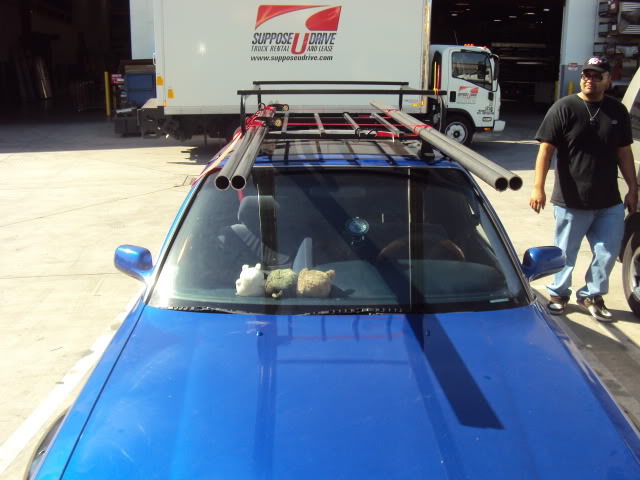
Just when we thought we had a load we saw this.
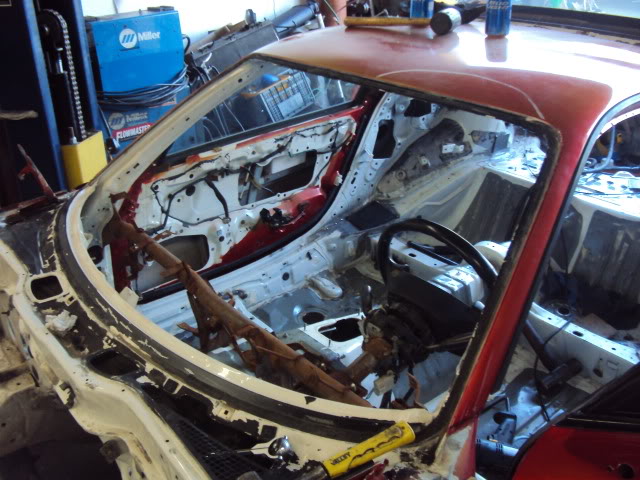
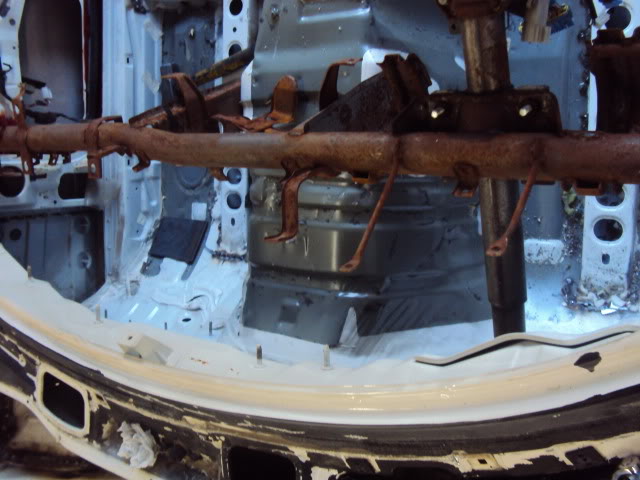
I found the dash bar. Wish I had a dash
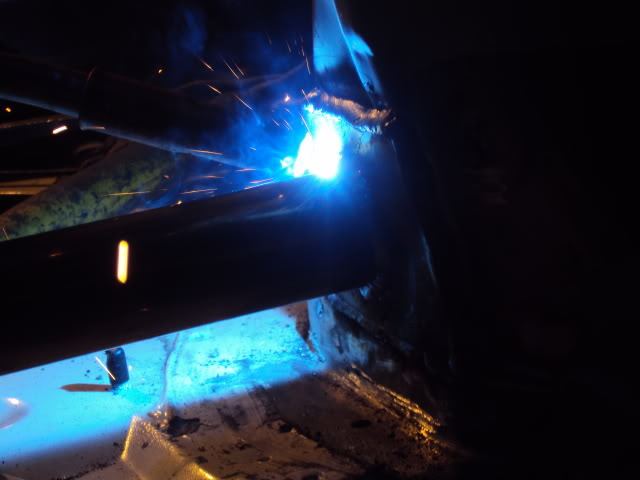
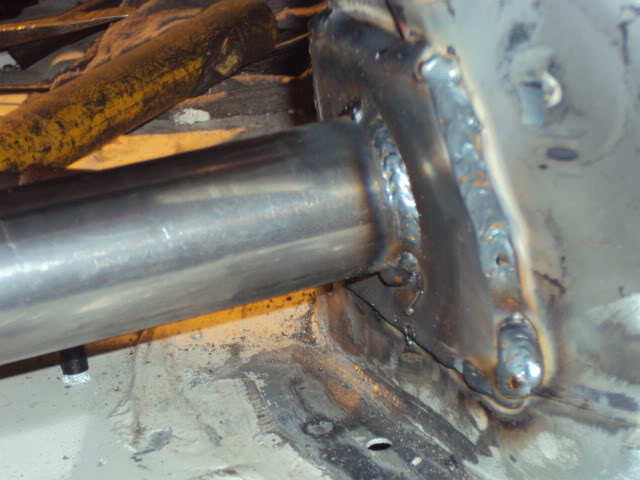
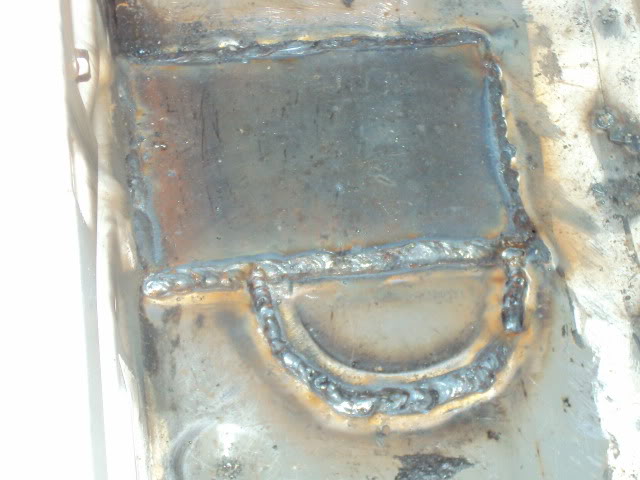
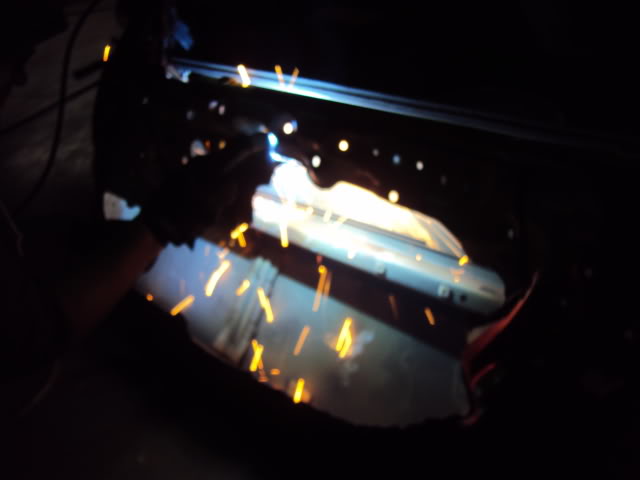
I tacked in a plat for the main hoop.
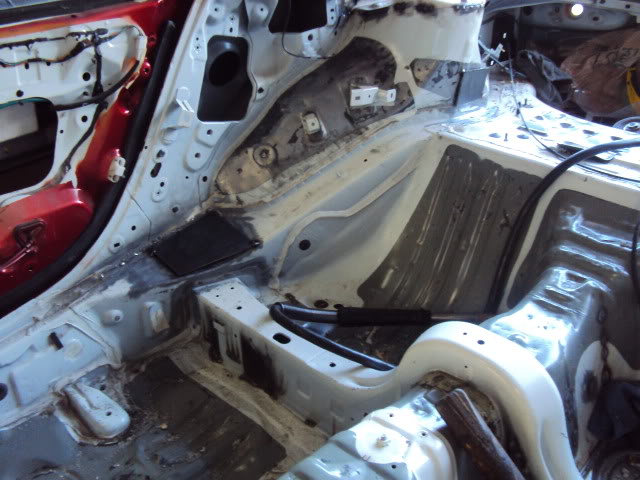
Got distracted by more spot welds to do.
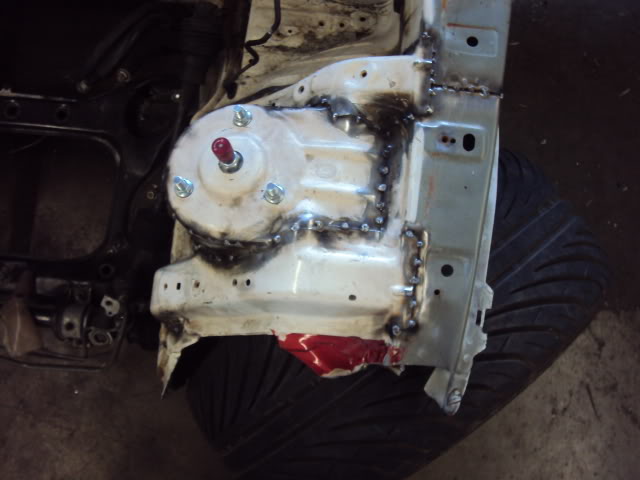
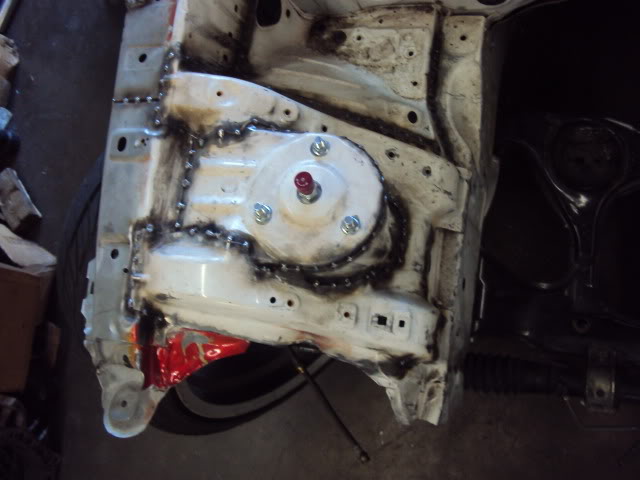
Wish I didnít shake so much when I take pictures.

I thought my truck would be too small so went with my buds Cressida roof rack.

Just when we thought we had a load we saw this.


I found the dash bar. Wish I had a dash


I tacked in a plat for the main hoop.

Got distracted by more spot welds to do.


Wish I didnít shake so much when I take pictures.

#32
does Renee plan on making a front support bar or cross beam for support on the front part of the chassis.. to help with chassis flex...
Last edited by Battle Cat; 03-02-10 at 09:54 AM.
#33
You guys had mentioned using a supra transmission. What kind of torque can they handle in stock form? would it be enough for a 20b turbo which could potentially yield big power. I have heard of people putting 900hp on stock internals in supras but I don't know if they had stock transmissions.
#38
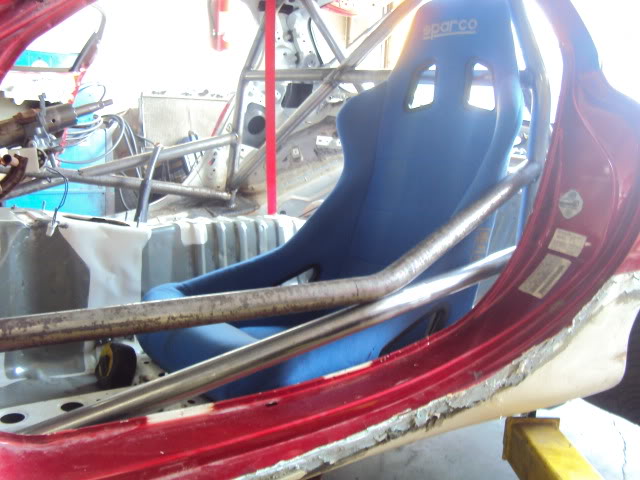
Finished up the back half of the cage.
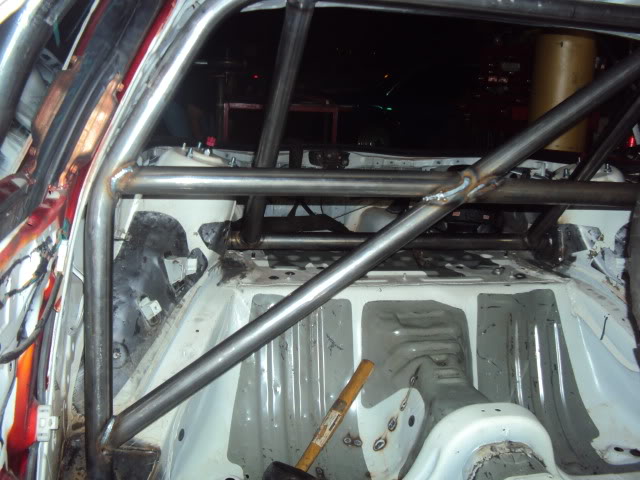
I like how tight it fits to the car.
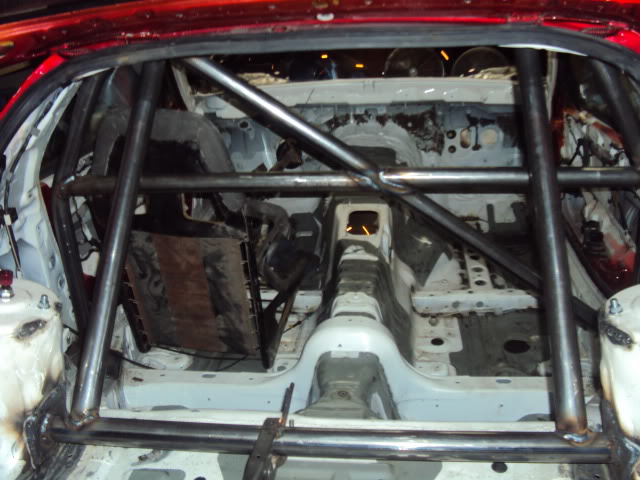
And thatís the old Sparco ^^^^ seat I use to mock up seat brackets.
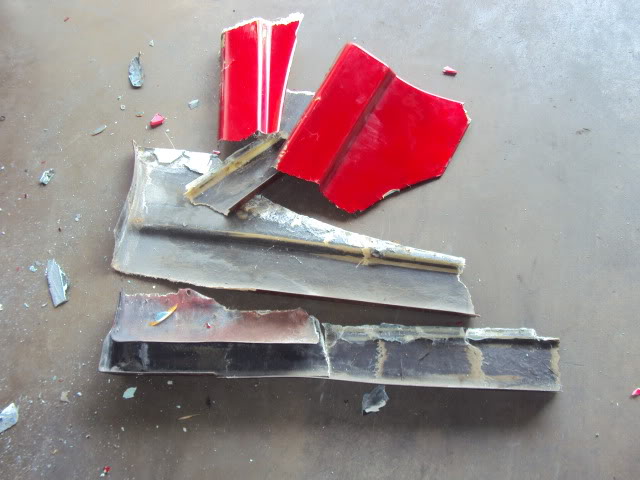
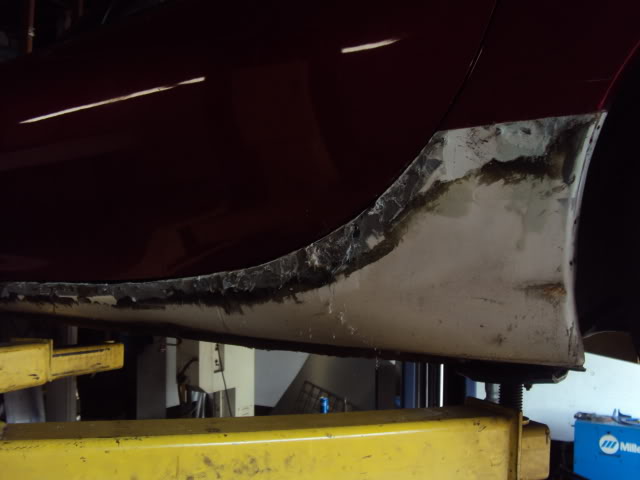
It was a B&@%$ to get the side skirtsí off.
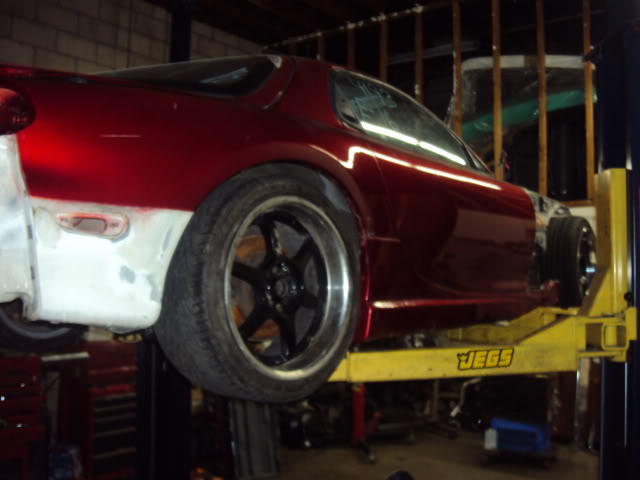
They where molded on.
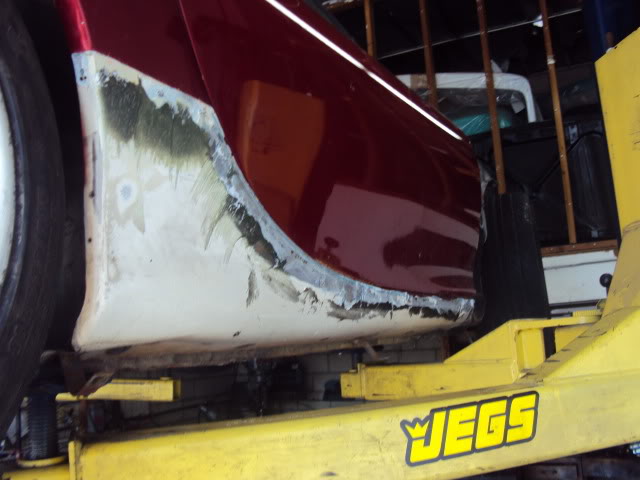
Hammer Chisel and fiberglass, nasty.
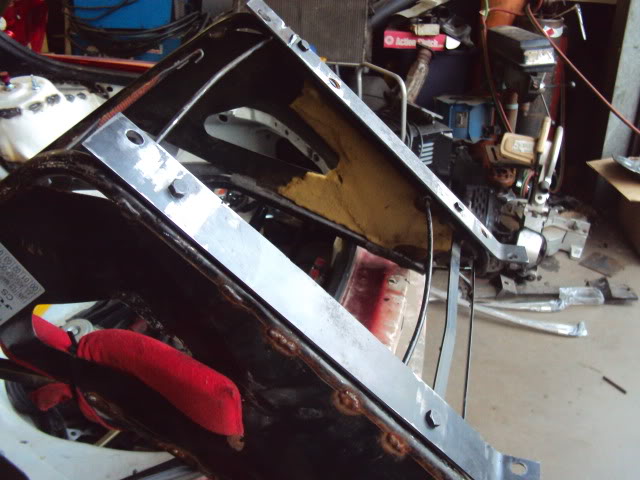
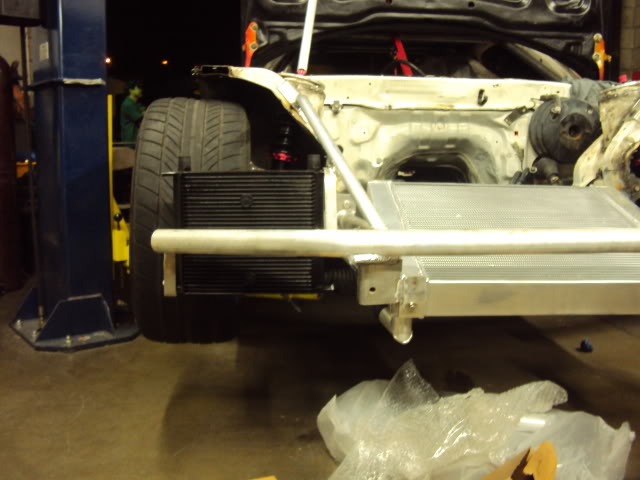
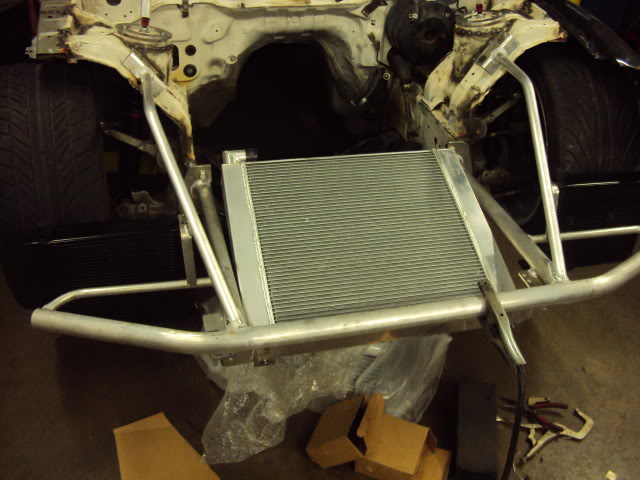
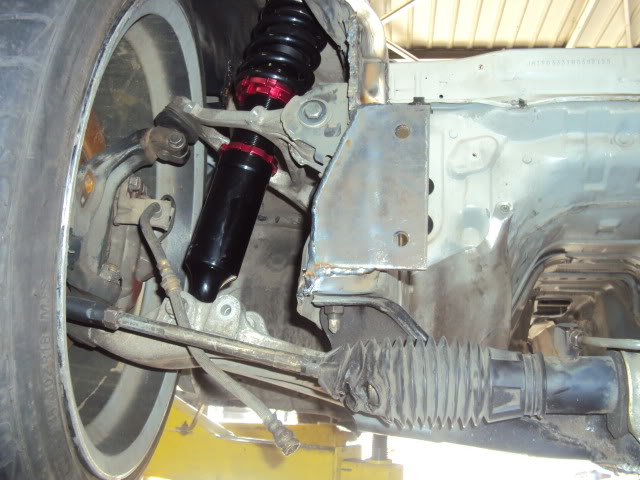
I made a plate for the tube front end.
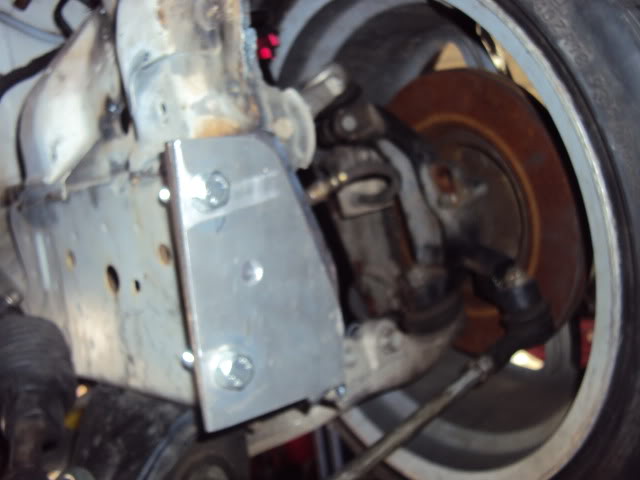
This is the aluminum bolt on plate.
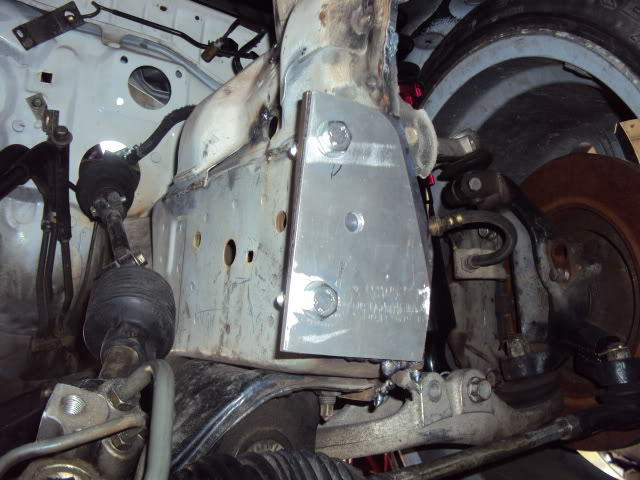
Now that Rotary Works is ready to design the front end its
time to get some body parts.
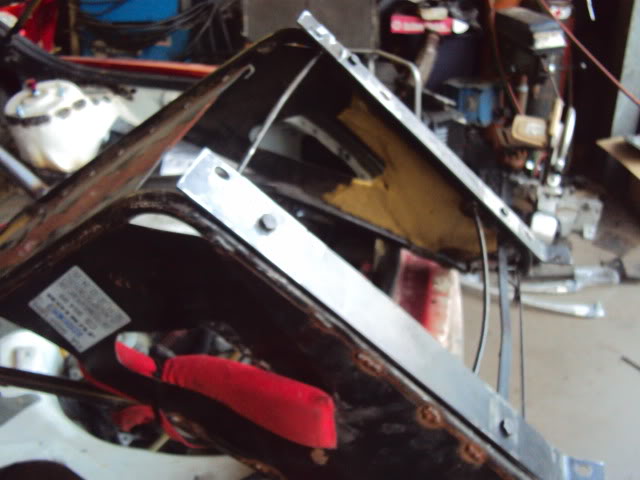
This is a bent fender off of one Reneís old drag cars.
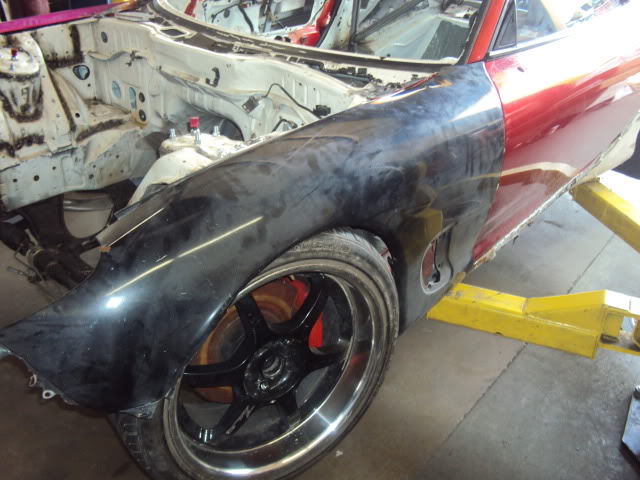
I borrowed this finder from another car.
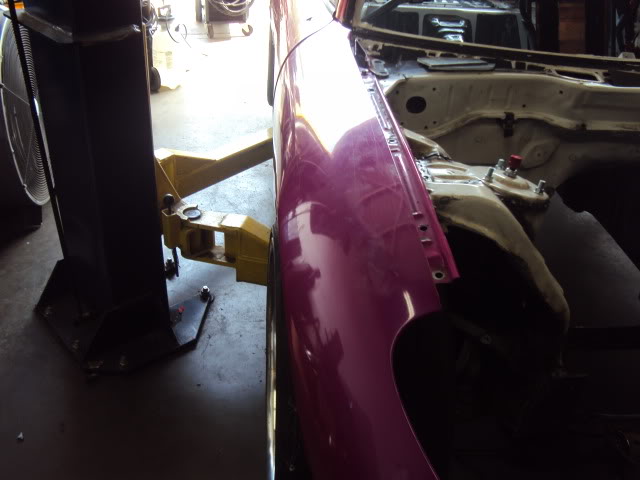
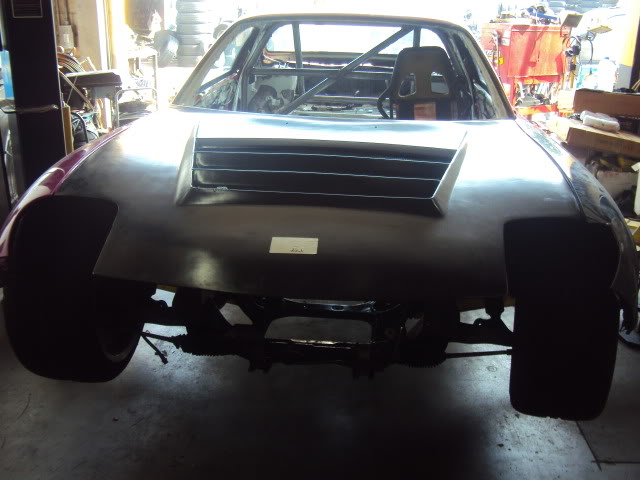
I picked this hood up from a cool guy on RX7 Club. $75 bucks
I think it was a good deal.

I like how tight it fits to the car.

And thatís the old Sparco ^^^^ seat I use to mock up seat brackets.
It was a B&@%$ to get the side skirtsí off.

They where molded on.

Hammer Chisel and fiberglass, nasty.


I made a plate for the tube front end.

This is the aluminum bolt on plate.


Now that Rotary Works is ready to design the front end its
time to get some body parts.
This is a bent fender off of one Reneís old drag cars.

I borrowed this finder from another car.

I picked this hood up from a cool guy on RX7 Club. $75 bucks
I think it was a good deal.

#39
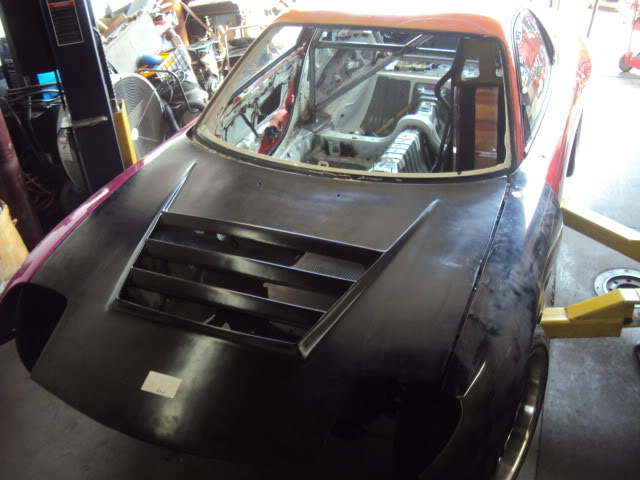
Stock front bumper.
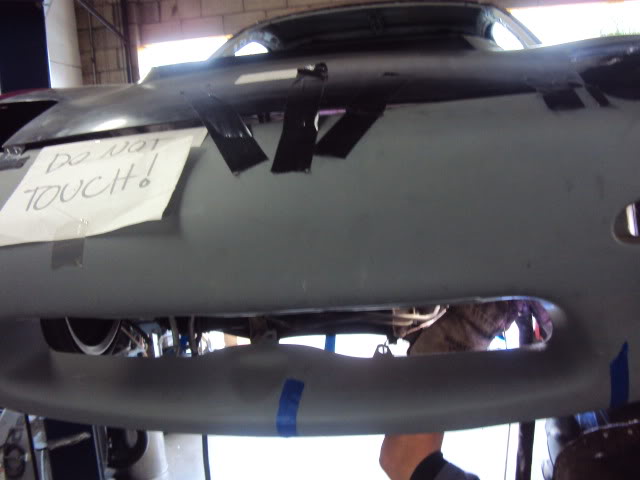
The tape is for ground clearance.
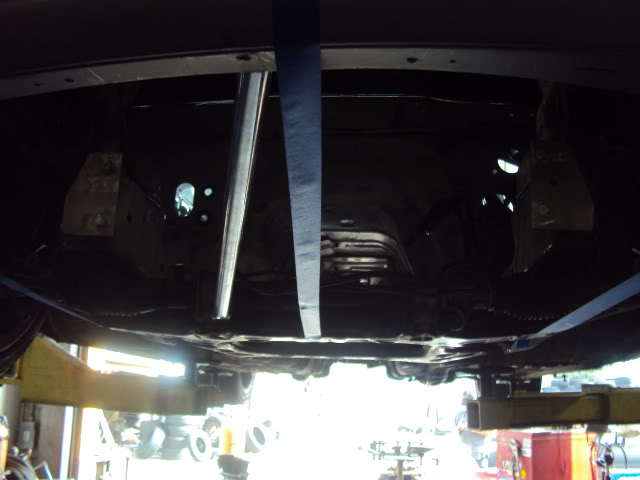
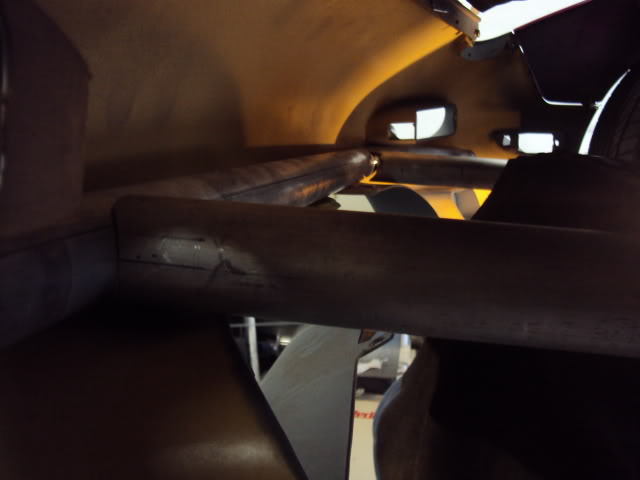
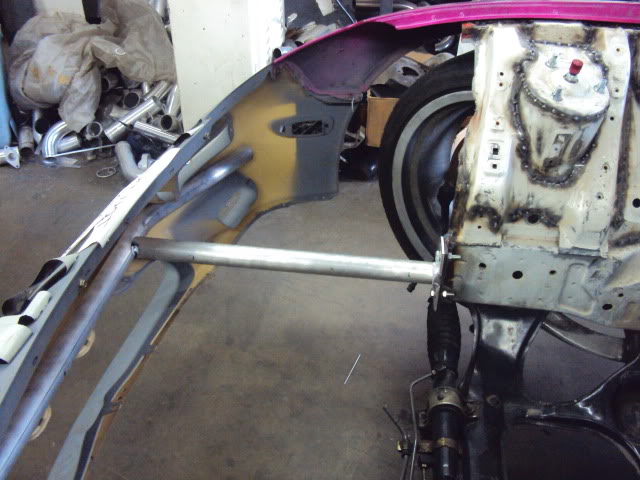
Main support bar in place.
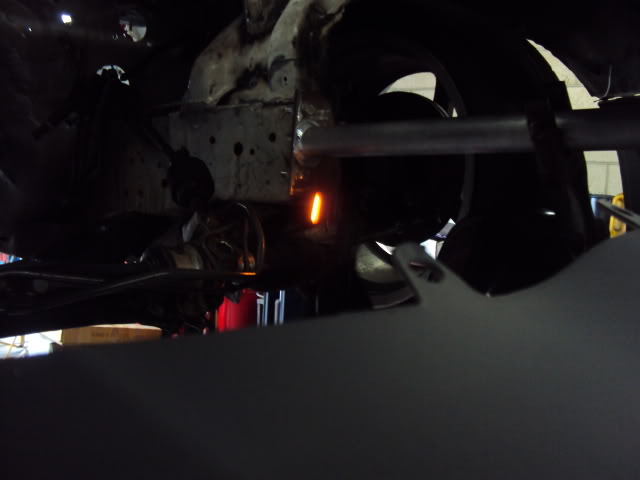
Rene at work with the tig.
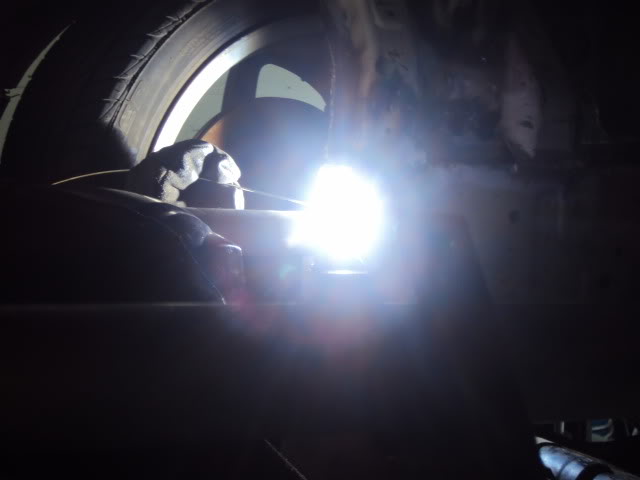
I wish my welds were this clean.
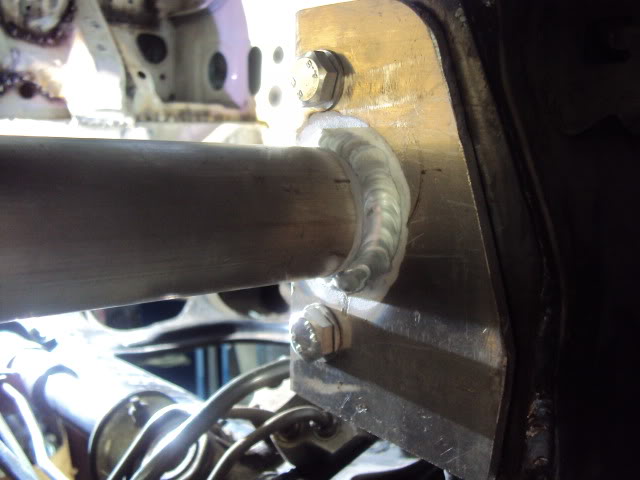
Main crash bar tucked behind the bumper.
I put my rims on the car to check the clearance.
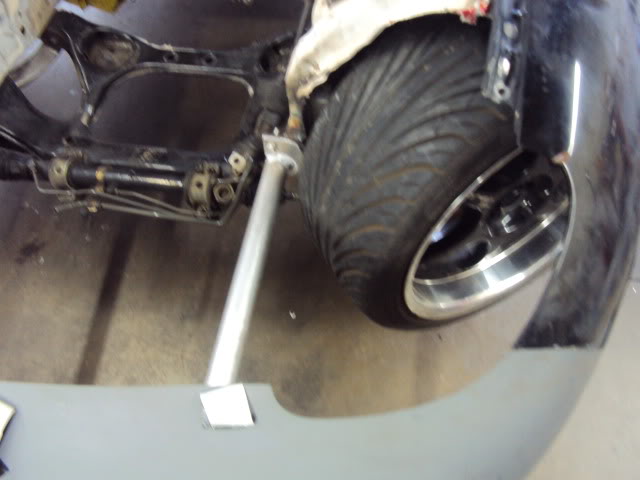
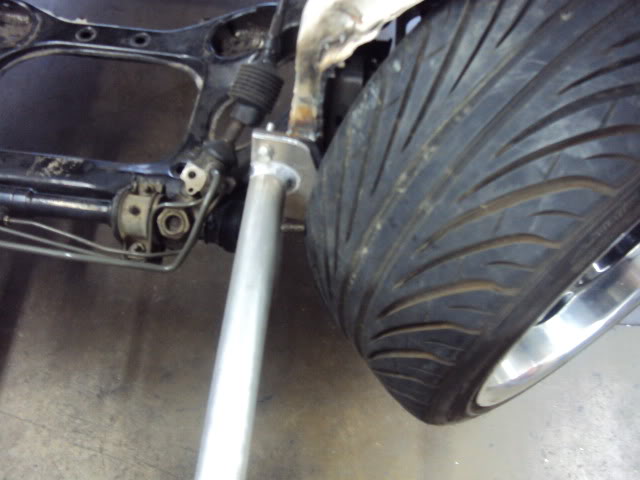
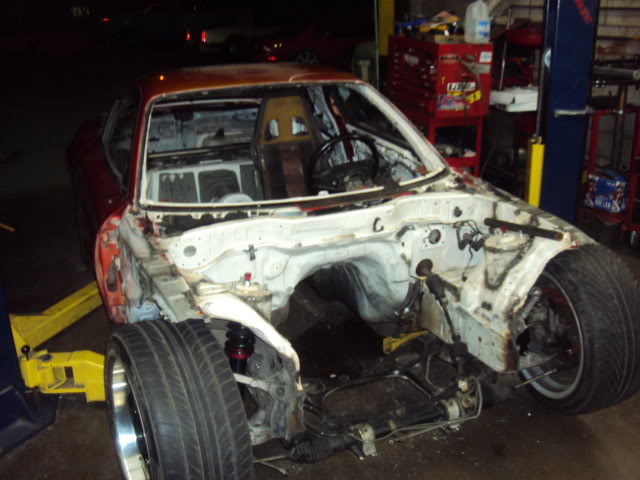
I didnít realize how much of the front was missing till
I saw this big gap. It leaves plenty of room for the
V mount setup.
#42
Been following the build on Zilvia, glad to see it's getting a positive response here as well.
Still gotta get time to bring my FD down to you at R-W next week Jeff so we can chat!
Still gotta get time to bring my FD down to you at R-W next week Jeff so we can chat!
#45
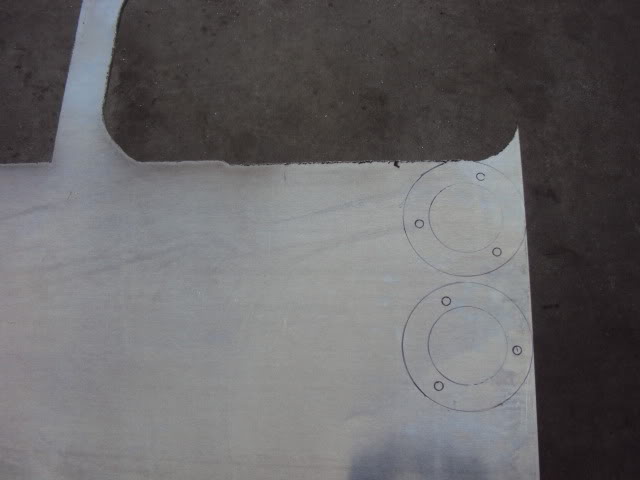
This is for the strut brace. It's time to play with the plasma cutter.
My cuts weren’t perfect so Rene cleaned them up on the lathe.
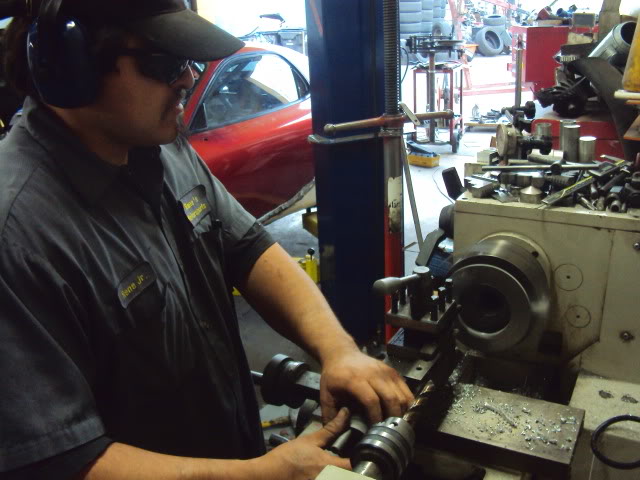
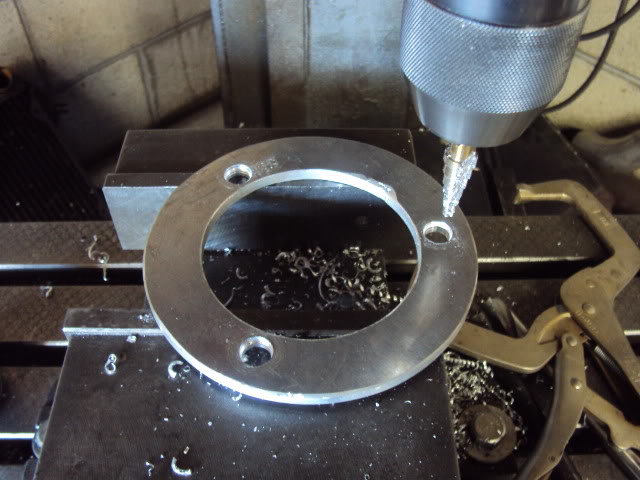
Now to drill the hole’s on the mill. This thing is cool. You can make a lot of stuff on here.
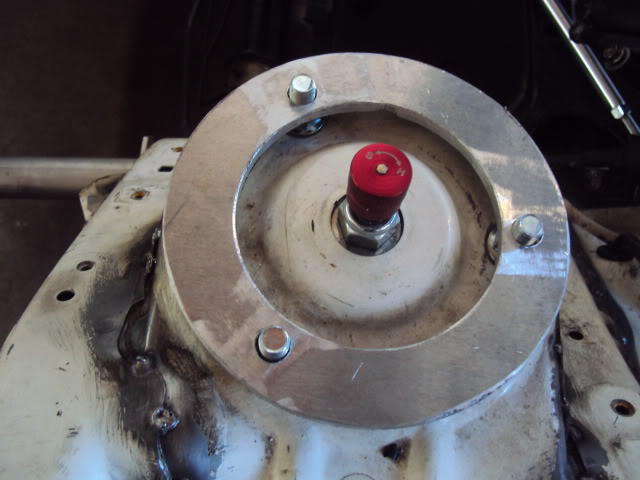
This is a secret. You’ll see what it’s for soon.
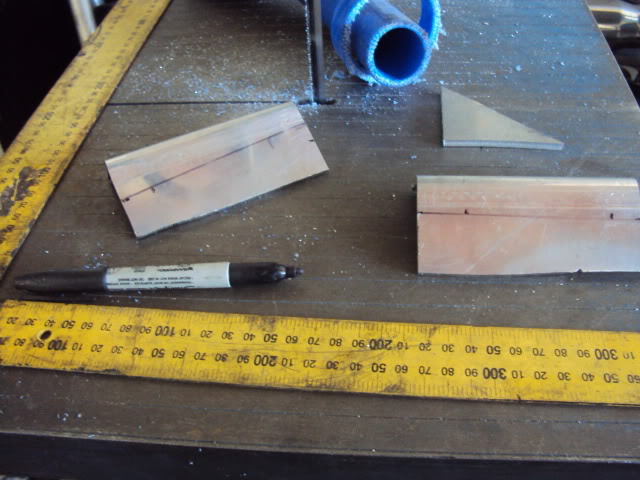
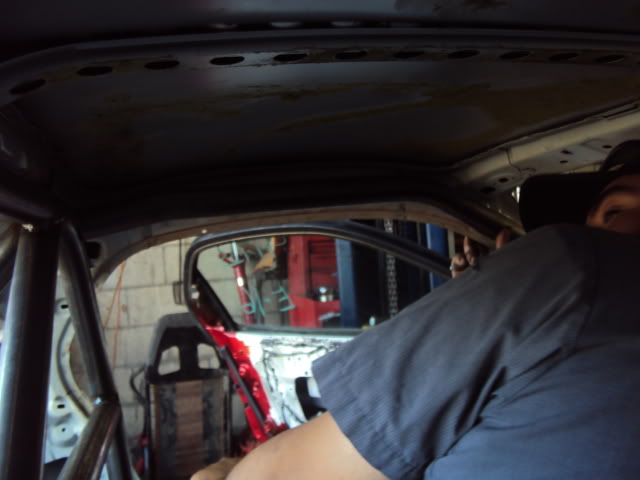
Setting up the A pillar bars of the cage.
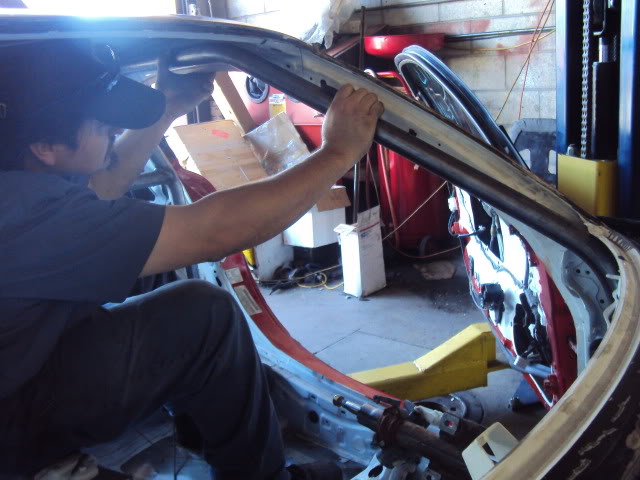
Awkward positions in the car are common for roll cage installs.
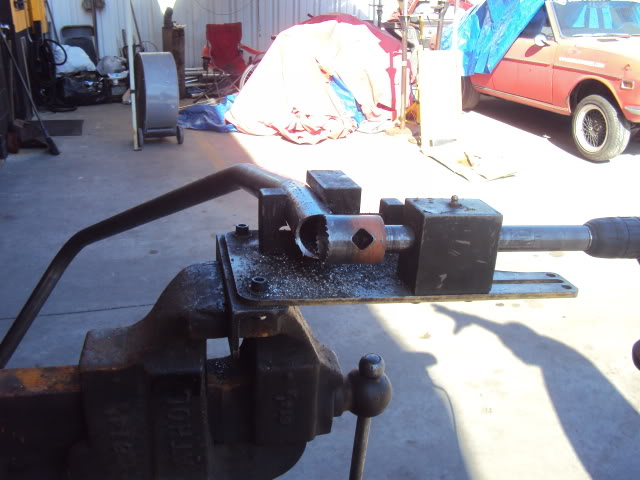
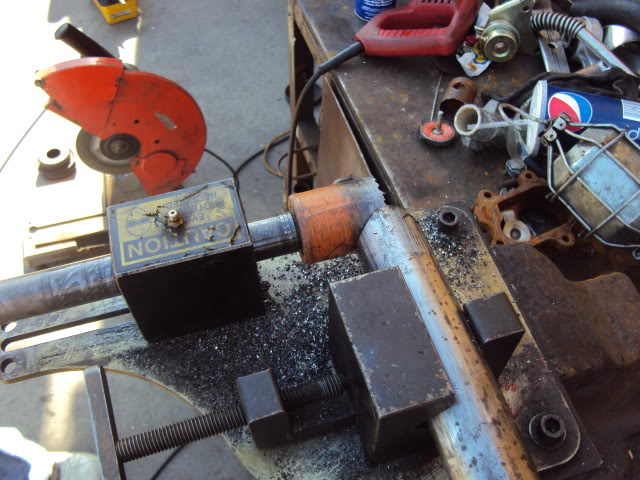
The hole notcher. Another fun tool.
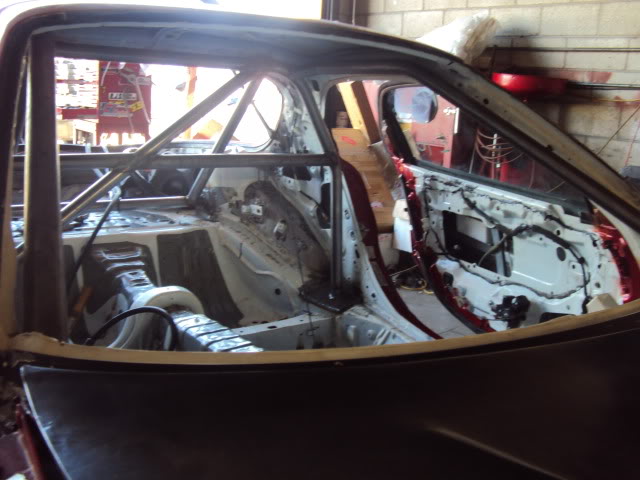
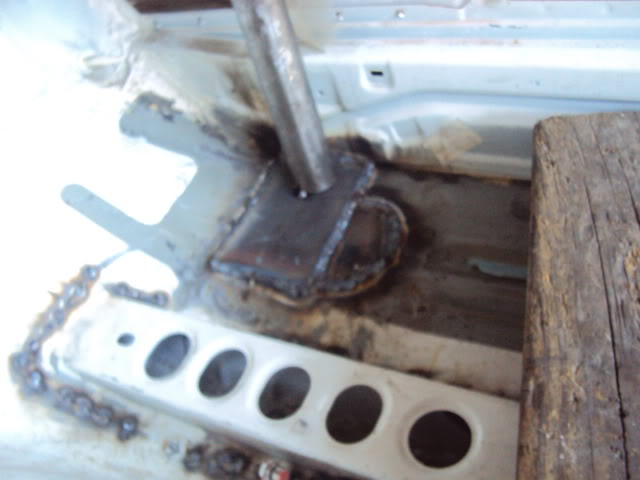
Both A pillar bars in place.
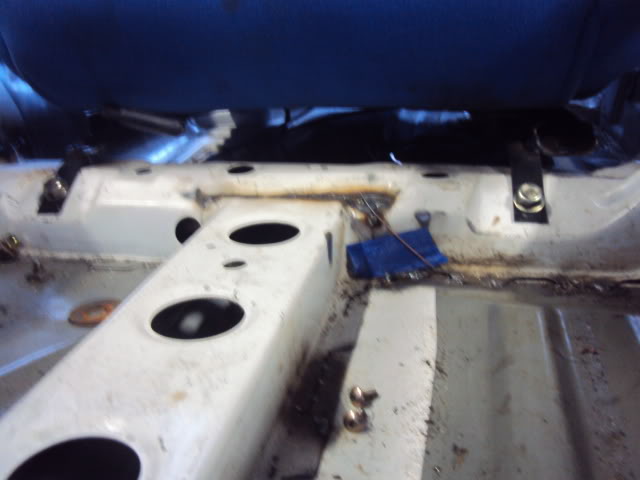
Floor plate.
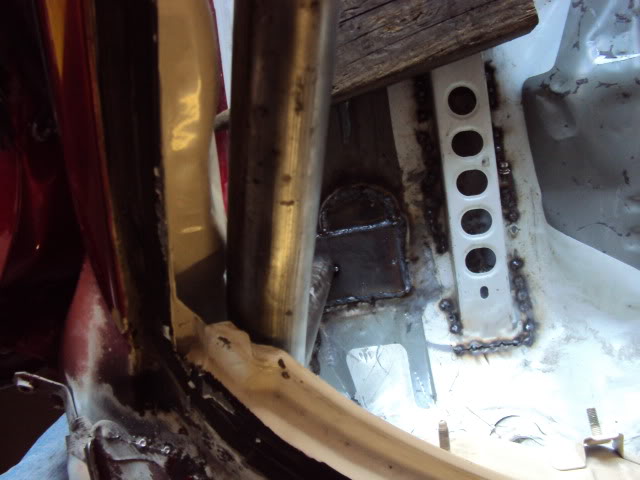
Here you can see just how close the A pillar bar is to the frame.

My cuts weren’t perfect so Rene cleaned them up on the lathe.

Now to drill the hole’s on the mill. This thing is cool. You can make a lot of stuff on here.


This is a secret. You’ll see what it’s for soon.

Setting up the A pillar bars of the cage.

Awkward positions in the car are common for roll cage installs.

The hole notcher. Another fun tool.


Both A pillar bars in place.

Floor plate.

Here you can see just how close the A pillar bar is to the frame.

#46
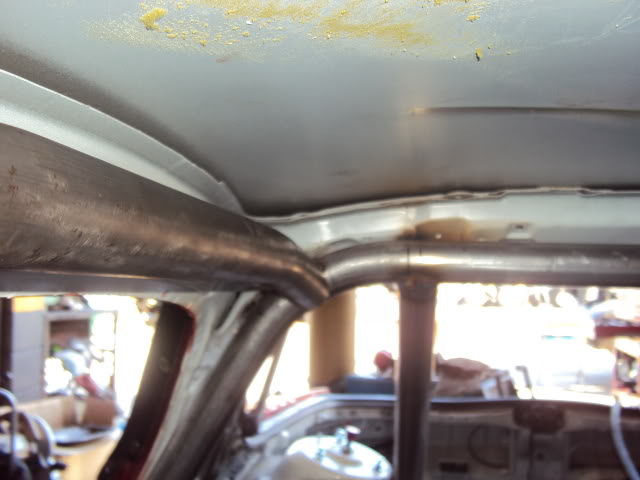
I’m tall so I need all the head room I can get. Even though the bar is high, as soon as the 1&1/2 inch padding and 2 inches of helmet are there the room is all gone.
The tape is to help get an ideal where the door bars will go.
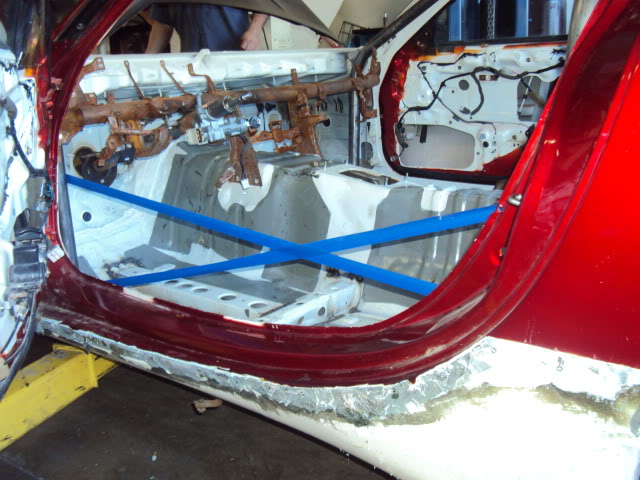
Passenger side door bar.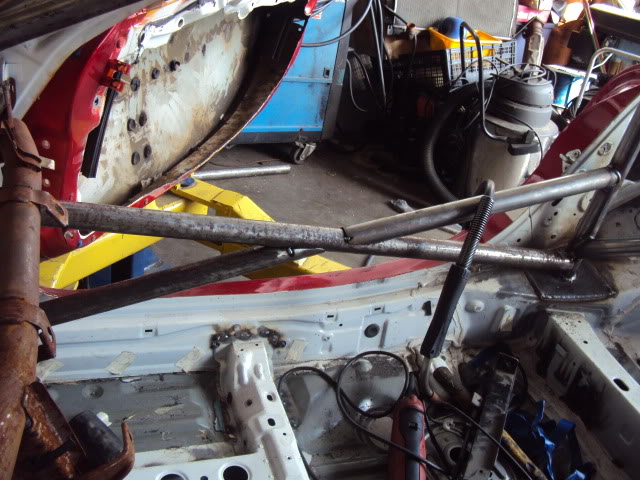
Tricked out driver side.
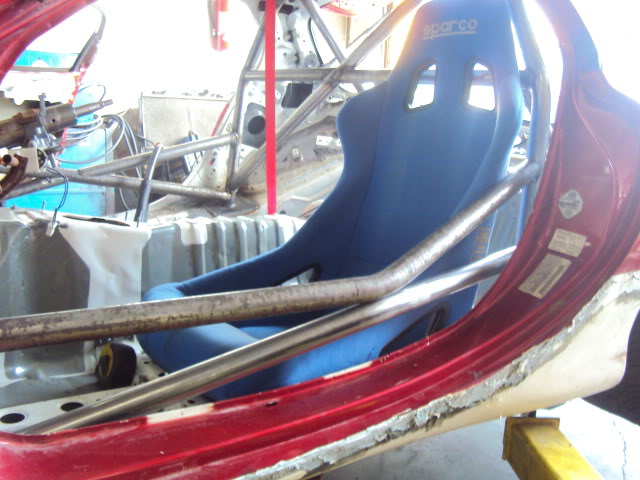
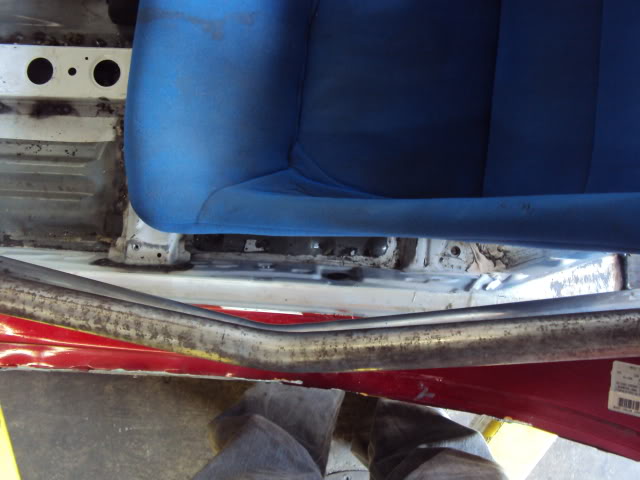
This gives me room to sing my arms.
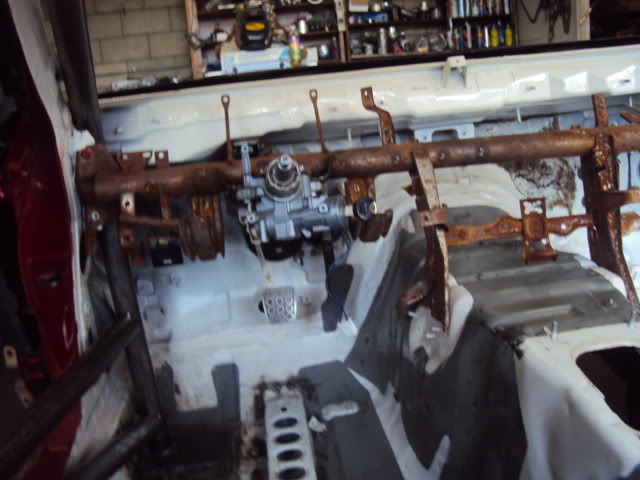
Installed the brake and gas pedal. Still need a clutch pedal.
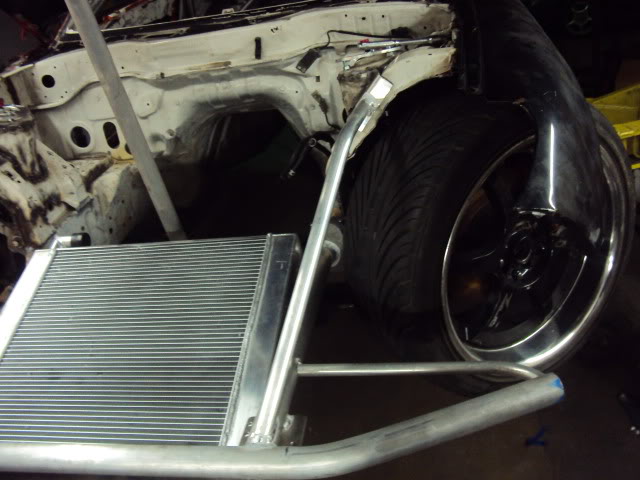
Ok so those secret plates help to make this a quick release tube front end.
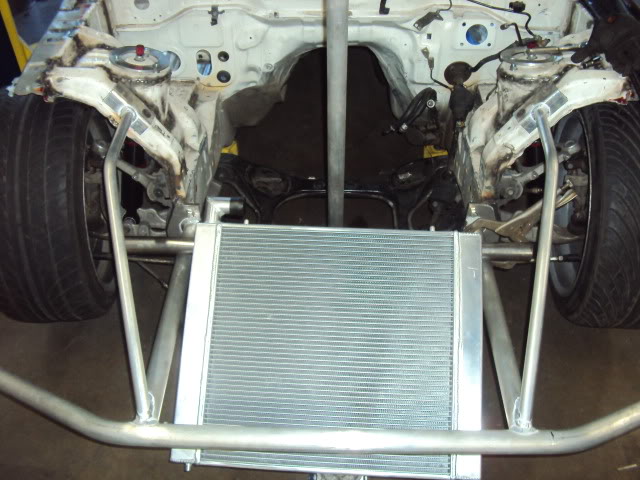
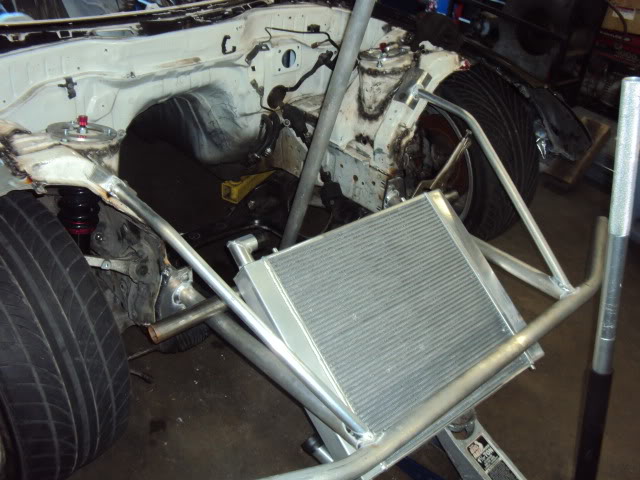
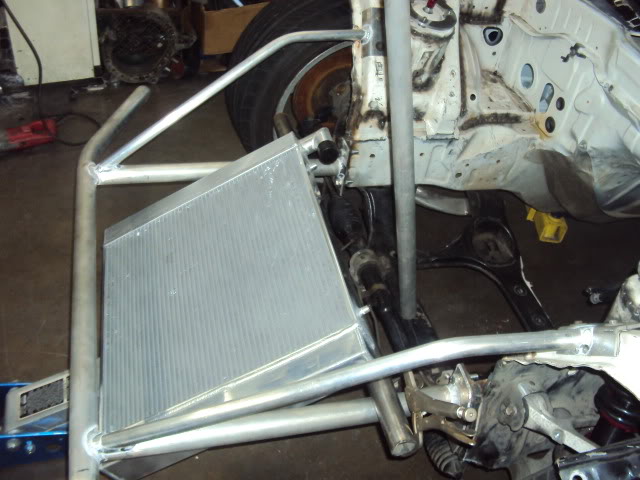
Rotary-Works style.
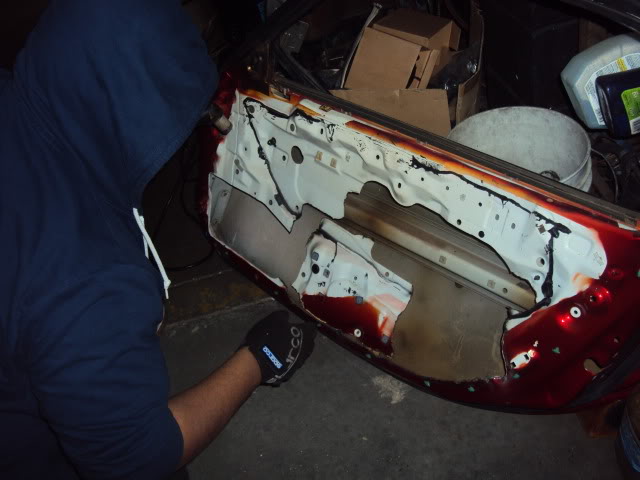
Gutting out the doors.
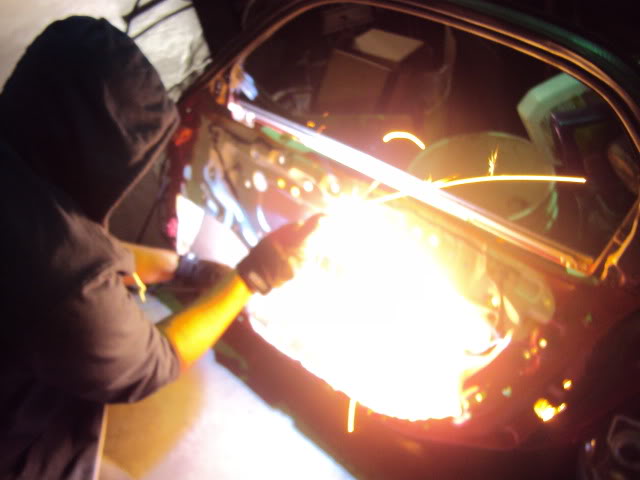
Plasma FTW

The tape is to help get an ideal where the door bars will go.

Passenger side door bar.

Tricked out driver side.

This gives me room to sing my arms.

Installed the brake and gas pedal. Still need a clutch pedal.

Ok so those secret plates help to make this a quick release tube front end.


Rotary-Works style.

Gutting out the doors.

Plasma FTW

#49
HAHA Dope!!!^^^
Saw the car yesterday and let me say its nothing shy of amazing!!!!
The guys are really doing great quality work and I'm proud to be a part of the team. Cant wait to travel around the U.S for this season of Formula D with this Monster.
Take notes kids, as this build will surely come in handy to someone following the same ambitions and goals.
17 days of actual work to go before Tech Day!!!


