Starting Fresh...
#27
Thread Starter
400WHP or bust
iTrader: (7)
Joined: Oct 2003
Posts: 4,048
Likes: 0
From: Walkerton, Ontario Canada
Well, I think it's time for an update, I have some time off (laid off) waiting for a call for another job, and I figure I better get my butt in gear.
I never did update this thread before with the lower arm bar, so I will post those pics as well.
Here is the lower control are bar I made, pretty easy really get some 1" tube and crusj the ends in a press, and drill a few holes and you are good to go.
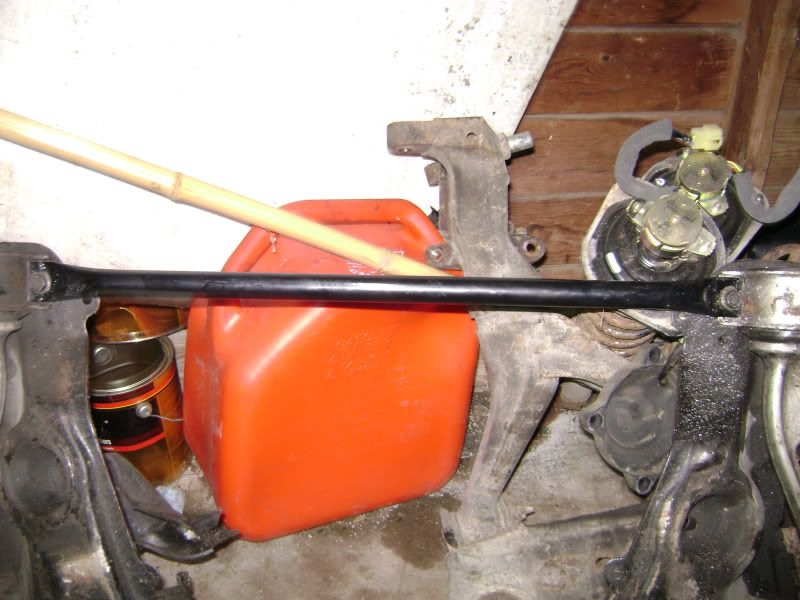
Here it is installed:
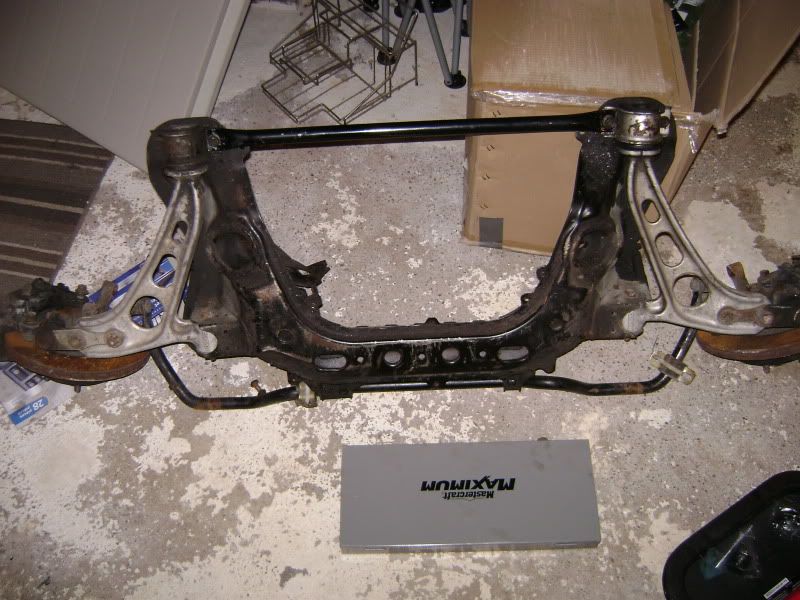
Tearing the front subframe down so I can wash and repaint it:
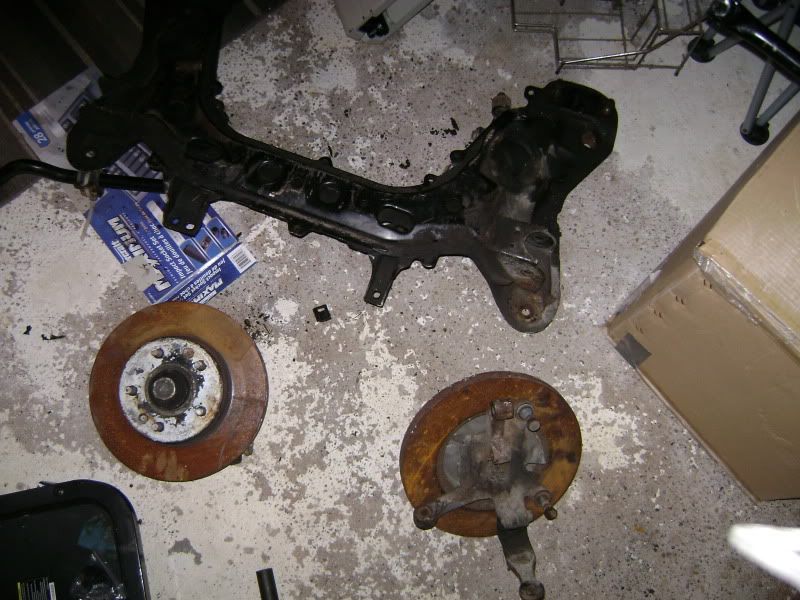
Now in order to make way for the new subframe to go in I have to dismantle the one currently on the car; I'm sure a few FC owners can agree with me here, getting the brake rotors off the front is a MAJOR cluster ****... I found away to get the bastards off, I made a few new swear words up a few years ago, when I was hammering them off, and even with my hydraulic press I couldn't get them off so this is what I did:
Here are the Siamese twins, you separate them and you kill one of them, usually the rotor, it's cheaper than going to a shop, and not that hard or time consuming, took about 25mins or so:
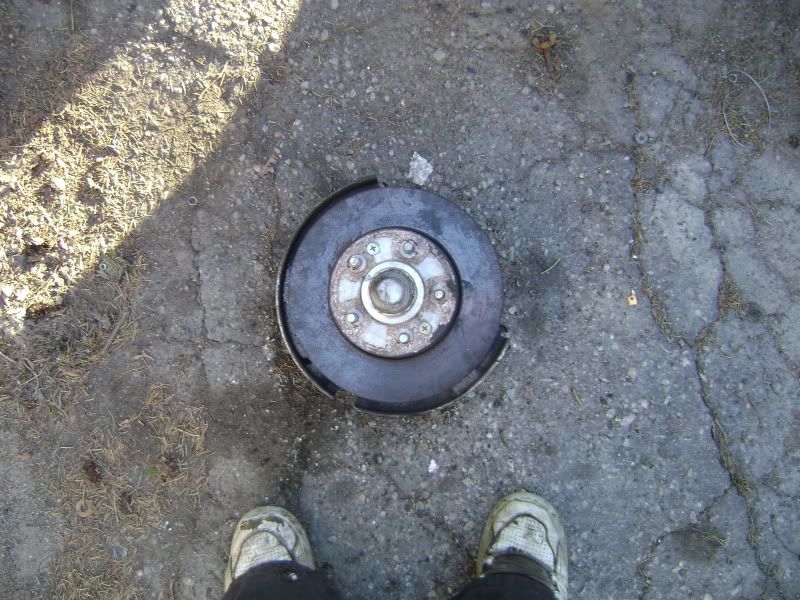
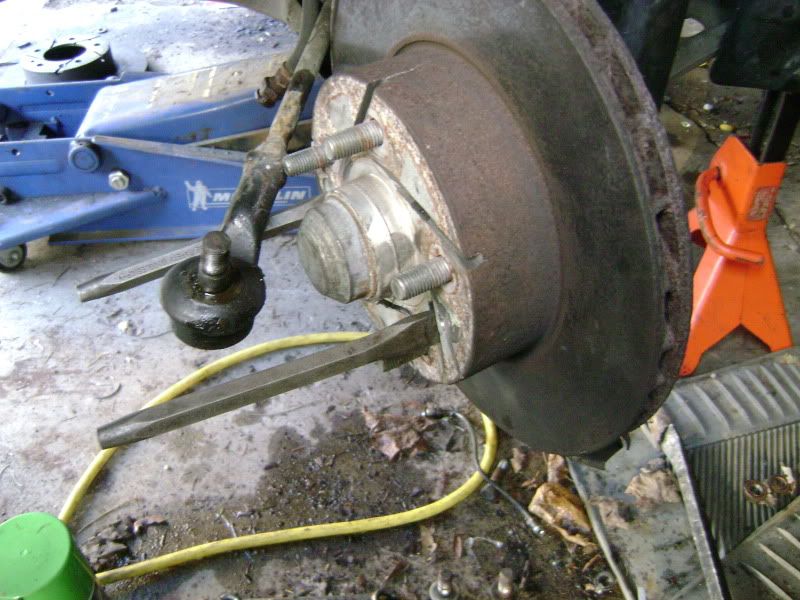
Take Mr.Grinder, and cut notches in the hat of the rotor, you will see a hole in the middle stop grinding there:
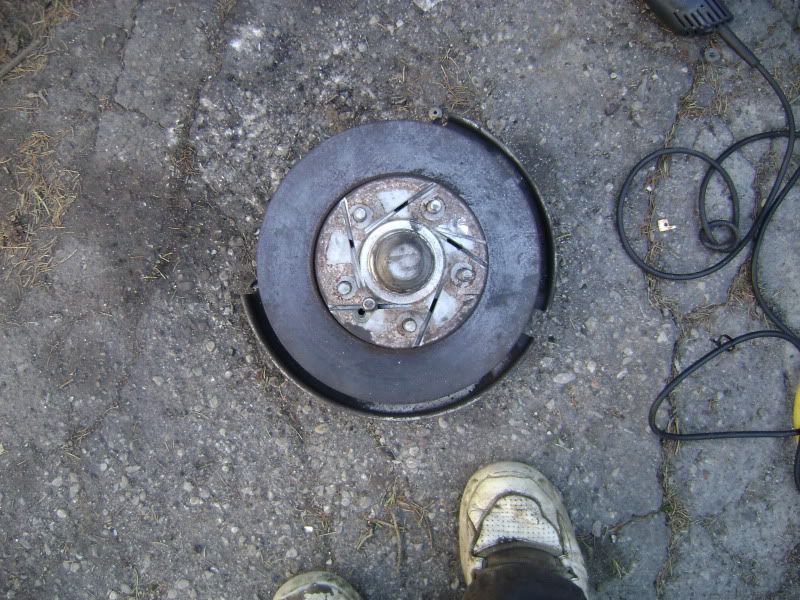
Insert cold chisel with a hammer:
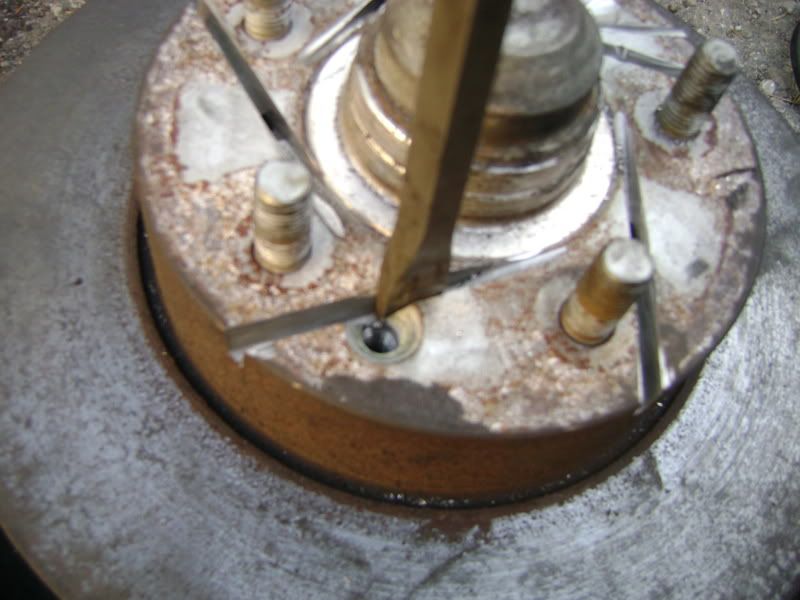
You will actually crack the rotor and this separates the the hub from the rotor partially. Be careful when doing this you don't want a chunk of rotor coming off at 120MPH:
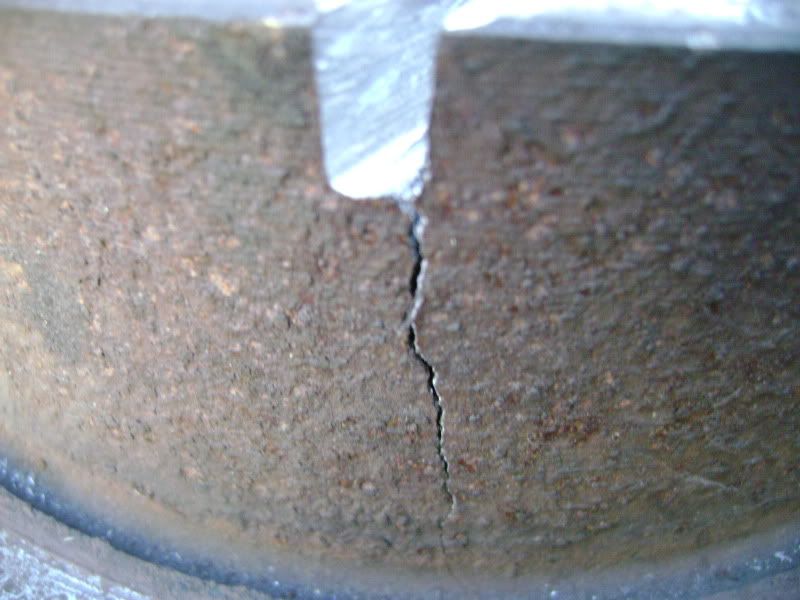
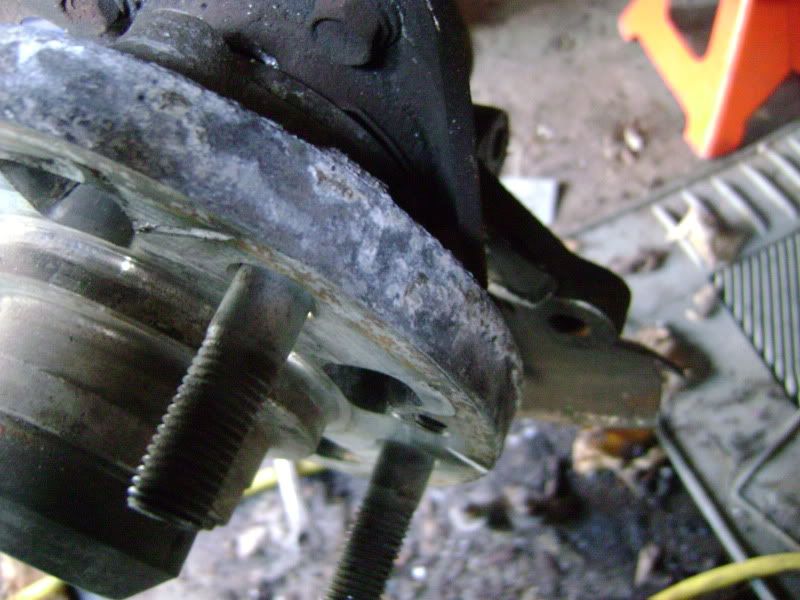
Oh, and you thought it would just pop off now right? Not so much... Reinstall it on the car with a bolt through the strut, and on the ball joint mounting points:
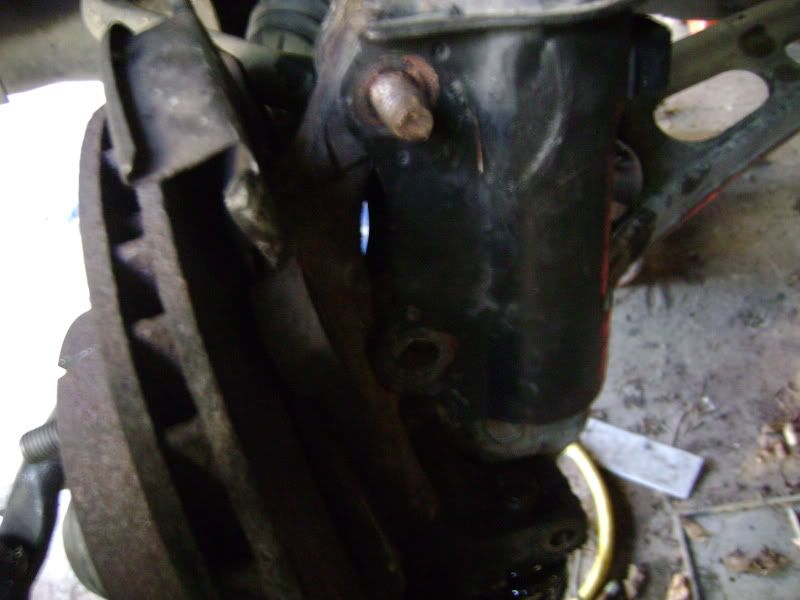
Insert a prybar between the rotor and the brake caliper mounting boss and hammer in that starts the separation even more:
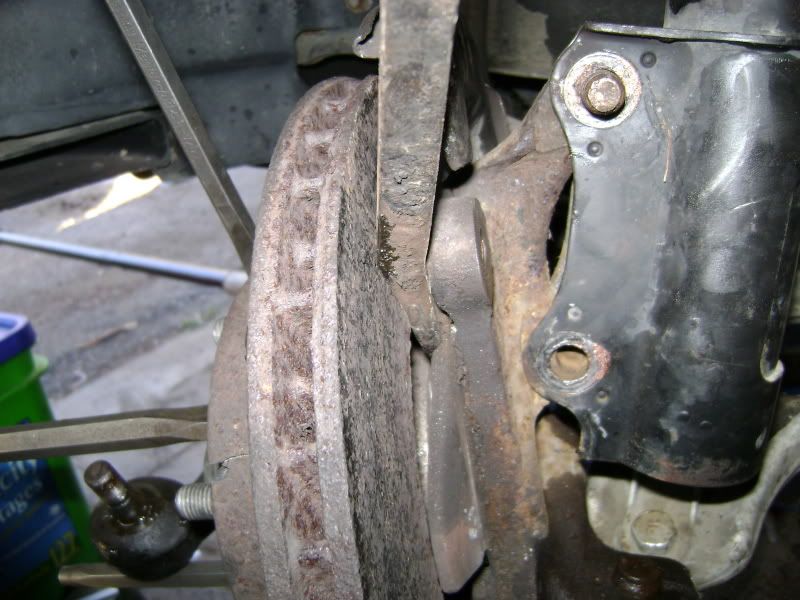
and one in the lower mounting boss:
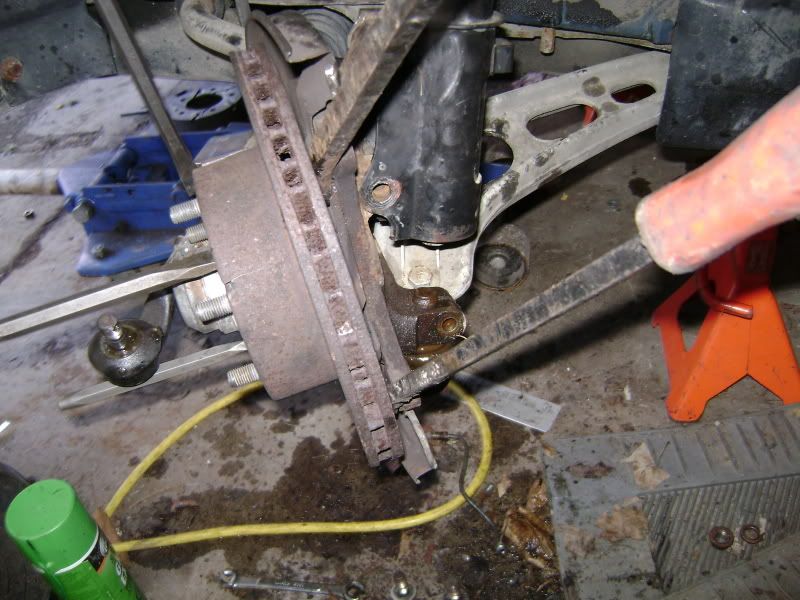
After the prybars no longer fit in there, hit the rotor with a hammer, and rotate it a 1/4 turn every strike until this happens:
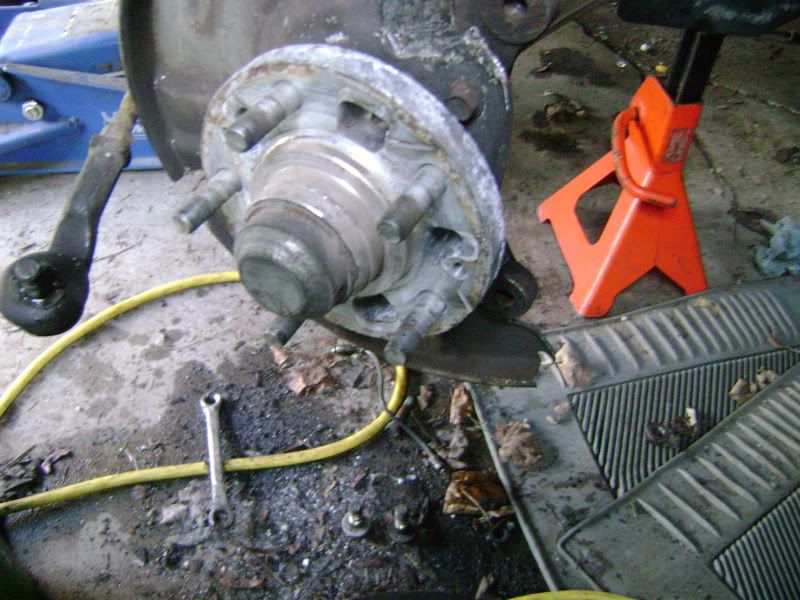
to be continued...
I never did update this thread before with the lower arm bar, so I will post those pics as well.
Here is the lower control are bar I made, pretty easy really get some 1" tube and crusj the ends in a press, and drill a few holes and you are good to go.

Here it is installed:

Tearing the front subframe down so I can wash and repaint it:

Now in order to make way for the new subframe to go in I have to dismantle the one currently on the car; I'm sure a few FC owners can agree with me here, getting the brake rotors off the front is a MAJOR cluster ****... I found away to get the bastards off, I made a few new swear words up a few years ago, when I was hammering them off, and even with my hydraulic press I couldn't get them off so this is what I did:
Here are the Siamese twins, you separate them and you kill one of them, usually the rotor, it's cheaper than going to a shop, and not that hard or time consuming, took about 25mins or so:

Take Mr.Grinder, and cut notches in the hat of the rotor, you will see a hole in the middle stop grinding there:

Insert cold chisel with a hammer:

You will actually crack the rotor and this separates the the hub from the rotor partially. Be careful when doing this you don't want a chunk of rotor coming off at 120MPH:

Oh, and you thought it would just pop off now right? Not so much... Reinstall it on the car with a bolt through the strut, and on the ball joint mounting points:


Insert a prybar between the rotor and the brake caliper mounting boss and hammer in that starts the separation even more:

and one in the lower mounting boss:

After the prybars no longer fit in there, hit the rotor with a hammer, and rotate it a 1/4 turn every strike until this happens:

to be continued...
#31
I remember scott telling me about trying to get the rotors off of my car. That's why the hubs are mangled to **** now. Wonder what would happen if you heated the rotor hat red hot and then hit the back side of the hat with an air chisel? Would probably work too if you have those tools.
#32
#34
Thread Starter
400WHP or bust
iTrader: (7)
Joined: Oct 2003
Posts: 4,048
Likes: 0
From: Walkerton, Ontario Canada
I had an older version on my car before, it did seem to make a difference. One of the guys from BC put a piece flat Aluminum on there and it bent, so there is a lot of flex, it is also where Mazda added a brace in the verts to it is known to flex in that region.
Found the tread where it proves it does something, I hope Black91N/A doesn't mind I used hit thread. I put my old one on there years ago and I was very happy with it, this one is lighter so we shall see how much of a difference there is.
Scroll to post 38 on the 2nd page:
https://www.rx7club.com/2nd-generation-specific-1986-1992-17/how-build-lower-arm-bar-under-%2415-448638/page2/
#37
Engine, Not Motor
iTrader: (1)
Joined: Feb 2001
Posts: 29,793
Likes: 119
From: London, Ontario, Canada
Hm, maybe I'll add "lower arm bar" to the list of stuff to do while I have the front suspension apart for bearings and bushings. I'd think a set of tabs welded to the control arm bracket would be cool, with a detachable bar.
#38
Thread Starter
400WHP or bust
iTrader: (7)
Joined: Oct 2003
Posts: 4,048
Likes: 0
From: Walkerton, Ontario Canada
Sam, depending on where you got the hubs, and rotors from Geographically speaking it depends, ones form Ontario a worse than some from Texas; also when they were replaced last...
I used copper Anti-Seize last time and they came right off after two years of abuse, might be good to take them off annually, might save head aches in the future.
I have been thinking about welding it to the brackets as well, it can really only make it stronger.
I used copper Anti-Seize last time and they came right off after two years of abuse, might be good to take them off annually, might save head aches in the future.
I have been thinking about welding it to the brackets as well, it can really only make it stronger.
#39
Thread Starter
400WHP or bust
iTrader: (7)
Joined: Oct 2003
Posts: 4,048
Likes: 0
From: Walkerton, Ontario Canada
Time for another update:
While I was removing the front subframe I found lots of surface rust... Something I was so happy I thought this car was mostly free of, well it's not some idiot put a standard brake fitting in the master cylinder, and it pissed brake fluid everywhere! The entire drivers side frame rail doesn't have any paint any longer:
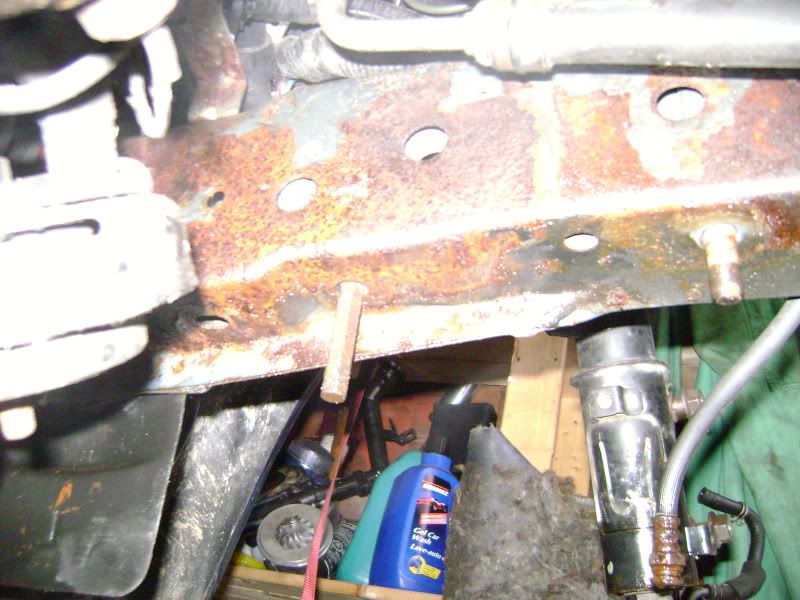
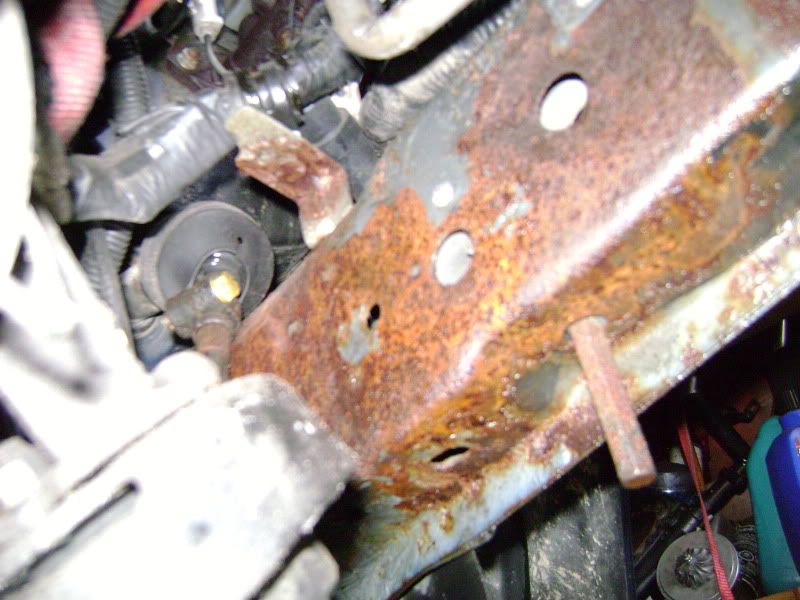
Here is the culprit, a whopping 3 threads of engagement if I'm lucky, not is it stupid to ruin the paint it's majorly unsafe!:
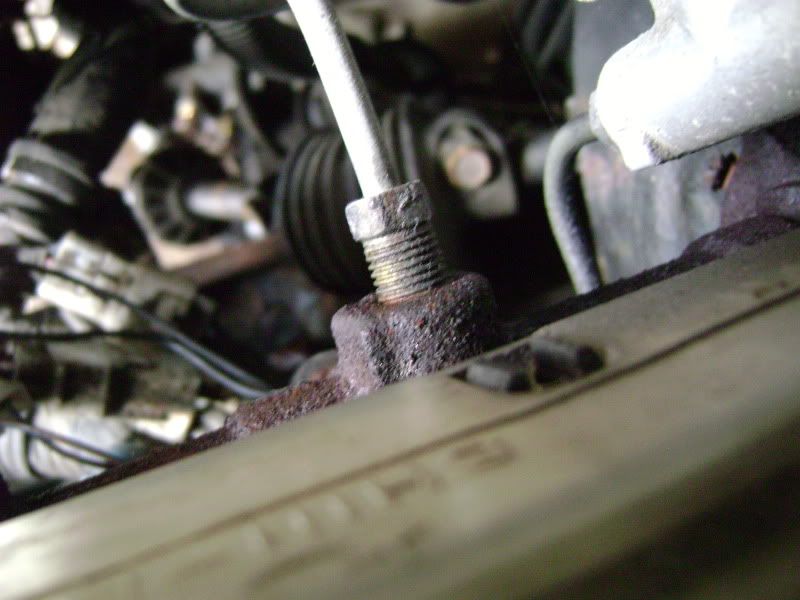
I have also been very busy painting the front suspension components:
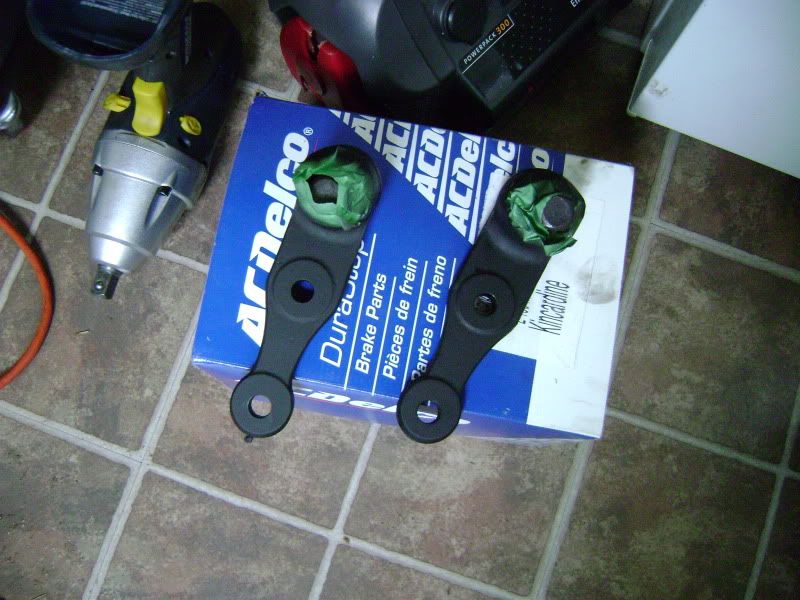
Ball Joints:
I also cut off the old rubber boots, and installed the Energy Suspension boots:
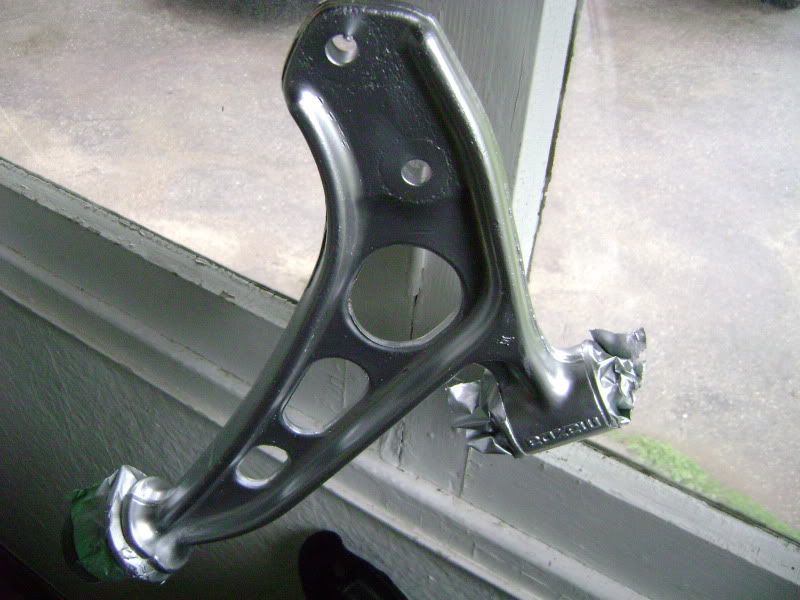
Control arms, already have Energy Suspension bushings installed, with a fresh coat of aluminum paint:
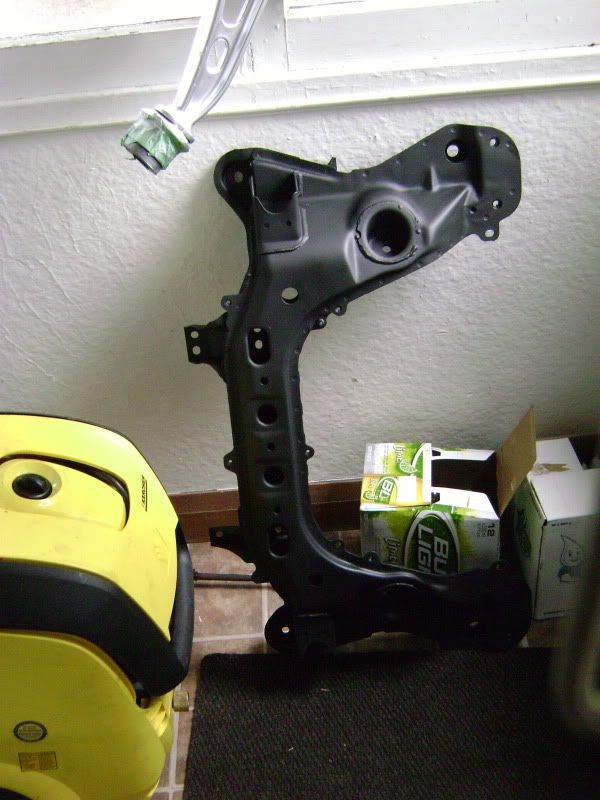
and the subframe, 3 coats of matte black rustoleum later:
I have to figure the best way to neutralize the brake fluid and get a coat of paint on there. So updates might take a few days now.
While I was removing the front subframe I found lots of surface rust... Something I was so happy I thought this car was mostly free of, well it's not some idiot put a standard brake fitting in the master cylinder, and it pissed brake fluid everywhere! The entire drivers side frame rail doesn't have any paint any longer:


Here is the culprit, a whopping 3 threads of engagement if I'm lucky, not is it stupid to ruin the paint it's majorly unsafe!:

I have also been very busy painting the front suspension components:
Ball Joints:
I also cut off the old rubber boots, and installed the Energy Suspension boots:

Control arms, already have Energy Suspension bushings installed, with a fresh coat of aluminum paint:

and the subframe, 3 coats of matte black rustoleum later:

I have to figure the best way to neutralize the brake fluid and get a coat of paint on there. So updates might take a few days now.
#41
Thread Starter
400WHP or bust
iTrader: (7)
Joined: Oct 2003
Posts: 4,048
Likes: 0
From: Walkerton, Ontario Canada
Photobucket is being stupid so not all pics show up all the time, so bear with it.
It's update time again.
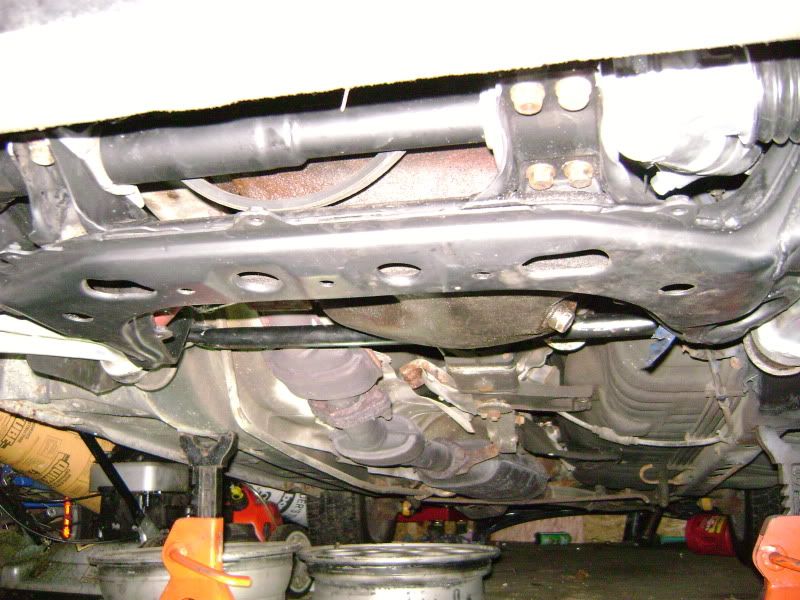
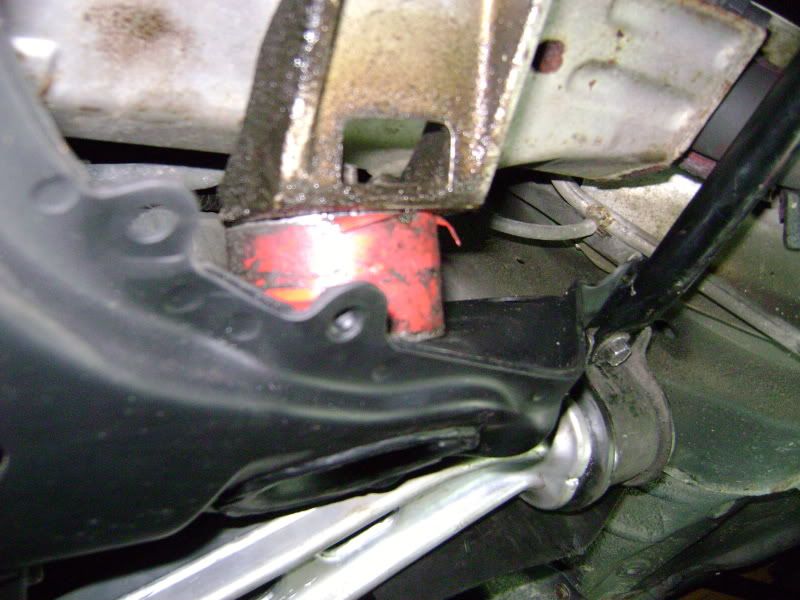
The subframe, depowered power steering rack, control arms have been installed, and the rust has been fixed until I can do a proper repair when I yank the engine.
Down to bare metal, ready to be primed:
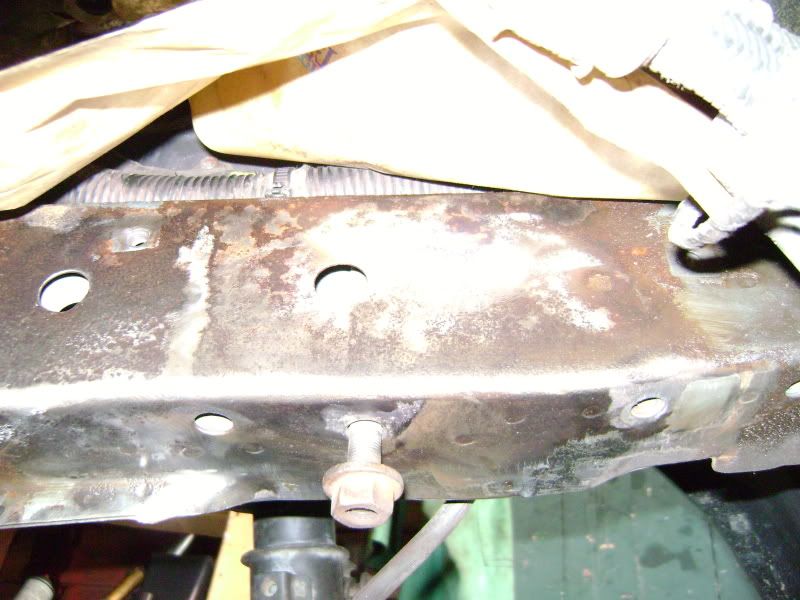
Primed, and ready for paint:
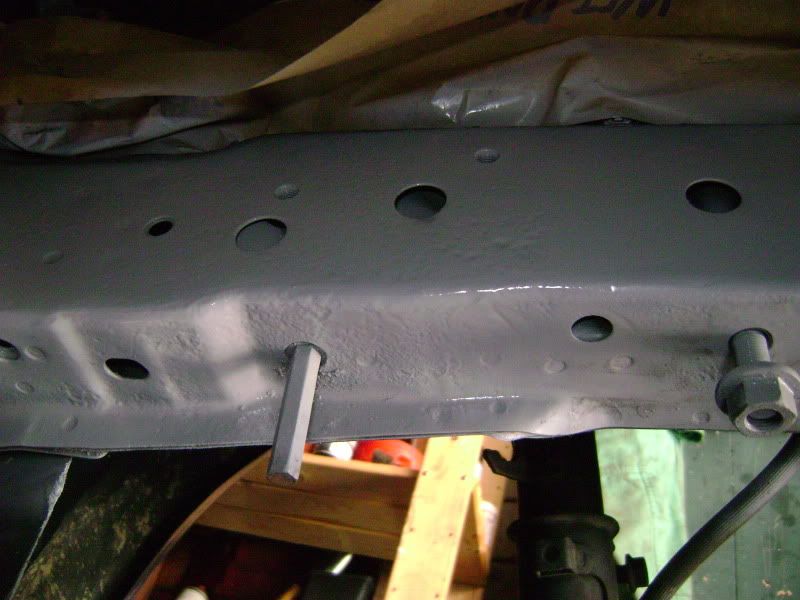
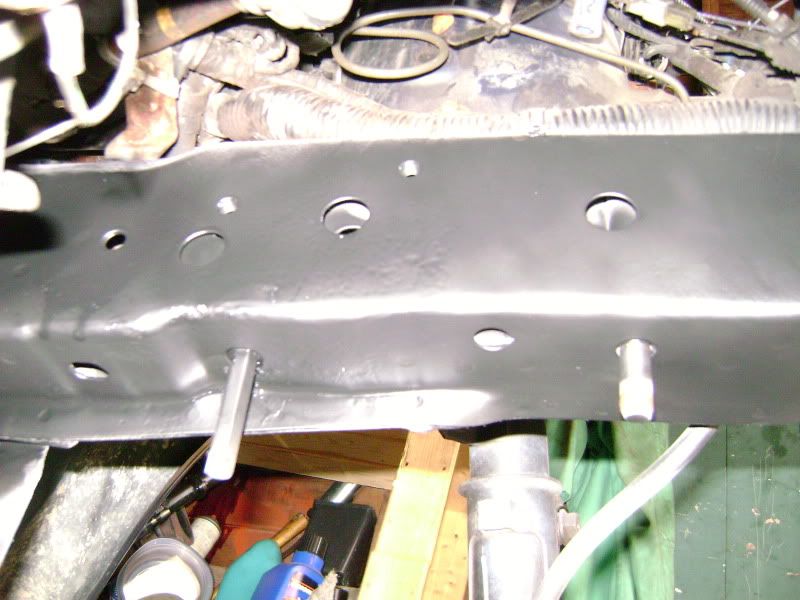
Painted, and waiting for subframe:
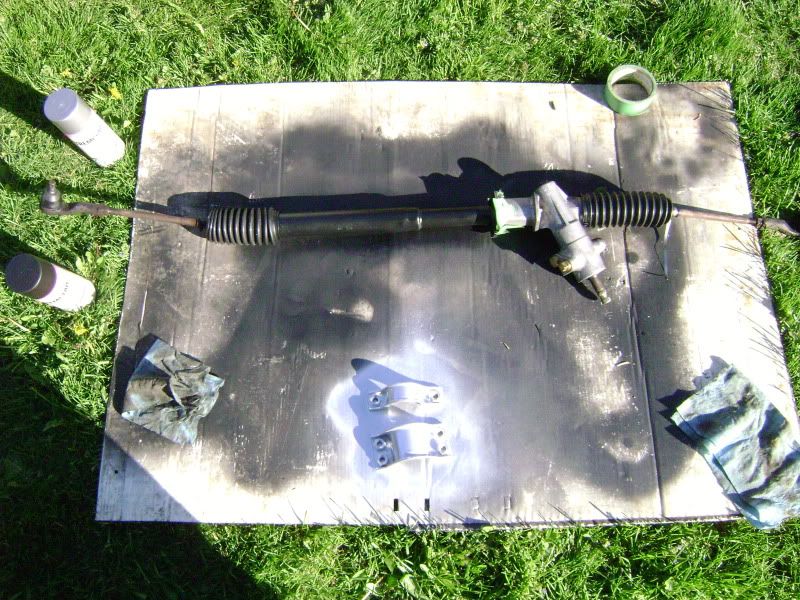
Steering rack freshly painted:
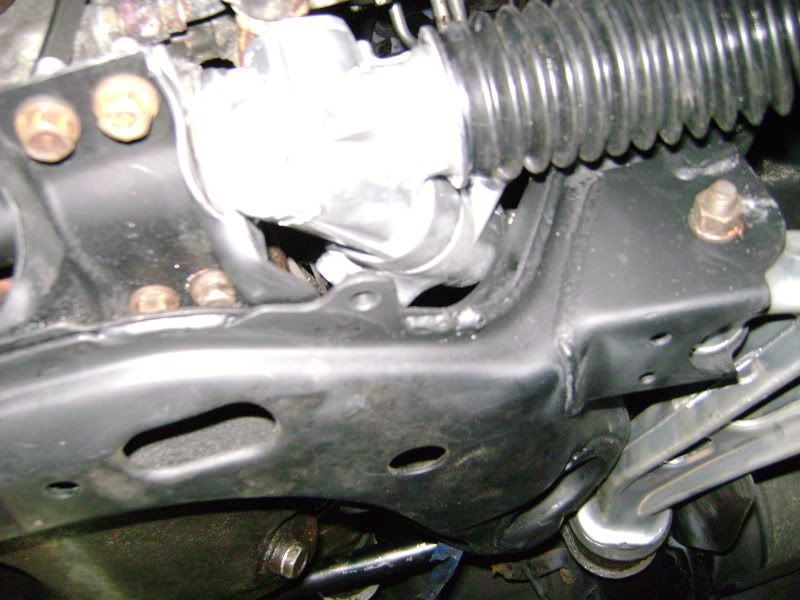
Subframe, steering rack and solid engine mounts installed:
Well, that's all for now, should be able to get the spindles painted and installed, wheel bearings re-packed with grease, and brakes painted and installed this weekend.
Monday I am having an appraiser come over so I can get the car in my name, then I can get a Safety, and I can Rock and Roll!!!
I have decided to add more work to the plan, I'm going to swap in my Turbo Drivetrain because my clutch in this car is pooched.
It's update time again.
The subframe, depowered power steering rack, control arms have been installed, and the rust has been fixed until I can do a proper repair when I yank the engine.
Down to bare metal, ready to be primed:

Primed, and ready for paint:

Painted, and waiting for subframe:

Steering rack freshly painted:

Subframe, steering rack and solid engine mounts installed:


Well, that's all for now, should be able to get the spindles painted and installed, wheel bearings re-packed with grease, and brakes painted and installed this weekend.
Monday I am having an appraiser come over so I can get the car in my name, then I can get a Safety, and I can Rock and Roll!!!
I have decided to add more work to the plan, I'm going to swap in my Turbo Drivetrain because my clutch in this car is pooched.
#42
Thread Starter
400WHP or bust
iTrader: (7)
Joined: Oct 2003
Posts: 4,048
Likes: 0
From: Walkerton, Ontario Canada
Just ordered my Shine hood, getting it shipped to Port Huron, Michigan so I can pick it up, so no brokerage, and maybe some duty/tax. Was only 620 shipped, which sucks because 5 weeks ago we were at par  .
.
I also got the car appraised, and is registered in my name, only Paid $16 bucks in PST to transfer it.
 .
.I also got the car appraised, and is registered in my name, only Paid $16 bucks in PST to transfer it.

#45
Thread Starter
400WHP or bust
iTrader: (7)
Joined: Oct 2003
Posts: 4,048
Likes: 0
From: Walkerton, Ontario Canada
Little update, been driving the car N/A since May 2-4, and loving every slow minute of it!
Fixing small things right now, like the wiper switch here is how I did it.
Cut an access hole in the back of the switch:
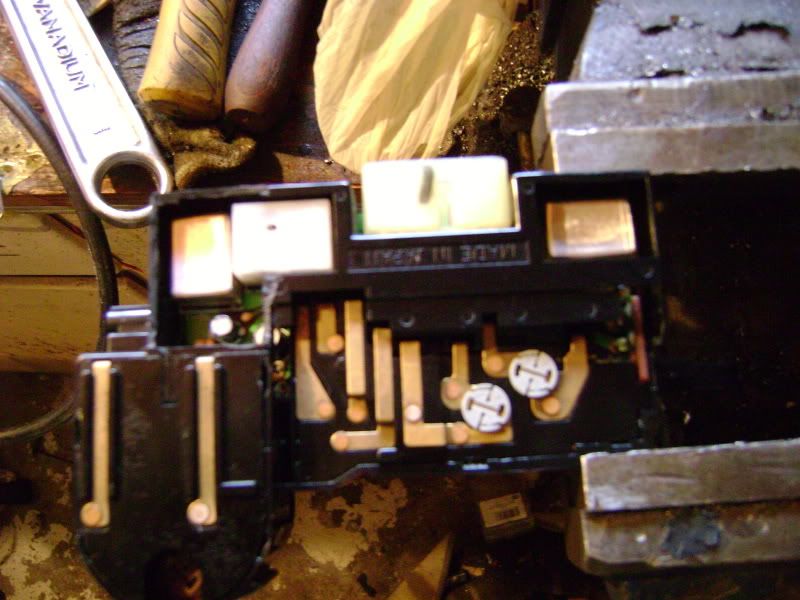
Desolder these 6 pins:
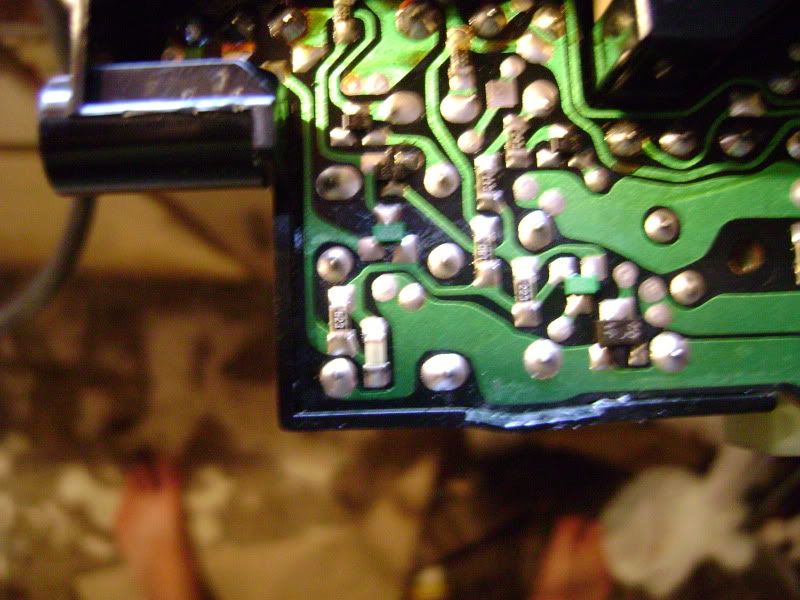
And these 6 pins:
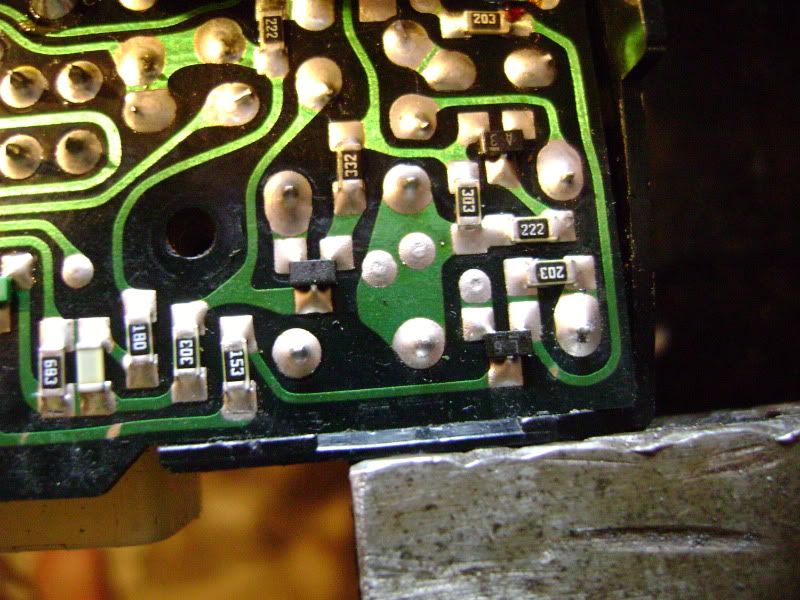
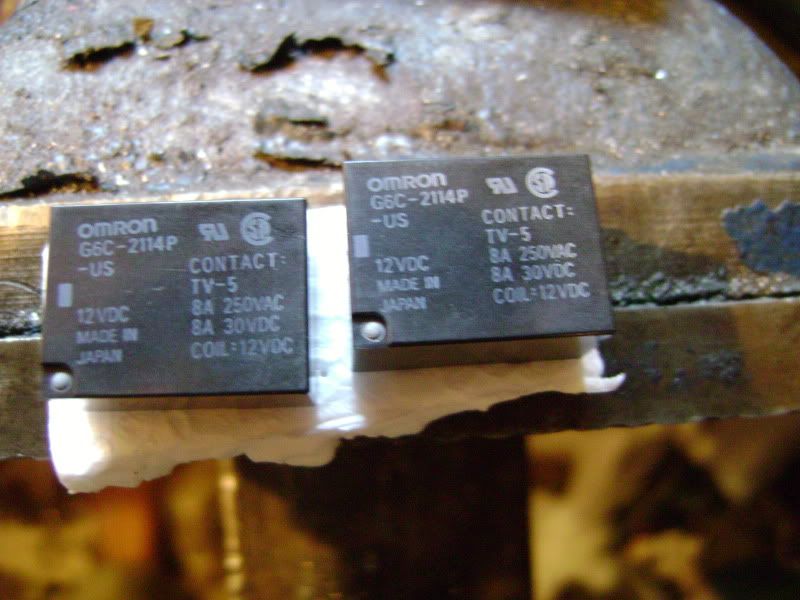
These are the replacement replays for the ones I removed, $27 bucks for them both shipped over night from MN:
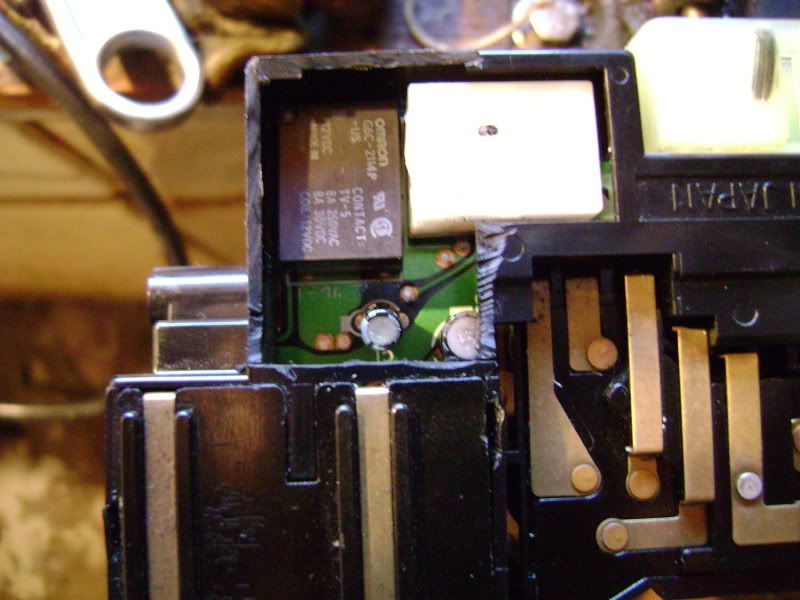
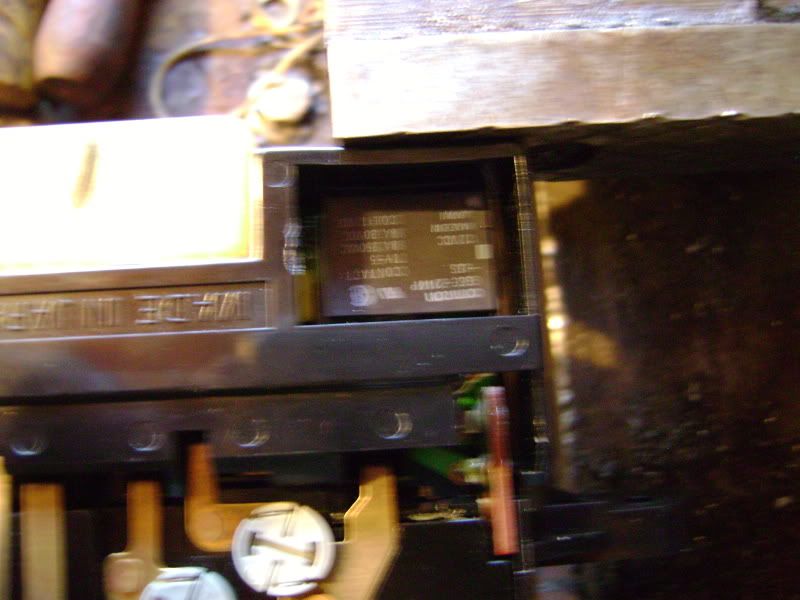
New relays in place:
Video of it not working before, you can hear nothing but the single speed works:
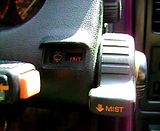
Here you can hear it working on all speeds:
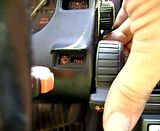
Really not that hard and totally worth it!
Fixing small things right now, like the wiper switch here is how I did it.
Cut an access hole in the back of the switch:

Desolder these 6 pins:

And these 6 pins:

These are the replacement replays for the ones I removed, $27 bucks for them both shipped over night from MN:

New relays in place:


Video of it not working before, you can hear nothing but the single speed works:

Here you can hear it working on all speeds:

Really not that hard and totally worth it!
#48
Thread Starter
400WHP or bust
iTrader: (7)
Joined: Oct 2003
Posts: 4,048
Likes: 0
From: Walkerton, Ontario Canada
My buddy Left that.
Yup 8.05 a piece, and shipping is stupid fast! Ordered at 6:30pm Monday, it was working at 4:00pm Tuesday!
Just waiting on my 929 Booster and Master to get here, and I am set for brakes/suspension, maybe just new pads.
Then the real building starts! I just finished cleaning up the intake ports, so I just need to port the exhaust, paint the engine, and buy the rebuild crap!
#50
Thread Starter
400WHP or bust
iTrader: (7)
Joined: Oct 2003
Posts: 4,048
Likes: 0
From: Walkerton, Ontario Canada
Yup, Joe Joe the Circus Monkey, I mean Joe at Classicauto will be spraying it in the future, when I don't know, but it will be staying the Sapphire Blue Metalic that it rolled off the line with!
I really need a rebuild kit, would be nice to have the RE in around Octoberish, and work on the Intercooler and Haltech install over the winter.
I really need a rebuild kit, would be nice to have the RE in around Octoberish, and work on the Intercooler and Haltech install over the winter.


