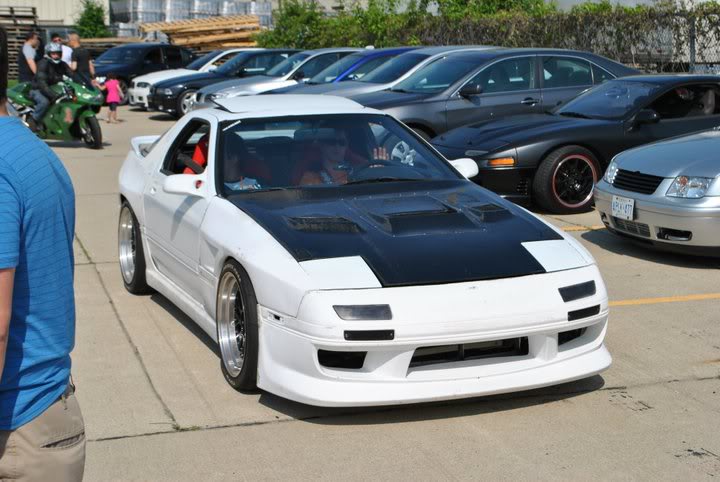
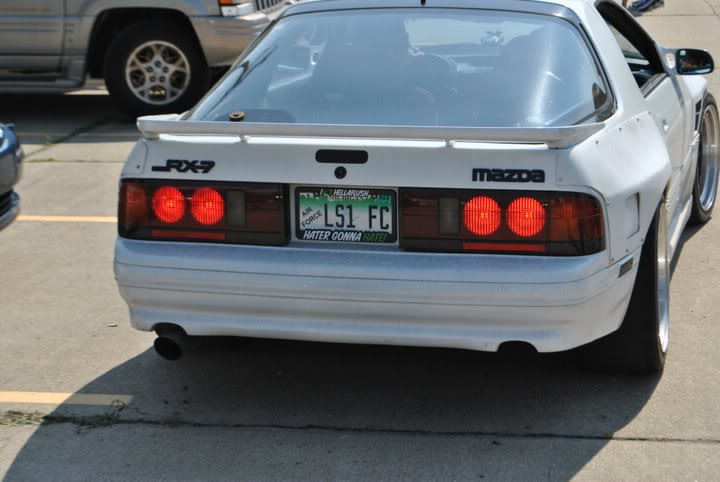
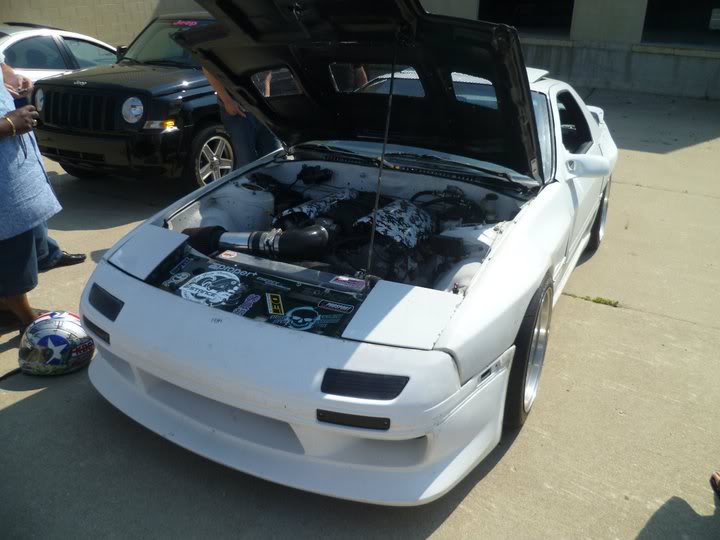
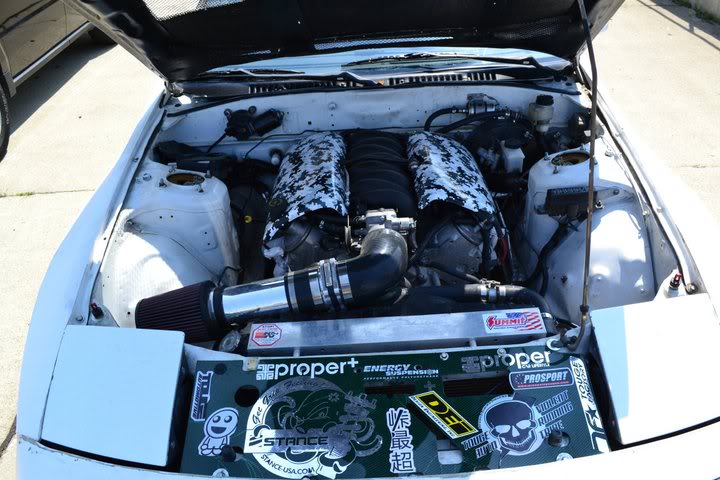
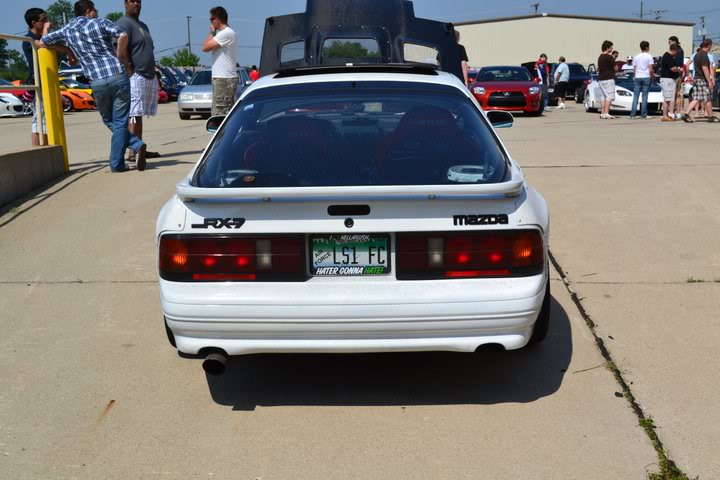
Time Attack / Street LS1 FC Build
#26
As much as I am against V8 swaps into any RX and any old s30Zs. YOUR SWAP IS CLEAN, and so is the build on the chassis! any vids on the exhaust, would be interesting to hear a dual 2.5 into 3". still probably sound weird to me but interesting non the less lol
#28
#31
Actually, one of my Air Force buddies that lives out by you was telling me about your fc the other day, small world!
#32
Wow super sick build! Really getting me amped to start my '86 lt1 build, question though how's the suspension going with the stance coilovers? And how was it before with the kyb and rb springs? Major difference I'm sure but was the kyb still decent enough to with stand the little extra weight and still able to pull around corners without massive roll.
Thanks for the input
Thanks for the input
#33
Wow super sick build! Really getting me amped to start my '86 lt1 build, question though how's the suspension going with the stance coilovers? And how was it before with the kyb and rb springs? Major difference I'm sure but was the kyb still decent enough to with stand the little extra weight and still able to pull around corners without massive roll.
Thanks for the input
Thanks for the input
#36
So check it out...
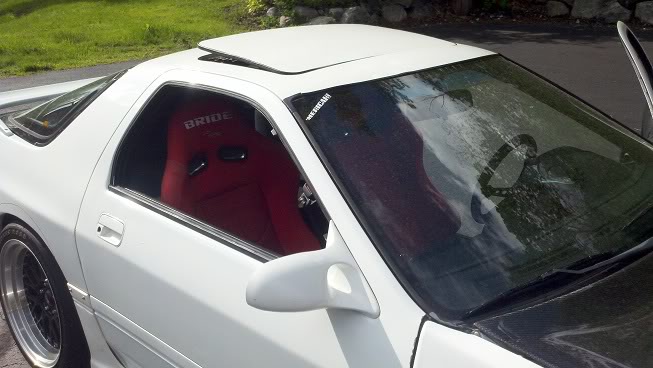
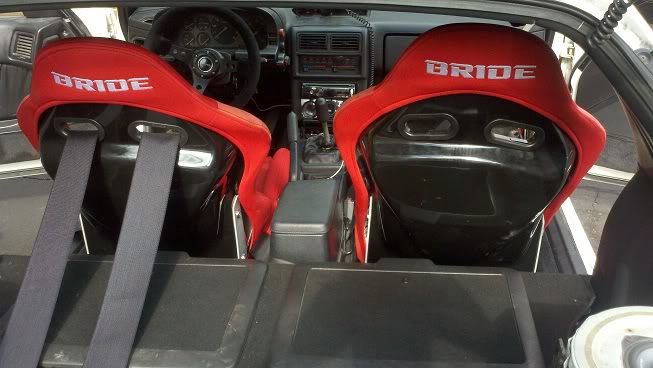
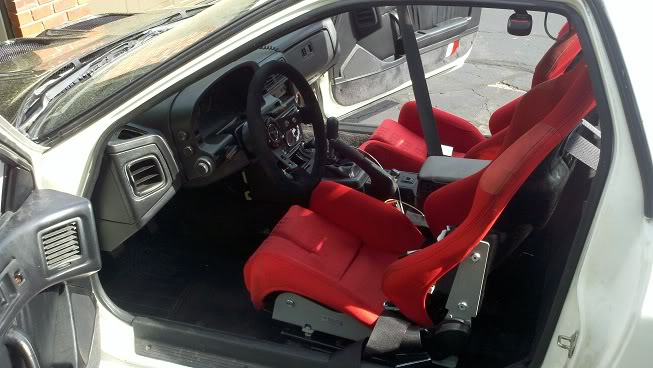
Got the seats installed, still working on the bracket spacing (little crooked) but I think they feel and look great!
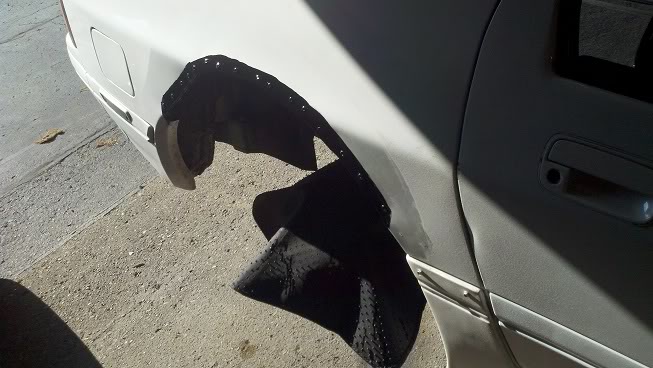
Cut, riveted and coated the wheel arch in POR15 (will go back and seam weld later).
Coated both rear wheel wells in POR15
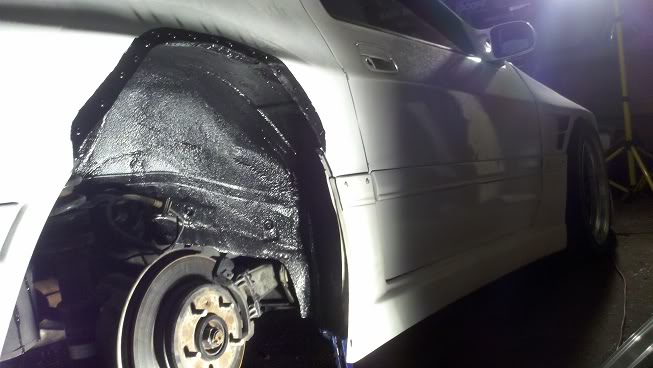
Installed rear flares (still have to remove again for final fitment, seam sealer and expansion foam).
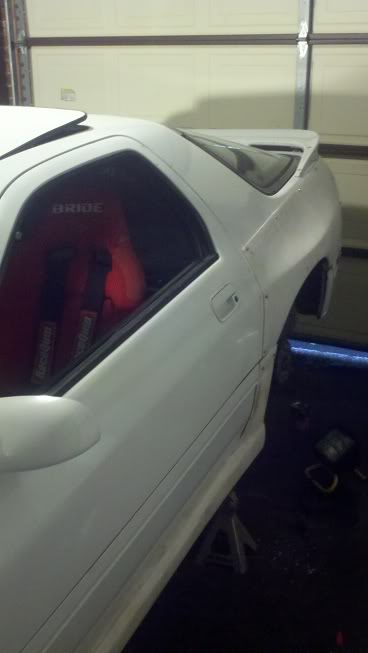
So much wider!
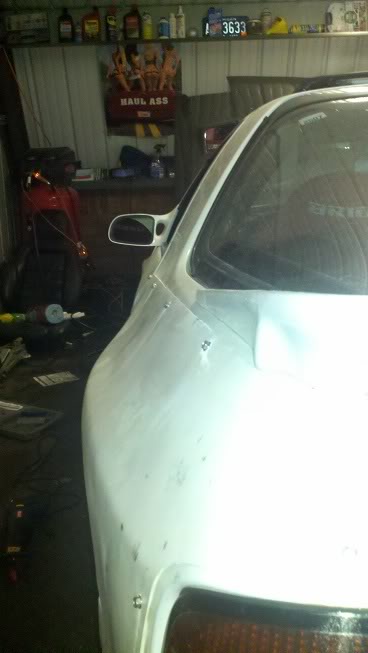
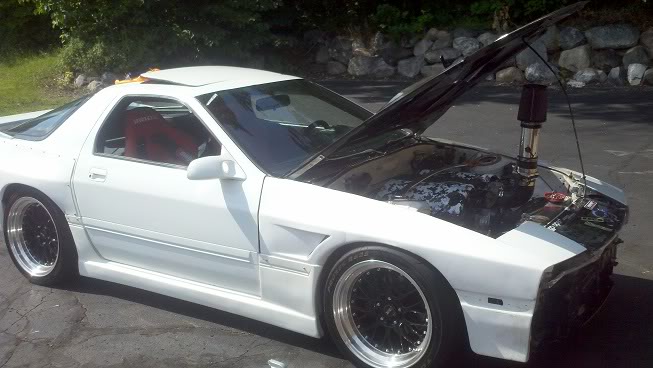
Annnd some crappy cell phone pics in my school parking lot. Measuring for rear spacers tomorrow, just from eyeballing I would guess about a 20mm should do it.
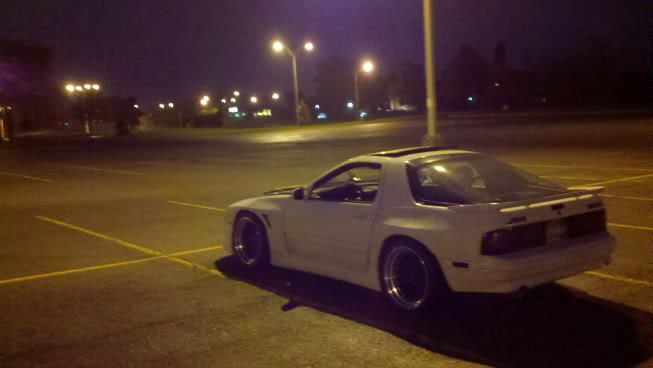
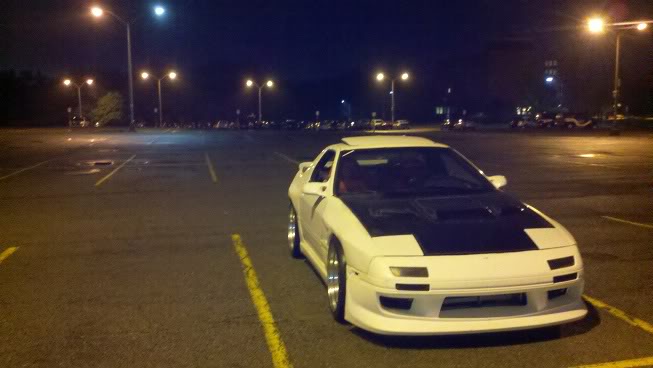
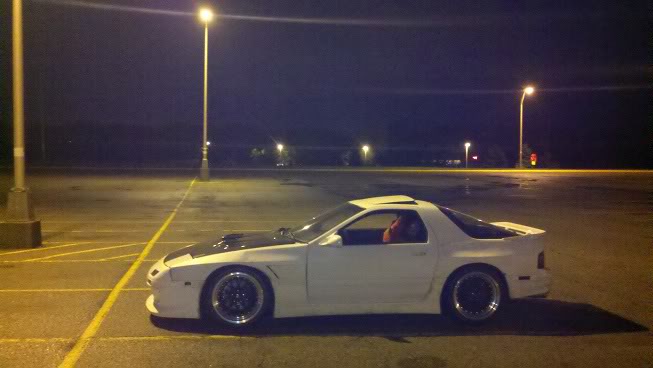
Got the seats installed, still working on the bracket spacing (little crooked) but I think they feel and look great!


Cut, riveted and coated the wheel arch in POR15 (will go back and seam weld later).

Coated both rear wheel wells in POR15

Installed rear flares (still have to remove again for final fitment, seam sealer and expansion foam).

So much wider!

Annnd some crappy cell phone pics in my school parking lot. Measuring for rear spacers tomorrow, just from eyeballing I would guess about a 20mm should do it.


#37
Ordered front and rear strut bars. For now I'm going to mount the harnesses to the rear strut bar, haven't heard any issues with doing it that way until I get a hold of a cage.
I might have to notch the front bar to clear the intake mani, we'll see.
Yhw~~0_12.JPG)
Next up this month:
Rear spacers
Power steering
Rear diffuser
Front control arm bushings
Alignment
Corner balance
Someday this thing might get painted too!
I might have to notch the front bar to clear the intake mani, we'll see.
Next up this month:
Rear spacers
Power steering
Rear diffuser
Front control arm bushings
Alignment
Corner balance
Someday this thing might get painted too!
#38
same boat.....unemployed so I am stuck. My goofy as neighbor we here for this...
http://www.youtube.com/watch?v=wguAff5Wh4o
http://www.youtube.com/watch?v=wguAff5Wh4o
#42
Hope to see you there next time, I'd love to talk rx7 tech with someone local that knows their stuff.
#49
Wow, it's been a long time since I made an update.
Strut bars installed, harnesses mounted to rear bar, reinstalled seats and harnesses with better spacing.
Here's the front bar (note the clearance with the covers) and a Katech belt tensioner installed:
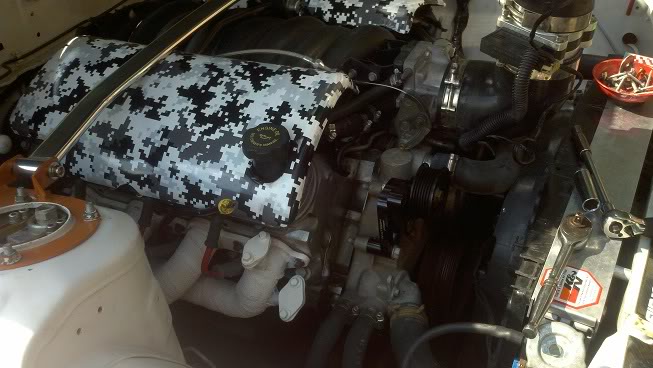
Had to flip up the intake to do the tensioner, thought it looked like a middle finger
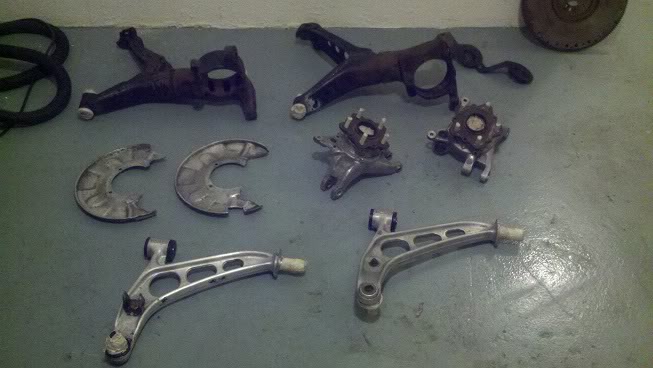
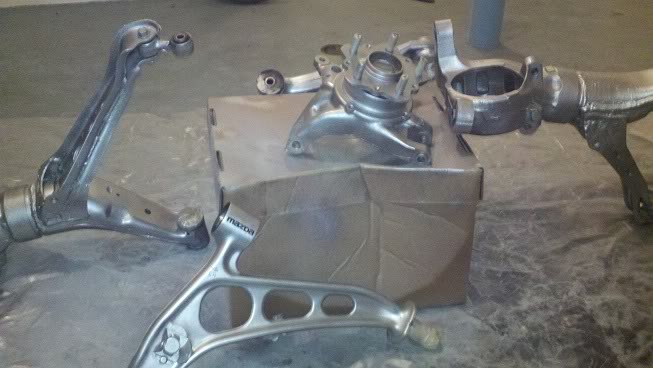
Removed, cleaned, sanded, and painted all of the control arms, hubs, and dust shields. Also installed delrin or polyurethane bushings everywhere. Also did the DTSS eliminator bushings.
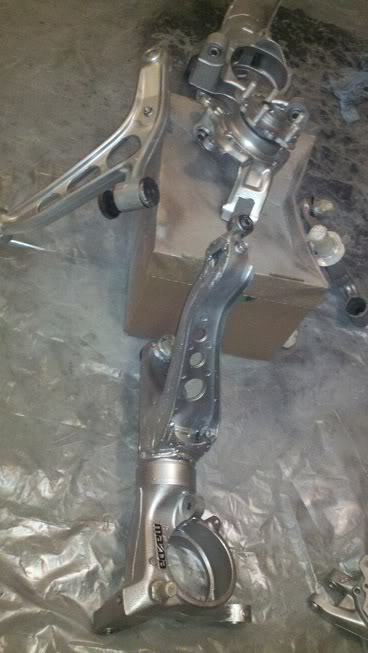
I colored in the Mazda logos with a sharpie haha.
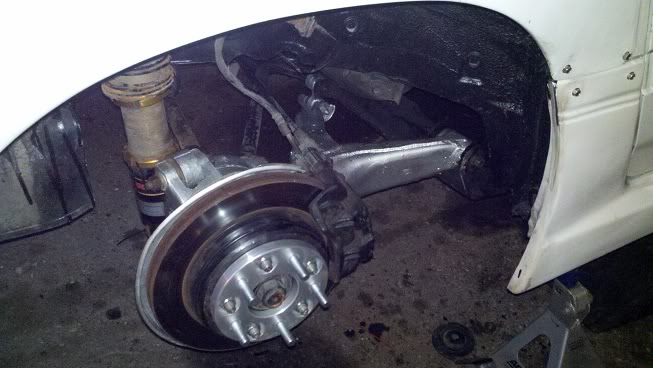
Removed rear sway bar, installed everything else and installed 15mm bolt on spacers
(the wheels look WAY BETTER now in the rear)
Strut bars installed, harnesses mounted to rear bar, reinstalled seats and harnesses with better spacing.
Here's the front bar (note the clearance with the covers) and a Katech belt tensioner installed:

Had to flip up the intake to do the tensioner, thought it looked like a middle finger


Removed, cleaned, sanded, and painted all of the control arms, hubs, and dust shields. Also installed delrin or polyurethane bushings everywhere. Also did the DTSS eliminator bushings.


I colored in the Mazda logos with a sharpie haha.

Removed rear sway bar, installed everything else and installed 15mm bolt on spacers
(the wheels look WAY BETTER now in the rear)

#50
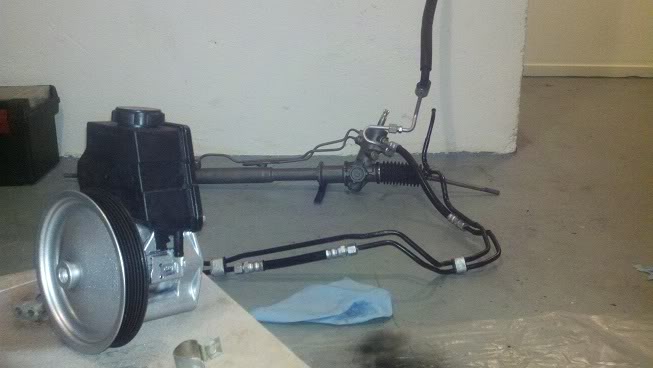
Now I'm in the middle of a power steering conversion, everything is prepped and ready for install.
Professionally restored PS rack from '91 tII - $150
F-Body ps pump, pulley, resevoir and bracket - $50 on CraigsList
All of the oem Rx-7 ps lines, cooler, and banjo bolts - $10 from junkyard
Stainless hose/fittings from hydraulics shop - $30
Grand total - $240.... AWESOME deal.
I don't have any before pics, but the pump and the lines looked like aids... so I went ahead and cleaned/sanded/painted it before installing.
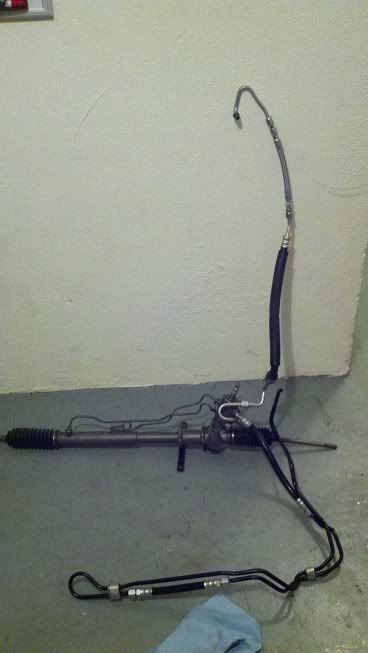
Plugged the steering metering valve, close up on the pressure/return fittings
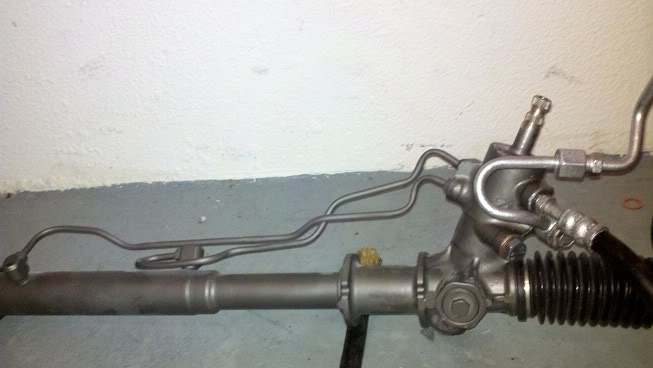
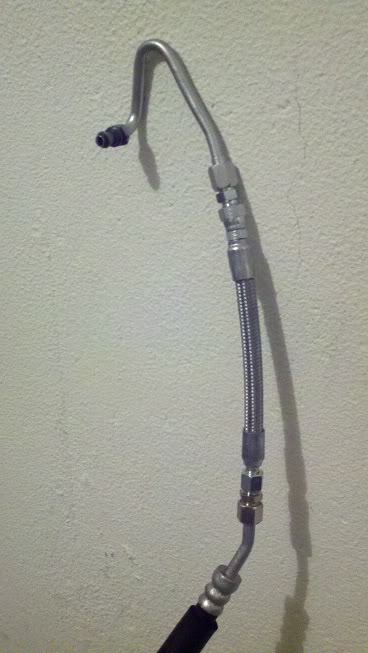
OEM Mazda pressure line spliced in with stainless flex line and F-Body pressure connection
Restored ps pump (will be doing the spring mod prior to install)
Also ordered an adjustable rear camber arm, heat shielding blankets for the trans tunnel, and a pinion snubber.
Much more work to be done! Paint next month!
Professionally restored PS rack from '91 tII - $150
F-Body ps pump, pulley, resevoir and bracket - $50 on CraigsList

All of the oem Rx-7 ps lines, cooler, and banjo bolts - $10 from junkyard
Stainless hose/fittings from hydraulics shop - $30
Grand total - $240.... AWESOME deal.
I don't have any before pics, but the pump and the lines looked like aids... so I went ahead and cleaned/sanded/painted it before installing.

Plugged the steering metering valve, close up on the pressure/return fittings

OEM Mazda pressure line spliced in with stainless flex line and F-Body pressure connection

Restored ps pump (will be doing the spring mod prior to install)

Also ordered an adjustable rear camber arm, heat shielding blankets for the trans tunnel, and a pinion snubber.
Much more work to be done! Paint next month!


