Sft3303's contribution (agonizingly slow s5 n/a/t build)
#1
Sft3303's contribution (agonizingly slow s5 n/a/t build)
So I've asked a ton of questions here, and this forum has helped me so much, and with a couple of big purchases on the way, I figured it would be ok to call this car a "build."
Anyways, I'll fill up this post with some back story and pictures, so we can get up to speed.
I got a job this past January as a co-op (currently a mechanical engineering student) and that gave me time, money, and space to finally get that car I've always wanted. I would've killed for a datsun s30, but my dad and friends convinced me it wouldn't be worth all the trouble of 35+ year old wiring, rust, etc... So I looked elsewhere.
My simple requirements were:
RWD
5 speed
Independent rear suspension
1985 or newer
No convertibles (unless ONLY convertible. a la miata, s2000, etc. Roadsters.)
So keep in mind, as you read this, there's some stuff I did earlier on that I wouldn't do now, as I've learned a TON from working on this (mainly just paying too much for things). So don't be too surprised if you would have done things differently.
You get the picture. Anyways, after looking around, I stumbled upon this guy in a the local craigslist.
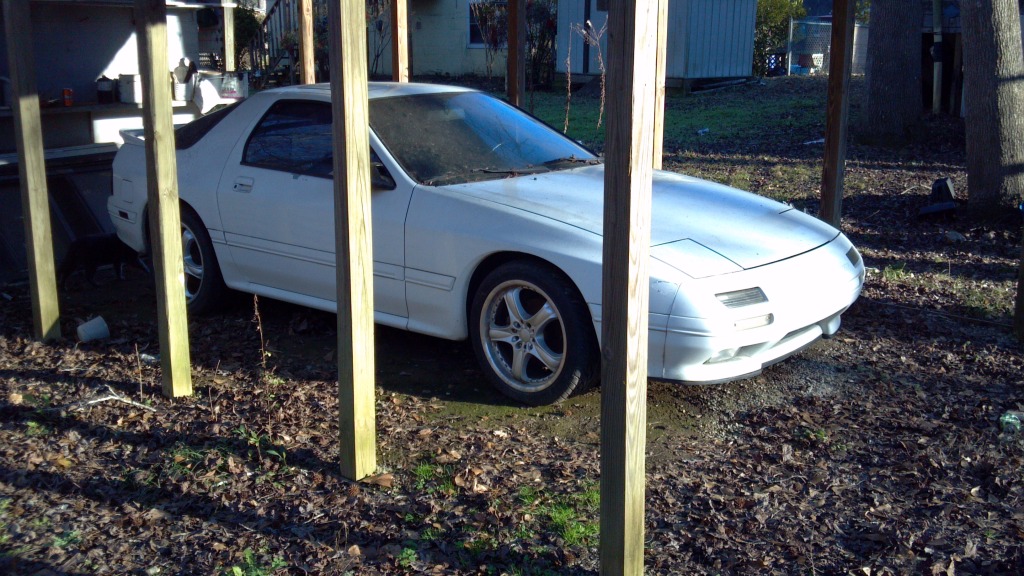
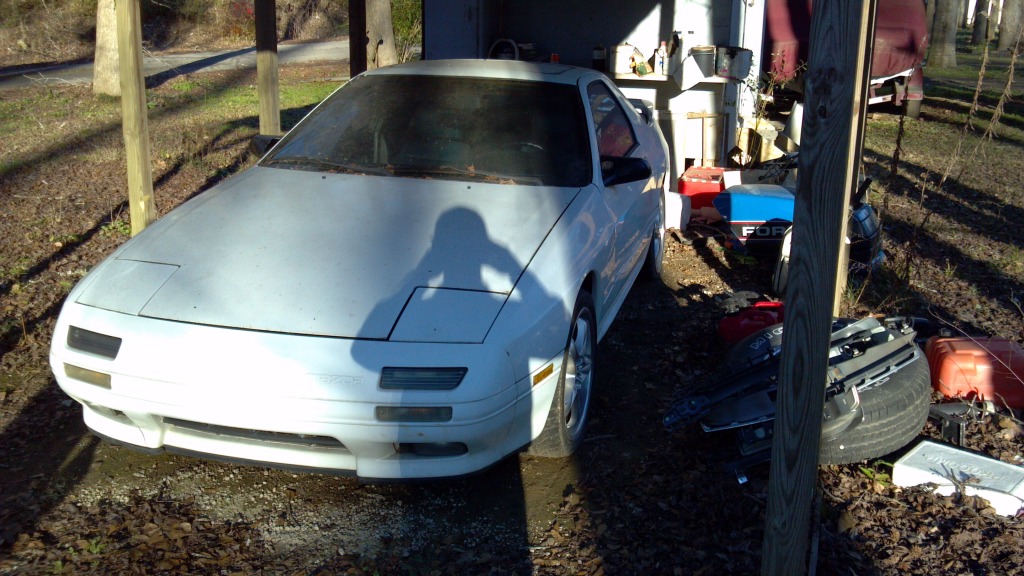
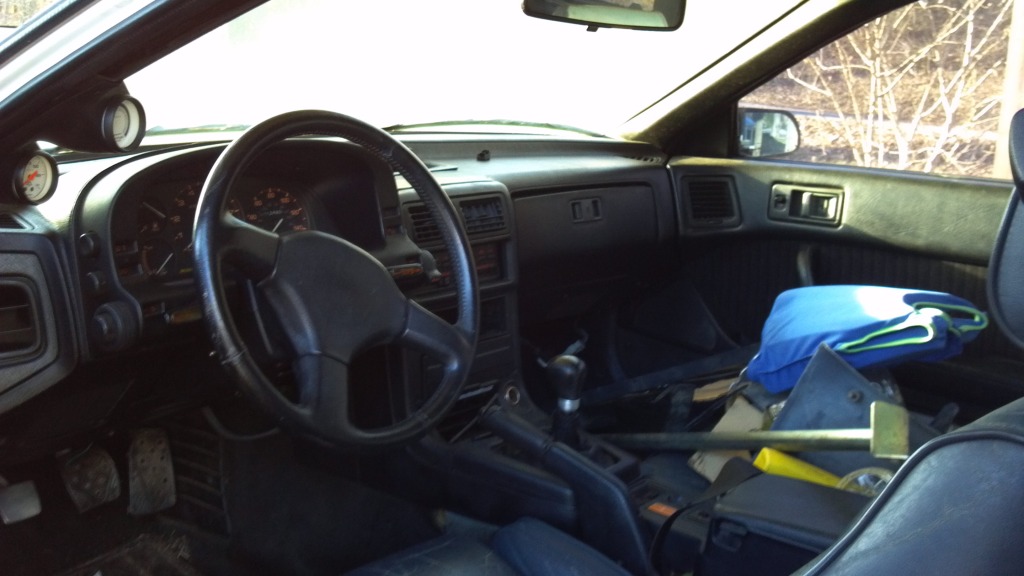
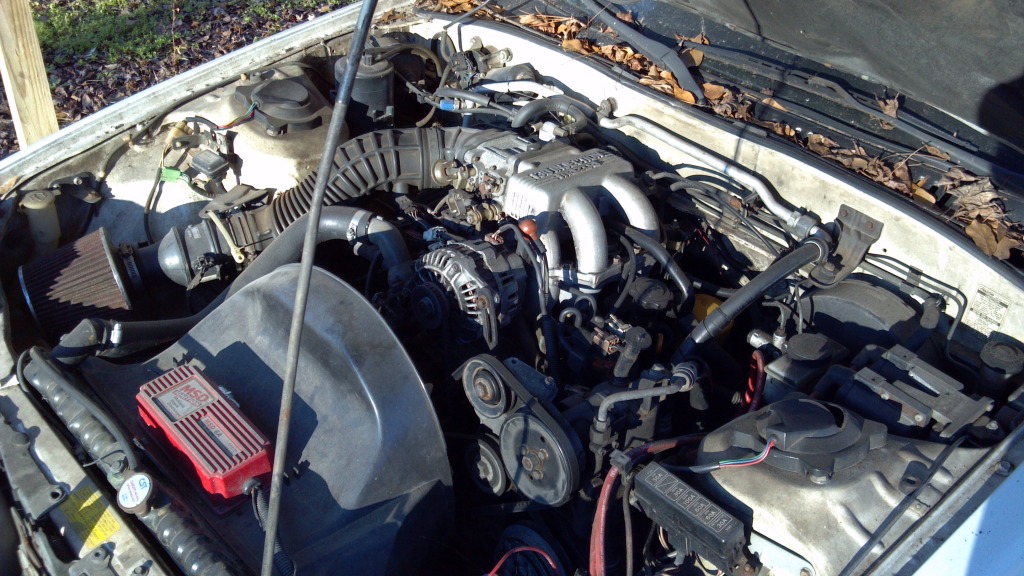
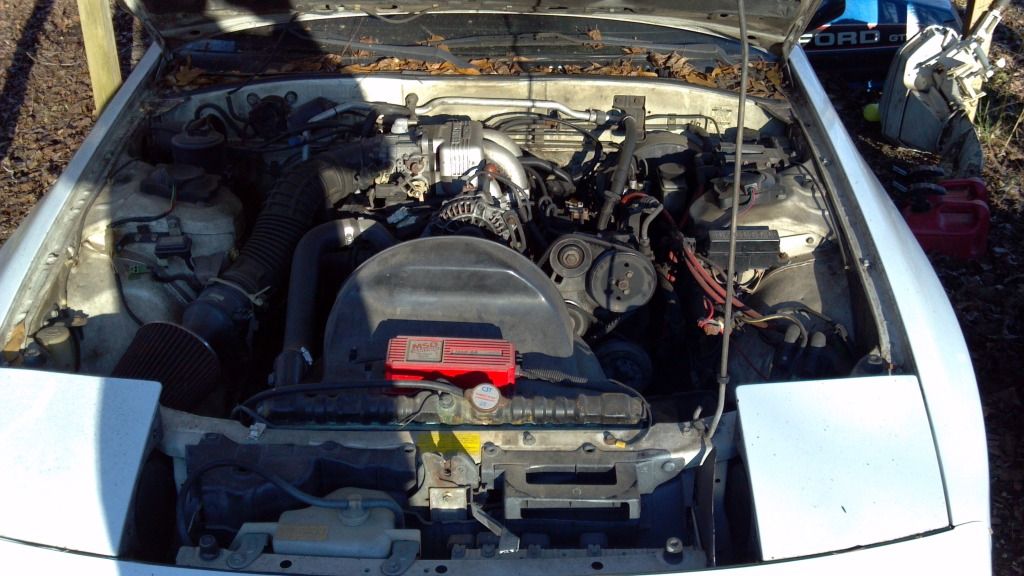
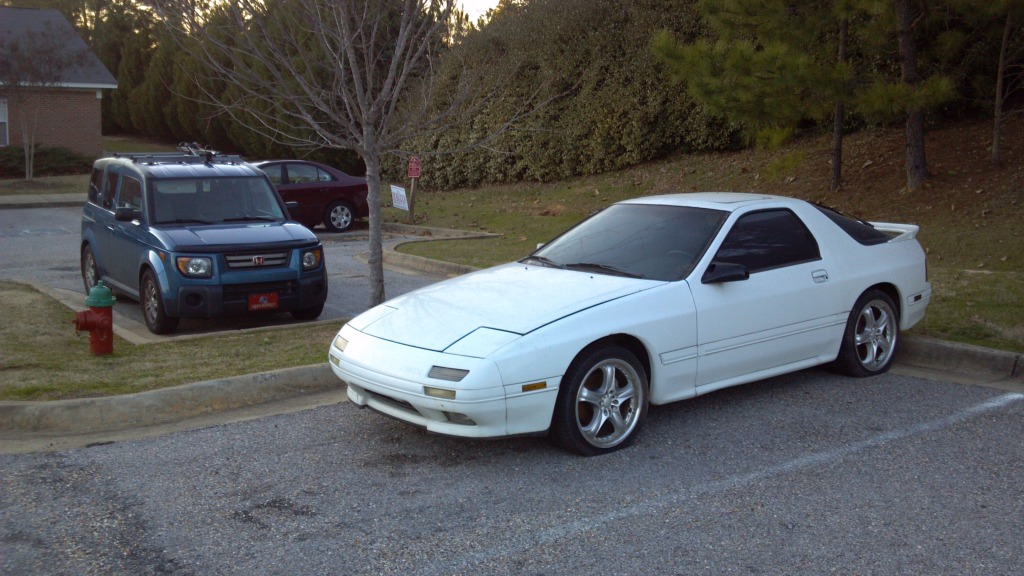
Her heart had failed (blown rear coolant seal, as I would later learn) but she wasn't in too bad of shape overall. No rust, no accidents. Just a bad engine and bad paint.
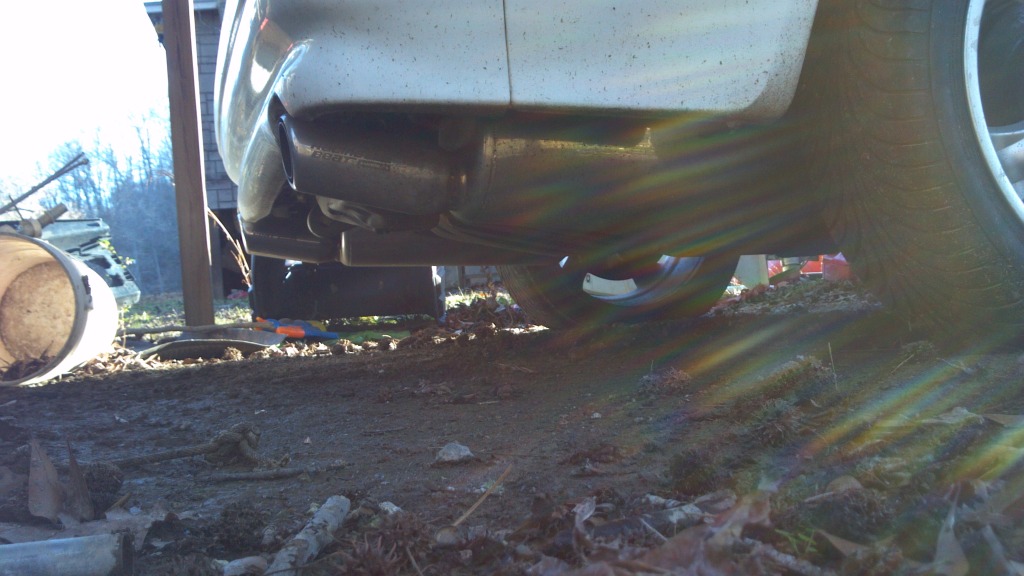
She also had a full set of these hiding under her skirt:

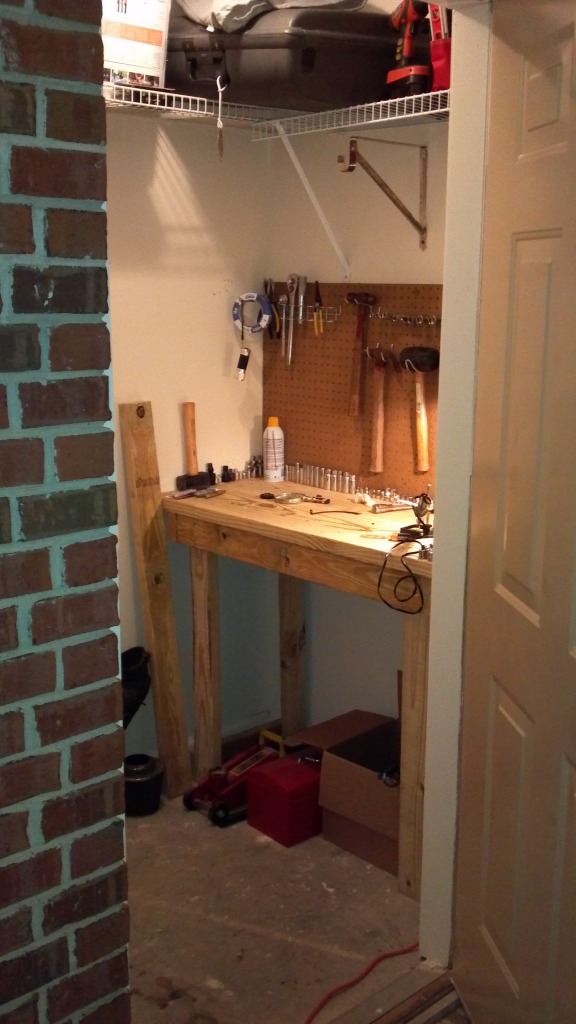
I was living in a pretty small apartment at the time, and had only a 6' by 6' storage space to work with, so I built a small bench and called it home.
Pic with the honda (the willing and able hauler of parts) as she sat the first day she got home:
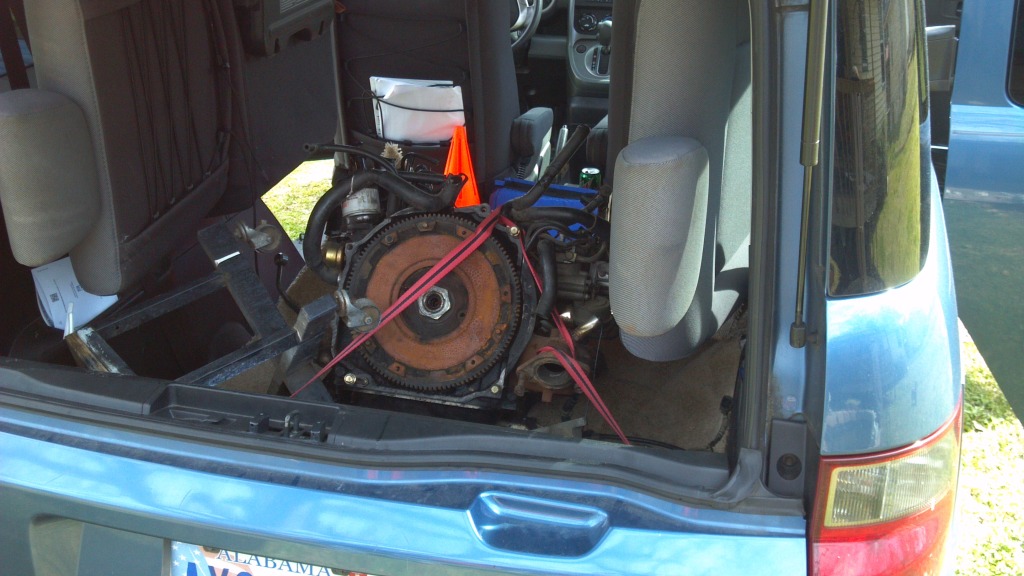
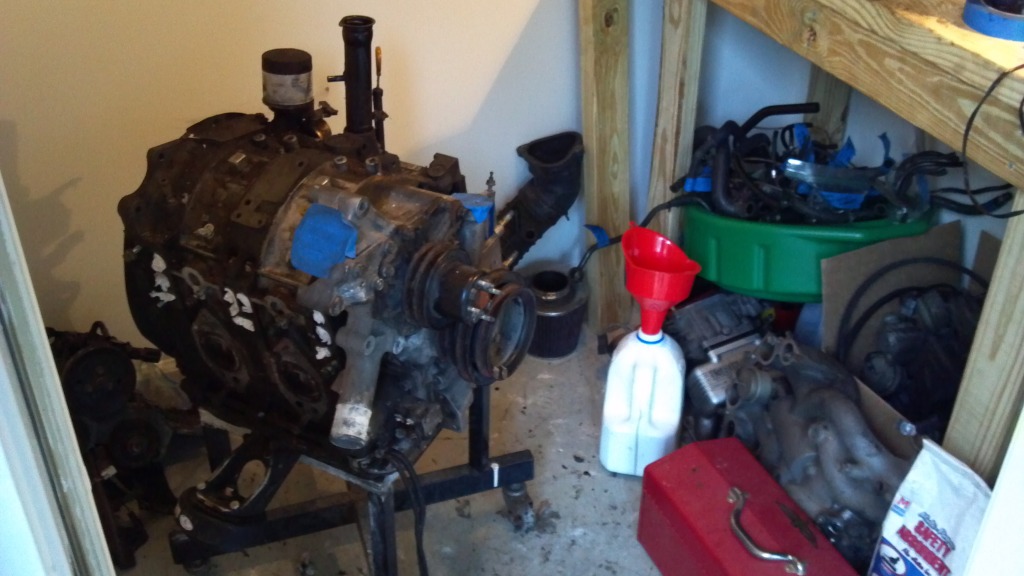
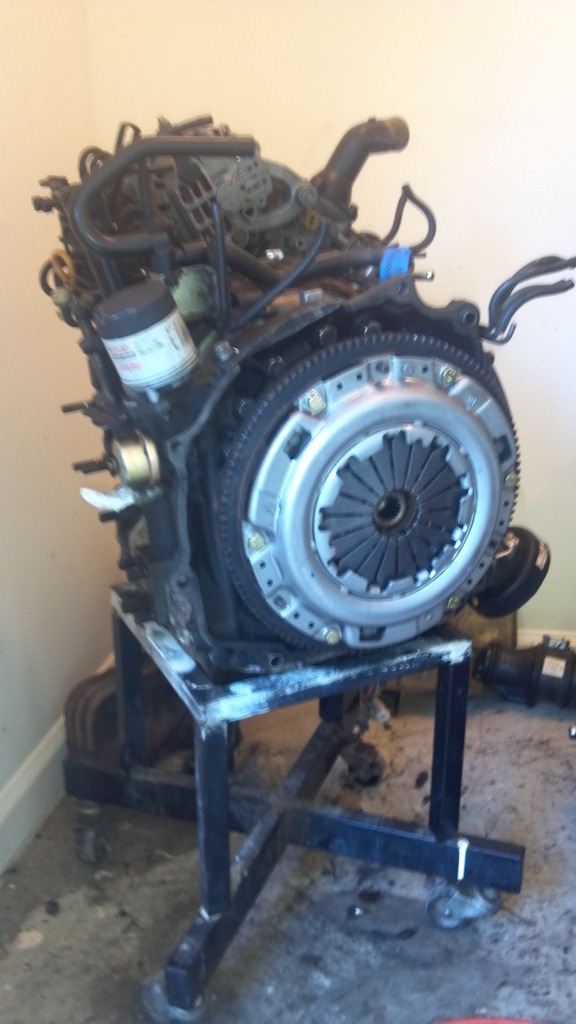
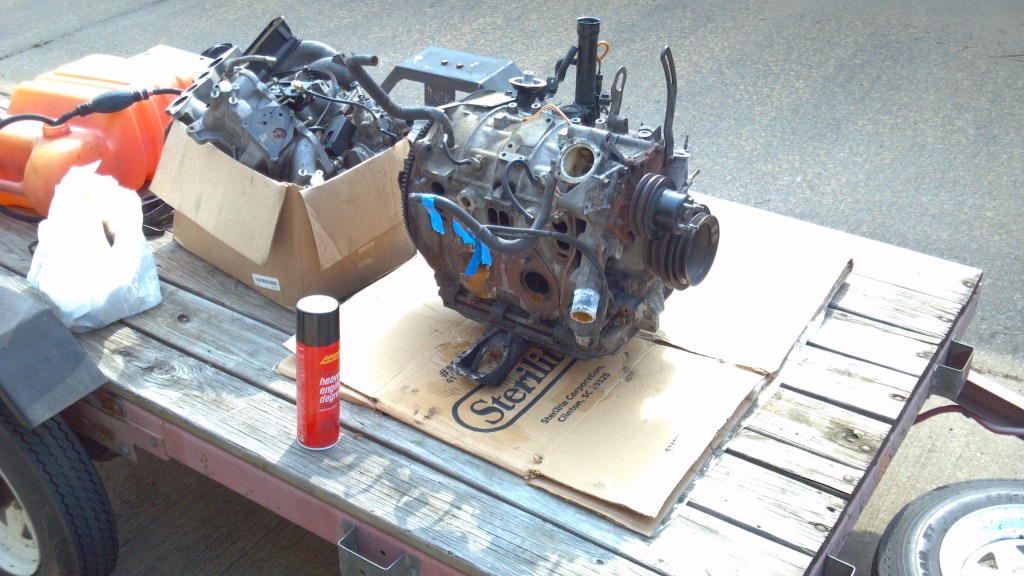
A couple weeks later I found another suitable engine. It was from a 91, allegedly had 90,000 miles on it (given its condition, I don't really doubt this claim, but I have no proof that this is the actual milage). I picked it up and brought her home, and started cleaning up and refreshing what I could (on the outside of the block, I still wasn't very confident in my ability to crack these engines, and didn't really have the time/money for a rebuild kit. Still kinda don't.)
Anyways, I'll fill up this post with some back story and pictures, so we can get up to speed.
I got a job this past January as a co-op (currently a mechanical engineering student) and that gave me time, money, and space to finally get that car I've always wanted. I would've killed for a datsun s30, but my dad and friends convinced me it wouldn't be worth all the trouble of 35+ year old wiring, rust, etc... So I looked elsewhere.
My simple requirements were:
RWD
5 speed
Independent rear suspension
1985 or newer
No convertibles (unless ONLY convertible. a la miata, s2000, etc. Roadsters.)
So keep in mind, as you read this, there's some stuff I did earlier on that I wouldn't do now, as I've learned a TON from working on this (mainly just paying too much for things). So don't be too surprised if you would have done things differently.
You get the picture. Anyways, after looking around, I stumbled upon this guy in a the local craigslist.


Her heart had failed (blown rear coolant seal, as I would later learn) but she wasn't in too bad of shape overall. No rust, no accidents. Just a bad engine and bad paint.


She also had a full set of these hiding under her skirt:

I was living in a pretty small apartment at the time, and had only a 6' by 6' storage space to work with, so I built a small bench and called it home.

Pic with the honda (the willing and able hauler of parts) as she sat the first day she got home:

A couple weeks later I found another suitable engine. It was from a 91, allegedly had 90,000 miles on it (given its condition, I don't really doubt this claim, but I have no proof that this is the actual milage). I picked it up and brought her home, and started cleaning up and refreshing what I could (on the outside of the block, I still wasn't very confident in my ability to crack these engines, and didn't really have the time/money for a rebuild kit. Still kinda don't.)


#2
Since an engine swap certainly wasn't happening in the apartment parking lot, I rented a 10' by 20' storage unit to use as a garage. Best investment for the car up to that point. Now that it was out of the landlord's sight, so much more progress was made on the car so much faster. I soon had the wiring harness labeled and disconnected, radiator starter and alternator were all off and sent out to be refurbished, and intake/exhaust removed.
The day finally came to swap, so I rented a hoist and we got to it. We only had it for one day, and this was the first time I had ever attempted anything like this, so we (my friend who came along to help) were a bit nervous about the whole ordeal. Anyways:
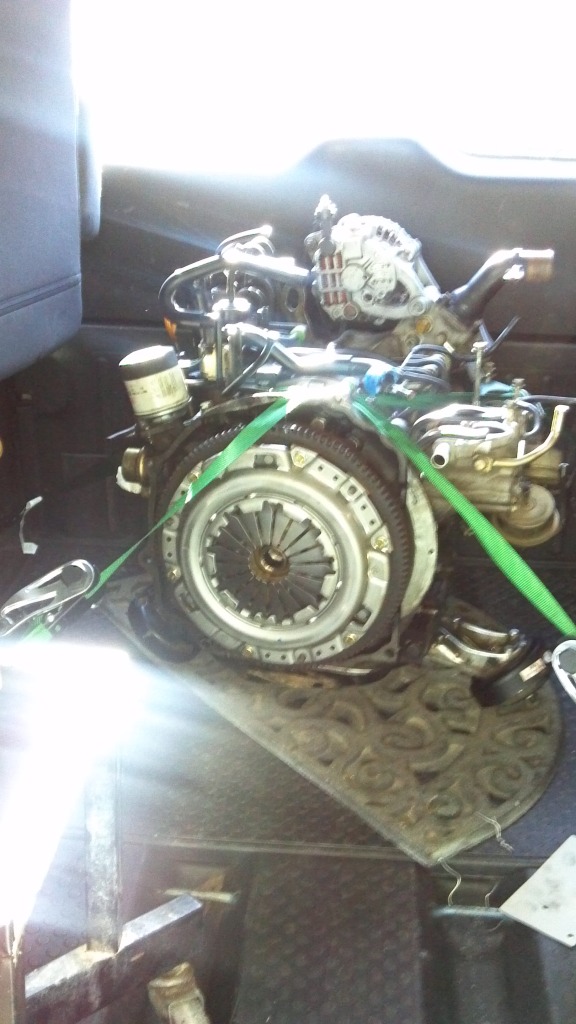
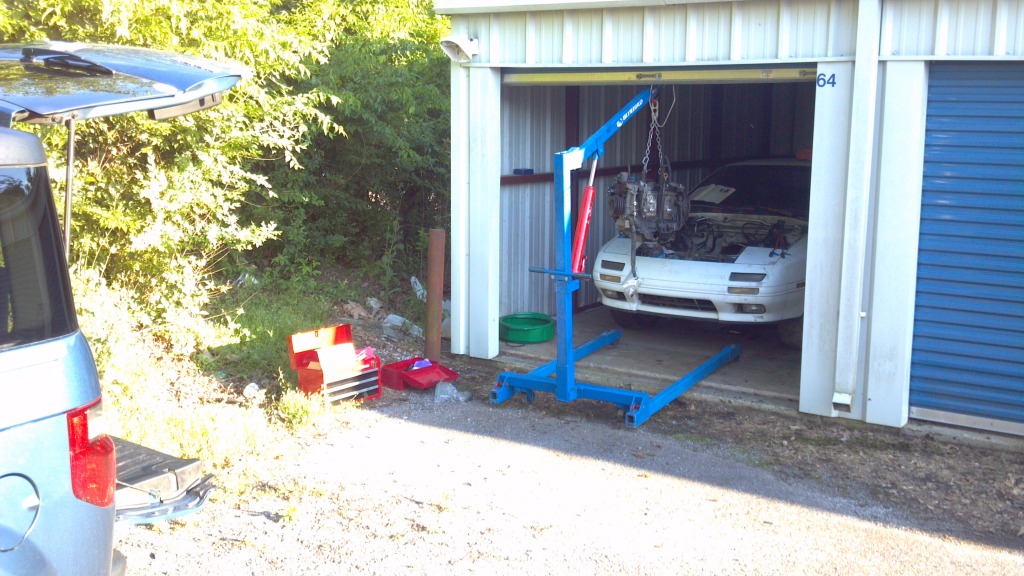
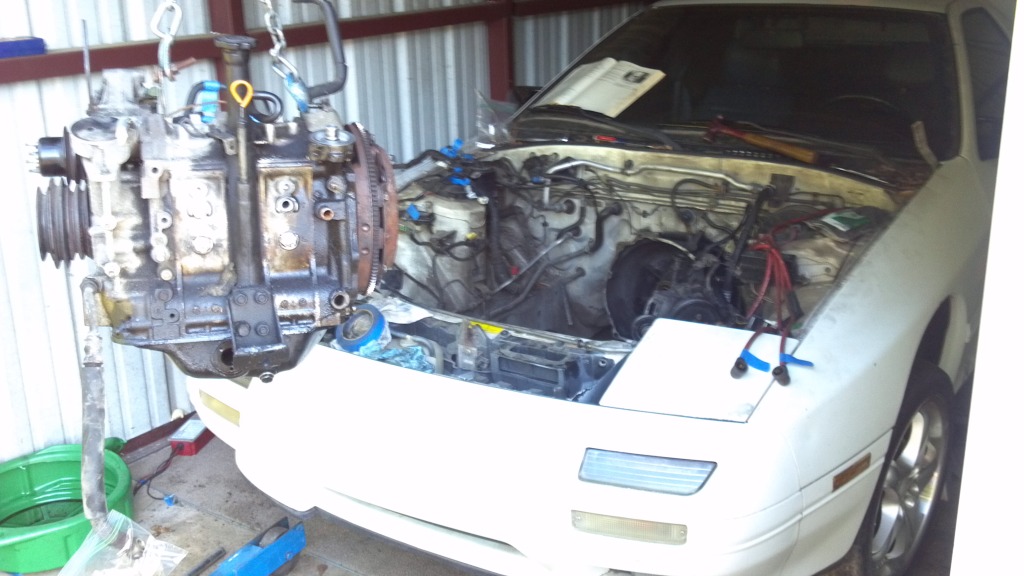
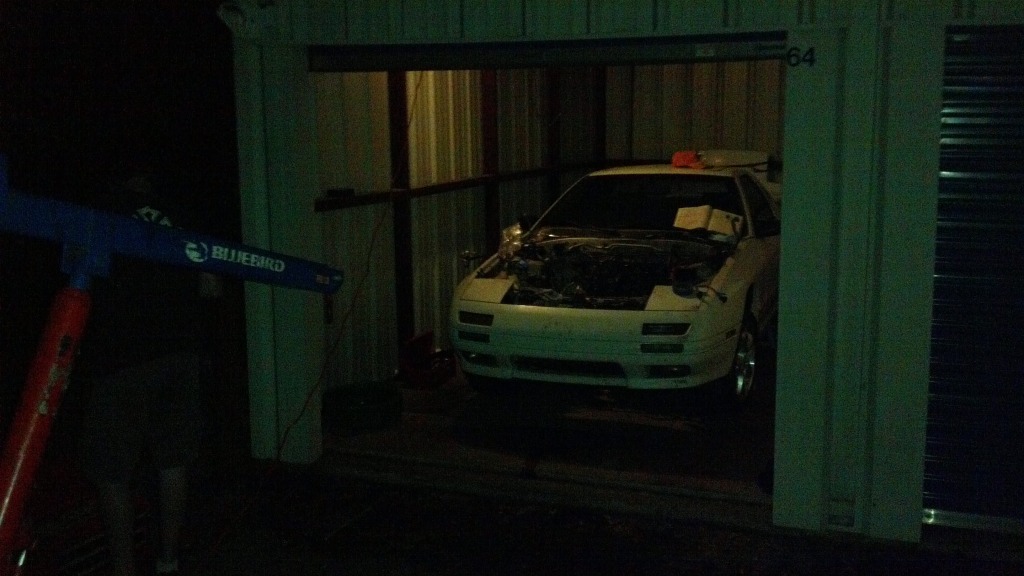
Taking it out took no time at all. About 30 minutes from when we started. It was going back in that took so much time, trying to get both engine mounts and the input shaft of the tranny to all work together and settle down into the bay. But we finally got everything together, well after the sun had set. Keep in mind, this is a storage unit, not a garage, so there was no compressed air, no power tools, and most importantly, no lighting. What you see in this pic is one of those hanging bulb holders that you can run off of a cig lighter outlet:
Anyways, with the motor in, I could start piecing everything together:
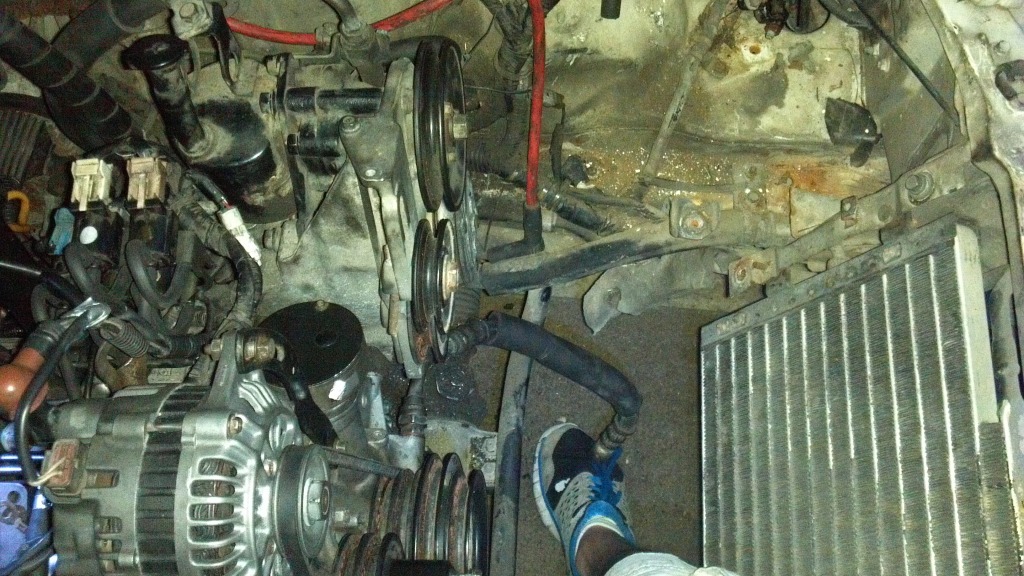
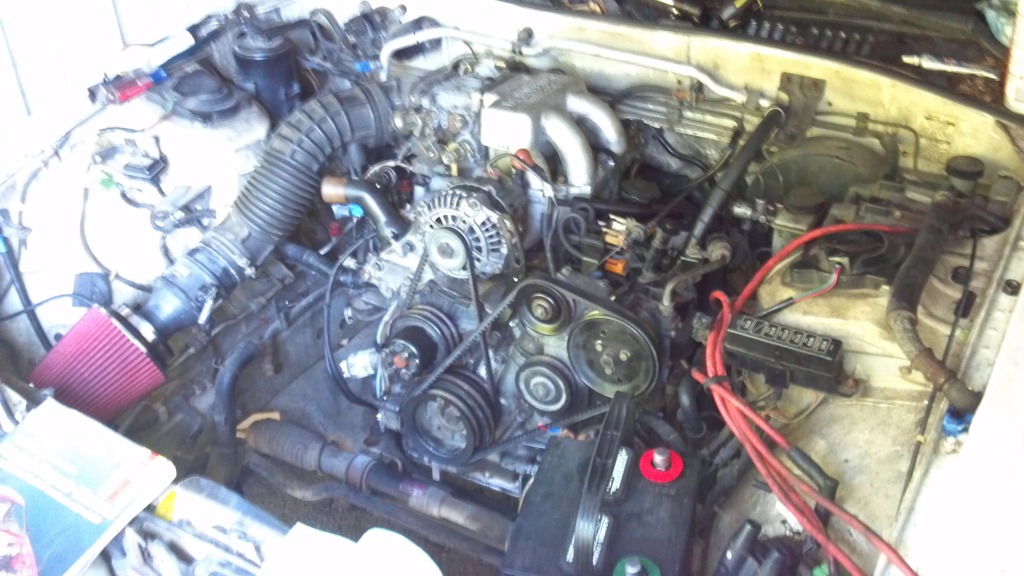
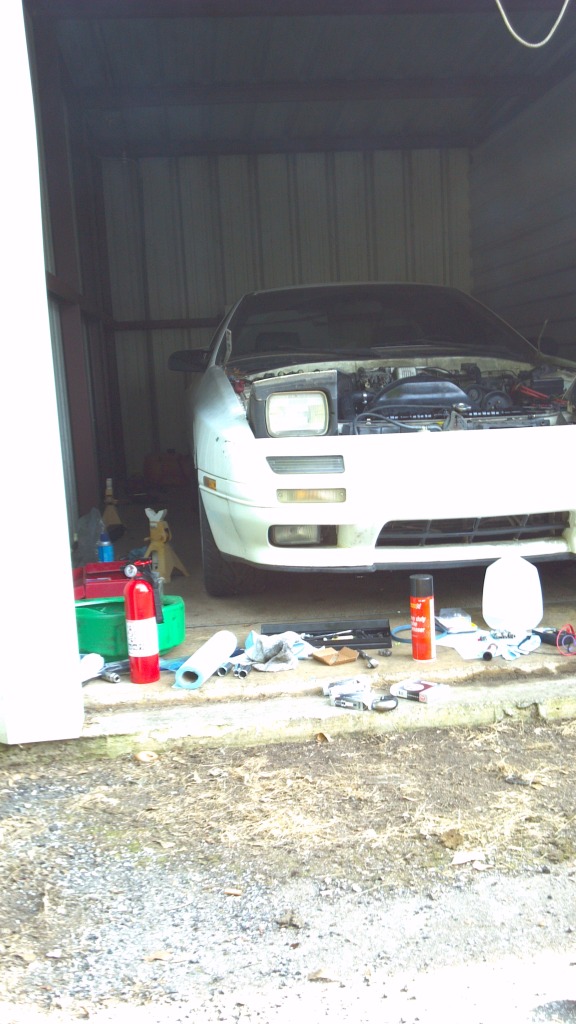
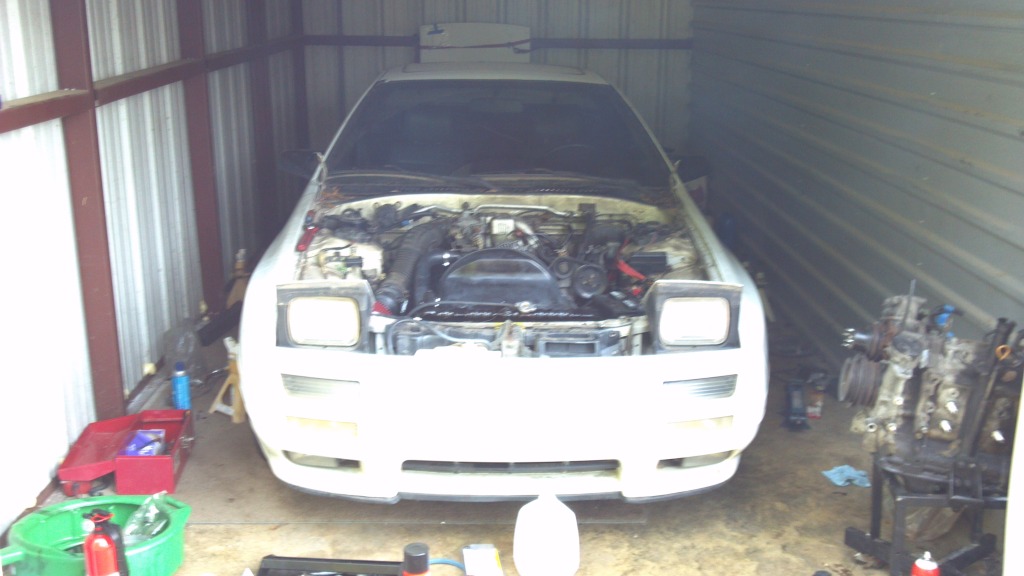
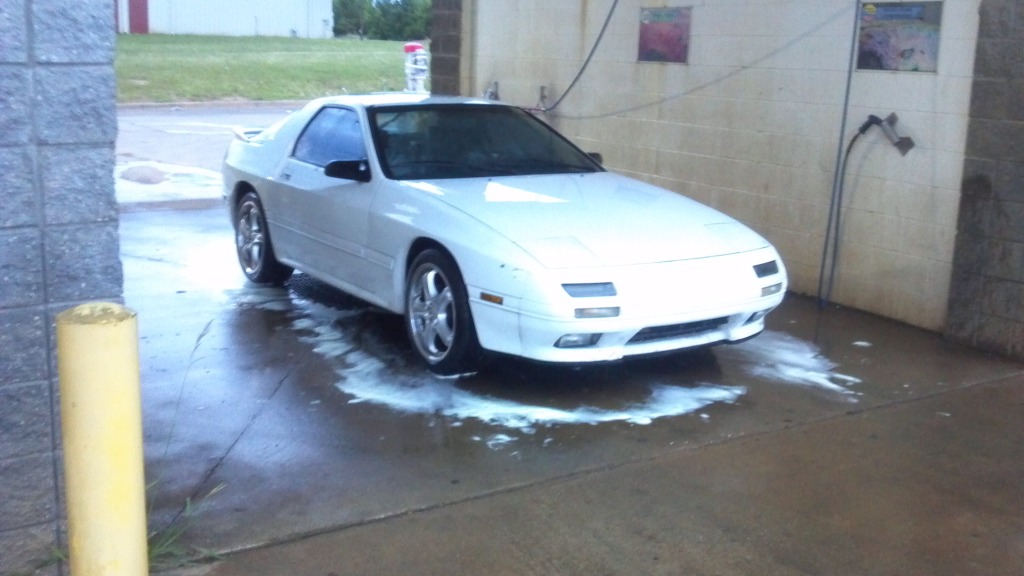
Got it all pieced together. After some faffery with a stupid switch the p.o. put in (could turn the fuel pump relay off, theft deterent/anti-flood?) and some general toe-stubbing and leak-chasing, she came back to life! Took her out (albeit followed by a chase car, and very gingerly) and got her cleaned up. She needed it.
The day finally came to swap, so I rented a hoist and we got to it. We only had it for one day, and this was the first time I had ever attempted anything like this, so we (my friend who came along to help) were a bit nervous about the whole ordeal. Anyways:


Taking it out took no time at all. About 30 minutes from when we started. It was going back in that took so much time, trying to get both engine mounts and the input shaft of the tranny to all work together and settle down into the bay. But we finally got everything together, well after the sun had set. Keep in mind, this is a storage unit, not a garage, so there was no compressed air, no power tools, and most importantly, no lighting. What you see in this pic is one of those hanging bulb holders that you can run off of a cig lighter outlet:

Anyways, with the motor in, I could start piecing everything together:


Got it all pieced together. After some faffery with a stupid switch the p.o. put in (could turn the fuel pump relay off, theft deterent/anti-flood?) and some general toe-stubbing and leak-chasing, she came back to life! Took her out (albeit followed by a chase car, and very gingerly) and got her cleaned up. She needed it.


#3
Ran like **** for a while. I knew how to keep it running, just not well. Idle was super-inconsistent and often would die moments after starting. Was just fine and dandy on the highway, but hated being driven at anything but a constant speed. But I kept plugging away through the summer, and replaced more and more "liability" pieces that I hadn't had time to during the swap (heater hoses, oil cooler bolt washers, water pump, all of the exhaust gaskets I hadn't swapped before). The car began to run better and better. And look better too.
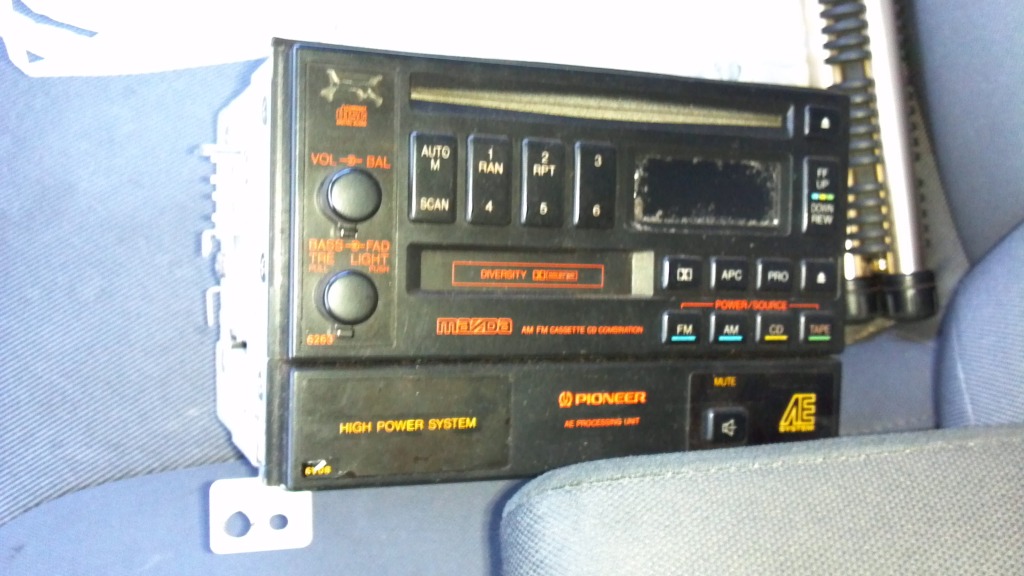
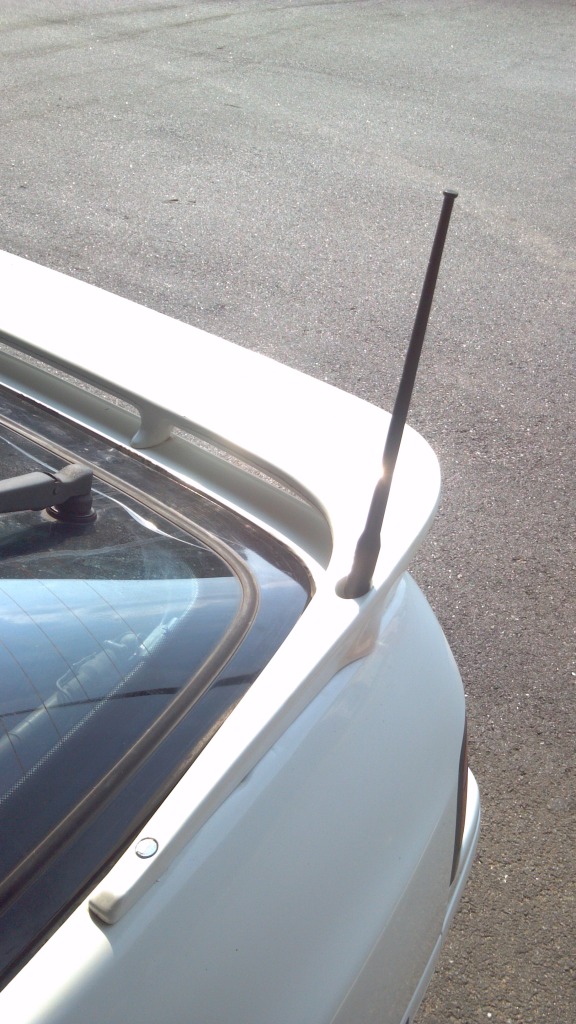
The tires on the old Rota wheels were not going to last long at all, so they needed replacing. The guy I had bought the original engine from (and several other pieces) would badger me every time to buy his wheels, and I thought this was the perfect oppurtunity. 4 vert bbs meshies WITH all 4 centercaps for $115 sounded like a pretty good deal to me, not to mention a stock CD radio. I decided to ditch the broken power antennae while I was at it.
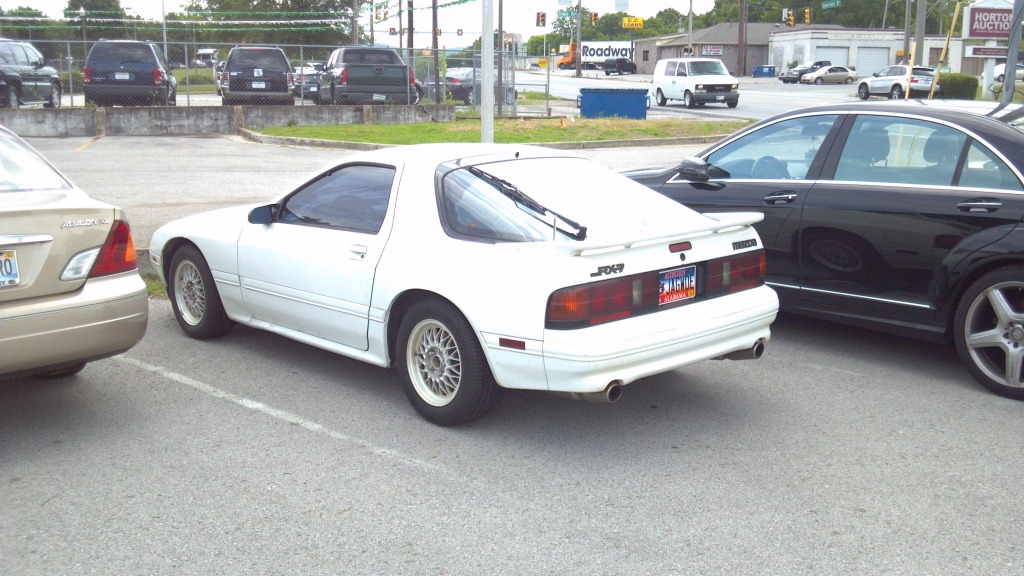
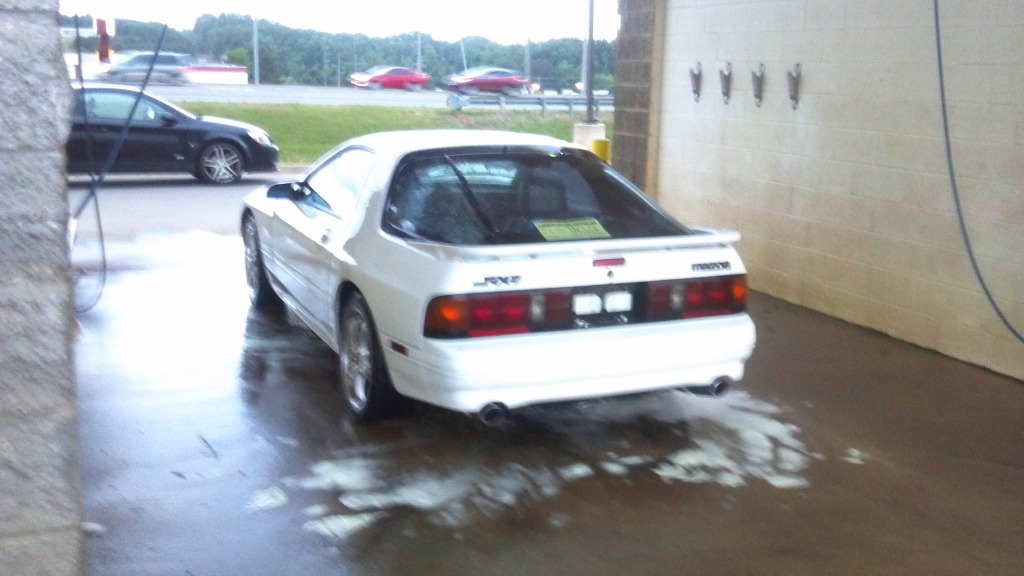
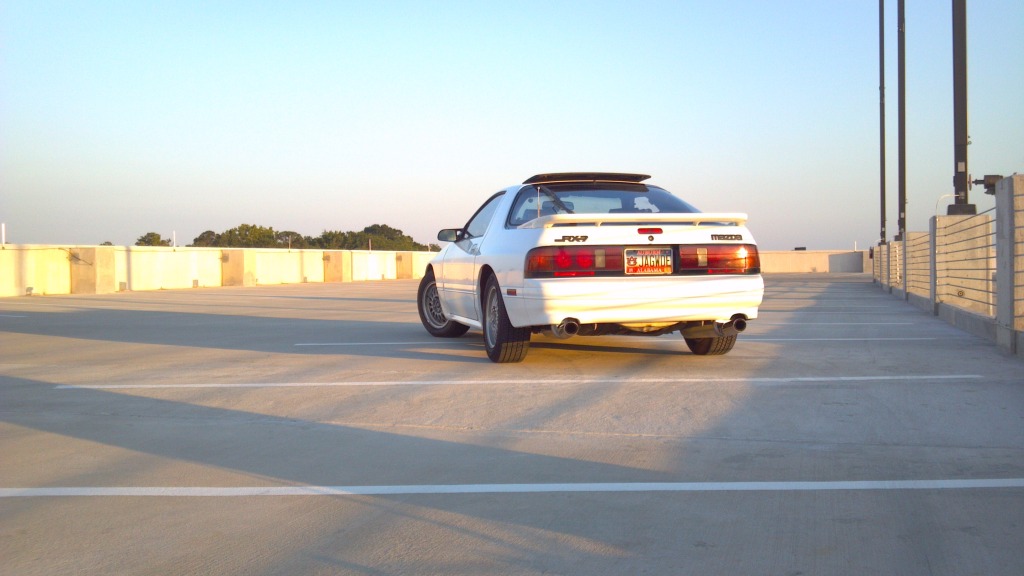
Spent a whole day with rubbing compound and wax, and she looked the best she ever had:
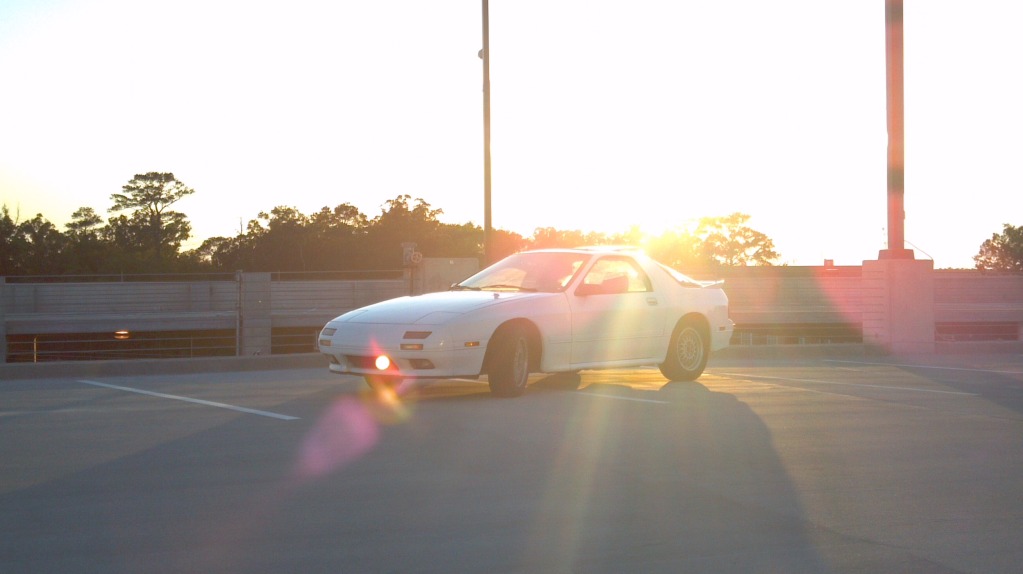
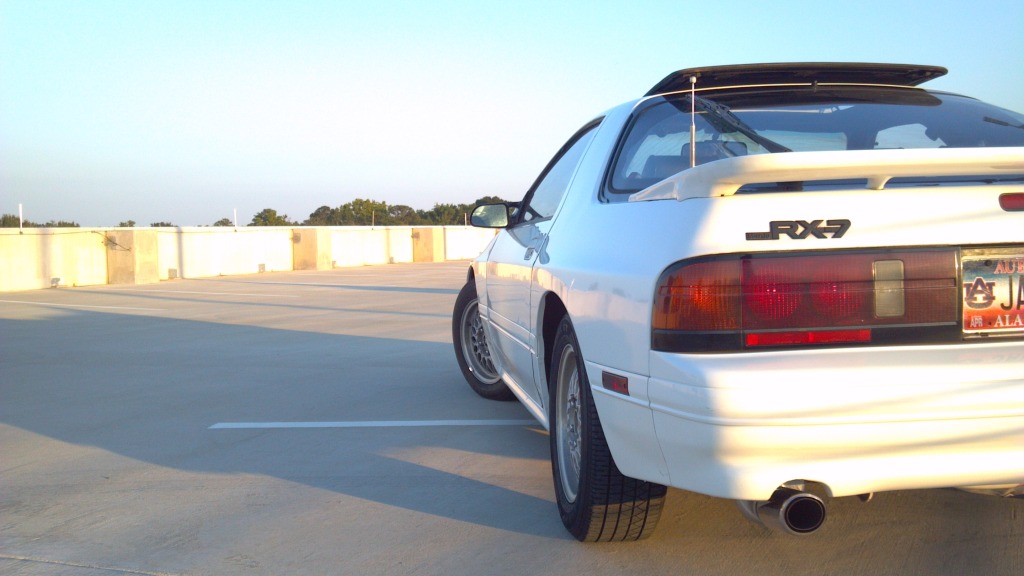
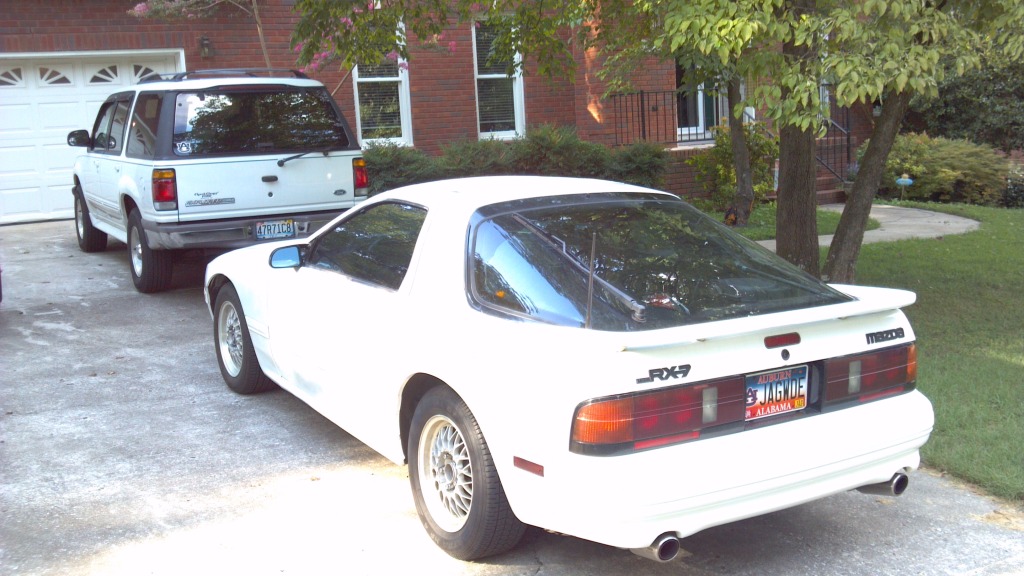
Obligatory 90's pic. I still love that ford:
So it hasn't all been milk and honey, the car went down due to bad fuel (consequently bad pump/filter) and then later to a bad MAF. The headlight switch also failed (no interior or rear external lights).
Just a pic of what was in the tank (disclaimer: yes I drained all the old gas, but no the tank wasn't cleaned. It went 3000 miles like this before it sucked this crap up. It is getting cleaned over this winter break. Yes, that is a carb filter, and yes, I was an idiot for using it. I've got the proper pressure-rated filter now, and everything's fine. Like I said earlier, I was/am/will always be learning.)
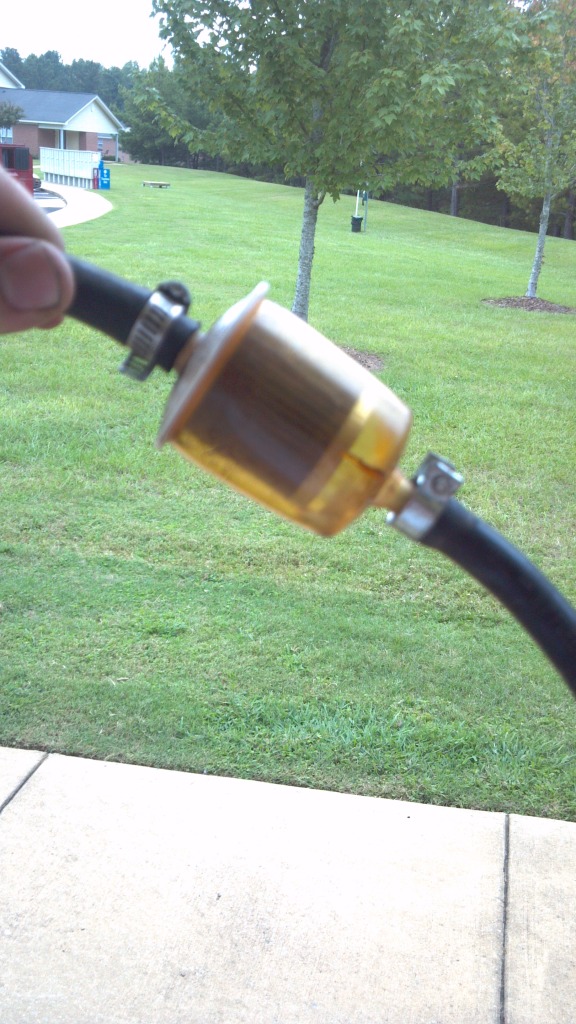
What dropped out of there is what appeared to be liquid rust. It was pretty nasty. But I got it all back together and running again, and took her for a spin:
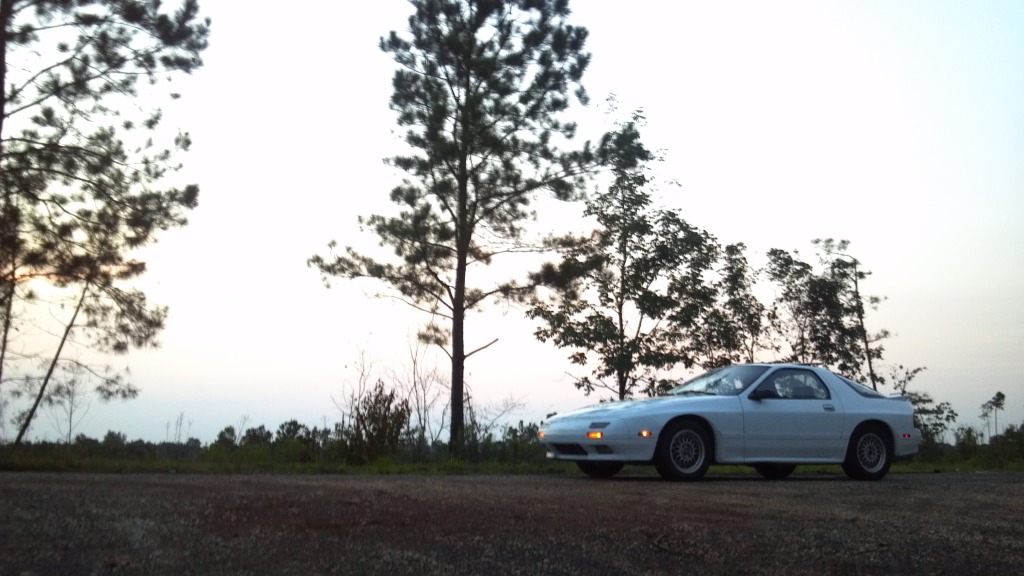
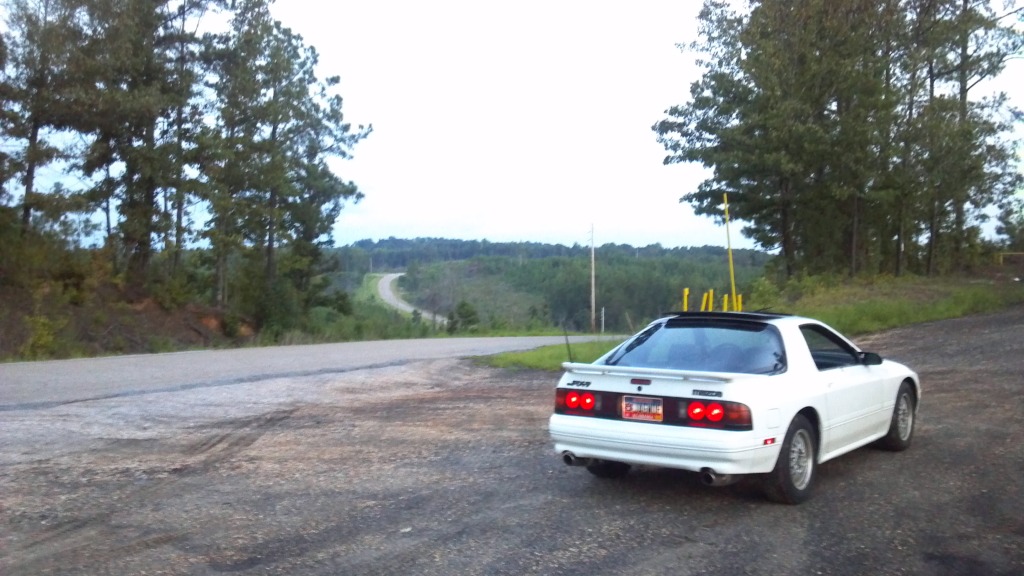
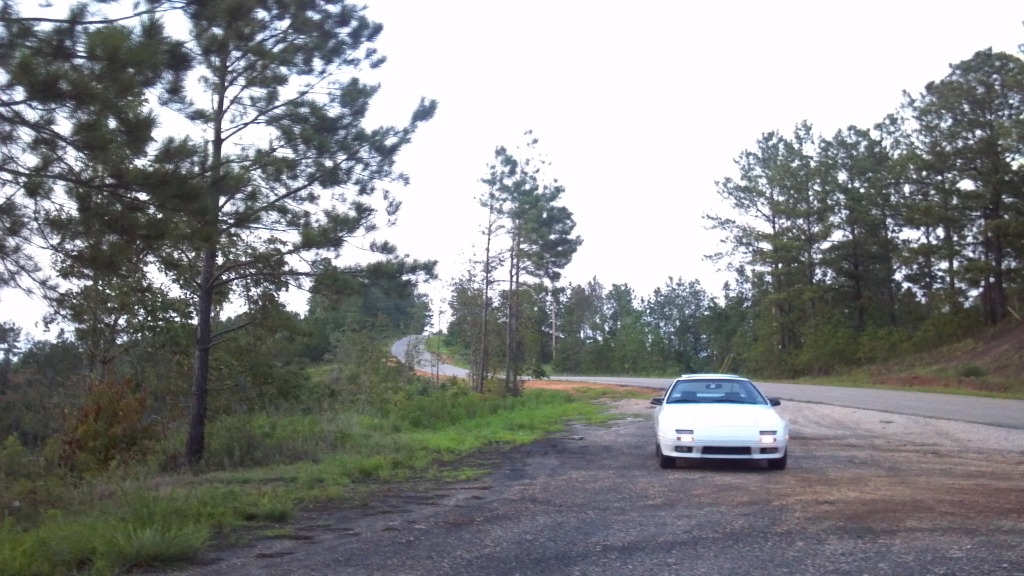
And that pretty much gets us up to date. The real big build up stuff will come in following posts.
The tires on the old Rota wheels were not going to last long at all, so they needed replacing. The guy I had bought the original engine from (and several other pieces) would badger me every time to buy his wheels, and I thought this was the perfect oppurtunity. 4 vert bbs meshies WITH all 4 centercaps for $115 sounded like a pretty good deal to me, not to mention a stock CD radio. I decided to ditch the broken power antennae while I was at it.


Spent a whole day with rubbing compound and wax, and she looked the best she ever had:


Obligatory 90's pic. I still love that ford:

So it hasn't all been milk and honey, the car went down due to bad fuel (consequently bad pump/filter) and then later to a bad MAF. The headlight switch also failed (no interior or rear external lights).
Just a pic of what was in the tank (disclaimer: yes I drained all the old gas, but no the tank wasn't cleaned. It went 3000 miles like this before it sucked this crap up. It is getting cleaned over this winter break. Yes, that is a carb filter, and yes, I was an idiot for using it. I've got the proper pressure-rated filter now, and everything's fine. Like I said earlier, I was/am/will always be learning.)

What dropped out of there is what appeared to be liquid rust. It was pretty nasty. But I got it all back together and running again, and took her for a spin:


And that pretty much gets us up to date. The real big build up stuff will come in following posts.
#4
There are lots of space challenged, cash poor resto-builds here, you're in good company.
Good luck.
I hope while it was in the car wash you cleaned the hell out of the engine bay.
Dirty bays are a real fetish of mine.
Good luck.
I hope while it was in the car wash you cleaned the hell out of the engine bay.
Dirty bays are a real fetish of mine.
#5
Another update shortly, as more has transpired since those last pics were taken.
#7
A bit of a side project:
I helped a friend install a new radio in his Jeep, and in return, he gave me the old one. It was nice, but lacked the features he wanted. Pioneer DEH-1800 if it means anything to anyone. Well since it was free, and my stock radio was just ok (though CD, the CD player didn't work, and the sound quality/volume was lacking), I decided to try to swap this one in. But with a twist.
You know those BMW iDrive systems? With the **** down by your right hand and the screen up high on the dash? Well I started to aim to make my own of those. Sound like pipe dreams? Probably would be, were it not for the resources made available for a co-op with little to do while at work...
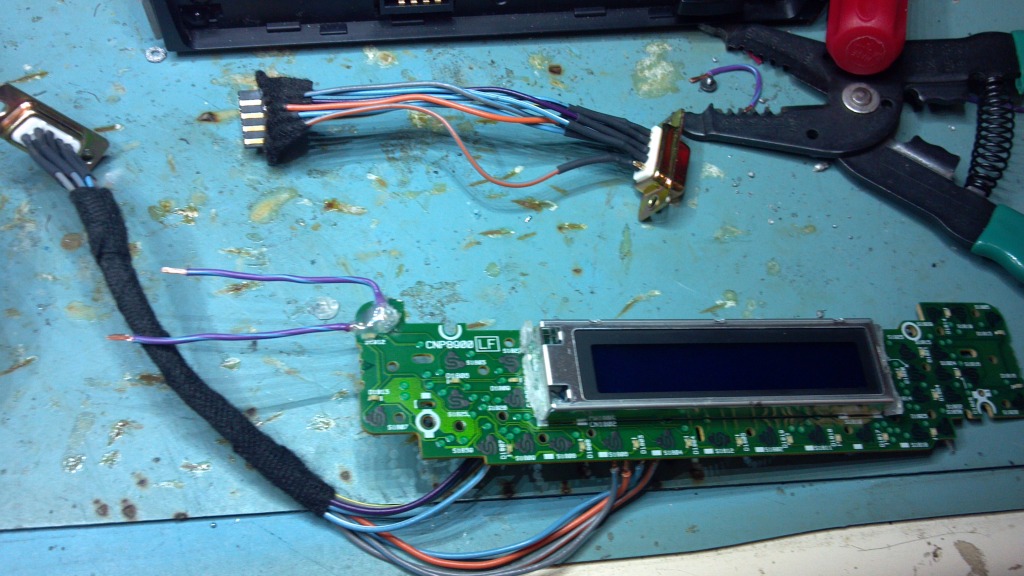
Started by removing the board from the removable faceplate, and making a wiring harness that would allow me to move the board elsewhere:
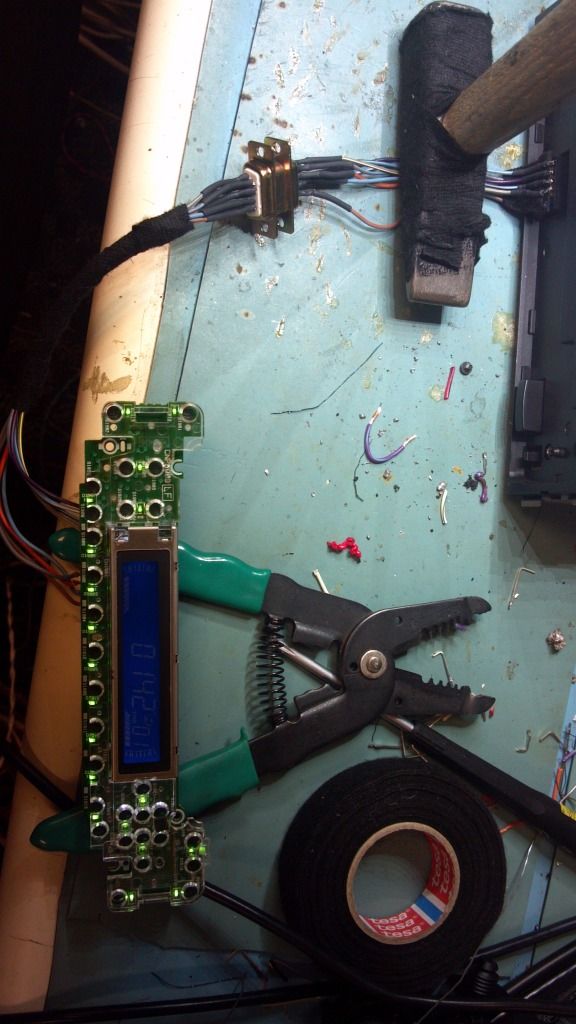
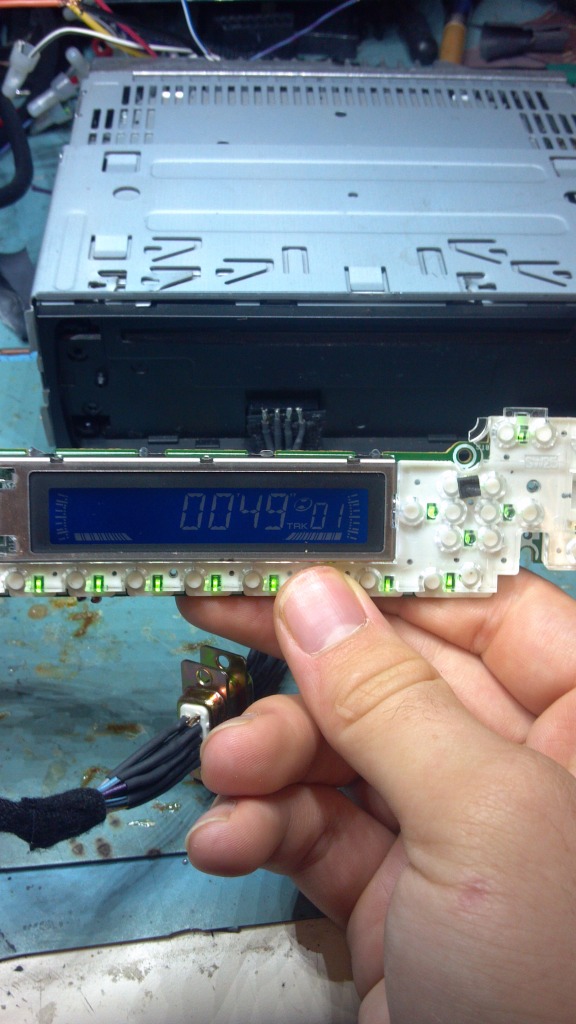
Then I began to remove the button-pads and solder on wiring leads, so that the buttons could be moved. (no, i couldn't just move the screen. It used a contact-patch to receive power/data, not a bunch of pins)
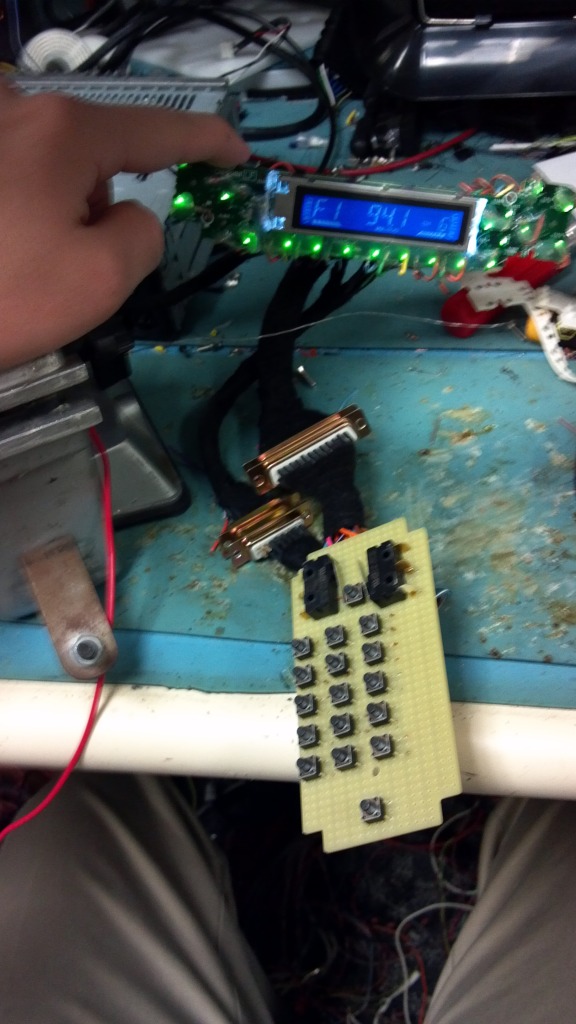
An order from mouser later, and a control board was built using a few 22 cent momentary switches and a proto board.
Had to start making a new panel for it to fit... (going in place of the normal center console panel with the mirror, fog, AAS switches. Those switches are going under the head unit, as it's a single DIN now)
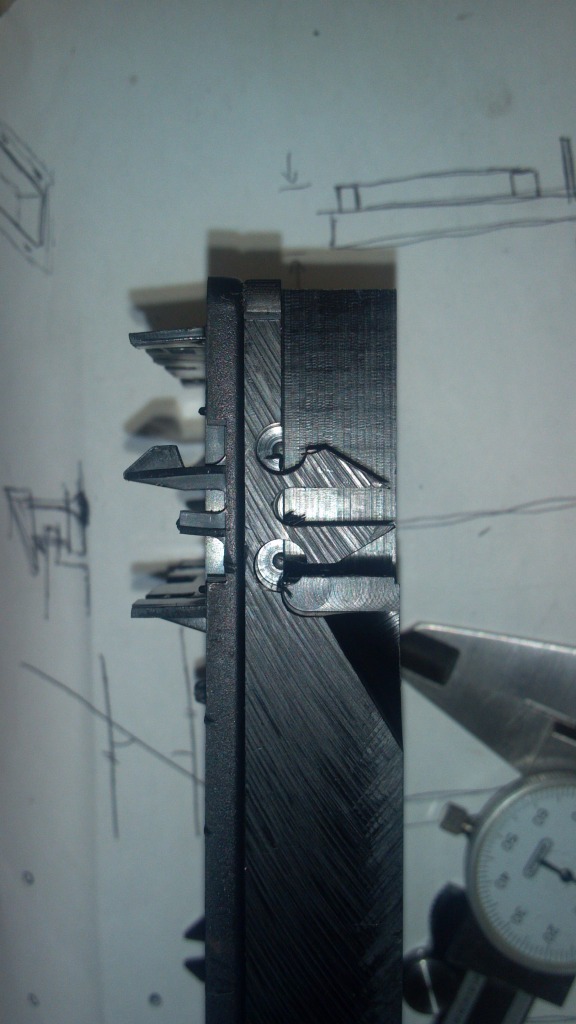
Made a few buttons and a ****, and a test panel to make sure i had all the dimensions right (before I screwed up the one that I spent all the time making the clips on)
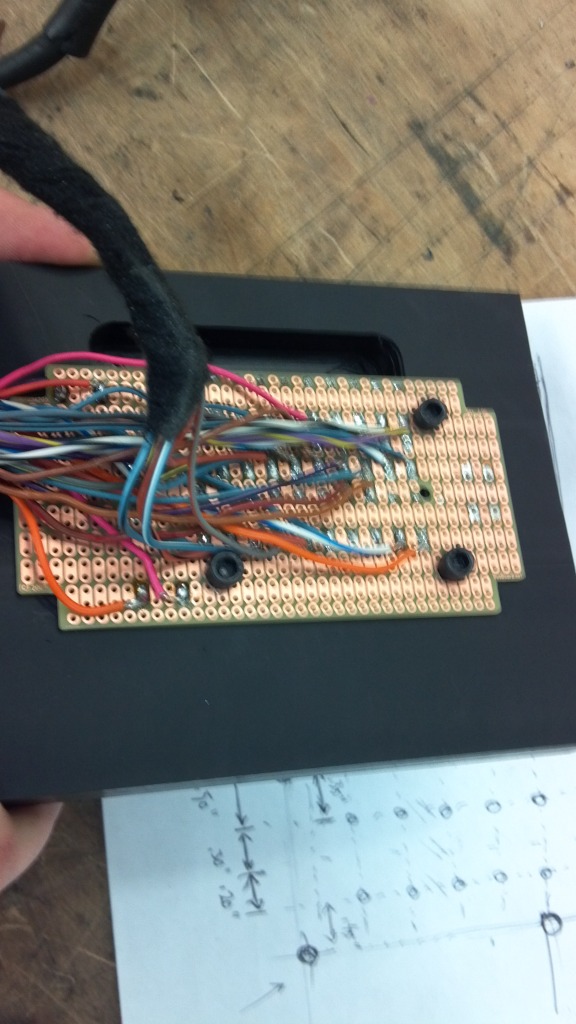
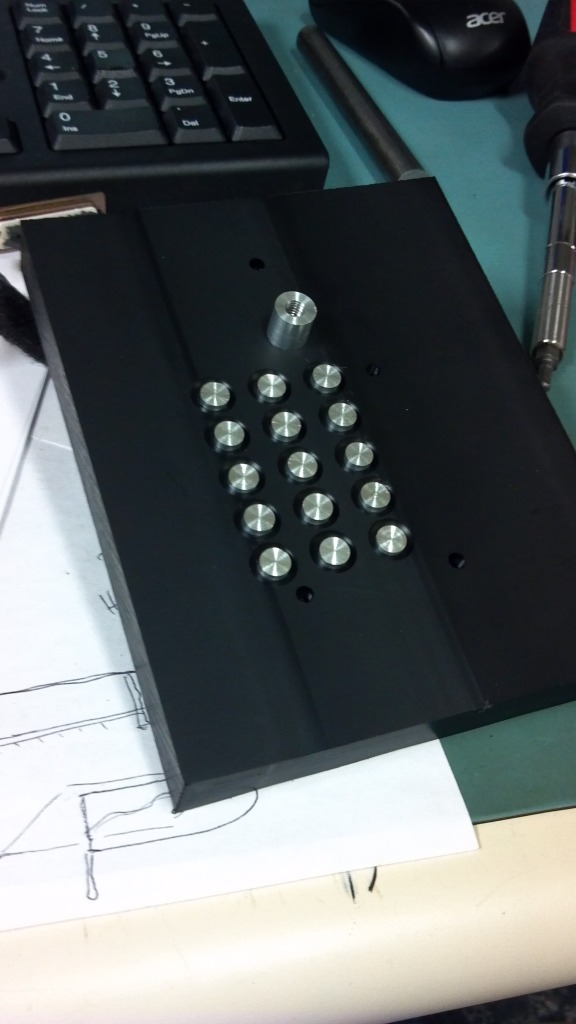
Currently, I just need to finish up the final panel by milling out a space for it to sit down in the hole (front and rear of the panel are still a solid chunk, instead of being cut down to a lip to sit down into the center console). The db25 and db9 wires running from the head unit to the screen and from the screen to the panel are already in the car, and the unit works in that configuration. Just a few final touches next week and it'll be golden.
I helped a friend install a new radio in his Jeep, and in return, he gave me the old one. It was nice, but lacked the features he wanted. Pioneer DEH-1800 if it means anything to anyone. Well since it was free, and my stock radio was just ok (though CD, the CD player didn't work, and the sound quality/volume was lacking), I decided to try to swap this one in. But with a twist.
You know those BMW iDrive systems? With the **** down by your right hand and the screen up high on the dash? Well I started to aim to make my own of those. Sound like pipe dreams? Probably would be, were it not for the resources made available for a co-op with little to do while at work...
Started by removing the board from the removable faceplate, and making a wiring harness that would allow me to move the board elsewhere:


Then I began to remove the button-pads and solder on wiring leads, so that the buttons could be moved. (no, i couldn't just move the screen. It used a contact-patch to receive power/data, not a bunch of pins)

An order from mouser later, and a control board was built using a few 22 cent momentary switches and a proto board.

Had to start making a new panel for it to fit... (going in place of the normal center console panel with the mirror, fog, AAS switches. Those switches are going under the head unit, as it's a single DIN now)

Made a few buttons and a ****, and a test panel to make sure i had all the dimensions right (before I screwed up the one that I spent all the time making the clips on)


Currently, I just need to finish up the final panel by milling out a space for it to sit down in the hole (front and rear of the panel are still a solid chunk, instead of being cut down to a lip to sit down into the center console). The db25 and db9 wires running from the head unit to the screen and from the screen to the panel are already in the car, and the unit works in that configuration. Just a few final touches next week and it'll be golden.
Trending Topics
#8
In more "Interesting" car-like news, got some more parts on their way. Dropped some cash for once, and the following are either here or in the mail:
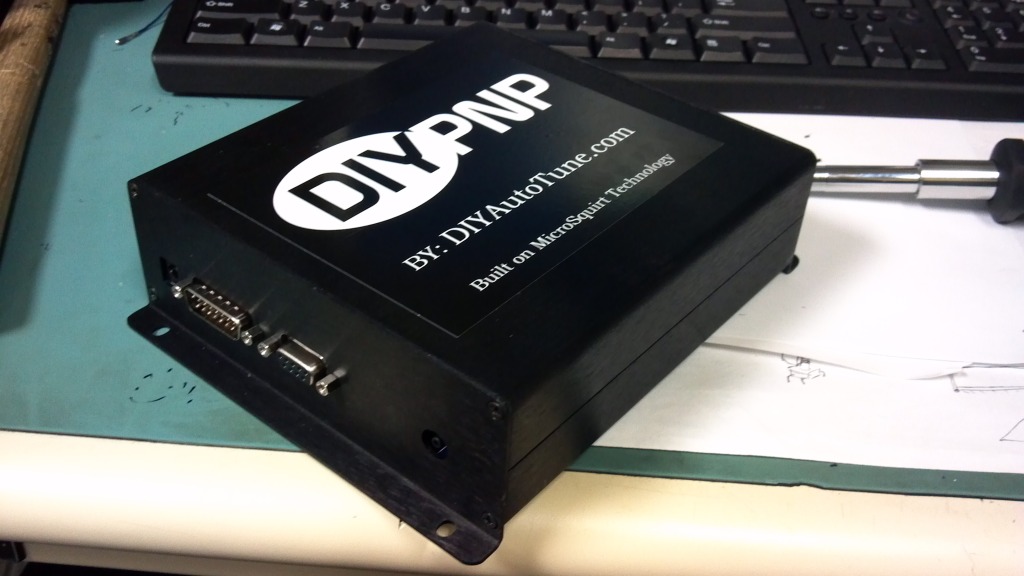
This package:
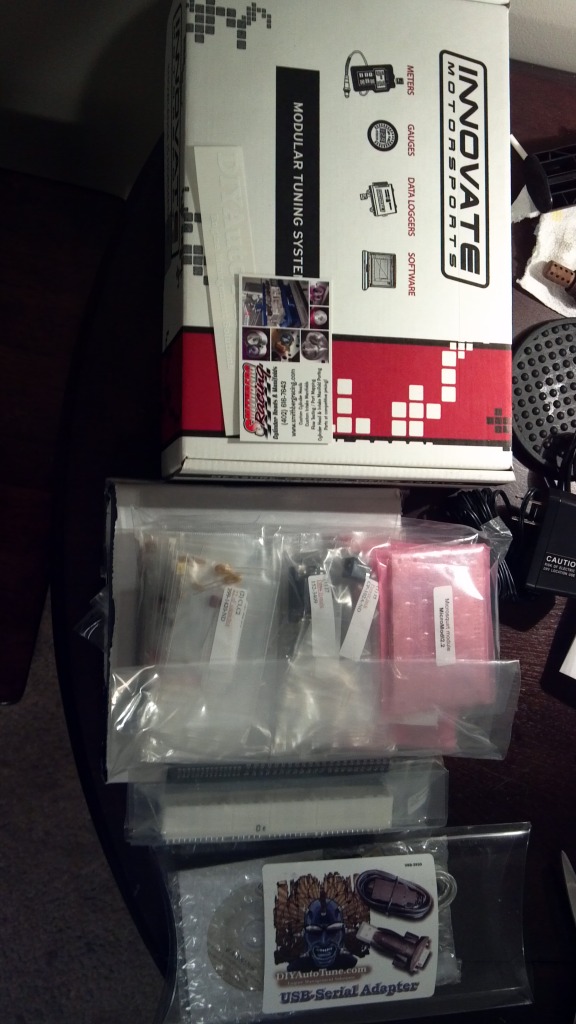
-Innovate LC-1 wideband controller/sensor/guage
-Megasquirt DIYPNP
Still on the way:
-Banzai double belt pulley
-Intake gaskets (going to pull it all apart, delete silly emission things before tuning to MS)
To order soon:
-New carpets
-short (read: stock) wheel lugs. I want to use my centercaps, haha
-Potentially Takata 4 point racing harness. I'd love to hear some thoughts on this. I don't want to use a harness bar or cage, and Takata say I don't have to. Mount to the stock lap belt location, and stock rear belt locations. Please give me some input (without starting a flame war) on why I should/shouldn't do this. My stock "automatic" seatbelts are broken, and although they are free under warranty to replace, they don't replace the belts/tensioners, which don't lock up under sudden decel (unless there's something i don't know. When I tug on them, they don't lock up. doesn't exactly make me feel safe.)
This package:

-Innovate LC-1 wideband controller/sensor/guage
-Megasquirt DIYPNP
Still on the way:
-Banzai double belt pulley
-Intake gaskets (going to pull it all apart, delete silly emission things before tuning to MS)
To order soon:
-New carpets
-short (read: stock) wheel lugs. I want to use my centercaps, haha
-Potentially Takata 4 point racing harness. I'd love to hear some thoughts on this. I don't want to use a harness bar or cage, and Takata say I don't have to. Mount to the stock lap belt location, and stock rear belt locations. Please give me some input (without starting a flame war) on why I should/shouldn't do this. My stock "automatic" seatbelts are broken, and although they are free under warranty to replace, they don't replace the belts/tensioners, which don't lock up under sudden decel (unless there's something i don't know. When I tug on them, they don't lock up. doesn't exactly make me feel safe.)
#9
This whole time, I've also been secretly acquiring turbo parts. Not for tomorrow, not for next week, probably not for next year. But they're becoming quite the collection. And the addition of megasquirt makes taking the leap that much easier in the future.
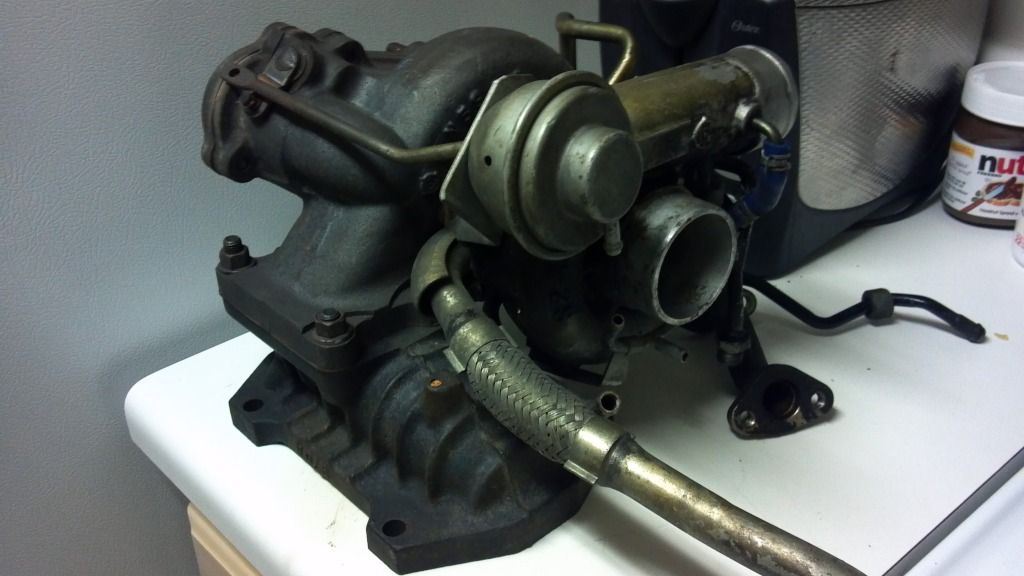
Anyways, so far I've got a $25 intercooler from an older Volvo (pretty substantial size too, and in great shape), a $25 s5 manifold housing, and $65 for an s5 turbo, that was fully operational before the car it was in was totaled. Looks to be in good shape too, spins freely and little side-to-side or end play.
Not my pic, but what the volvo 'cooler looks like:

The turbo/manifold:
Aluminum turbo hood, had for cheap (hood+a diff for $175)
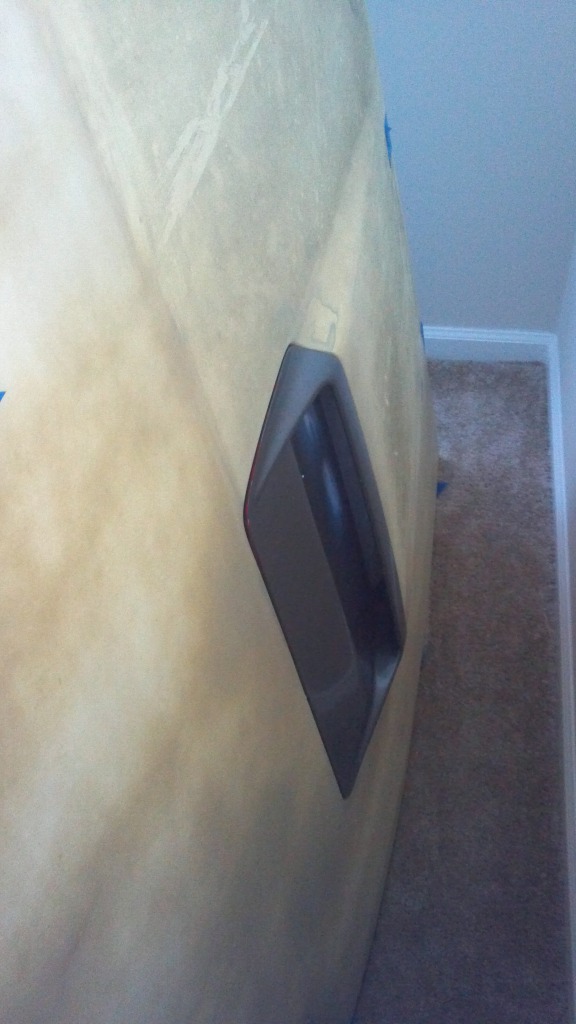
Not a very good pic, and you've all seen better looking turbo hoods, but this one is there.
On that note, I actually put it on the car the other day, and MAN is it lighter than the stock N/a hood! But I can't get it to latch completely unless I sit on the damn thing. Am I doing something monumentally idiotic? The hood looks right when it's all the way down (not bent in any places like it's hitting something) and the striker was fine on the N/a hood before. Thoughts?
Anyways, so far I've got a $25 intercooler from an older Volvo (pretty substantial size too, and in great shape), a $25 s5 manifold housing, and $65 for an s5 turbo, that was fully operational before the car it was in was totaled. Looks to be in good shape too, spins freely and little side-to-side or end play.
Not my pic, but what the volvo 'cooler looks like:

The turbo/manifold:

Aluminum turbo hood, had for cheap (hood+a diff for $175)

Not a very good pic, and you've all seen better looking turbo hoods, but this one is there.
On that note, I actually put it on the car the other day, and MAN is it lighter than the stock N/a hood! But I can't get it to latch completely unless I sit on the damn thing. Am I doing something monumentally idiotic? The hood looks right when it's all the way down (not bent in any places like it's hitting something) and the striker was fine on the N/a hood before. Thoughts?
#10
The hood latches for steel and alloy hoods are identical save for the spring.
I've never found this to be a problem, mixing and matching without any trouble.
I do think the latch is awfully finicky about position, actually had to enlarge the slots in the current latch to get the hood to close nicely.
And yes, the difference in weight is remarkable.
I've never found this to be a problem, mixing and matching without any trouble.
I do think the latch is awfully finicky about position, actually had to enlarge the slots in the current latch to get the hood to close nicely.
And yes, the difference in weight is remarkable.
#11
Looks great! I would have used a smaller intercooler, and in turn gotten a larger aluminum core radiator. For that turbo, that intercooler you have there looks way too large. In my experience, any blockage to the radiator makes cooling the engine a big issue.
I did find that when you put a steel hood on a car that came with an aluminum one, the hood won't pop open. I'd assume the steel spring would make the hood difficult to close, and likewise nearly fling the hood off the car when the latch is pulled. I eventually found another aluminum hood.
Looking good though, and I definitely like how you're going with a megasquirt ECU. You're about to learn so much... you have no idea. Get reading the tuning manual now.

#12
I did find that when you put a steel hood on a car that came with an aluminum one, the hood won't pop open. I'd assume the steel spring would make the hood difficult to close, and likewise nearly fling the hood off the car when the latch is pulled. I eventually found another aluminum hood.
Haha I know what you mean. I've bought their book on efi design, and have been reading it on kindle for my phone and tablet, meaning i'm reading it everywhere all the time. There's so much to learn in there. I need to get the actual ms2 manual so i can learn about my specific unit...
Last edited by sft3303; 12-07-12 at 09:52 PM.
#13
A godspeed aluminum radiator goes for <$200 now. And it will drop right in, no v-mount or modification required.
As for the hood spring, if you get a hood latch from a car w/ an aluminum hood, you'll be set. You may be able to PM Japan2LA on the forum here for a good price on one. Or maybe just find the one that went with that hood.
And the MS2 manual is a great read, but a lot of features (for whatever reason) are covered in the MS3 manual as well. You have to run MSExtra firmware, so it's not really the MS2 or MS3 manual really, it's the MS2Extra and MS3Extra manual. There is a difference.
Megasquirt MSEXTRA Manual Index
#14
My last two (OK, only two) FCs came with steel hoods which I swapped for alloy and didn't have any latching problems.
However, if you think it's worth it, you can pull the spring and go to Ace Hardware for a different gauge replacement to try (the springs are completely generic shapes/sizes).
However, if you think it's worth it, you can pull the spring and go to Ace Hardware for a different gauge replacement to try (the springs are completely generic shapes/sizes).
#17
No worries, i got a good laugh out of that. The car got towed to my parent's house, where i had planned to leave it anyways. It's going to sit non-operational for a while anyways with all this new stuff going in.
#20
That was fast. It took me a few weeks before my megasquirt was fully built. Then again, I have a wife and 2 kids to keep entertained 
Sucks about the transmission. I hope that since you're putting a turbocharger in the mix that you're upgrading to a TII transmission? That's exactly what spurred my entire TII swap. I grenaded a NA transmission and found a guy locally selling a TII trans for $150. When I asked if he had the flywheel, starter, slave, etc., he asked why I didn't just buy the whole drivetrain. I laughed at first, thinking I wouldn't have enough $$ for that, but he only wanted $400! I've put some miles on this transmission, and it seems to be holding up pretty damn well. I put 2 NA transmissions in it within a 4 year span, and I'm running on the same TII trans for the past 5 years now.

Sucks about the transmission. I hope that since you're putting a turbocharger in the mix that you're upgrading to a TII transmission? That's exactly what spurred my entire TII swap. I grenaded a NA transmission and found a guy locally selling a TII trans for $150. When I asked if he had the flywheel, starter, slave, etc., he asked why I didn't just buy the whole drivetrain. I laughed at first, thinking I wouldn't have enough $$ for that, but he only wanted $400! I've put some miles on this transmission, and it seems to be holding up pretty damn well. I put 2 NA transmissions in it within a 4 year span, and I'm running on the same TII trans for the past 5 years now.
#21
Sucks about the transmission. I hope that since you're putting a turbocharger in the mix that you're upgrading to a TII transmission? That's exactly what spurred my entire TII swap. I grenaded a NA transmission and found a guy locally selling a TII trans for $150. When I asked if he had the flywheel, starter, slave, etc., he asked why I didn't just buy the whole drivetrain. I laughed at first, thinking I wouldn't have enough $$ for that, but he only wanted $400! I've put some miles on this transmission, and it seems to be holding up pretty damn well. I put 2 NA transmissions in it within a 4 year span, and I'm running on the same TII trans for the past 5 years now.
#22
looks like you're creating quite the Cinderella story here. you've been able to stay on track so far despite a few setbacks and that's commendable. good luck and i look forward to your updates on your progress.
on a sidenote: i'm kind of wishing i had gone into mechanical engineering.
on a sidenote: i'm kind of wishing i had gone into mechanical engineering.

#23
Not a whole lot to update you guys on, but I'll post regardless:
-Ordered OMP block off kit from banzai (don't really know how to get megasquirt to control it, will run premix for the time being...)
-Banzai Duel Belt pulley has arrived, will be installed as soon as I get back
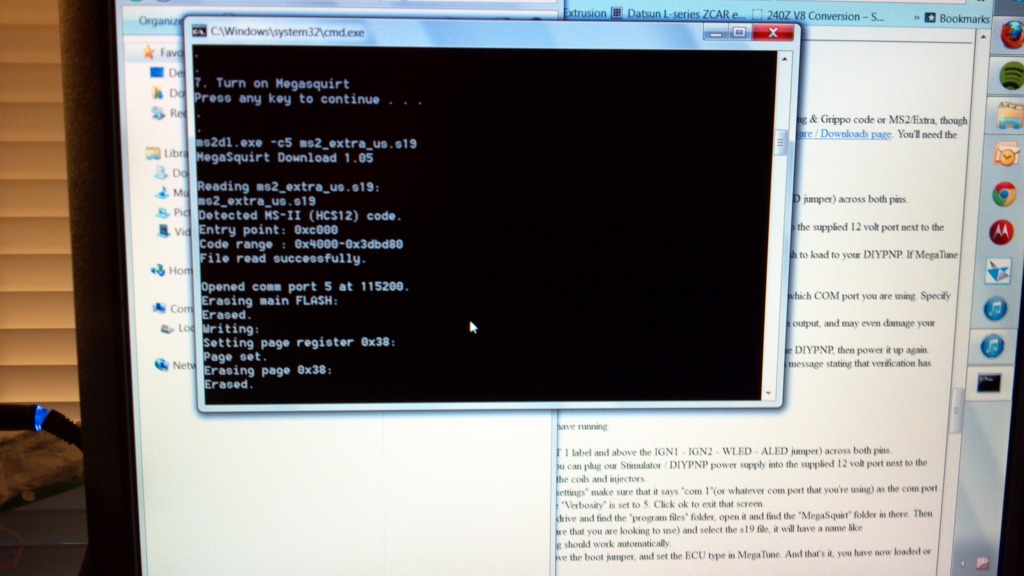
-Megasquirt is up and running! Loaded ms2/extra monday night and laid out my base maps, ign. tables, split tables, the whole shebang. Hopefully she'll be ready to start when she gets wired in.
-Radio control panel is finished, but no pics. Going in the place where the AAS/mirrors/fog lights were. Machining those clips were a pain, and sadly i broke one in the process... :/
Upon arrival, my plans are to:
-Remove TB/UIM and get down to the rat's nest, so I can do some pest control. Since I don't plan on running much of that stuff in a stock configuration (5/6 port, vdi, etc...) and since i don't have an ACV or air pump, a lot of it sits useless regardless...
-Label/remove entire EFI harness, and strip down to just wire and plugs. I'll clean this all up, check continuity on the wires I'll still be using, and start to jumper the megasquirt to use these circuits on the stock plugs. I don't plan on cutting off the rest of the harness, but rather rolling it up in a bag or box or some sort of container, in case for whatever ungodly reason I decide to go back. The container would likely sit near/under where the charcoal cannister is now, so it's not like it'd be getting in anybody's way.
-Wire up Innovate LC-1 (Any tips on this anyone? Like where to place controller? The sensor lead wire is pretty short, so it's not like it can go anywhere. Is inside the engine bay acceptable? I'd rather not place it there...) And it's appropriate gauge.
-Speaking of gauges, my oil press. gauge in my dash has never, ever worked. Stuck down well below zero. To be honest, I've kind of just been taking it on faith that it's there (don't hurt me! But I've had no reason to believe otherwise...) I have a prosport gauge set for just this reason, so I'll pull the old sender out and install this new one, and route the wires to the space under the new single-din radio. The LC-1 wideband gauge will also be here.
-Pull out the carpet and clean the F&%# out of it. It's disgusting. Upon taking out the stock ecu, i discovered that it's actually what most ecologists would refer to as a temperate wetland under there. Just this green, primordial ooze attached to the insulation. Maybe that's why it never really smelled good... Until I can sort out what kind of replacement to get and make sure I can afford it (no job next semester, back to school... so progress will slow...). Any suggestions as to where to go for carpet? I hear mixed reviews (and one very negative review by Aaron Cake) about ACC carpets. Anyone have a better source? Not paying dealership price, regardless of how much it may be "worth it." It's carpet.
-Install this new trans! It should have arrived today, but no one at home will pick up the phone to confirm... :/
List not to necessarily occur in that order.
Tl;dr, ima get home, find a hammer, and fix the car.
For those who just want pics, here's a more recent one of my laptop communicating with it:

Last edited by sft3303; 12-12-12 at 09:51 PM.
#24
And does anyone know if megasquirt can set up oil injection like water/methanol injection? That might be a good solution, if the water/methanol injection can be set to "always on," which may not be the case.
In this case, I would want to somehow ad (weld-in bung?) another injector to the intake, feed it pressurized pre-mix from some sort of tank (re-purposed wiper fluid tank?) and have the computer control that injector? Size it to create the right ratio of premix?
In this case, I would want to somehow ad (weld-in bung?) another injector to the intake, feed it pressurized pre-mix from some sort of tank (re-purposed wiper fluid tank?) and have the computer control that injector? Size it to create the right ratio of premix?
#25
Another thought (sorry for the triple post):
Wire a pair of smaller injectors to fire at the same time as their respective primaries, use weld in bungs on the primary runners, feed with lower pressure(~20 psi? depends on the pressure/flow properties of the specific injectors, perhaps higher if the injectors need it) premix oil like it was any other fuel system? I.e. rail with regulator & return?
Wire a pair of smaller injectors to fire at the same time as their respective primaries, use weld in bungs on the primary runners, feed with lower pressure(~20 psi? depends on the pressure/flow properties of the specific injectors, perhaps higher if the injectors need it) premix oil like it was any other fuel system? I.e. rail with regulator & return?


