Rise of The Black Coupe.....Part I: Revive
#55
Anyway, I have to agree Nate. You're making great progress, I envy how much time you have to work on the car. You always pay good attention to detail , cleaning things up, gettting new bolts and trying to turn whatever isn't supposed to be modified back to stock.
What clutch are you going to run?
What clutch are you going to run?
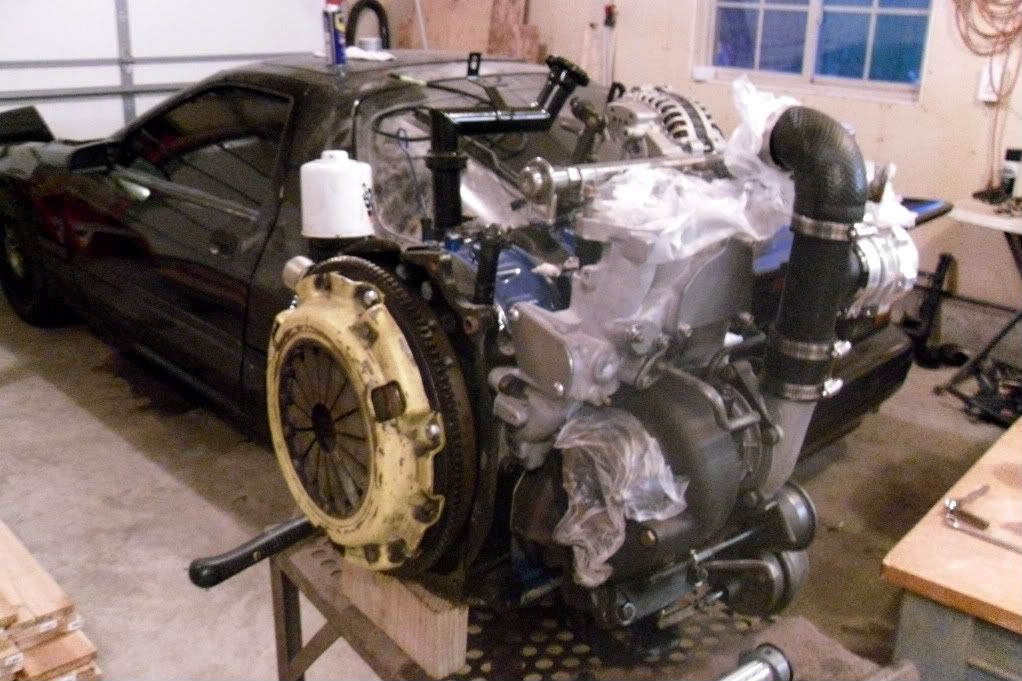
I will be running an ACT street/strip.
Just waiting on some pressure plate bolts to come, then once the clutch is on the motor is going in the car.
#56
ACT
I love my ACT in my GTUs. I have a twin disc with a LW flywheel in my Turbo and it's just too much to drive around.
I'm thinking about switching back to a single disc with a stiffer PP and LW flywheel when I get the car back together.
It's cool how you document all your stuff for your own benfit. I imagine it's fun to go back through your threads. I always just put my **** together without documenting anything and I need to stop it.
#57
uhg, just typed a big post and somehow managed to hit back
Worked on the dd today, but spent the rest of the day getting the climate control working. Some of it was not in the car when I got it, and after hooking it all up I found I only had blower speed control and no other functions. After getting very frustrated trying to find the problem, I read that its a common(ish) solder failure in the logicon. Well after paying the dentist I am flat broke, so a new one will have to wait. All I want is a defrost function, so I manually set the air doors, to full heat and defrost.
In an effort to turn the day around, I started the pain in the *** process to relocate the logicon to where the radio use to be. Was able to get that front plug(anyone whos pulled one of these knows what I'm talking about) by just taking the cluster out, and not pulling the dash...
Now I can put the gauges up top for better visibility.
...and while doing all of this today, I watched the car's clock flicker to a quick death
Note where the logicon is


Worked on the dd today, but spent the rest of the day getting the climate control working. Some of it was not in the car when I got it, and after hooking it all up I found I only had blower speed control and no other functions. After getting very frustrated trying to find the problem, I read that its a common(ish) solder failure in the logicon. Well after paying the dentist I am flat broke, so a new one will have to wait. All I want is a defrost function, so I manually set the air doors, to full heat and defrost.
In an effort to turn the day around, I started the pain in the *** process to relocate the logicon to where the radio use to be. Was able to get that front plug(anyone whos pulled one of these knows what I'm talking about) by just taking the cluster out, and not pulling the dash...
Now I can put the gauges up top for better visibility.
...and while doing all of this today, I watched the car's clock flicker to a quick death

Note where the logicon is


#59
^True, but I really don't want to cut up and extend that harness for them. I even have a gauge pod where the idiot lights go setting around somewhere now that I think of it...
#60
center console is now done. I ran out of material to upholster the gauge panel, will redo that panel some day(the top is cut up uneven).
Have the wideband above climate control.
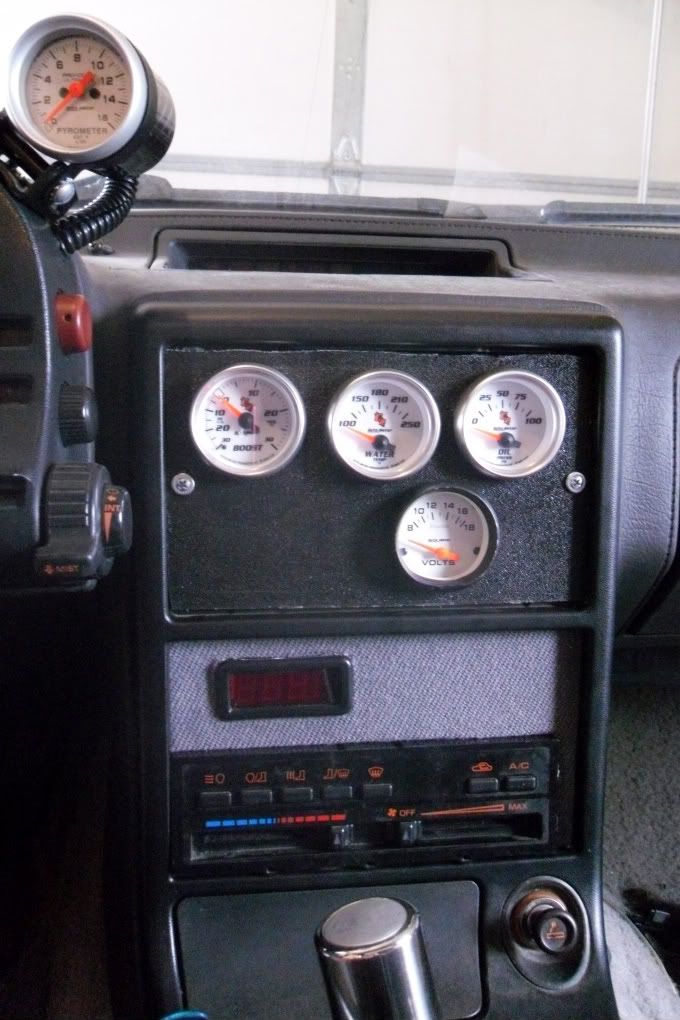
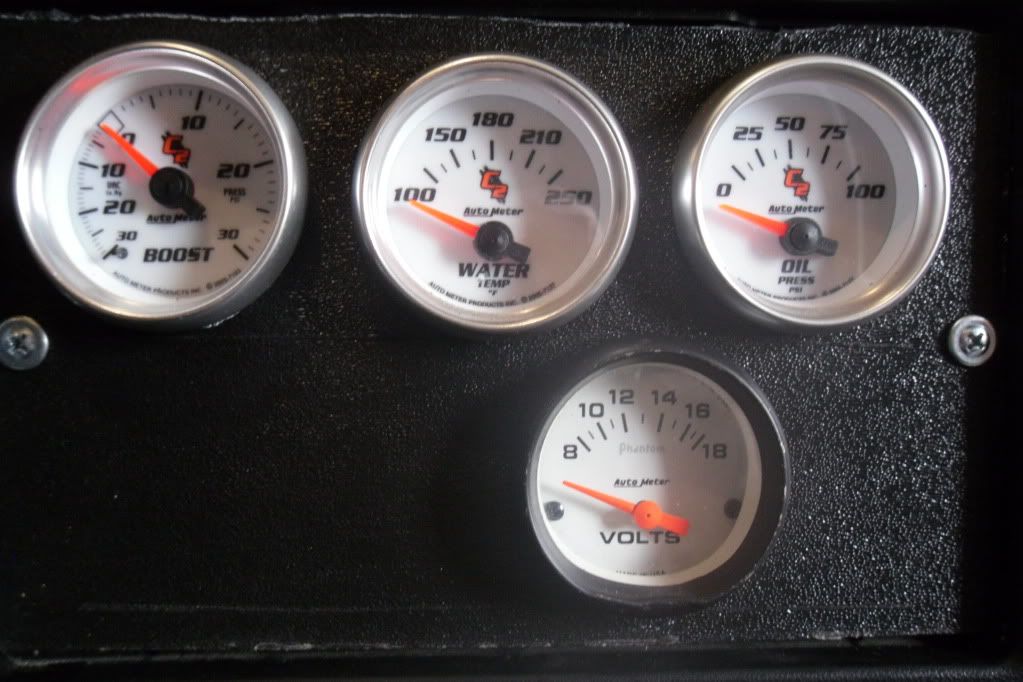

Have the wideband above climate control.


#61
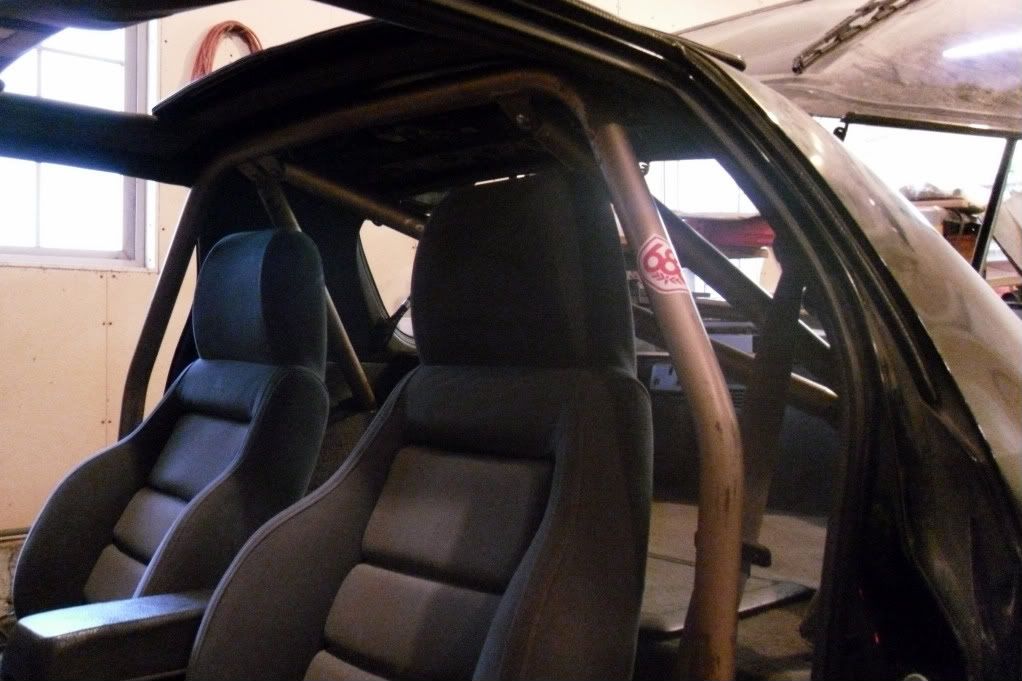
Over the past couple of days I finished fixing that dent, installed the lowering springs, and today I finished bolting in the roll cage. After having a LOT of fitment trouble with the cage, I researched and found it was designed for non-sunroof cars. Before knowing that I tried wedging the main loop in to place, which pushed up and bent the sunroof and screwed up the rear locking tab. So took the sunroof panel out and straighten and fixed it, also gave me a reason to grease up the rails real good.
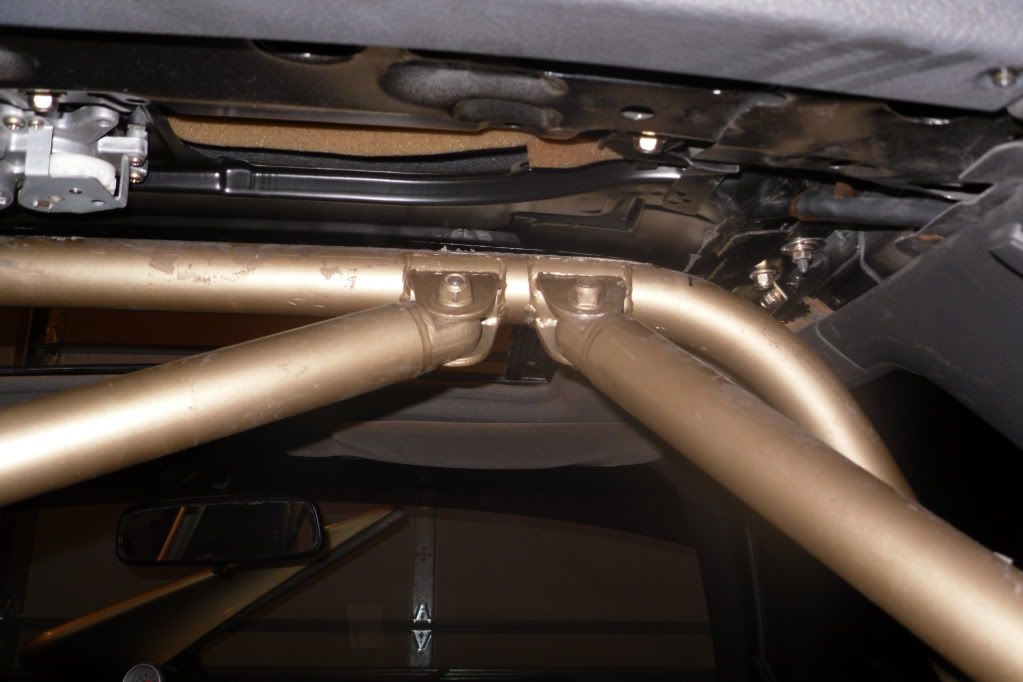
I wanted a fully working sunroof, so it was either modify the cage, or ditch the sunroof, so I cut half an inch of the base of the main hoop of the cage and re-welded it back together. Fitment is PERFECT now . Also, took just the rear part of the headliner out rather than the whole thing.
Will be putting the whole interior back in tomorrow, I hate the look of a gutted interior.
pics
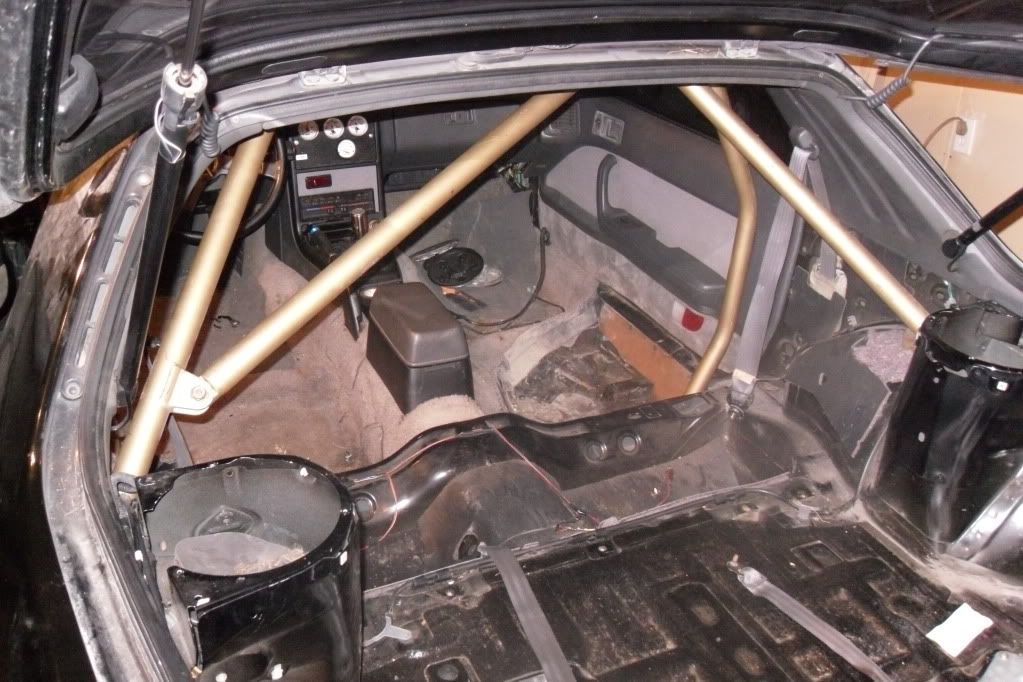
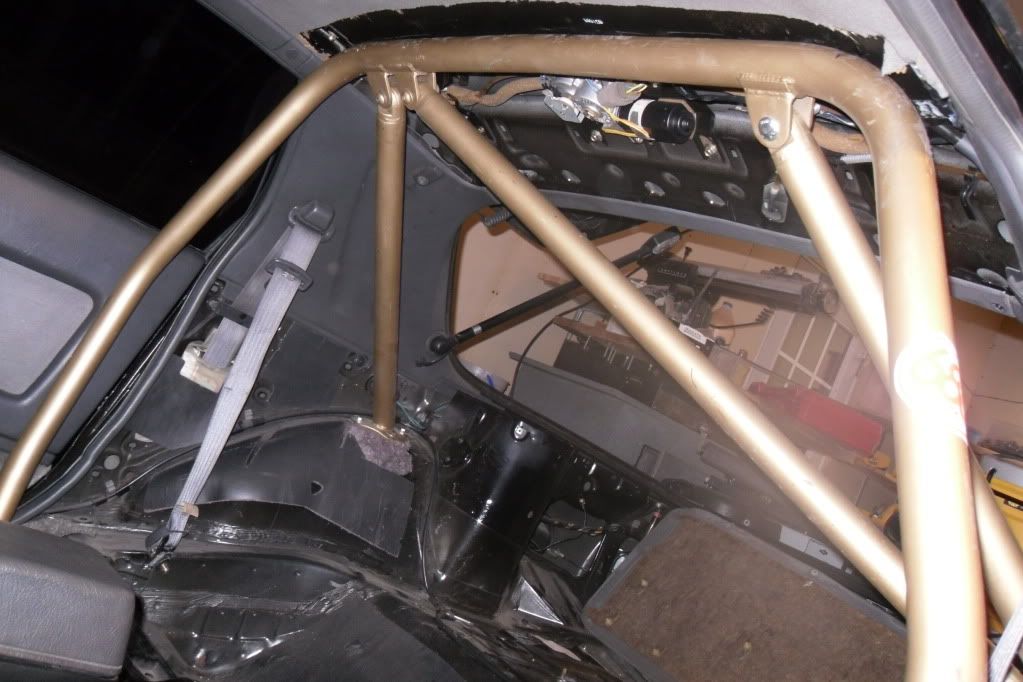
Theres about 1/8 of clearance between the roll bar and the bottom of the sunroof assembly.
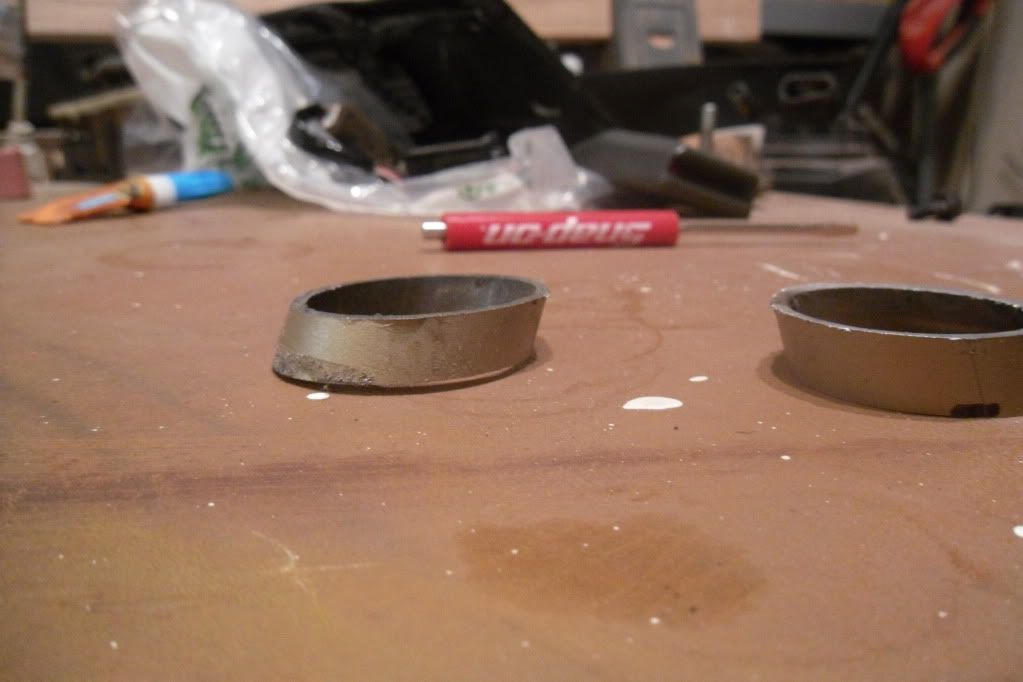
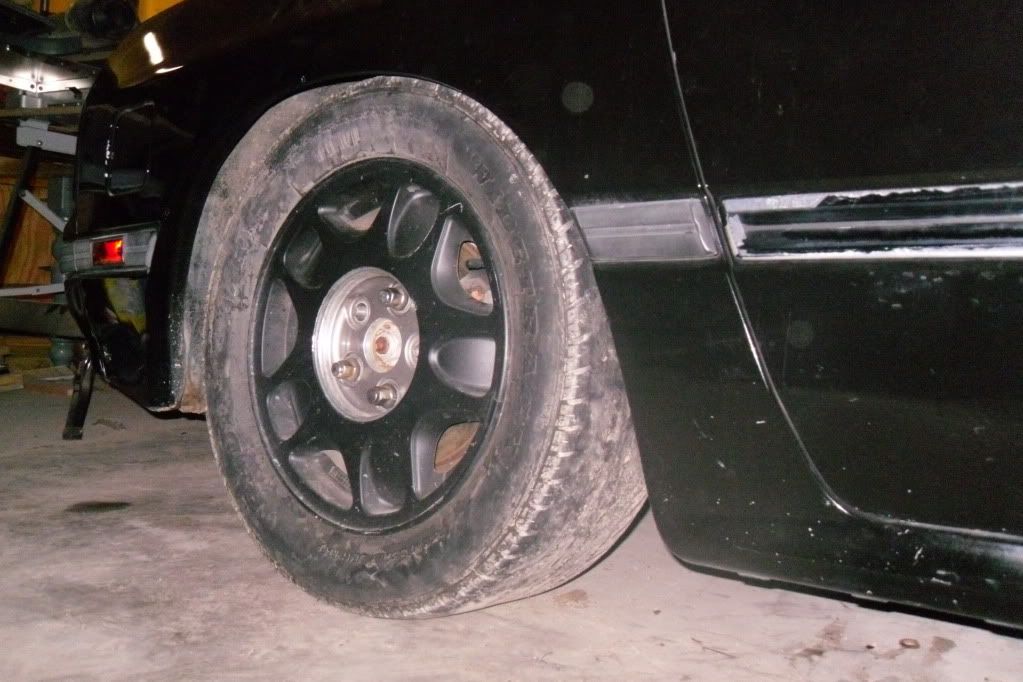
Lowering springs on, gonna have to raise it up a bit, exhaust is literally 2" off the ground, and thats on flat cement lol.

I wanted a fully working sunroof, so it was either modify the cage, or ditch the sunroof, so I cut half an inch of the base of the main hoop of the cage and re-welded it back together. Fitment is PERFECT now
 . Also, took just the rear part of the headliner out rather than the whole thing.
Will be putting the whole interior back in tomorrow, I hate the look of a gutted interior.
pics


Theres about 1/8 of clearance between the roll bar and the bottom of the sunroof assembly.


Lowering springs on, gonna have to raise it up a bit, exhaust is literally 2" off the ground, and thats on flat cement lol.


#65
#66
Finished putting the interior back in. Seats fit good with the cage and I have plenty of headroom, but I want to pick up some roll bar padding to be safe.
Pumped everything out of the gas tank, it had at least 8 gallons of old fuel in it. I had fun being a pyromaniac with that lol... Was pleased to see the previous owner had a walbro in there.
pic of where the dent was. Original plan was to paint it legit, but I ended up just rattle-canning it, as money is very tight right now. It doesn't look too bad, looks 10x better than a big *** dent.

Cage with full interior

Pumped everything out of the gas tank, it had at least 8 gallons of old fuel in it. I had fun being a pyromaniac with that lol... Was pleased to see the previous owner had a walbro in there.
pic of where the dent was. Original plan was to paint it legit, but I ended up just rattle-canning it, as money is very tight right now. It doesn't look too bad, looks 10x better than a big *** dent.

Cage with full interior


#68
Progress over the last few days includes.....
Wired in the oem injector resistor box to my new harness. A big thanks to satch and arghx on here for the wiring diagram of the pre-87.5 injector schematic, as it was not in the fsm... Simple to wire it in, it just replaces the one-to-four splice for injector power on the 87.5+ harness.
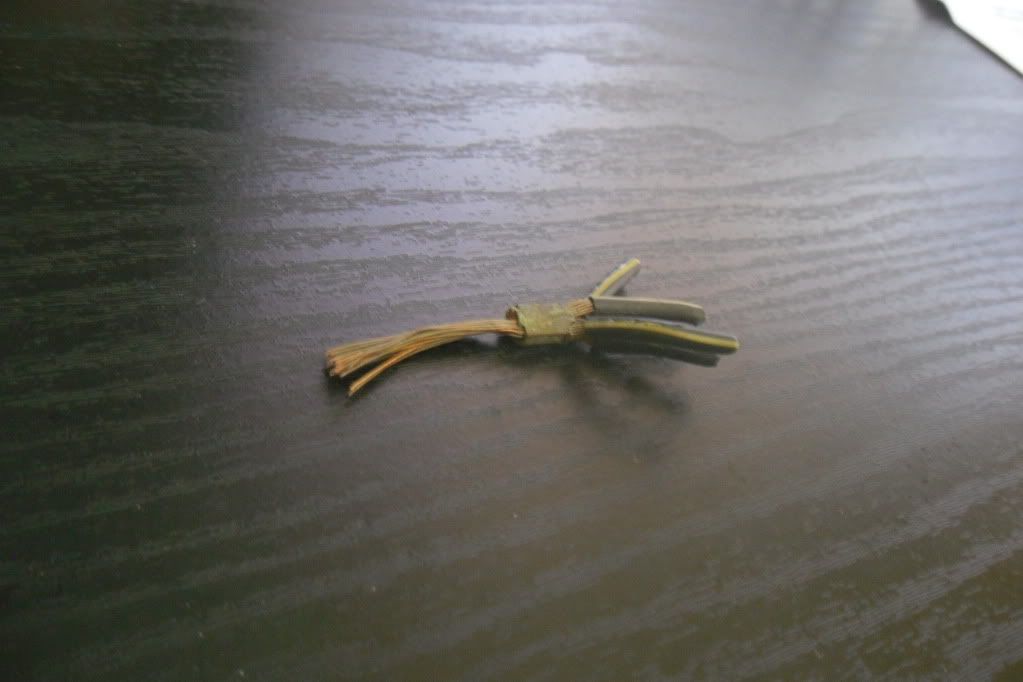
After wiring that in, I noticed a great amount of corrosion on the factory splice, mind you this harness was in great shape with no cuts/damage. I cleaned the ends off of each wire and measured the resistance across the splice out of curiosity, and it measured 0.5 ohms. I do not like relying on 20+ year old electronics, and this is really convincing me to go to standalone asap.
you can kind of see the corrosion in the pic of the factory connector
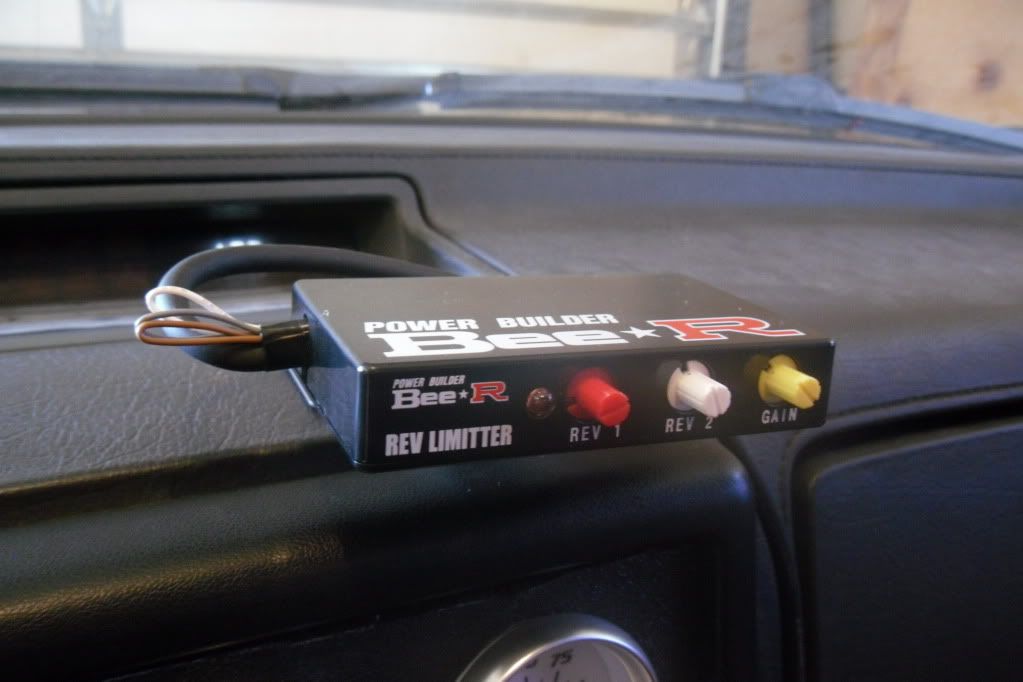
Finished wiring all the gauges up. I used color coded wires and labeled them for ease in the future, being I plan on keeping this car for a long time figured it'd be a good idea. Also got the Bee*R mounted, but I'm going to wait to wire that up until after the car is running, its just one less thing to troubleshoot if something goes wrong.
Limiter switch on the sunroof was messed up, so cutting two wires and grounding one of them took care of that problem . Also took some time to clean/lube up the sunroof tracks, and it opens all by itself without needing that initial push that they all need.
Started painting up the super-faded s4 trim. Also took care of a bit of rust around the spoiler mounting holes. Painted up the spoiler, tried something different on that, I used high heat engine paint(spraycan). That stuff always lays down real nice on engine parts, so figured I'd try it out on the spoiler. It turned out great, does not looked spraypainted at all, I would recommend anyone who can't afford to paint legit to use this stuff...

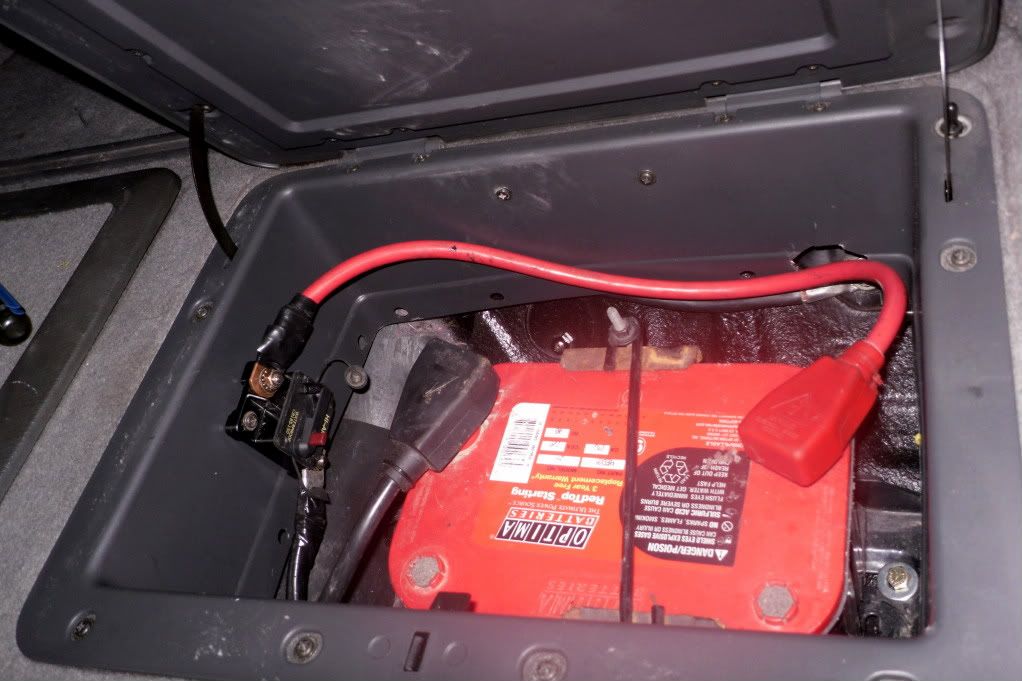
But other than that I've been busy doing small stuff on it, going to relocate the battery today. Just waiting for that box to come from mazdatrix so I can finish it up
Wired in the oem injector resistor box to my new harness. A big thanks to satch and arghx on here for the wiring diagram of the pre-87.5 injector schematic, as it was not in the fsm... Simple to wire it in, it just replaces the one-to-four splice for injector power on the 87.5+ harness.
After wiring that in, I noticed a great amount of corrosion on the factory splice, mind you this harness was in great shape with no cuts/damage. I cleaned the ends off of each wire and measured the resistance across the splice out of curiosity, and it measured 0.5 ohms. I do not like relying on 20+ year old electronics, and this is really convincing me to go to standalone asap.
you can kind of see the corrosion in the pic of the factory connector

Finished wiring all the gauges up. I used color coded wires and labeled them for ease in the future, being I plan on keeping this car for a long time figured it'd be a good idea. Also got the Bee*R mounted, but I'm going to wait to wire that up until after the car is running, its just one less thing to troubleshoot if something goes wrong.

Limiter switch on the sunroof was messed up, so cutting two wires and grounding one of them took care of that problem
 . Also took some time to clean/lube up the sunroof tracks, and it opens all by itself without needing that initial push that they all need.
Started painting up the super-faded s4 trim. Also took care of a bit of rust around the spoiler mounting holes. Painted up the spoiler, tried something different on that, I used high heat engine paint(spraycan). That stuff always lays down real nice on engine parts, so figured I'd try it out on the spoiler. It turned out great, does not looked spraypainted at all, I would recommend anyone who can't afford to paint legit to use this stuff...

But other than that I've been busy doing small stuff on it, going to relocate the battery today. Just waiting for that box to come from mazdatrix so I can finish it up
#70
And a quick pic of the wing permanently on. And to thing I almost sold that wing, now I love it lol.

Took off the puple-ized tint on the top of the windshield, car looks much better now. The side and back windows are tinted very dark, but I think I'll keep that on for now. Its still black not purple, not the best tint job but like the rest of the car it looks great from 10ft away.

Took off the puple-ized tint on the top of the windshield, car looks much better now. The side and back windows are tinted very dark, but I think I'll keep that on for now. Its still black not purple, not the best tint job but like the rest of the car it looks great from 10ft away.
#74
And it runs!
Just started it for the first time about an hour ago. Started right up. Need to address a few issues, The radiator is leaking, and I used a different kind of sealant on my gaskets, and everywhere I used it its leaking So the waterpump and thermostat neck are pissing, and I think theres a vacuum leak between the intake mani's as I used that sealant there too. So I'll pull all that apart again. I am going back down to chicago tomorrow but will be back this weekend to work it.
It smoked like all hell with all the fogging oil I ran through the motor while it was sitting.
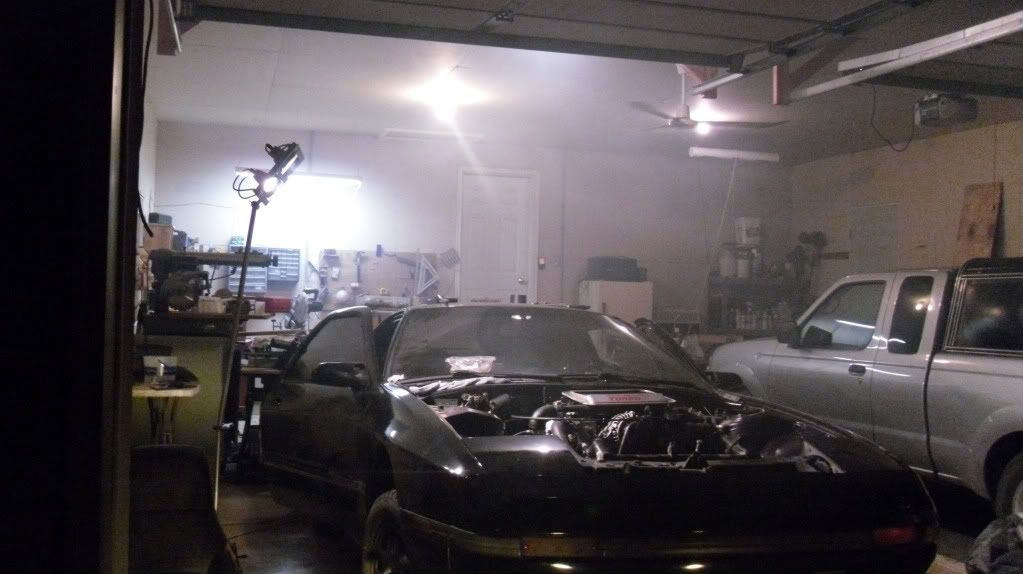
random pic
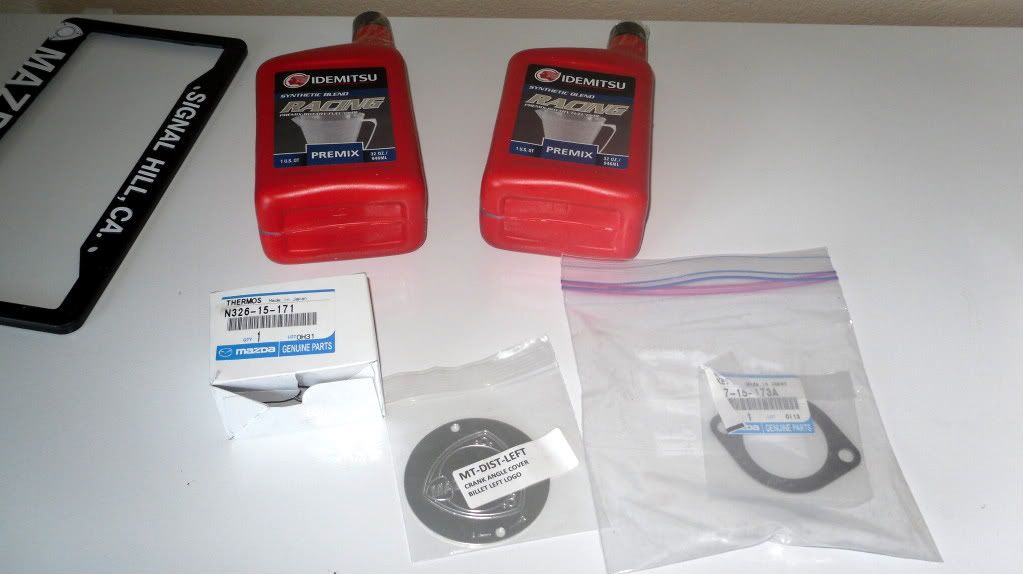
Just started it for the first time about an hour ago. Started right up. Need to address a few issues, The radiator is leaking, and I used a different kind of sealant on my gaskets, and everywhere I used it its leaking
 So the waterpump and thermostat neck are pissing, and I think theres a vacuum leak between the intake mani's as I used that sealant there too. So I'll pull all that apart again. I am going back down to chicago tomorrow but will be back this weekend to work it.
It smoked like all hell with all the fogging oil I ran through the motor while it was sitting.

random pic


