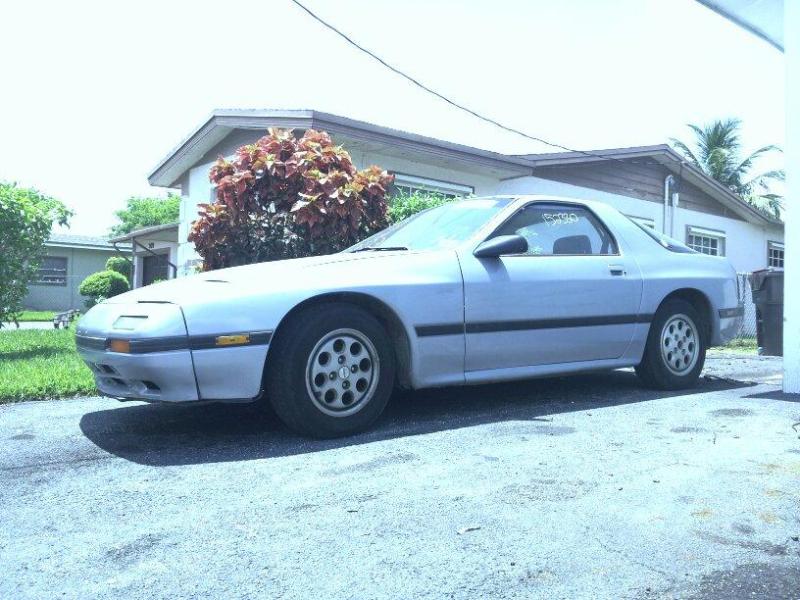
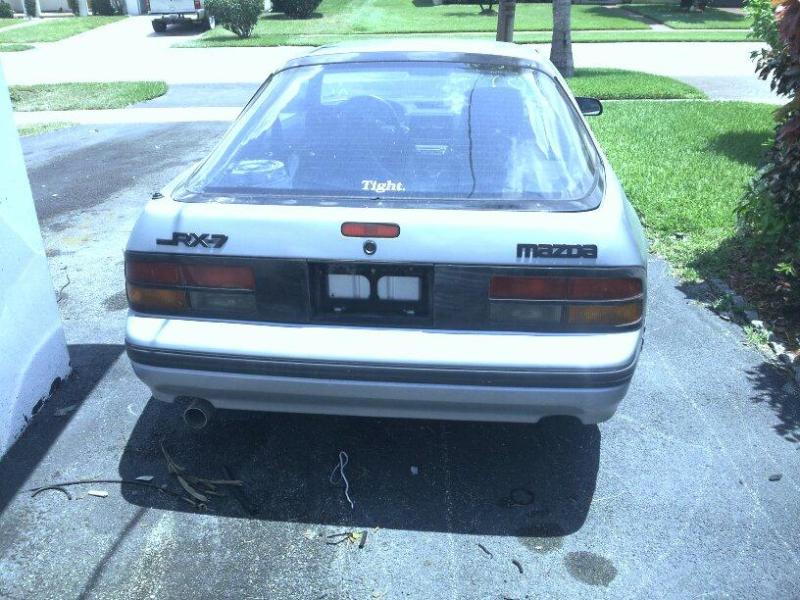
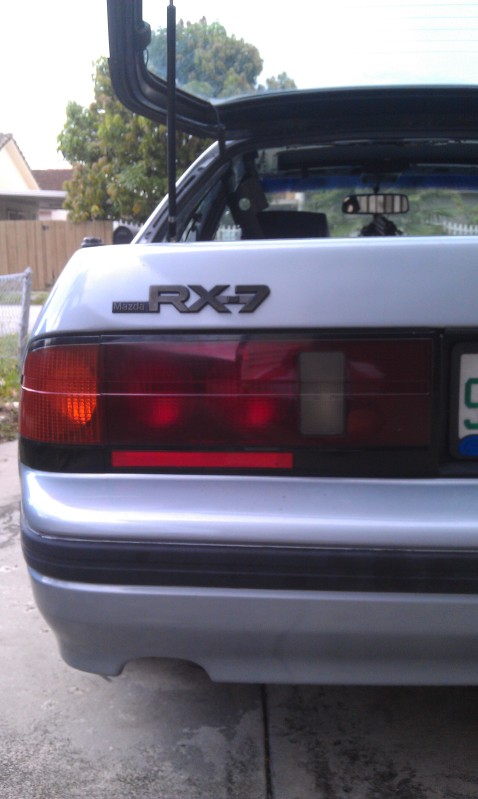
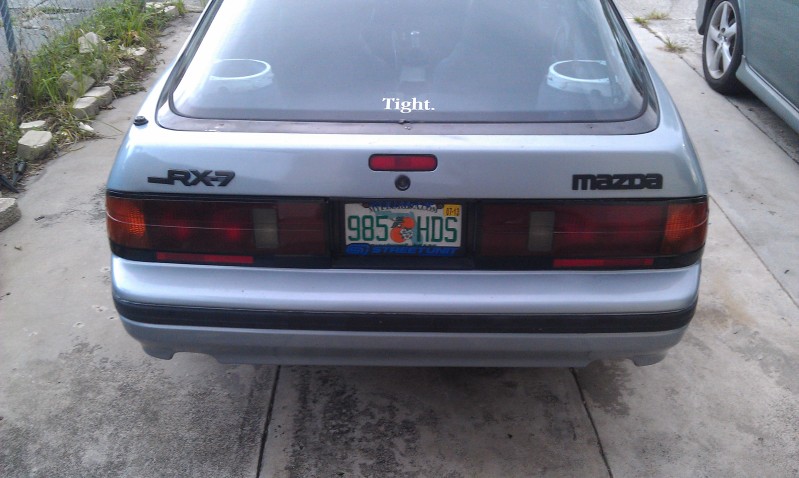
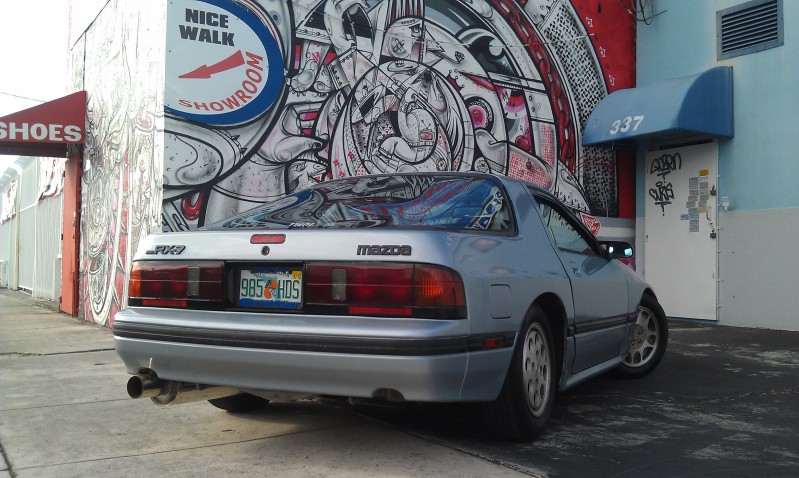
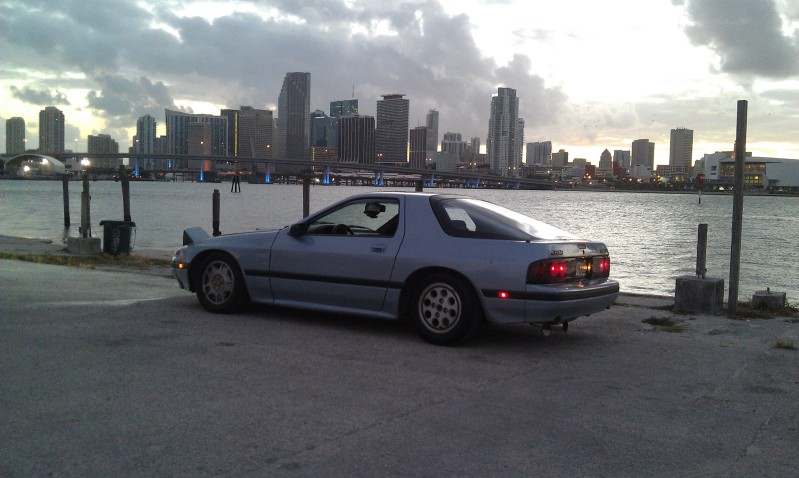
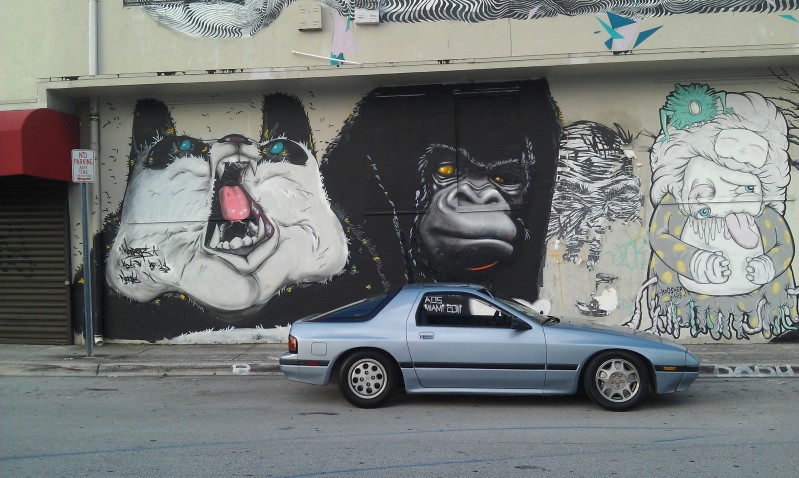
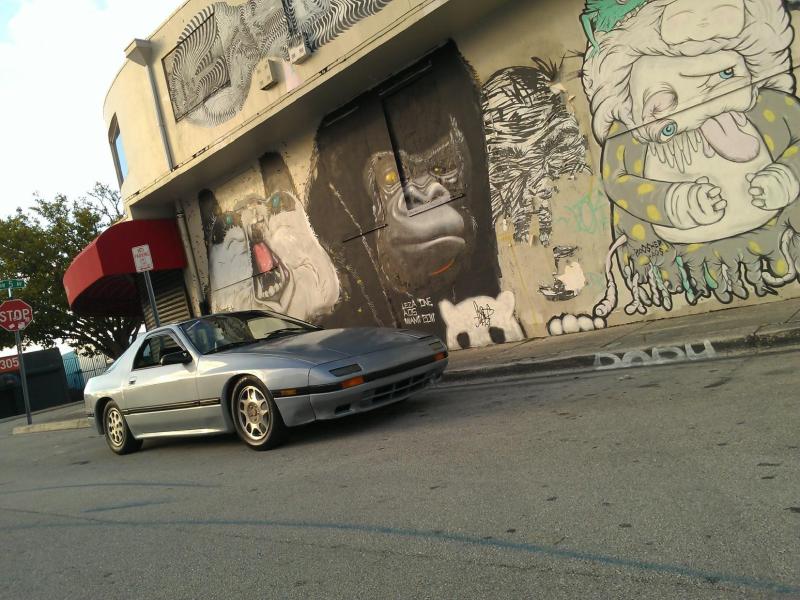
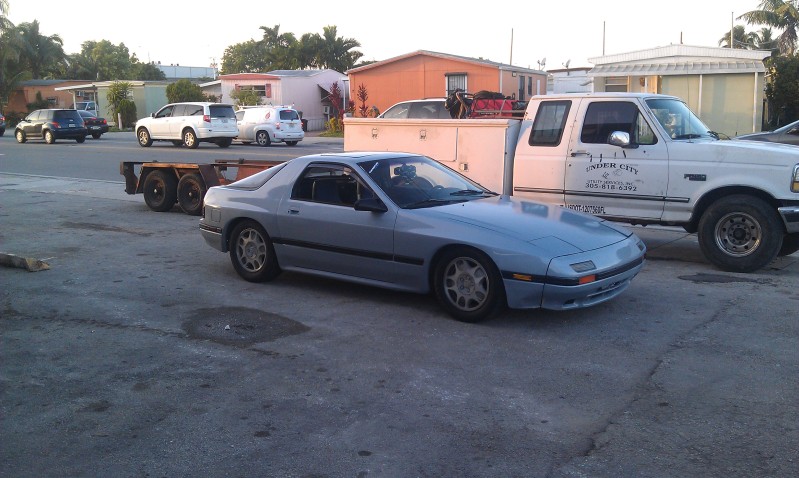
Mazdatenza604's 1988 Mazda RX7 SE

Thread Tools
 
Search this Thread
 
Old 12-03-12 | 12:18 AM
  #1  
Mazdatenza604's Avatar
Thread Starter
Junior Member
 
Joined: Sep 2012
Posts: 40
Likes: 0
From: Miami
Mazdatenza604's 1988 Mazda RX7 SE

Alright guys, decided to create this since I'm a ways into my progress on the RX7. Here's a link to my introduction thread which has a back story on how I got the car: https://www.rx7club.com/introduce-yourself-254/new-forum-88-n-fc-miami-fl-1012556/
I will create a mod list on my 1st post here and note all progress here.

Last edited by Mazdatenza604; 12-03-12 at 12:29 AM.
Old 12-03-12 | 12:20 AM
  #2  
Mazdatenza604's Avatar
Thread Starter
Junior Member
 
Joined: Sep 2012
Posts: 40
Likes: 0
From: Miami
Day 1
Name:  GosmsPhoto1344540620233_zps3f2271f7.jpg
Views: 1001
Size:  80.6 KB
Name:  GosmsPhoto1344540675924_zpsff02d229.jpg
Views: 484
Size:  90.0 KB

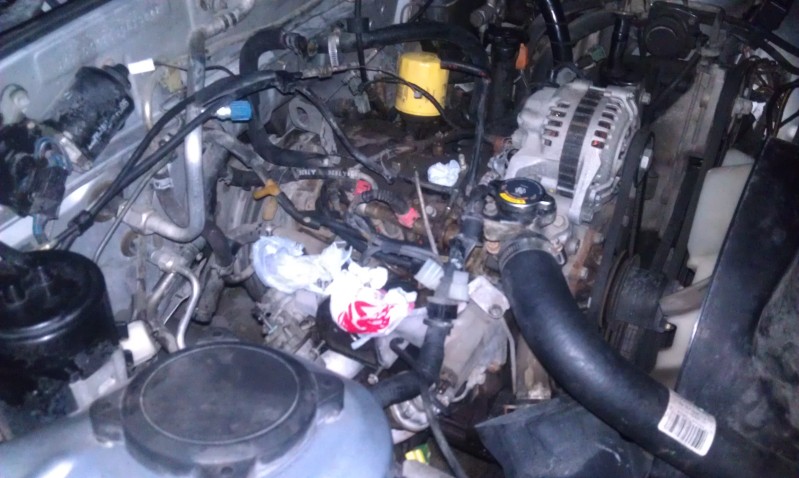
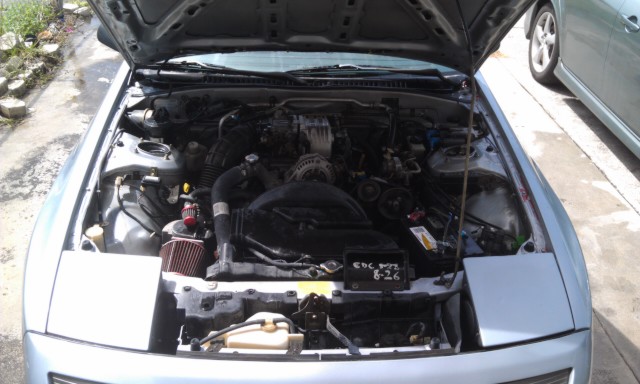
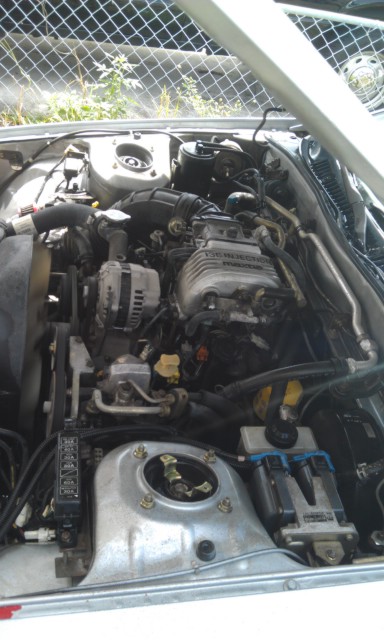
First thing I did was wash the engine bay:
Name:  IMAG0549_zpsb3c6b8c5.jpg
Views: 464
Size:  107.2 KB
Name:  IMAG0550_zps3159f838.jpg
Views: 403
Size:  115.3 KB

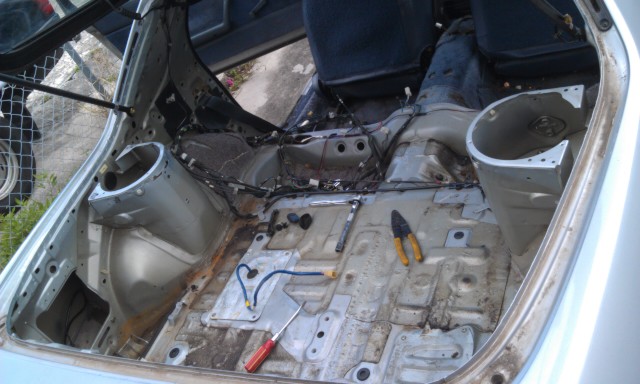
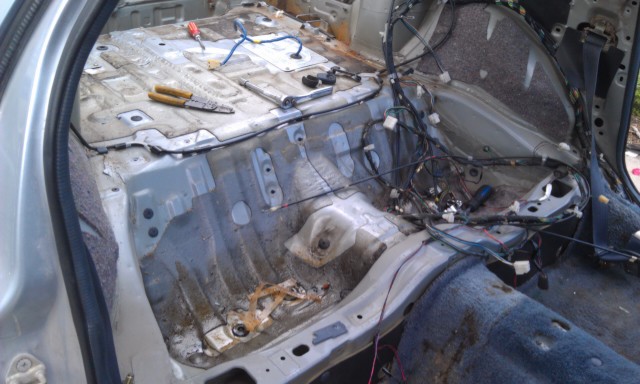
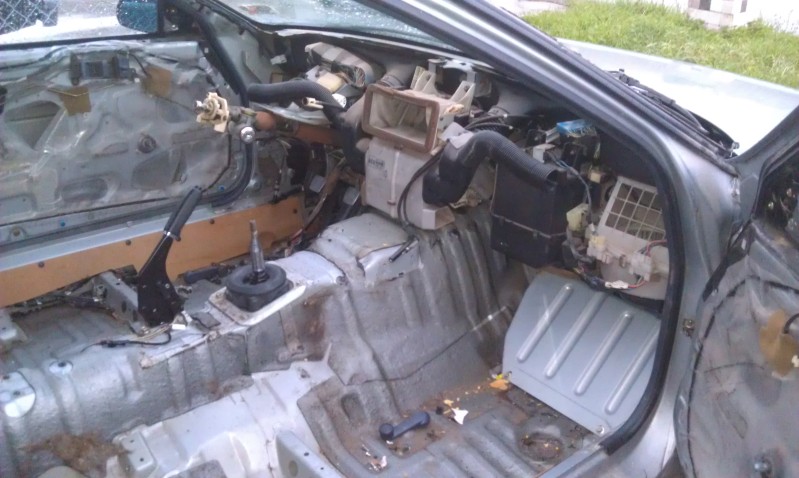
Then I began teardown in the interior:
Name:  IMAG0551_zpsc2a54cc5.jpg
Views: 439
Size:  110.6 KB
Name:  IMAG0552_zps70ab8dc6.jpg
Views: 417
Size:  112.3 KB
Name:  IMAG0576_zps7b08ba01.jpg
Views: 399
Size:  152.7 KB

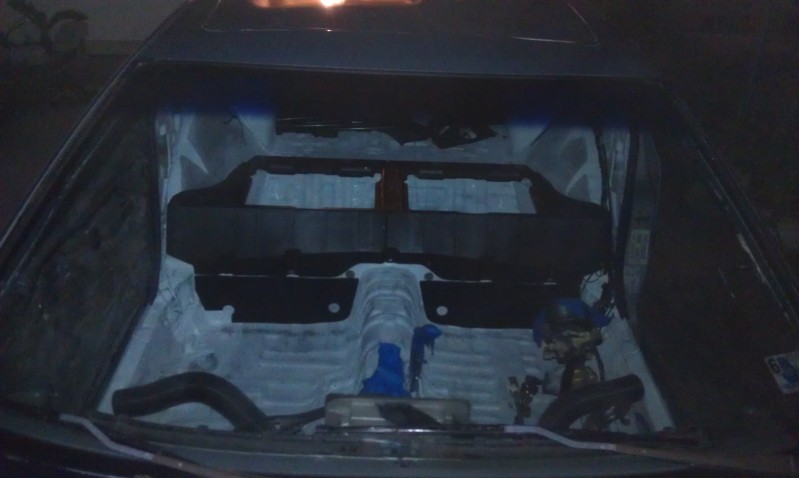
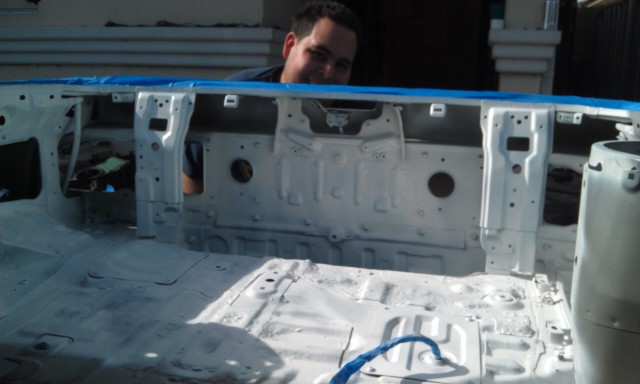
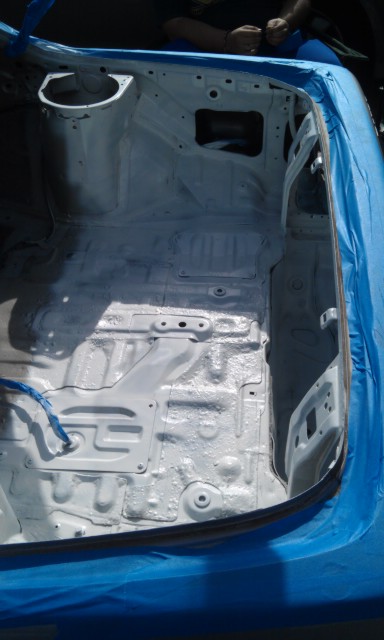
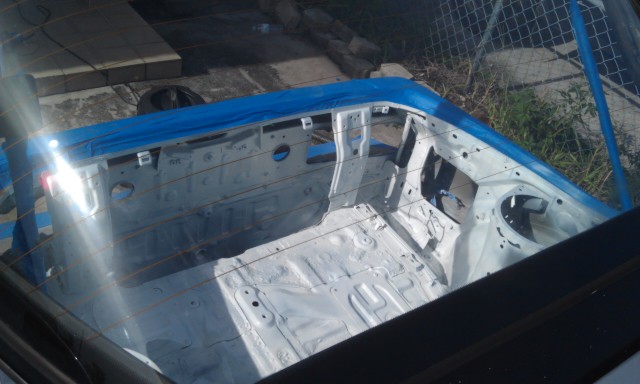
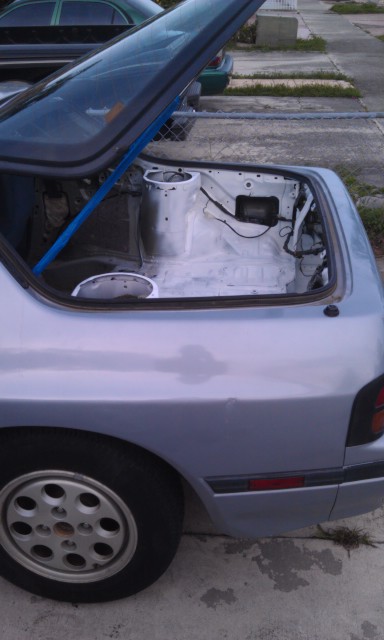
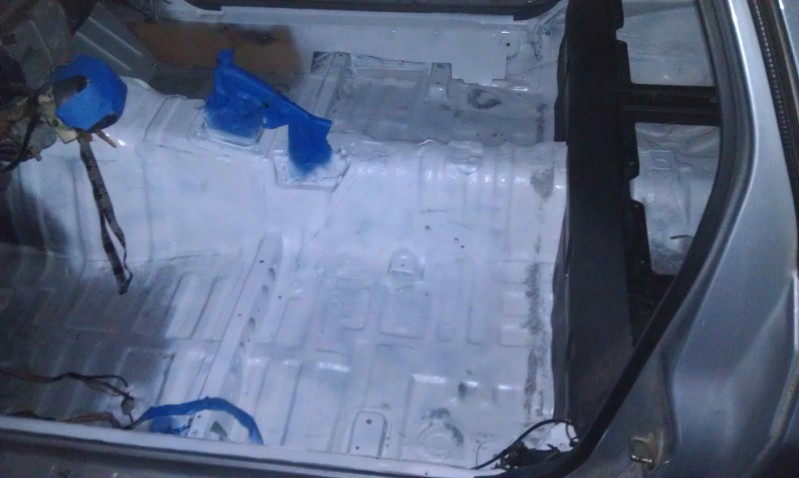
Layed down some rustoleum to preserve the rust-free frame:
Name:  IMAG0553_zps0c0d9857.jpg
Views: 405
Size:  74.2 KB
Name:  IMAG0554_zps19d08da6.jpg
Views: 403
Size:  86.3 KB
Name:  IMAG0555_zpsecd446e9.jpg
Views: 398
Size:  89.2 KB
Name:  IMAG0556_zps6d12f6de.jpg
Views: 399
Size:  81.0 KB
Name:  IMAG0589_zpsfc88a42e.jpg
Views: 422
Size:  106.6 KB
Old 12-03-12 | 12:22 AM
  #3  
Mazdatenza604's Avatar
Thread Starter
Junior Member
 
Joined: Sep 2012
Posts: 40
Likes: 0
From: Miami
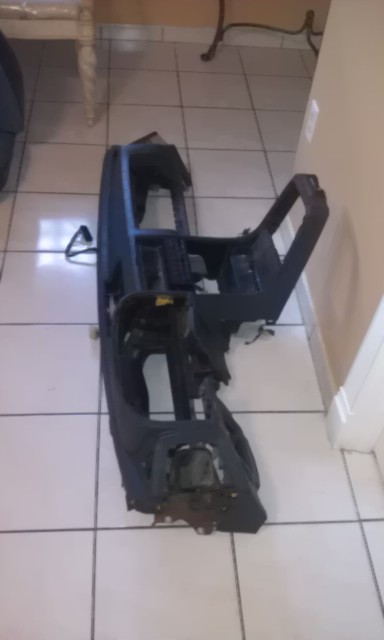
Dashboard got a clean up after years:
Name:  IMAG0574_zpsfb5447e1.jpg
Views: 391
Size:  50.1 KB

Re-taped the dashboard harness and cleaned it up
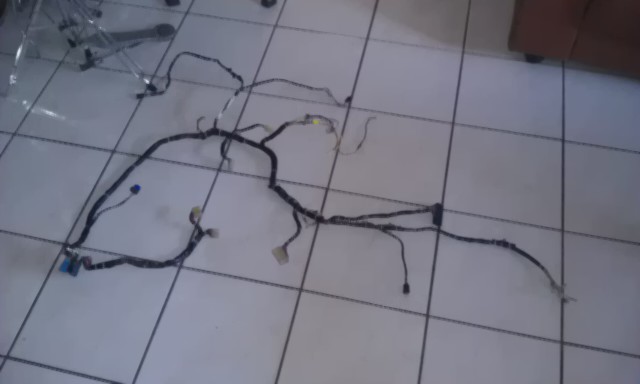
Name:  IMAG0579_zpsf8a40302.jpg
Views: 435
Size:  49.3 KB

The dashboard frame/skeleton was painted with rustoleum paint to prevent rust.
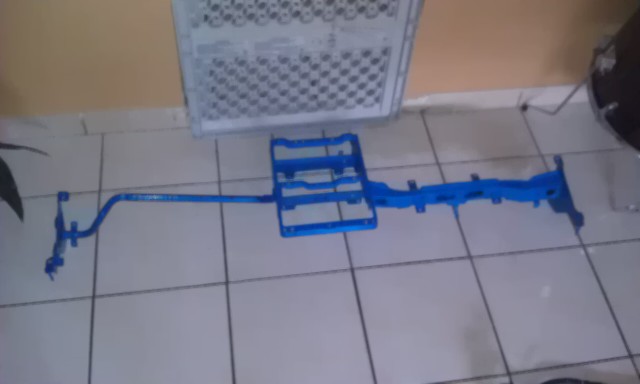
Name:  IMAG0581_zps76761c1c.jpg
Views: 396
Size:  48.1 KB

Re-assembled with air ducts and harness:
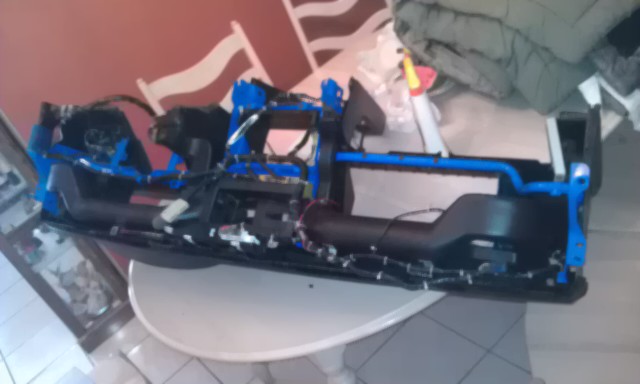
Name:  IMAG0586_zps686e53ca.jpg
Views: 411
Size:  69.3 KB

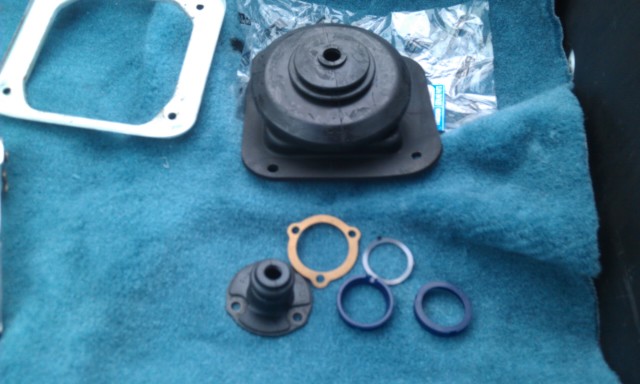
Short shifter and shifter rebuild parts arrive:
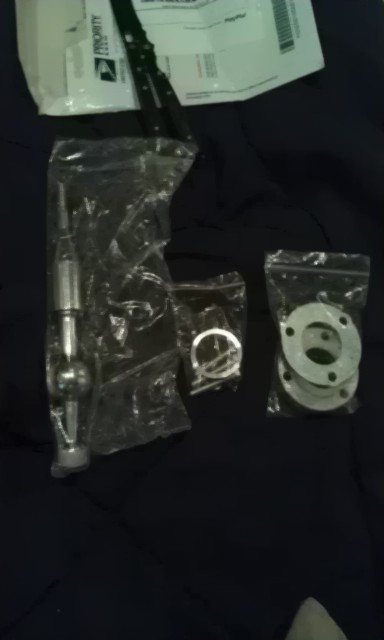
Name:  IMAG0562_zps069588ac.jpg
Views: 418
Size:  50.0 KB
Name:  IMAG0596_zpscf55b97c.jpg
Views: 447
Size:  87.9 KB

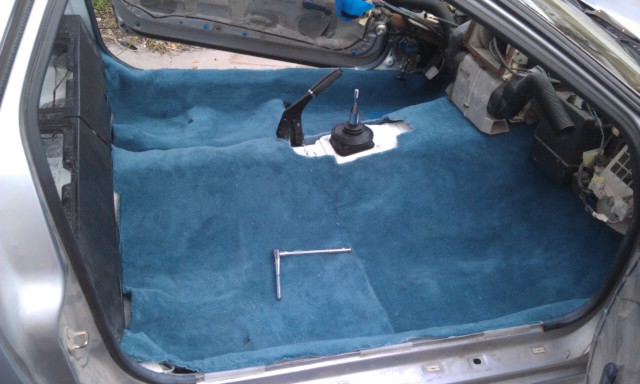
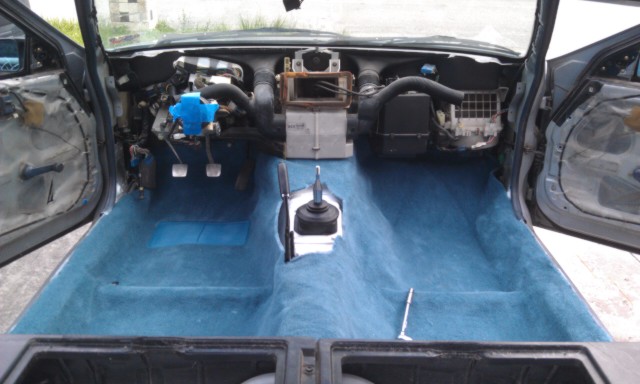
Carpet arrives:
Name:  IMAG0599_zps5f001e5b.jpg
Views: 379
Size:  91.2 KB
Name:  IMAG0598_zpse0e7c0fb.jpg
Views: 438
Size:  94.0 KB

Short shifter/rebuild install complete:
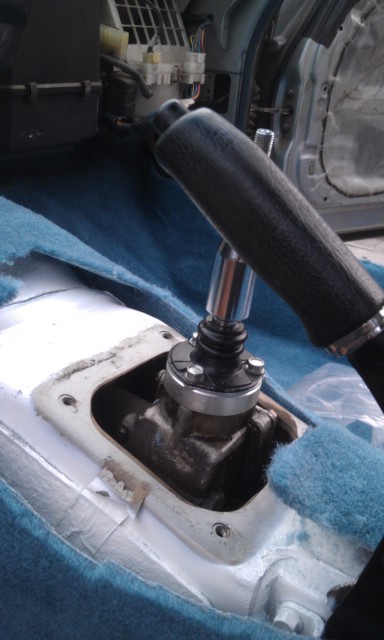
Name:  IMAG0597_zps112c9bce.jpg
Views: 441
Size:  86.7 KB

Rear compartment frames installed:
Name:  IMAG0594_zpsb505c711.jpg
Views: 404
Size:  84.7 KB

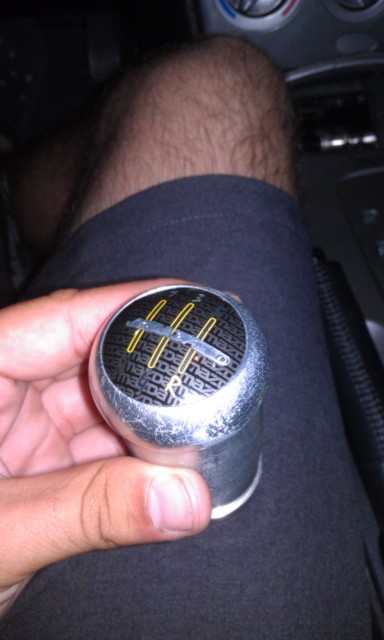
Shift **** acquired:
Name:  IMAG0565_zpsb926ddd6.jpg
Views: 410
Size:  73.7 KB
Old 12-03-12 | 12:24 AM
  #4  
Mazdatenza604's Avatar
Thread Starter
Junior Member
 
Joined: Sep 2012
Posts: 40
Likes: 0
From: Miami
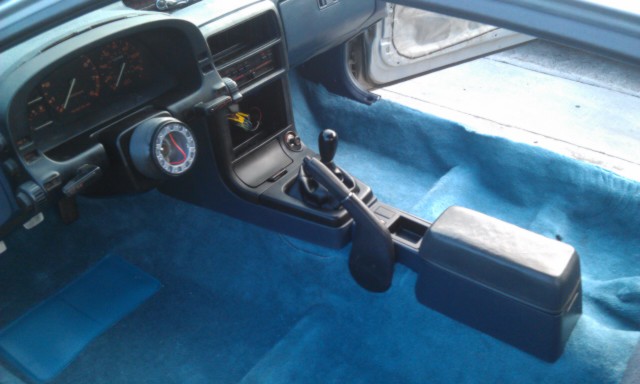
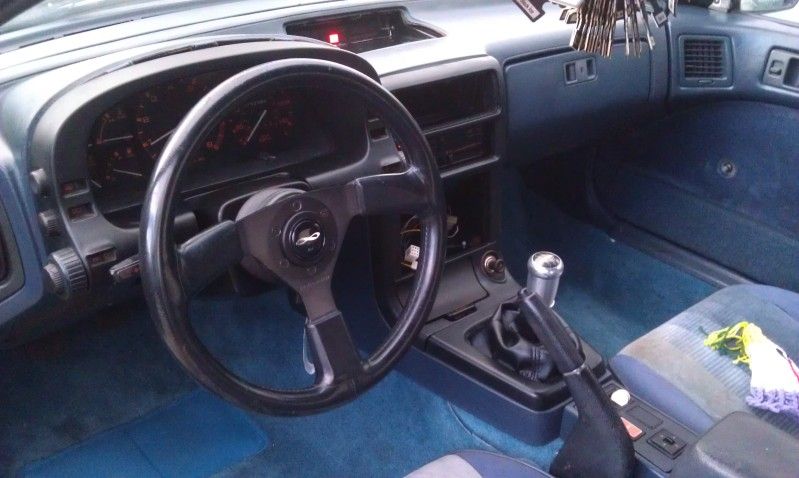
Dashboard and center console added:
Name:  IMAG0610_zps99bb0fee.jpg
Views: 637
Size:  79.6 KB

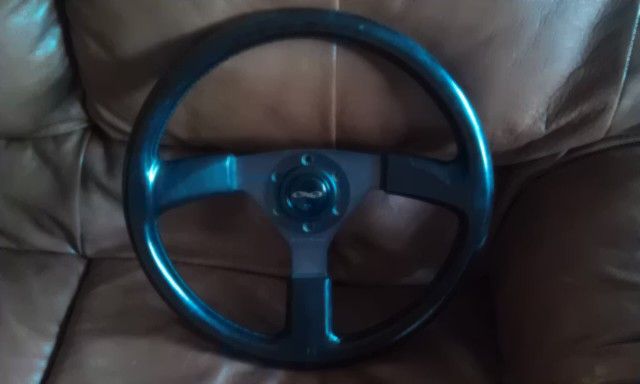
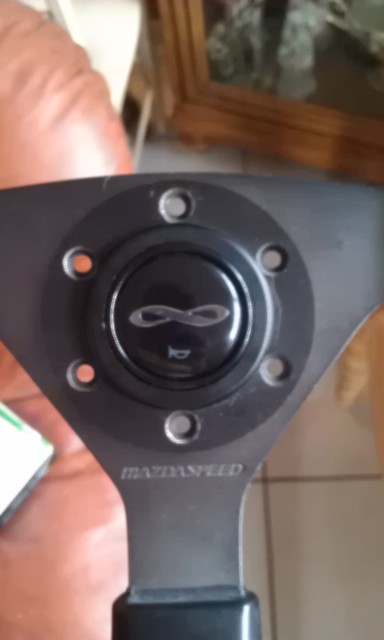
Steering wheel purchased:

Name:  IMAG0661_zpsf8b9be7a.jpg
Views: 408
Size:  52.7 KB


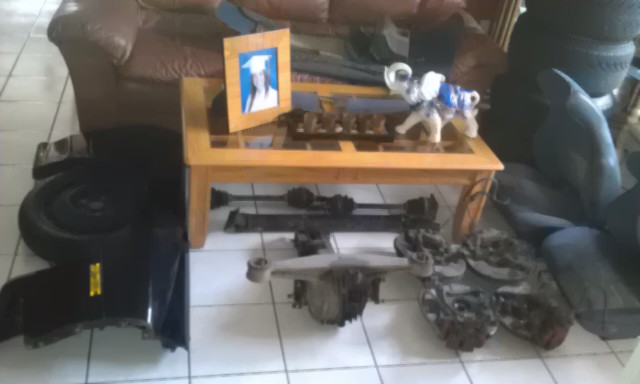
More new parts acquired (TurboII Driveshaft, Axles, and Differential, TurboII 5 lug conversion with Brakes:
Name:  IMAG0605_zps9ab56cc7.jpg
Views: 412
Size:  69.0 KB

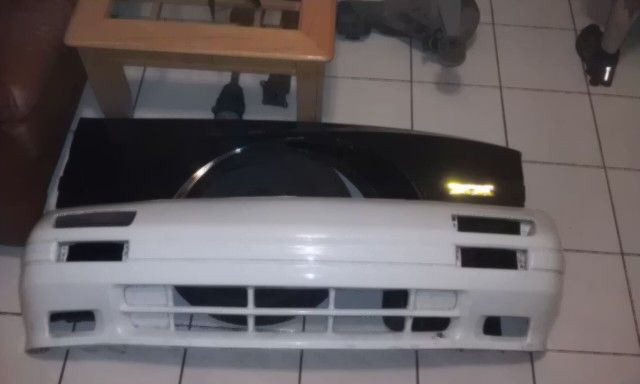
S4 Bumper and fresh set of fenders:


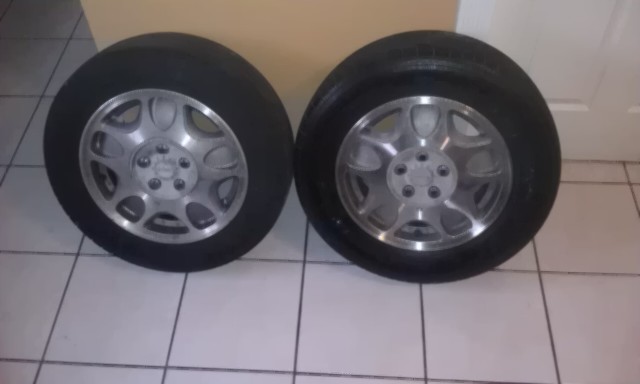
OEM Enkeis:
Name:  IMAG0631_zps86b7bc7a.jpg
Views: 407
Size:  52.3 KB

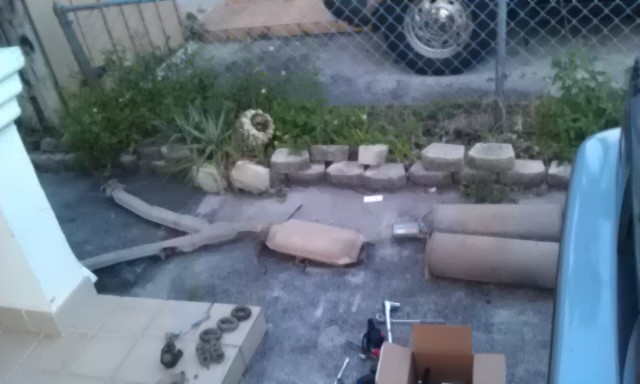
Removed exhaust:
Name:  IMAG0660_zps36a6de44.jpg
Views: 406
Size:  83.4 KB

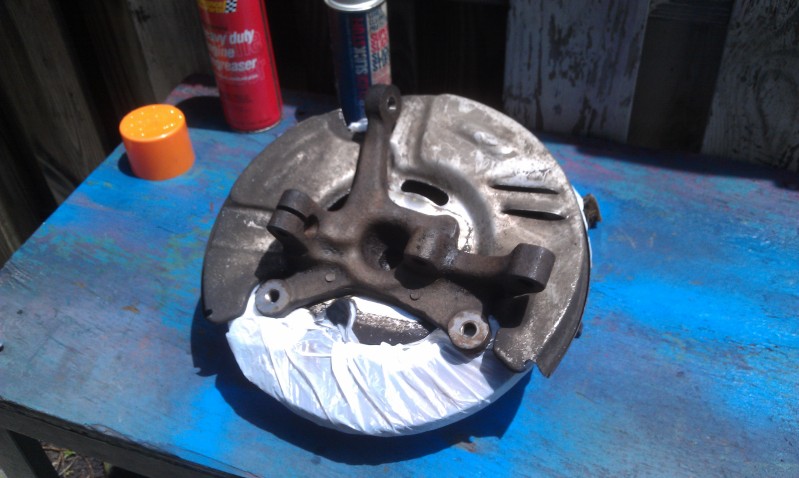
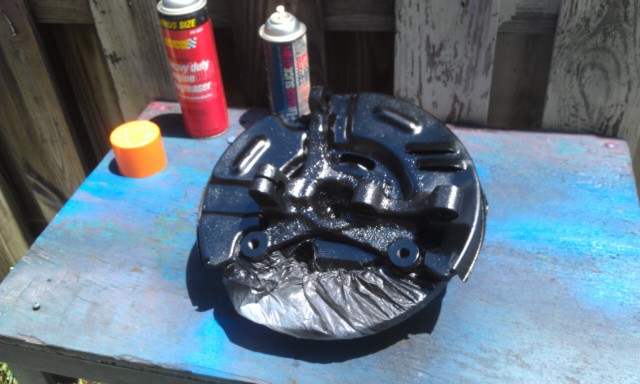
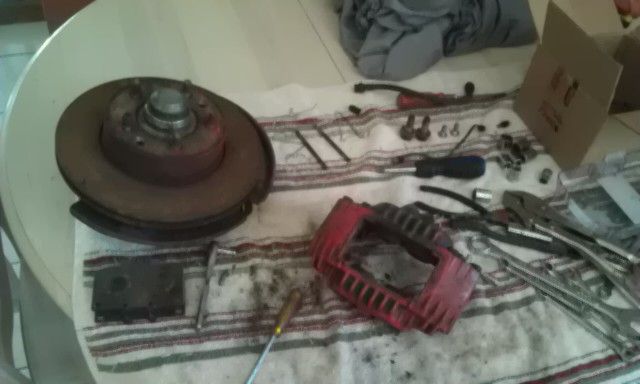
Cleaned and converted the front brakes, installed with Stainless Steel lines:
Name:  IMAG0673_zps1f7b1f74.jpg
Views: 435
Size:  76.7 KB
Name:  IMAG0678_zpsdbf68a28.jpg
Views: 391
Size:  133.1 KB
Name:  IMAG0679_zps6ce1ca2a.jpg
Views: 399
Size:  100.0 KB
Name:  IMAG0681_zpsf4f164e6.jpg
Views: 406
Size:  82.2 KB
Old 12-03-12 | 12:24 AM
  #5  
scrapp's Avatar
89GTUs (38k original mi)
iTrader: (1)
 
Joined: Sep 2003
Posts: 678
Likes: 1
From: Houston
In for the follow. (and messing up your first posts of the thread!)
Old 12-03-12 | 12:26 AM
  #6  
Mazdatenza604's Avatar
Thread Starter
Junior Member
 
Joined: Sep 2012
Posts: 40
Likes: 0
From: Miami
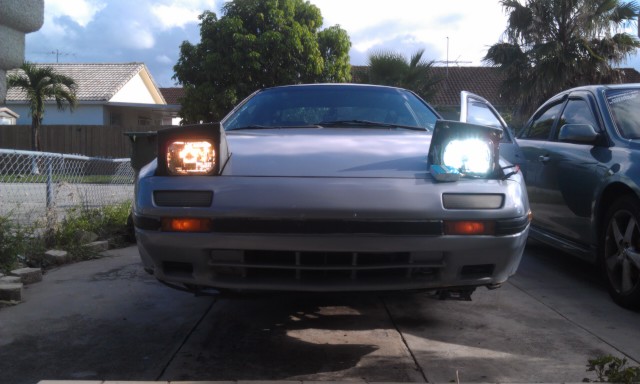
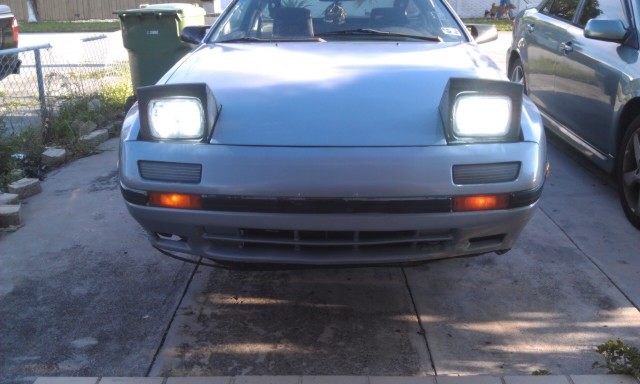
H.I.D.'s and new glass headlights acquired:
Name:  IMAG0688_zps83ac3f53.jpg
Views: 412
Size:  93.6 KB
Name:  IMAG0689_zps509fffb0.jpg
Views: 426
Size:  91.2 KB

Workshop Manual acquired:
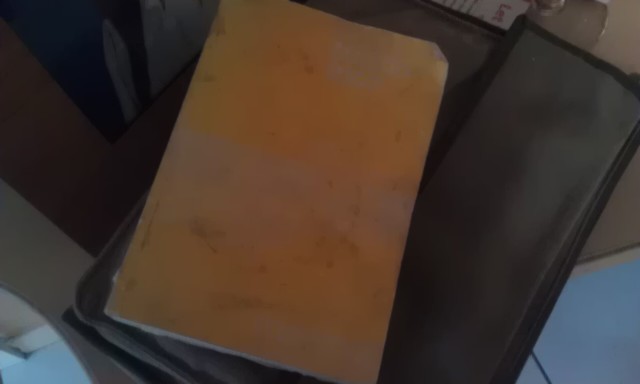
Name:  IMAG0686_zpse78424ca.jpg
Views: 415
Size:  34.0 KB

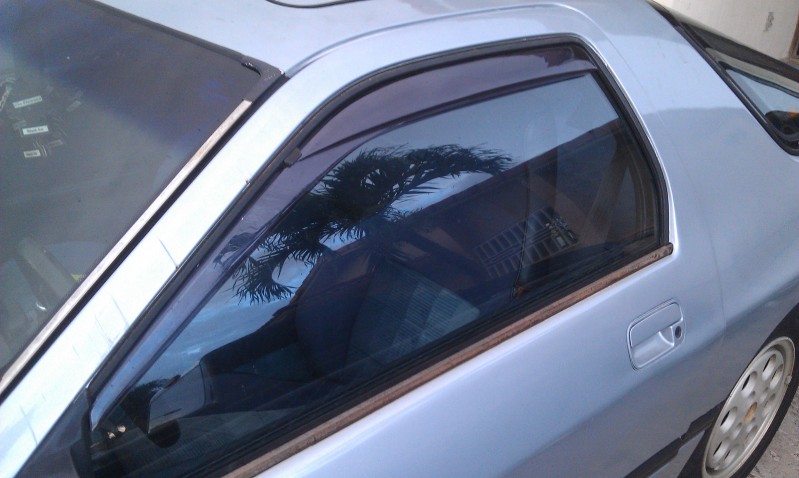
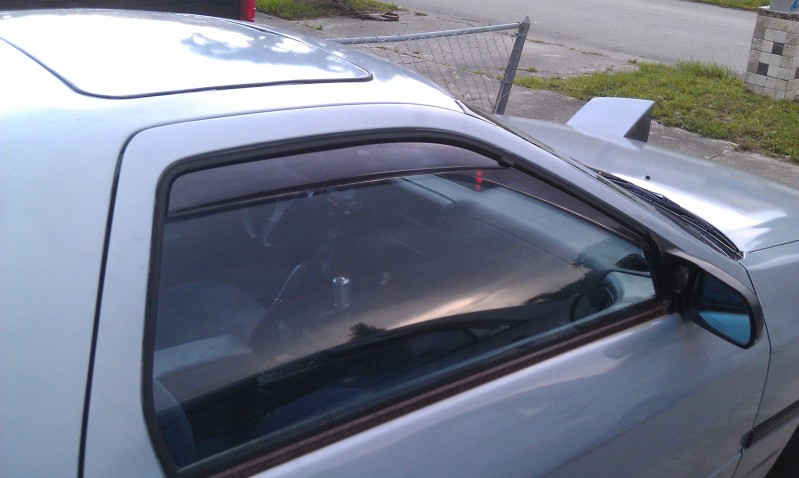
Vent Visors purchased:
Name:  IMAG0671_zps1d444525.jpg
Views: 737
Size:  124.1 KB
Name:  IMAG0669_zps8041e838.jpg
Views: 722
Size:  118.1 KB

Before:
Name:  IMAG0667_zps8f5e031e.jpg
Views: 391
Size:  133.6 KB

After:
Name:  IMAG0666_zps7778aa0c.jpg
Views: 445
Size:  103.5 KB

All done:
Name:  IMAG0668_zpsfc48214e.jpg
Views: 418
Size:  139.0 KB
Old 12-03-12 | 12:46 AM
  #7  
Mazdatenza604's Avatar
Thread Starter
Junior Member
 
Joined: Sep 2012
Posts: 40
Likes: 0
From: Miami
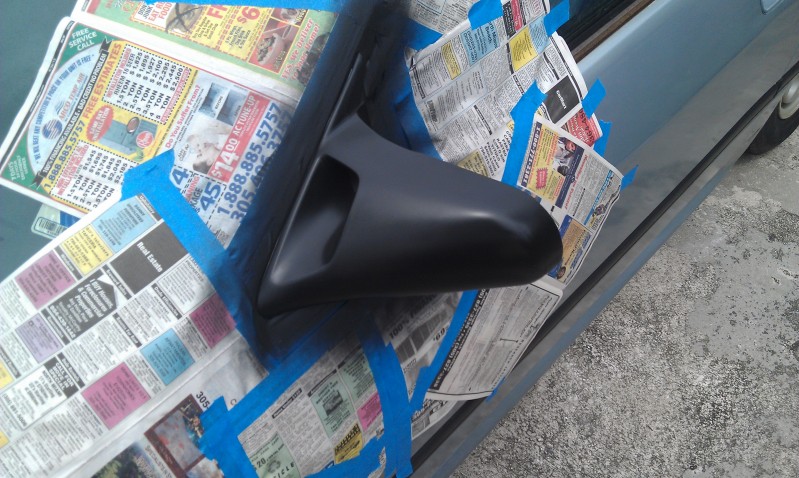
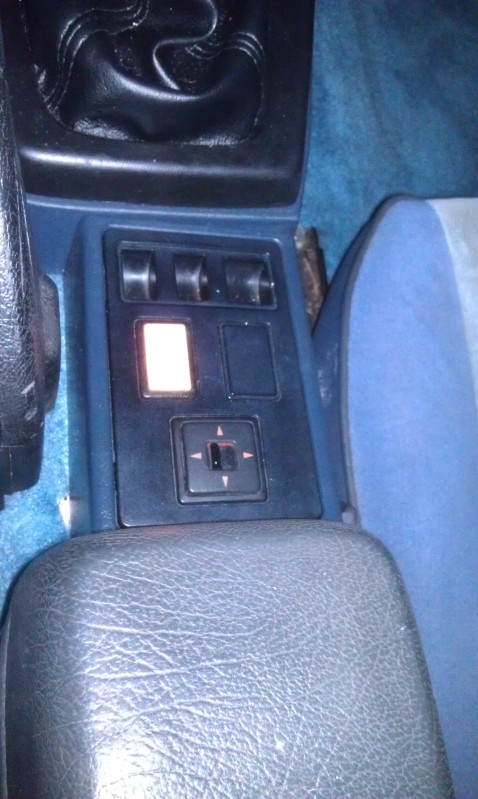
Fixed the dimmer lights which weren't working:
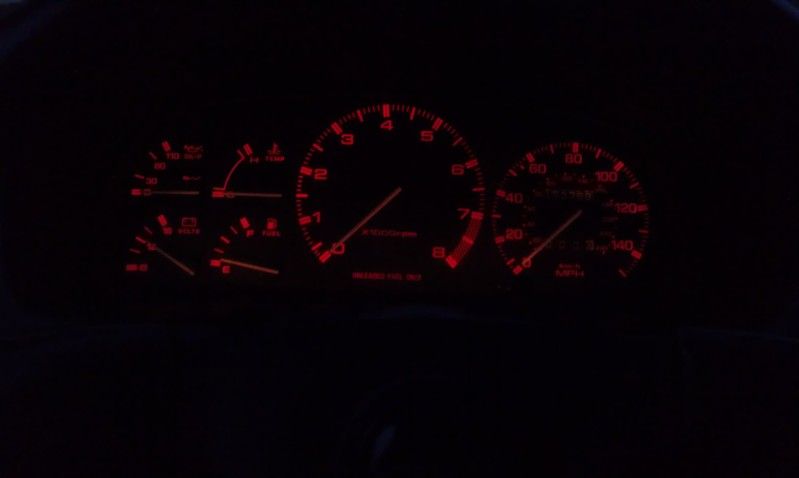

Functional TurboII side mirrors and functional Security system:
Name:  IMAG0705.jpg
Views: 406
Size:  151.6 KB

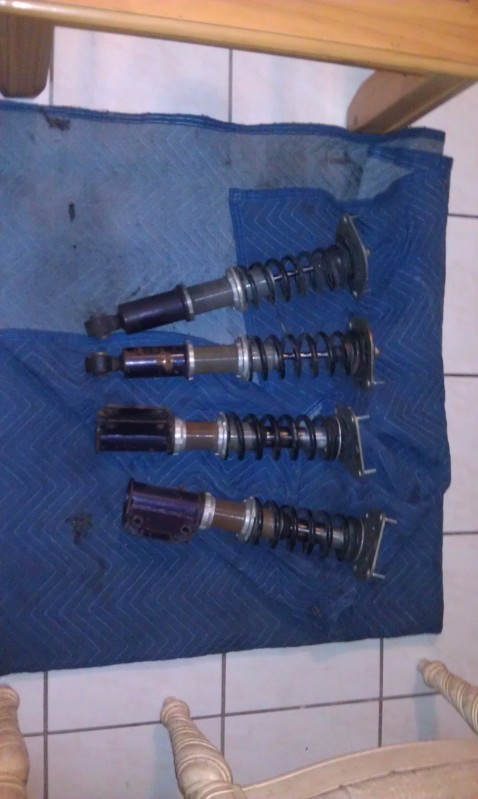
Picked up some Cuscos coilovers:
Name:  IMAG0735.jpg
Views: 406
Size:  111.7 KB

Here's the result:
Name:  IMAG0751.jpg
Views: 594
Size:  154.6 KB
Name:  IMAG0738.jpg
Views: 402
Size:  97.1 KB
Name:  IMAG0765.jpg
Views: 436
Size:  123.8 KB

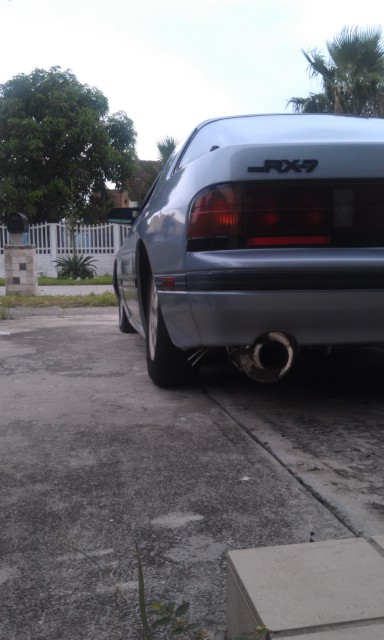
OBX 3" single exit exhaust with catless headers:
Name:  IMAG0739.jpg
Views: 437
Size:  85.9 KB

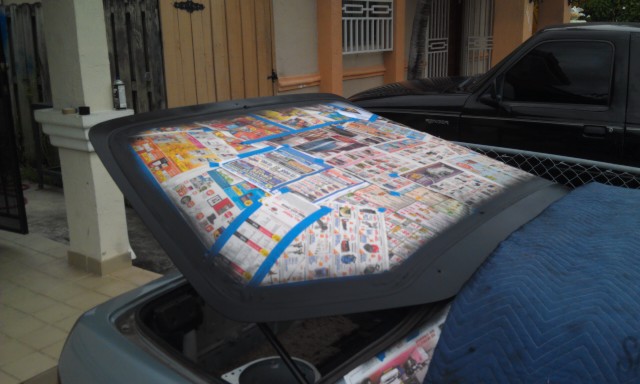
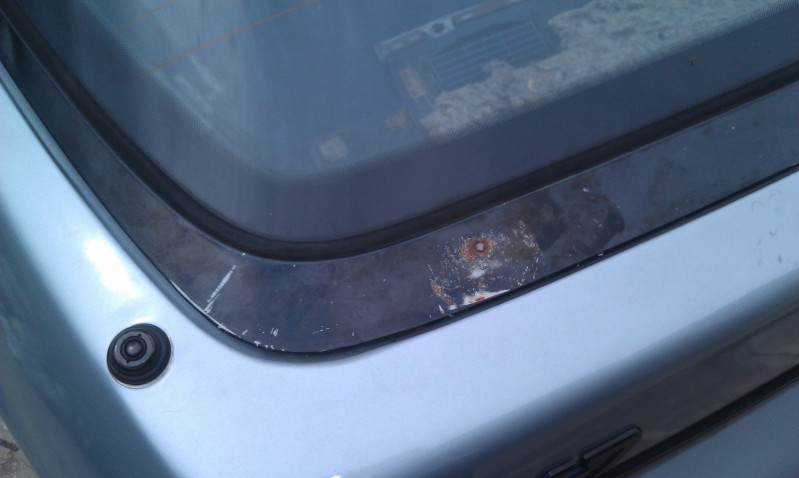
Saw some imperfections that got on my nerves:
Name:  IMAG0747.jpg
Views: 398
Size:  83.4 KB

So I took care of them:
Name:  IMAG0742.jpg
Views: 406
Size:  109.9 KB
Name:  IMAG0743.jpg
Views: 407
Size:  130.4 KB
Name:  IMAG0748.jpg
Views: 448
Size:  90.7 KB

Last edited by Mazdatenza604; 12-03-12 at 12:48 AM.
Old 12-03-12 | 12:54 AM
  #8  
Mazdatenza604's Avatar
Thread Starter
Junior Member
 
Joined: Sep 2012
Posts: 40
Likes: 0
From: Miami
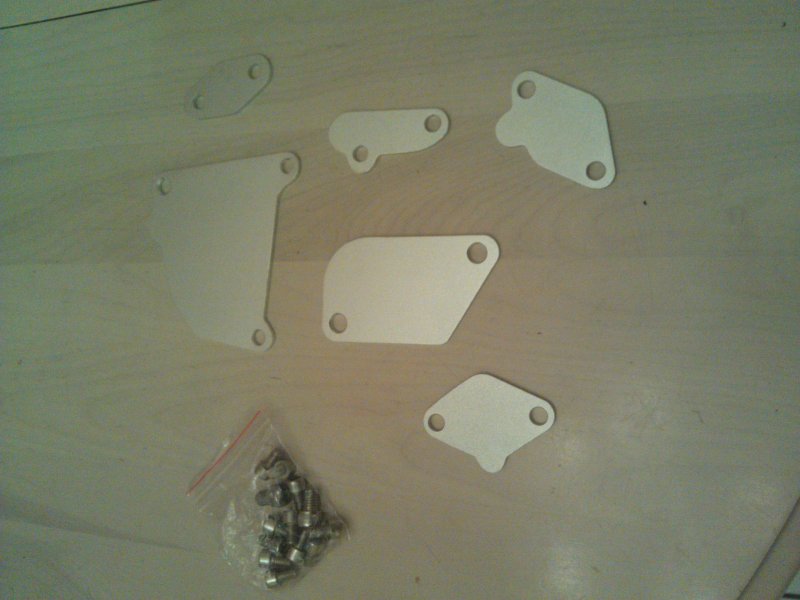
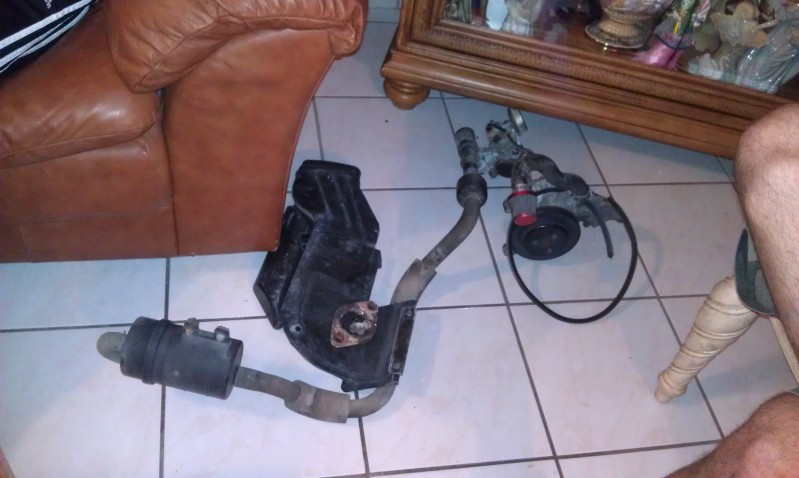
Got a blockoff kit:
Name:  FB_IMG_13503429625596747.jpg
Views: 414
Size:  50.0 KB

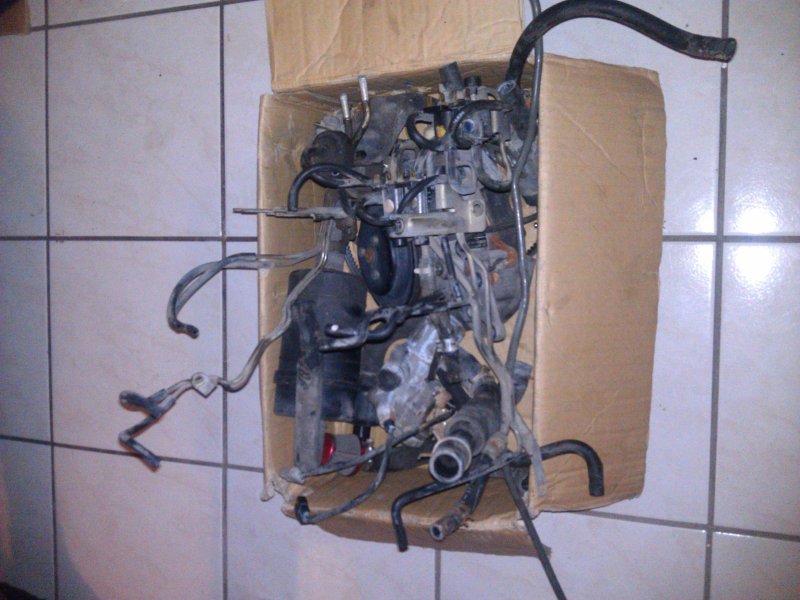
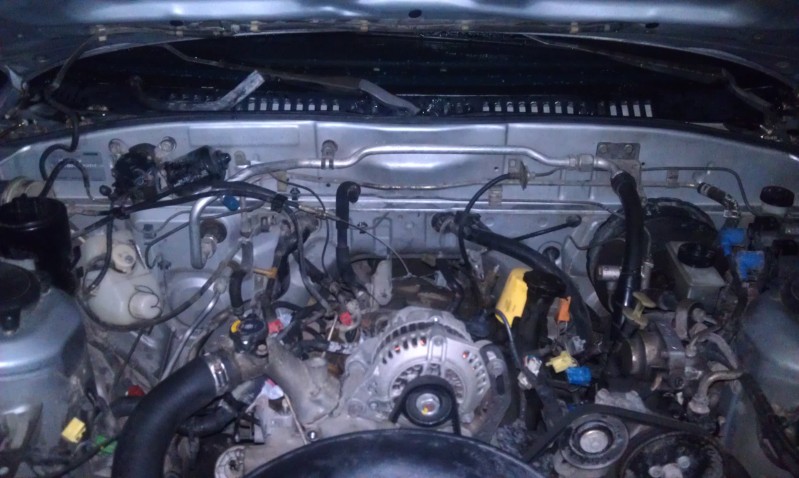
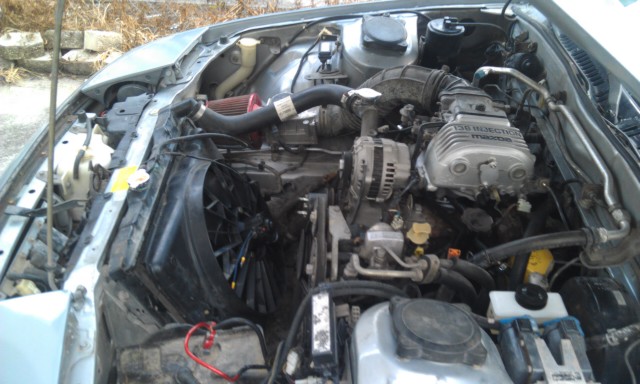
So I did a full emissions delete:
Name:  FB_IMG_1350260852189579.jpg
Views: 403
Size:  81.6 KB
Name:  IMAG0776.jpg
Views: 409
Size:  119.0 KB
Name:  IMAG0779.jpg
Views: 414
Size:  95.7 KB
Name:  IMAG0780.jpg
Views: 400
Size:  149.9 KB

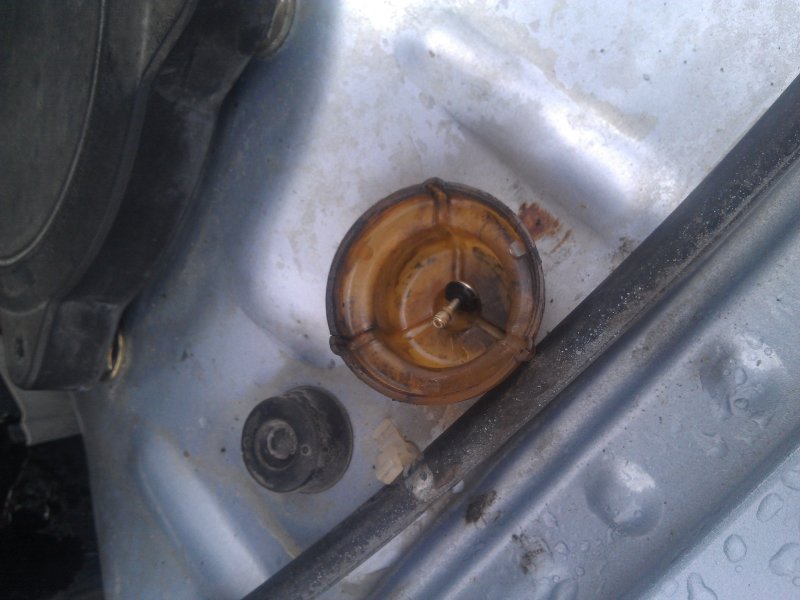
While I was in there I did the FPD delete as well:
Name:  FB_IMG_13505093419359419.jpg
Views: 441
Size:  65.5 KB

Converted to E-Fan:
Name:  IMAG0872.jpg
Views: 421
Size:  119.2 KB

Found more stuff to replace:
Name:  FB_IMG_13541242210117286.jpg
Views: 404
Size:  142.8 KB

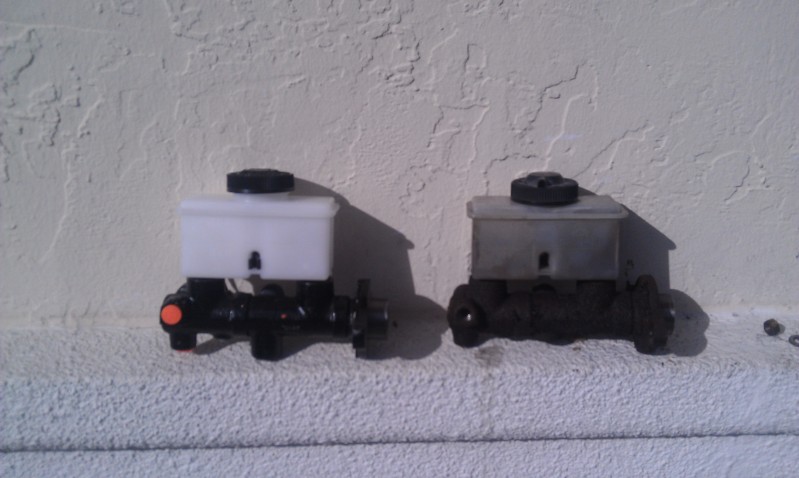
Replaced the Brake Master Cylinder:
Name:  IMAG0858.jpg
Views: 387
Size:  110.2 KB

And I found a small oil leak from the OMP:
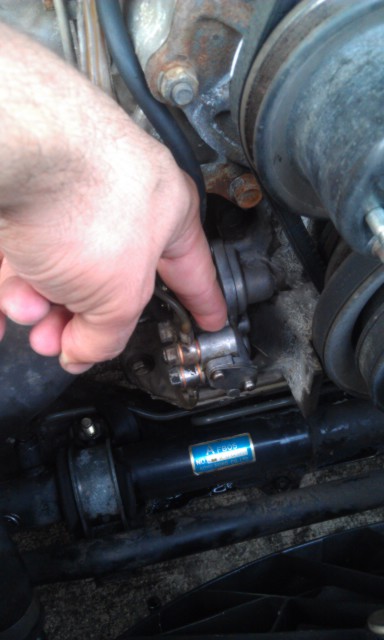
Name:  IMAG0879.jpg
Views: 377
Size:  79.9 KB
Old 12-03-12 | 12:58 AM
  #9  
Mazdatenza604's Avatar
Thread Starter
Junior Member
 
Joined: Sep 2012
Posts: 40
Likes: 0
From: Miami
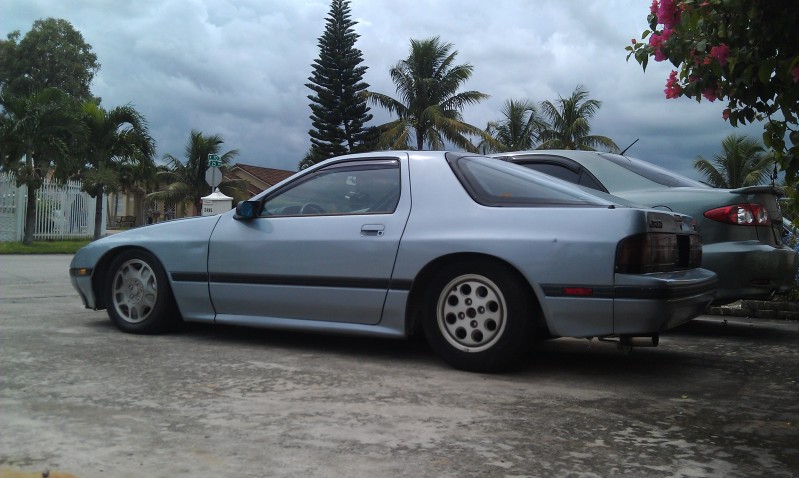
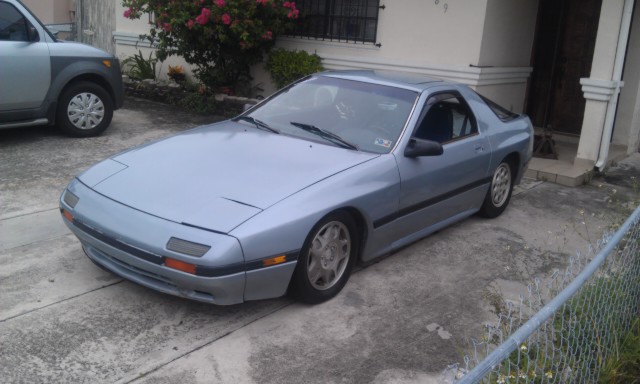
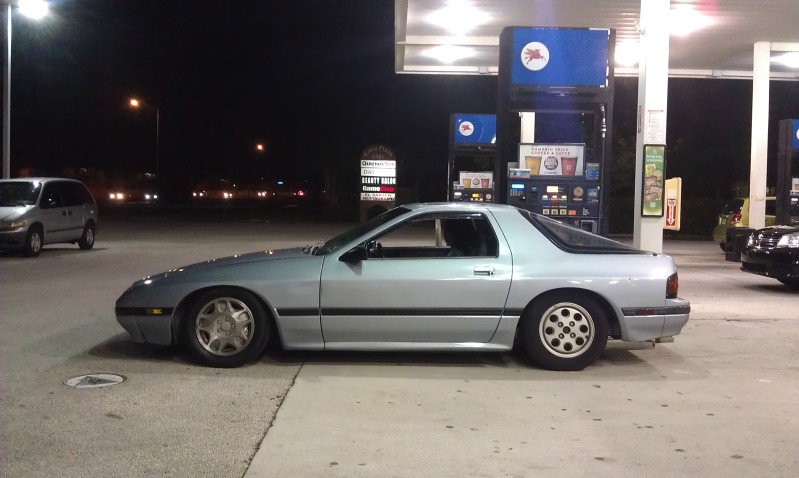
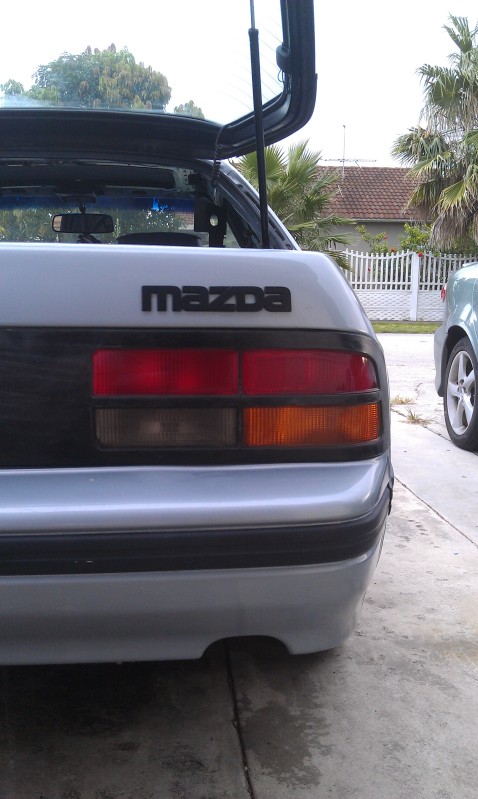
Went and took some pics today:
Name:  IMAG0882.jpg
Views: 419
Size:  118.9 KB
Name:  IMAG0888.jpg
Views: 380
Size:  137.8 KB
Name:  IMAG0885.jpg
Views: 416
Size:  115.9 KB
Name:  S95954541.jpg
Views: 373
Size:  87.1 KB
Old 12-03-12 | 01:32 AM
  #10  
DennisH's Avatar
Full Member
 
Joined: Nov 2012
Posts: 47
Likes: 0
From: Seattle, WA
Looks incredible man, I really love seeing the effort and work that goes into restoring some of these excellent cars. I've seen far too many that simply get trashed. Looking forward to seeing more!
Old 12-03-12 | 07:03 PM
  #11  
88fc3sT2's Avatar
Senior Member
iTrader: (1)
 
Joined: Jun 2012
Posts: 470
Likes: 0
From: Fort Lauderdale
Wow good job on the interior! I miss my FC. Definitely a one of a kind ride to drive.
Old 12-03-12 | 08:19 PM
  #12  
Mazdatenza604's Avatar
Thread Starter
Junior Member
 
Joined: Sep 2012
Posts: 40
Likes: 0
From: Miami
Thanks guys! I've been on a stand-still now cause I lost my job. I supposibly start again Saturday so it will pick up from there. My next mods consist of complete bushing kit from Energy Suspension, de-power the steering rack, rebuild and flow test injectors, aluminum GTU hood, fiberglass OR glass sunroof conversion, and many more.
Old 12-03-12 | 08:24 PM
  #13  
diabolical1's Avatar
Moderator
iTrader: (3)
 
Joined: Feb 2002
Posts: 10,936
Likes: 327
From: FL
nice work so far.

however, i have to ask the obvious. why only half of the conversion? you just waiting on a T2 tranny?
Old 12-03-12 | 10:32 PM
  #14  
Mazdatenza604's Avatar
Thread Starter
Junior Member
 
Joined: Sep 2012
Posts: 40
Likes: 0
From: Miami
Originally Posted by diabolical1
nice work so far.

however, i have to ask the obvious. why only half of the conversion? you just waiting on a T2 tranny?
Yes I am waiting on picking up a TurboII transmission. Funds have fallen short. I do want to keep the subtle S4 look with most TurboII goodies. I'm alao debating on whether to keep the 6port manifold or go 4port. I do know that my irons are stronger than those on a TurboII iirc. As far as the housings, I do know mine are weak links. Come the end of winter im also looking to send out the engine to get street ported and pinned.
Old 12-06-12 | 11:28 PM
  #15  
Mazdatenza604's Avatar
Thread Starter
Junior Member
 
Joined: Sep 2012
Posts: 40
Likes: 0
From: Miami
Update: I depowered the steering rack to get a feel of no P.S. and I prefer to not have it. Tomorrow I will be finishing the conversion by connecting the hoses from each side (been reading the write up from here) I will be doing the correct de-powering procedure when the engine is out. Oil leak from OMP is still leaking, I've been checking oil levels to make sure I don't run low. I will be doing more investigation on that tomorrow. I do also have an exhaust leak as well as a vaccum leak so i eill be buying some gasket maker as well as an exhaust gasket for the headers.
Old 12-06-12 | 11:55 PM
  #16  
Broke_A_Baller's Avatar
OMG a Chupacabra!
iTrader: (26)
 
Joined: May 2012
Posts: 1,360
Likes: 7
From: Florida
Did u seriously spray paint the inside?
Old 12-07-12 | 12:43 AM
  #17  
Mazdatenza604's Avatar
Thread Starter
Junior Member
 
Joined: Sep 2012
Posts: 40
Likes: 0
From: Miami
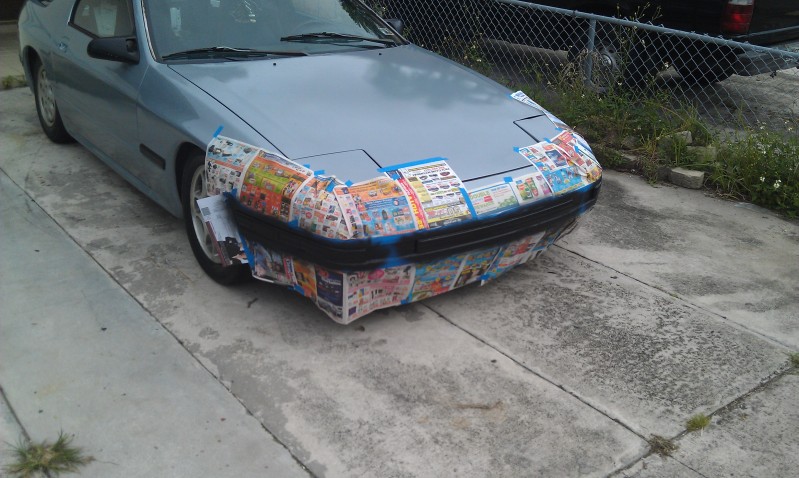
Yes, if the outside was original paint then I wouldn't have...but I have plans to get the car painted white.
Old 12-13-12 | 11:47 PM
  #18  
Mazdatenza604's Avatar
Thread Starter
Junior Member
 
Joined: Sep 2012
Posts: 40
Likes: 0
From: Miami
Some quick updates:

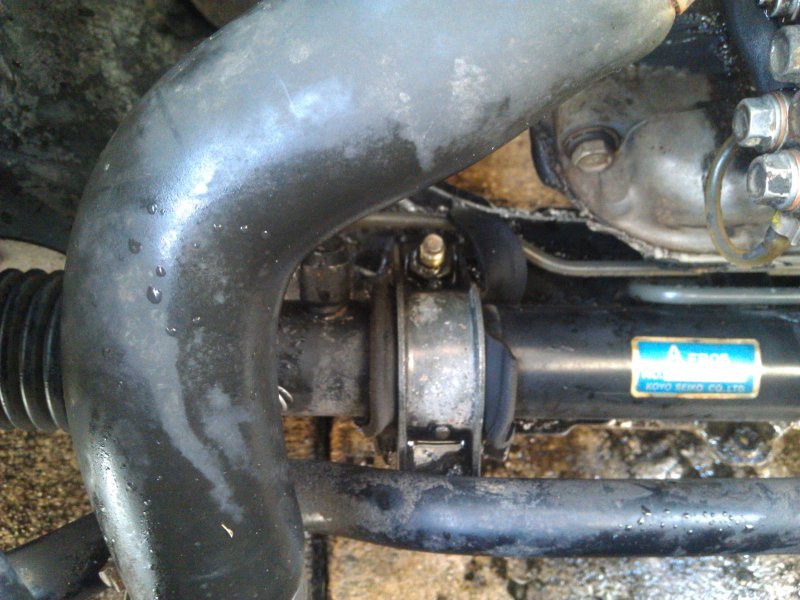
Here's the bushing that was messed up. I made one out of a hard rubber coupler.
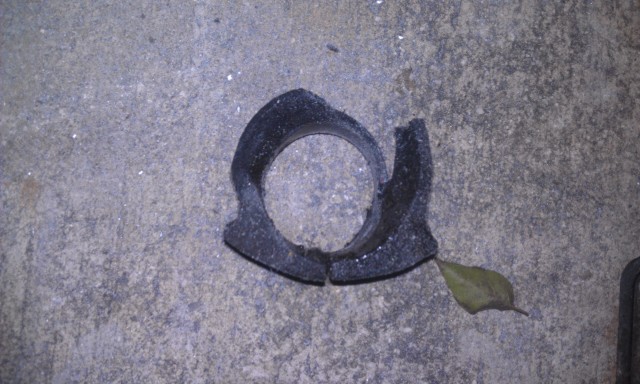
Name:  IMAG0902.jpg
Views: 419
Size:  121.6 KB

Removed the power steering but kept the A/C because Florida.
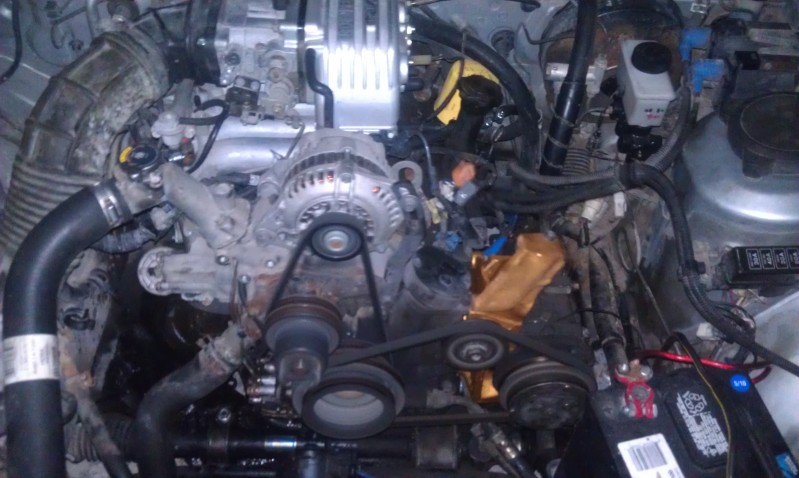
Name:  IMAG0903.jpg
Views: 443
Size:  147.3 KB

I know I got a small exhaust leak & a vaccum leak so let's hope this fixes that:
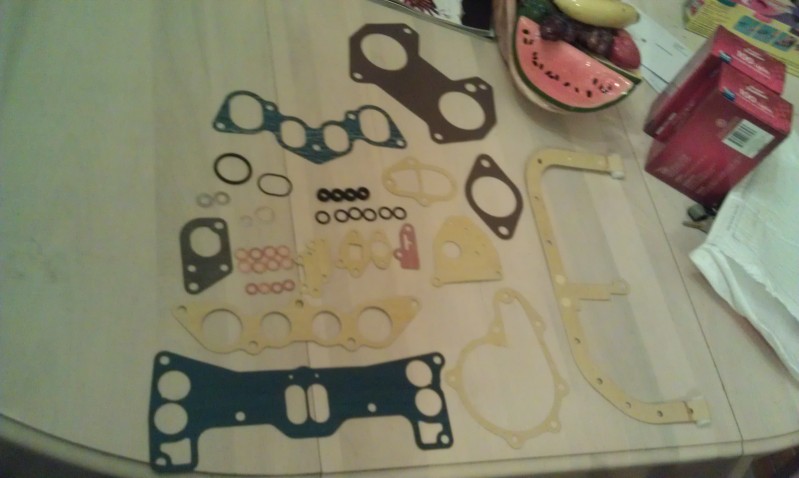
Name:  IMAG0907.jpg
Views: 406
Size:  94.6 KB
Old 12-14-12 | 10:17 AM
  #19  
AGreen's Avatar
Trunk Ornament
iTrader: (11)
 
Joined: Sep 2006
Posts: 3,054
Likes: 2
From: Goose Creek, SC
So you removed the BAC as part of an "emissions delete".

Old 12-15-12 | 09:42 AM
  #20  
beefhole's Avatar
Boosted. I got BLOWN!!!
iTrader: (29)
 
Joined: Sep 2003
Posts: 3,742
Likes: 1
From: Queens, NY
^everyone does that. And until nobody drives these cars anymore, there will always be "car won't idle till warm" threads.
Old 12-16-12 | 11:41 AM
  #21  
Stefan52's Avatar
Junior Member
 
Joined: Dec 2012
Posts: 10
Likes: 0
From: Warragul, Victoria, Australia
Very nice.
Old 12-21-12 | 02:08 AM
  #22  
Mazdatenza604's Avatar
Thread Starter
Junior Member
 
Joined: Sep 2012
Posts: 40
Likes: 0
From: Miami
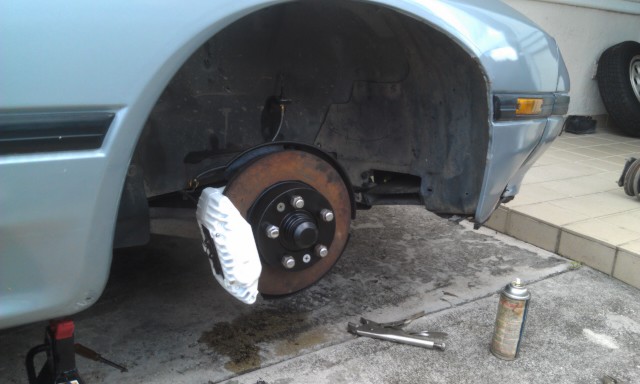
So I finished the 5 lug conversion. Here's a pic:
Name:  IMAG0916.jpg
Views: 398
Size:  104.7 KB

I'm awaiting a fuel filter to come in to get my injectors rebuilt and to install all gaskets.
Old 12-25-12 | 12:36 AM
  #23  
ICanHazBoost's Avatar
Junior Member
 
Joined: Jul 2011
Posts: 13
Likes: 0
From: Baytown/CorpusChristi - Tx
Sitting real nice
Old 12-25-12 | 12:52 AM
  #24  
jimmy13's Avatar
Full Member
 
Joined: Feb 2012
Posts: 115
Likes: 1
From: Somerset Ky
very nice! I like where this is going, keep up the good work
Old 12-25-12 | 12:54 AM
  #25  
ecrezid's Avatar
Mofongo
 
Joined: Nov 2011
Posts: 7
Likes: 0
From: Atlanta
GA

lots of man hours. worth every min of it. Great work! you just made me get up my butt and get back to work on mine.


Quick Reply: Mazdatenza604's 1988 Mazda RX7 SE


All times are GMT -5. The time now is 12:18 PM.