Project Resurrection: Running Log
 03-11-12, 07:20 PM
#376
Day 1240
To quote myself fom the "What did you do to your [FB] today?" thread:
To quote myself fom the "What did you do to your [FB] today?" thread:
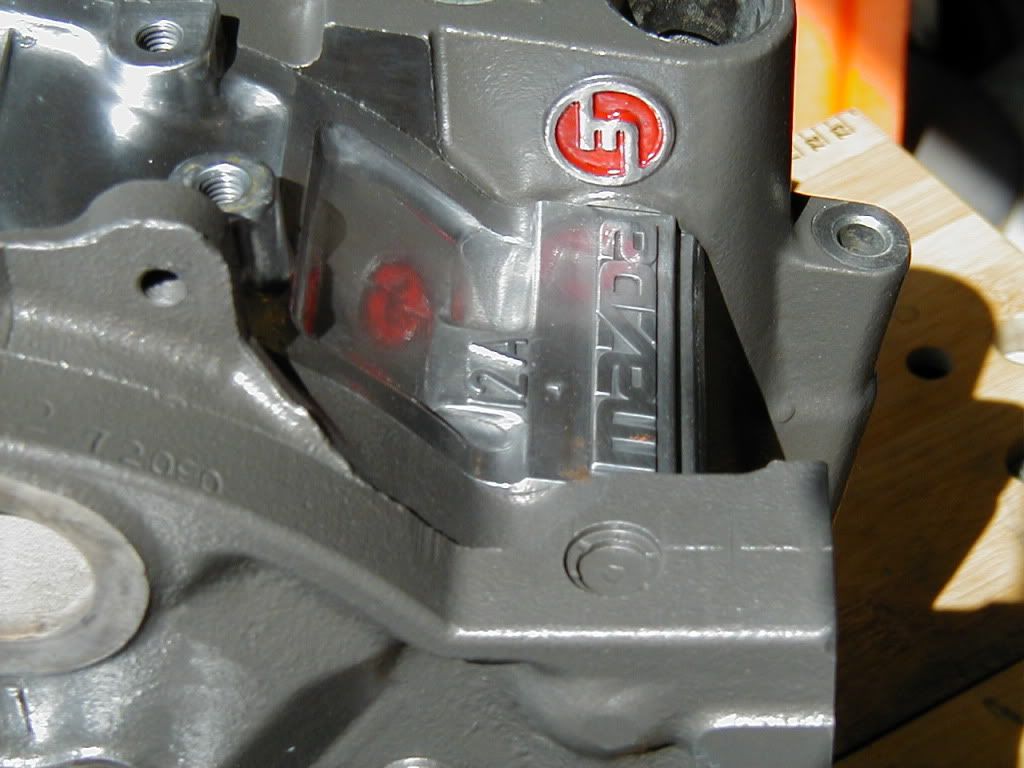
New housing before paint & detail:
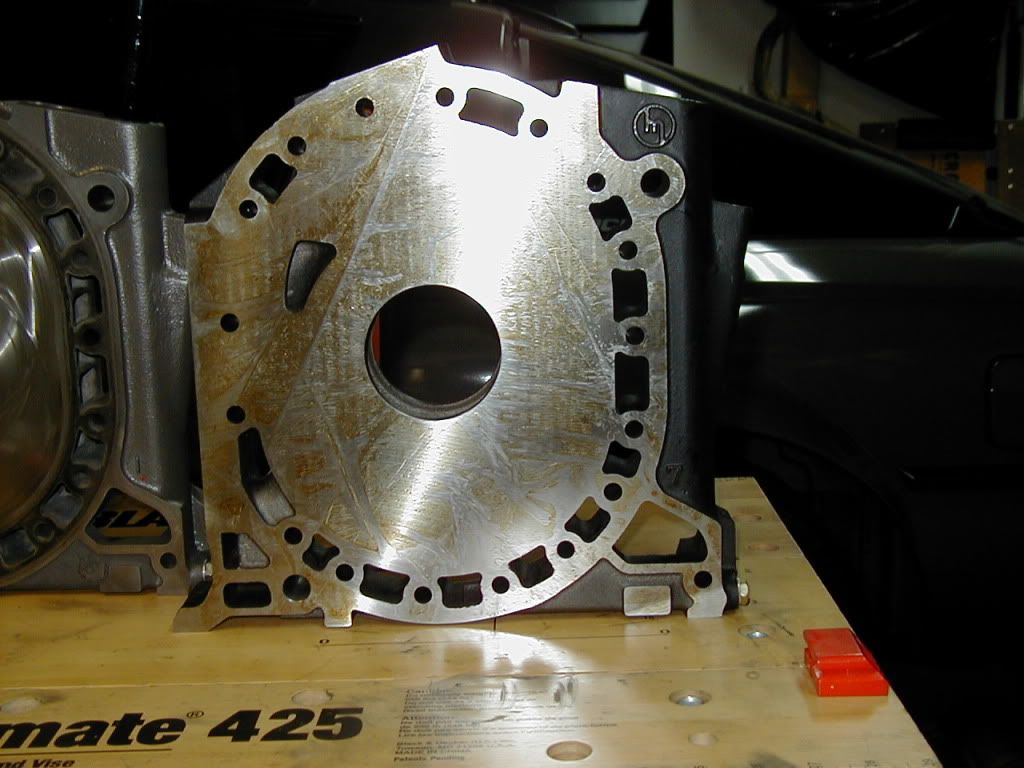
After a little cunning polishing & detail painting:
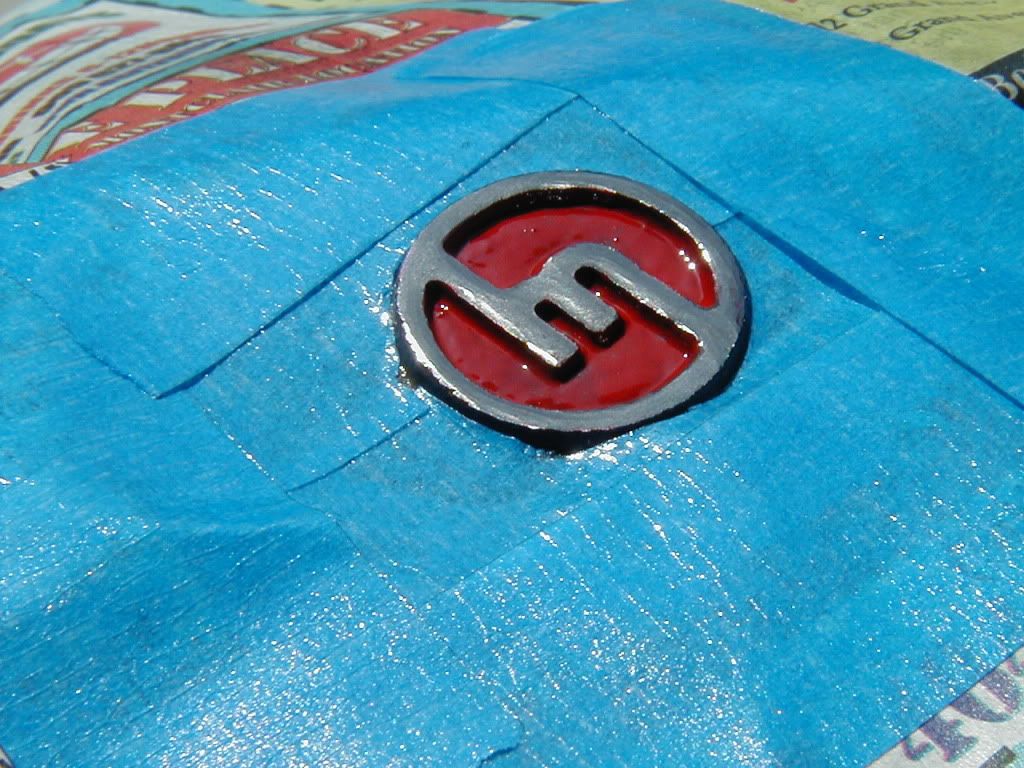
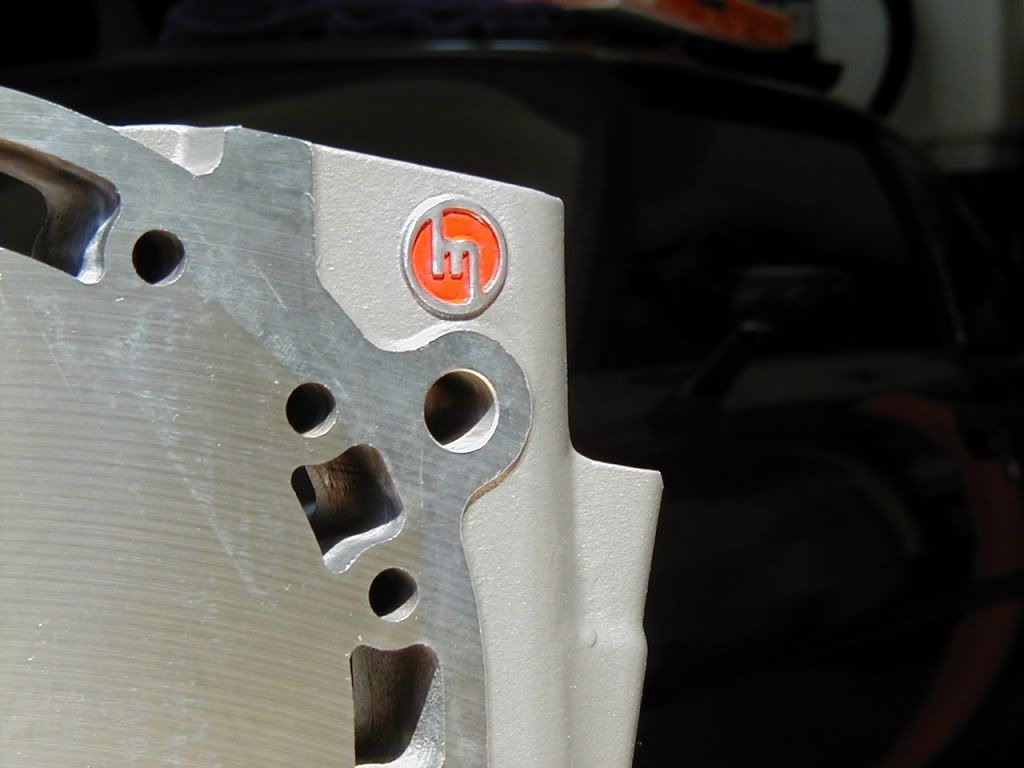
Inside the stack:
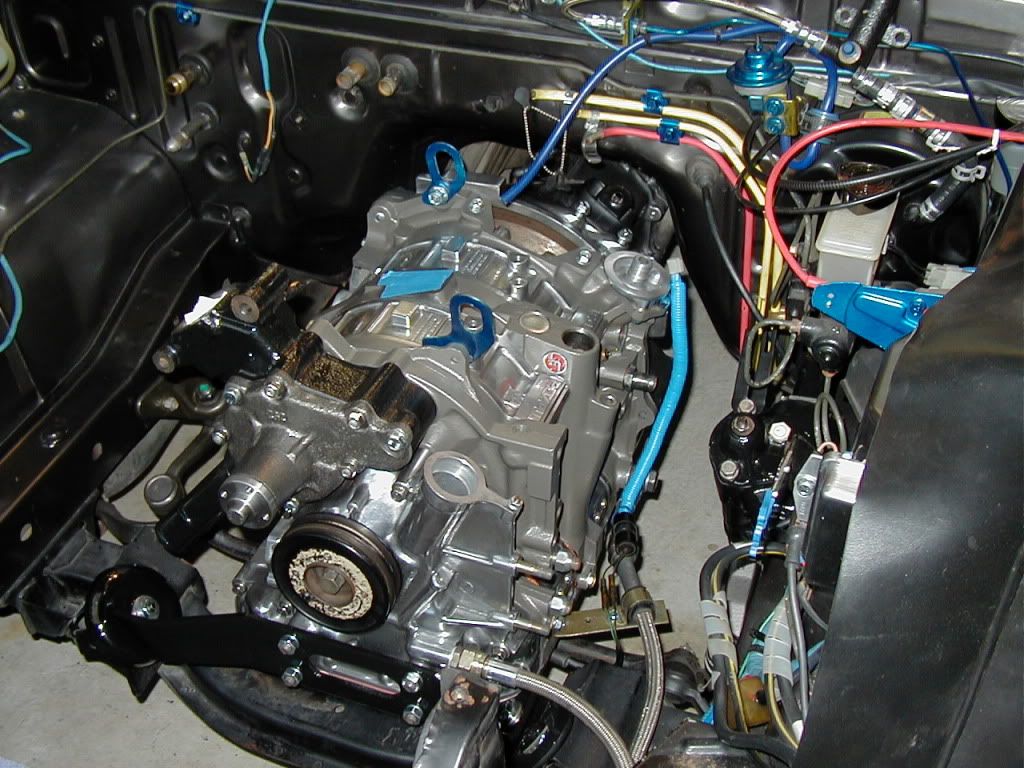
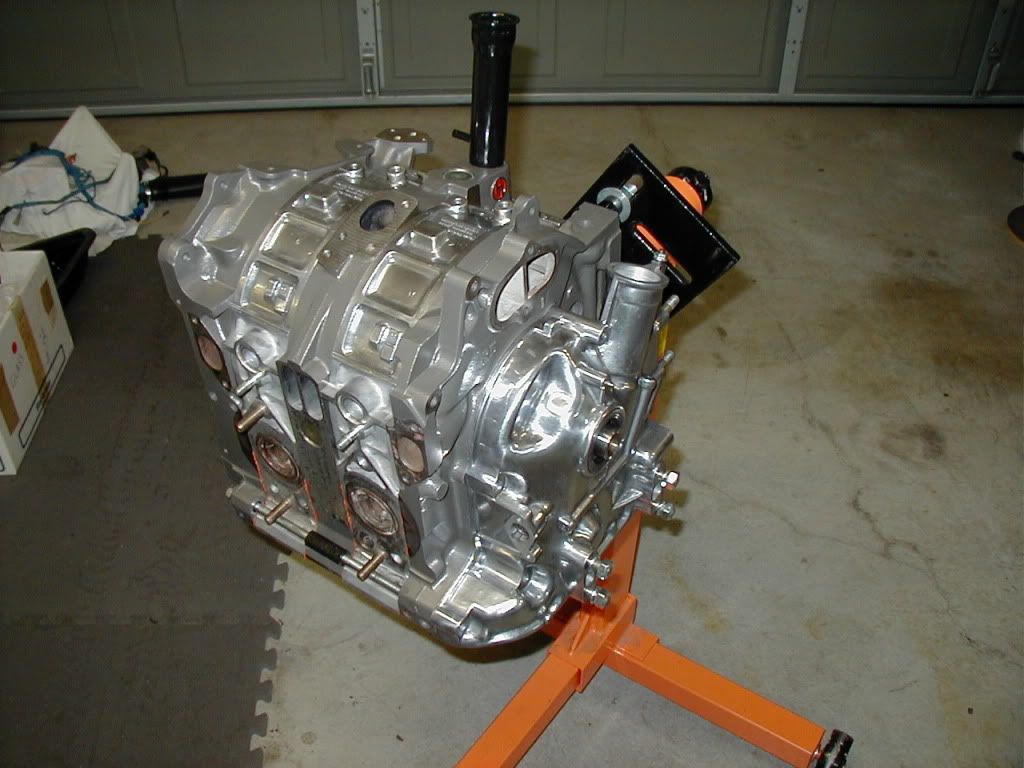
Also touched up psg side engine bay paint a bit, got new motor mounts looking shiny, cleaned and repainted trans crossmember, & started a final going-over of engine parts.
Plans is for (sucessful, this time!) keg reassembly Friday night, followed by dress-out & insertion of trans & motor into the chassis on Saturday.
Then I should have room on the bench to start working thru carb & exhaust issues.
After a little cunning polishing & detail painting:
Inside the stack:
Also touched up psg side engine bay paint a bit, got new motor mounts looking shiny, cleaned and repainted trans crossmember, & started a final going-over of engine parts.
Plans is for (sucessful, this time!) keg reassembly Friday night, followed by dress-out & insertion of trans & motor into the chassis on Saturday.
Then I should have room on the bench to start working thru carb & exhaust issues.
 03-11-12, 10:07 PM
#377
Moderator
iTrader: (3)
Join Date: Mar 2001
Location: https://www2.mazda.com/en/100th/
Posts: 31,138
Received 2,797 Likes
on
1,979 Posts
that looks great!
03-12-12, 12:19 PM
#379
Wow, the detailed M is awesome! I just kinda wish it was nitrided, but that's me.
Just an FYI, my REPU's engine got a set of those new oil seals with the lip. It is a fresh rebuild and seems to smoke a little bit at startup. I think the reason could be the way I plumbed some oil metering lines up into an Edlebrock on a Camden. I set the OMP to 9 o'clock so at idle it's a little fat. It's a fresh rebuild, so why not?
Just an FYI, my REPU's engine got a set of those new oil seals with the lip. It is a fresh rebuild and seems to smoke a little bit at startup. I think the reason could be the way I plumbed some oil metering lines up into an Edlebrock on a Camden. I set the OMP to 9 o'clock so at idle it's a little fat. It's a fresh rebuild, so why not?
03-12-12, 03:15 PM
#380
Well, me too, in a perfect world. In a perfect world, there'd be nothing NLA and all price decimals would move one digit to the left on command.
I think the trade-off is acceptable; the center housing I was going to use was within specs for stepped wear for re-use, but new full-thickness iron even non-nitrided is a whole lot flatter and liable to last longer than my warn, previously lapped center. Probably not a whole lot of nitride thickness left on the old one at this point.
I've got four flat smooth faces to work with now. I'm content. As little as I drive the car, it should outlast me!
03-16-12, 12:14 AM
#381
Day 1244
Yee Frikin' Haw!
Click for video
Scared me for a second there when my endplay went away... then I realized it was still holding compression, & rotated it a few more degrees. Beautiful compression on this build!

Next up: Front stack and end play setting.
Yee Frikin' Haw!
Click for video
Scared me for a second there when my endplay went away... then I realized it was still holding compression, & rotated it a few more degrees. Beautiful compression on this build!
Next up: Front stack and end play setting.
03-16-12, 12:50 PM
#385

The orange RTV on the legs on the port side is sealing the EGR channel; It needs all the that help it can get! Since I have to use it over there, I didn't see any point in switching colors for the other side.
It's also a lot easier to see the orange stuff when you're trying to get it all scraped off, later. Even little tiny bits of it are easy to spot.
Originally Posted by RX7 Chris
Glad you finally have a good motor.
I even got to hear all six 'clicks' when the glue on the apex corner pieces let go; four on torquing, two on the first rotation.
Doing the pre-torque rotation gave me confidence.
I had one inner water seal that just did NOT want to lay down in it's groove; get one side down, the other pops out. Played with that damned thing for about 20 minutes before it decided to stay put. I hate it when they do that, as now I'll be paranoid about it until the engine runs without water leaks.
03-17-12, 12:26 AM
#386
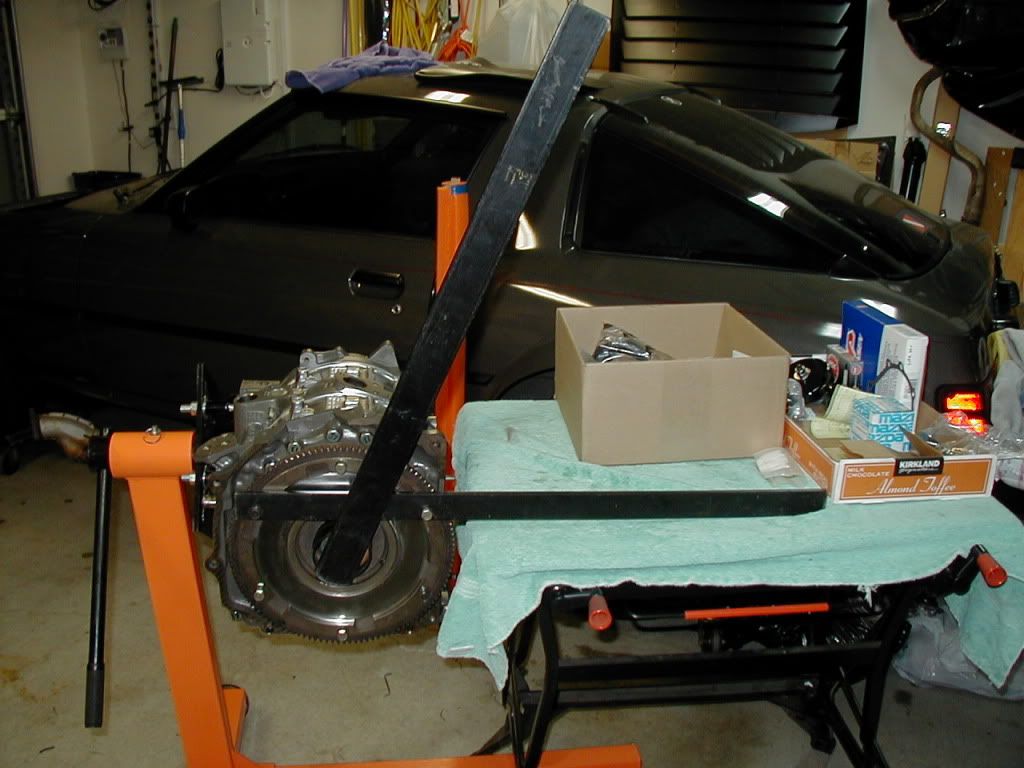
Got the flywheel torqued on and the stack together with the previous T spacer in it.
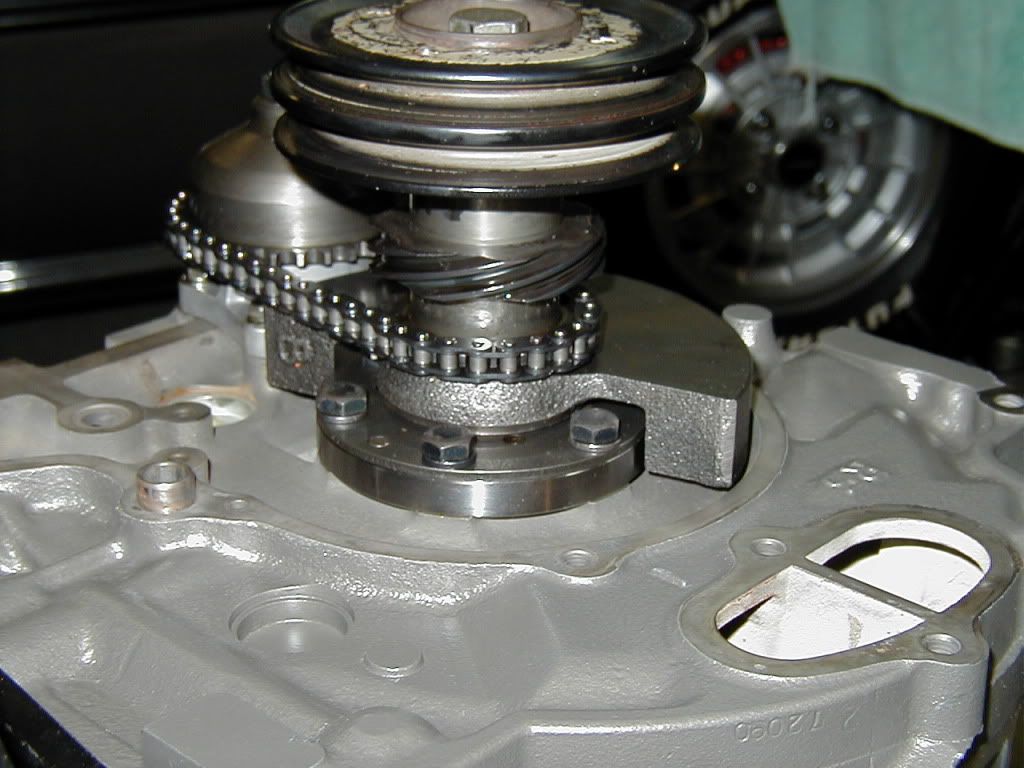
Free play with the T spacer is a bit much, at just an RCH under 0.0050"
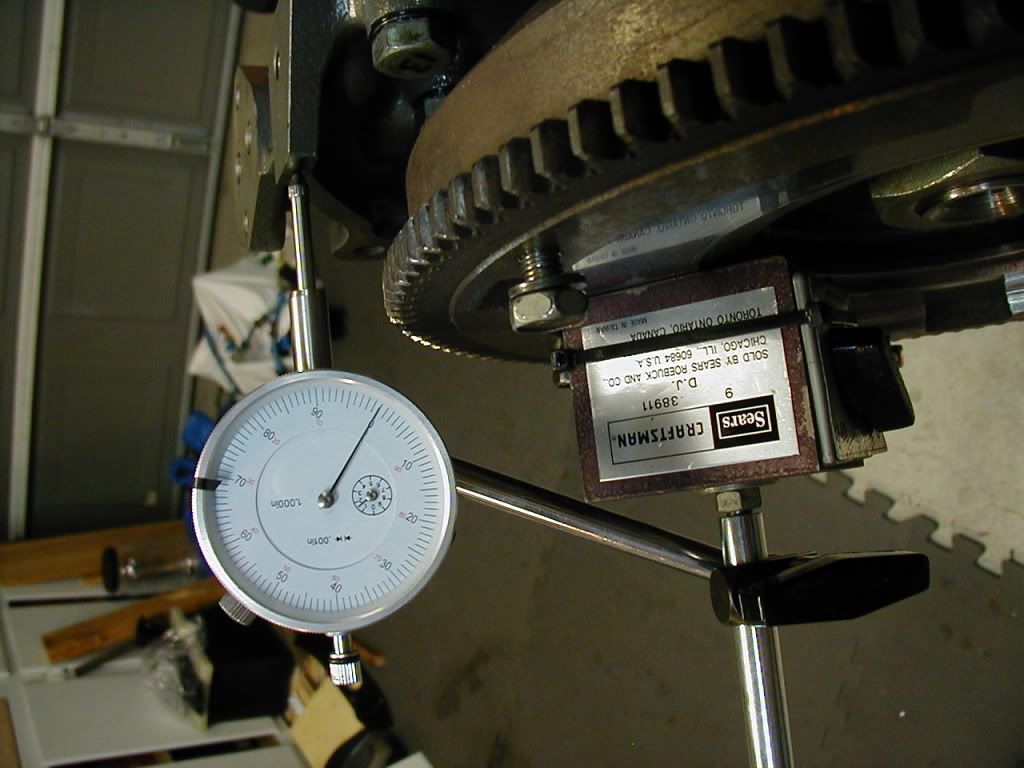
Standard range is 0.0016" to 0.0028", with 0.0020" nominal, and limit is 0.0040", so this won't do - - I'm about double the target.
The T spacer is 0.3189" thick per the book, I want to remove ~0.0030" of play, so I need a spacer of roughly 0.3159" thickness. (thinner spacer = less play).
Per the FSM, the two closest to this would be the V spacer, at 0.3158" and the Y spacer at 0.3165".
Sadly, the only two spares I have besides the oversize T are a K (0.3173") and an X (0.3181")
And. of course, it's Friday night and odds are against getting anything new until RB opens Monday am.
The K, at 0.3173", would put me at current minus 0.0016", or 0.0034" free play... within the limit but out of standard range. I'd rather be somewhere around 0.0020" to 0.0025" or so, so if I could shave about a thousandth off that K spacer, I'd be about right.
It's allowable to adjust thickness in small amounts if done carefully; the manual says to use emory paper on a surface plate. I don't have a surface plate... but I do have a few old end housings laying about, as well as the milled iron base of my drill press. I'll give it a try and see if I can keep it flat enough; otherwise I will need to wait until Monday to move forward.
Free play with the T spacer is a bit much, at just an RCH under 0.0050"
Standard range is 0.0016" to 0.0028", with 0.0020" nominal, and limit is 0.0040", so this won't do - - I'm about double the target.
The T spacer is 0.3189" thick per the book, I want to remove ~0.0030" of play, so I need a spacer of roughly 0.3159" thickness. (thinner spacer = less play).
Per the FSM, the two closest to this would be the V spacer, at 0.3158" and the Y spacer at 0.3165".
Sadly, the only two spares I have besides the oversize T are a K (0.3173") and an X (0.3181")
And. of course, it's Friday night and odds are against getting anything new until RB opens Monday am.
The K, at 0.3173", would put me at current minus 0.0016", or 0.0034" free play... within the limit but out of standard range. I'd rather be somewhere around 0.0020" to 0.0025" or so, so if I could shave about a thousandth off that K spacer, I'd be about right.
It's allowable to adjust thickness in small amounts if done carefully; the manual says to use emory paper on a surface plate. I don't have a surface plate... but I do have a few old end housings laying about, as well as the milled iron base of my drill press. I'll give it a try and see if I can keep it flat enough; otherwise I will need to wait until Monday to move forward.
03-17-12, 12:41 PM
#387
Moderator
iTrader: (3)
Join Date: Mar 2001
Location: https://www2.mazda.com/en/100th/
Posts: 31,138
Received 2,797 Likes
on
1,979 Posts
that's a bummer, i've got a box of spacers, but its a looooooong drive
03-17-12, 04:09 PM
#388
(Lunch break, still working)
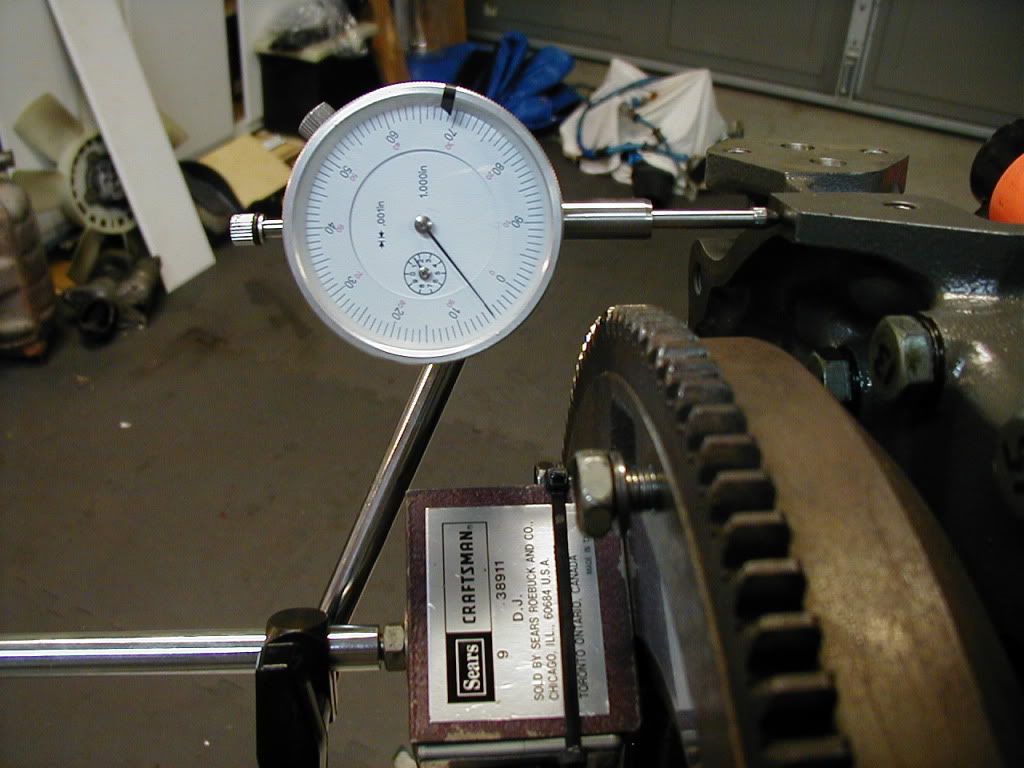
Hand lapping the K spacer using 600 grit wet/dry paper wetted with light machine oil & stuck to my drill press plate took about 45 minutes... and I very nearly took off too much, but it ended up flatter that it was & right at 0.3166 with a +/- of about 0.0002 around the whole face of it.
Put it in, torqued up the e-shaft pulley, and my free play is now right at 0.0019" rest-to-rest (nothing holding the shaft at either end.)
Within spec, so close enough.
Now doing front cover & oil-pan stuff. With some luck, engine and trans might be back in the chassis tonight, but it's been raining steadily all day & that may interfere. Hoist has to exit the garage during the lift and insert.
And tomorrow is to be lost to a social event...
03-17-12, 04:24 PM
#389
Moderator
iTrader: (3)
Join Date: Mar 2001
Location: https://www2.mazda.com/en/100th/
Posts: 31,138
Received 2,797 Likes
on
1,979 Posts
so i just took the center link out, put the engine on a floor jack, and went in from below, you need a second person to keep the engine from rolling off the jack, but other than that it was sooooooooooooooo easy, it is funny.
 03-19-12, 10:25 AM
#392
Yes I do... thanks to you! Your loan of it has been peace-of-mind in the bank, Jim; SO nice to not have to plan rental-return times into my ever-sliding schedule!
I've got a "lovely parting gift" all lined up for when it eventually goes home with you, too. I think you'll like!
I've got a "lovely parting gift" all lined up for when it eventually goes home with you, too. I think you'll like!
03-19-12, 05:32 PM
#393
common sense prevails....
iTrader: (7)
Join Date: Jul 2008
Location: Chino and Lake Arrowhead Calif
Posts: 1,669
Likes: 0
Received 9 Likes
on
9 Posts
Yes I do... thanks to you! Your loan of it has been peace-of-mind in the bank, Jim; SO nice to not have to plan rental-return times into my ever-sliding schedule!
I've got a "lovely parting gift" all lined up for when it eventually goes home with you, too. I think you'll like!
I've got a "lovely parting gift" all lined up for when it eventually goes home with you, too. I think you'll like!
03-20-12, 09:29 AM
#395
Day 1249... First day of Spring.
Still fiddling with little ticky-tack stuff that's just easier to do before the engine goes back in.
Got the clutch mounted up and the attaching bolts sorted out; trans mount is on, throwout's tooled up, and I cleaned and re-taped the trans wiring harness.
New crush washer for the front cover oil fitting. Finished McGuyvering my Oil Level Sensor and #1 Temp Switch - - old brittle wiring needed some external support, as both are pretty much unobtanium these days.
I may have one more evening of putzing about in the engine bay to do, before I'm ready to drop the plant back in. But I'll likely get the engine and trans mated up tonight.
I have this almost overwhelming urge to repaint my front engine support... which means several more days before the engine can go in, which is not desirable.
03-20-12, 03:21 PM
#396
Moderator
iTrader: (3)
Join Date: Mar 2001
Location: https://www2.mazda.com/en/100th/
Posts: 31,138
Received 2,797 Likes
on
1,979 Posts