Project Naomi IV : Almost Off The Rotisserie!
#1
Thread Starter
Rotoholic Moderookie
iTrader: (4)
Joined: May 2002
Posts: 5,962
Likes: 33
From: Ottawa, Soviet Canuckistan
Project Naomi IV : Almost Off The Rotisserie!
For anyone looking for the other project threads:
Project Naomi I : New Project on an Old Favourite
Project Naomi II : Giant Rotisserie Pictures Update
Project Naomi III : End of Summer 2010 Update
Project Naomi IV : Almost Off The Rotisserie
Project Naomi V : Finally PAINT!
Project Naomi VI : IT LIVES!
Project Naomi VII : Coming Home
-----
Hey Guys,
It's been a long time since we've had any progress to update on Project Naomi, but things are finally rolling again and I've got some new pictures to add.
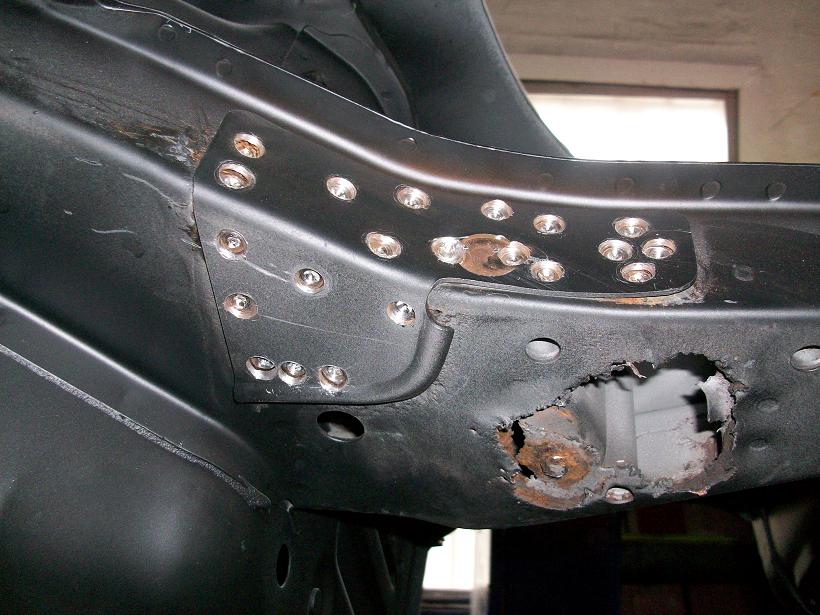
Last we left off, the Engine Bay and Underside had gotten a coat of epoxy. There was still some metal work to be done, then the truck bed liner coating had to be applied.
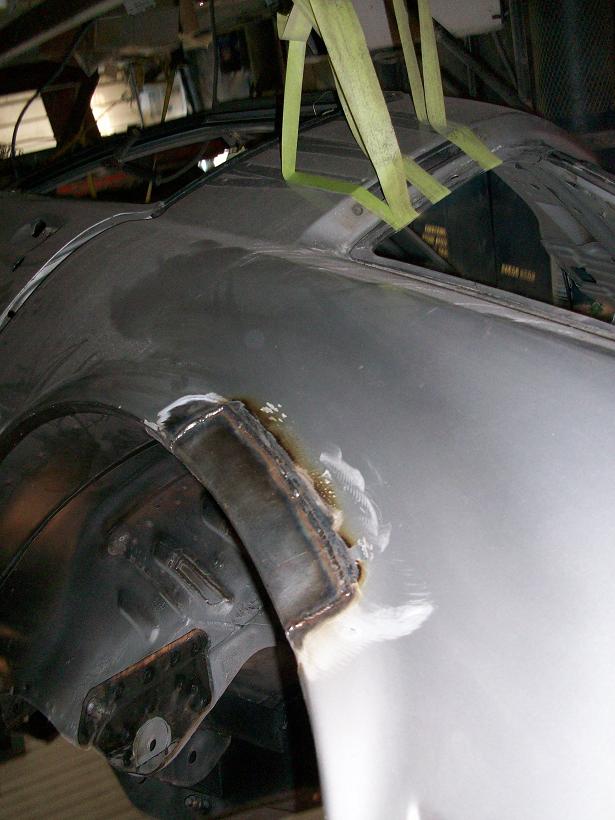
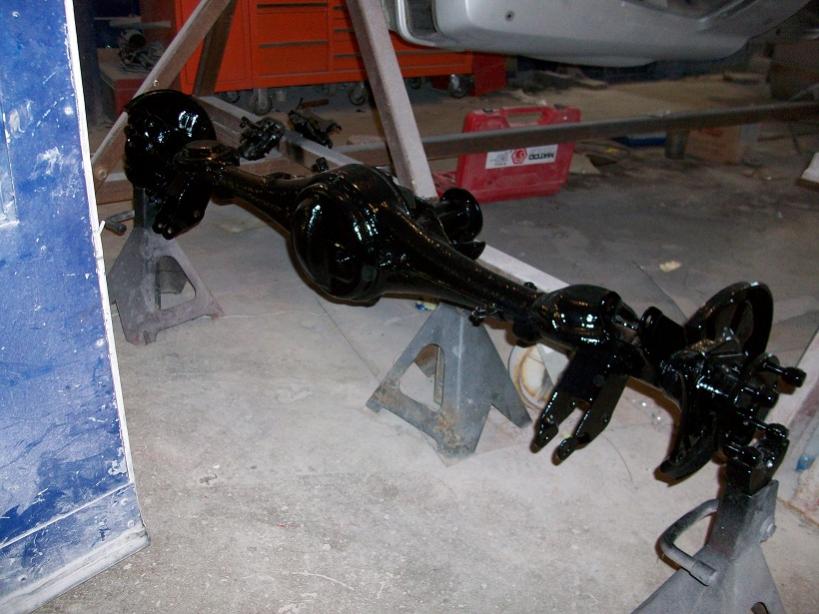
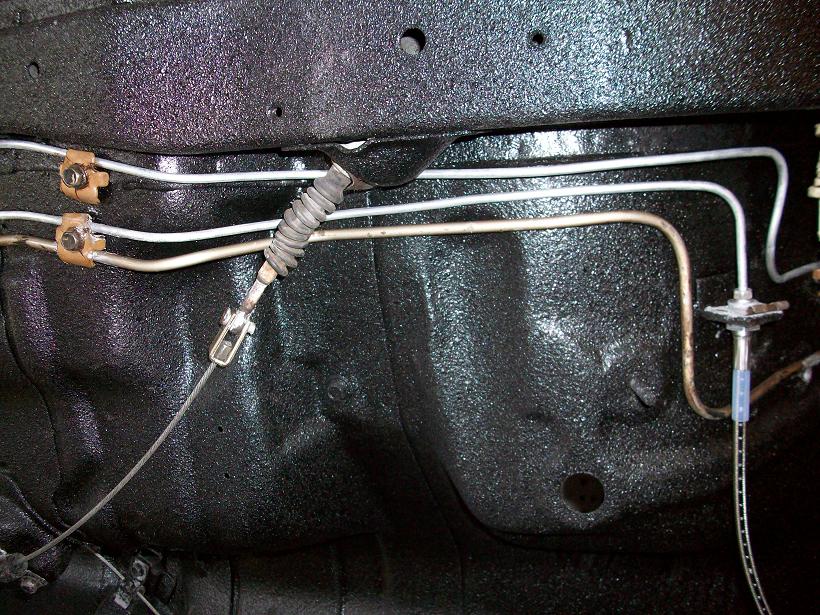
Then the rear axel housing off the -GSL parts car had to be blasted and painted, and the whole rear suspension installed, and the brake and fuel lines run.
I also had to finish the wiring harness, which I did back in the spring (forgot to take pictures of that unfortunately).
All that has since been done, the paint was ordered, and this past week the engine bay finally got its coat of paint.
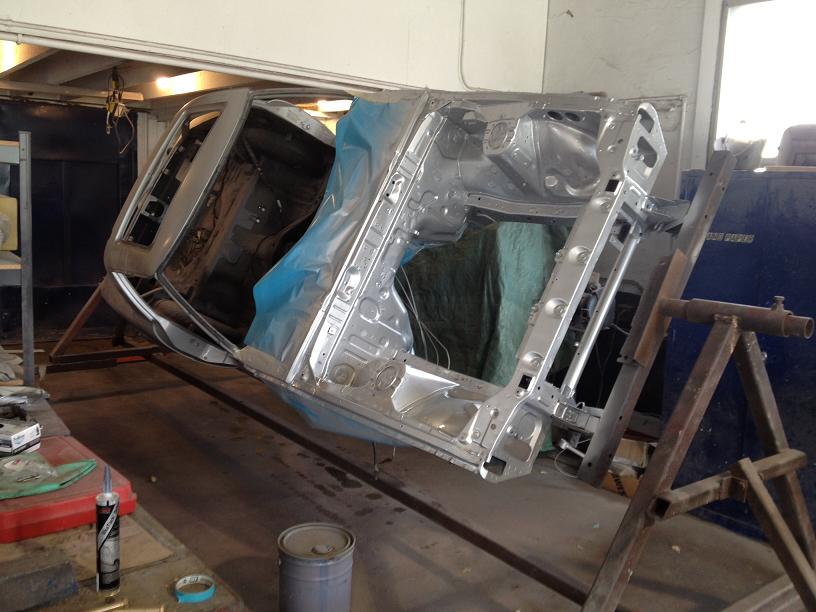
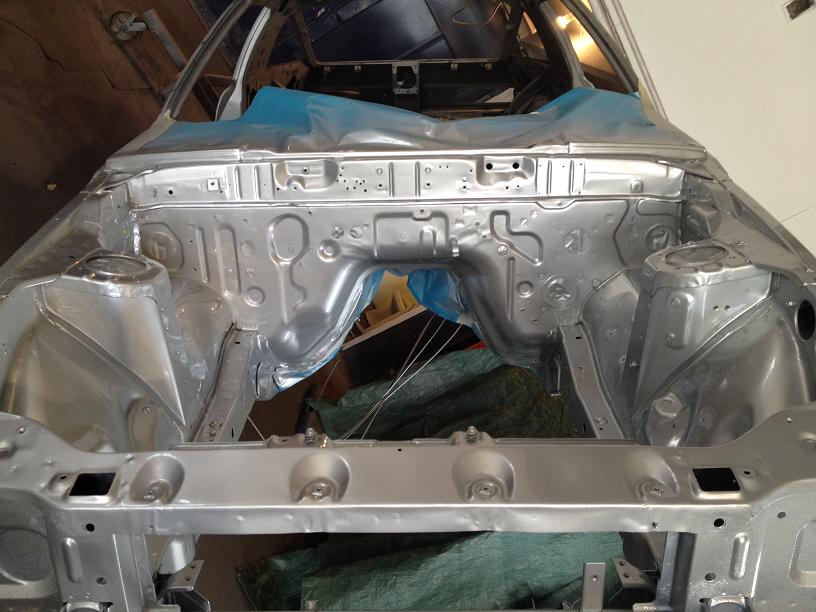
That paint looks absolutely gorgeous!
I'm hoping that progress from this point will start to be swift. Now that the engine bay is painted the ReSpeed front crossmember can be installed along with the front spindles and suspension. Then the car can finally come off the rotisserie and sit on its wheels!
That's the next big milestone we're waiting for. Once it's on its wheels the "fun" can start with the body, doors, fenders, etc...
Updated timeline puts it at being finished by the end of the season, according to Joe. There's a LOT of work there to have it ready by then, but I'm hopeful.
Jon
Project Naomi I : New Project on an Old Favourite
Project Naomi II : Giant Rotisserie Pictures Update
Project Naomi III : End of Summer 2010 Update
Project Naomi IV : Almost Off The Rotisserie
Project Naomi V : Finally PAINT!
Project Naomi VI : IT LIVES!
Project Naomi VII : Coming Home
-----
Hey Guys,
It's been a long time since we've had any progress to update on Project Naomi, but things are finally rolling again and I've got some new pictures to add.
Last we left off, the Engine Bay and Underside had gotten a coat of epoxy. There was still some metal work to be done, then the truck bed liner coating had to be applied.


Then the rear axel housing off the -GSL parts car had to be blasted and painted, and the whole rear suspension installed, and the brake and fuel lines run.


I also had to finish the wiring harness, which I did back in the spring (forgot to take pictures of that unfortunately).
All that has since been done, the paint was ordered, and this past week the engine bay finally got its coat of paint.


That paint looks absolutely gorgeous!
I'm hoping that progress from this point will start to be swift. Now that the engine bay is painted the ReSpeed front crossmember can be installed along with the front spindles and suspension. Then the car can finally come off the rotisserie and sit on its wheels!
That's the next big milestone we're waiting for. Once it's on its wheels the "fun" can start with the body, doors, fenders, etc...
Updated timeline puts it at being finished by the end of the season, according to Joe. There's a LOT of work there to have it ready by then, but I'm hopeful.
Jon
Last edited by vipernicus42; 08-23-15 at 11:01 PM.
#2
Thread Starter
Rotoholic Moderookie
iTrader: (4)
Joined: May 2002
Posts: 5,962
Likes: 33
From: Ottawa, Soviet Canuckistan
Project Update!
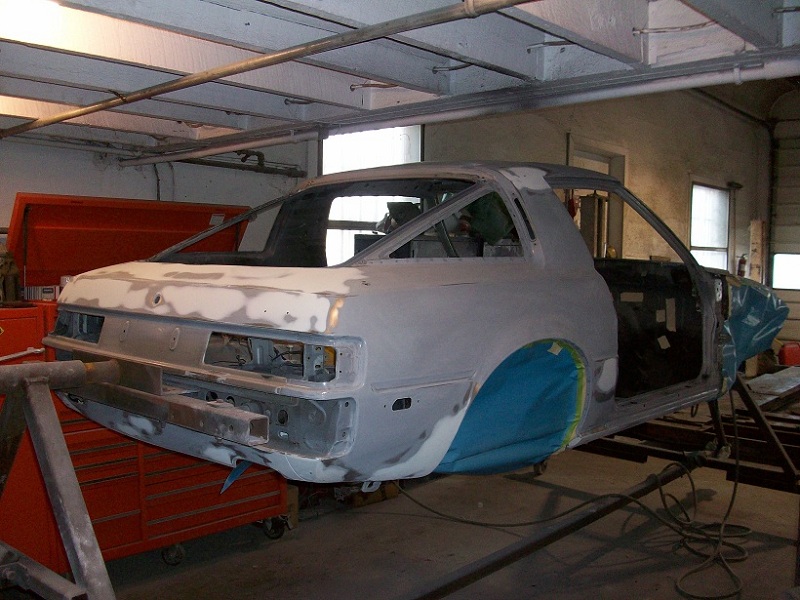
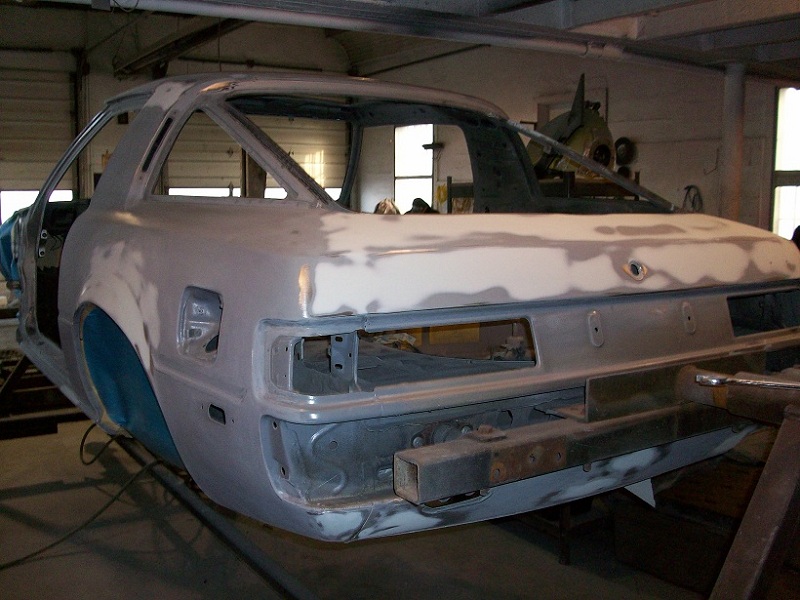
Things have slowly but surely been moving forward, and we've hit another milestone - Every last bit of old paint is gone off the body and doors! The prep/filler is looking very good, too. This is one milestone I was waiting for, and I breathed a sigh of relief when I got these.
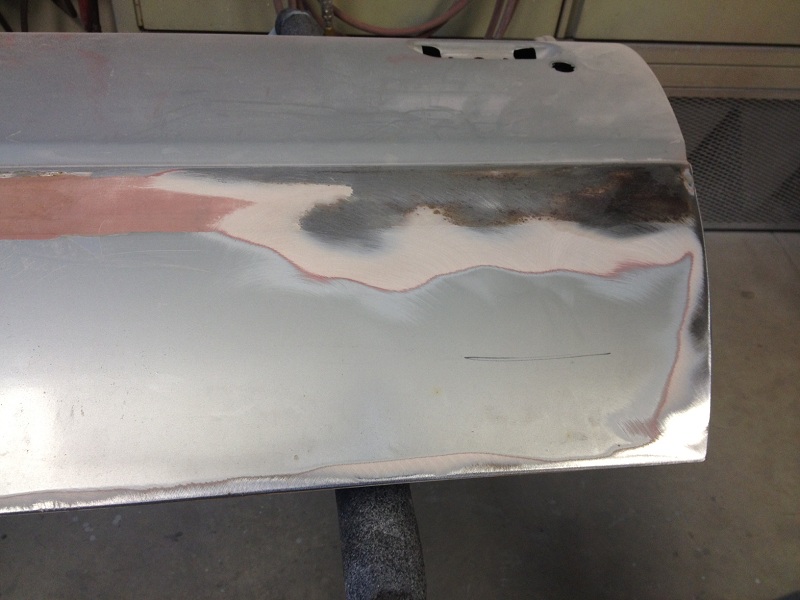
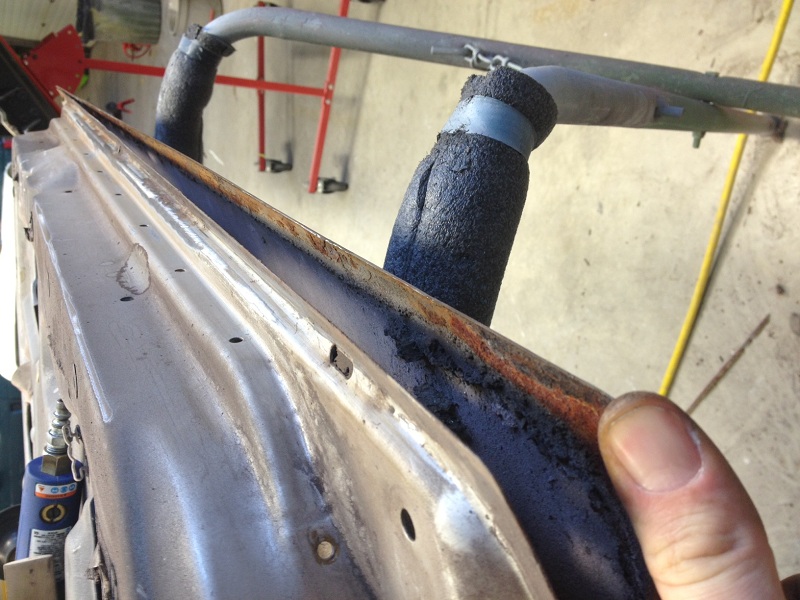
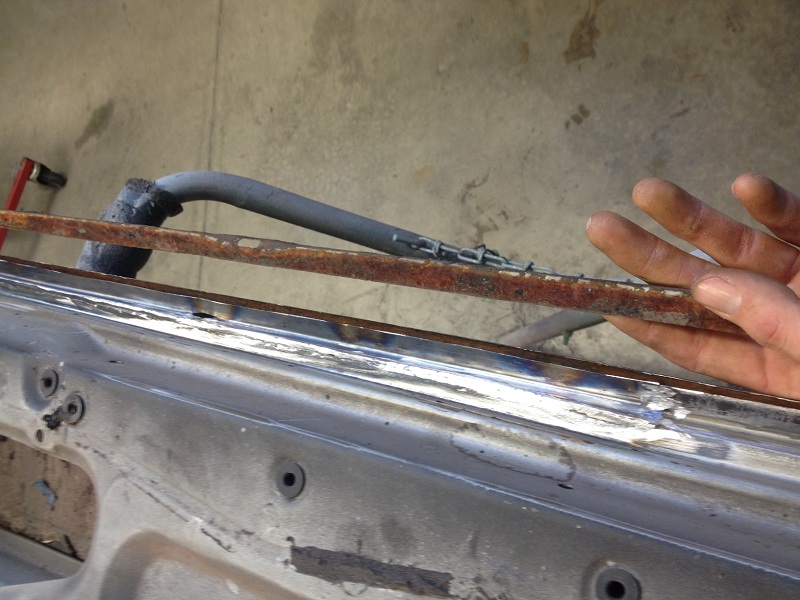
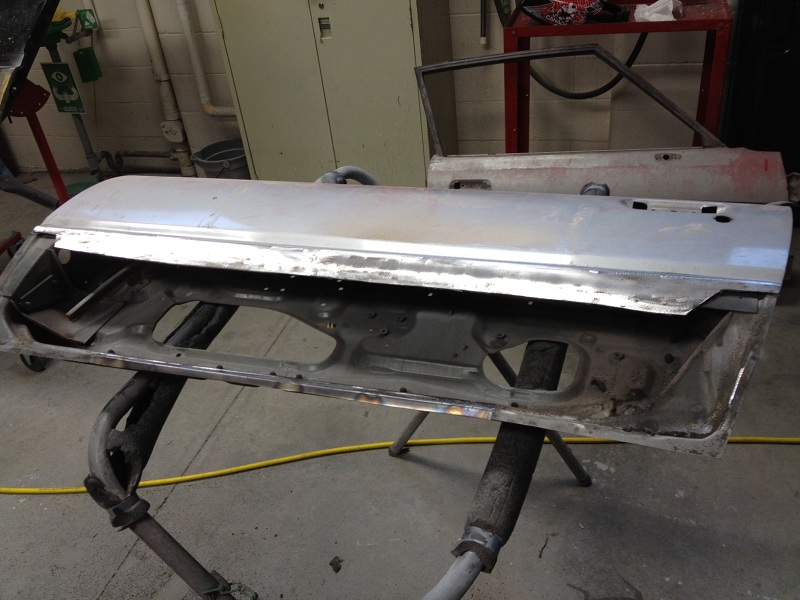
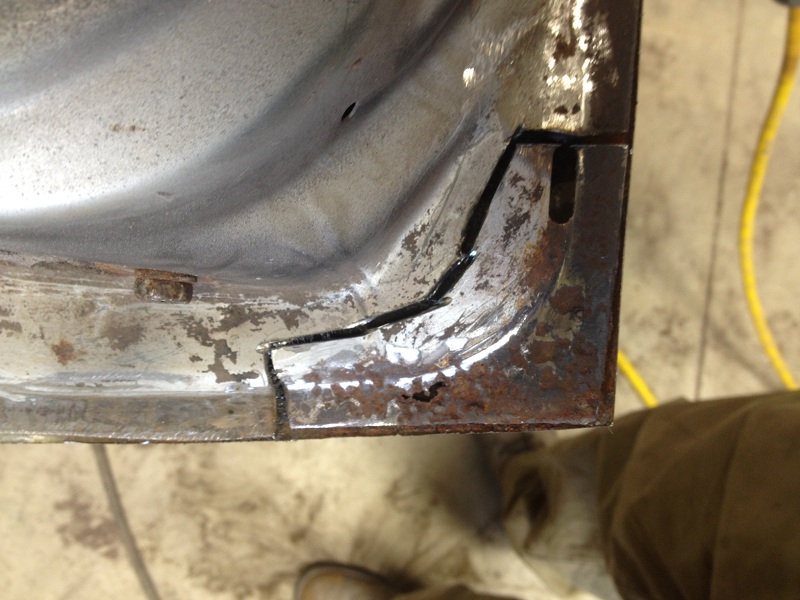
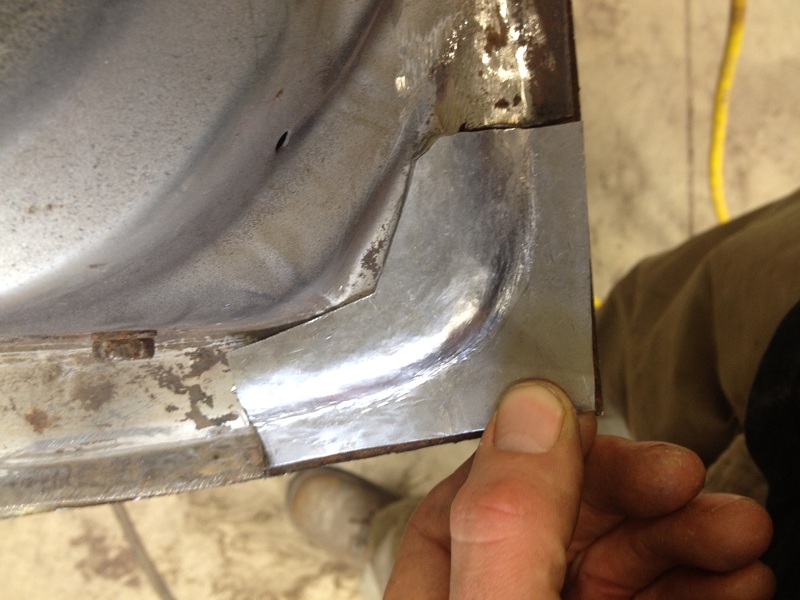
The doors were a worry for me because a few months before we began the project the rubber side molding started peeling off the driver's door revealing pink filler material. That meant that there had been previous body work on the car that I wasn't aware of. You never know what's under the paint until you get it off. Joe found quite a bit of filler in there as well as some gooey epoxy primer. Both have had completely new lower skins made, and they're looking awesome
A bunch of work needed to be done on the doors, so here are a half dozen pics of those first (body pics to come in next post)


#3
Thread Starter
Rotoholic Moderookie
iTrader: (4)
Joined: May 2002
Posts: 5,962
Likes: 33
From: Ottawa, Soviet Canuckistan
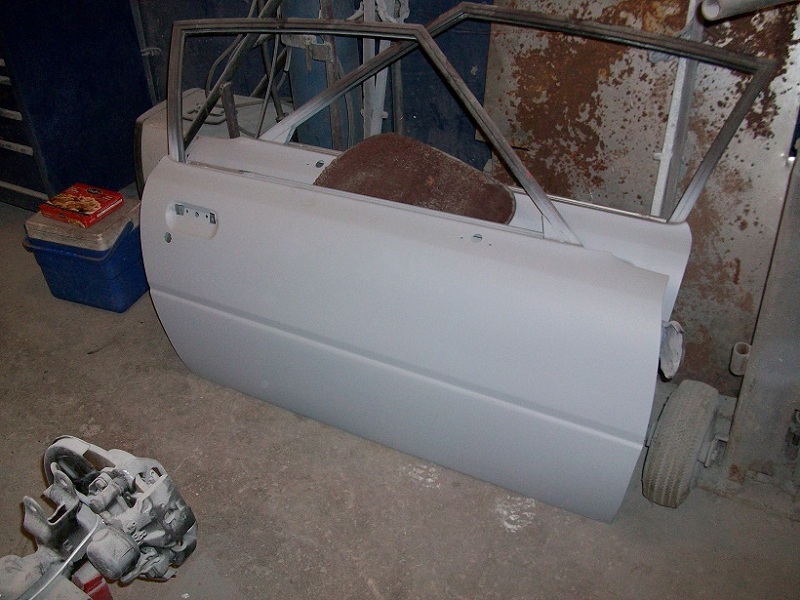
And here are the doors, back together, primered and ready:
The Fenders, Hood, and Body got the same amount of TLC as the doors. Here's what Joe said about them:
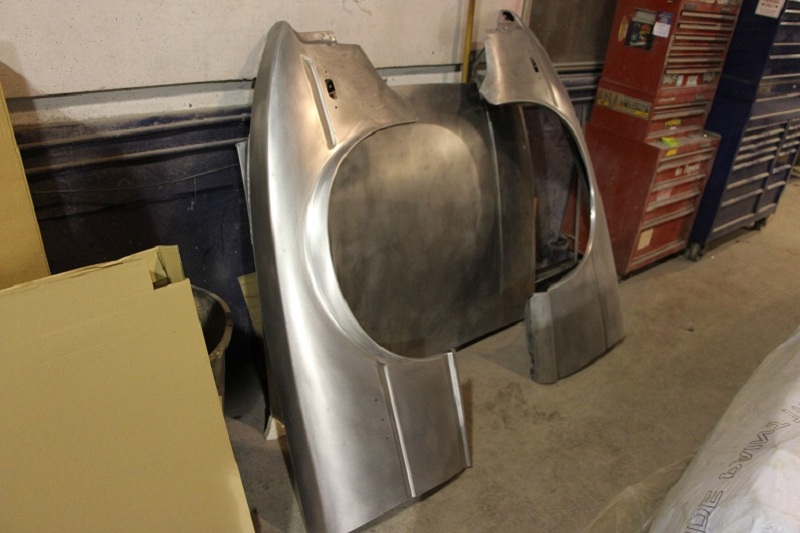
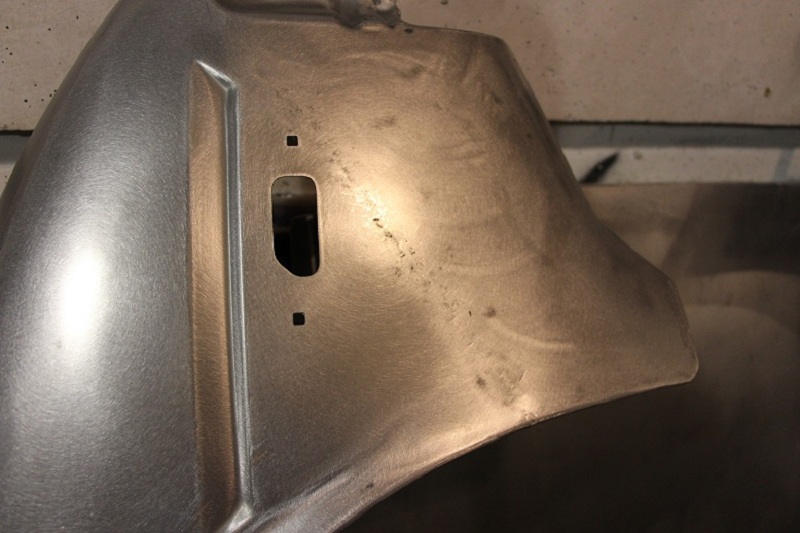
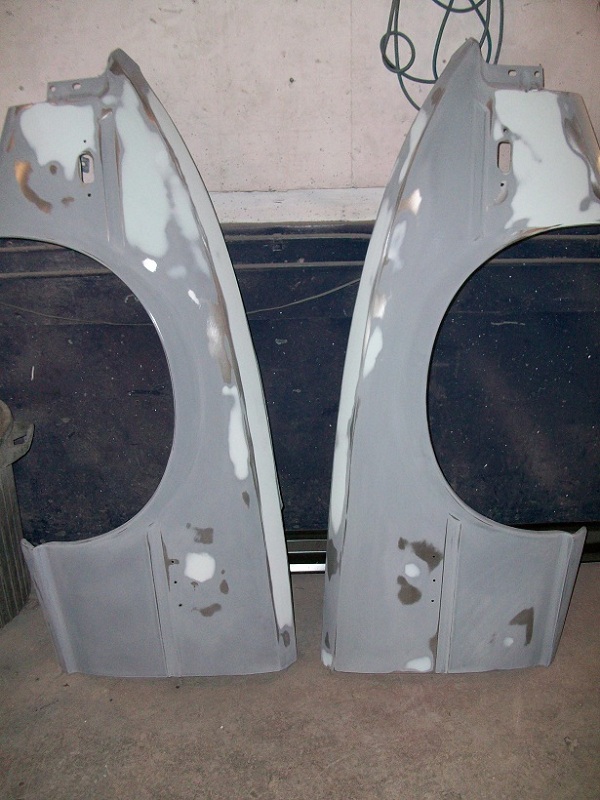
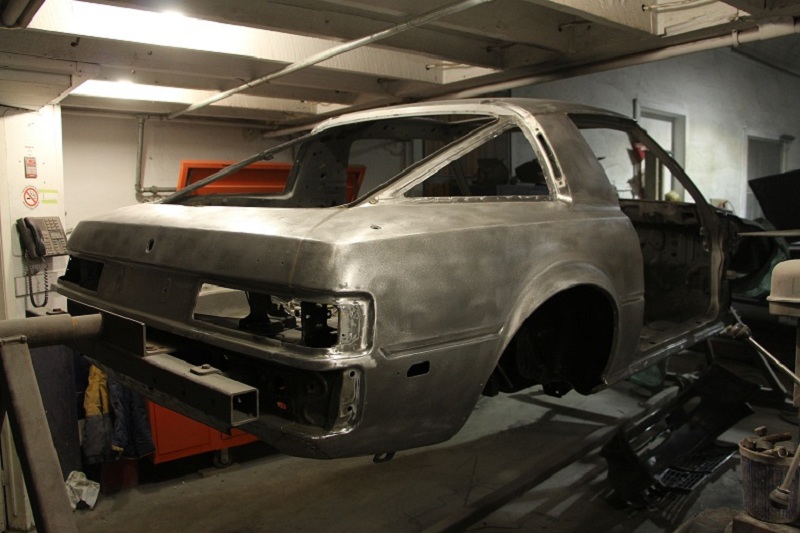
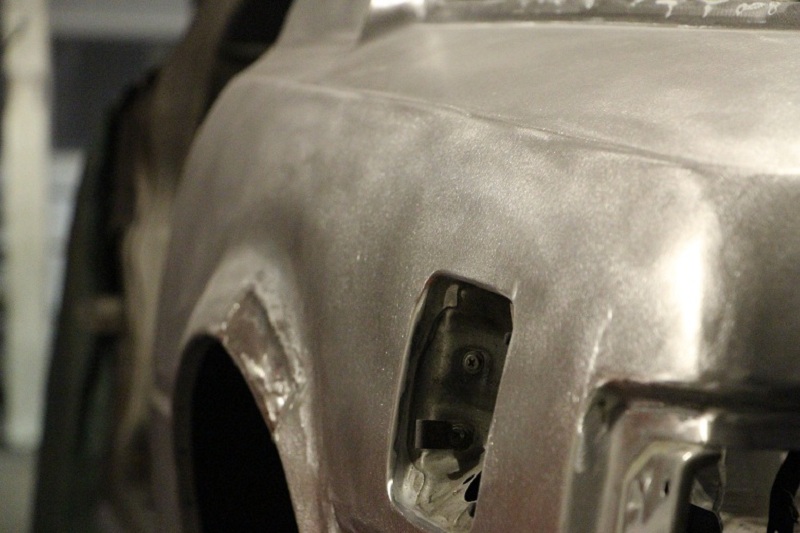

The Fenders, Hood, and Body got the same amount of TLC as the doors. Here's what Joe said about them:
Originally Posted by Joe
Stripped all the paint off, epoxied the entire body and then went around and puttied a few of the major areas needing re-contouring. Right now its sitting masked ready to get epoxy bridged over any of the bare metal around the body work, and then have a few coats of very high build primer applied. At that point I’ll actually drop it down off the spit and final fit the parts, from there the body will need mostly prep as well as the bumpers all reworked obviously.
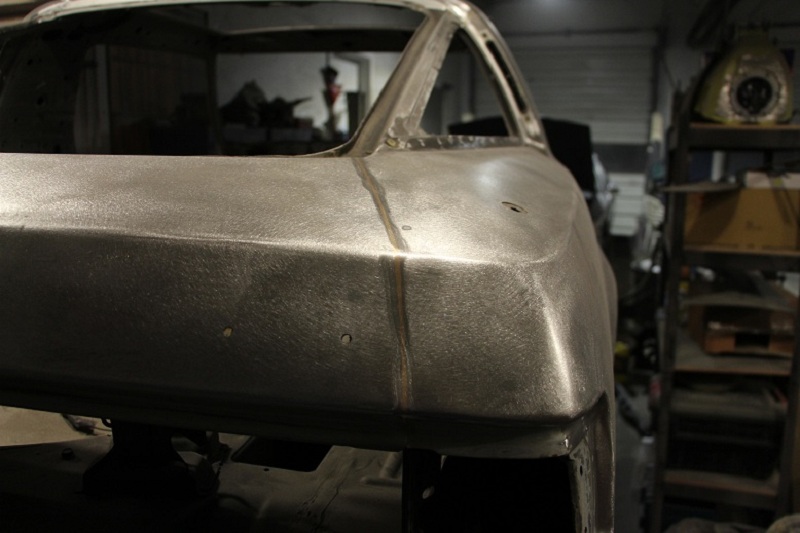
Also interesting, the photo of the fender when it was stripped, at some point the fender was torn as you can see the seam after re-working it with a hammer/dolly goes from the wheel well almost to the front of the fender. I don’t think it will be a problem at all, its repaired well.
Also interesting, the photo of the fender when it was stripped, at some point the fender was torn as you can see the seam after re-working it with a hammer/dolly goes from the wheel well almost to the front of the fender. I don’t think it will be a problem at all, its repaired well.


#5
Amazing. I can't begin to tell you how jealous I am. I WISH I could do the same thing to mine, but I know I can't. The best I can hope for is a good amateur low budget "rust mitigation" project.
Yours looks absolutely gorgeous. My hat's off to you!

Yours looks absolutely gorgeous. My hat's off to you!
#7
Moderator
iTrader: (3)
Joined: Mar 2001
Posts: 31,203
Likes: 2,826
From: https://www2.mazda.com/en/100th/
great progress! i'm glad you're sticking with it! Joe's right, about when it gets on its wheels, its not really an end, its more like a start to the big work.
but still put it on its wheels, i just put my FC on its wheels, just because its motivation for me...
but still put it on its wheels, i just put my FC on its wheels, just because its motivation for me...
Trending Topics
Thread
Thread Starter
Forum
Replies
Last Post


