
Rx7 Wagon
 03-17-17 | 07:08 PM
#51
Dave,
Here is another good resource for connectors. I was trying to remember this site as it's where I've bought some connectors and a wide band in the past.
https://www.bmotorsports.com/shop/in...lboda10nbm05n5
Here is another good resource for connectors. I was trying to remember this site as it's where I've bought some connectors and a wide band in the past.
https://www.bmotorsports.com/shop/in...lboda10nbm05n5
Got some nice new OEM hardware from Jim Ellis Mazda. Put most of it on (some for later things like the efini y-pipe nuts and radiator shroud bolts), and will order more after fishing around in the bay for a while and spying some other easy wins. More small-part-hunting to come!
- The spring and worm clamps are looking pretty bad, in spots.
- I see some other show-bolts to replace.
- The engine bay(and the car for that matter) are really dusty. Will clean it up, since the weather has turned nice over here.
- The pedals need cleaning. I'm hoping Sideo comes through soon with the metal (wide)gas-pedal/dead-pedal project.
- Need some brackets (fan relay and, abs, cruise control) to be powder-coated too.
Hopeful that we'll wrap up the radiator in a couple weeks. All things, in time!
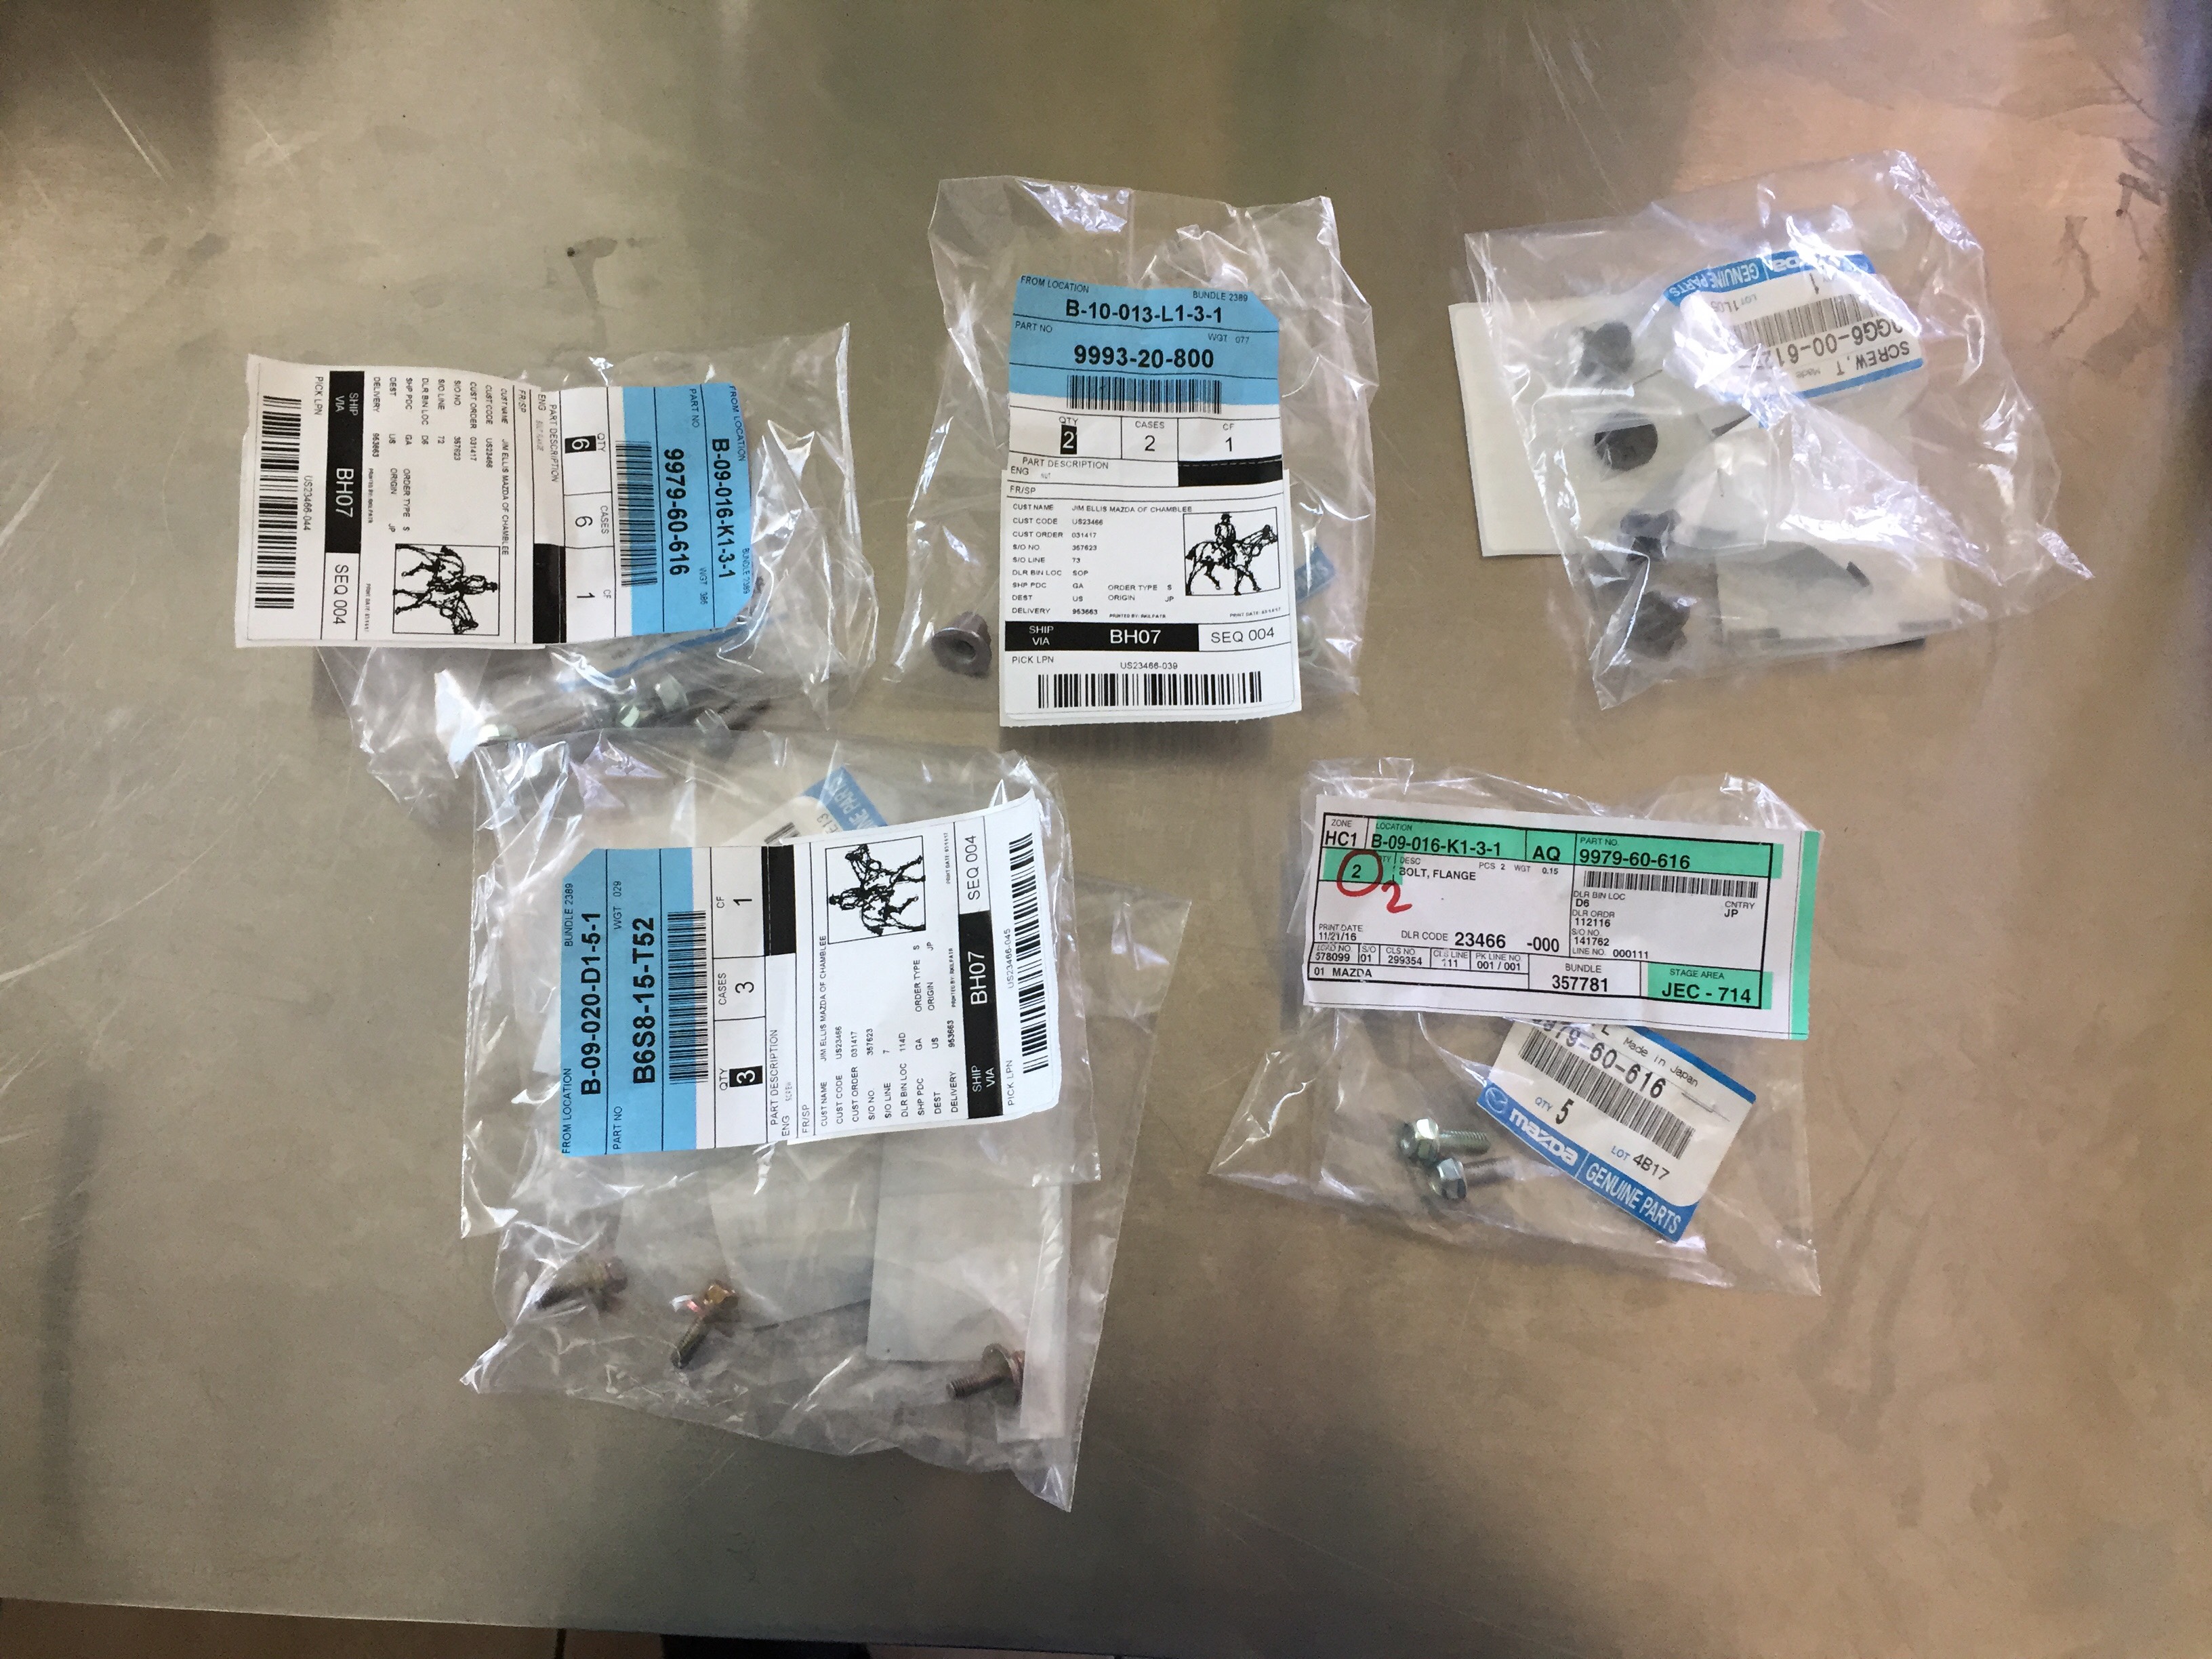
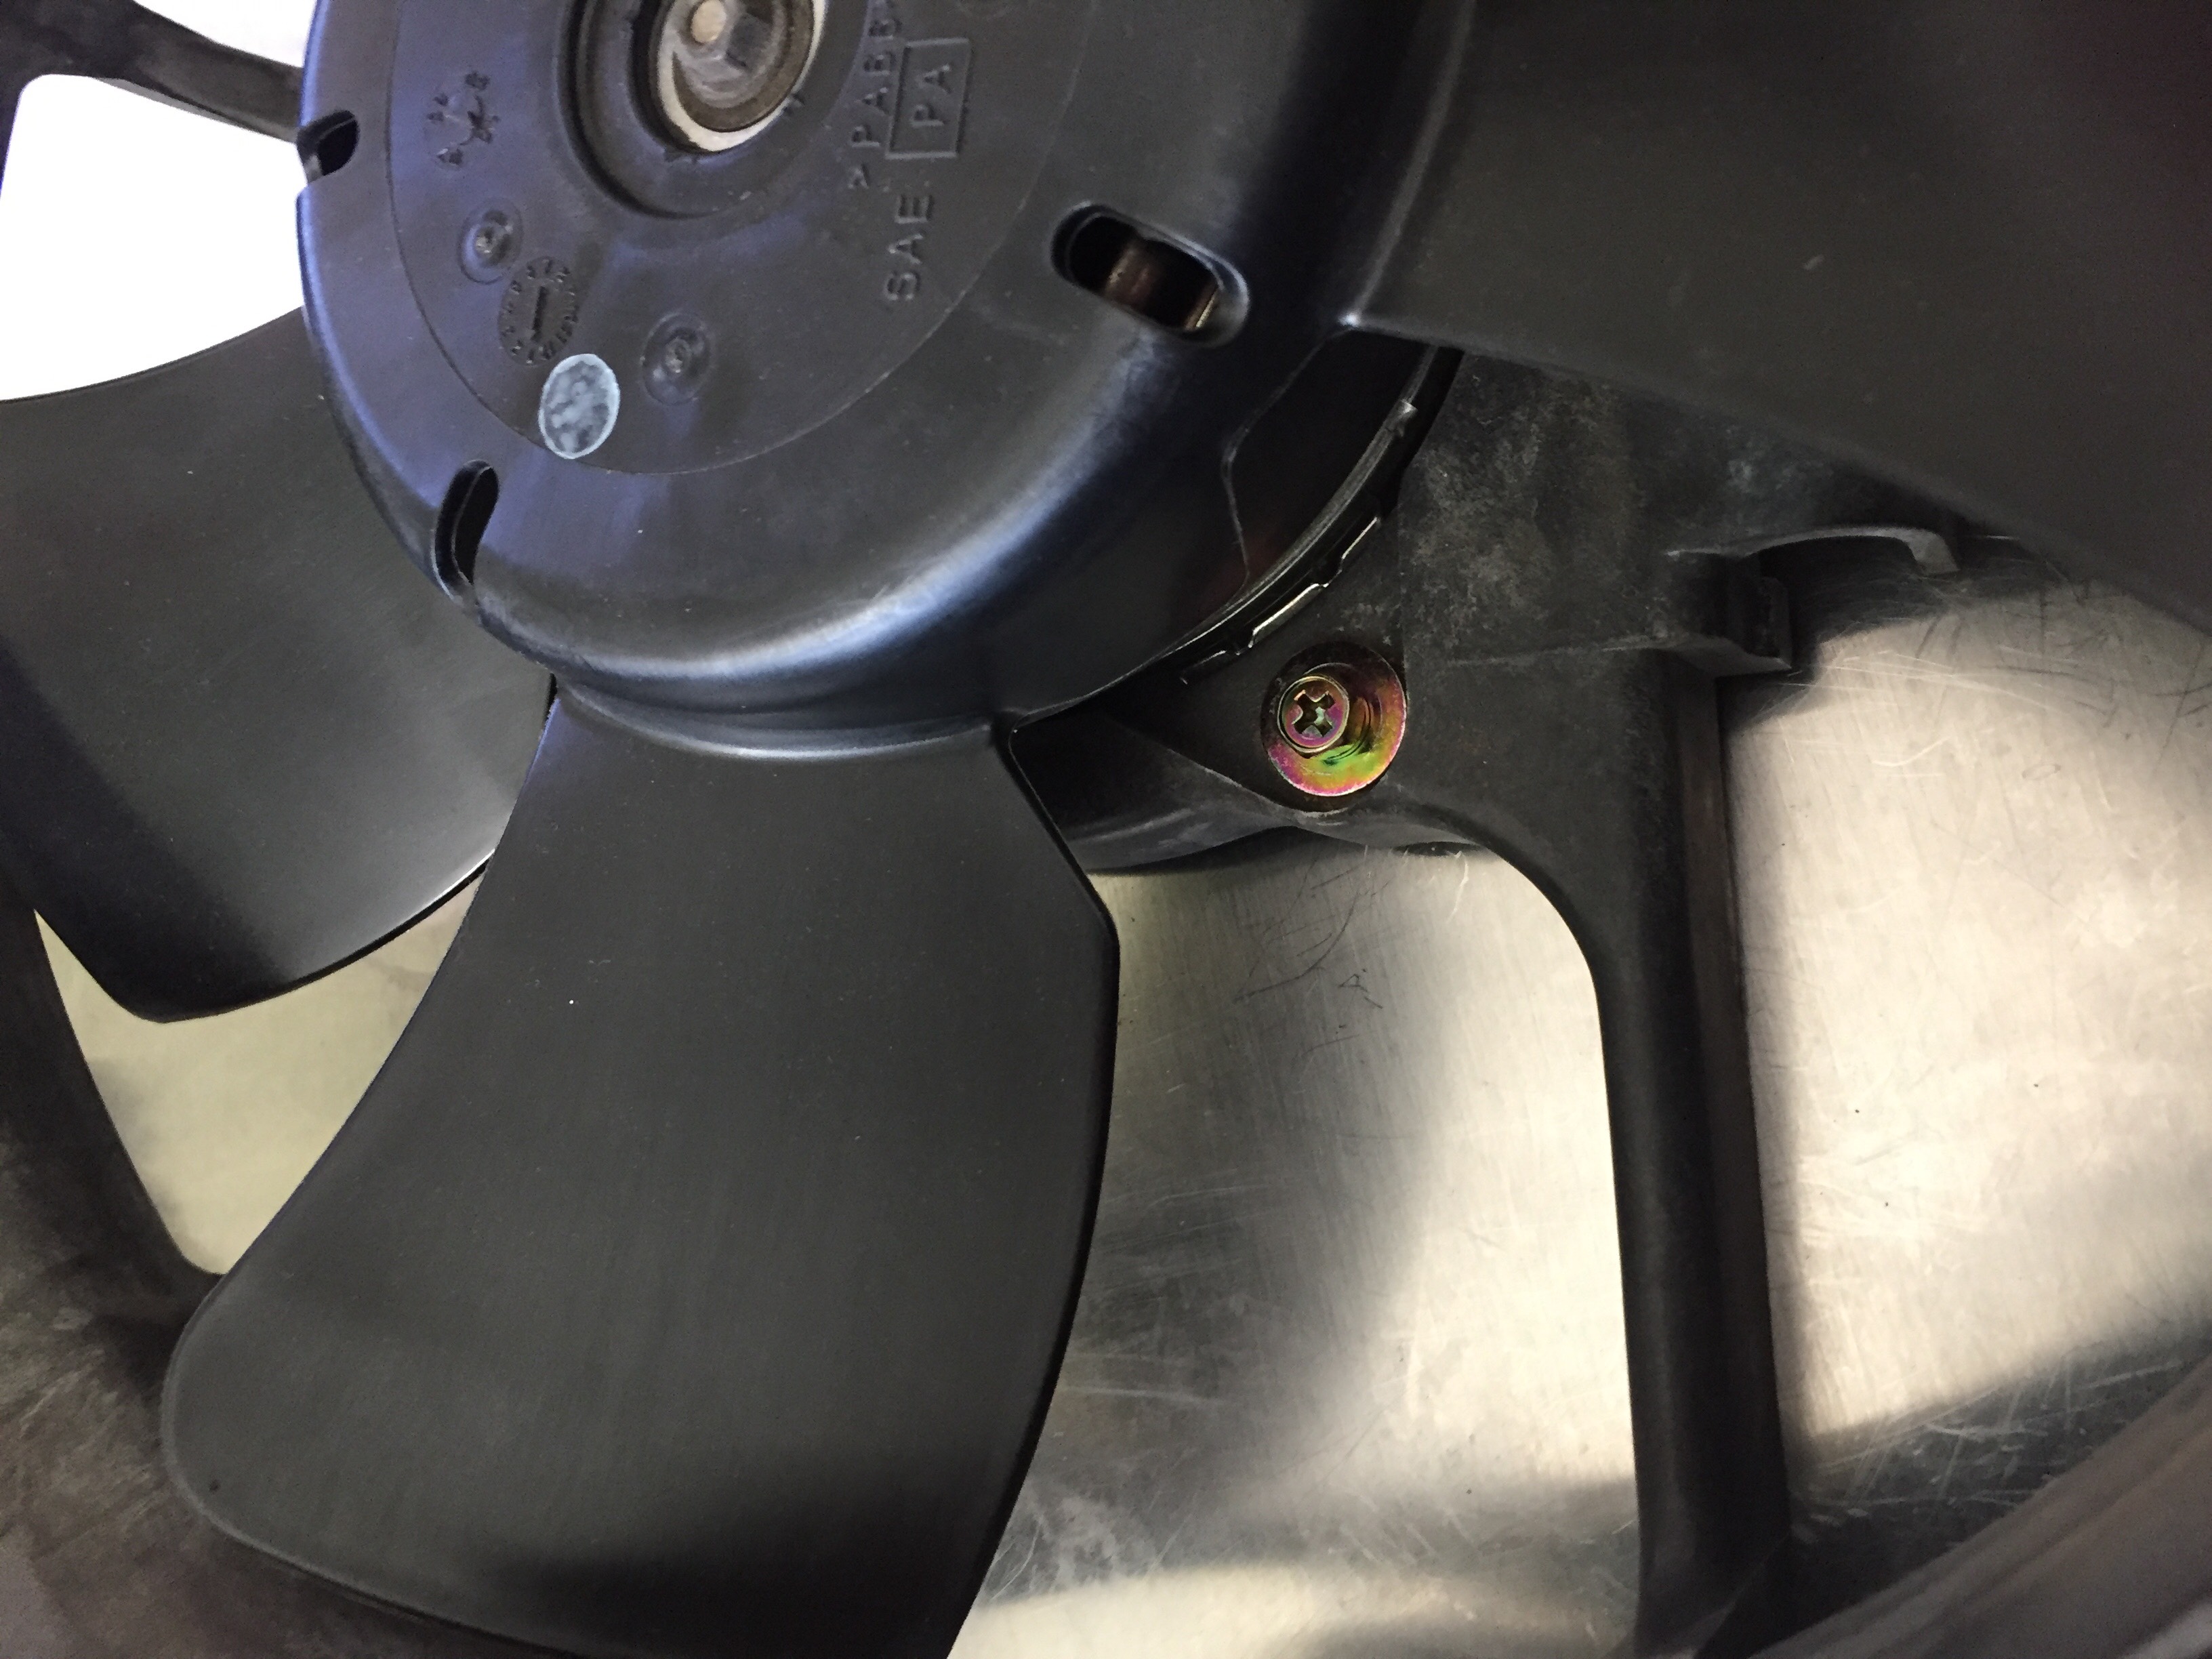
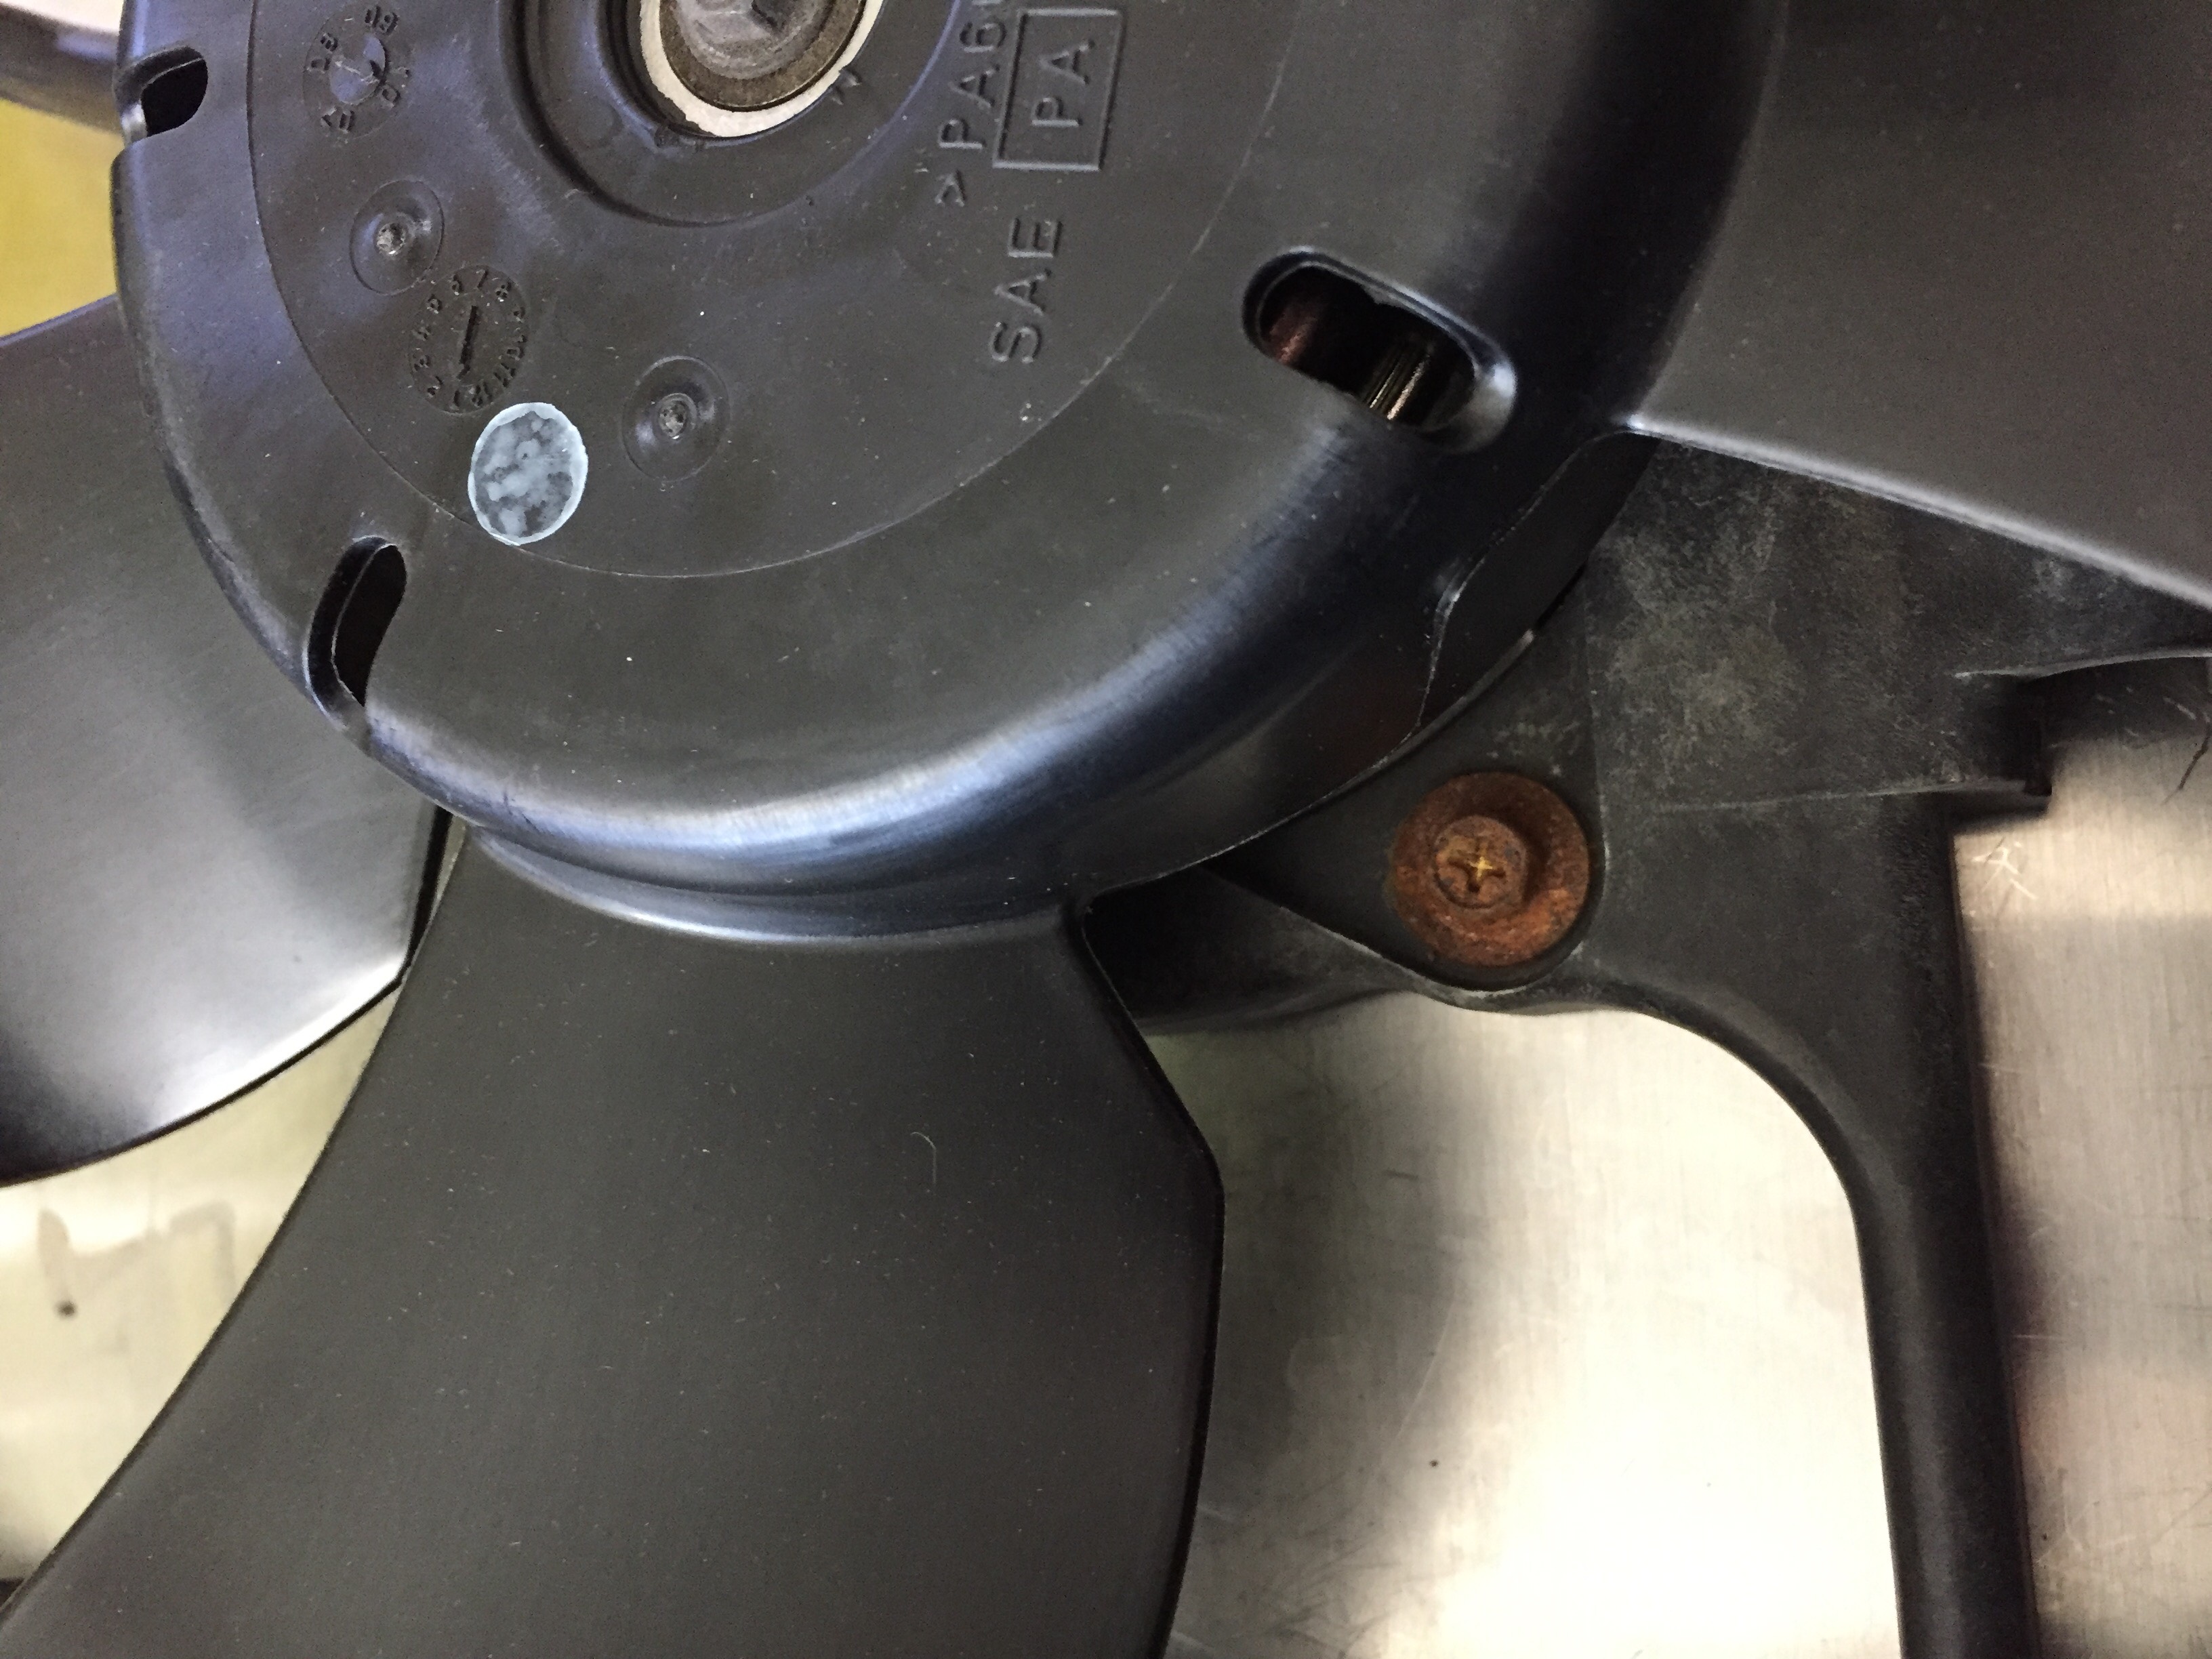
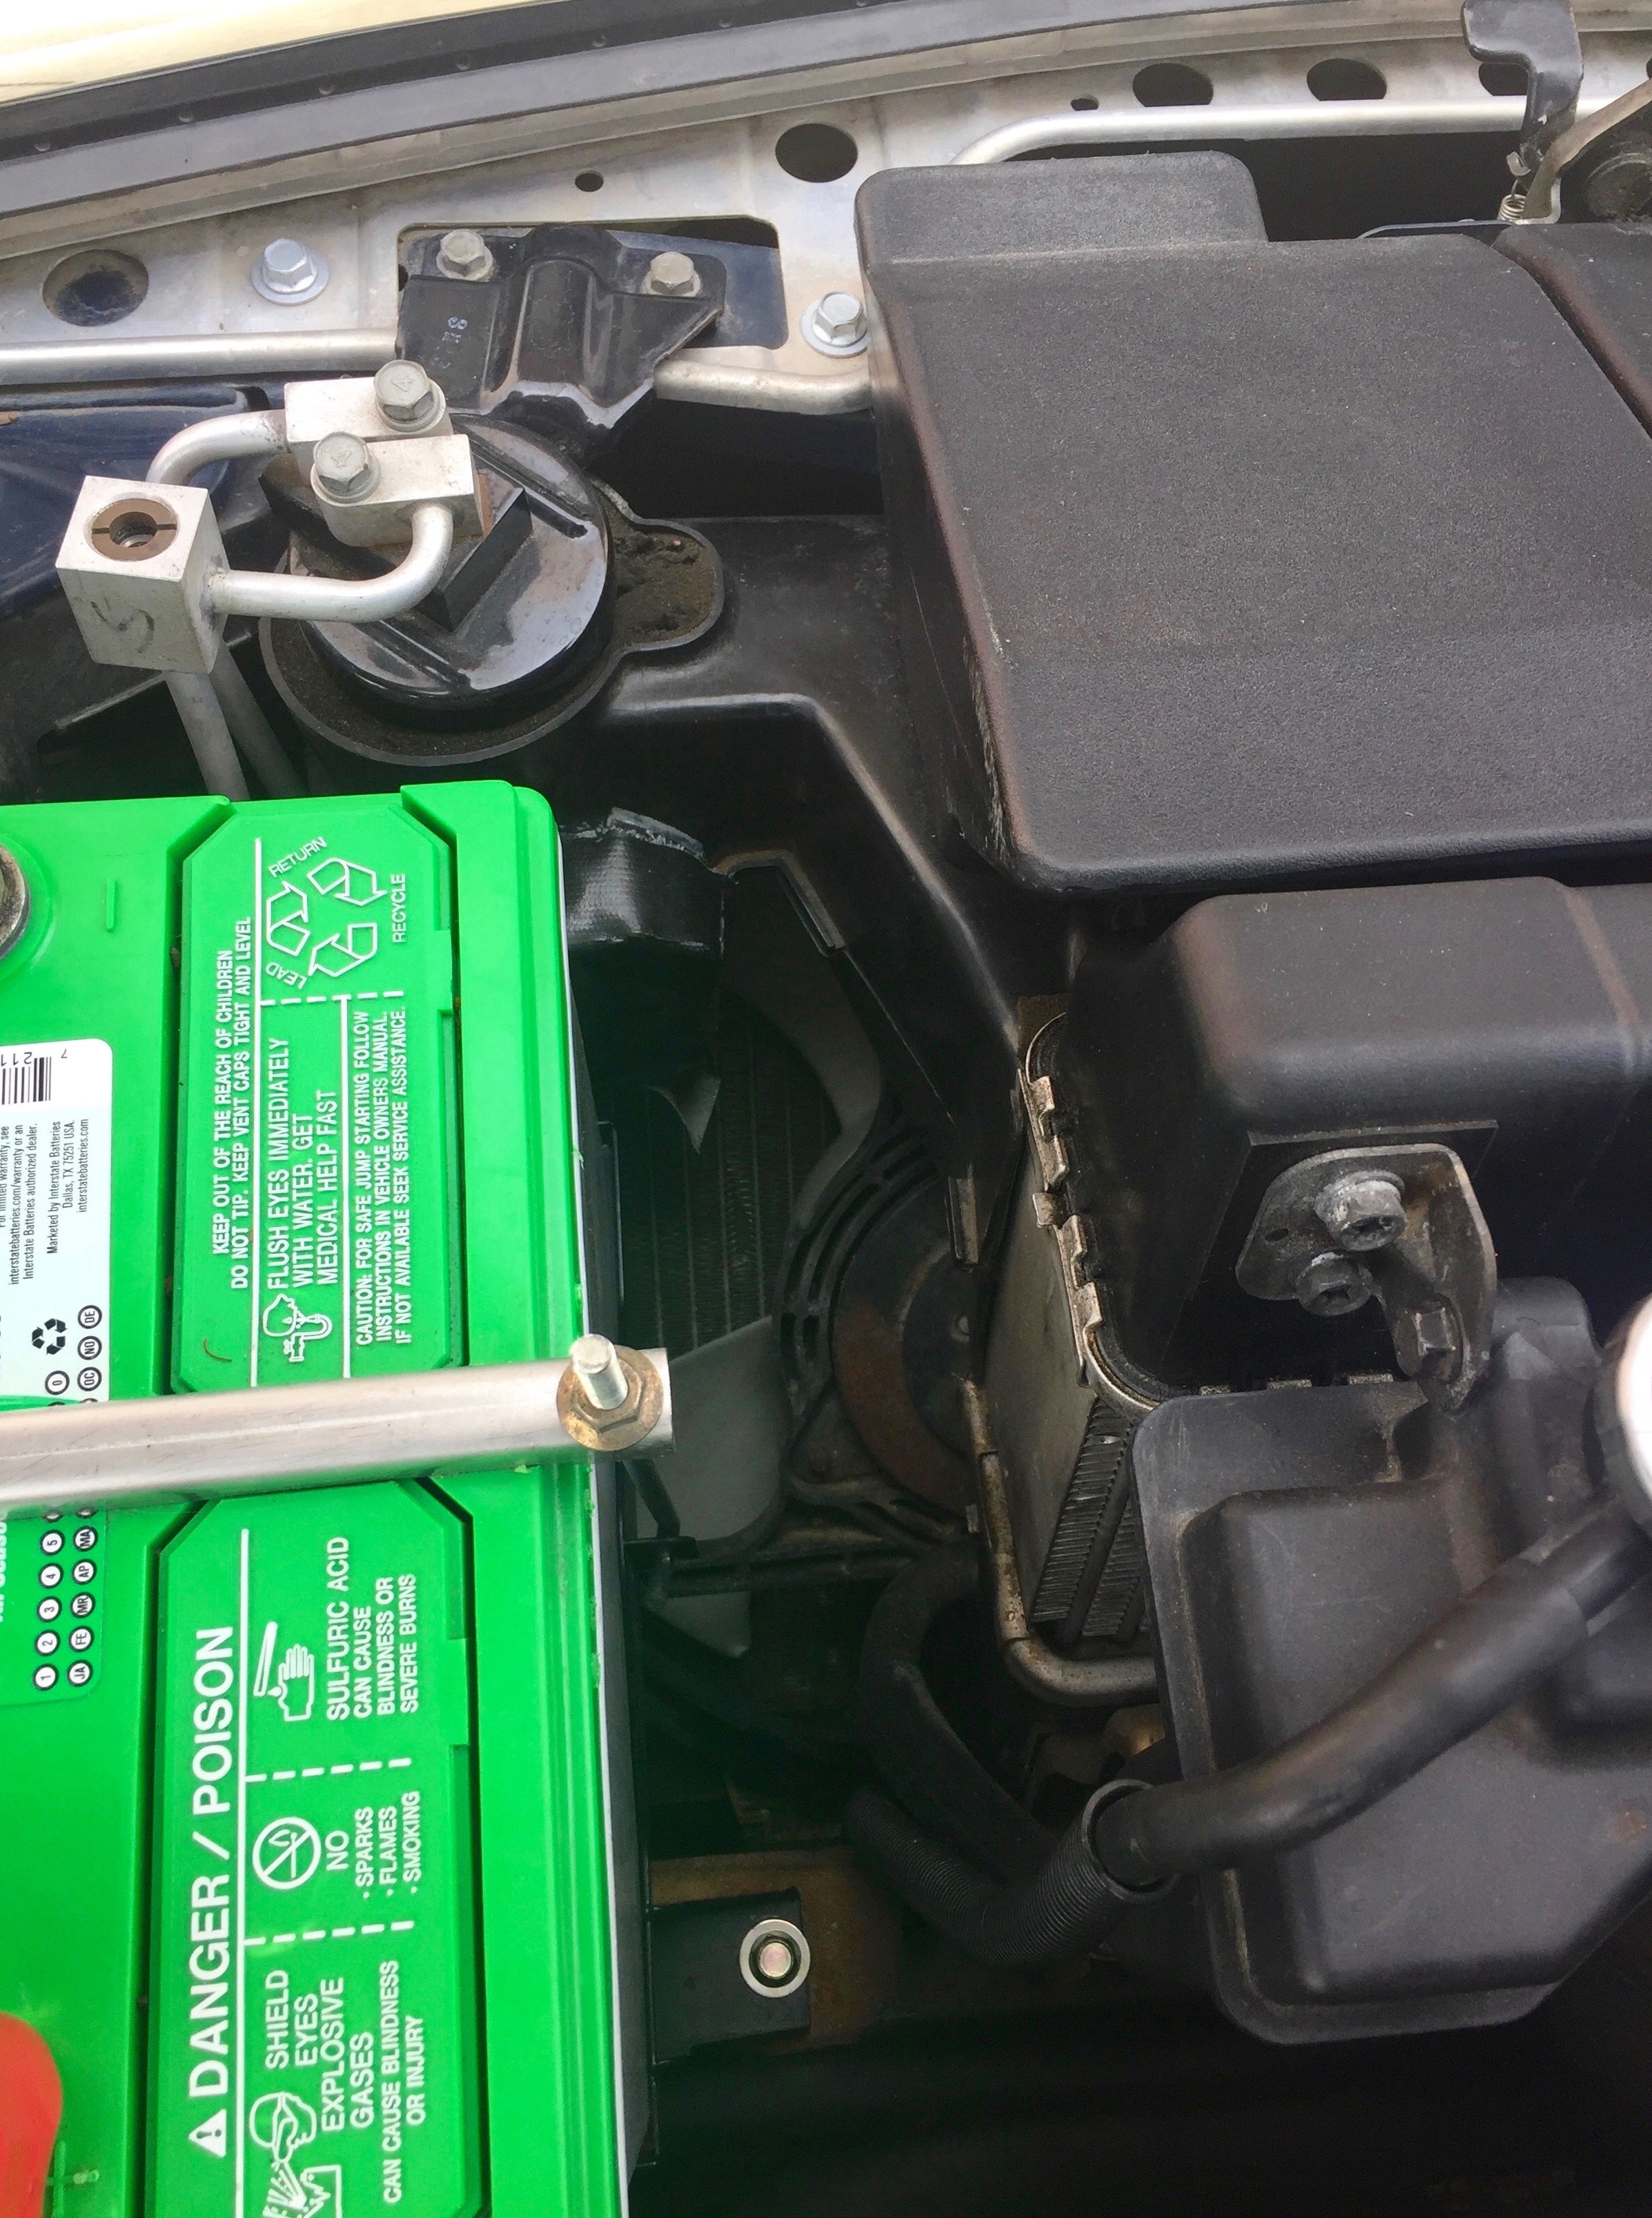
Replaced the fan motor screws. Some of the old ones were pretty nasty. No sense in going through all this trouble and putting some cruddy stuff back in there. (PN D20115T52)
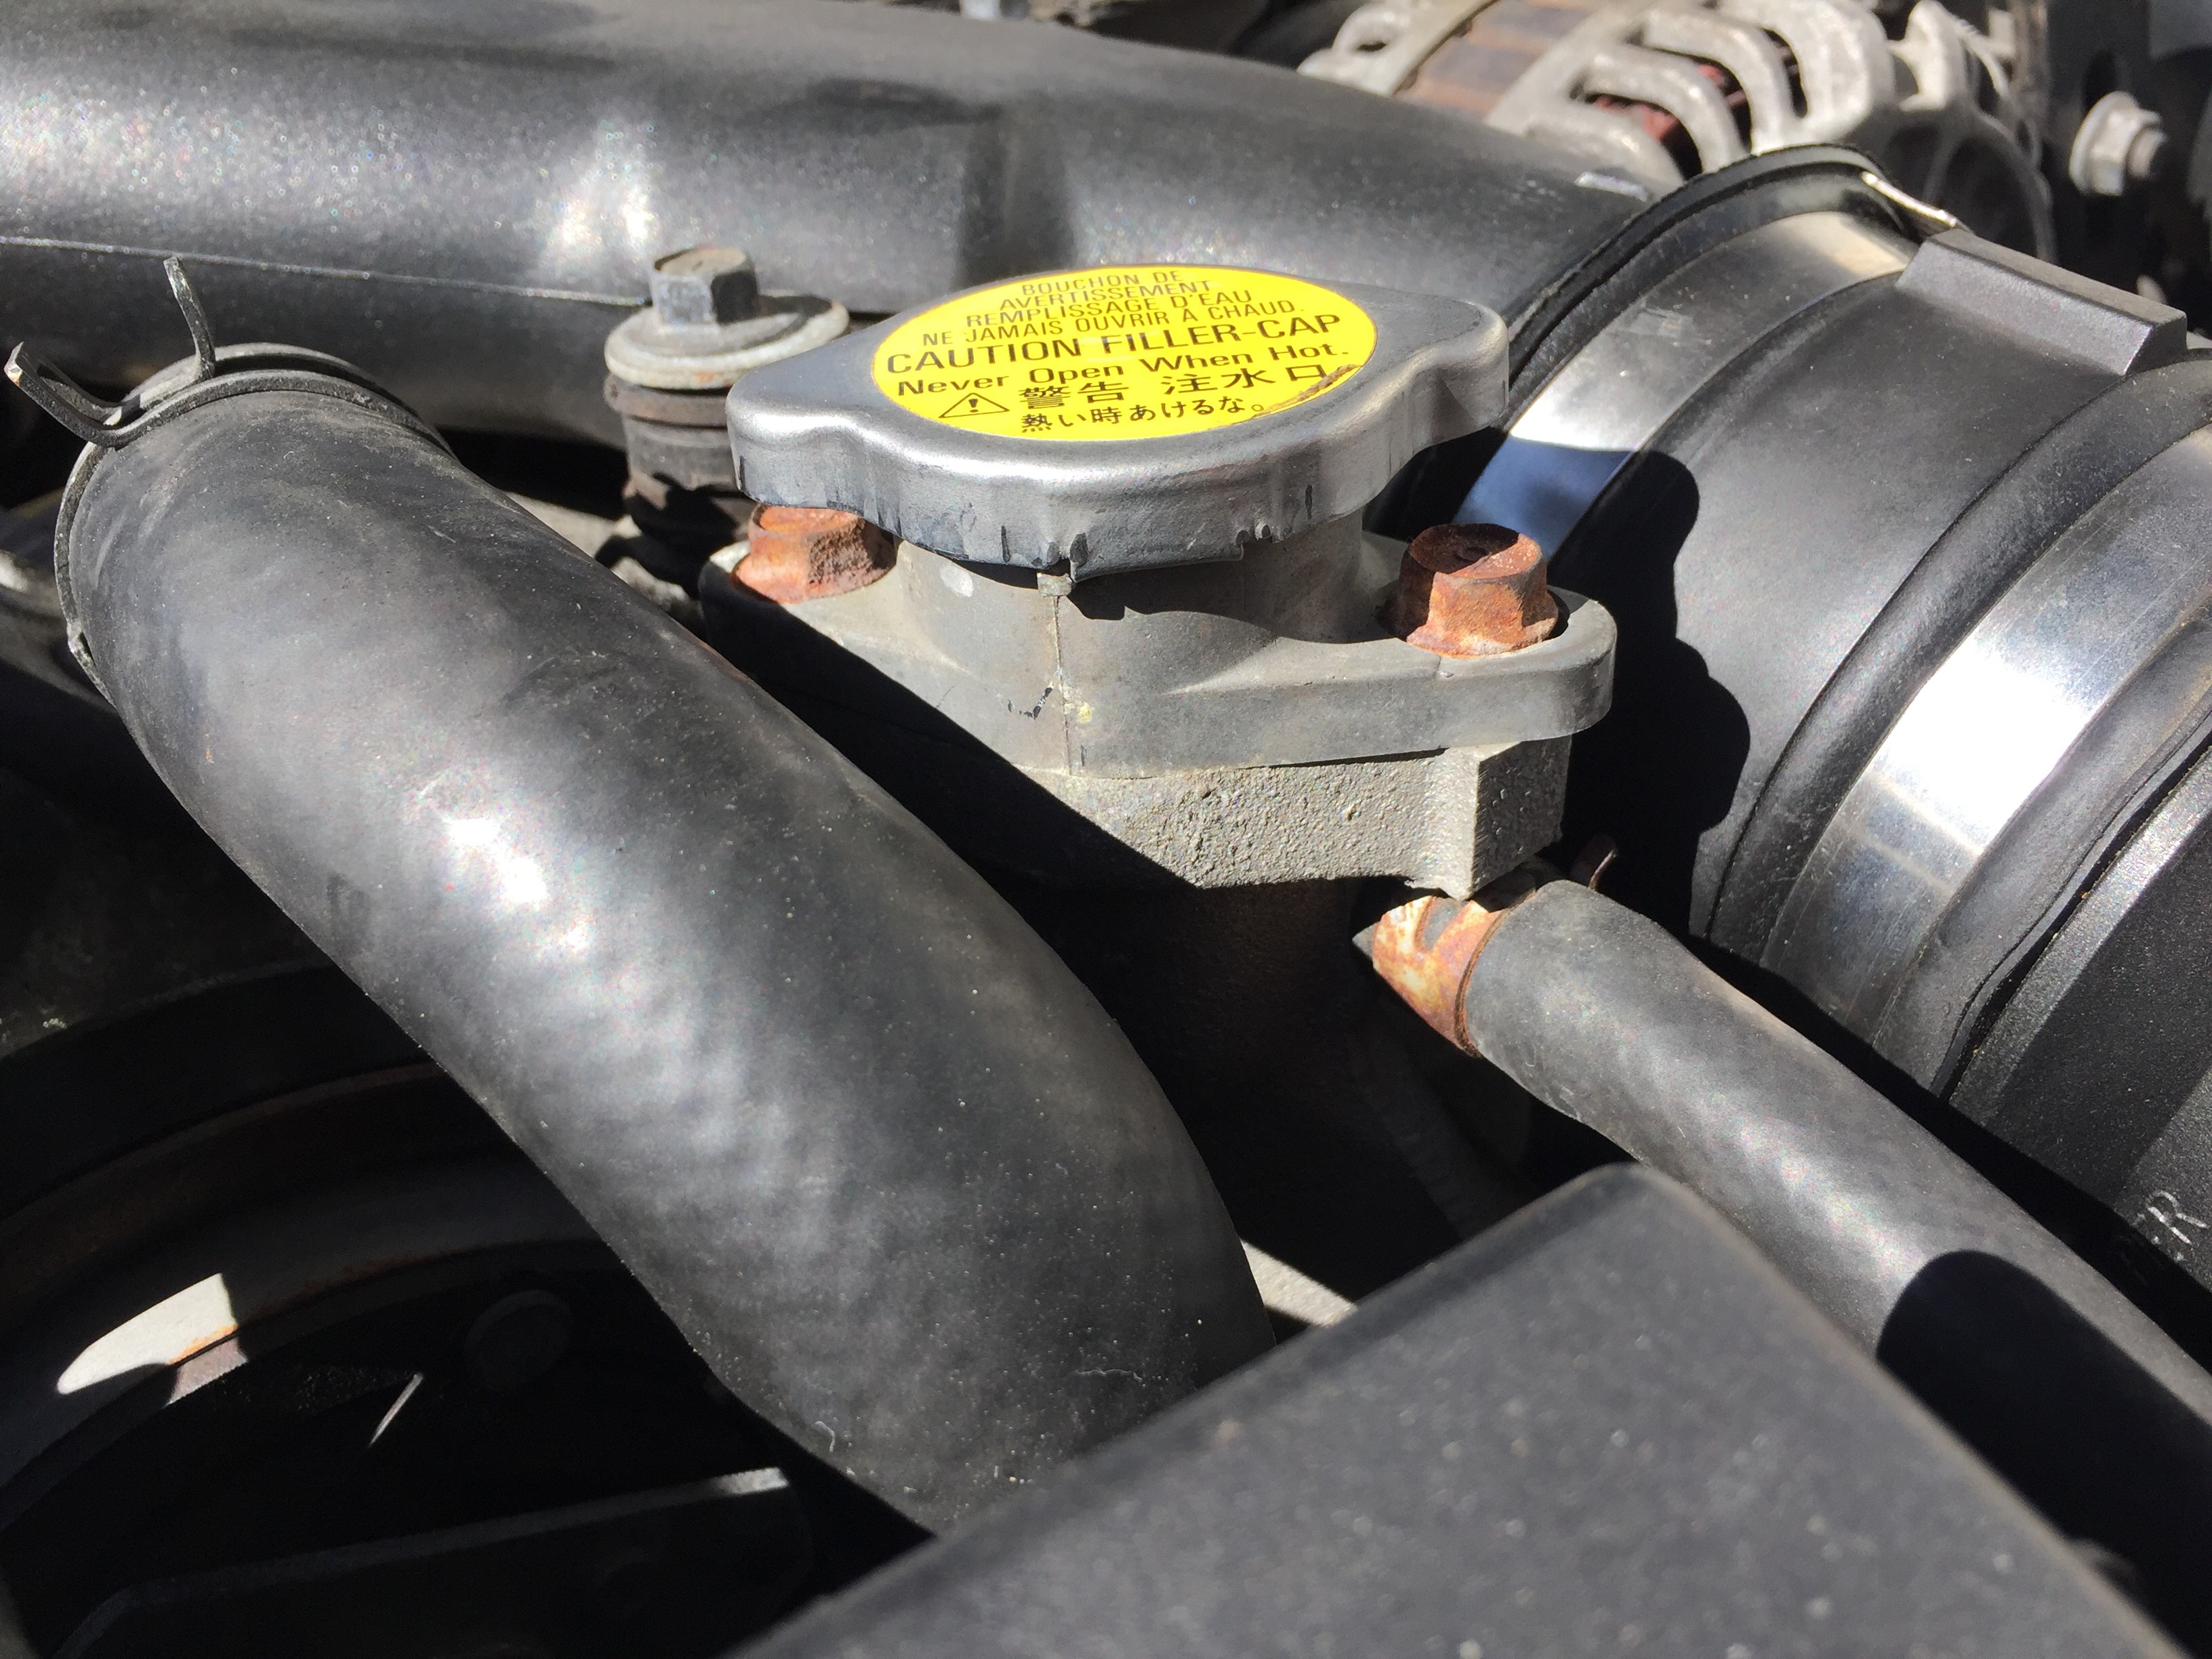
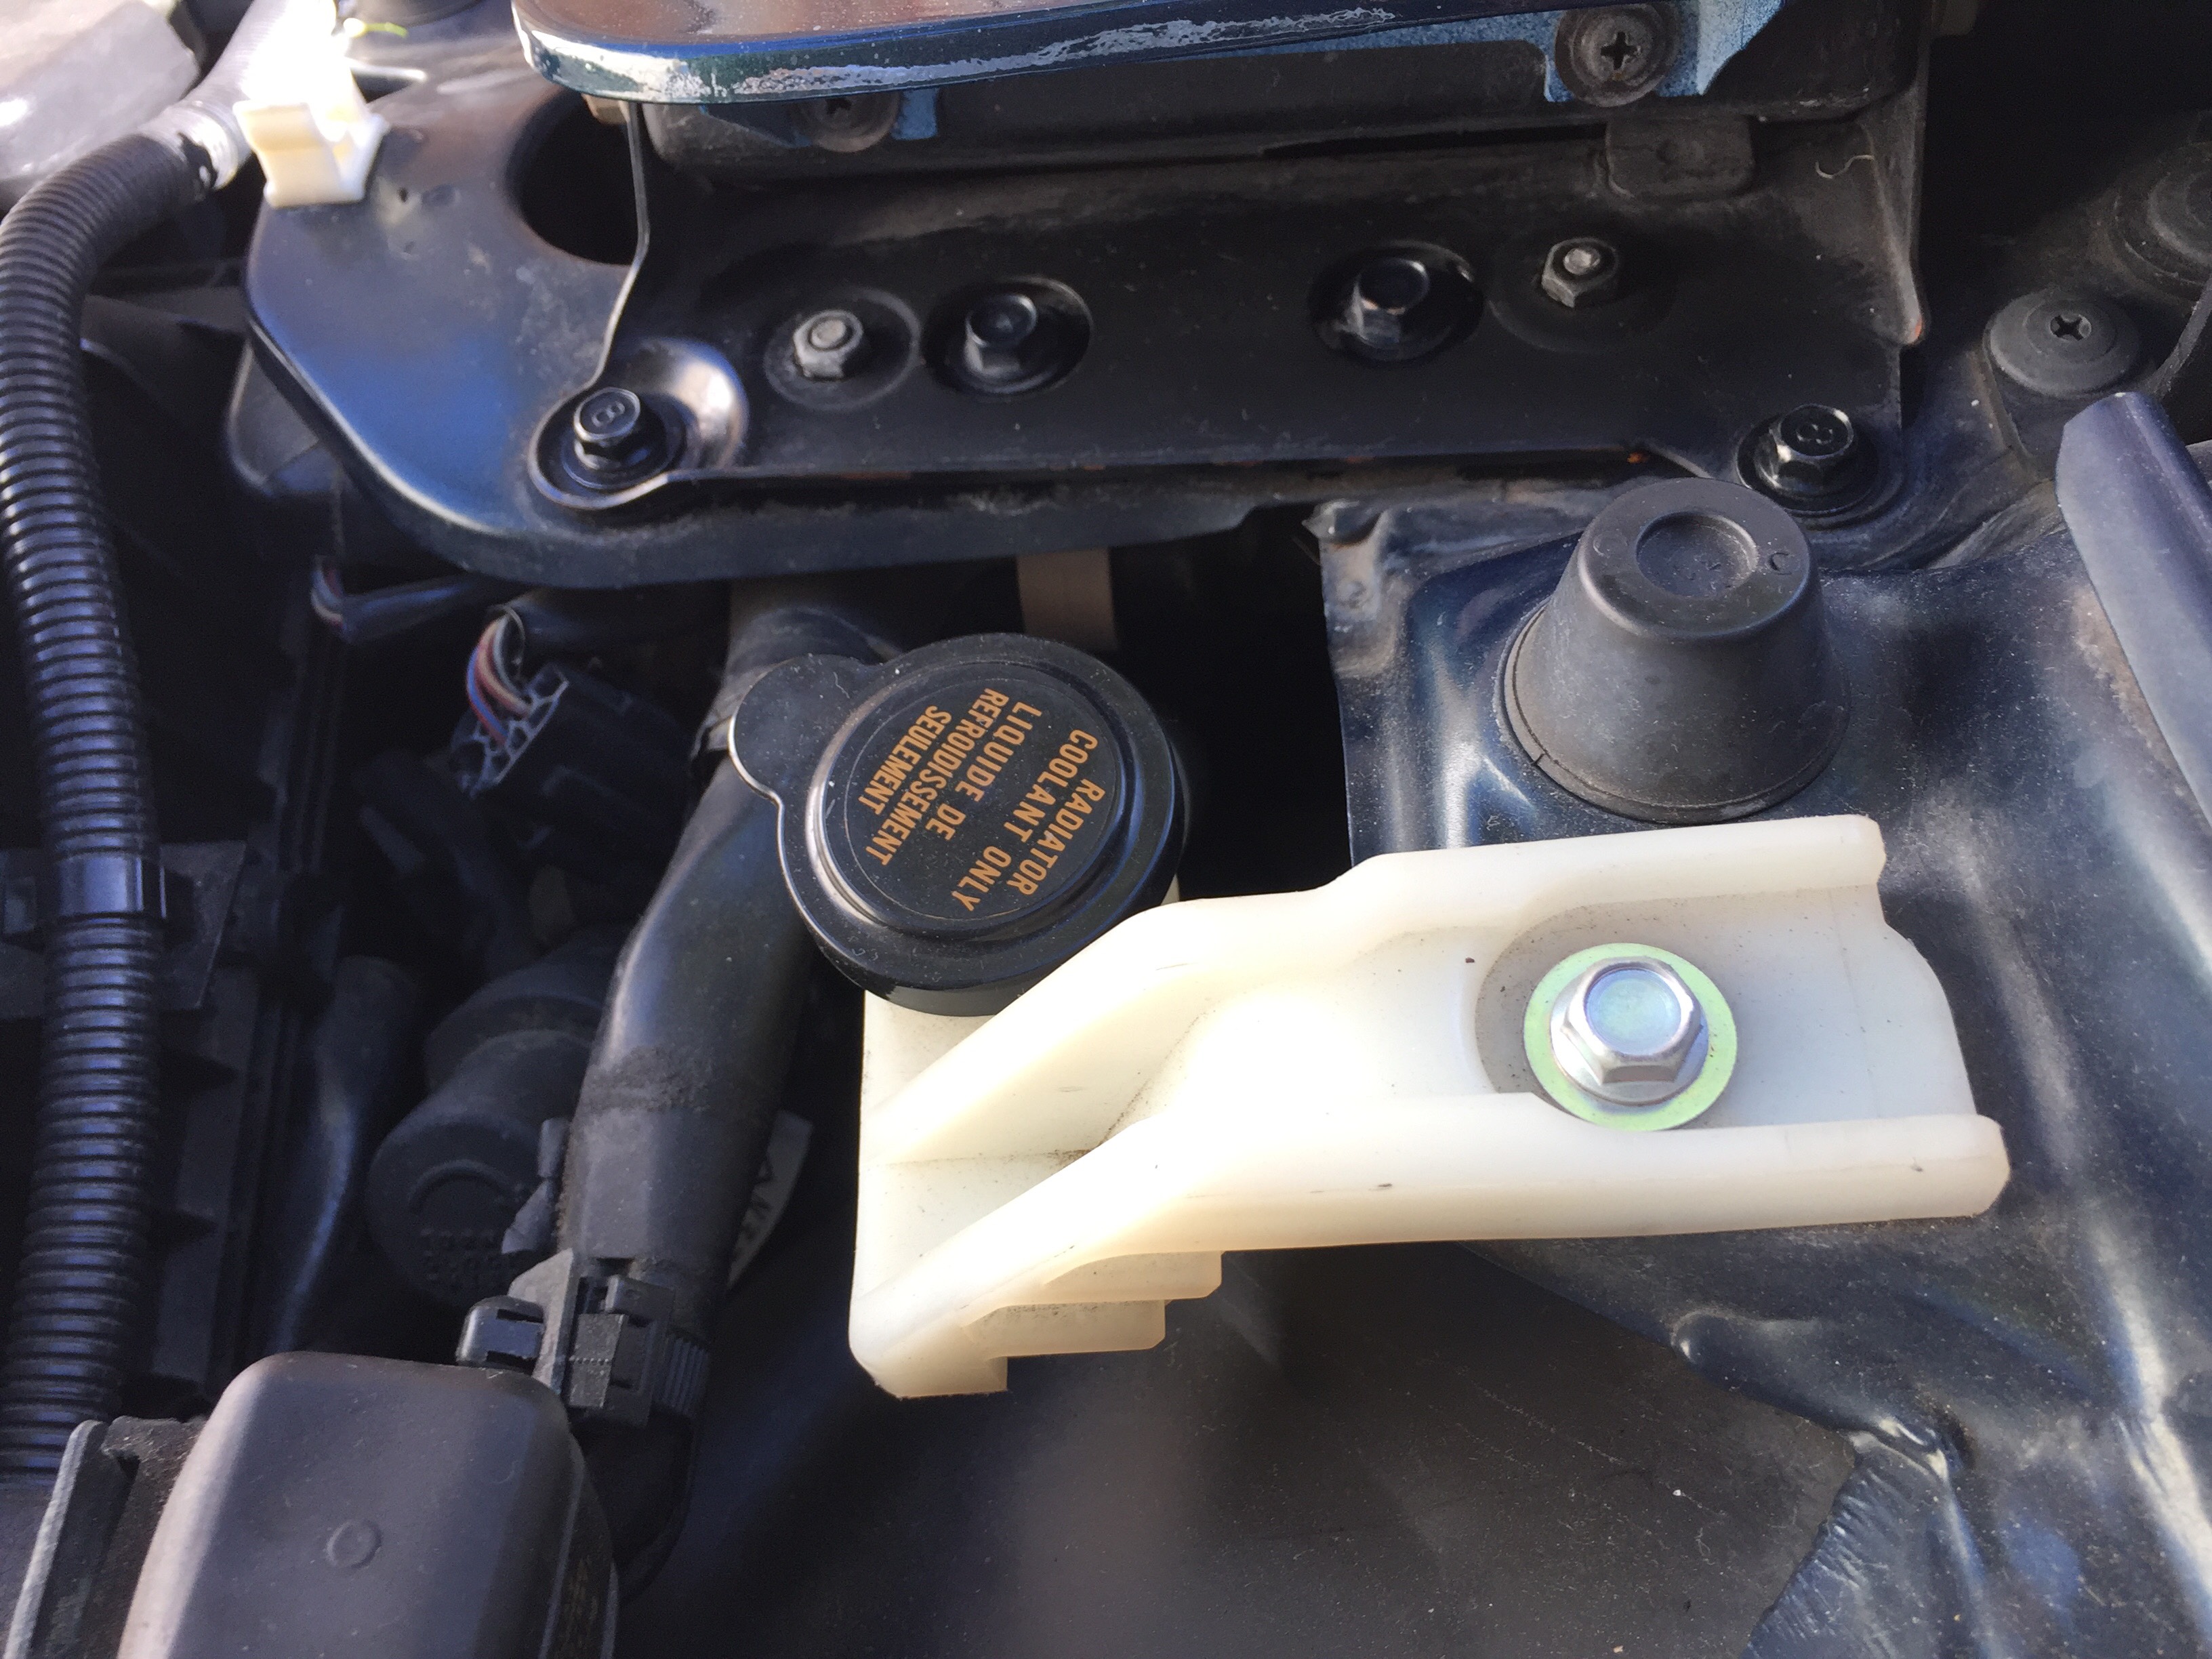
This was really bugging me. The filler neck bolts were totally rusty and gross. (PN 997960616b)

The black bolts on the headlight frames were looking white and corroded. So, replaced those and used a toothbrush to clean up the area some. (PN 9gg600612b)
Also, you can see where I replaced the overflow/windshield bottle neck bolts a while ago. They kindof started this hardware landslide.

Last edited by Narfle; 03-17-17 at 07:41 PM.
03-20-17 | 07:41 PM
#53
The connectors and lances showerd up. The lances are great(need a crimper now), but the connectors don't work. I should have read the other threads more closely, they don't mate to the rx7 connectors(you'd have to swap both sides).
Greddy has a fan extender harness(https://www.rhdjapan.com/trust-gredd...azda-fd3s.html) for their vmount kit which clearly uses the right connectors, so there's some hope out there. I'm still hunting for the right s6 connectors, a la carte.
Ordered a bunch of other hardware from JEM, in the meantime. Updates after hardware or crimper shows up.
Last edited by Narfle; 03-20-17 at 07:46 PM.
03-26-17 | 03:03 AM
#54
And, boom goes the dynamite.
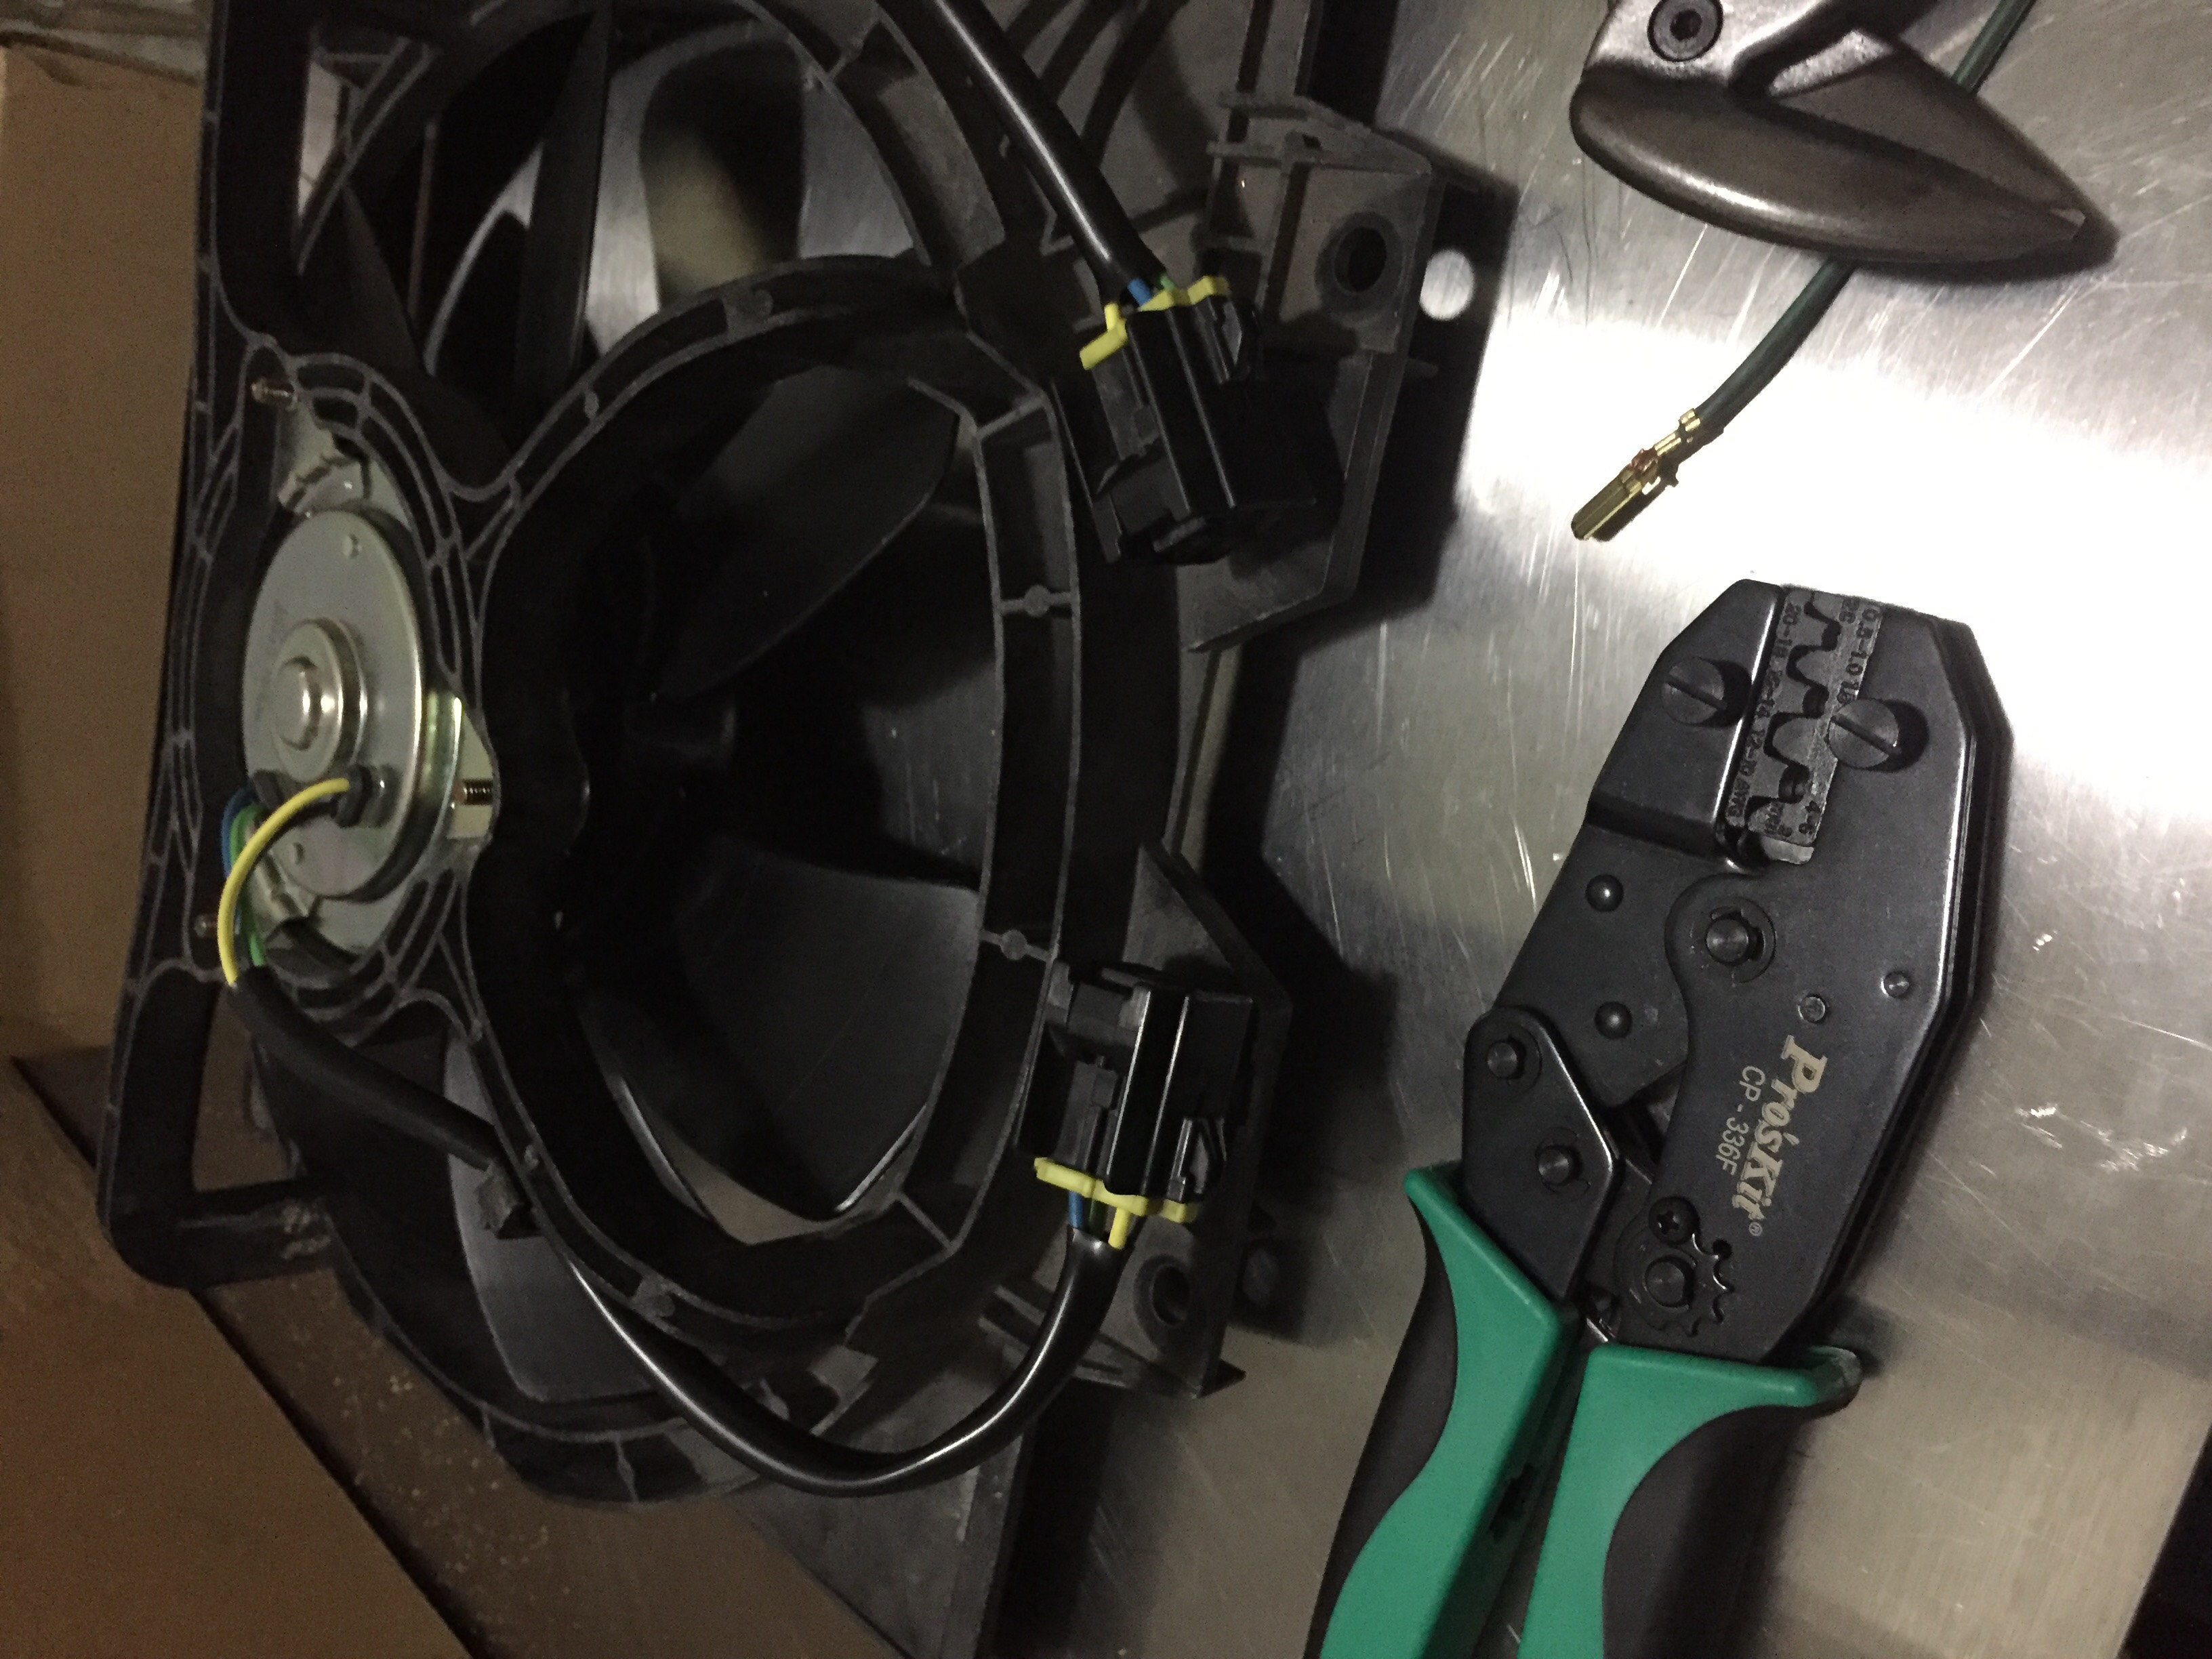
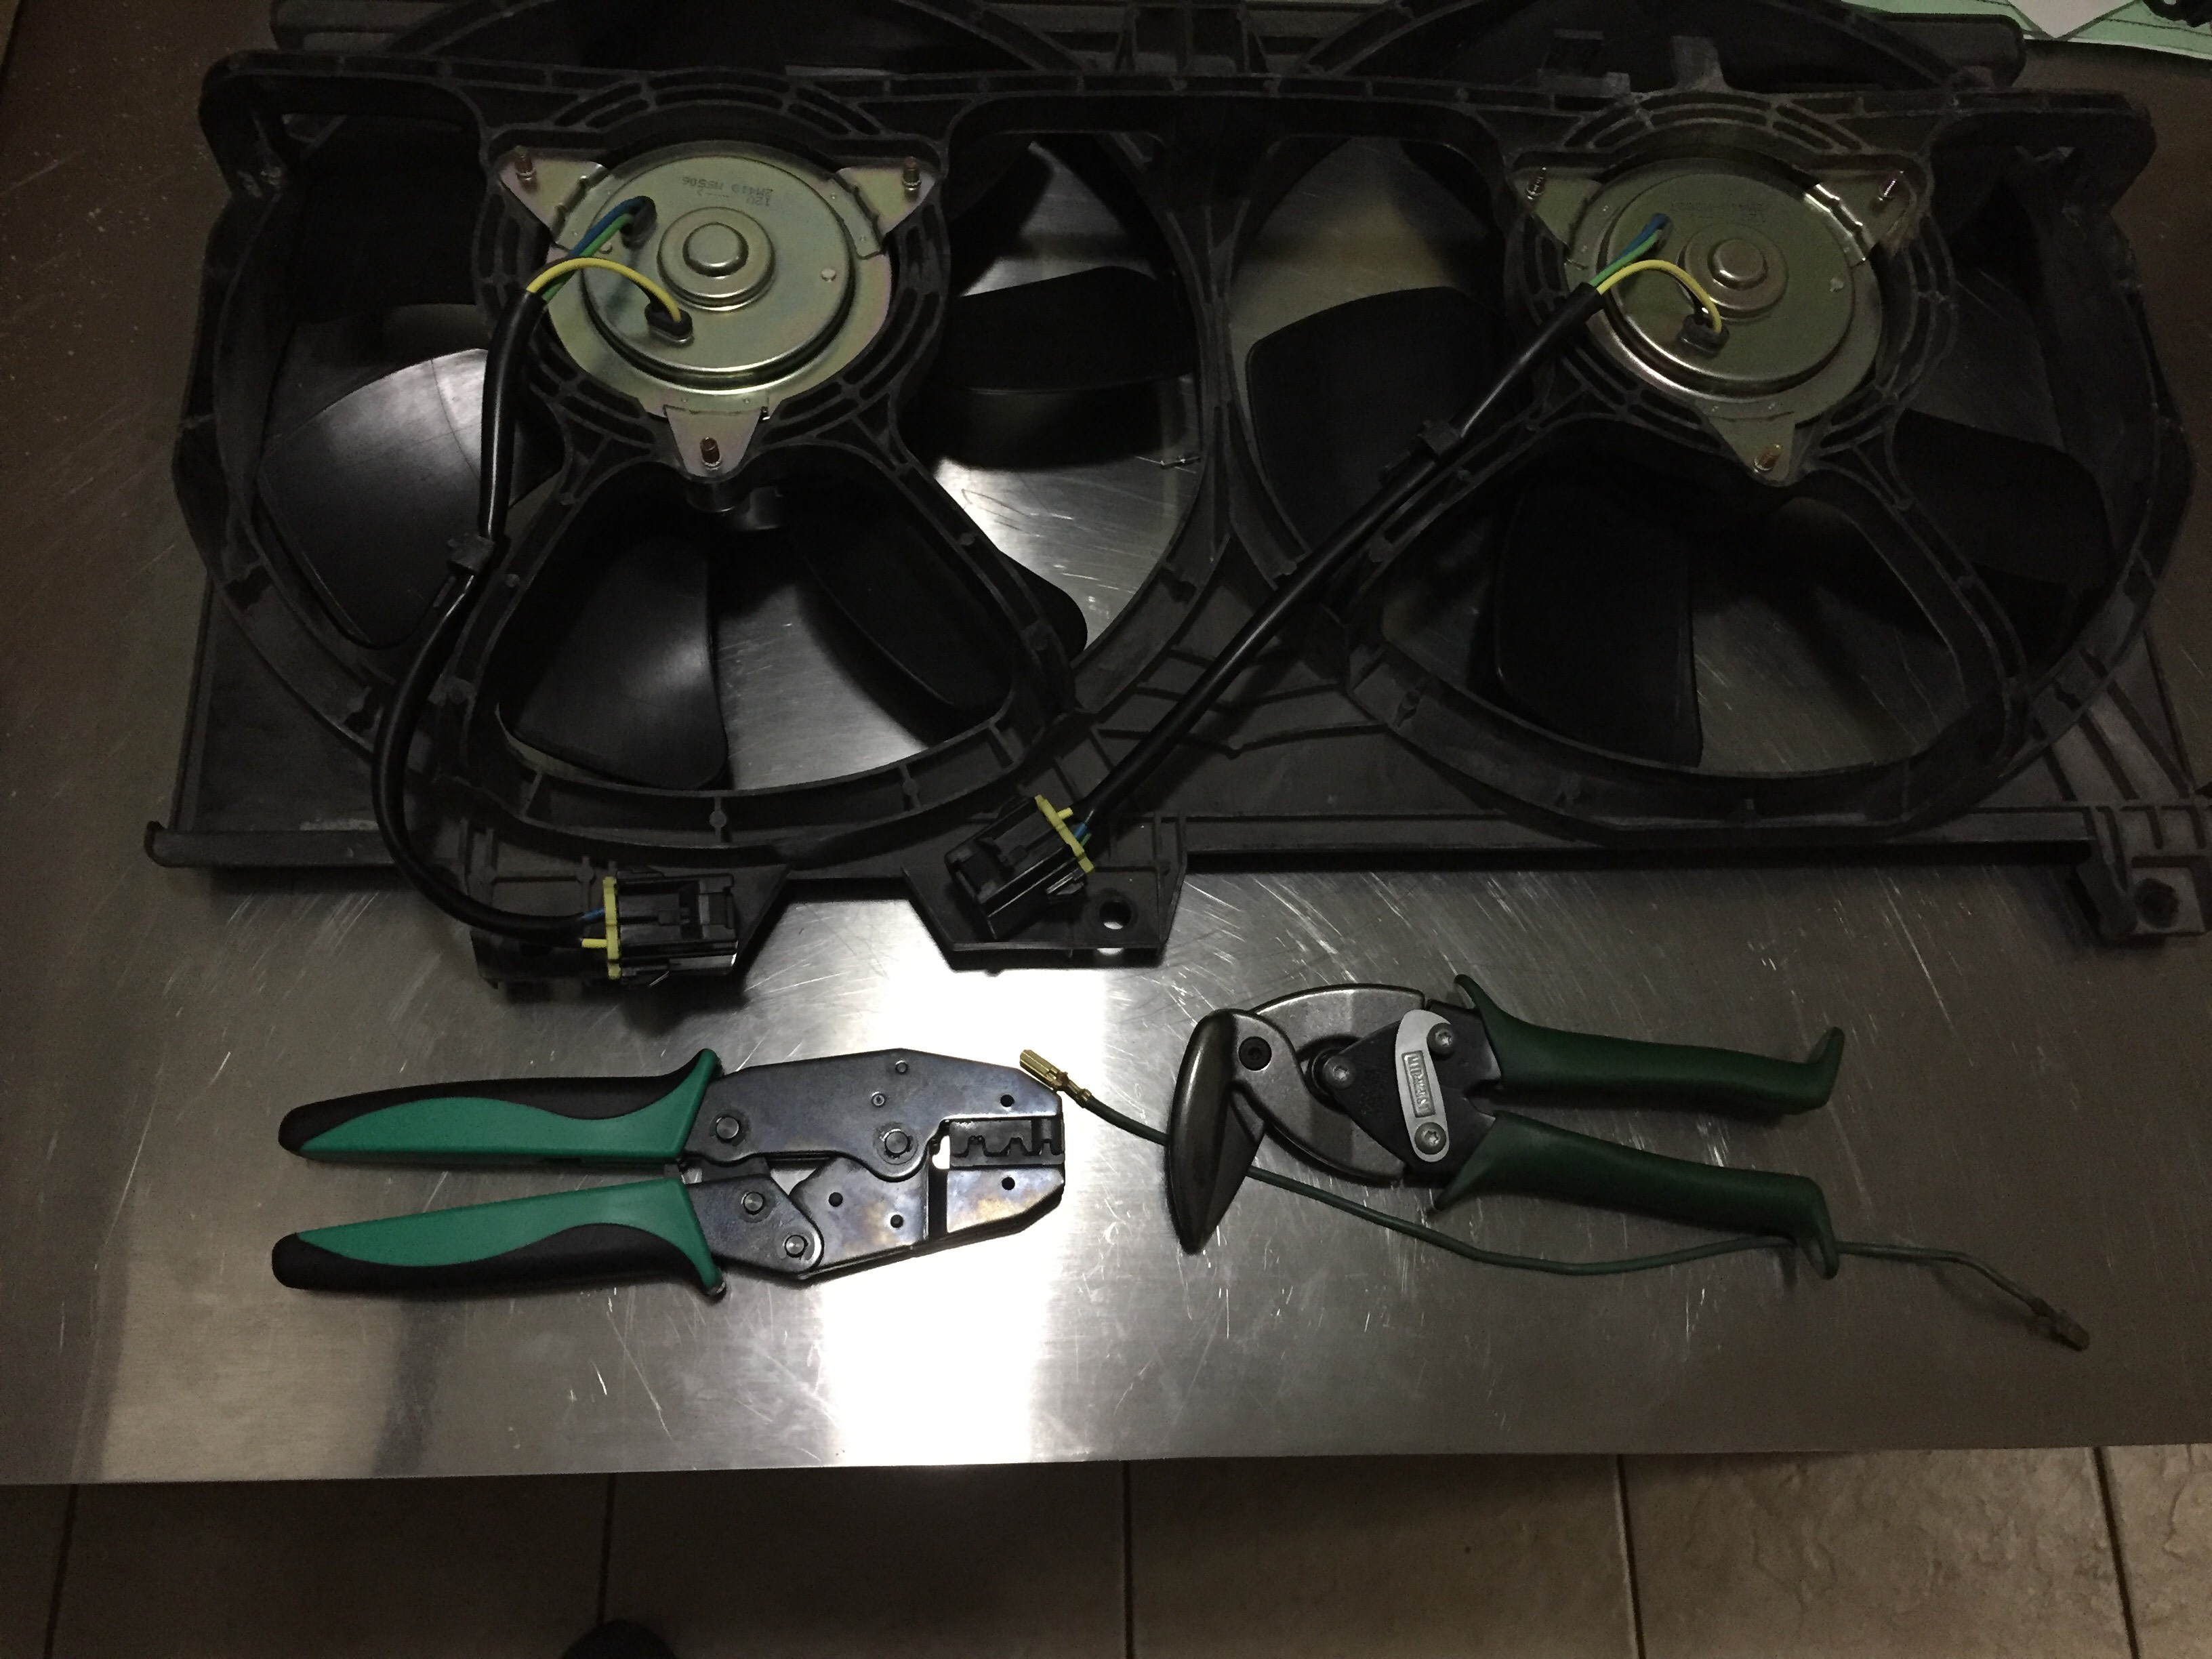
Picked up an open barrel crimper off amazon, cause you can't just get one at home depot I guess. Didn't bother running around to a bunch of stores to check.
Sliced off the rx8 pins and exposed some fresh copper with a razor blade, and crimped the new lances on. Double checked the colors and put the new spades in the old connectors.
I will say, there's not a whole lot of slack to play with after cutting the old rx8 pins off.
In the end it would have been pretty easy to splice in the old connectors with barrel crimps and there'd be extra length to fool with, but this is what I wanted and it worked out nicely in the end.
If you need a jumper harness for your vmount or so you don't have to mess up either harness...
This is the best deal I found on rx8 connector sets(aliexpress.com): 5 Sets Sumitomo 91 Versiegelt Series 090 4 Pin Connector 6185-1171 6188-0558 Female Male Waterproof Automotive Connector
And, you can get the greddy vmount s6 jumper harness on rhdjapan.com: TRUST GREDDY ELECTRICAL FAN EXTENSION HARNESS KIT - MAZDA FD3S
I still don't know where to buy the s6 fd connectors a la carte, or even in bulk. But someone fluent in Japanese might have a better chance, or you could try emailing Greddy cause they seem to know.
I guess that wraps up everything for the radiator install. Waiting on an FC thermoswitch and more hardware from JEM. More updates soon!
04-01-17 | 10:16 PM
#58
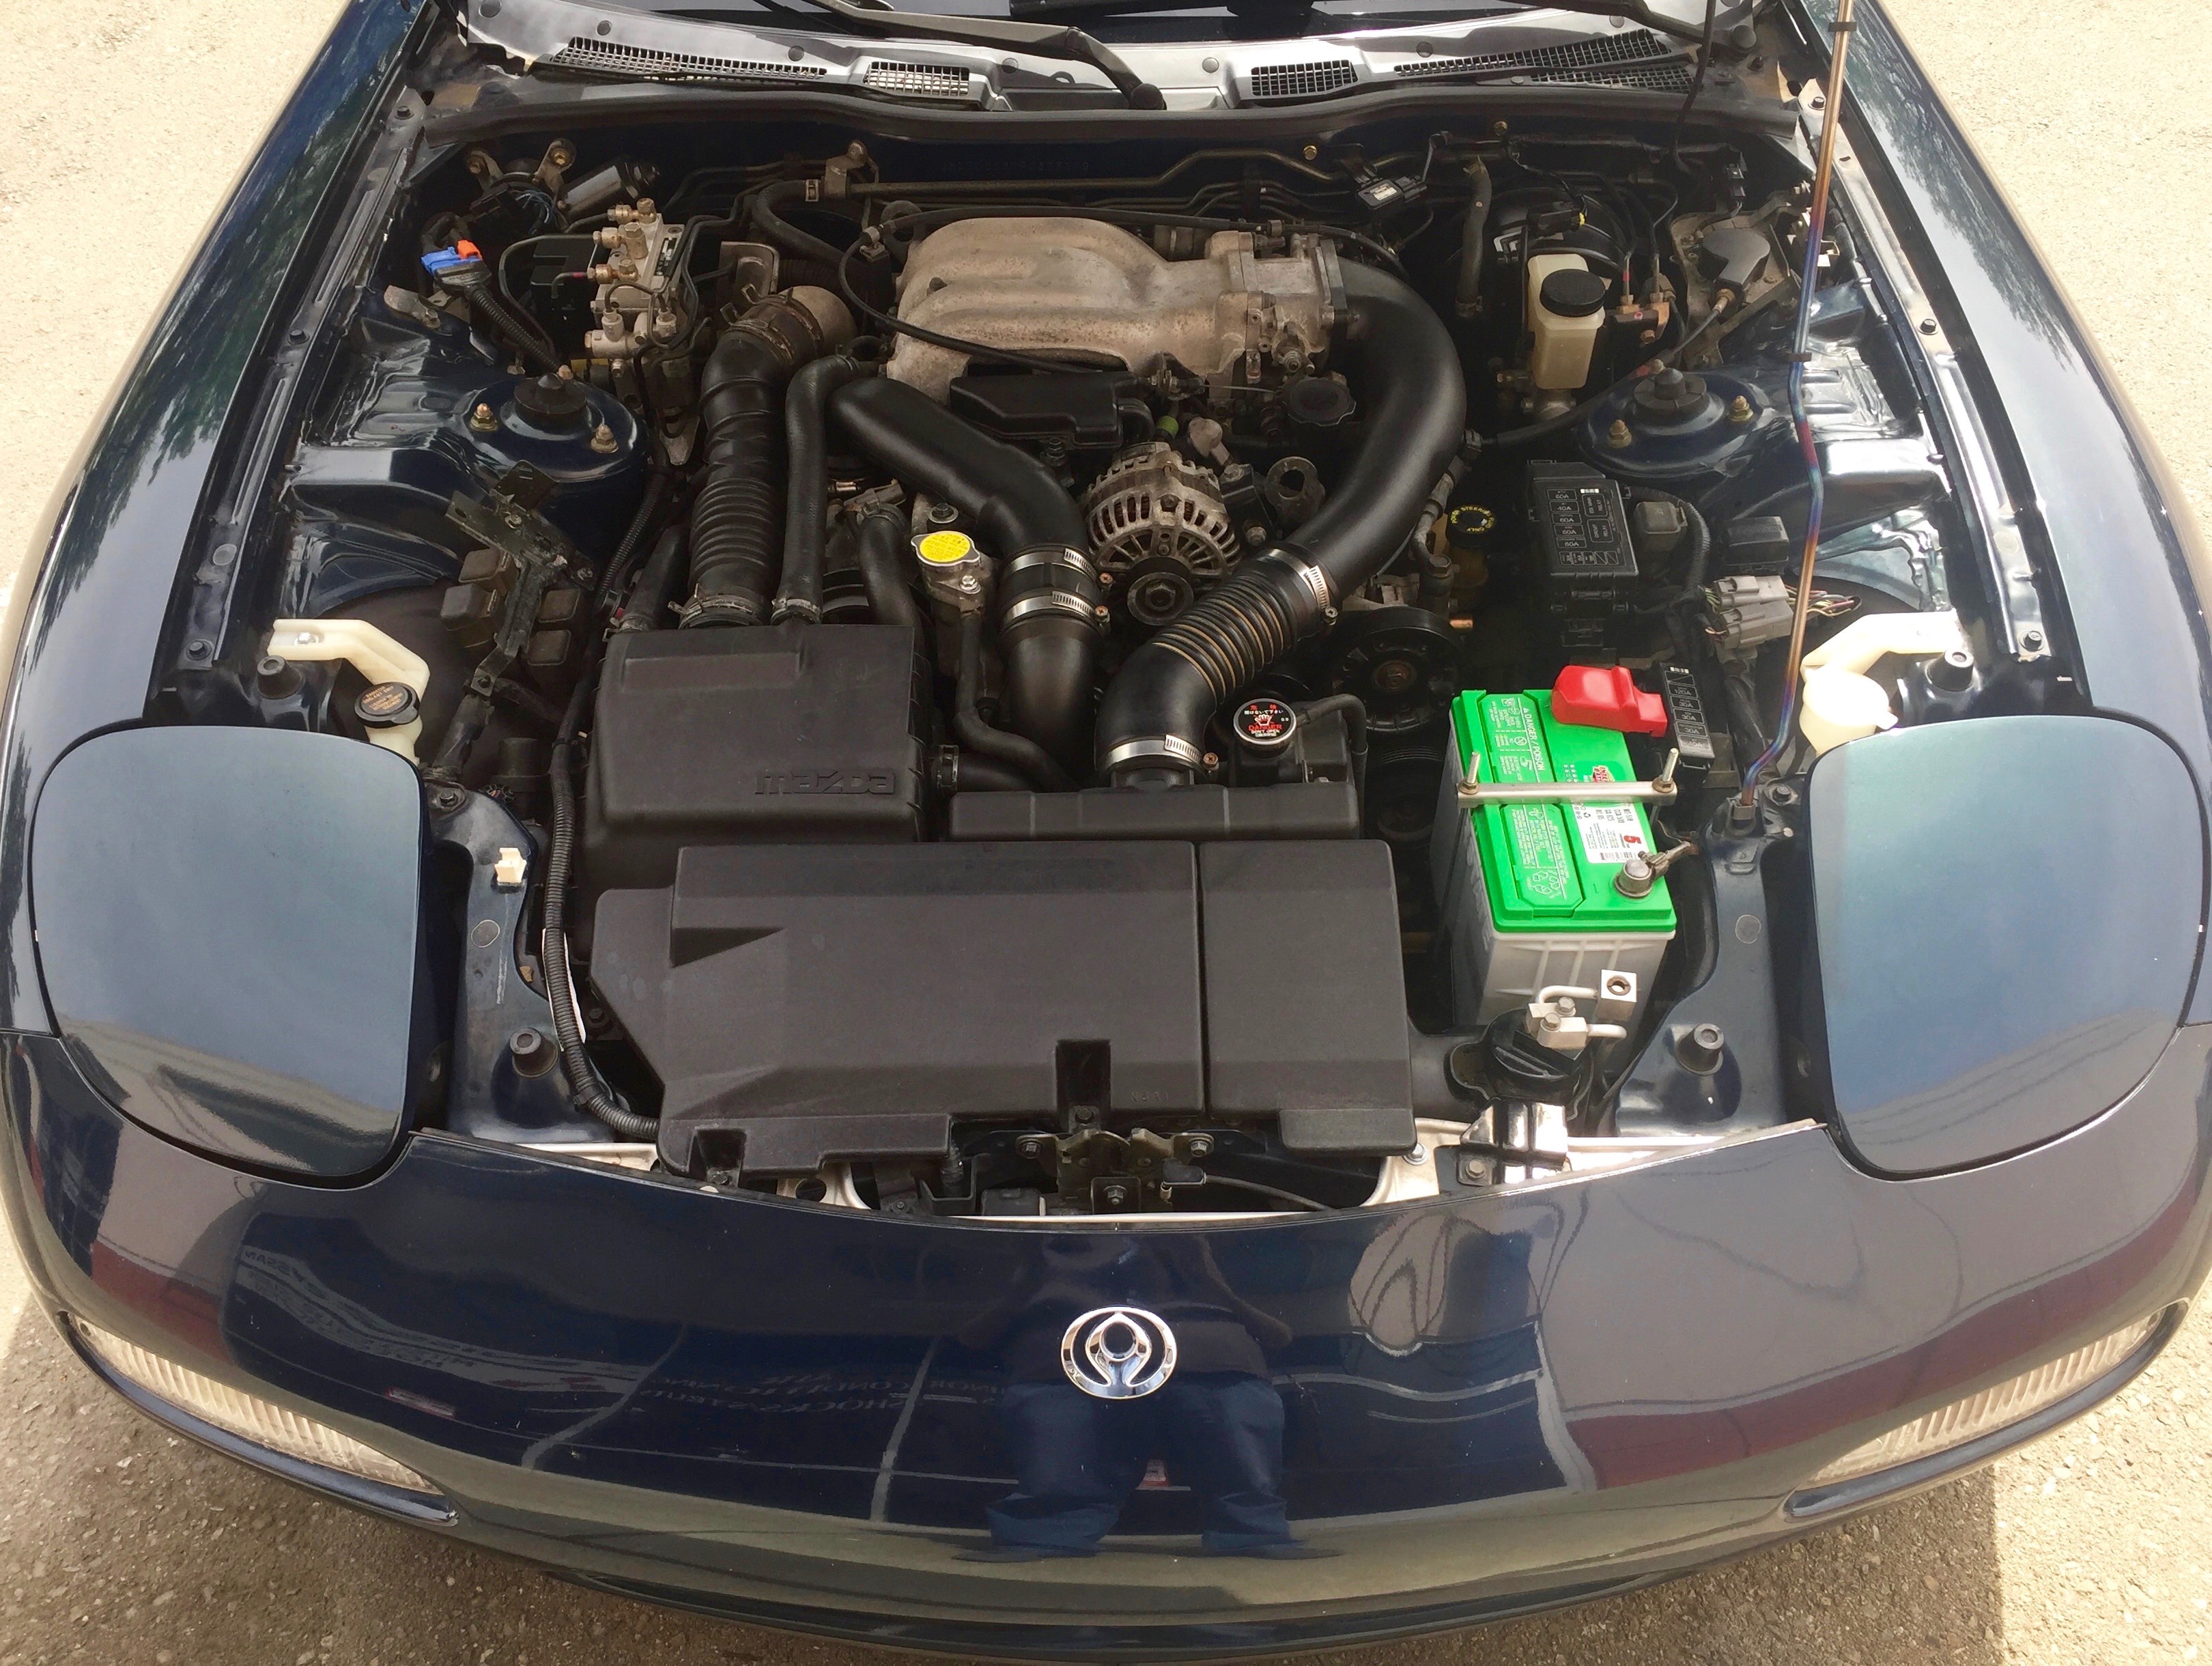
Got some more bits and pieces in. Broke out the windex and lady-friend's toothbrush and tried to clean up the bay a little.
New bumper bolts (PN 9gdb00616), and new bolts for the intake panel(PN 9h6600612b)
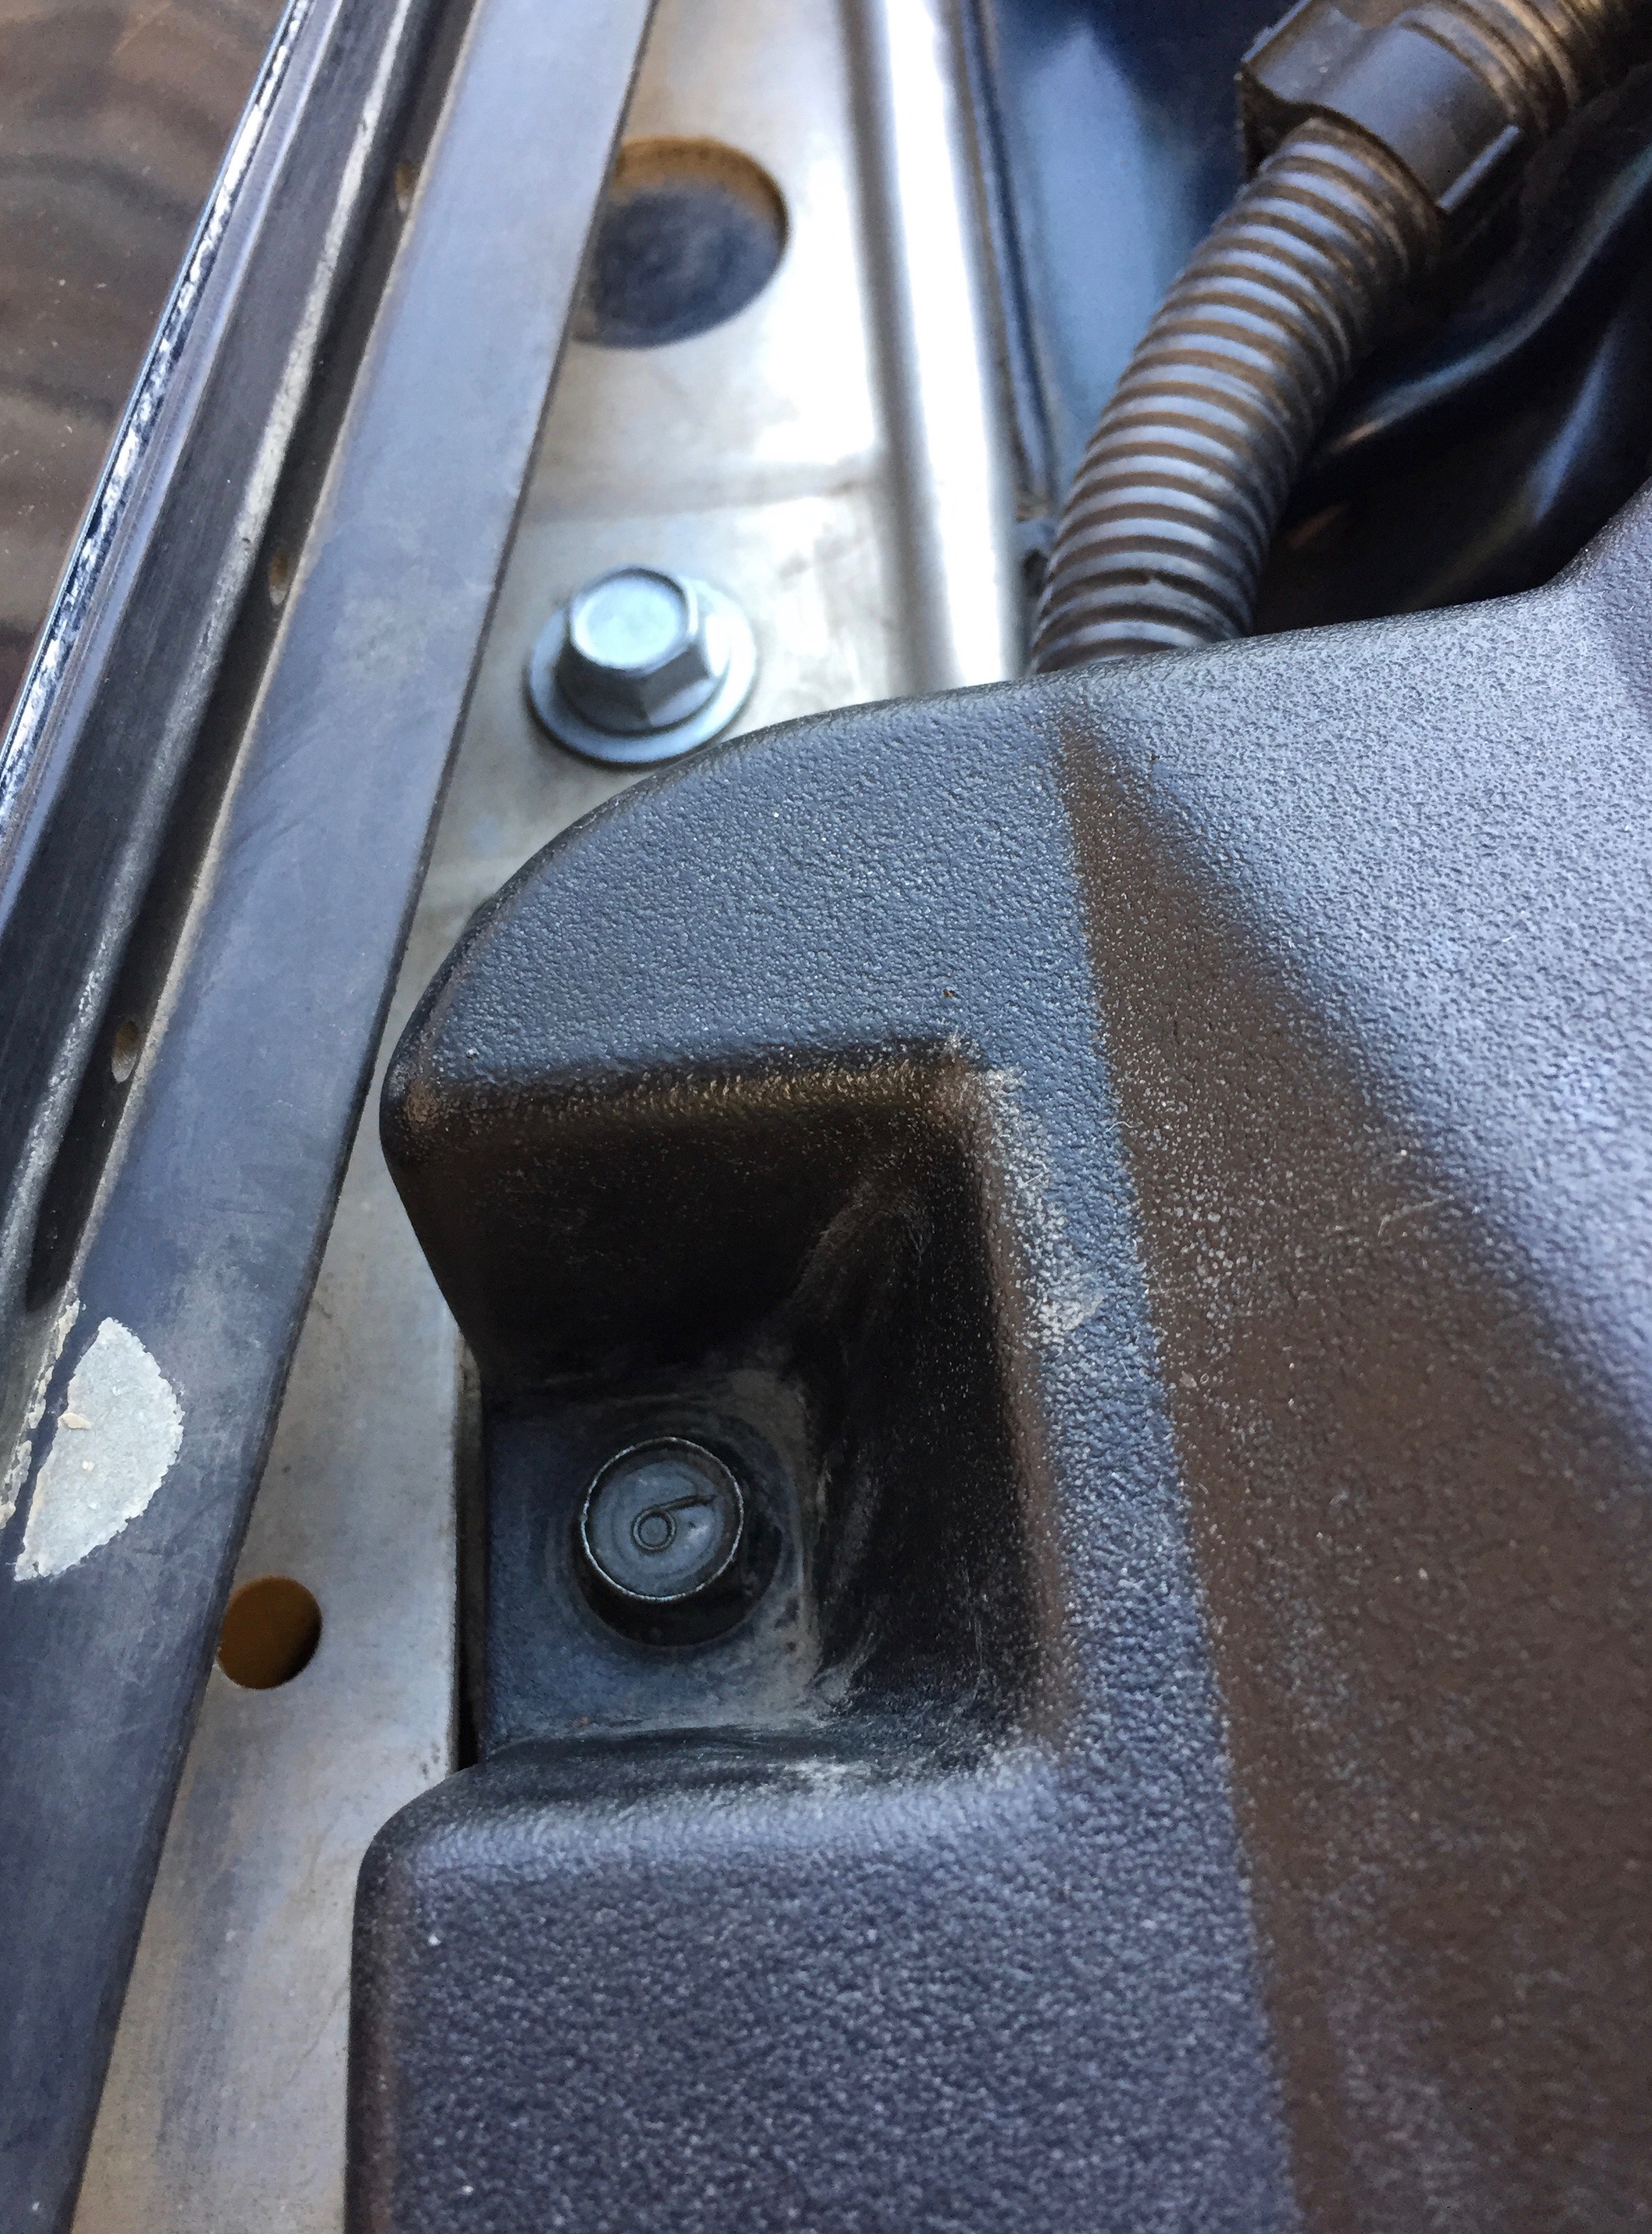
New y-pipe/vacuum-vacuum box bolts(PN 907940635b, 907940640b, and 997940616b), spacers(PN fe5113329 & nf0213364) and rubber grommets(PN fe5113363).
Realized I won't need these when I switch the efini y-pipe I have. Oh well, looks good 'til then.
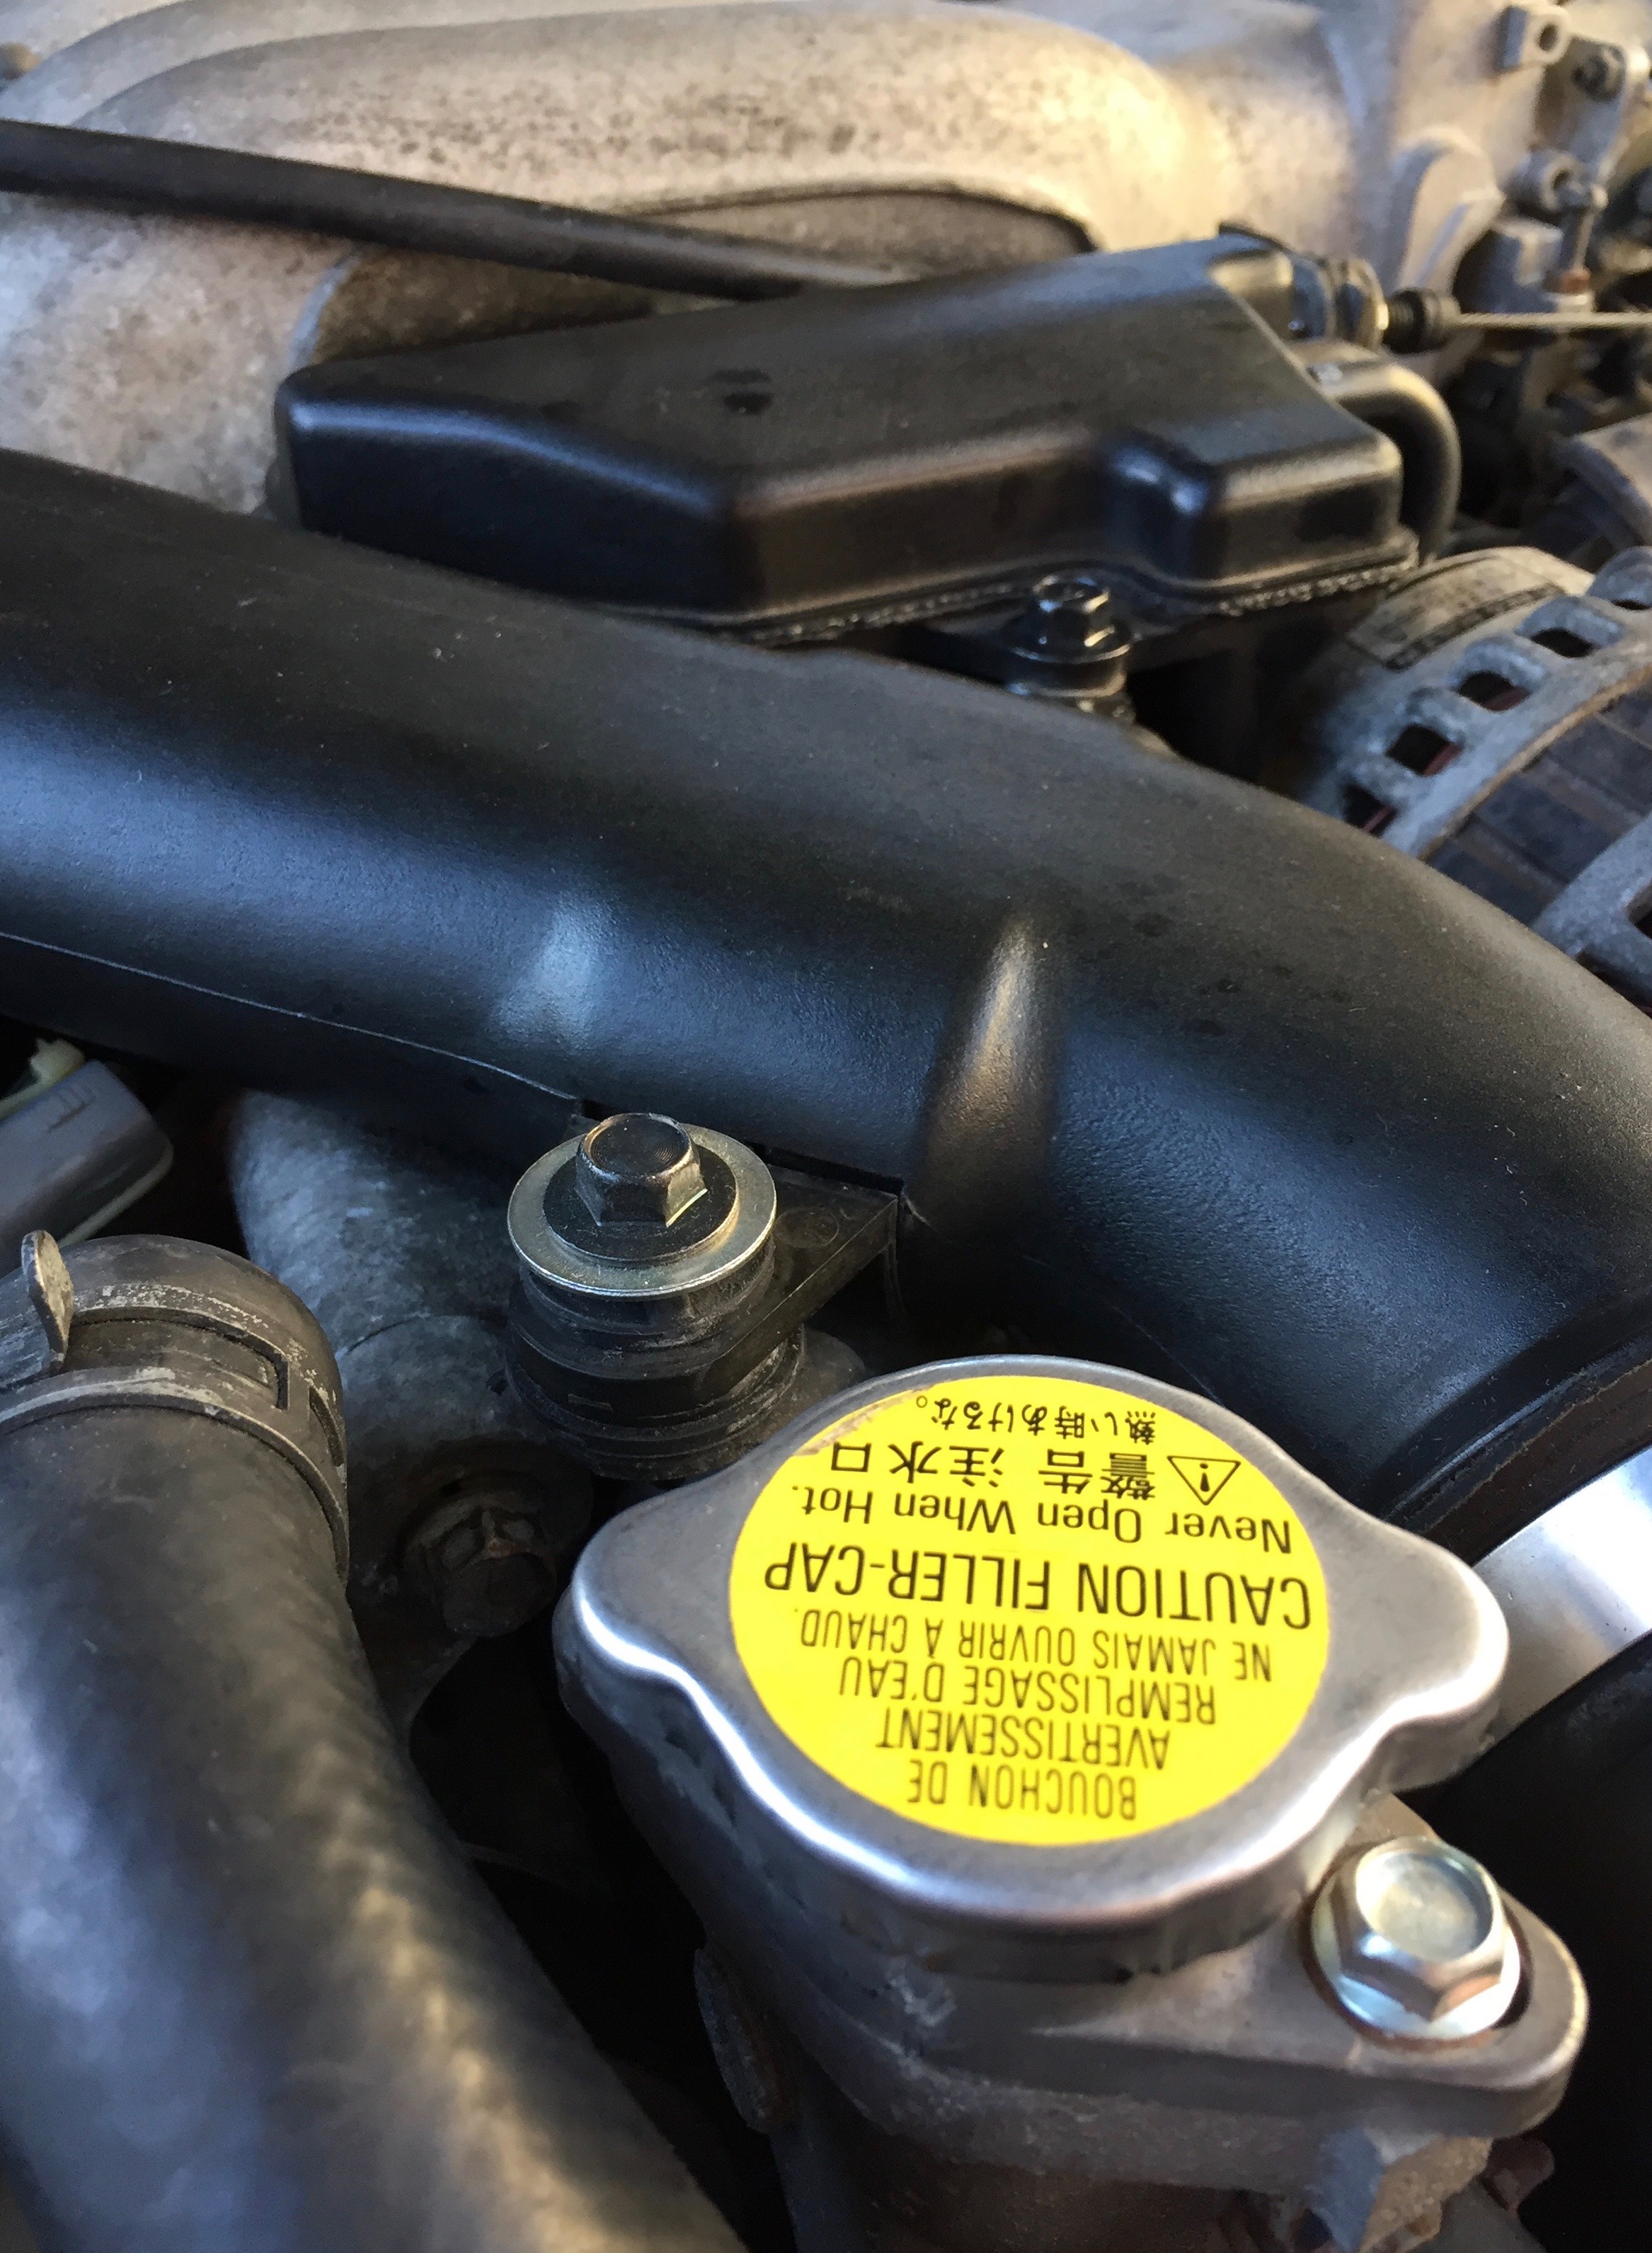
Look how nasty they were before, yuck:
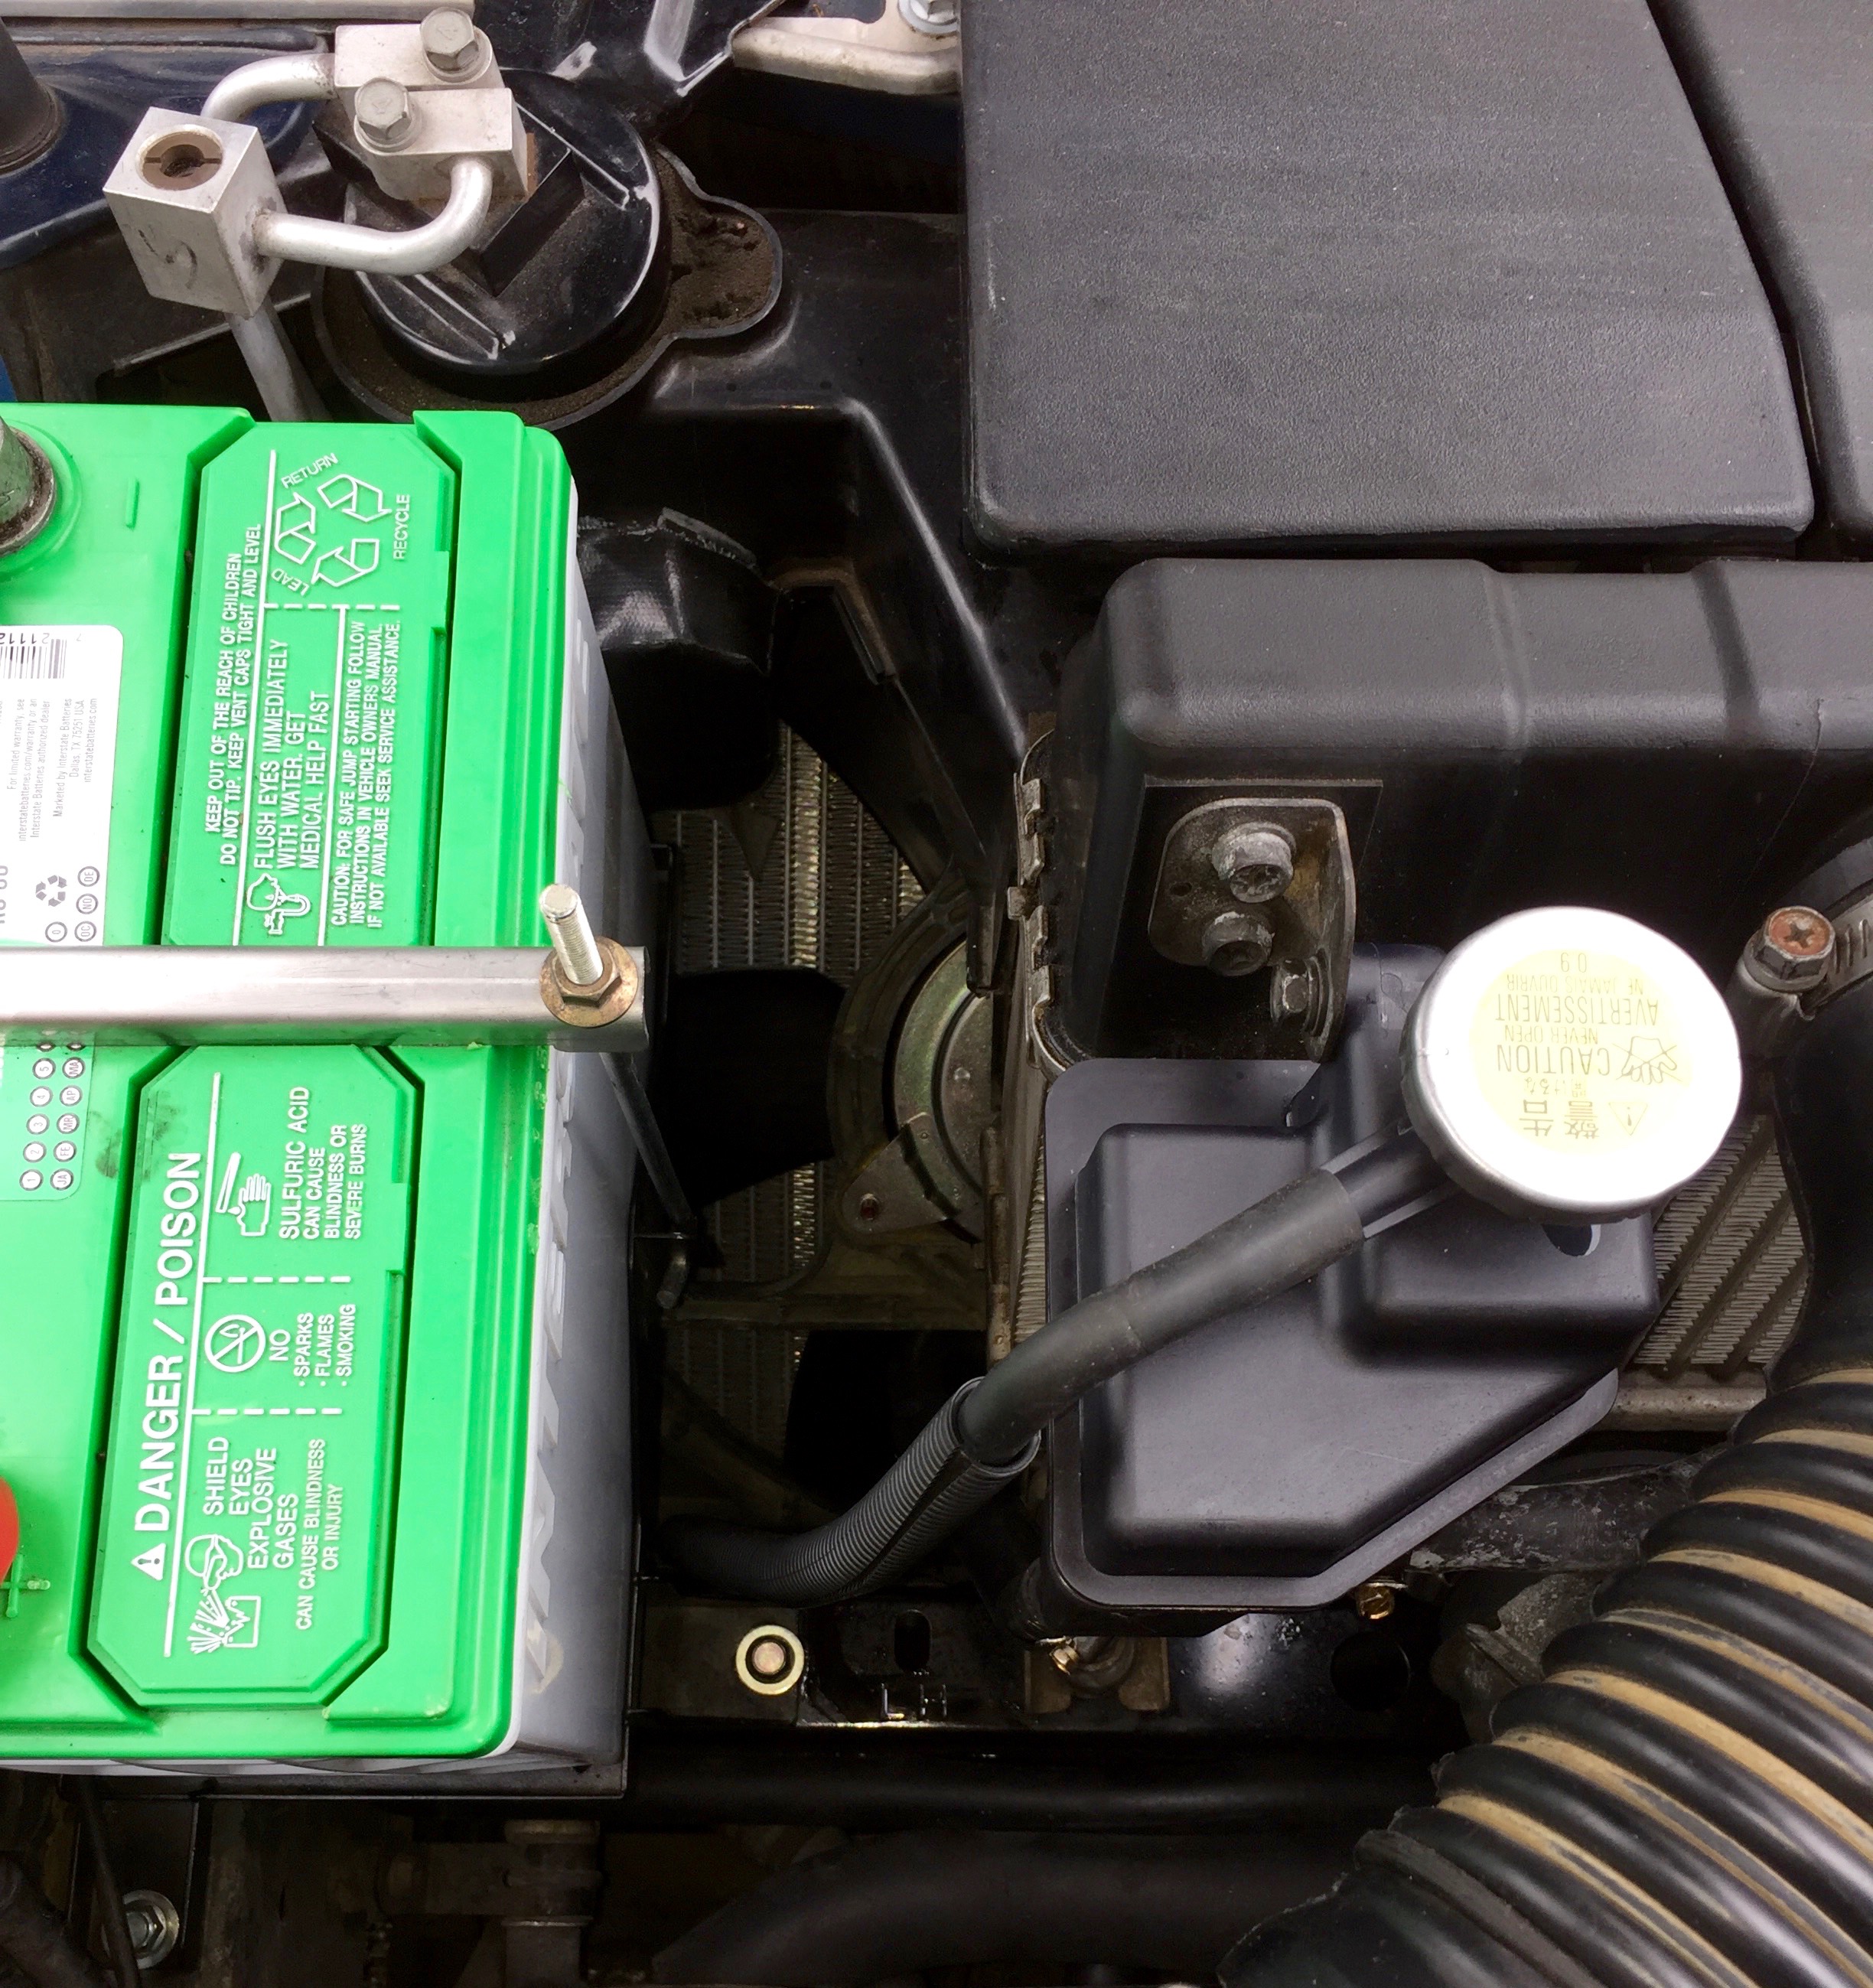
When I went to replace the y-pipe parts I had to move the vacuum box, and when I did the check-valve underneath snapped in half, or was possibly previously snapped.
I had a couple of Dale's viton check valves on hand (from a long time ago and an FD far far away), and I hoped I could free the broken halves form the vacuum line to just pop a new check valve in.
One side was silicon, so no problem. The other side was hard old rubber. The valve nipple could not be persuaded by WD40 and broke off inside the rubber line.
Not awesome late on a Saturday afternoon.
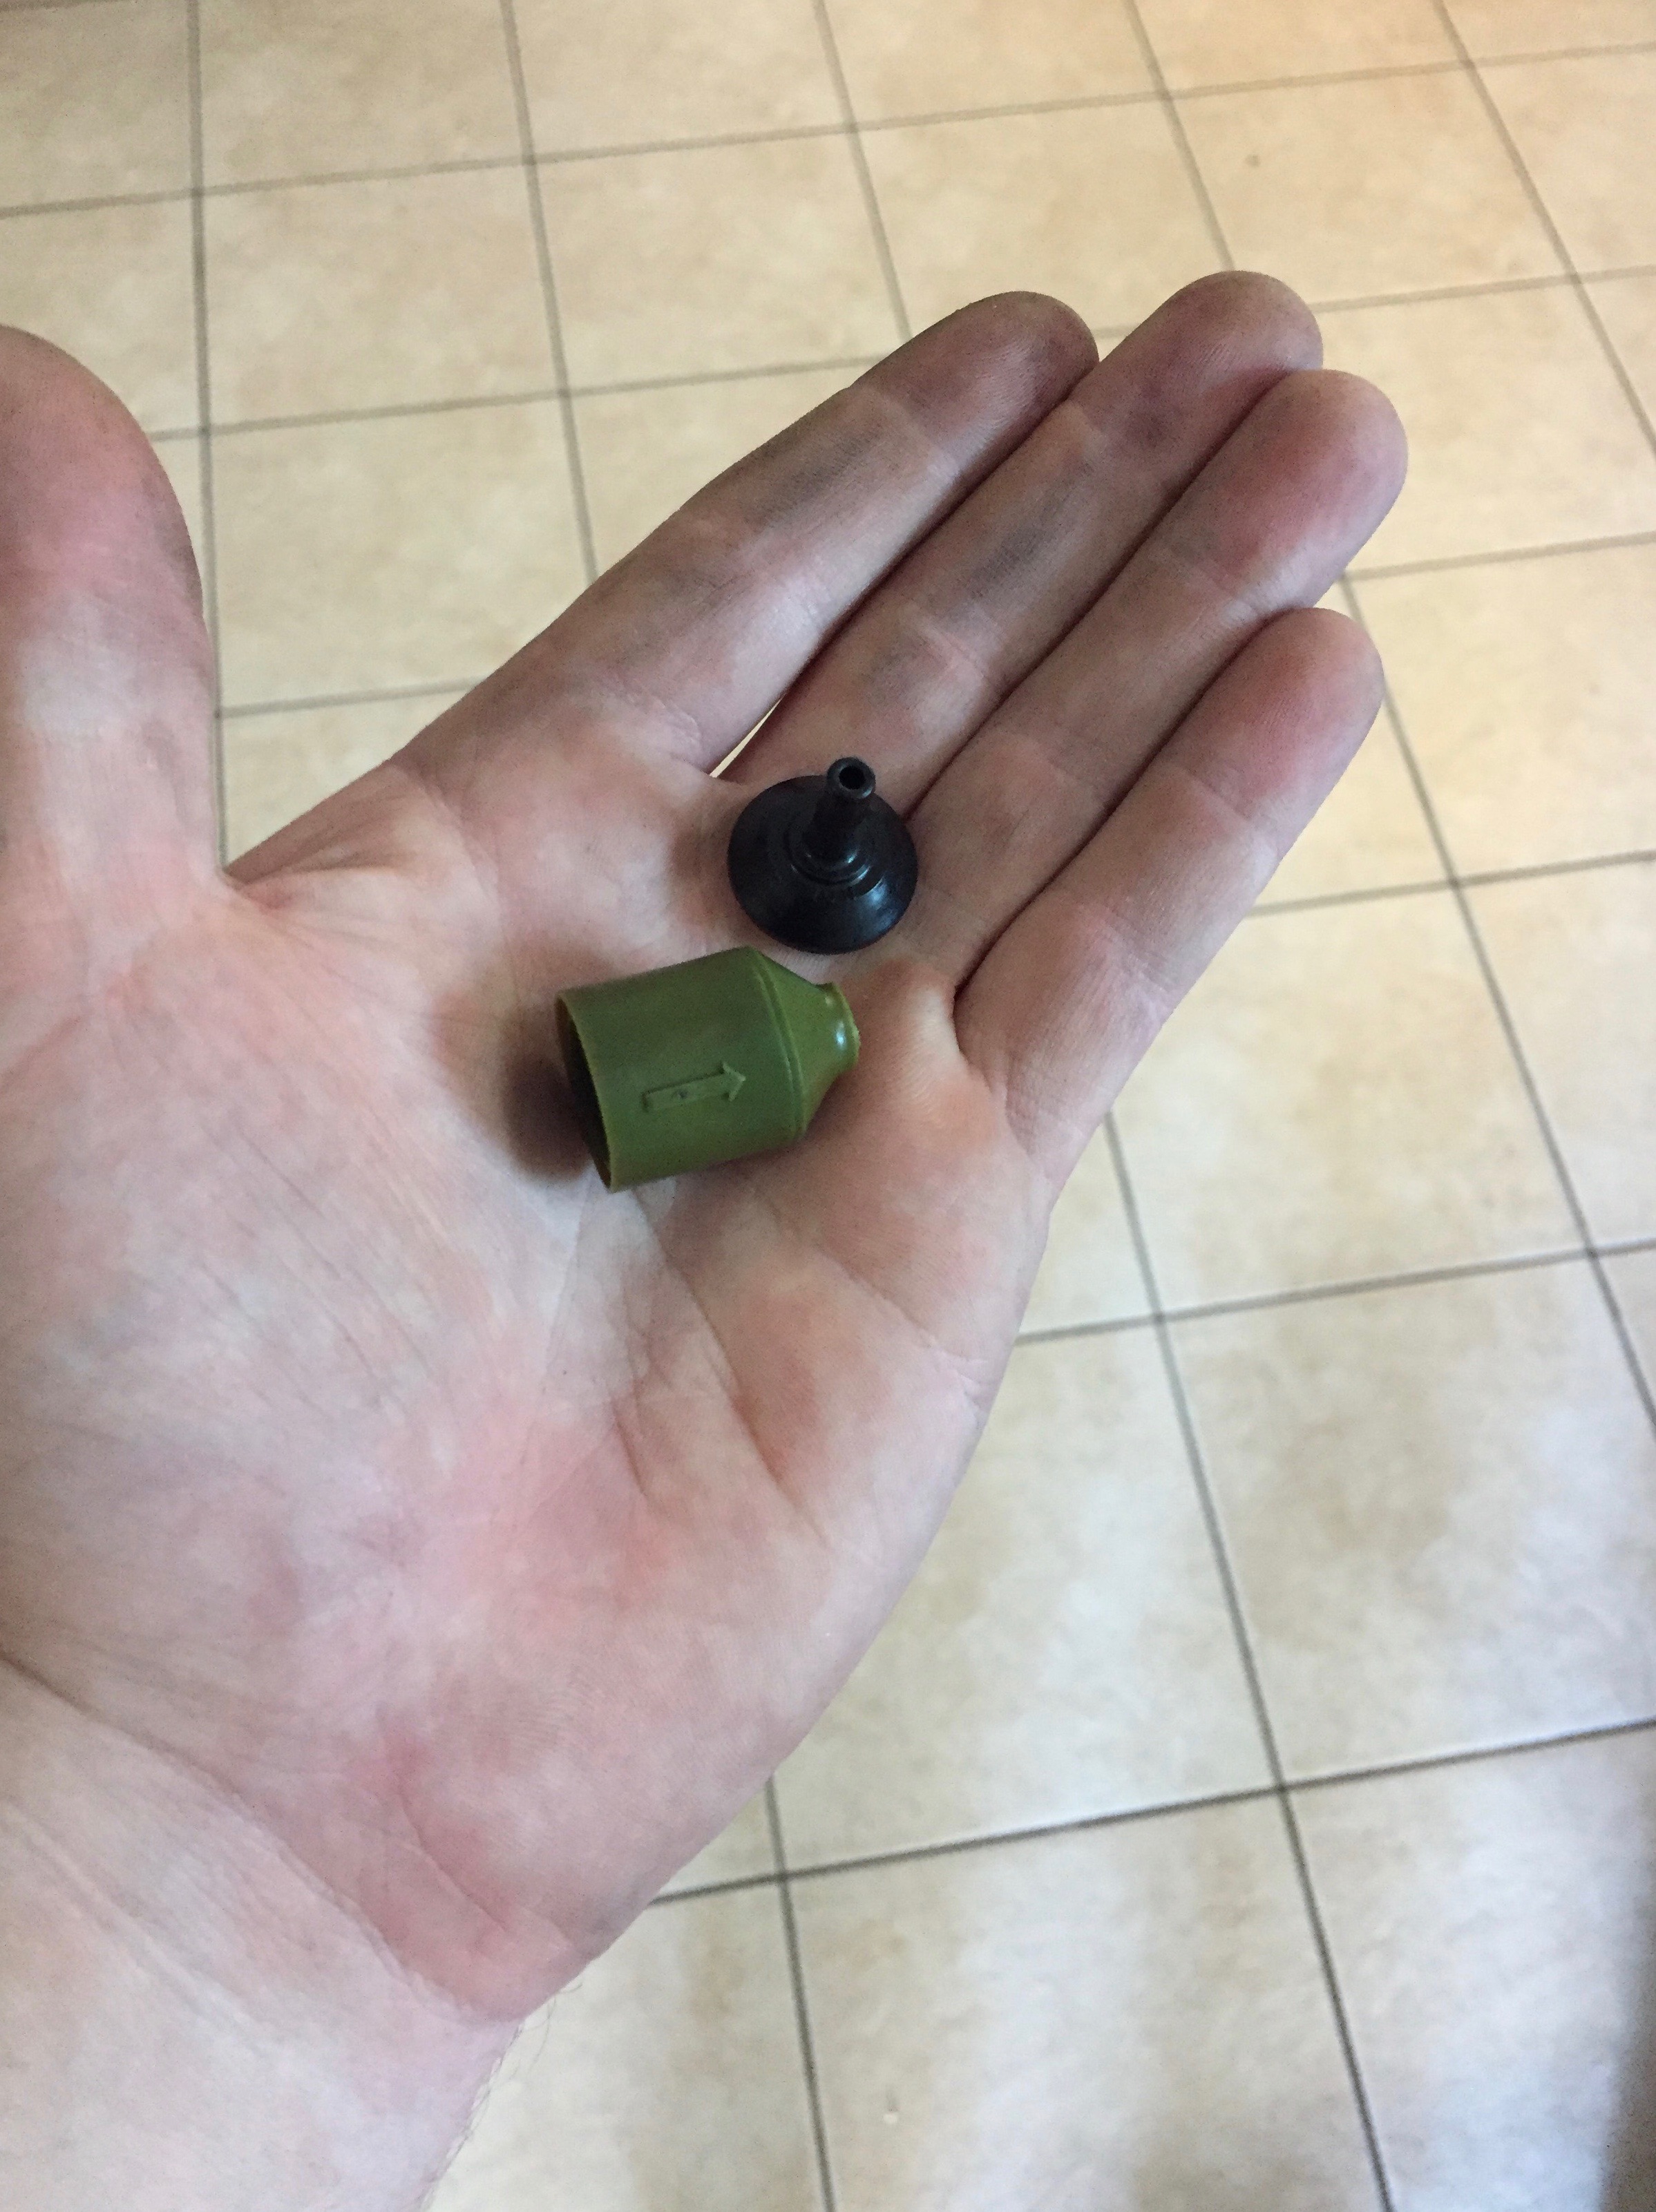
Ran to O'Reilly and Ace to pick up some hose in 5/32" and 7/32", and a Mexican Coke to cheer me up.
The 5/32" ended up working fine and I popped the viton check valve in with the correct orientation. That should hold fine, until I can re-do the vacuum lines in silicon.
The car fired right up and ran great. Maybe better than before, because the old check valve was pretty clogged up. All the more reason to hurry up and do the vacuum lines.
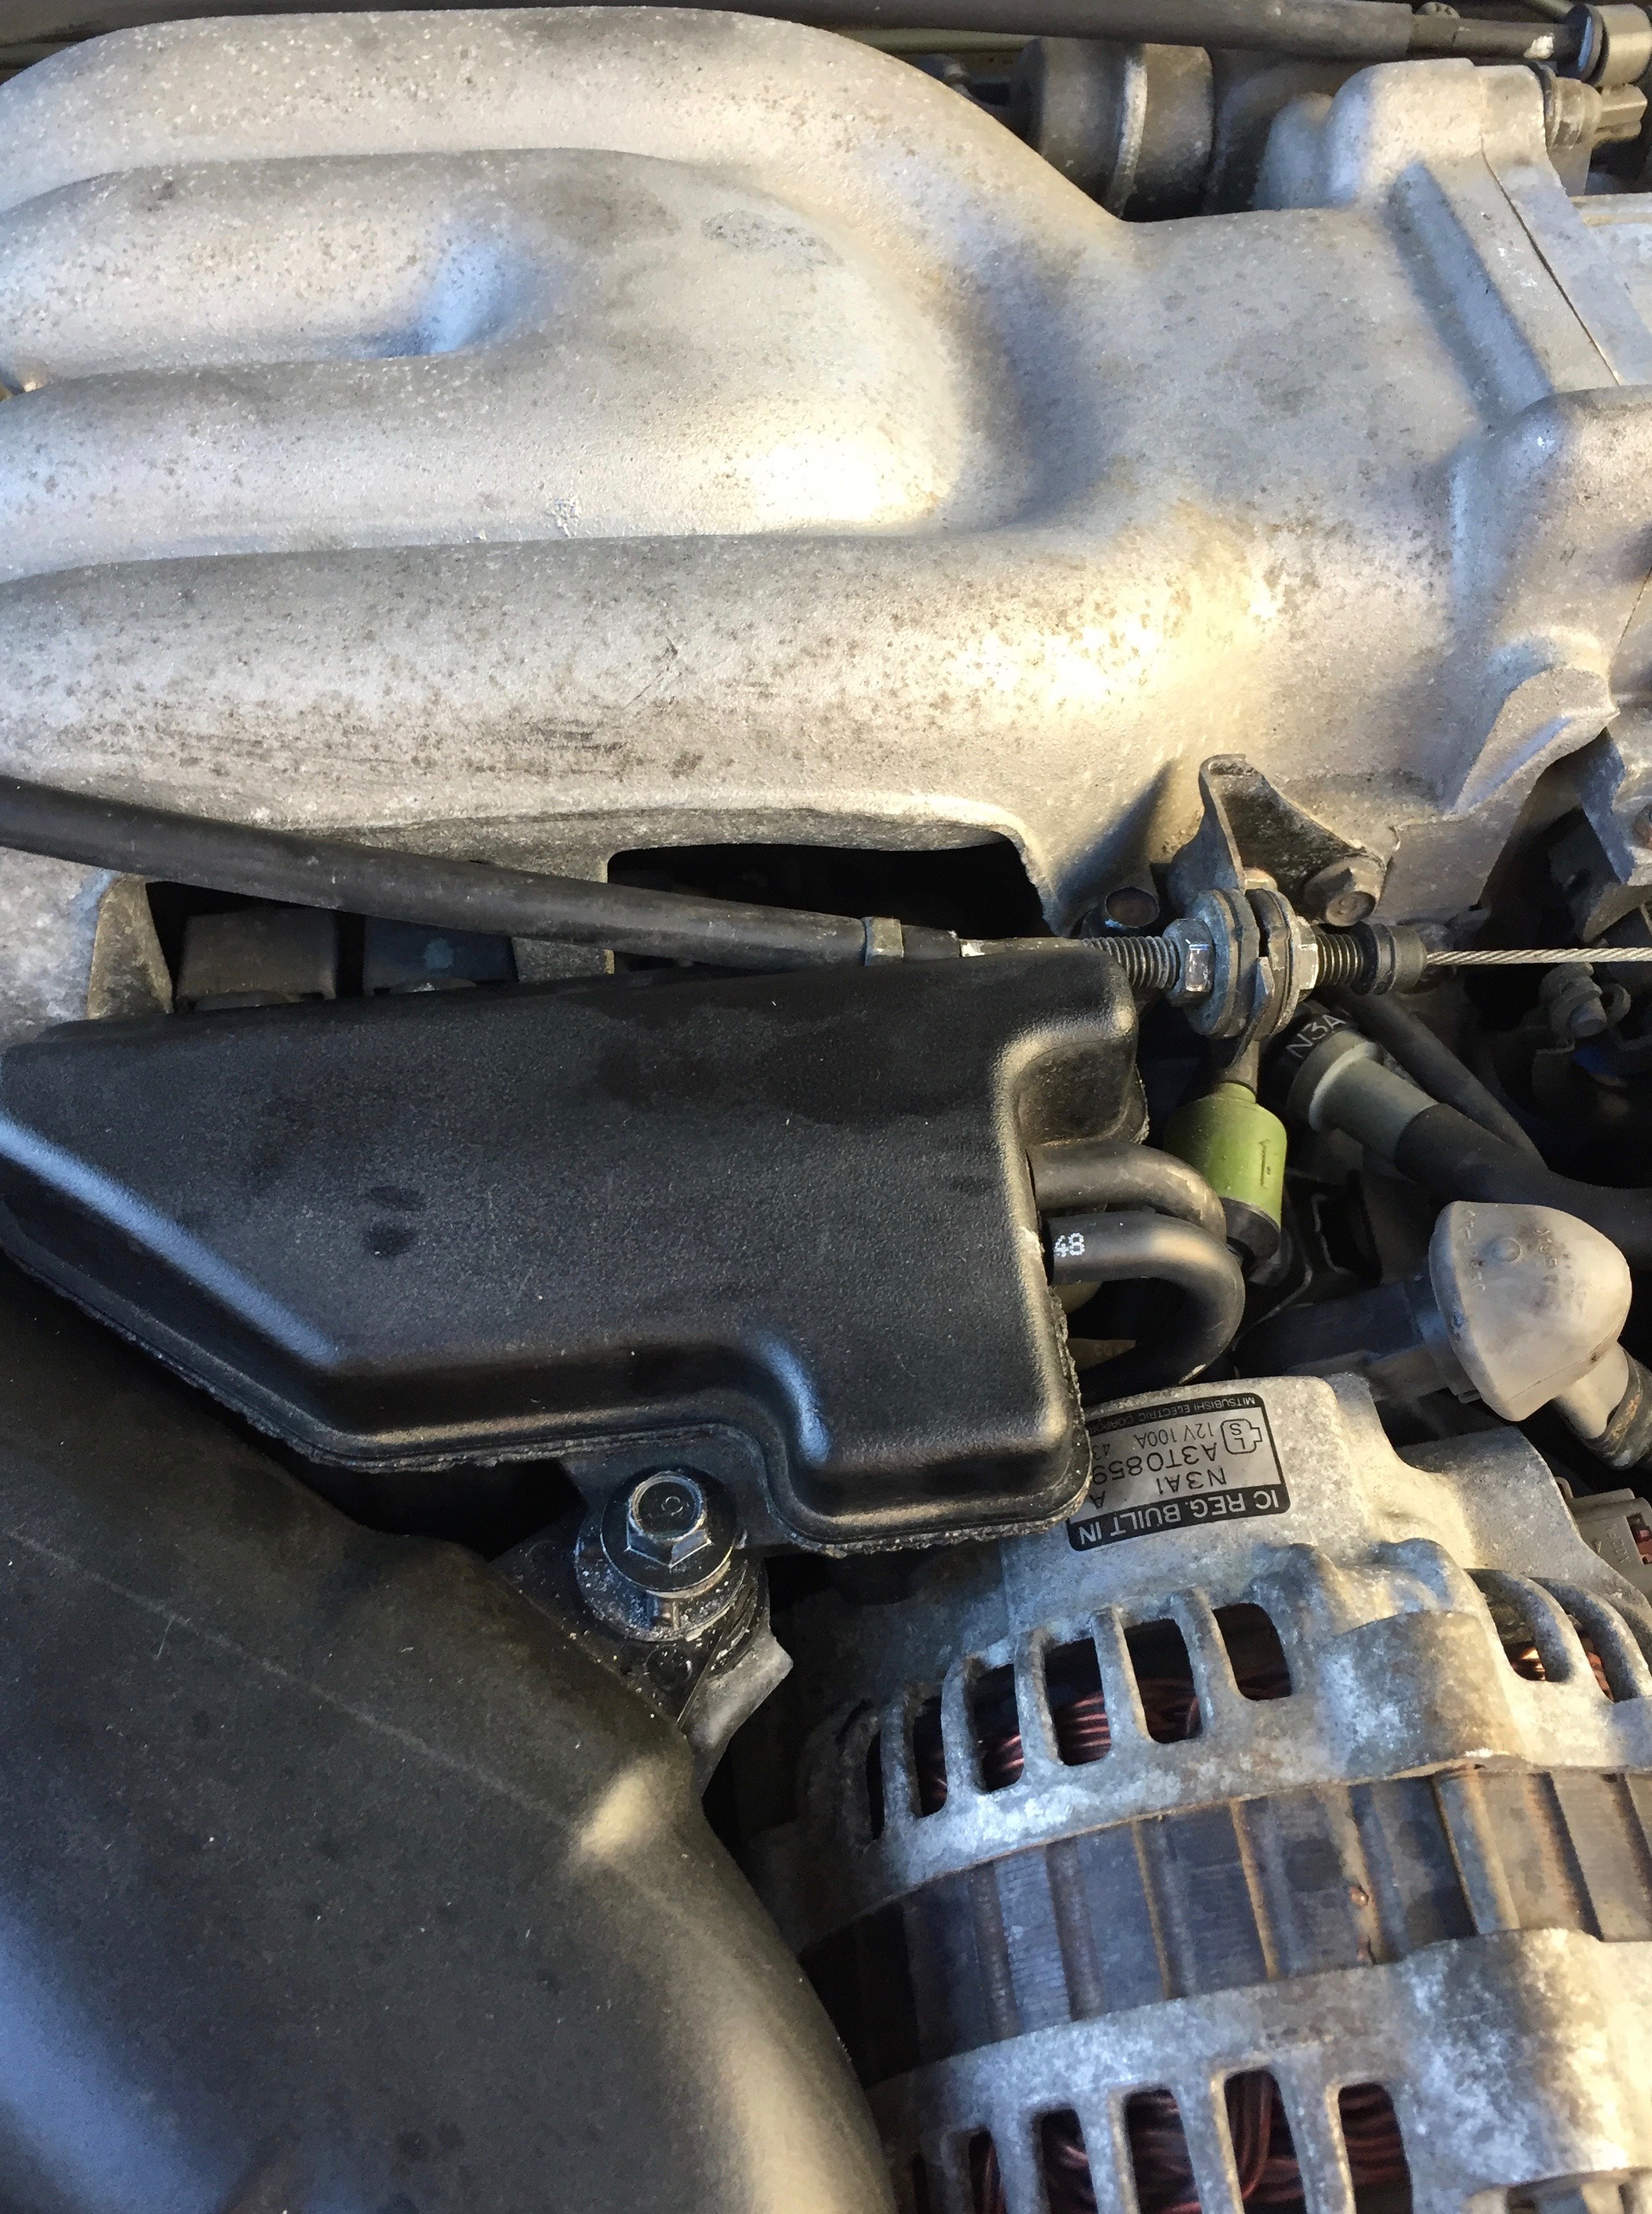
It seemed like there was some slack in the throttle cable, so I tried to take it out when I put the throttle cable back. But, I took too much out and the idle was high.
I let it back out until the idle bottomed out, and now I'm pretty sure it's lower and steadier than before.
Makes me think that valve was broken before I got there and I probably eliminated a vacuum leak/disturbance.
Good times!
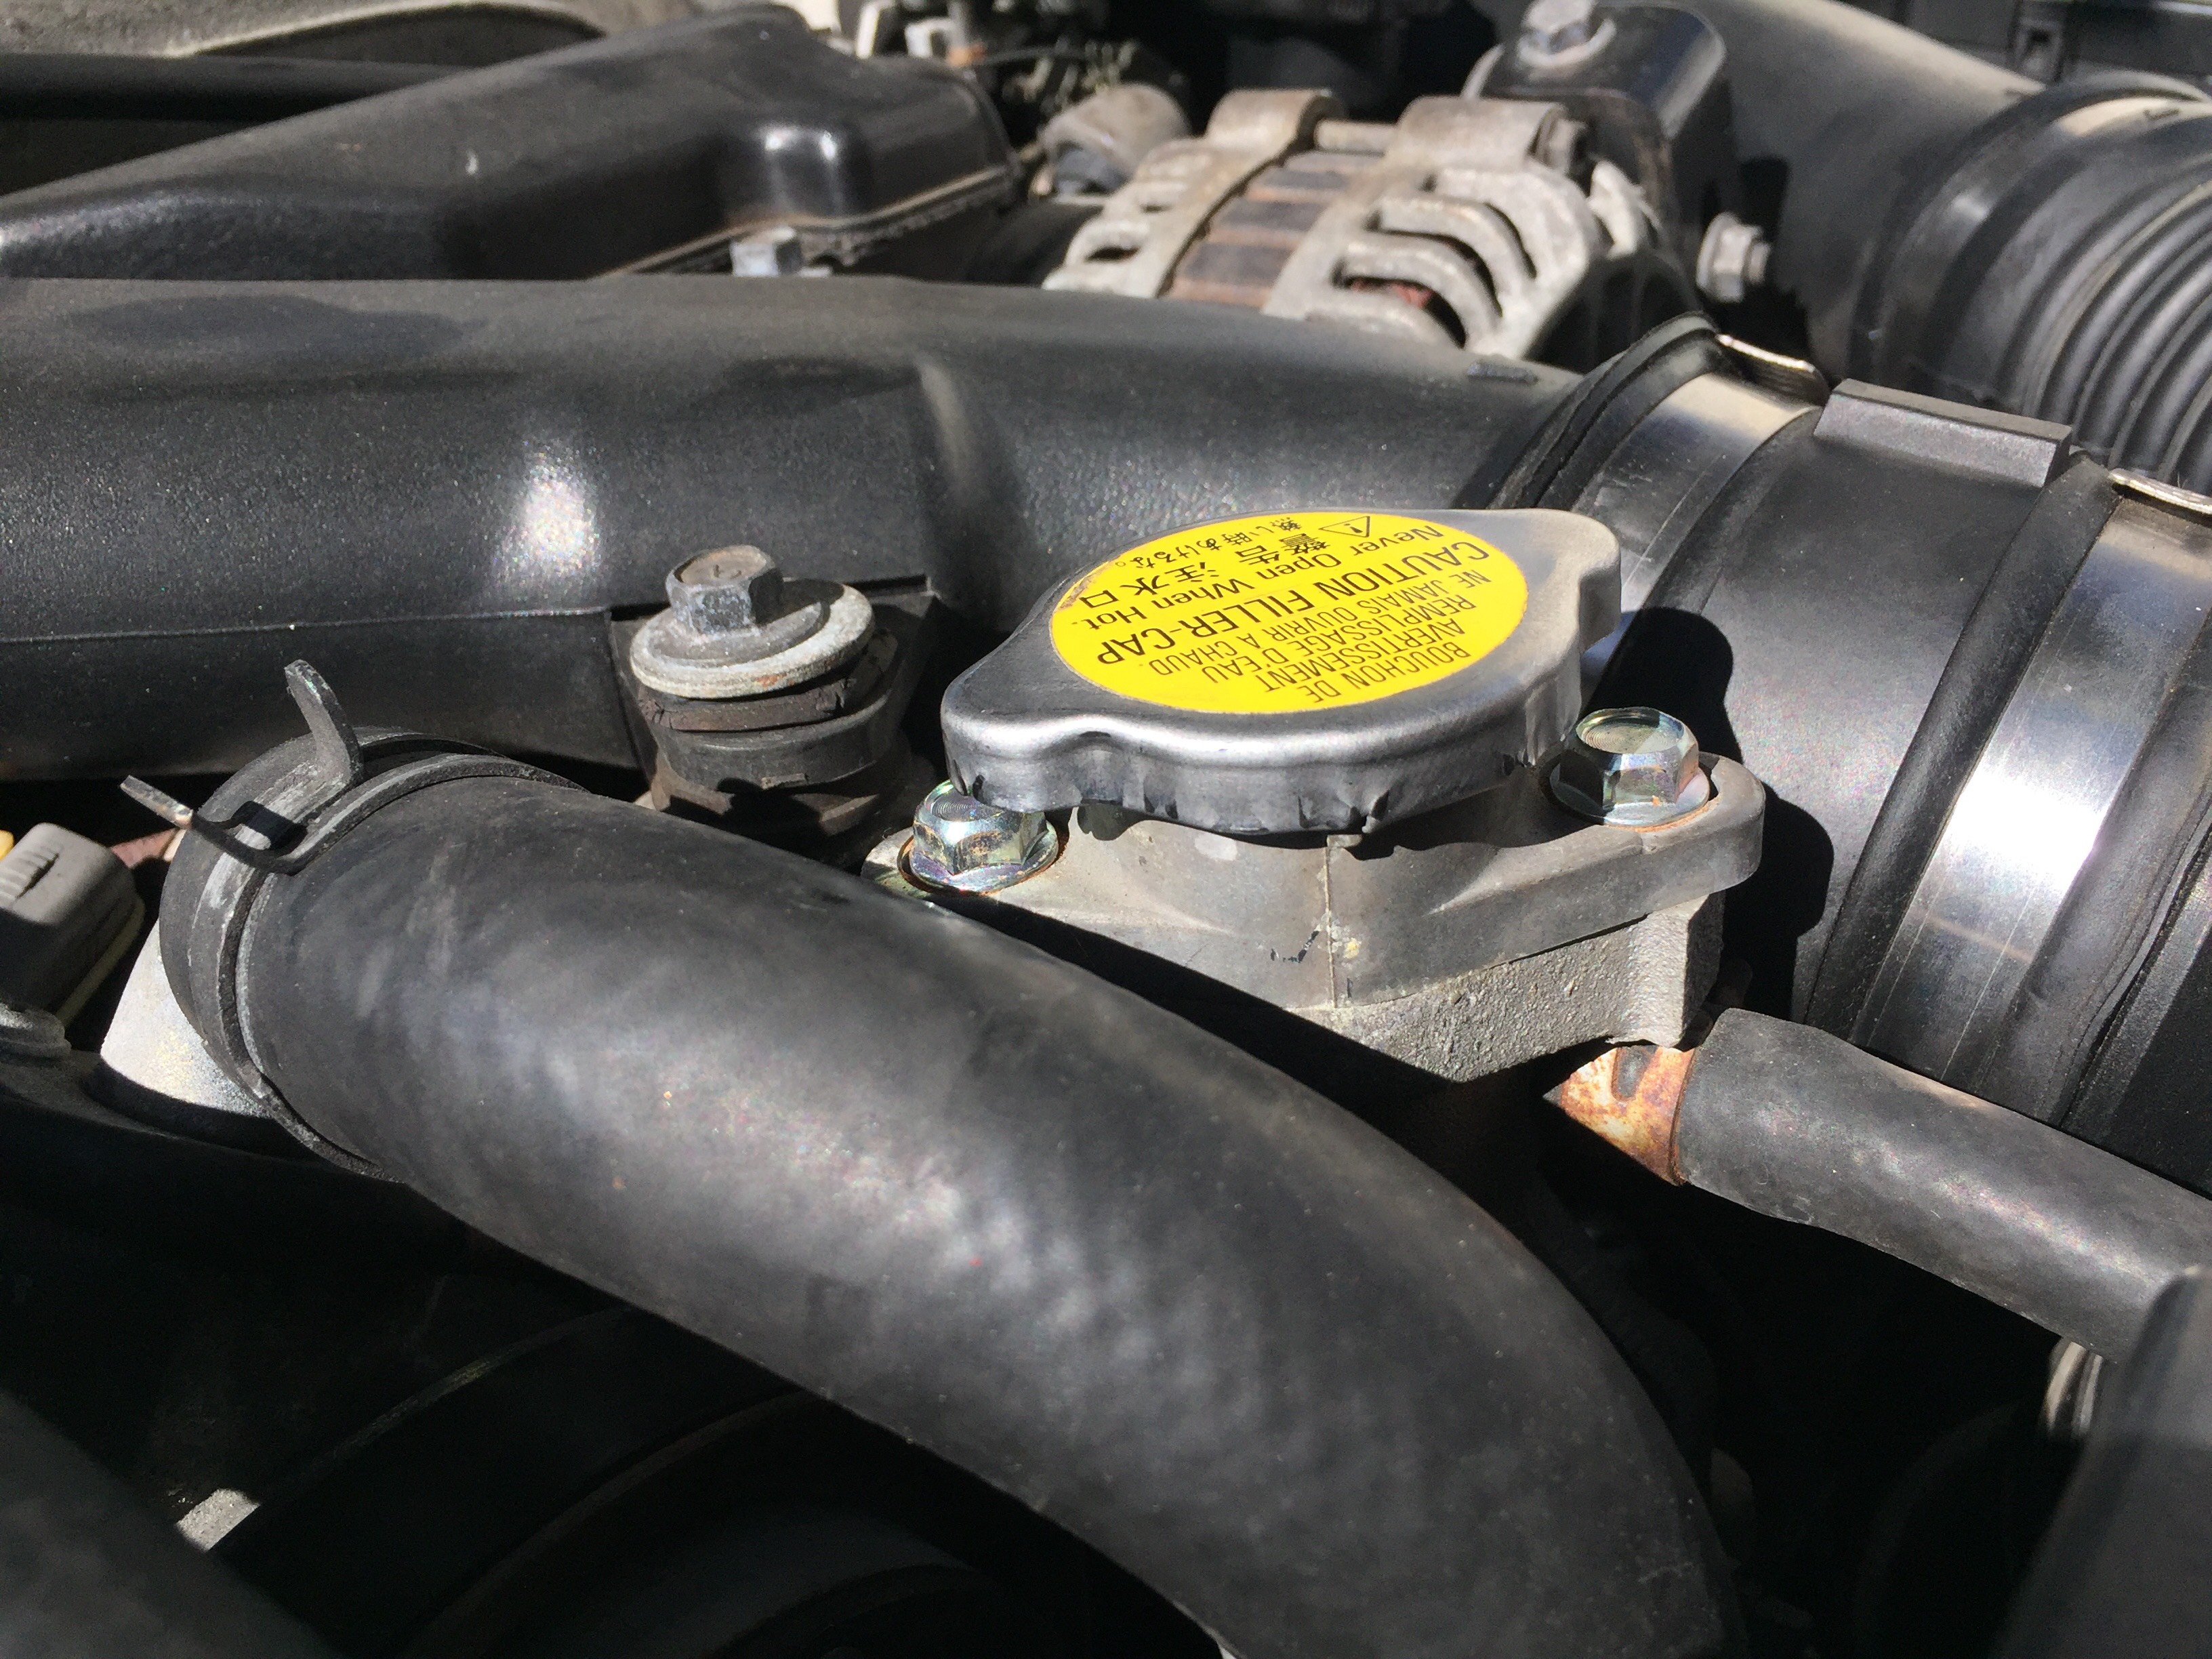
The check valve is under the box, so you can't see it here. But, you can see the replacement hose on the near side.
The new grommets came with some white powder on the, some kind of rubber protectant or something. I wiped it all down after taking the pics.
I had the AC dryer bolts on my order list, but flaked on ordering them somehow. Also, I want to do the alternator adjustment nut and long bolt. And, I still have brackets to powder coat. So, more nik naks shortly.
I'm jealous of all this titanium hardware flying around the build section. My new stock stuff is staying pretty shiny and nice, so far. But, I have some ideas about where I'd use the TI stuff in the bay.
When we get to the under car, I'd prefer it everywhere I can fit it. But, that will come after we get done with reliability.
Finally! Scheduled to install the new radiator, fans, AST, hoses, IC support bar, r1 strut bar, thermostat, and FC thermoswitch this week. That should make for some carefree summer driving!
New bumper bolts (PN 9gdb00616), and new bolts for the intake panel(PN 9h6600612b)
New y-pipe/vacuum-vacuum box bolts(PN 907940635b, 907940640b, and 997940616b), spacers(PN fe5113329 & nf0213364) and rubber grommets(PN fe5113363).
Realized I won't need these when I switch the efini y-pipe I have. Oh well, looks good 'til then.
Look how nasty they were before, yuck:
When I went to replace the y-pipe parts I had to move the vacuum box, and when I did the check-valve underneath snapped in half, or was possibly previously snapped.
I had a couple of Dale's viton check valves on hand (from a long time ago and an FD far far away), and I hoped I could free the broken halves form the vacuum line to just pop a new check valve in.
One side was silicon, so no problem. The other side was hard old rubber. The valve nipple could not be persuaded by WD40 and broke off inside the rubber line.
Not awesome late on a Saturday afternoon.
Ran to O'Reilly and Ace to pick up some hose in 5/32" and 7/32", and a Mexican Coke to cheer me up.
The 5/32" ended up working fine and I popped the viton check valve in with the correct orientation. That should hold fine, until I can re-do the vacuum lines in silicon.
The car fired right up and ran great. Maybe better than before, because the old check valve was pretty clogged up. All the more reason to hurry up and do the vacuum lines.
It seemed like there was some slack in the throttle cable, so I tried to take it out when I put the throttle cable back. But, I took too much out and the idle was high.
I let it back out until the idle bottomed out, and now I'm pretty sure it's lower and steadier than before.
Makes me think that valve was broken before I got there and I probably eliminated a vacuum leak/disturbance.
Good times!
The check valve is under the box, so you can't see it here. But, you can see the replacement hose on the near side.
The new grommets came with some white powder on the, some kind of rubber protectant or something. I wiped it all down after taking the pics.
I had the AC dryer bolts on my order list, but flaked on ordering them somehow. Also, I want to do the alternator adjustment nut and long bolt. And, I still have brackets to powder coat. So, more nik naks shortly.
I'm jealous of all this titanium hardware flying around the build section. My new stock stuff is staying pretty shiny and nice, so far. But, I have some ideas about where I'd use the TI stuff in the bay.
When we get to the under car, I'd prefer it everywhere I can fit it. But, that will come after we get done with reliability.
Finally! Scheduled to install the new radiator, fans, AST, hoses, IC support bar, r1 strut bar, thermostat, and FC thermoswitch this week. That should make for some carefree summer driving!
04-02-17 | 12:32 AM
#59
Since I had been fiddling with the vacuum lines and discovered one of the y-pipe worm clamps was loose, I decided to go out tonight for some highway merges and medium pulls to make sure everything was high and tight.
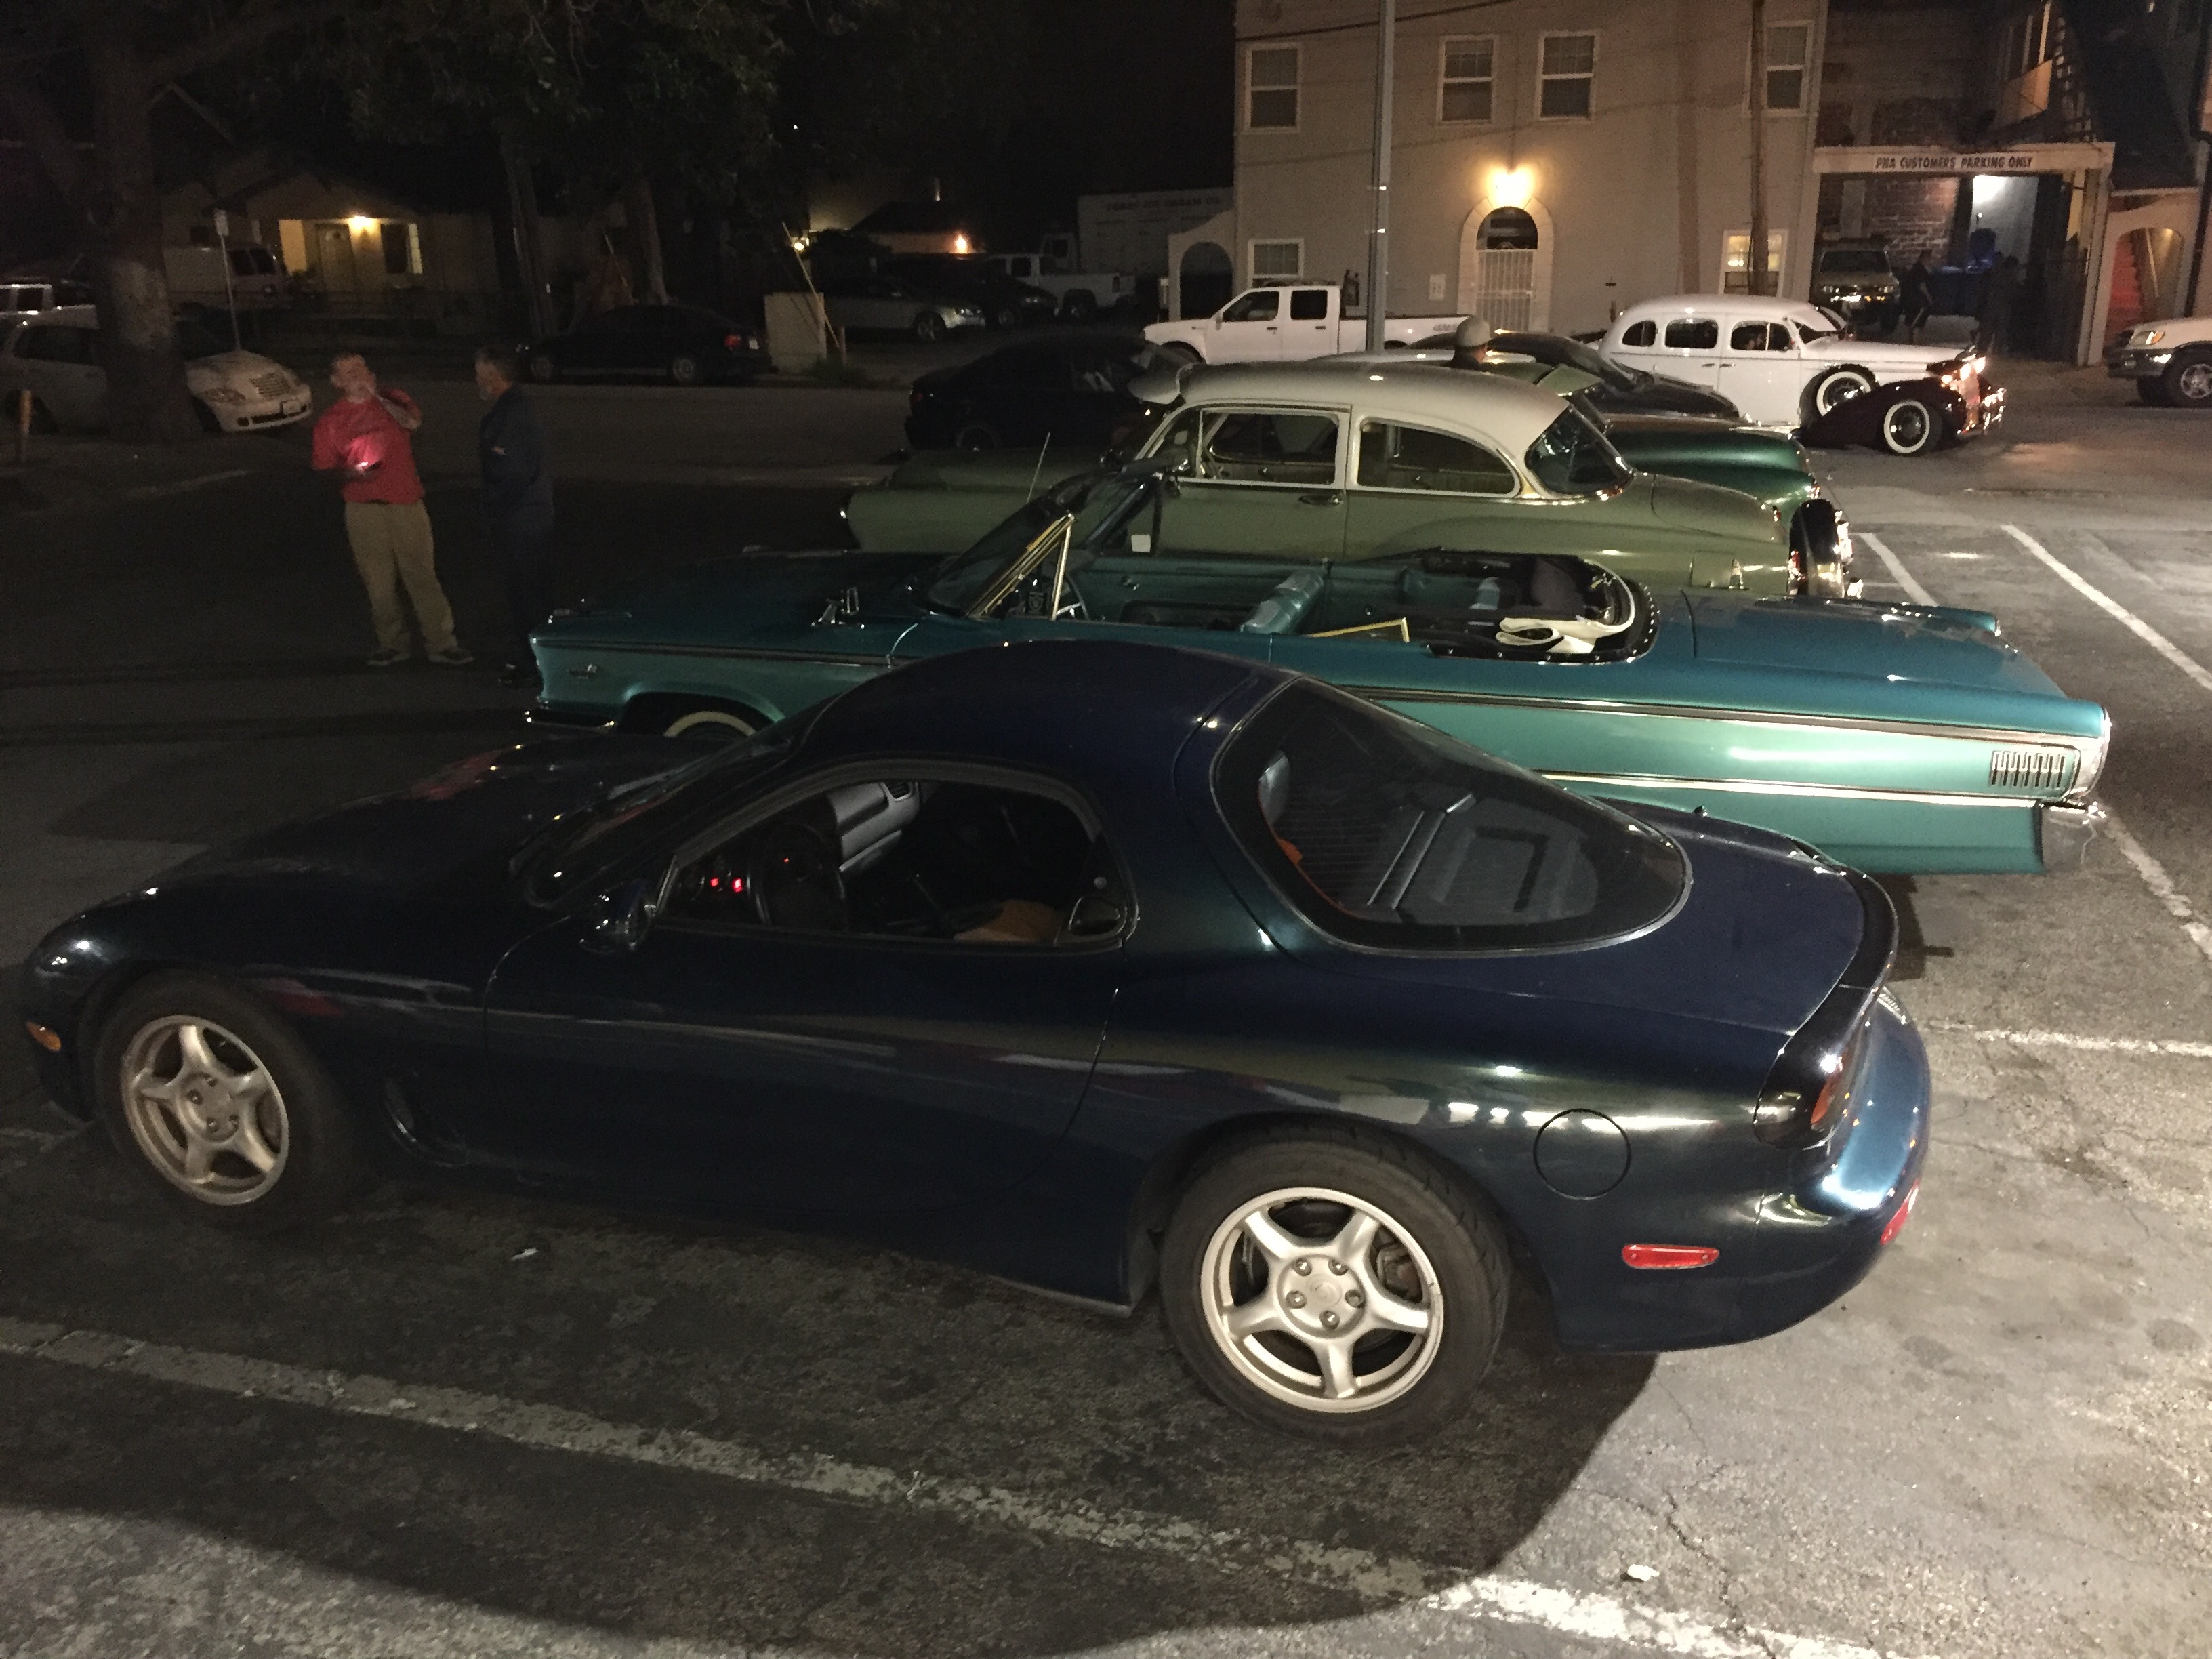
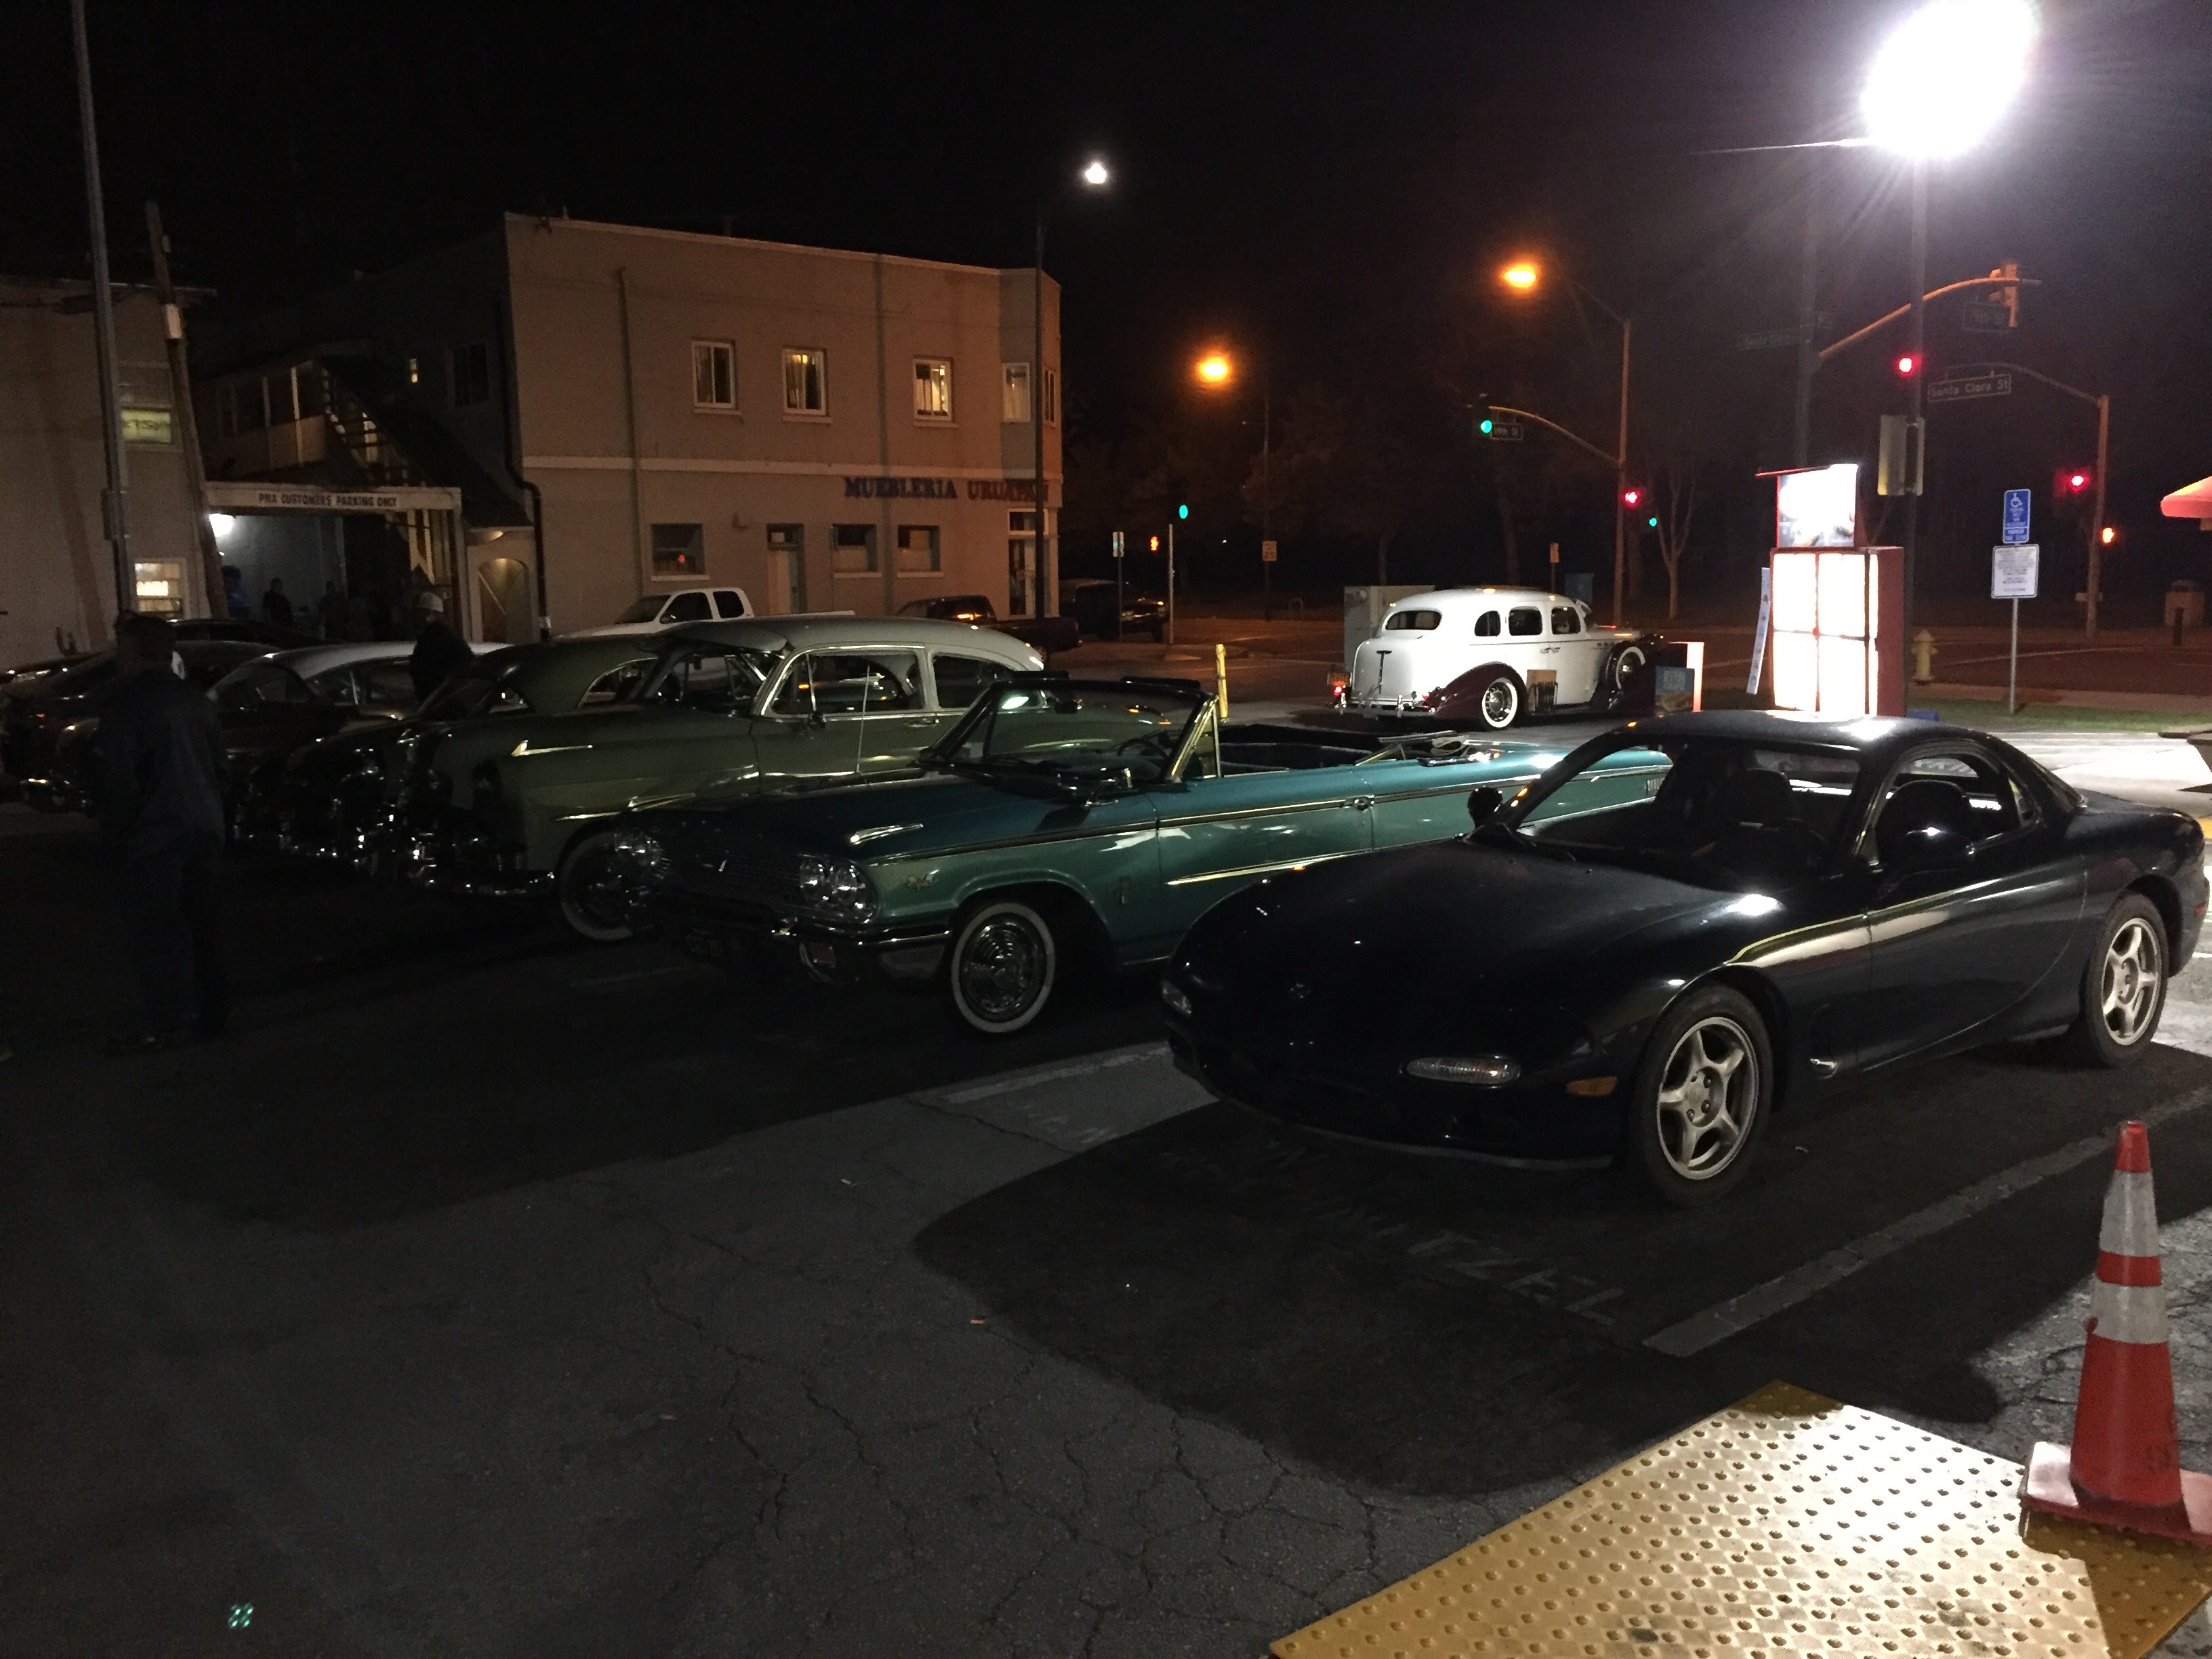
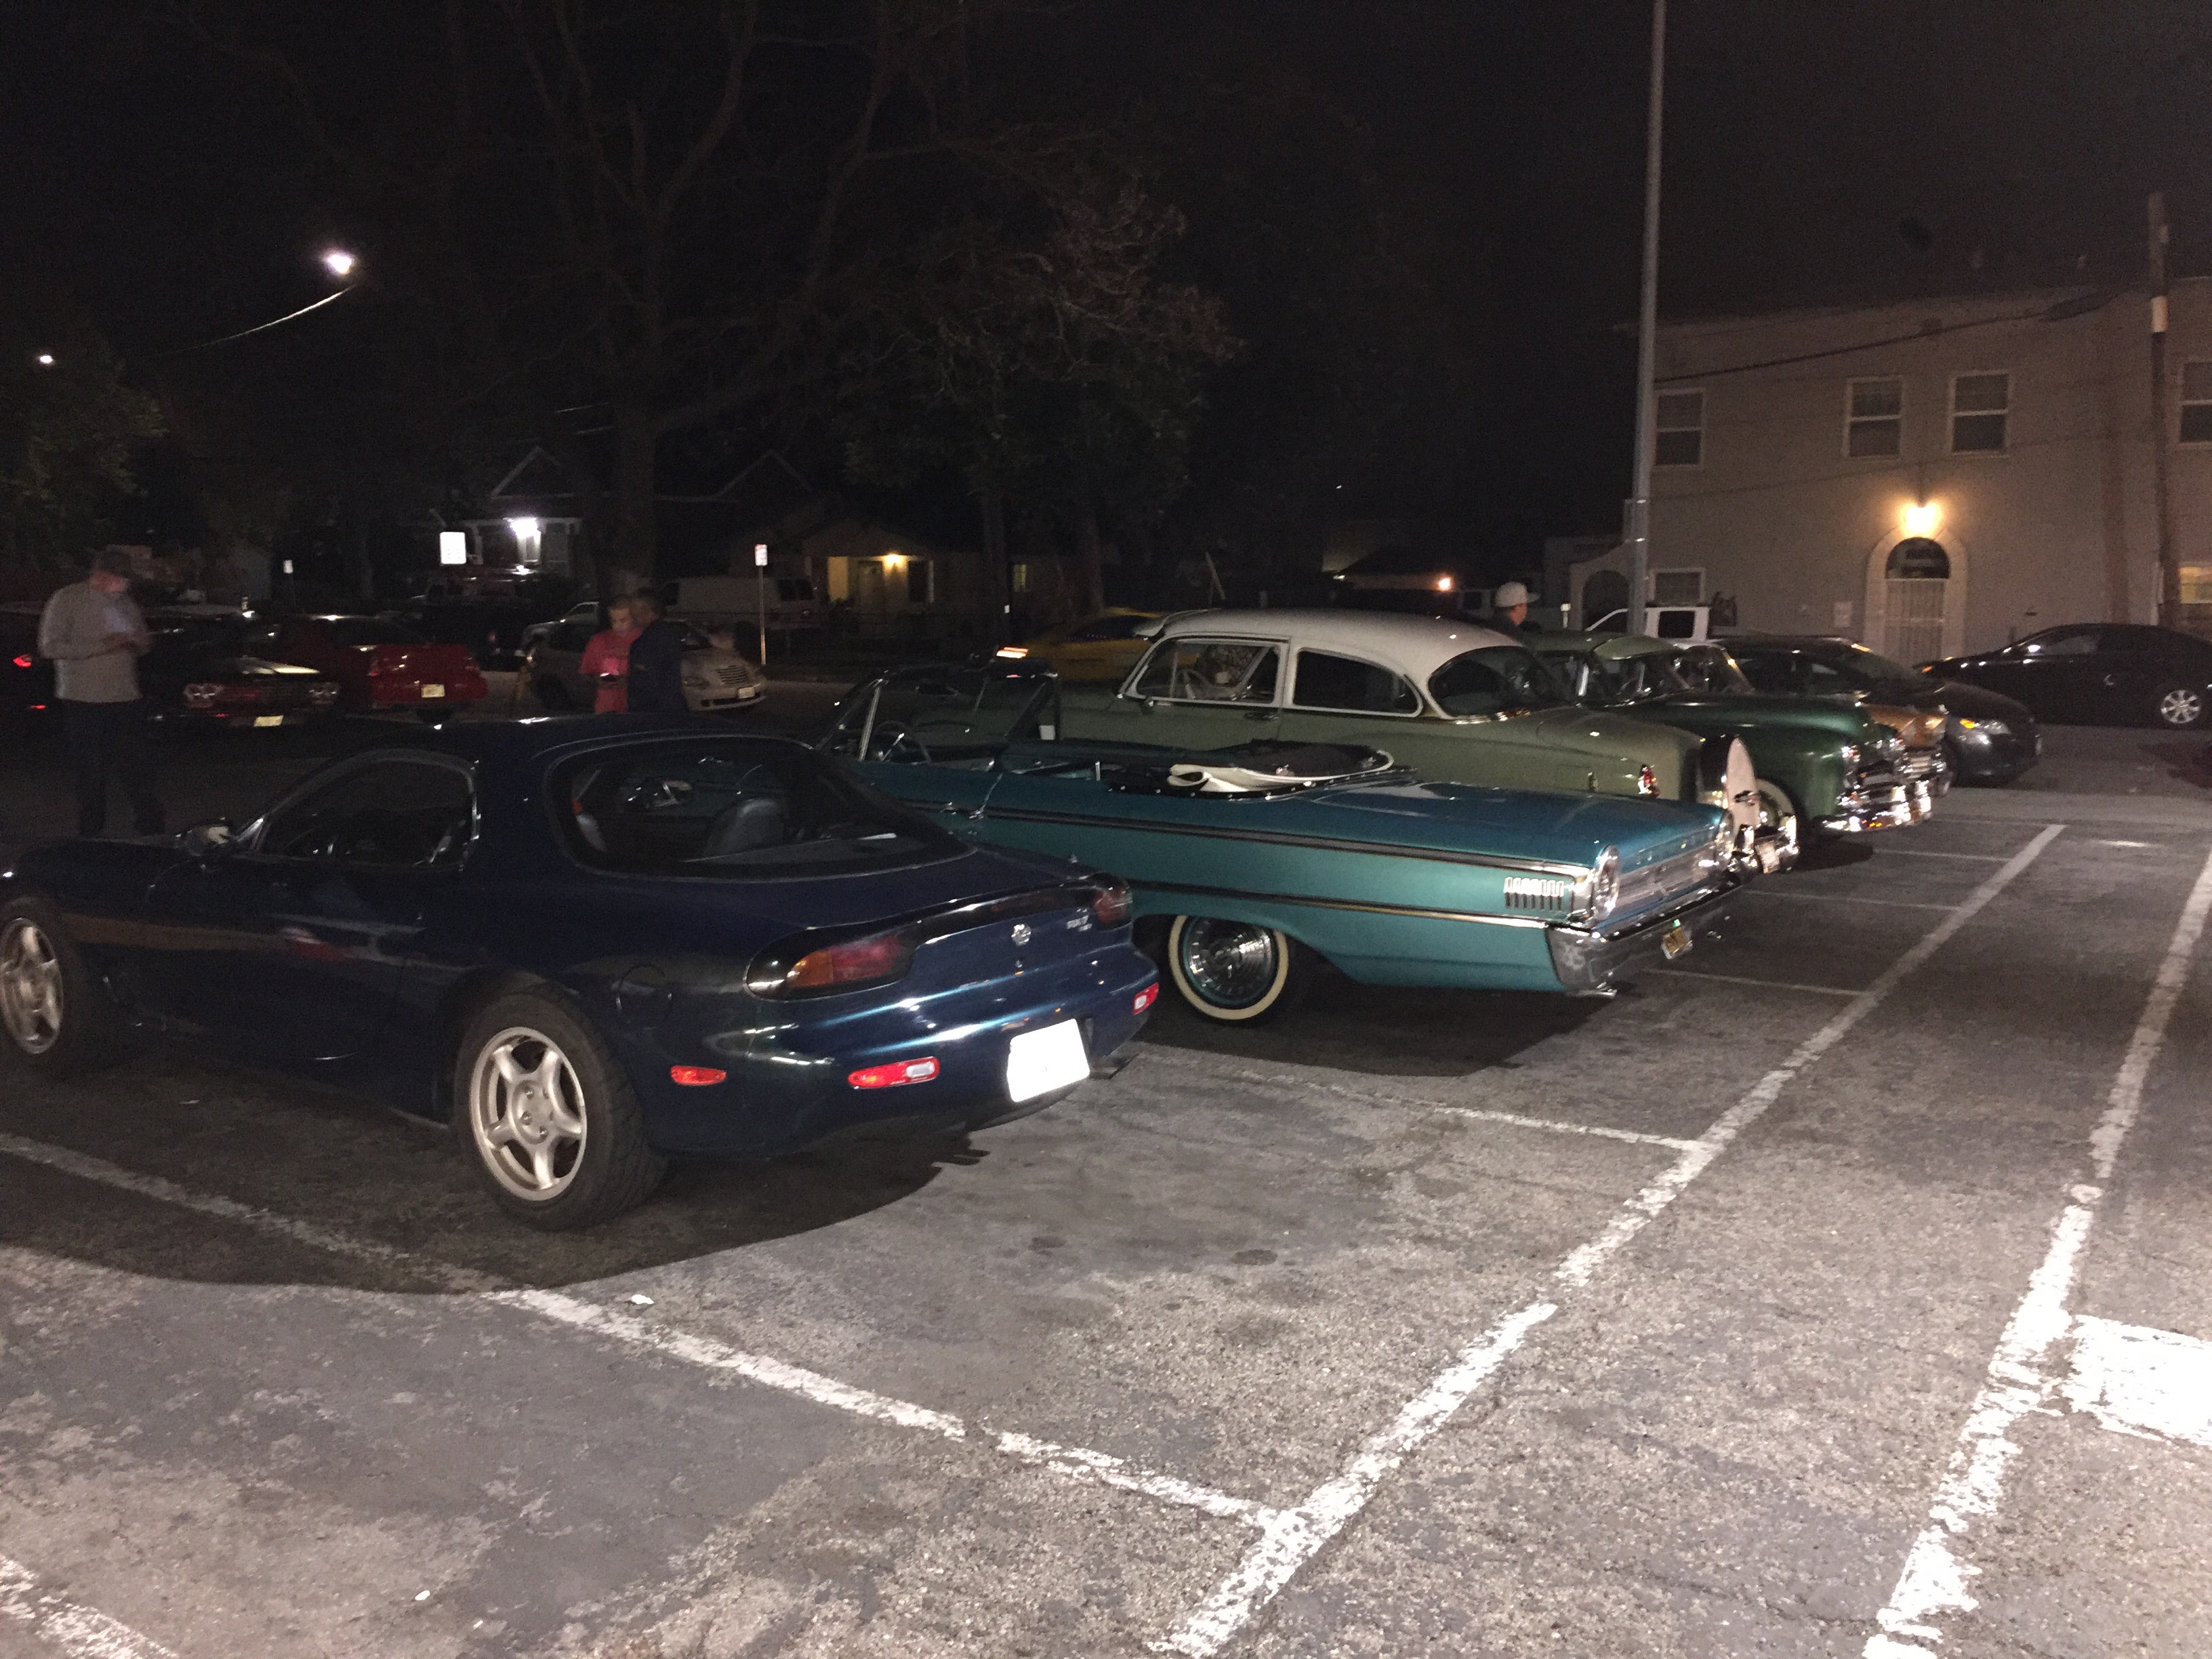
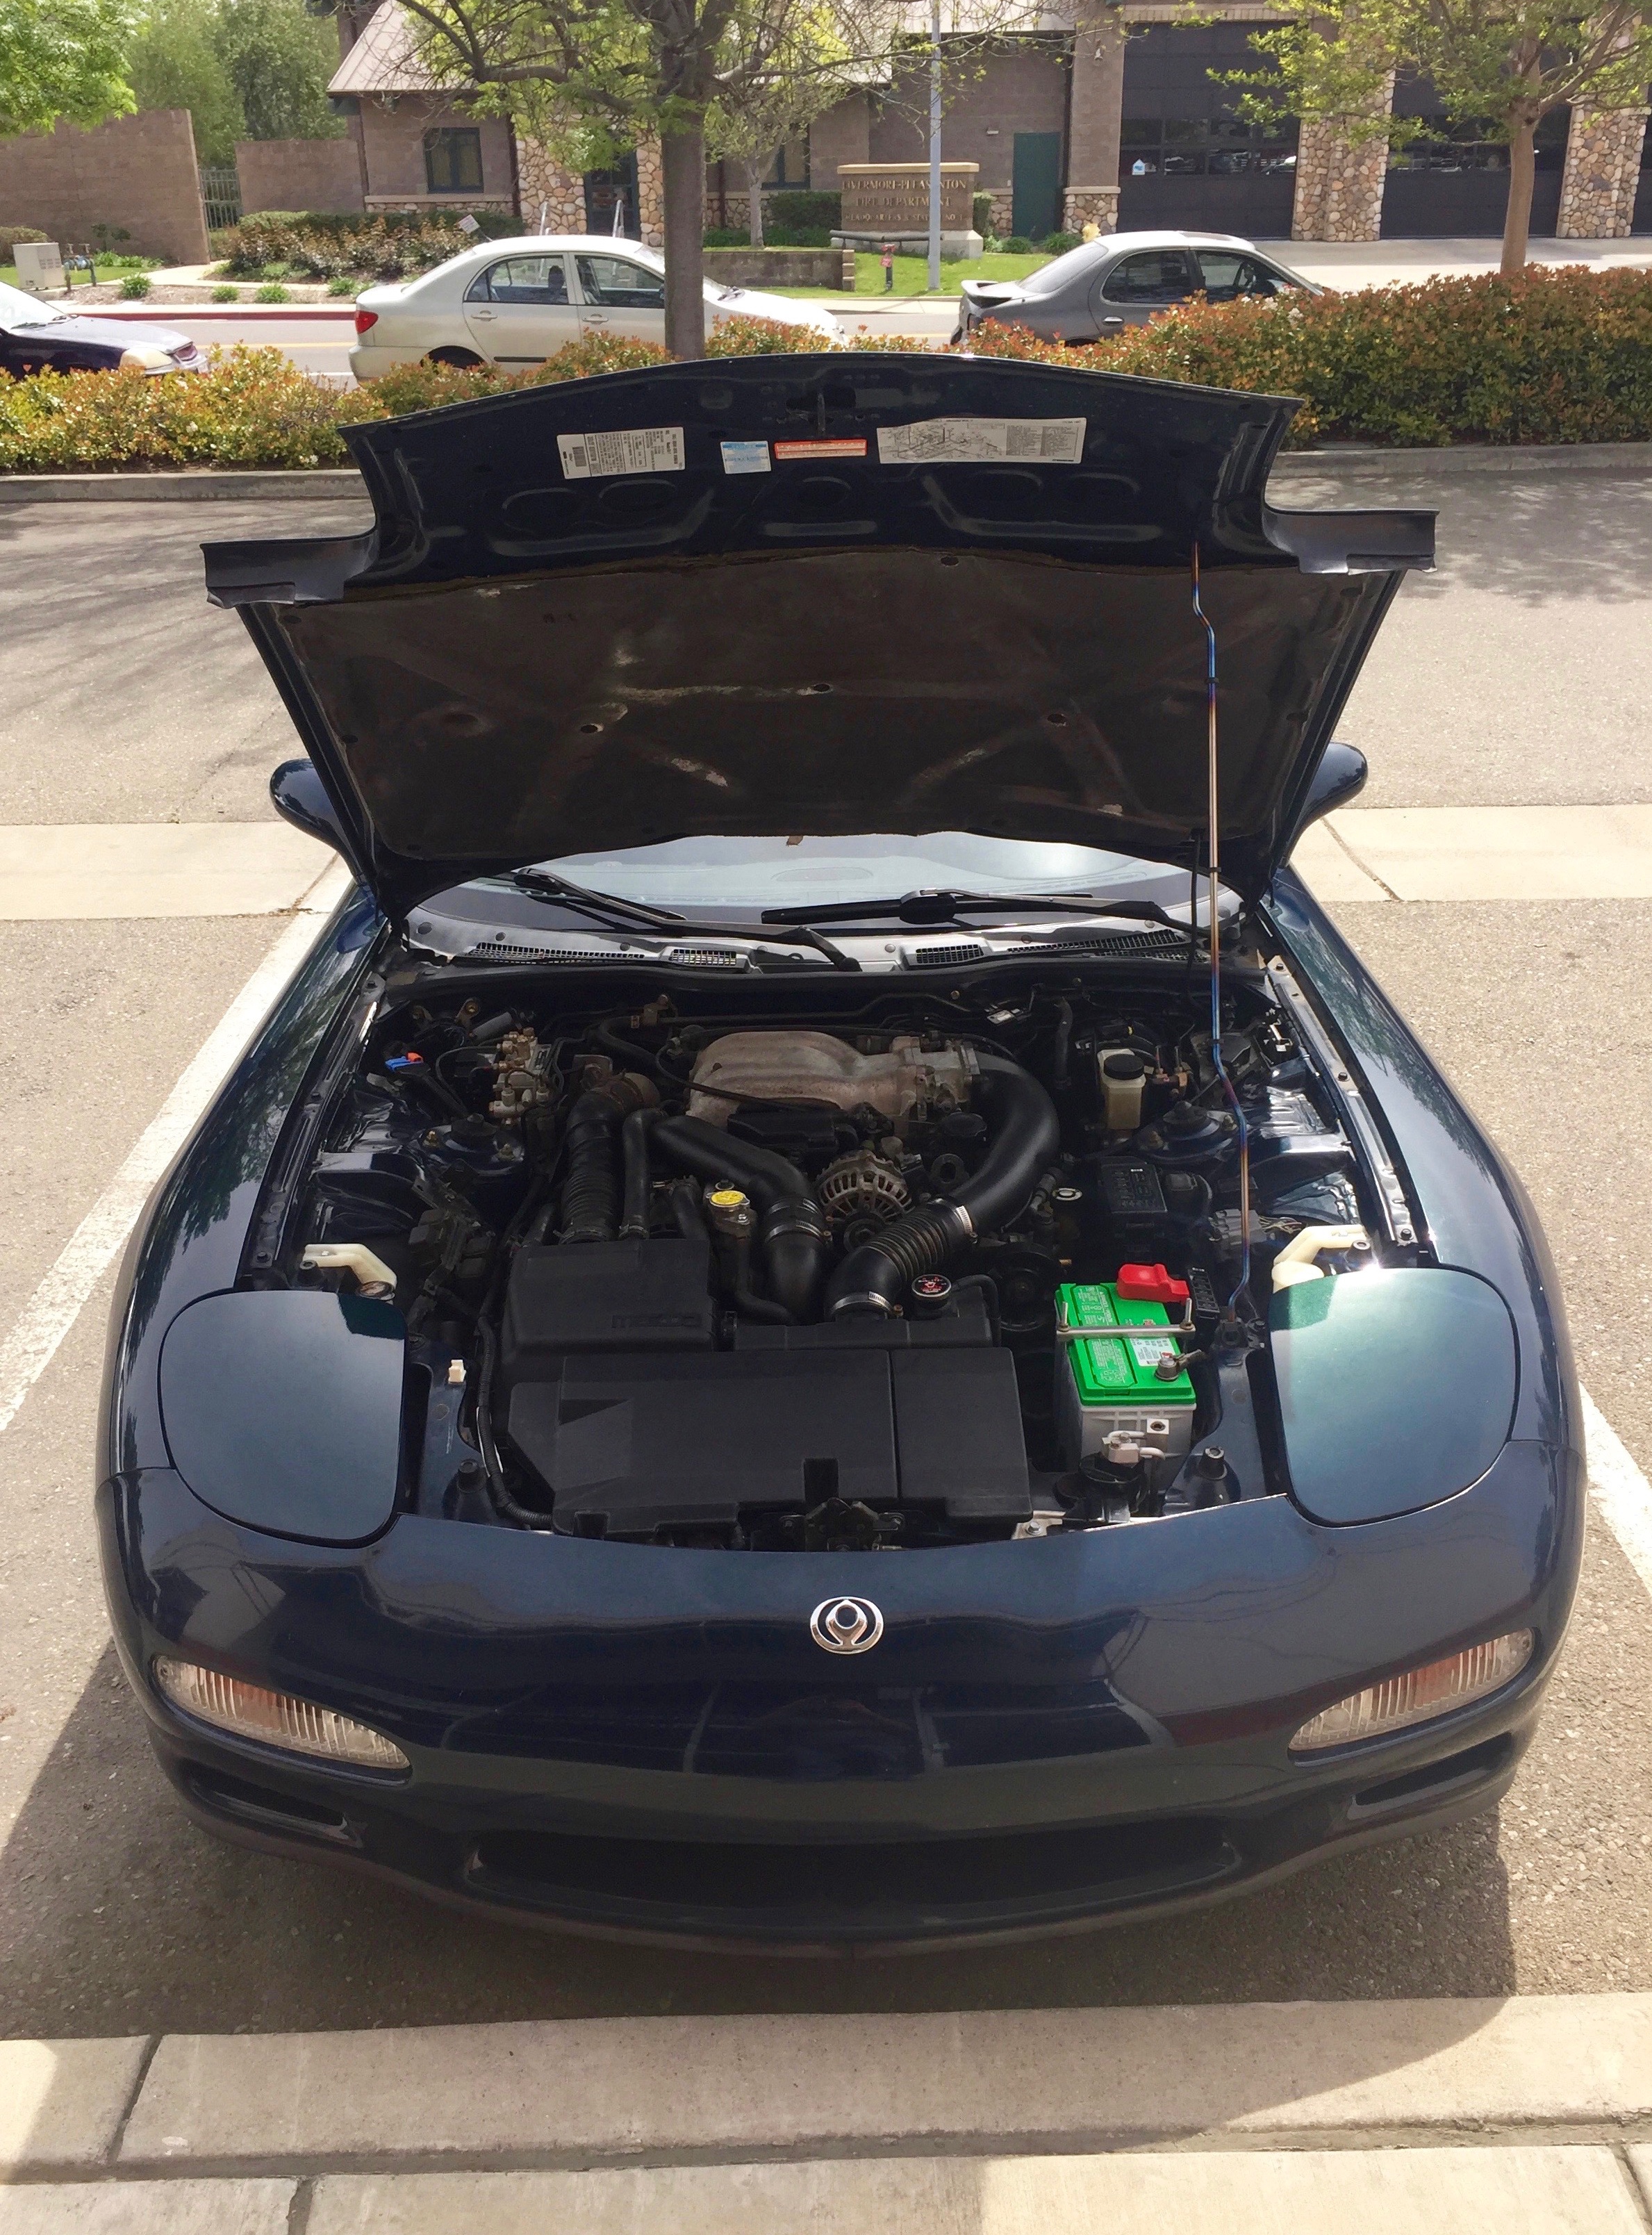
I was a little bummed I hadn't gotten any random cool car photos lately to post up here. But, some low riders and bomb rides like to gather at a fast food joint not too far from where I stay.
They happened to be there tonight, and I had to park up next to them for some pictures!
The lighting wasn't so great, and I only got about half of them in the shot. But, c'est la vie. Enjoy!
I had thought the car was missing a little oomph up top. But she pulls like a freight train now. Not sure if its from fixing the check valve or tightening the y pipe coupler. But, it definitely feels stronger.
Need to pop my boost gauge on some day soon. Aye yi yi.
04-02-17 | 09:33 PM
#61
Professional Tinkerer
Joined: Jan 2016
Posts: 308
Likes: 20
From: Texas
Since I had been fiddling with the vacuum lines and discovered one of the y-pipe worm clamps was loose, I decided to go out tonight for some highway merges and medium pulls to make sure everything was high and tight.
I was a little bummed I hadn't gotten any random cool car photos lately to post up here. But, some low riders and bomb rides like to gather at a fast food joint not too far from where I stay.
They happened to be there tonight, and I had to park up next to them for some pictures!
The lighting wasn't so great, and I only got about half of them in the shot. But, c'est la vie. Enjoy!
I had thought the car was missing a little oomph up top. But she pulls like a freight train now. Not sure if its from fixing the check valve or tightening the y pipe coupler. But, it definitely feels stronger.
Need to pop my boost gauge on some day soon. Aye yi yi.
 04-02-17 | 11:19 PM
#64

Would love to come check out RP in Garland.
04-04-17 | 10:41 PM
#65
04-05-17 | 05:07 PM
#66
Dusted the car off, filled it with parts, and dropped it off at Rick's to take care of the rad/fans/ast/hoses/FC_thermoswitch/thermostat/IC_support_bar/r1_strut_bar.
He works on 30-50 bay area FD's and has a couple full rebuilds in the shop now. If you got rotary problems, he's got your fix.
Last time I ever wanna see this rusty fan motor and support bar!!!
Hardware looking better...
Rusty clamps, crusty brackets, and a few nuts and bolts: dead men walking.
Cruddy hood insulator: not gonna make it far, either.
Sorry for the boring build thread, but don't worry. We're just getting started!
Trying to go slow and focus on getting the car solid before we go nuts with performance parts.
And, I'm just picking away at the details while letting Rick handle the heavy stuff.
Won't ever be as wild as some of the build threads here, but hopefully a nice little restomod
Last edited by Narfle; 04-05-17 at 05:10 PM.

 04-06-17 | 07:01 AM
#69

^ dang that looks good.
Sorry for the boring build thread, but don't worry. We're just getting started!
Trying to go slow and focus on getting the car solid before we go nuts with performance parts.
And, I'm just picking away at the details while letting Rick handle the heavy stuff.
Won't ever be as wild as some of the build threads here, but hopefully a nice little restomod
Eh don't apologize, some ppl like the simple things. Keep at it.
Sorry for the boring build thread, but don't worry. We're just getting started!
Trying to go slow and focus on getting the car solid before we go nuts with performance parts.
And, I'm just picking away at the details while letting Rick handle the heavy stuff.
Won't ever be as wild as some of the build threads here, but hopefully a nice little restomod
04-07-17 | 04:49 PM
#70
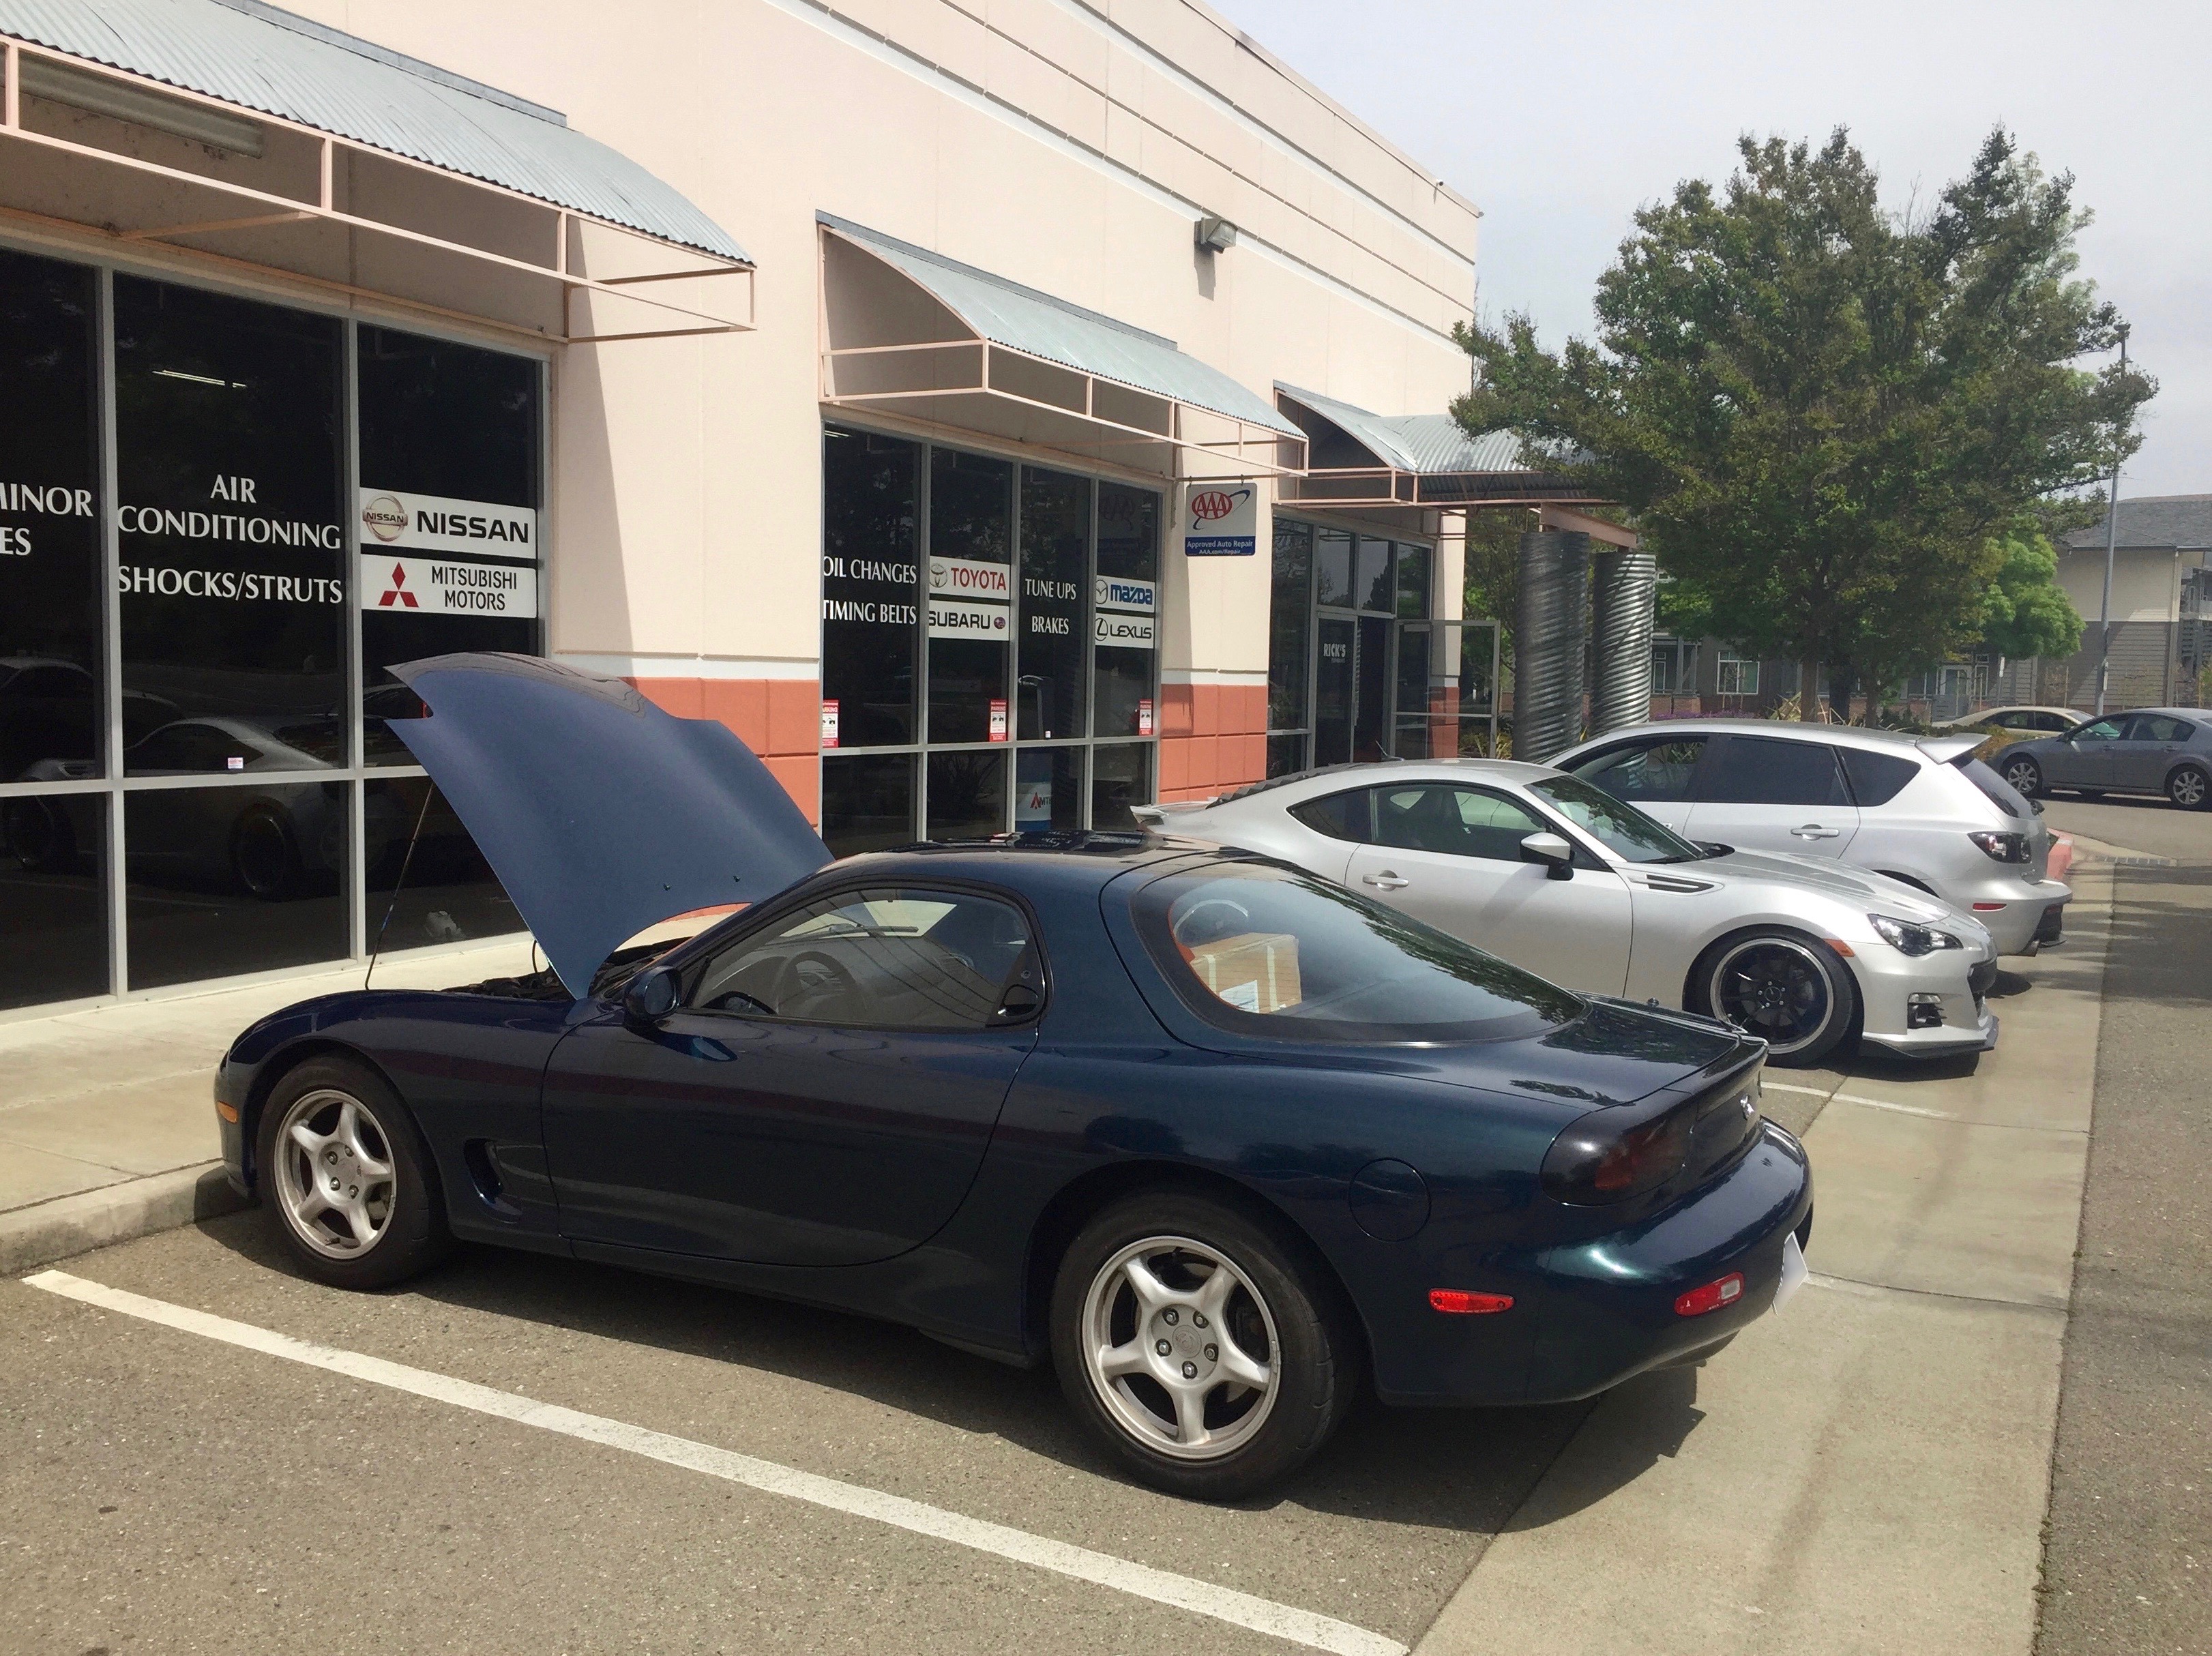
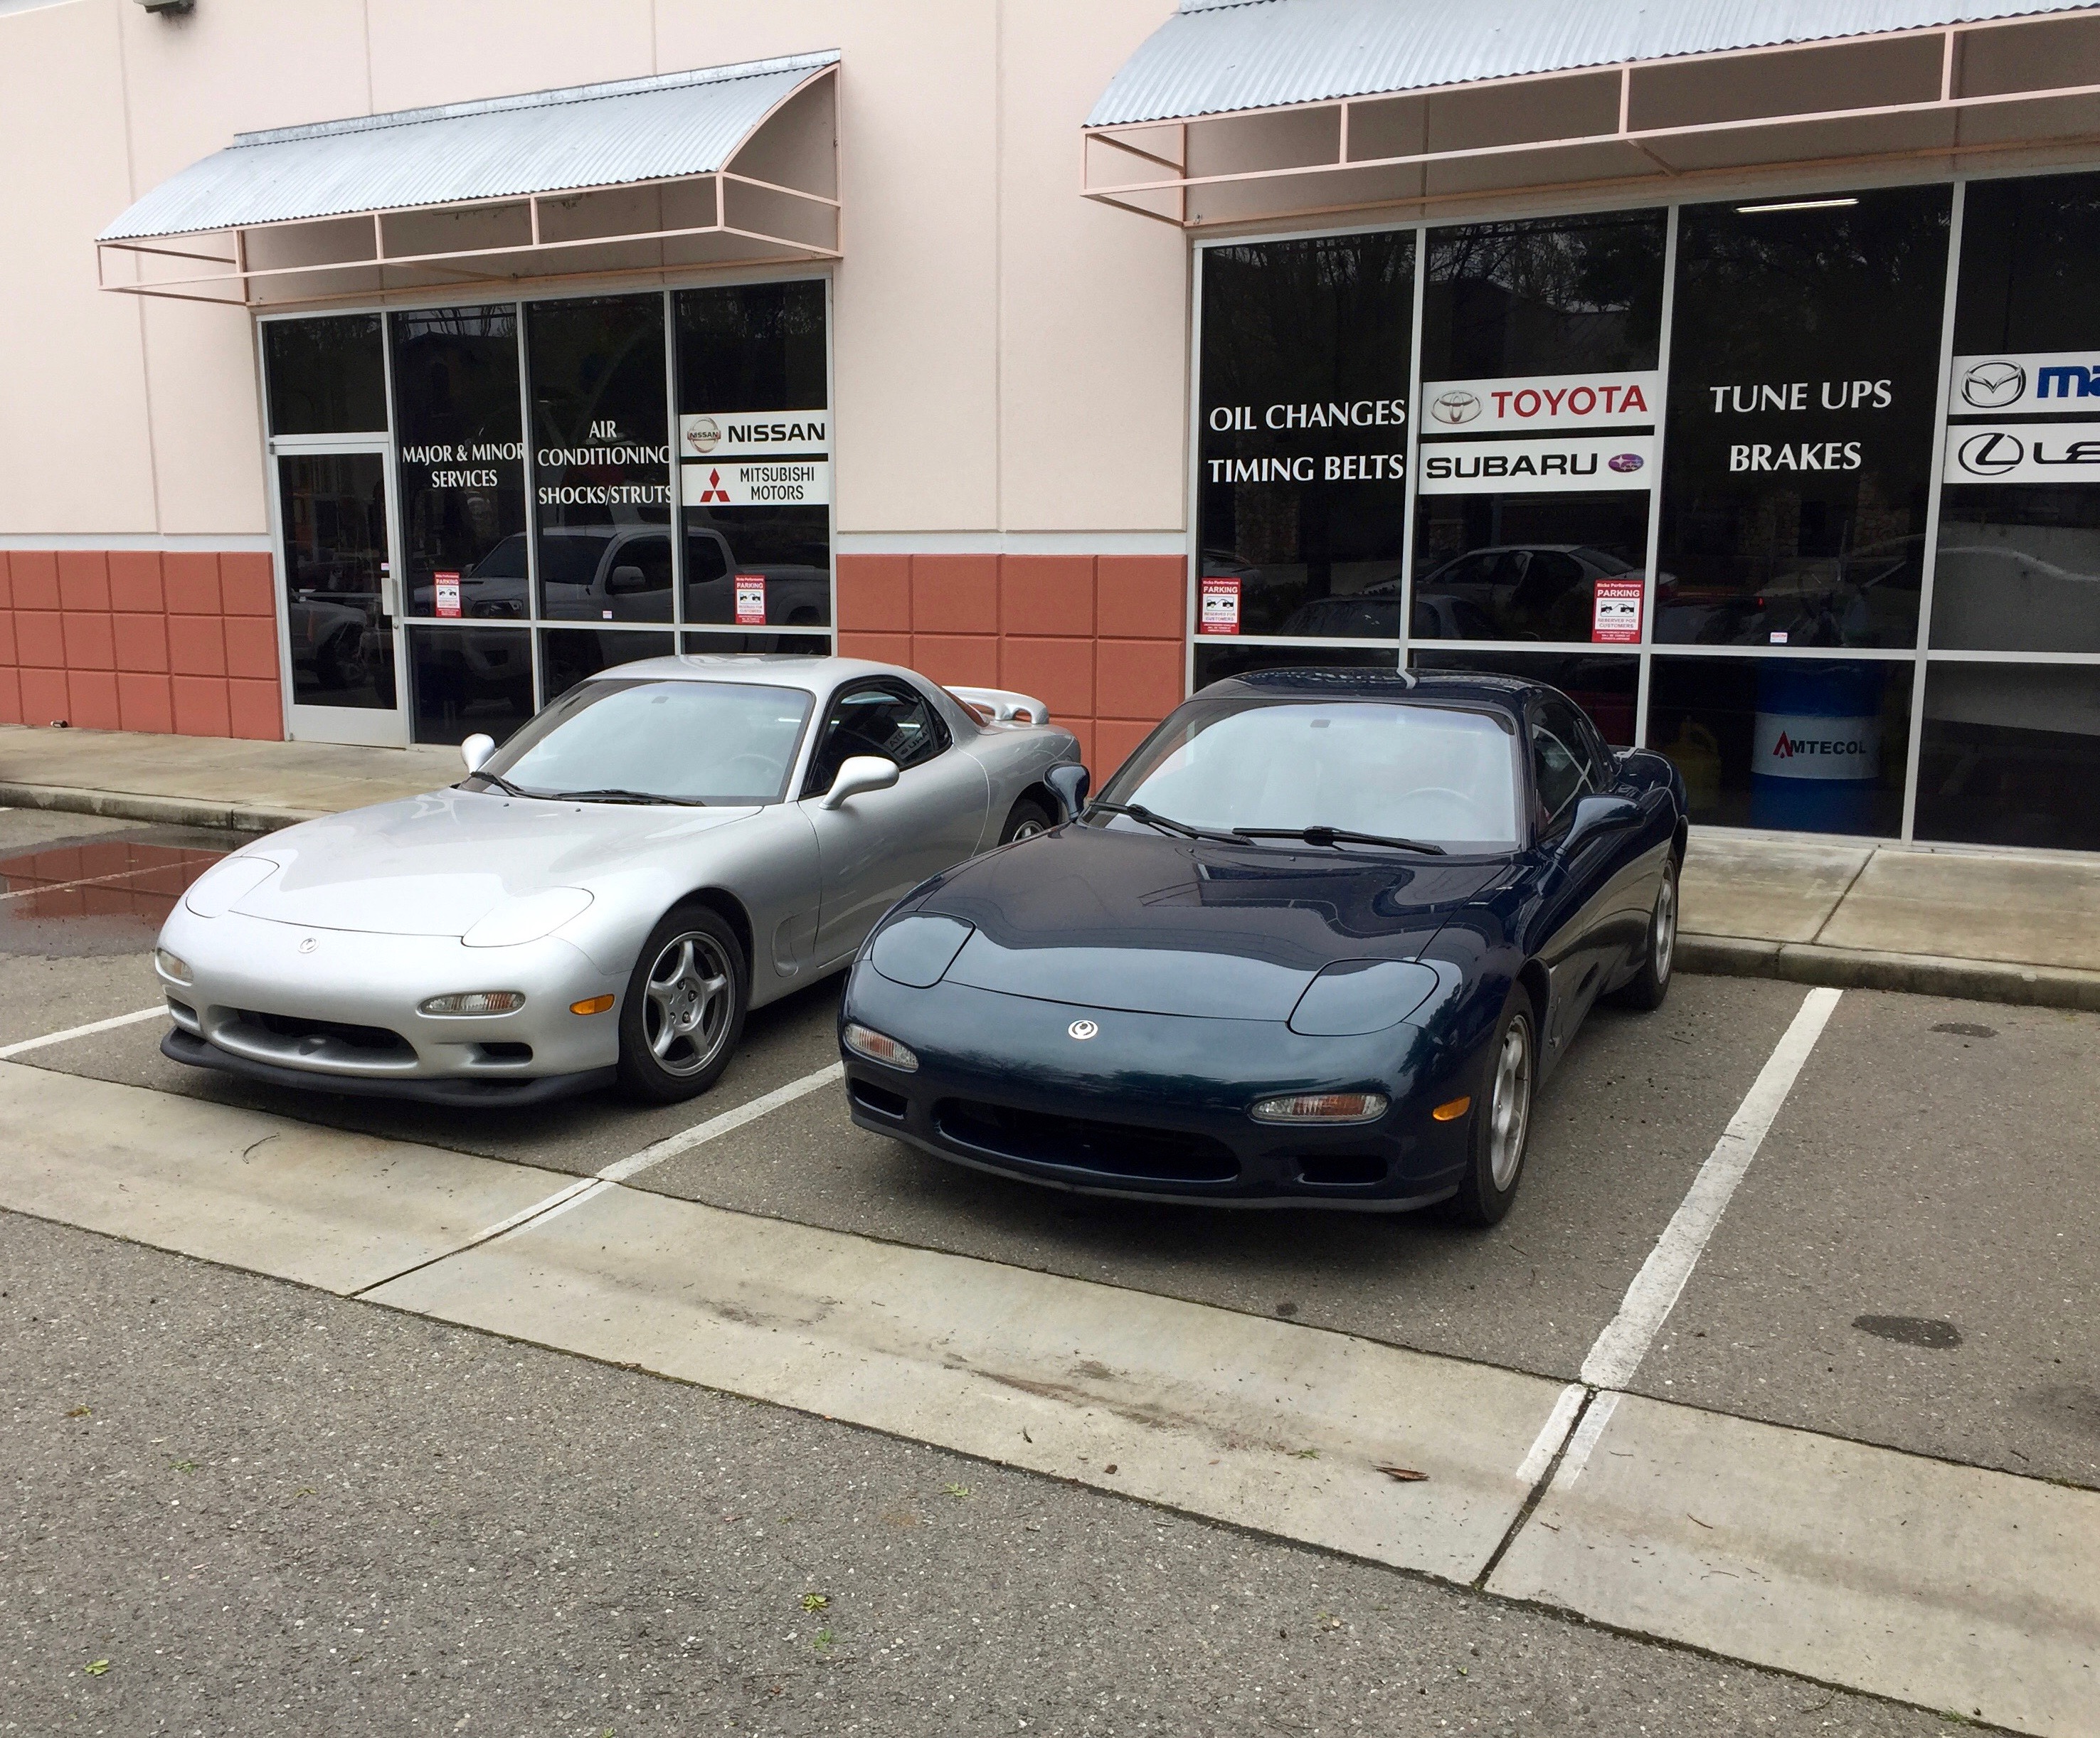
Picked the car up from Rick! He did a great job for me, as usual. Somehow we lost the drain plug that came with the radiator. He got a common NPT plug to work, and Ron Davis is shipping me a fancy one to switch out later. Great customer service from everyone, which I really appreciate.
New fan set, support bar, radiator, AST, and hoses IN! Rust? Nope.
Rick even switched out some nasty spring clamps for nice new worm clamps.
Don't worry about the duct tape. My new IC and duct setup wont have that
Powdercoated RZ strut bar. Fancy.
Car felt more solid up front on choppy bay-area roads.
And, there was a real nice silver R2 paying a visit when I showed up. Photo op!
A front lip is on the short list, can't decide between R1 and 99 spec...
 04-08-17 | 01:44 PM
#73
Thanks!
04-13-17 | 09:56 PM
#74
Professional Tinkerer
Joined: Jan 2016
Posts: 308
Likes: 20
From: Texas

[\QUOTE]
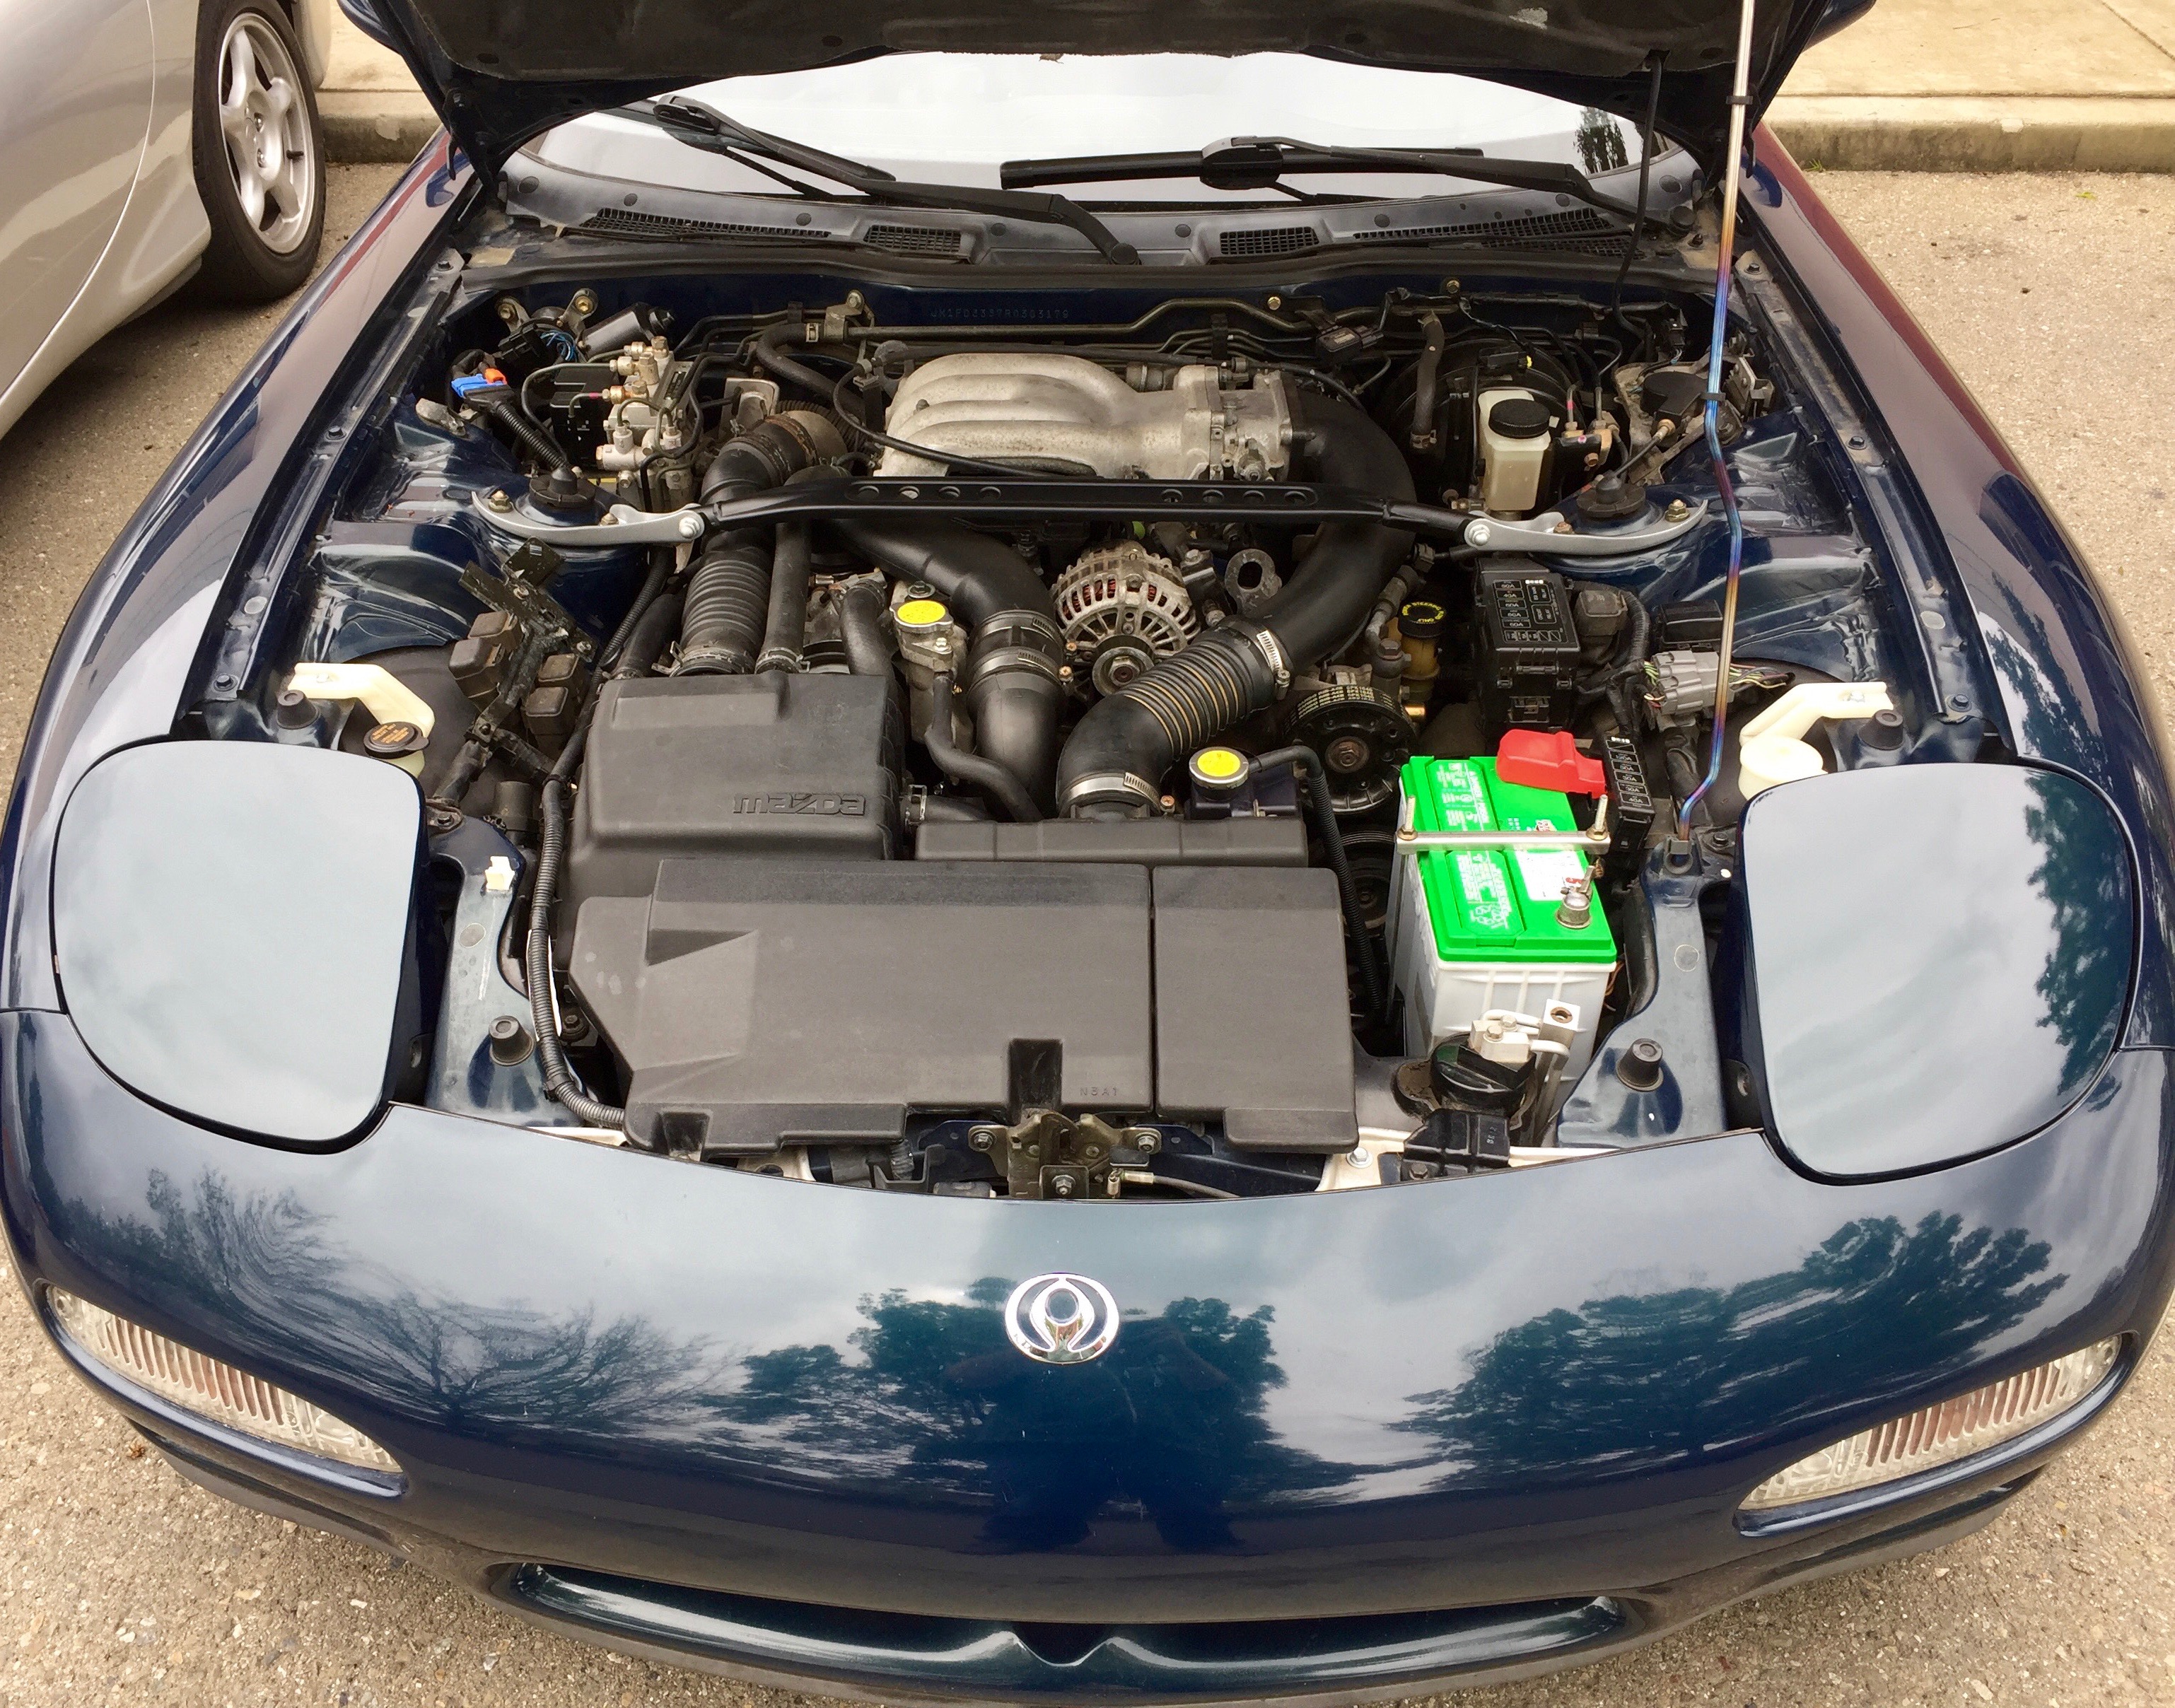
Thanks a lot! I'm a bit split on the bright green megatron, myself. I've considered painting it, but don't know how well that would turn out. I thought I might switch to a black super start or similar, but heard bad things about them spitting acid out. I'd like to make a cover for it. Could probably cut down a stock cover and glass it back together, or maybe even make a cover out of some glass or carbon fiber. My composite skills are pretty weak, maybe this summer I'll have more time to try it. It's a little bit loud, but the bright green matches ok with the montego blue, so I just smile at it for now
[/QUOTE]Hope your ride went well. Good results on the temps? Everything as expected? What did you talk yourself into next?
Last edited by fd3sY8S; 04-13-17 at 09:59 PM.
04-14-17 | 02:17 AM
#75
As for plans, buttoning up some loose ends and finding more nit-picky things to mess with for now. Rick's been having all the fun lately, and there are a few smallish things I'd like to try my hand at (gauges, r1 lip, hood insulator, new oil cooler ducts). I'll post some updates soon (more pictures of a stock engine bay. woot!). Just been busy as all get out for the past couple months. Had to play a little hooky just to get the car to the shop for someone else to do the work...
Beyond that, delusions of grandeur...need some lump cash flow, to get off my butt.