Mannykillers/ AAPARKAH Street/time Attack/Drift Build (heavy Pics) #Thisisthewolf


 01-07-15, 09:35 AM
#2227
Eric....you've got no idea man... seriously... ONCE in a lifetime deal

You got it... Heard some horror stories.. Luckily I've got a "protected" private storage area for it and the owner rivals Clint eastwood... Shot gun at the front door... 30/30 by the back door....
 . Hard to follow you with no content
 01-10-15, 11:14 PM
#2233
Small Update:
Finally got around to cleaning up the trailer and addressing a few of the smaller issues with it.
But first....the trailer needed a good cleaning in and out.
went and picked the trailer up and gave the outside a good scrub washing. Took note of a few things in the process:
There are 2 brand new tires...and 2 Old Cracked tires...
The two old tires need to be replaced.. Last thing I want is to deal with some stupid preventable blow out.
Also noticed that there were a few little amber lights out. Those will be needing some love.
Scrapped all the little stickers off the back drop door...because they were hideously stupid haha.
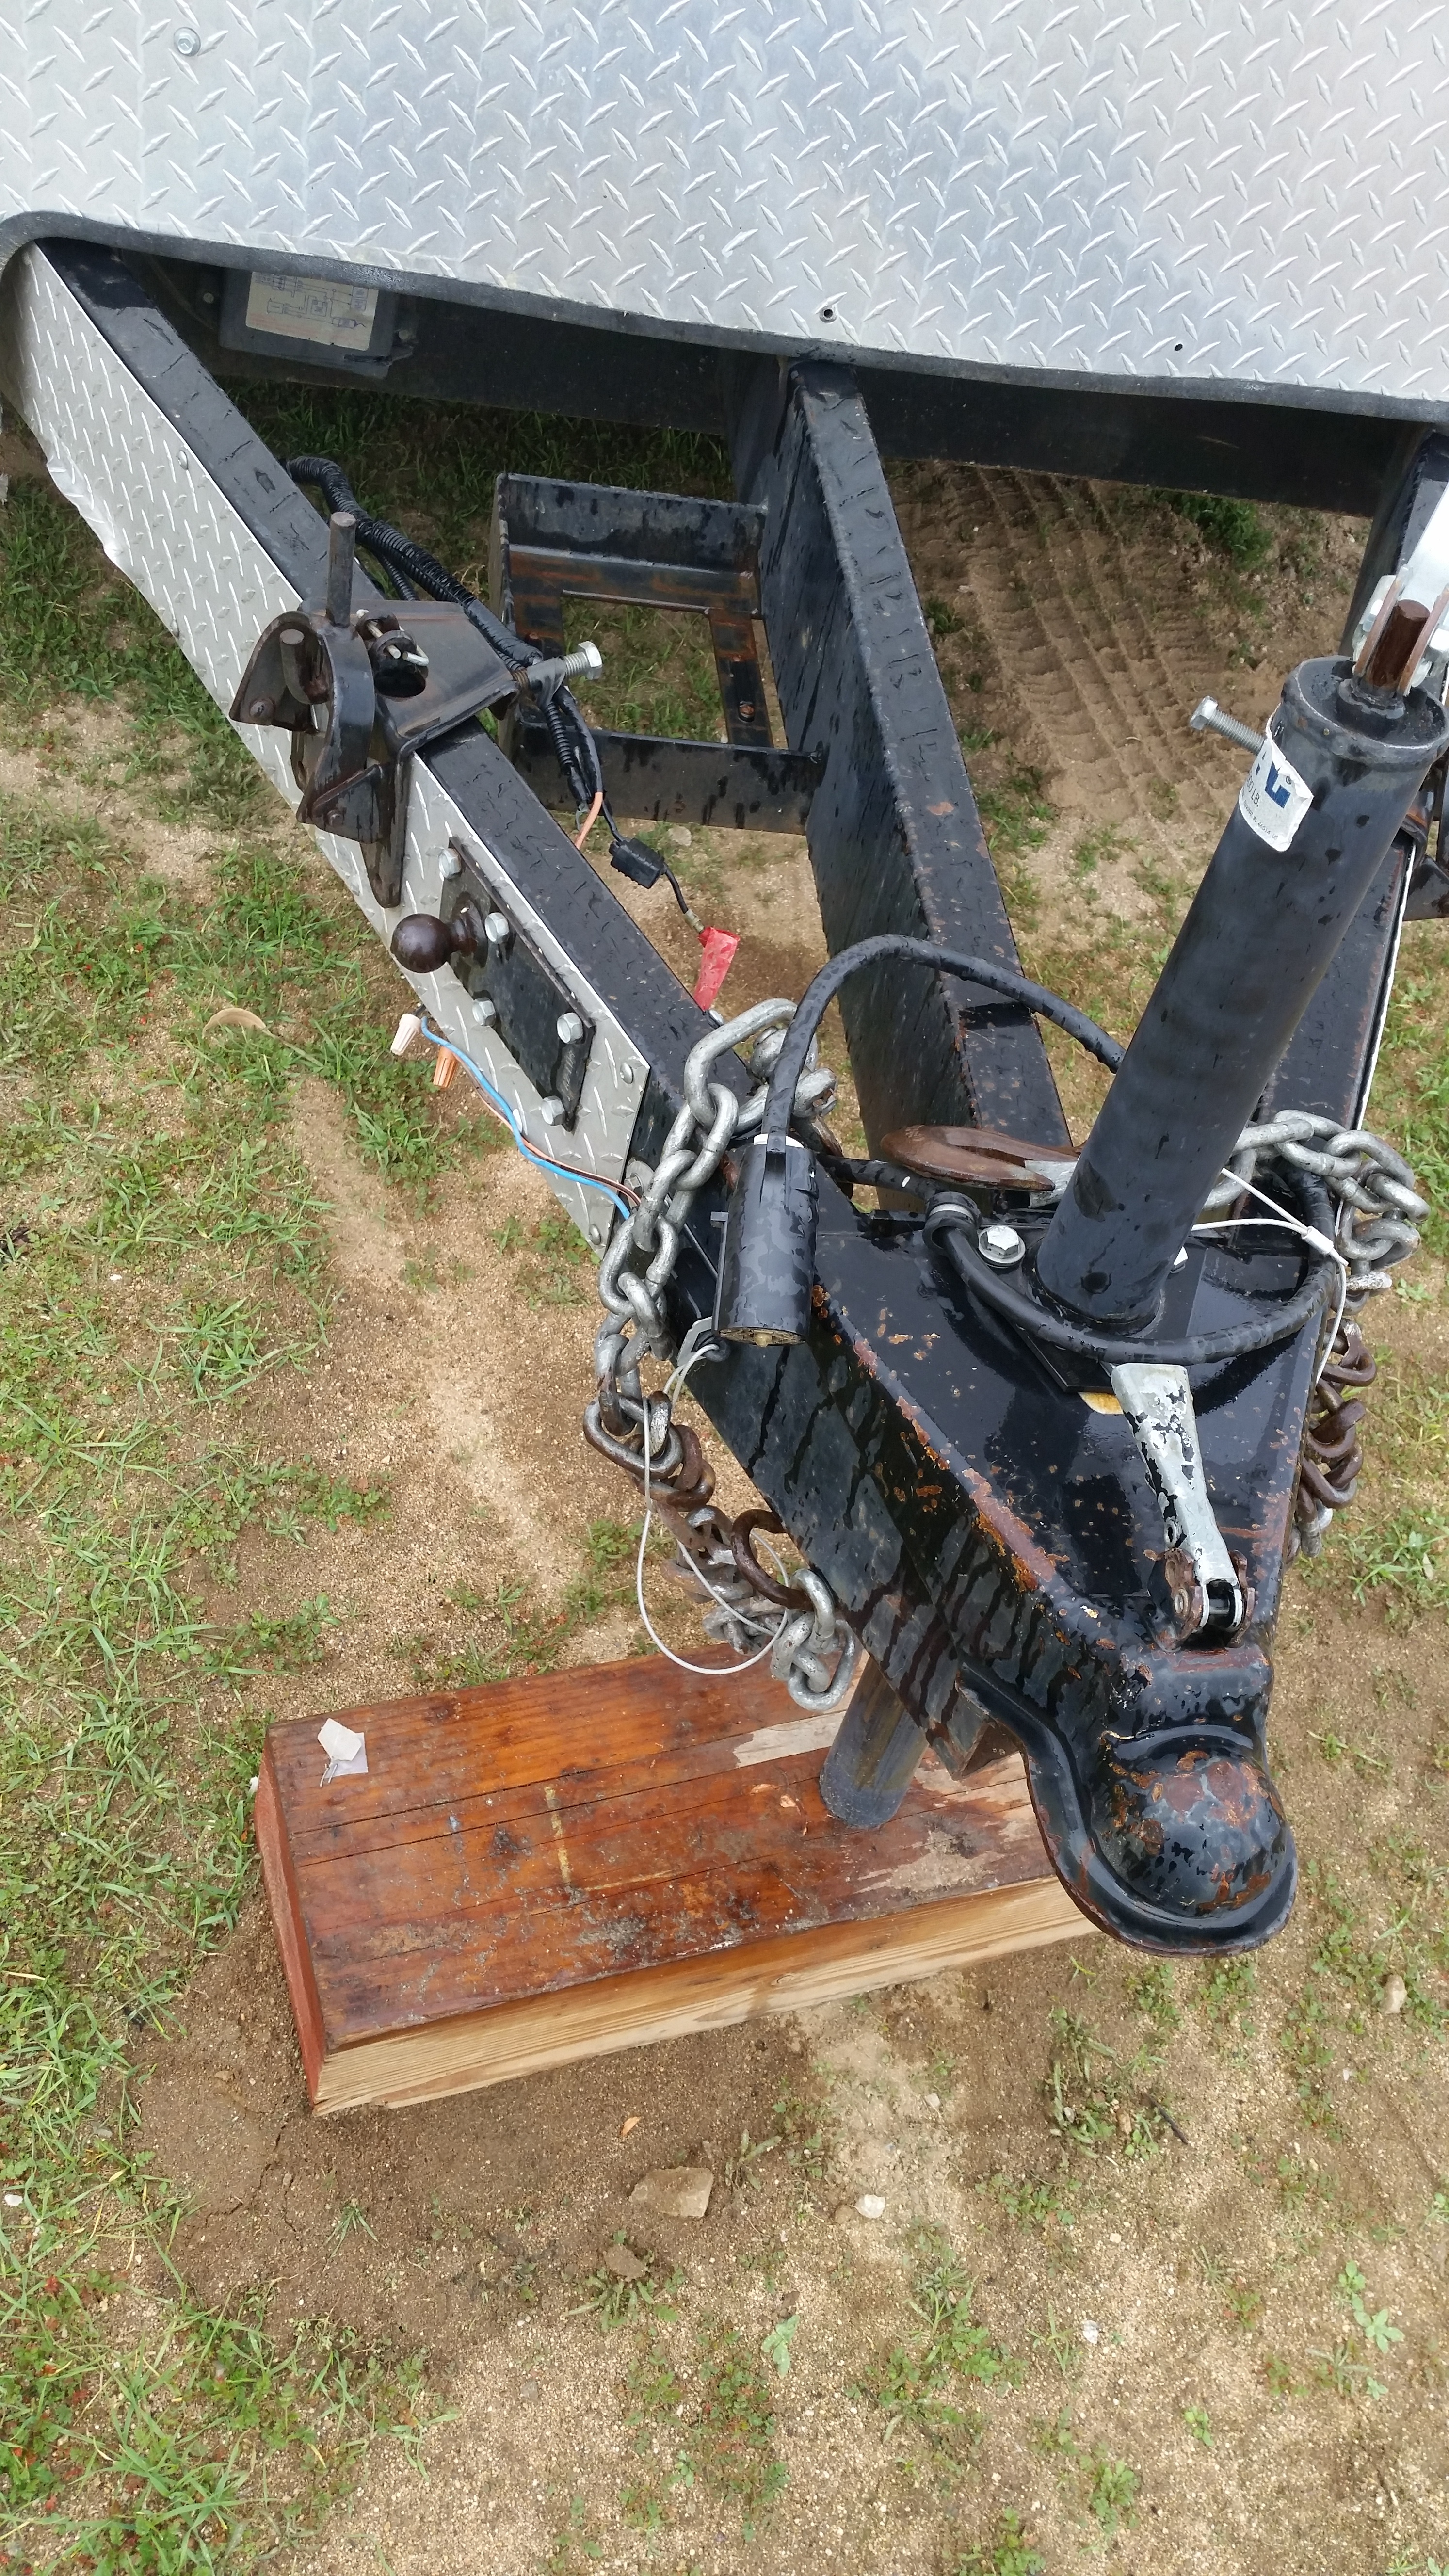
And gave the Hitch a good look.
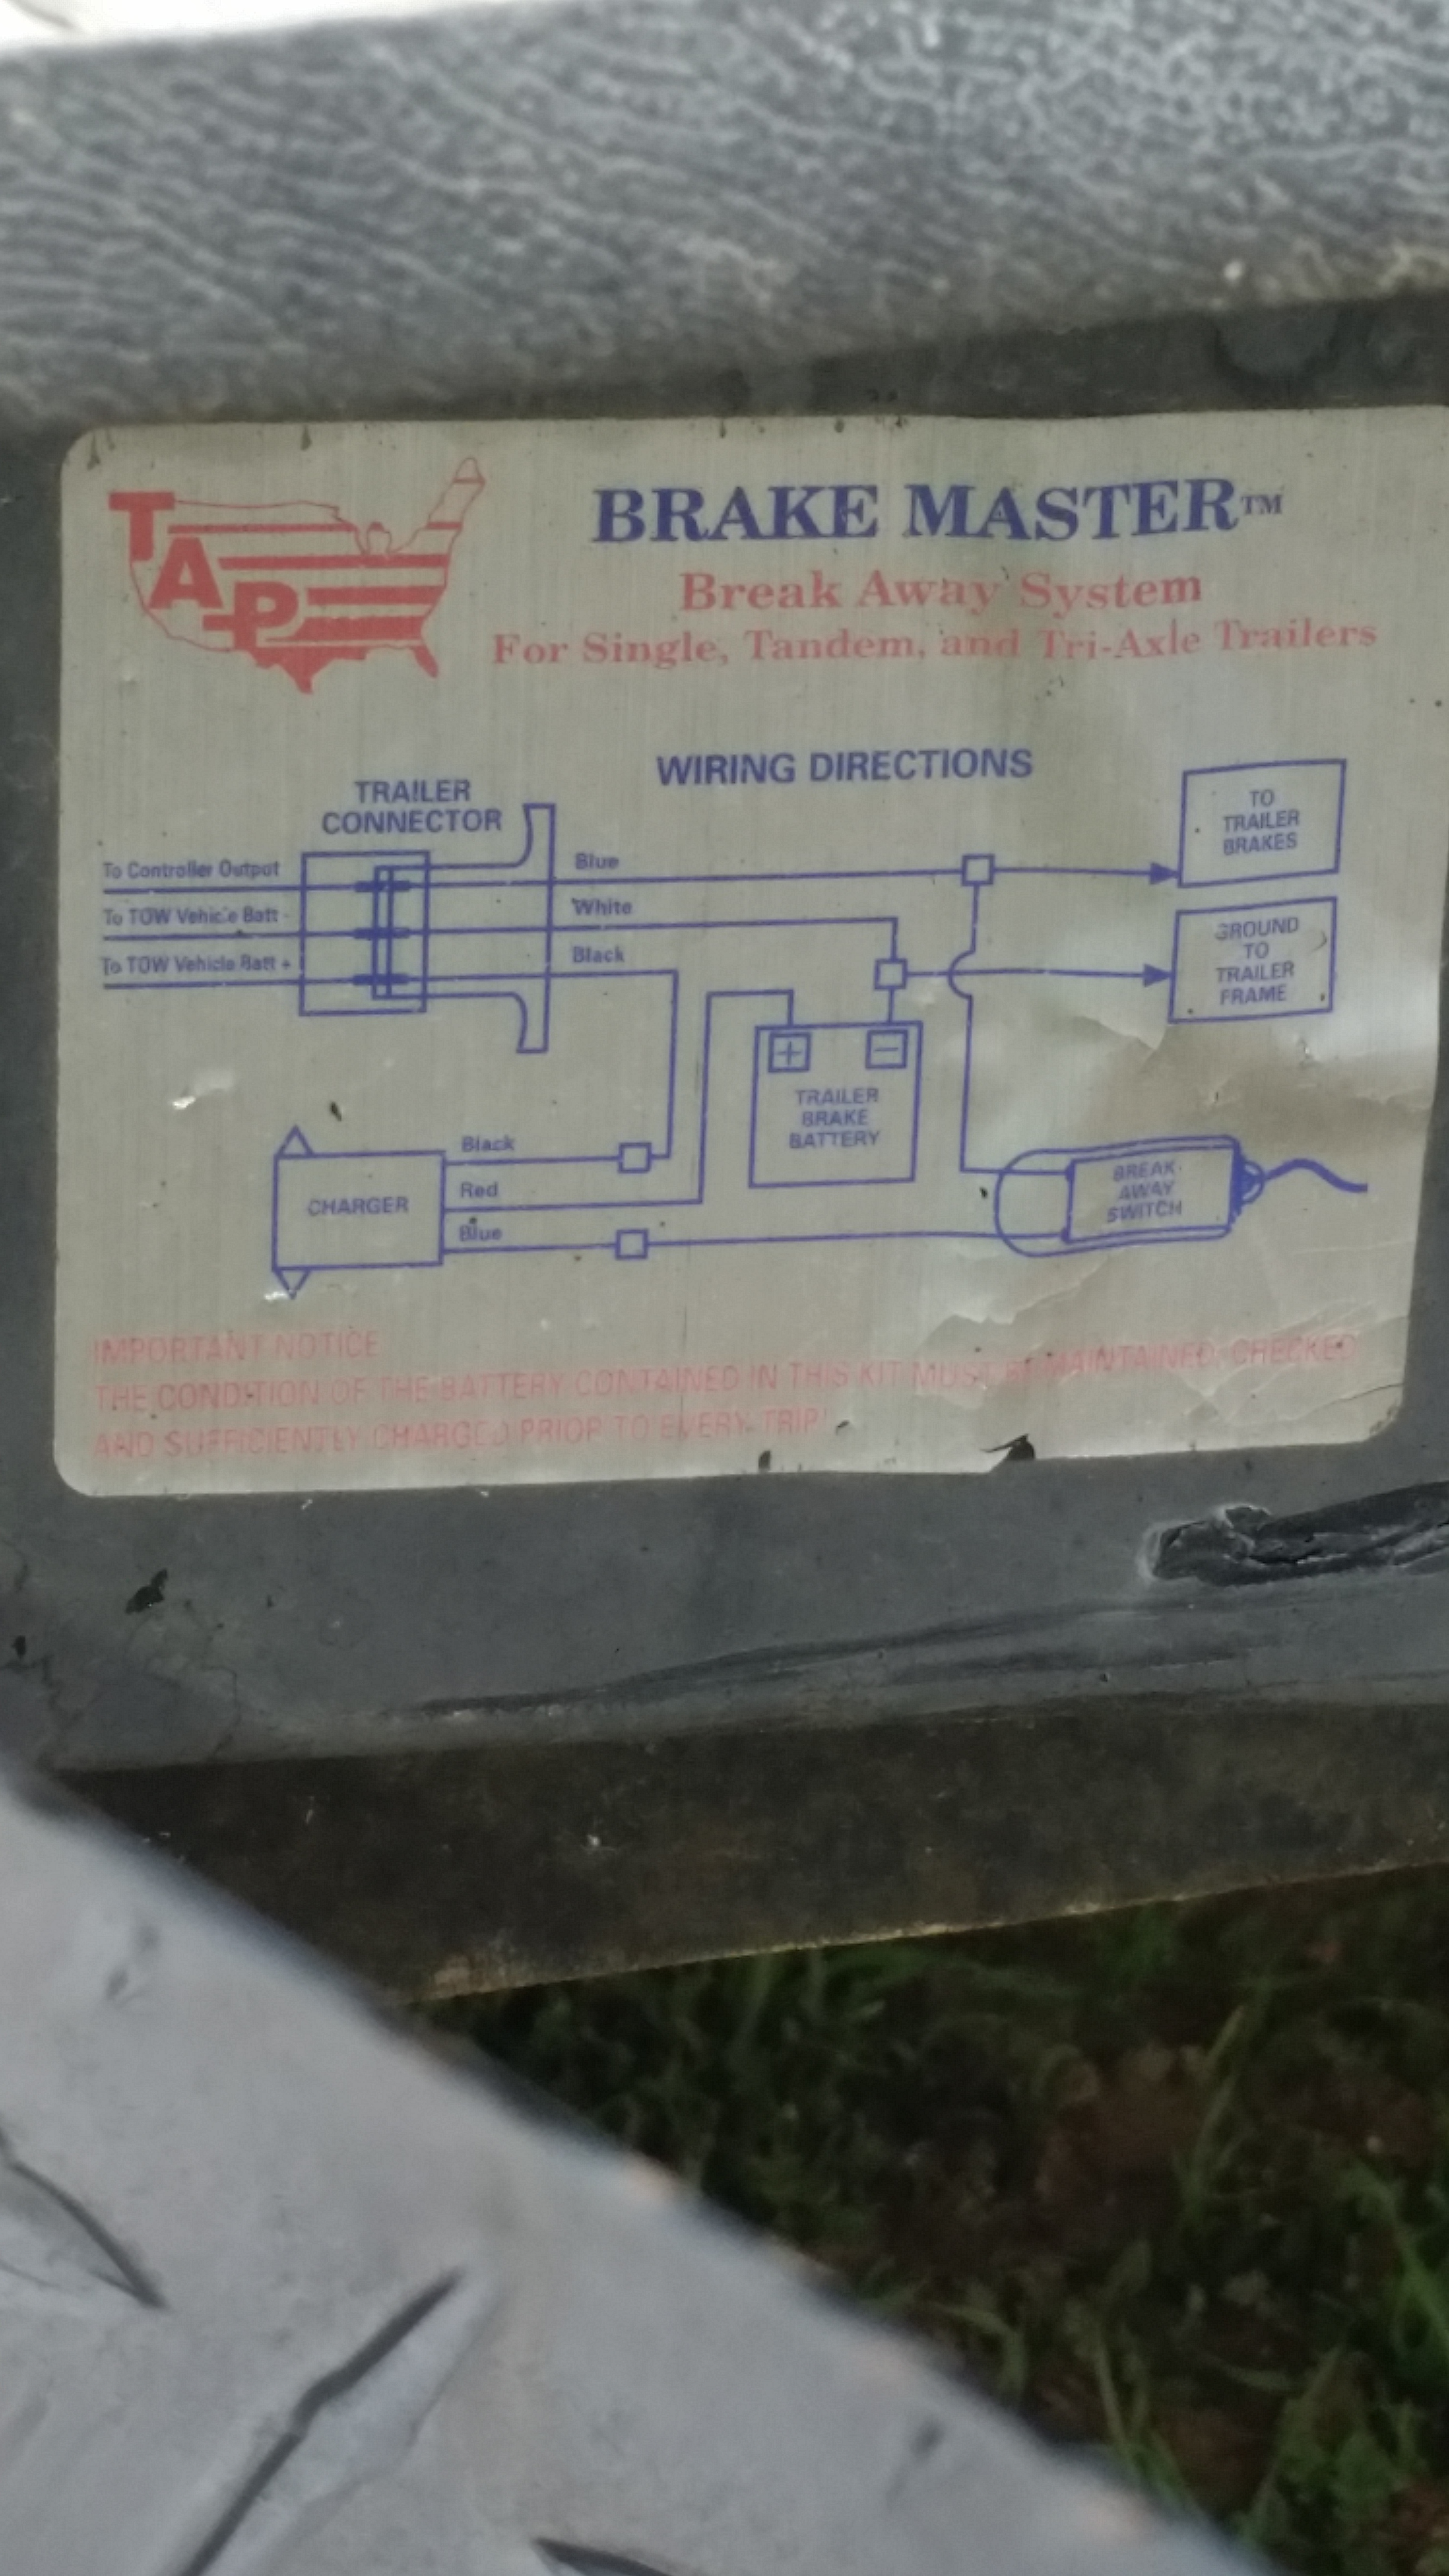
I'm not too familiar with these type's of hitches as most of my experience towing has been with 5th wheels and diesel trucks. But it looks as if I'm going to need a stabilizer hitch kit for anything over 5000Lbs. The trailer weighs 3900.. And My truck is a 2005 Ford f150 extra cab with what I think is a 4.6l V-8. I'm going to keep the Trailer relatively light just because I really don't need much in there aside from some essentials. Plan is to upgrade to diesel power in the next couple years. But I'm thinking my truck should be fine. Anyone have any experience towing without the Stabilizer bars? I found a hitch kit at harbor freight for 200 bucks. But i'm not opposed to buying a kit used. Also.. how about electronic brake controllers? I've seen a few recomended to me that are around 150 bucks... But really.. I don't need a ton of options. Just something that is safe, that works and does the job without hassle. If I can get all this stuff done under 300 bucks.. I'll be happy.
Electronic brake trailer module?
Hitch set up
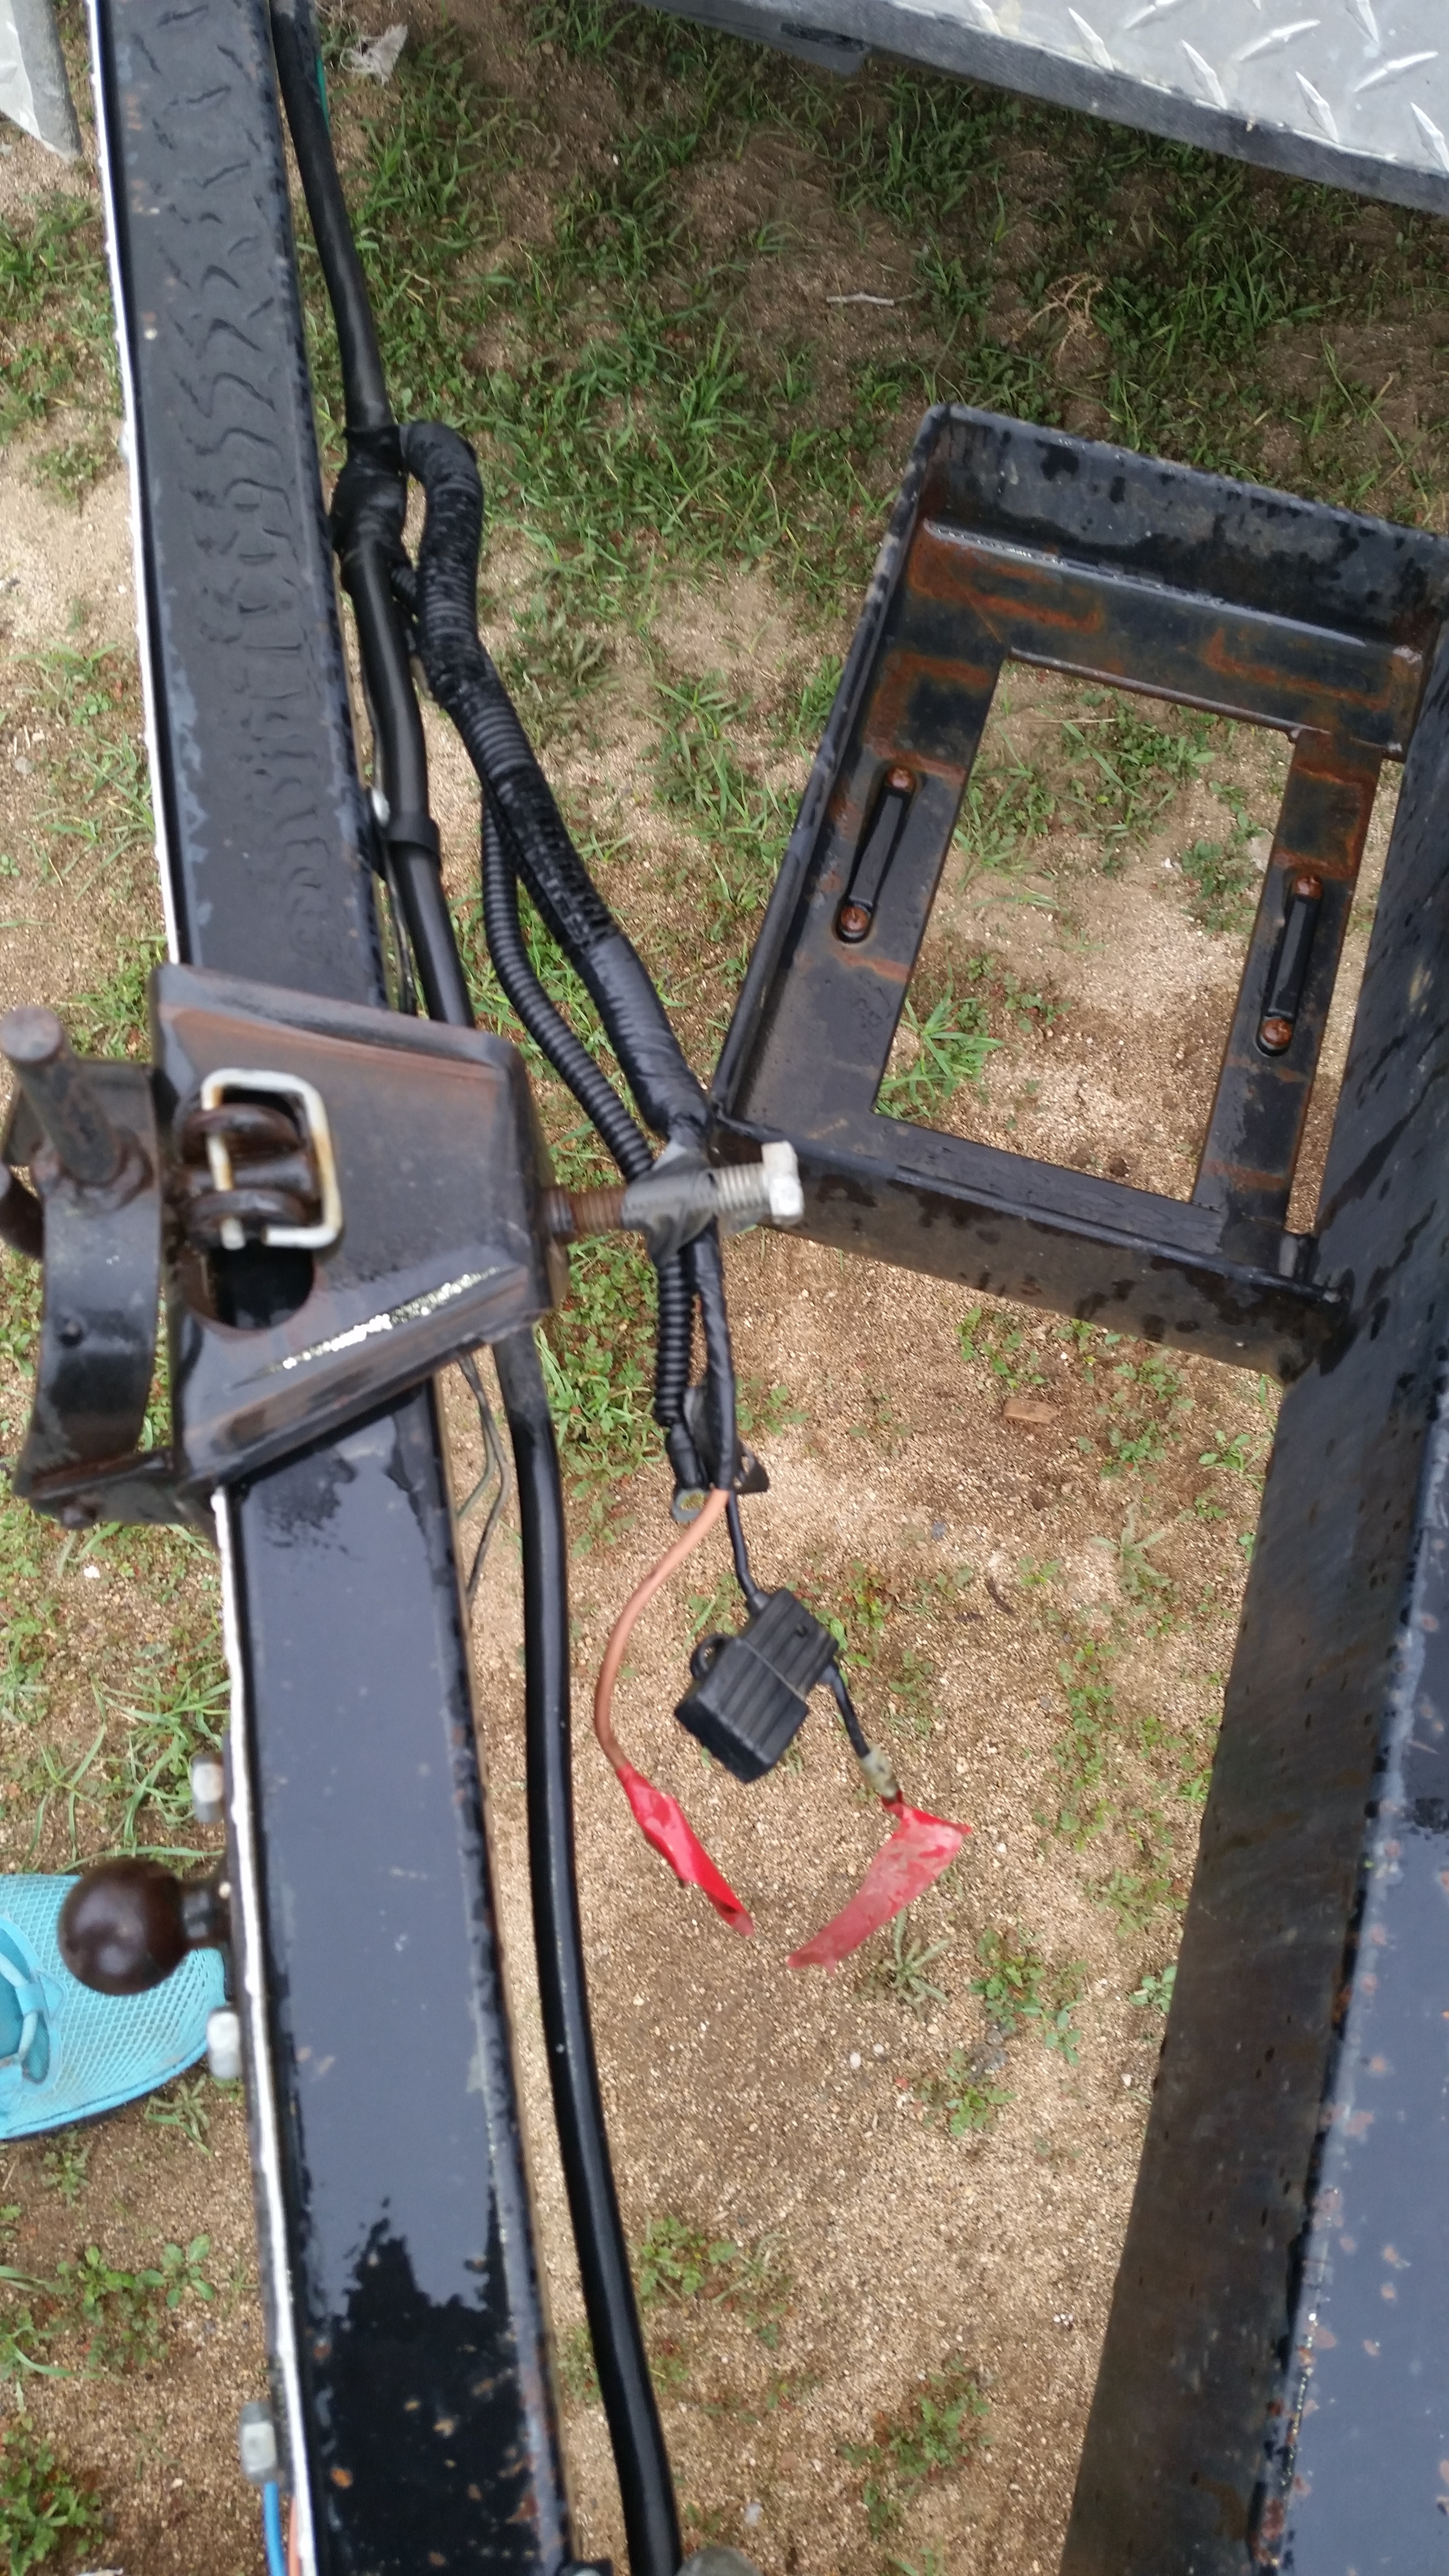
looks like I'll be needing a battery as well.
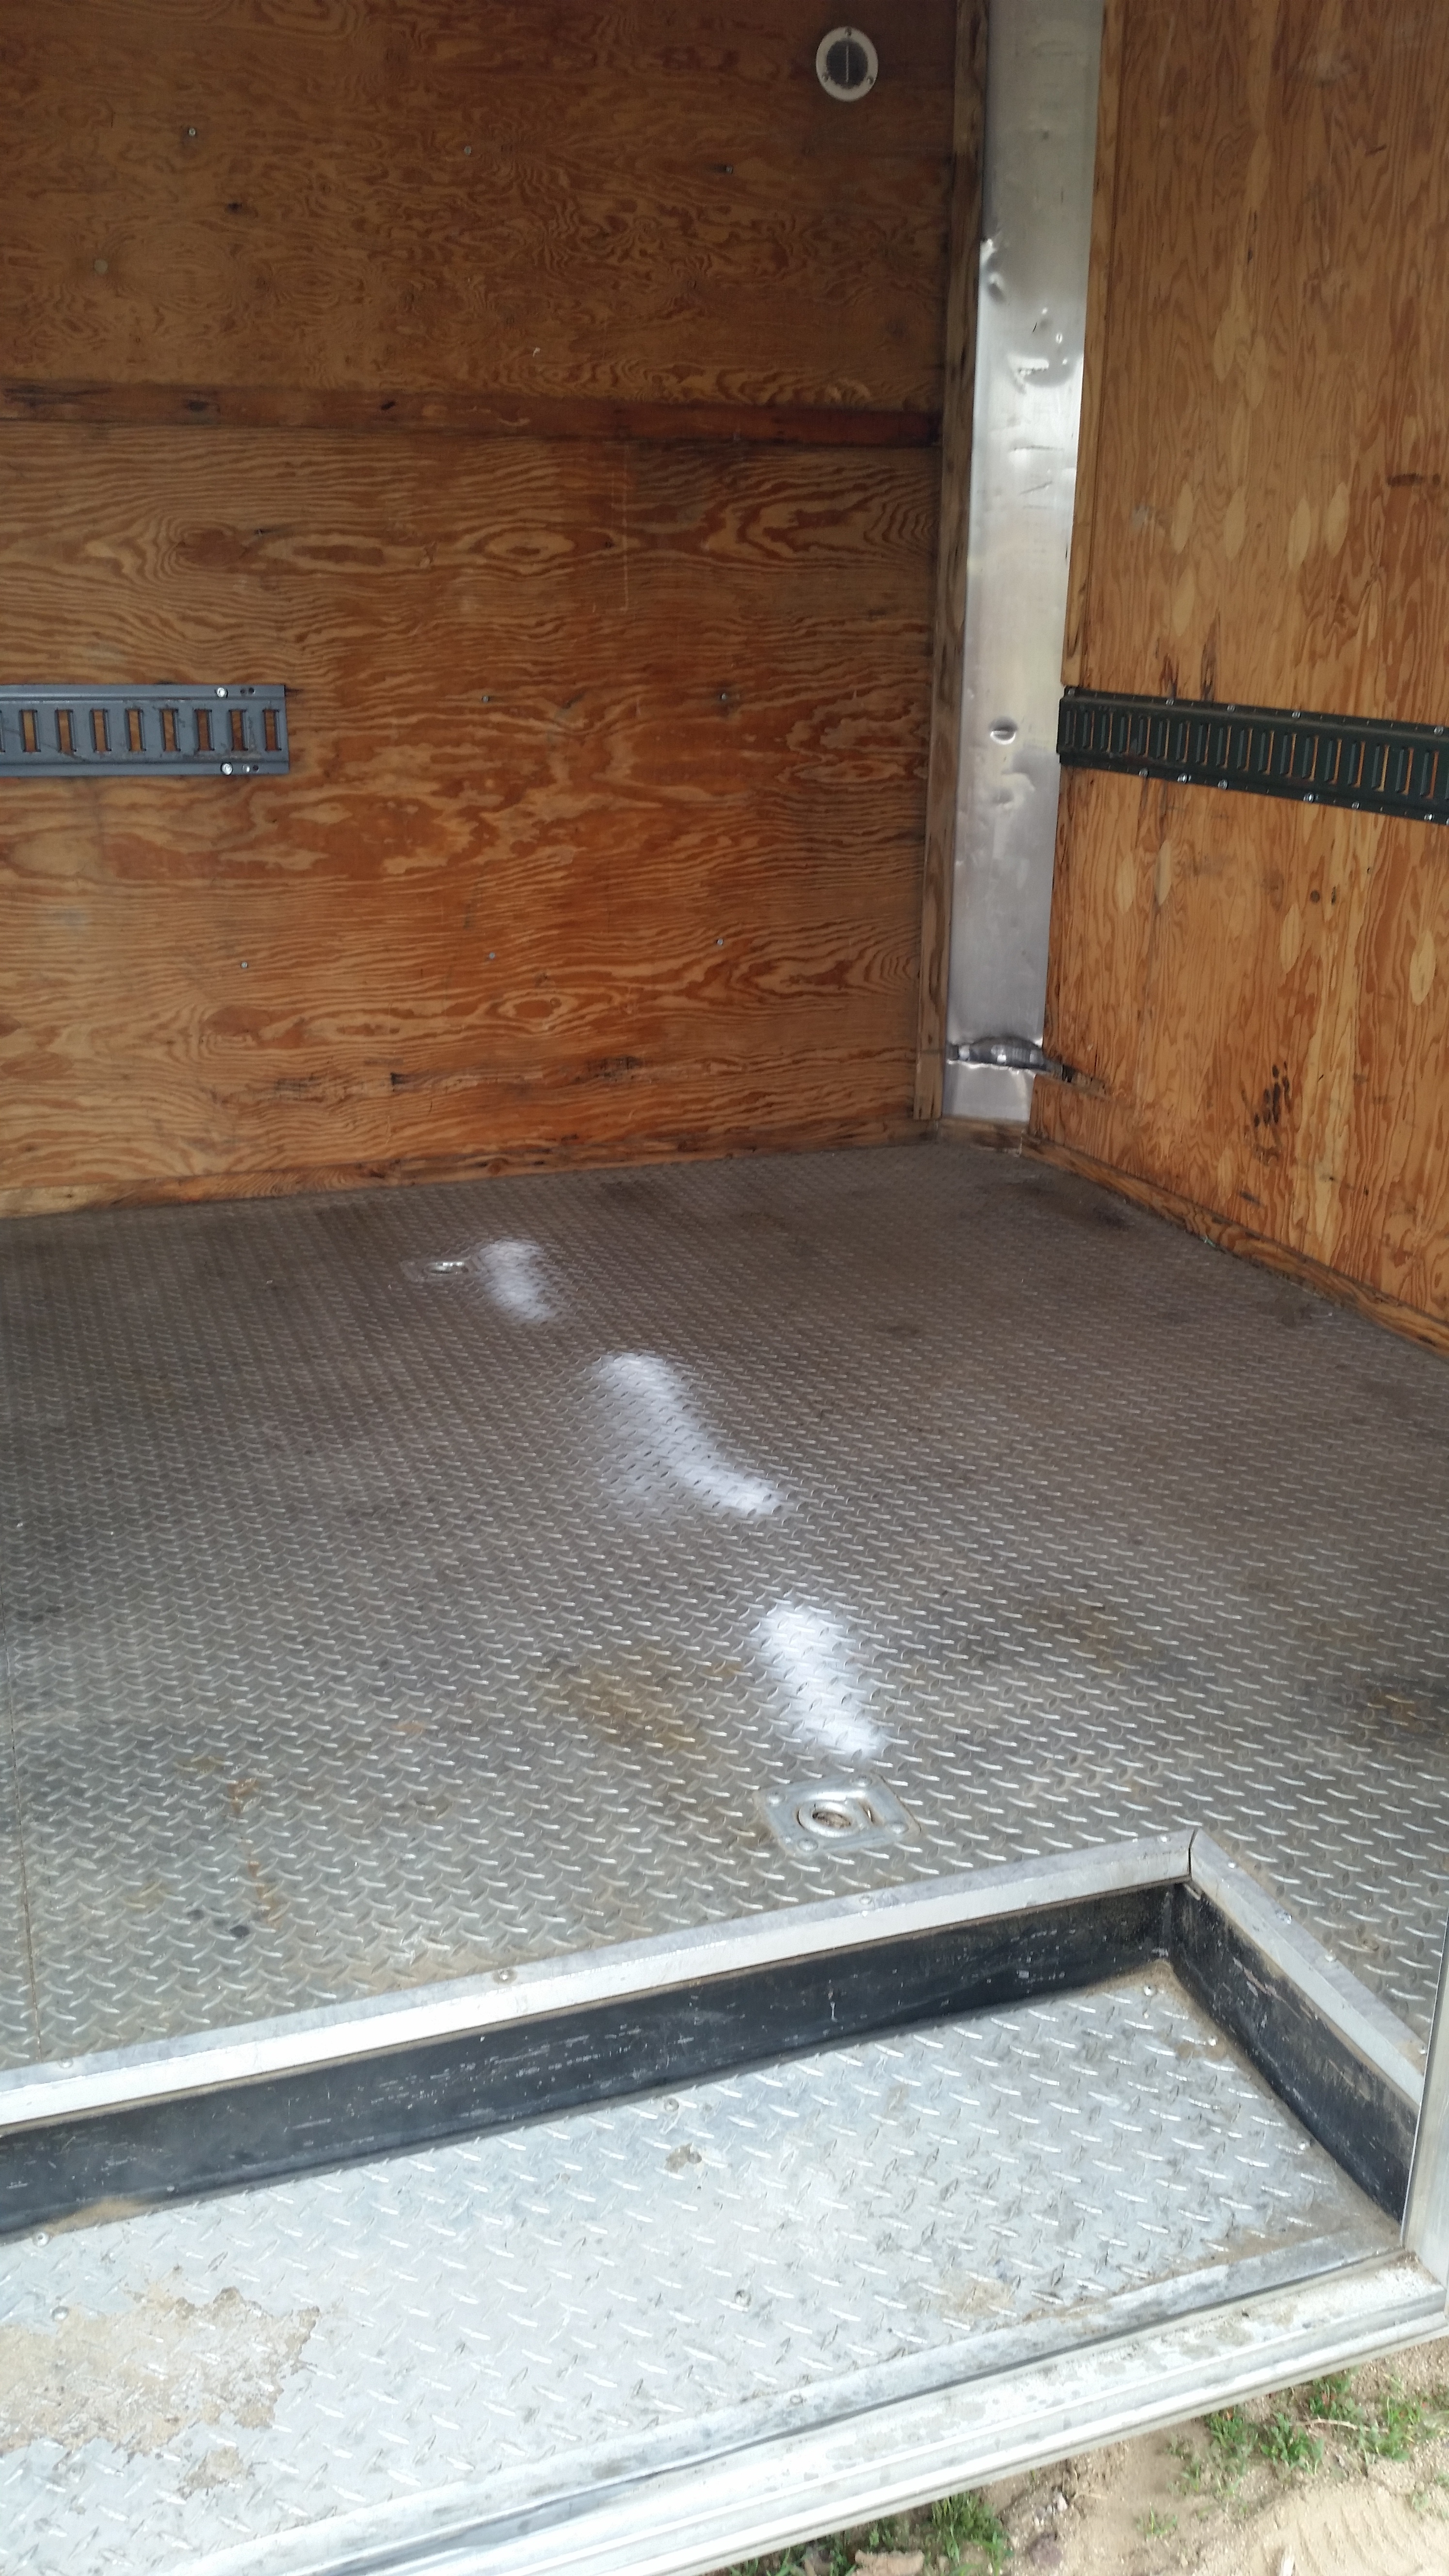
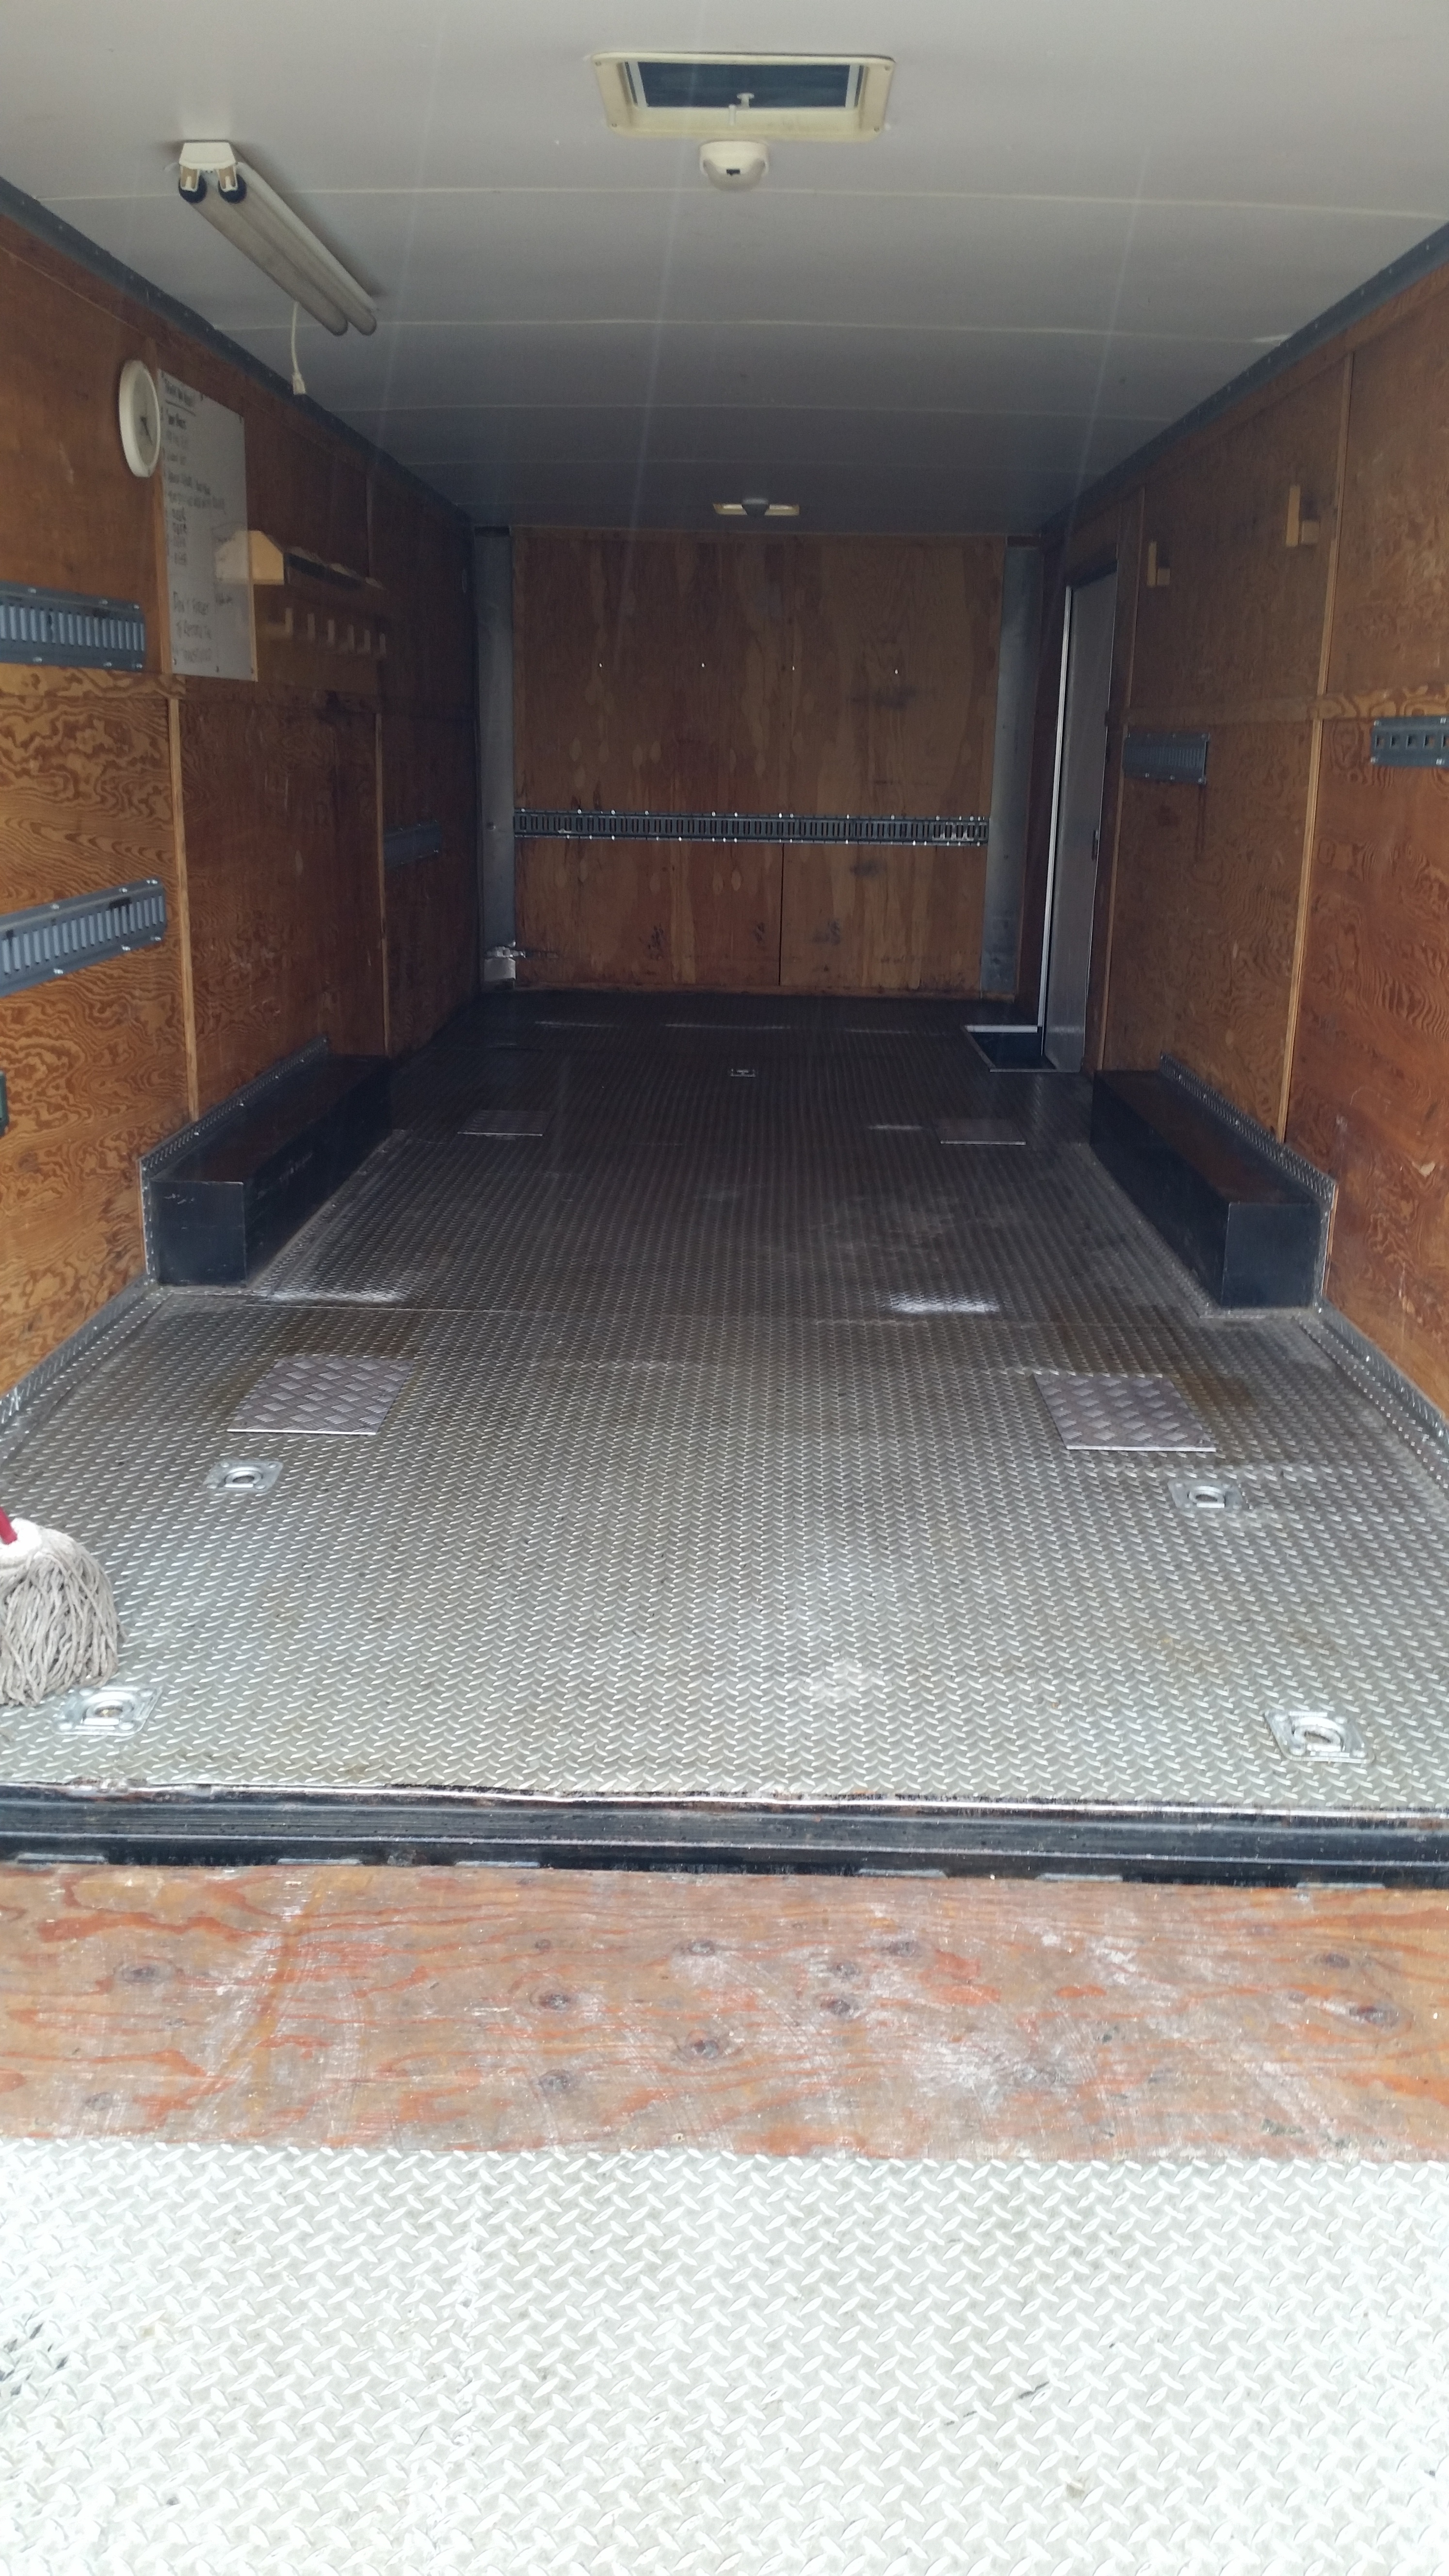
Anyways.... after I washed the outside and noted some things I'll need to address with exterior.. I took the trailer back and opened her up. Started with a good thorough sweep job. Then went and purchased a cheap Mop, and scrubber and got to work. The entire floor has the metal Diamond plate covering.....which is actually in really good shape...it was just dirty and needed some grease lifting soap and a bit of elbow grease. Took me about 45 min to get the whole thing done without completely soaking the whole floor. I just worked in sections because I didn't want the soapy water to get under the diamond plate and start to rot the wood or anything. End product was good. Could still use some heavy industrial strength degreaser to get that squeeky clean look, but i'm happy with the outcome so far.
Next issue was the front side door wouldn't open. It was stuck shut. After inspection... it looked as if one of the wood screws had backed itself out and was now preventing the door from passing by the key set lever. Got my leatherman out and was able to pry the screw head out of the way and the door popped open. Replaced the hardware with some new self tapping hardware and the door opened nice and smooth.
front door open
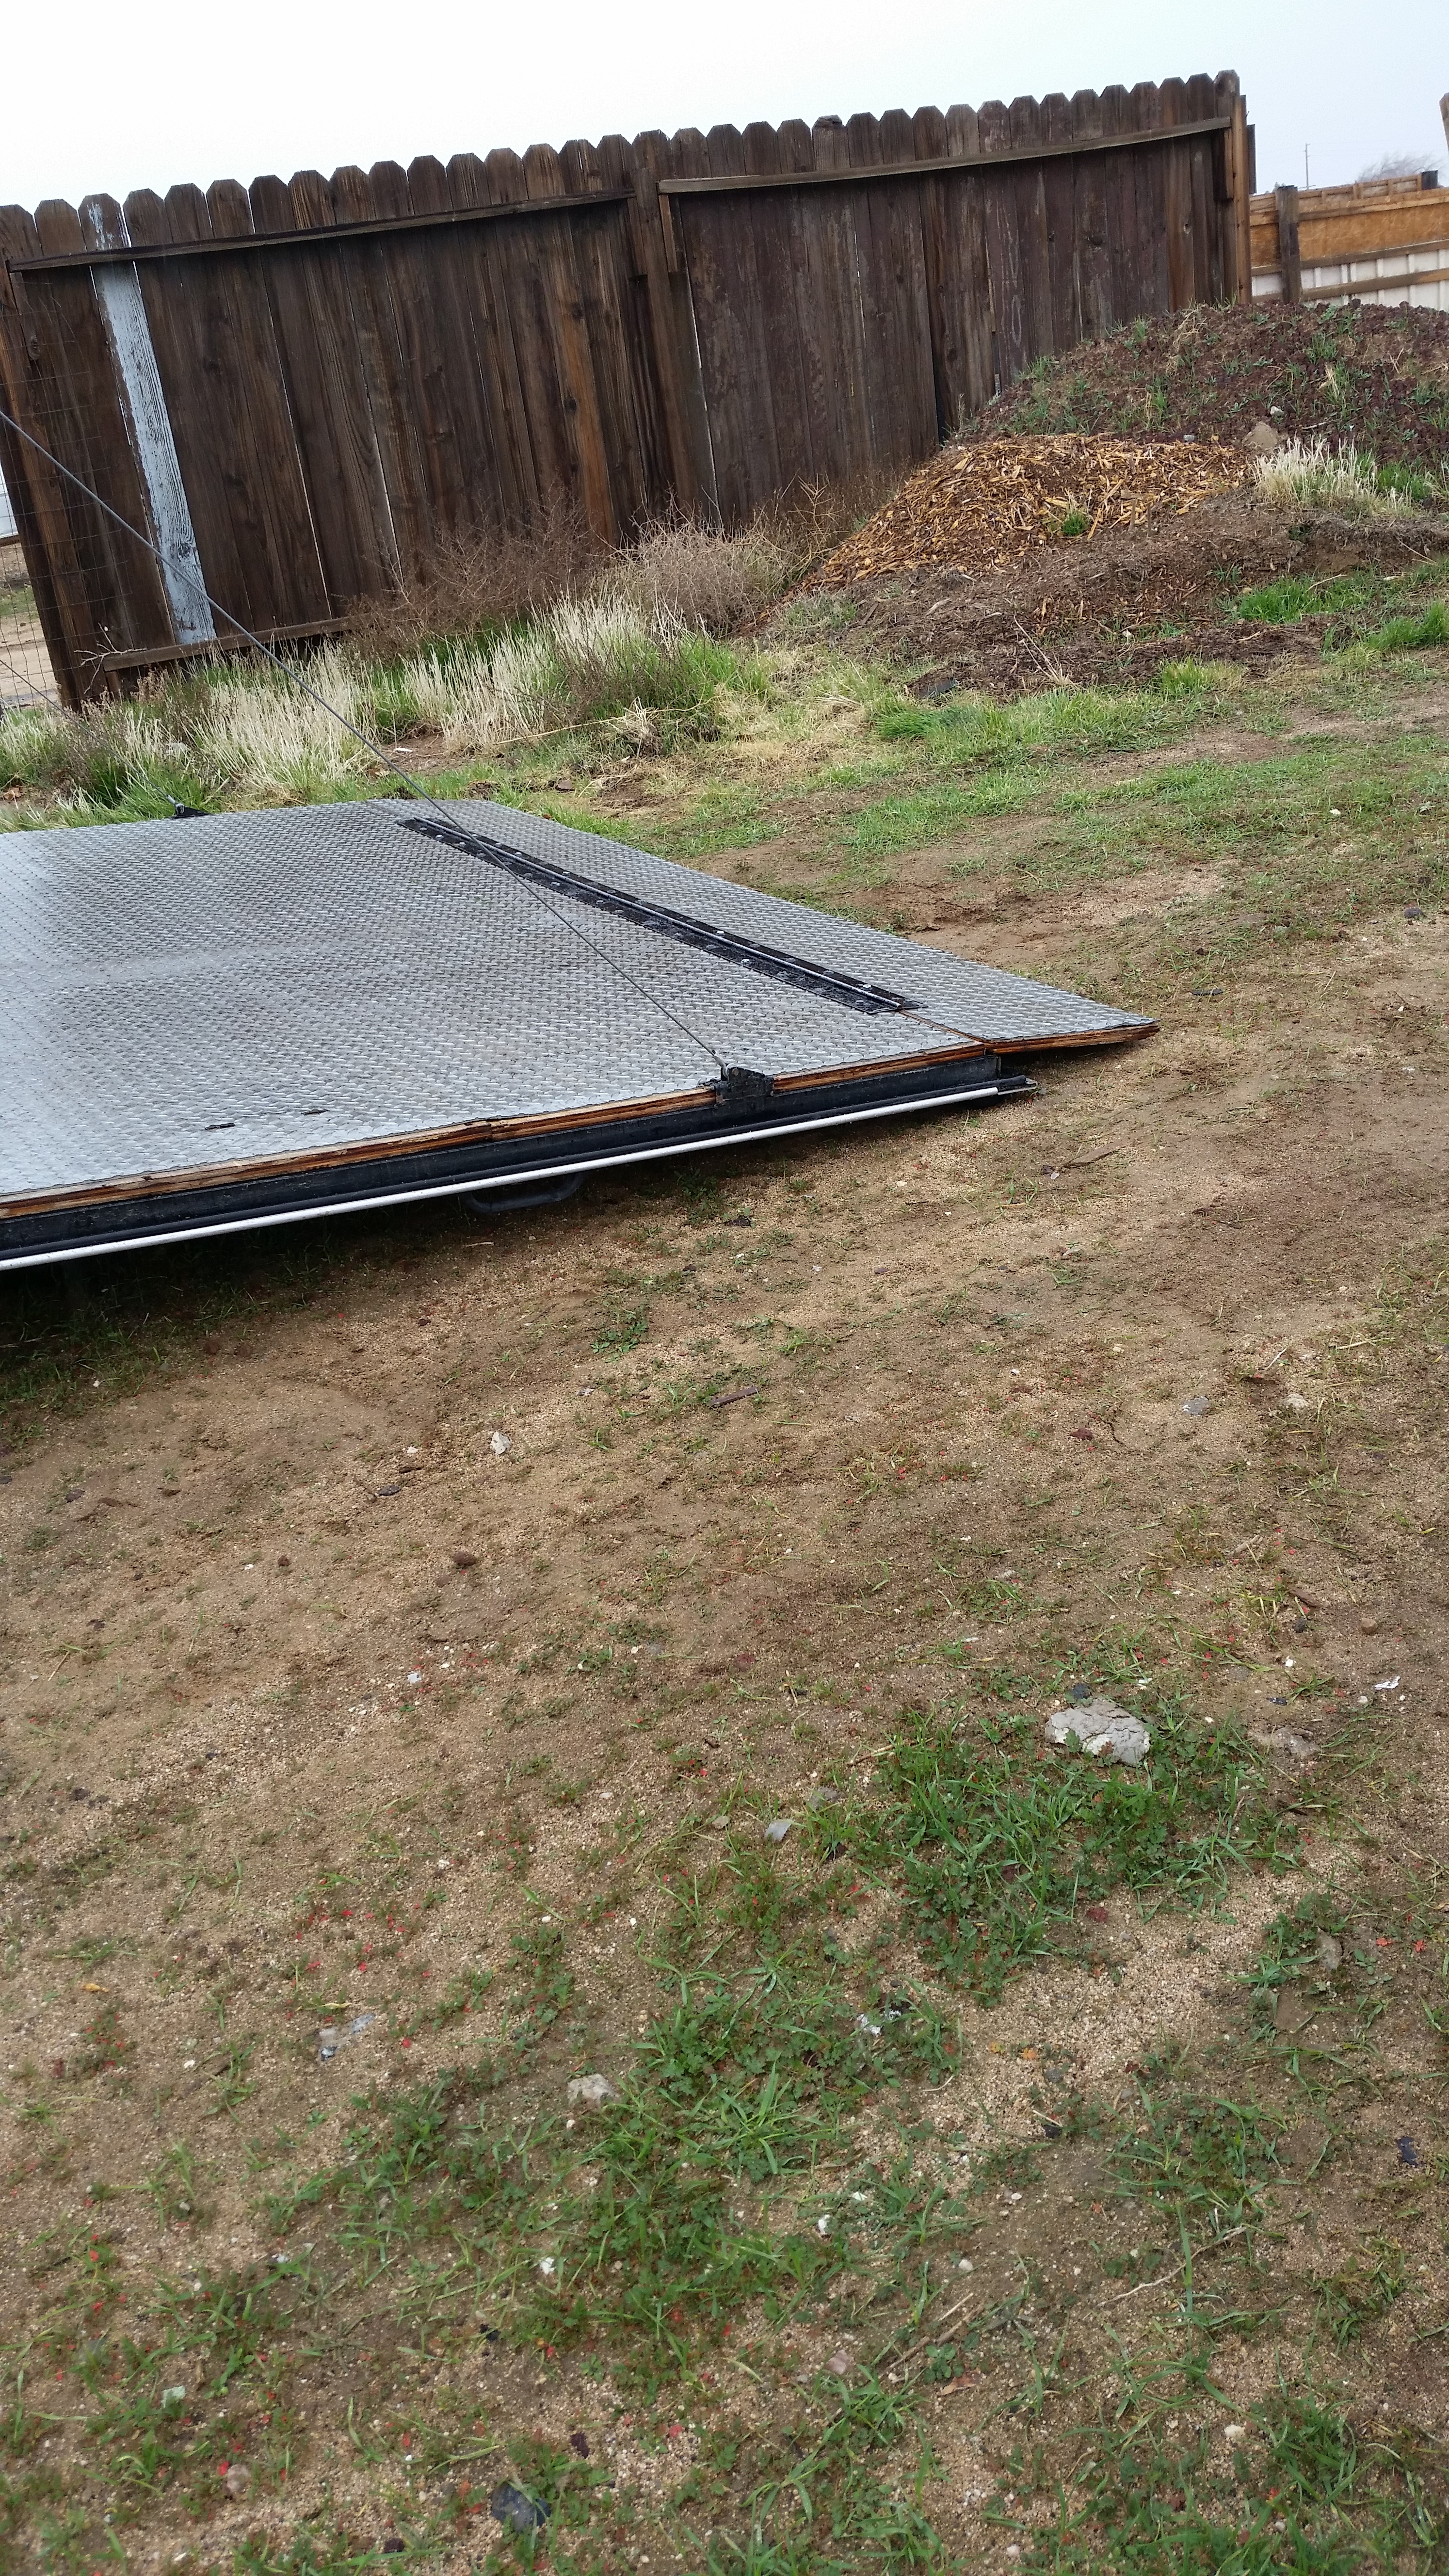
After that.. I wanted to fix the fold down door because the little flap that evened out the tail gate (to transition to the floor making it easy to drive up) was un-even... half of the screws were either backed out or missing all together and the metal hinge was all bent up. I pulled all the screws out. Massaged the hinge with a big mallet... didn't take much. Used a bit of WD-40 to get it clean and moving with ease. Moved the entire hinge over to the left 2" so it had fresh wood/metal to bite and re-installed it making sure it was flush as possible and lined up correctly.
Came out pretty good.
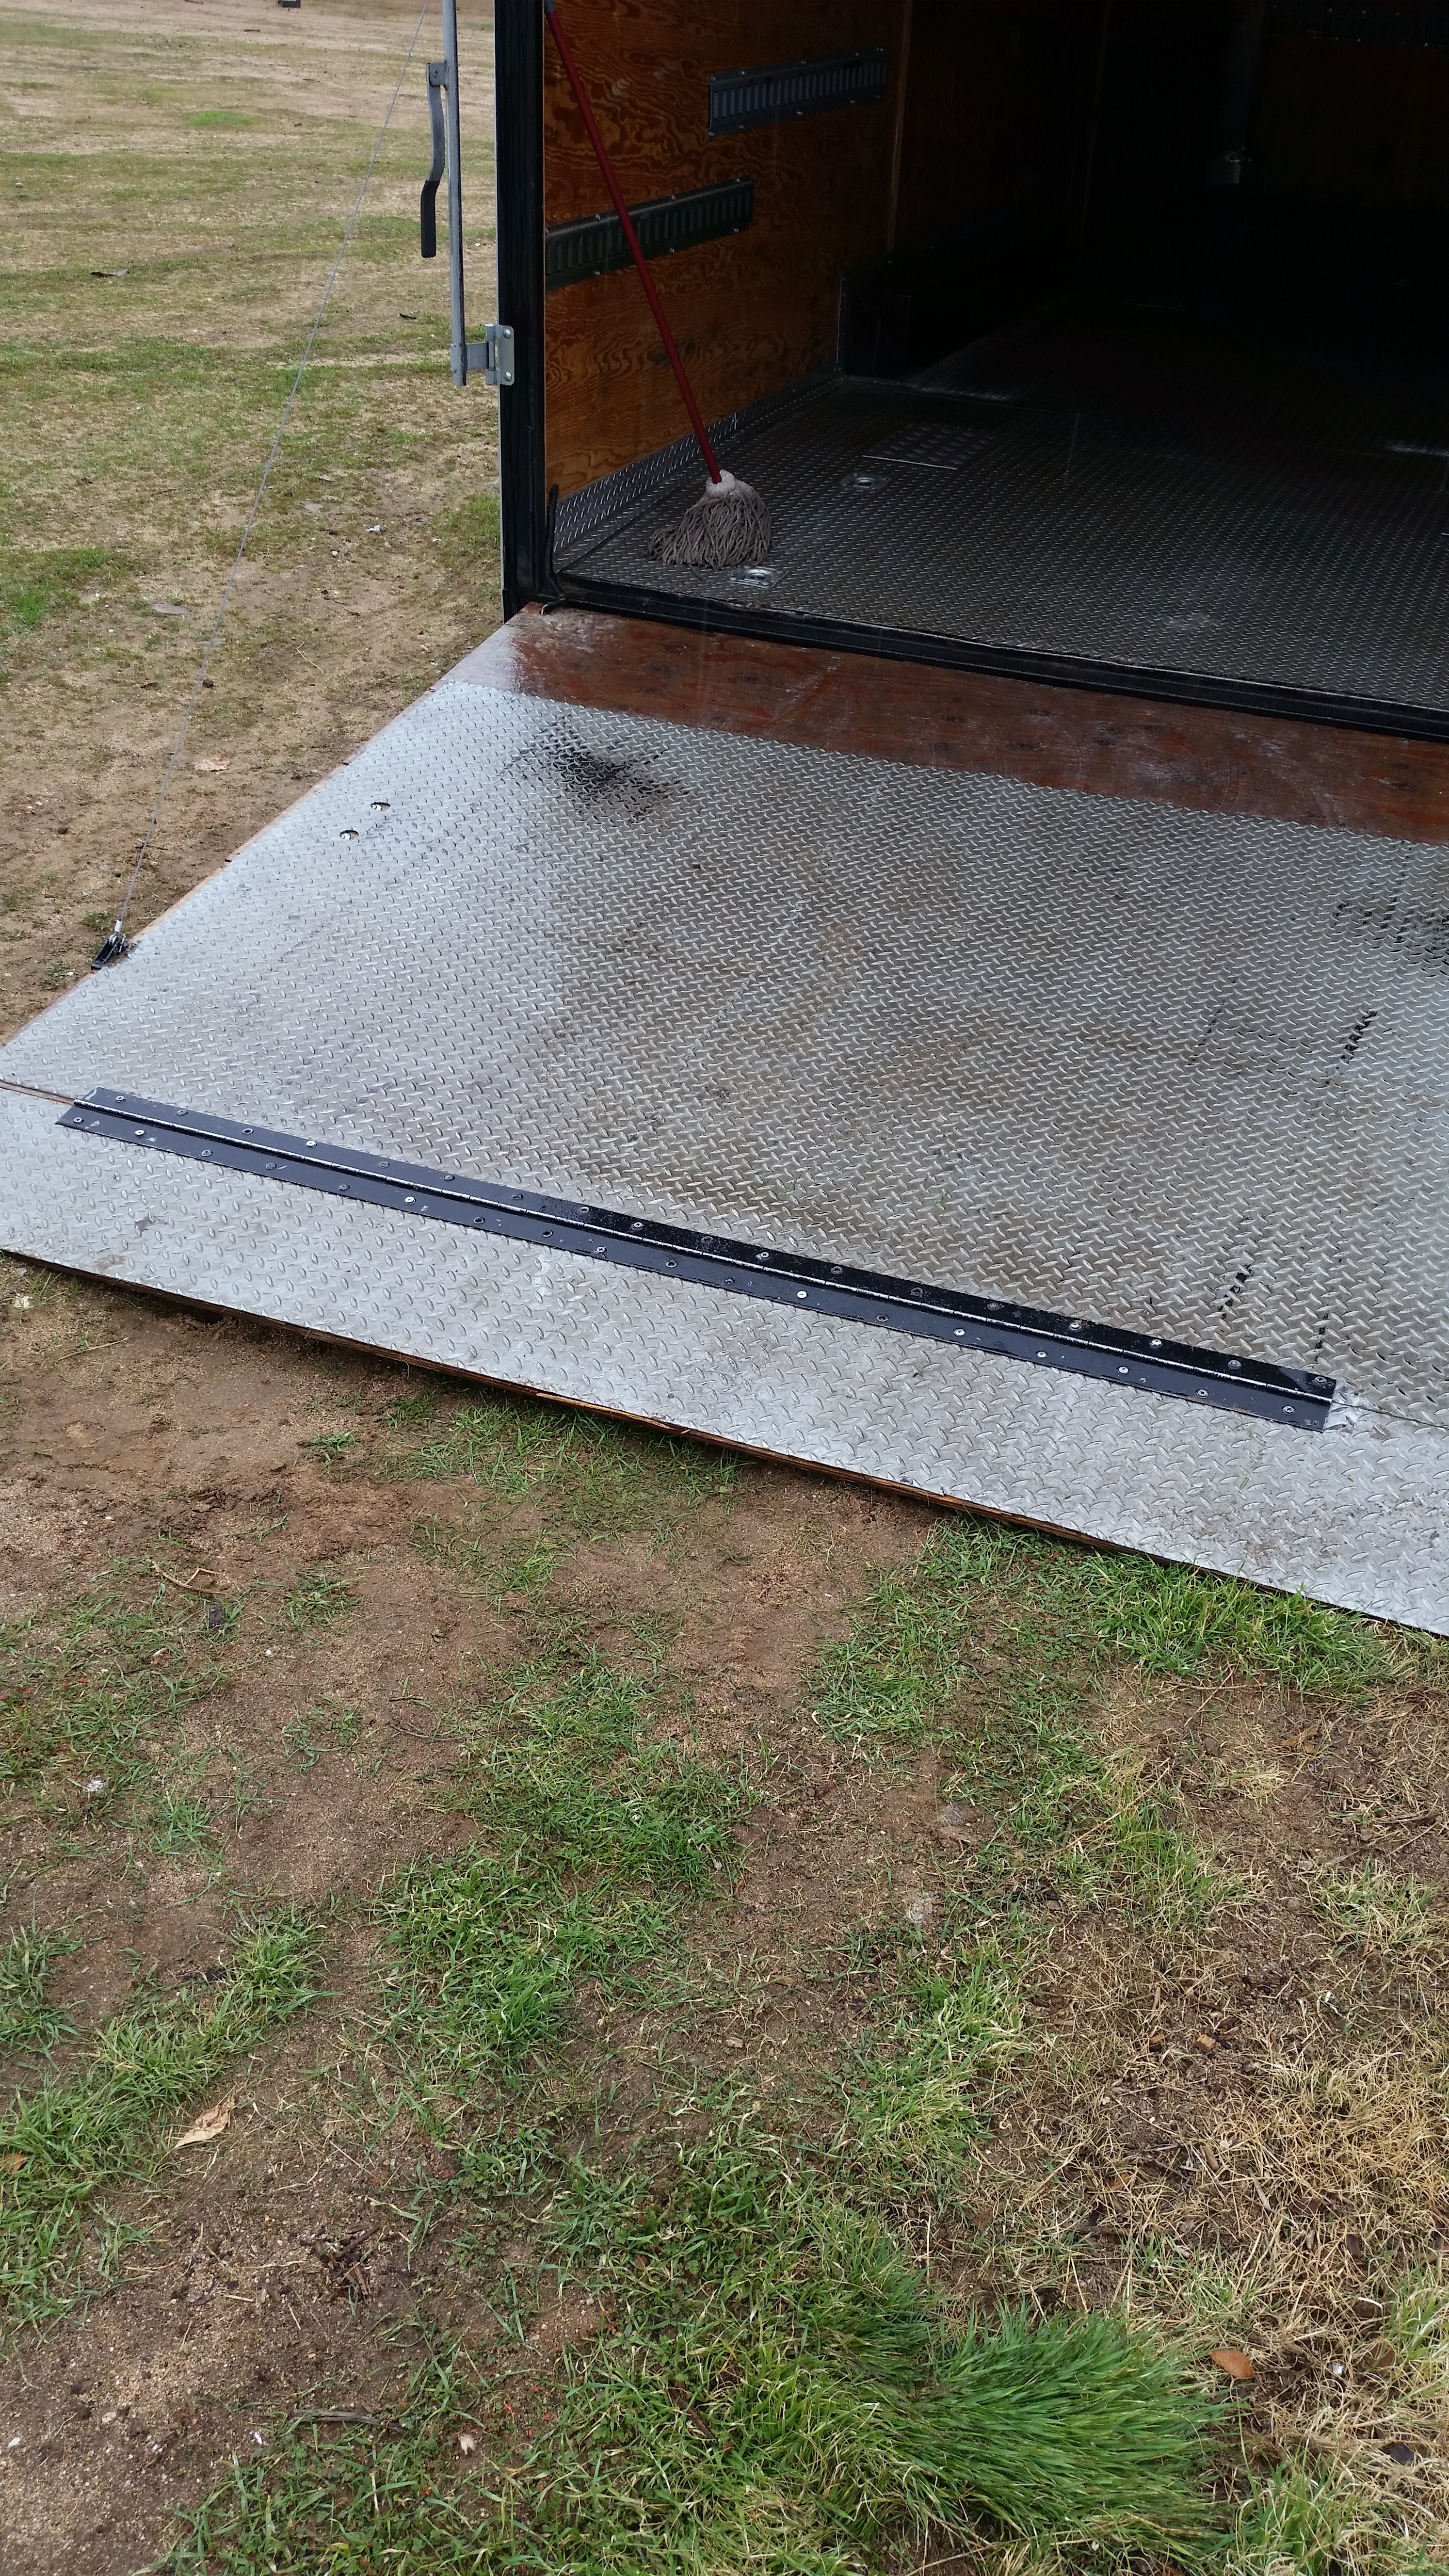
Nice smooth transition now! Might need to reinforce that little gap with some extra wood if it flexes at all....but I'm thinking it'll be just fine.
After A good cleaning
I'm supposed to be taking the car down to RAD industries to get a bit of work done but I can't get the car down there until the trailer is safe to use. We'll see what I can make happen!
More updates soon!
Stay tuned!
#AAPARKAH
Finally got around to cleaning up the trailer and addressing a few of the smaller issues with it.
But first....the trailer needed a good cleaning in and out.
went and picked the trailer up and gave the outside a good scrub washing. Took note of a few things in the process:
There are 2 brand new tires...and 2 Old Cracked tires...
The two old tires need to be replaced.. Last thing I want is to deal with some stupid preventable blow out.
Also noticed that there were a few little amber lights out. Those will be needing some love.
Scrapped all the little stickers off the back drop door...because they were hideously stupid haha.
And gave the Hitch a good look.
I'm not too familiar with these type's of hitches as most of my experience towing has been with 5th wheels and diesel trucks. But it looks as if I'm going to need a stabilizer hitch kit for anything over 5000Lbs. The trailer weighs 3900.. And My truck is a 2005 Ford f150 extra cab with what I think is a 4.6l V-8. I'm going to keep the Trailer relatively light just because I really don't need much in there aside from some essentials. Plan is to upgrade to diesel power in the next couple years. But I'm thinking my truck should be fine. Anyone have any experience towing without the Stabilizer bars? I found a hitch kit at harbor freight for 200 bucks. But i'm not opposed to buying a kit used. Also.. how about electronic brake controllers? I've seen a few recomended to me that are around 150 bucks... But really.. I don't need a ton of options. Just something that is safe, that works and does the job without hassle. If I can get all this stuff done under 300 bucks.. I'll be happy.
Electronic brake trailer module?
Hitch set up
looks like I'll be needing a battery as well.
Anyways.... after I washed the outside and noted some things I'll need to address with exterior.. I took the trailer back and opened her up. Started with a good thorough sweep job. Then went and purchased a cheap Mop, and scrubber and got to work. The entire floor has the metal Diamond plate covering.....which is actually in really good shape...it was just dirty and needed some grease lifting soap and a bit of elbow grease. Took me about 45 min to get the whole thing done without completely soaking the whole floor. I just worked in sections because I didn't want the soapy water to get under the diamond plate and start to rot the wood or anything. End product was good. Could still use some heavy industrial strength degreaser to get that squeeky clean look, but i'm happy with the outcome so far.
Next issue was the front side door wouldn't open. It was stuck shut. After inspection... it looked as if one of the wood screws had backed itself out and was now preventing the door from passing by the key set lever. Got my leatherman out and was able to pry the screw head out of the way and the door popped open. Replaced the hardware with some new self tapping hardware and the door opened nice and smooth.
front door open
After that.. I wanted to fix the fold down door because the little flap that evened out the tail gate (to transition to the floor making it easy to drive up) was un-even... half of the screws were either backed out or missing all together and the metal hinge was all bent up. I pulled all the screws out. Massaged the hinge with a big mallet... didn't take much. Used a bit of WD-40 to get it clean and moving with ease. Moved the entire hinge over to the left 2" so it had fresh wood/metal to bite and re-installed it making sure it was flush as possible and lined up correctly.
Came out pretty good.
Nice smooth transition now! Might need to reinforce that little gap with some extra wood if it flexes at all....but I'm thinking it'll be just fine.
After A good cleaning
I'm supposed to be taking the car down to RAD industries to get a bit of work done but I can't get the car down there until the trailer is safe to use. We'll see what I can make happen!
More updates soon!
Stay tuned!
#AAPARKAH
01-11-15, 02:51 AM
#2234
Rotary Porn Addict
iTrader: (2)
Join Date: Jul 2014
Location: Charleston SC
Posts: 299
Likes: 0
Received 0 Likes
on
0 Posts
First off awesome score Aaron especially if you got a really good deal on it, stabilizer bars won't hurt but a good set of tires and a brake booster would be my first concern, a good break boost system will stop the trailer and the truck, like you said not a very expensive upgrade, while you're at the tires I would check those brakes and the wheelbearings, if it were my trailer I would move that battery to the inside which keeps it away from thieves! Then a good gnarly chain(running it through the a rim and around the axle)and some locks for the hitches will deter scumbags from a grab and go as well, as someone else stated that's fairly common with enclosed trailers
01-11-15, 02:29 PM
#2235

Talk to Lomita trailer supply. They will tell you everything you need to know. I ran a Jacobs brake controller by their recommendation and was very pleased. The trailer could stop the Truck easily no matter how much weight was in it if I adjusted it that way. It was cab adjustable which was nice because I could turn it up when on a decline coming to a stop if need be.
01-11-15, 07:53 PM
#2236
For what it's worth, CA state law requires that any vehicle has a functional trailer brake controller installed in the truck. I was pulled over for inspection a few months ago and was given a warning for that. I've heard the ticket is pretty expensive.
01-11-15, 08:08 PM
#2237
Wastegate John
iTrader: (13)
Join Date: Feb 2008
Location: Long Island NY 11746
Posts: 2,979
Likes: 0
Received 9 Likes
on
9 Posts
Load the trailer right and you won't need any special stabilizer or hitch. I towed plenty of things with my dad's 04 f150. It will definitely get the job done. You really have no need for a diesel truck.
01-16-15, 11:07 AM
#2238
First off awesome score Aaron especially if you got a really good deal on it, stabilizer bars won't hurt but a good set of tires and a brake booster would be my first concern, a good break boost system will stop the trailer and the truck, like you said not a very expensive upgrade, while you're at the tires I would check those brakes and the wheelbearings, if it were my trailer I would move that battery to the inside which keeps it away from thieves! Then a good gnarly chain(running it through the a rim and around the axle)and some locks for the hitches will deter scumbags from a grab and go as well, as someone else stated that's fairly common with enclosed trailers
Talk to Lomita trailer supply. They will tell you everything you need to know. I ran a Jacobs brake controller by their recommendation and was very pleased. The trailer could stop the Truck easily no matter how much weight was in it if I adjusted it that way. It was cab adjustable which was nice because I could turn it up when on a decline coming to a stop if need be.
01-22-15, 04:48 PM
#2239
Update:
So It's a bit hard to keep up with the updates due to my schedule being so full. I literally wake up at 5:45 and pass out around 12:30 Seven days a week. But I wouldnt' have it anyother way.. and I am pleased to say that I am living every single day as much as possible! =-) Although I havn't been able to update much.... It doesn't mean i've slowed down with progress on the car. I recently decided that It's out of my resources and time/schedule to contunue trying to do fab work on my own. I'll do as much as possible..but anything to do with welding is just better done completely by a shop with the correct resources. So with that.. I'm proud to announce that i'll be partnering up completely with Rad_Industries out of Santa Ana. I've known the owner Dan Burkett for a while now.. and his capabilities have definitely spoken for themselves.
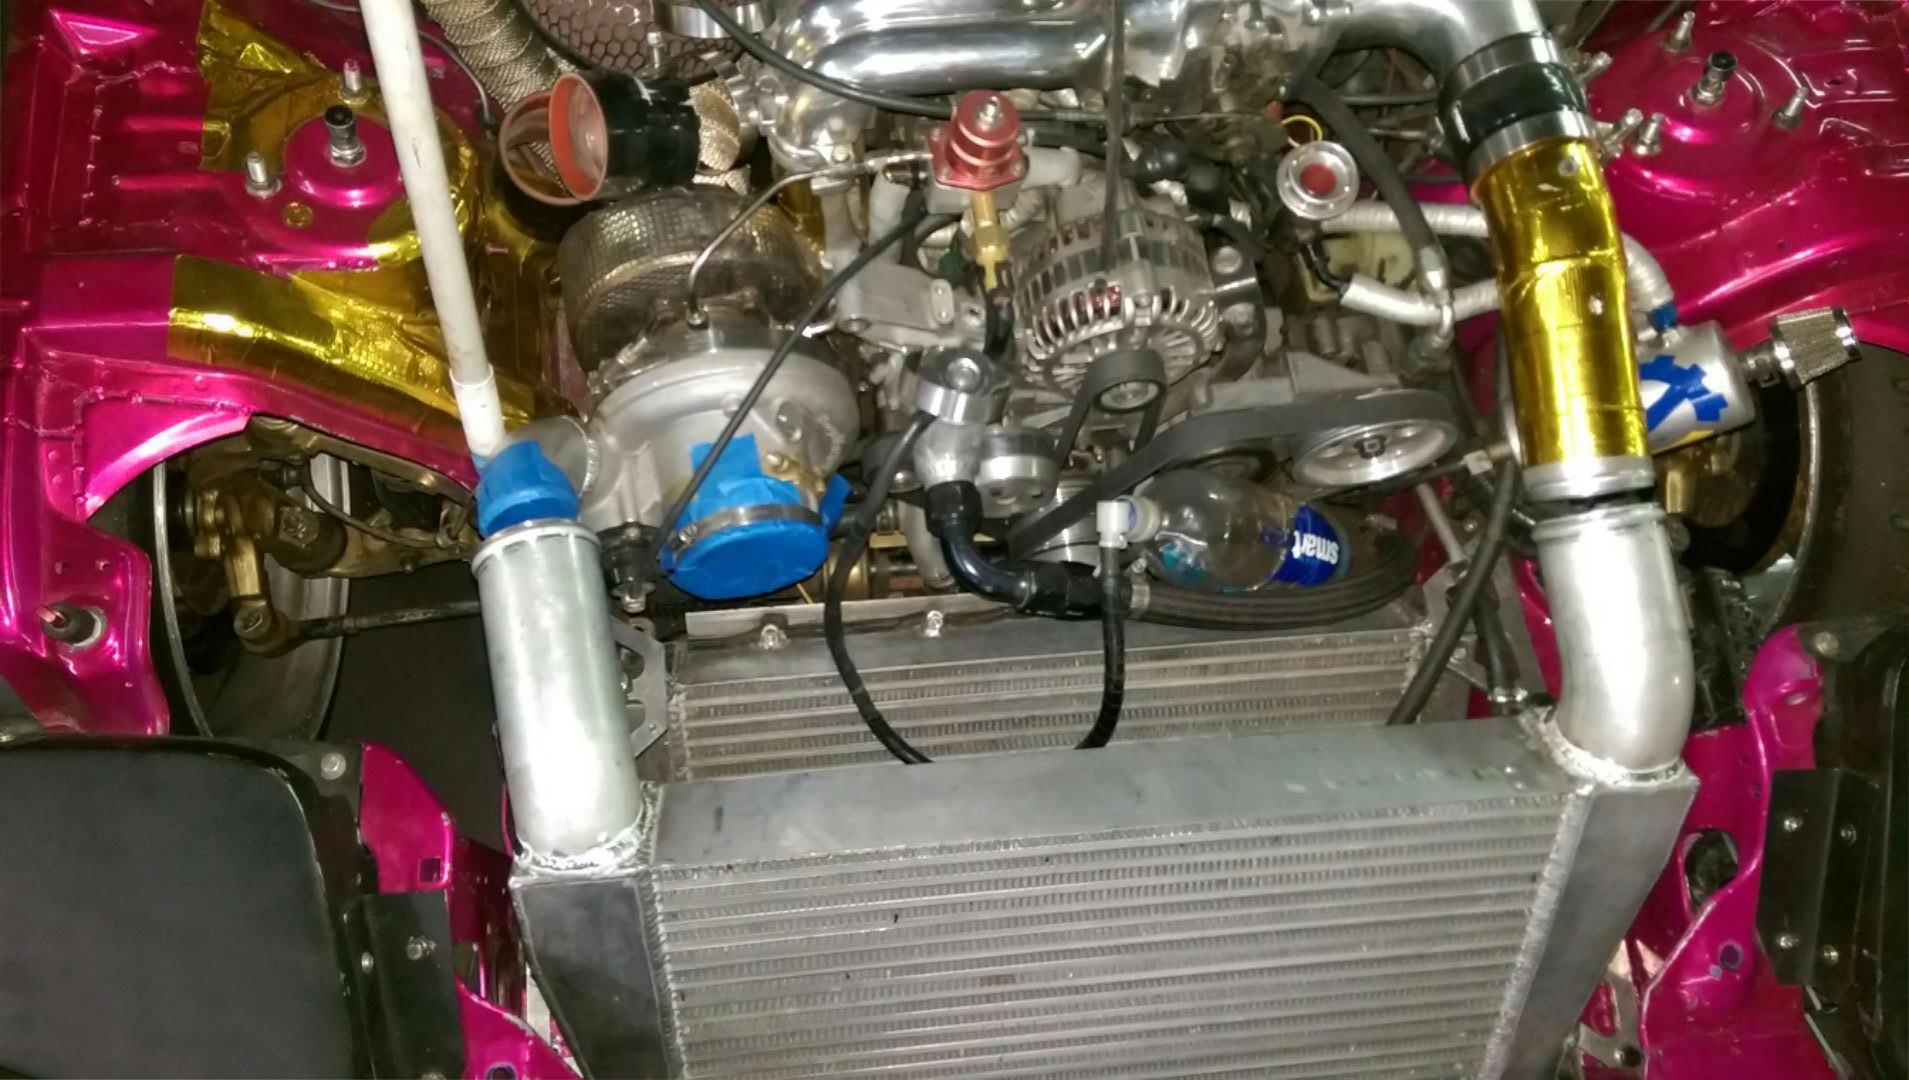
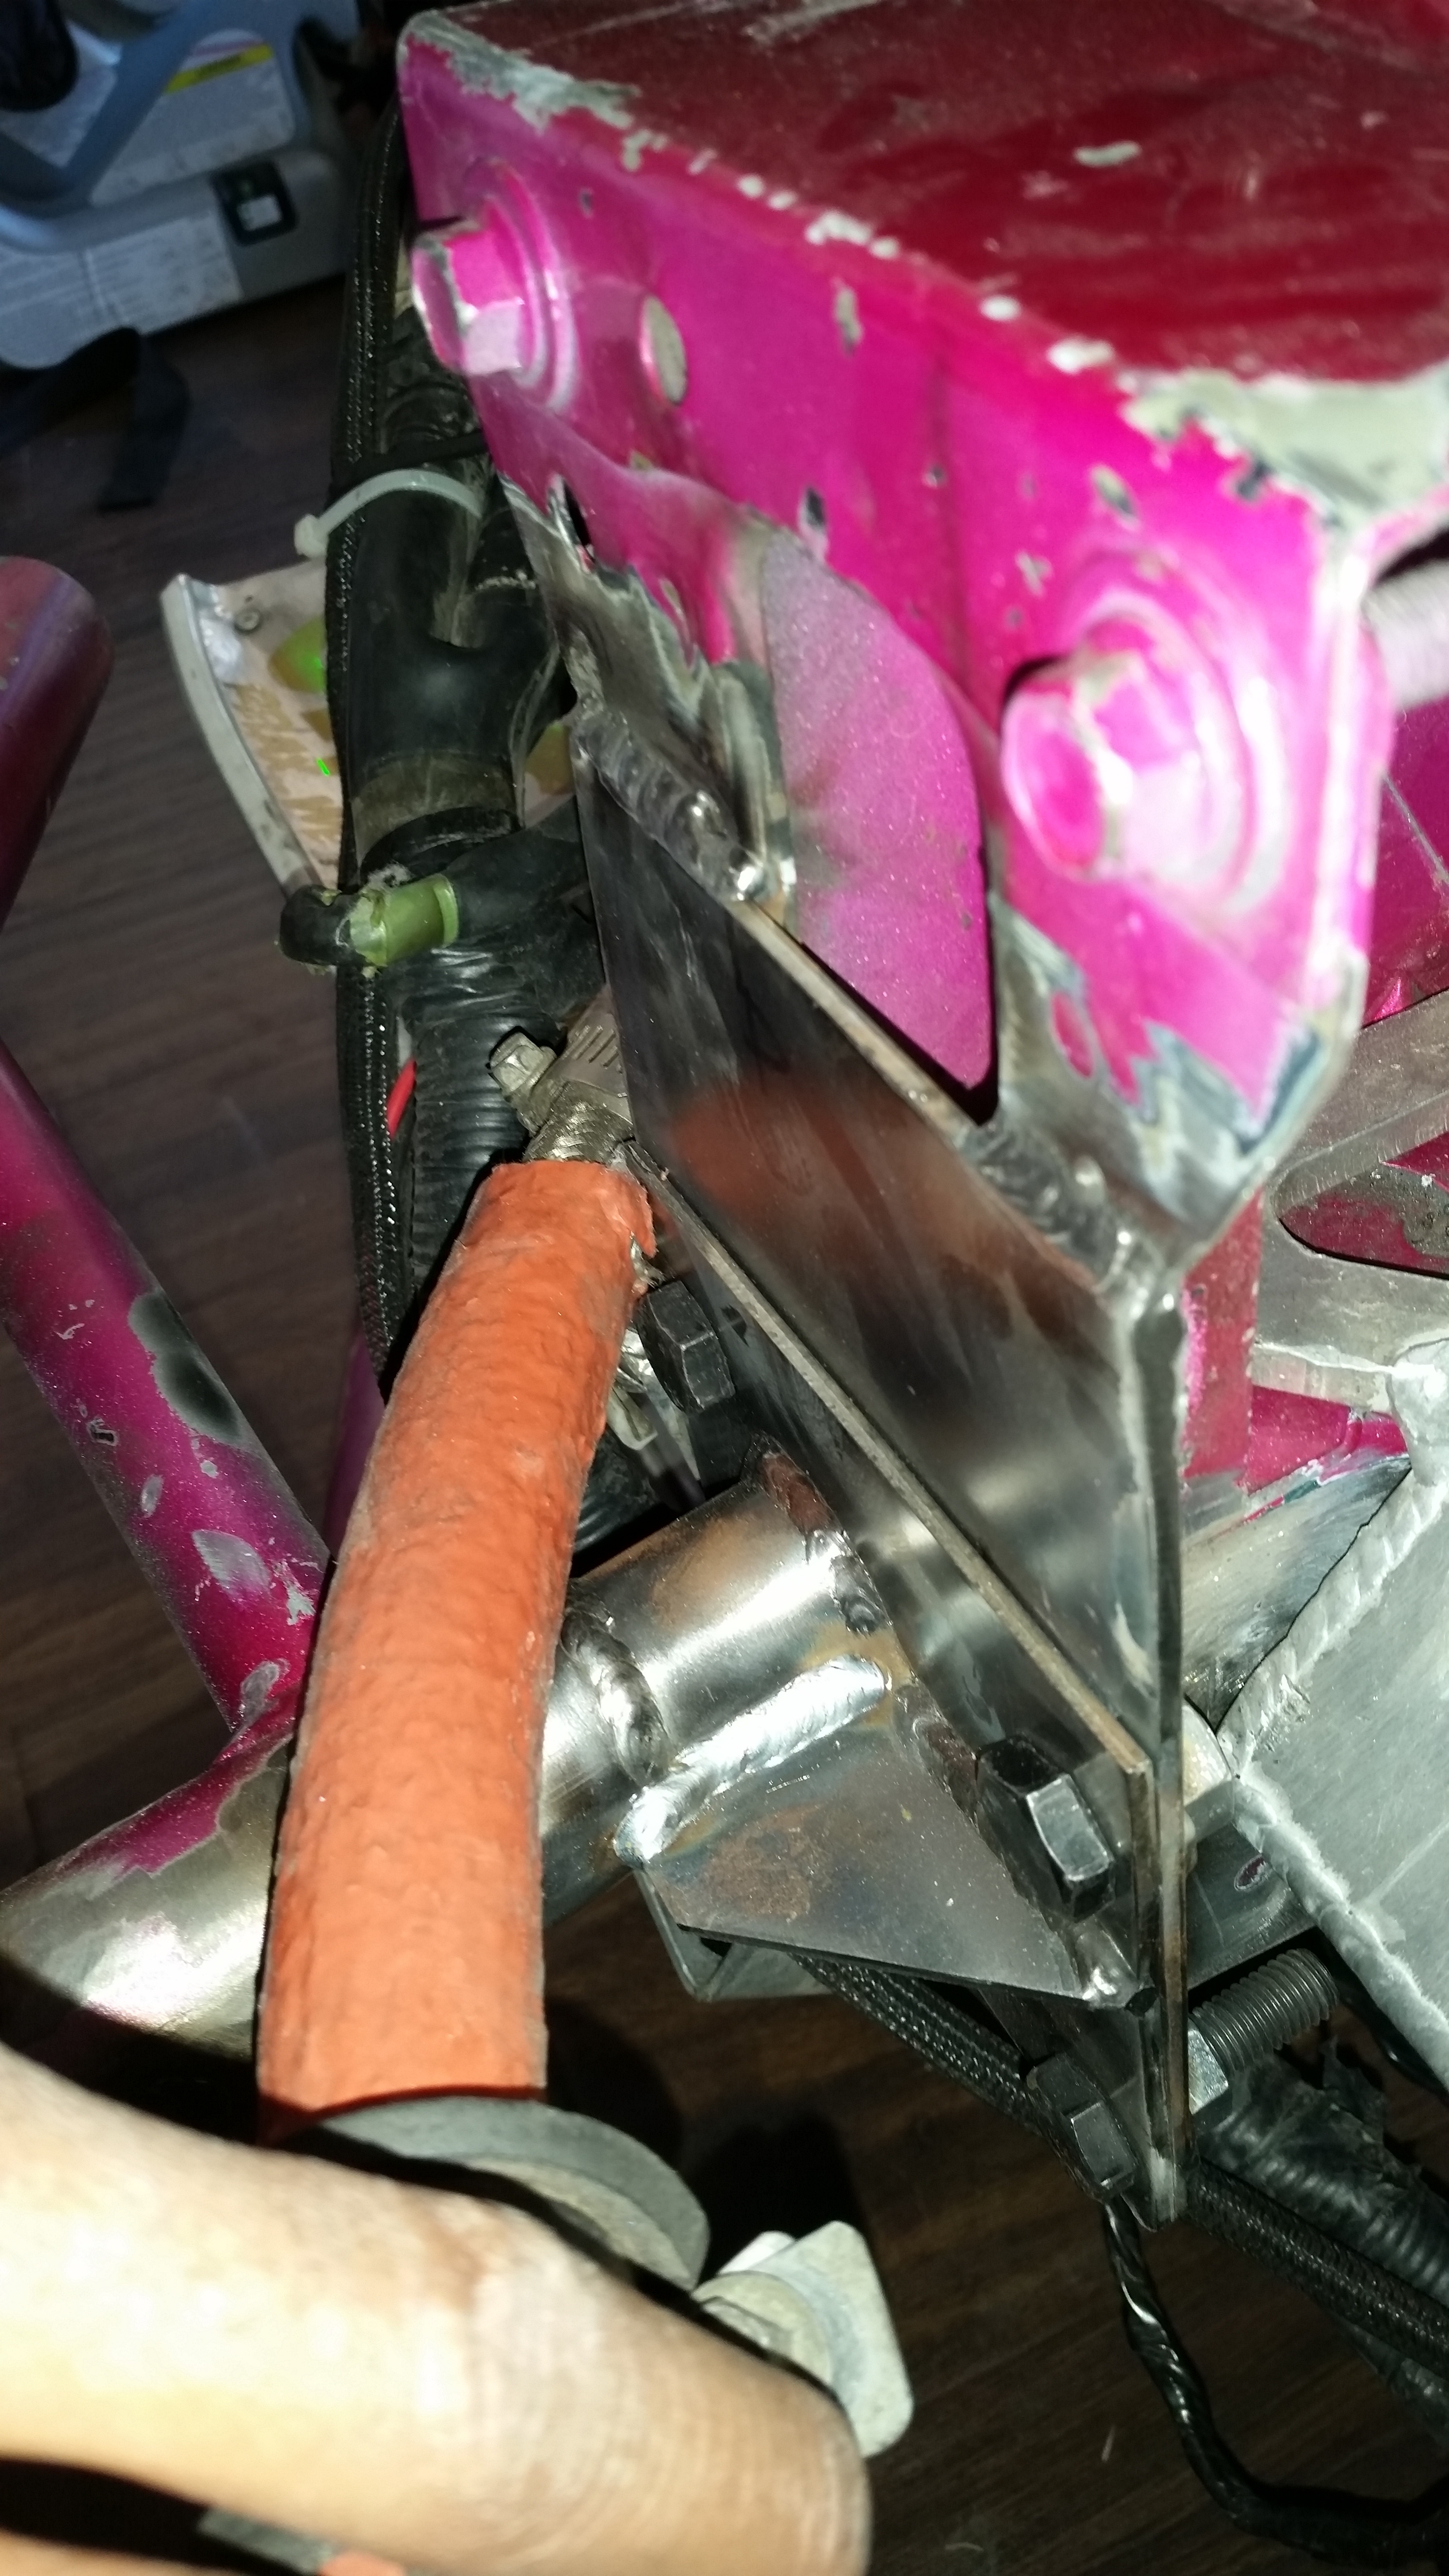
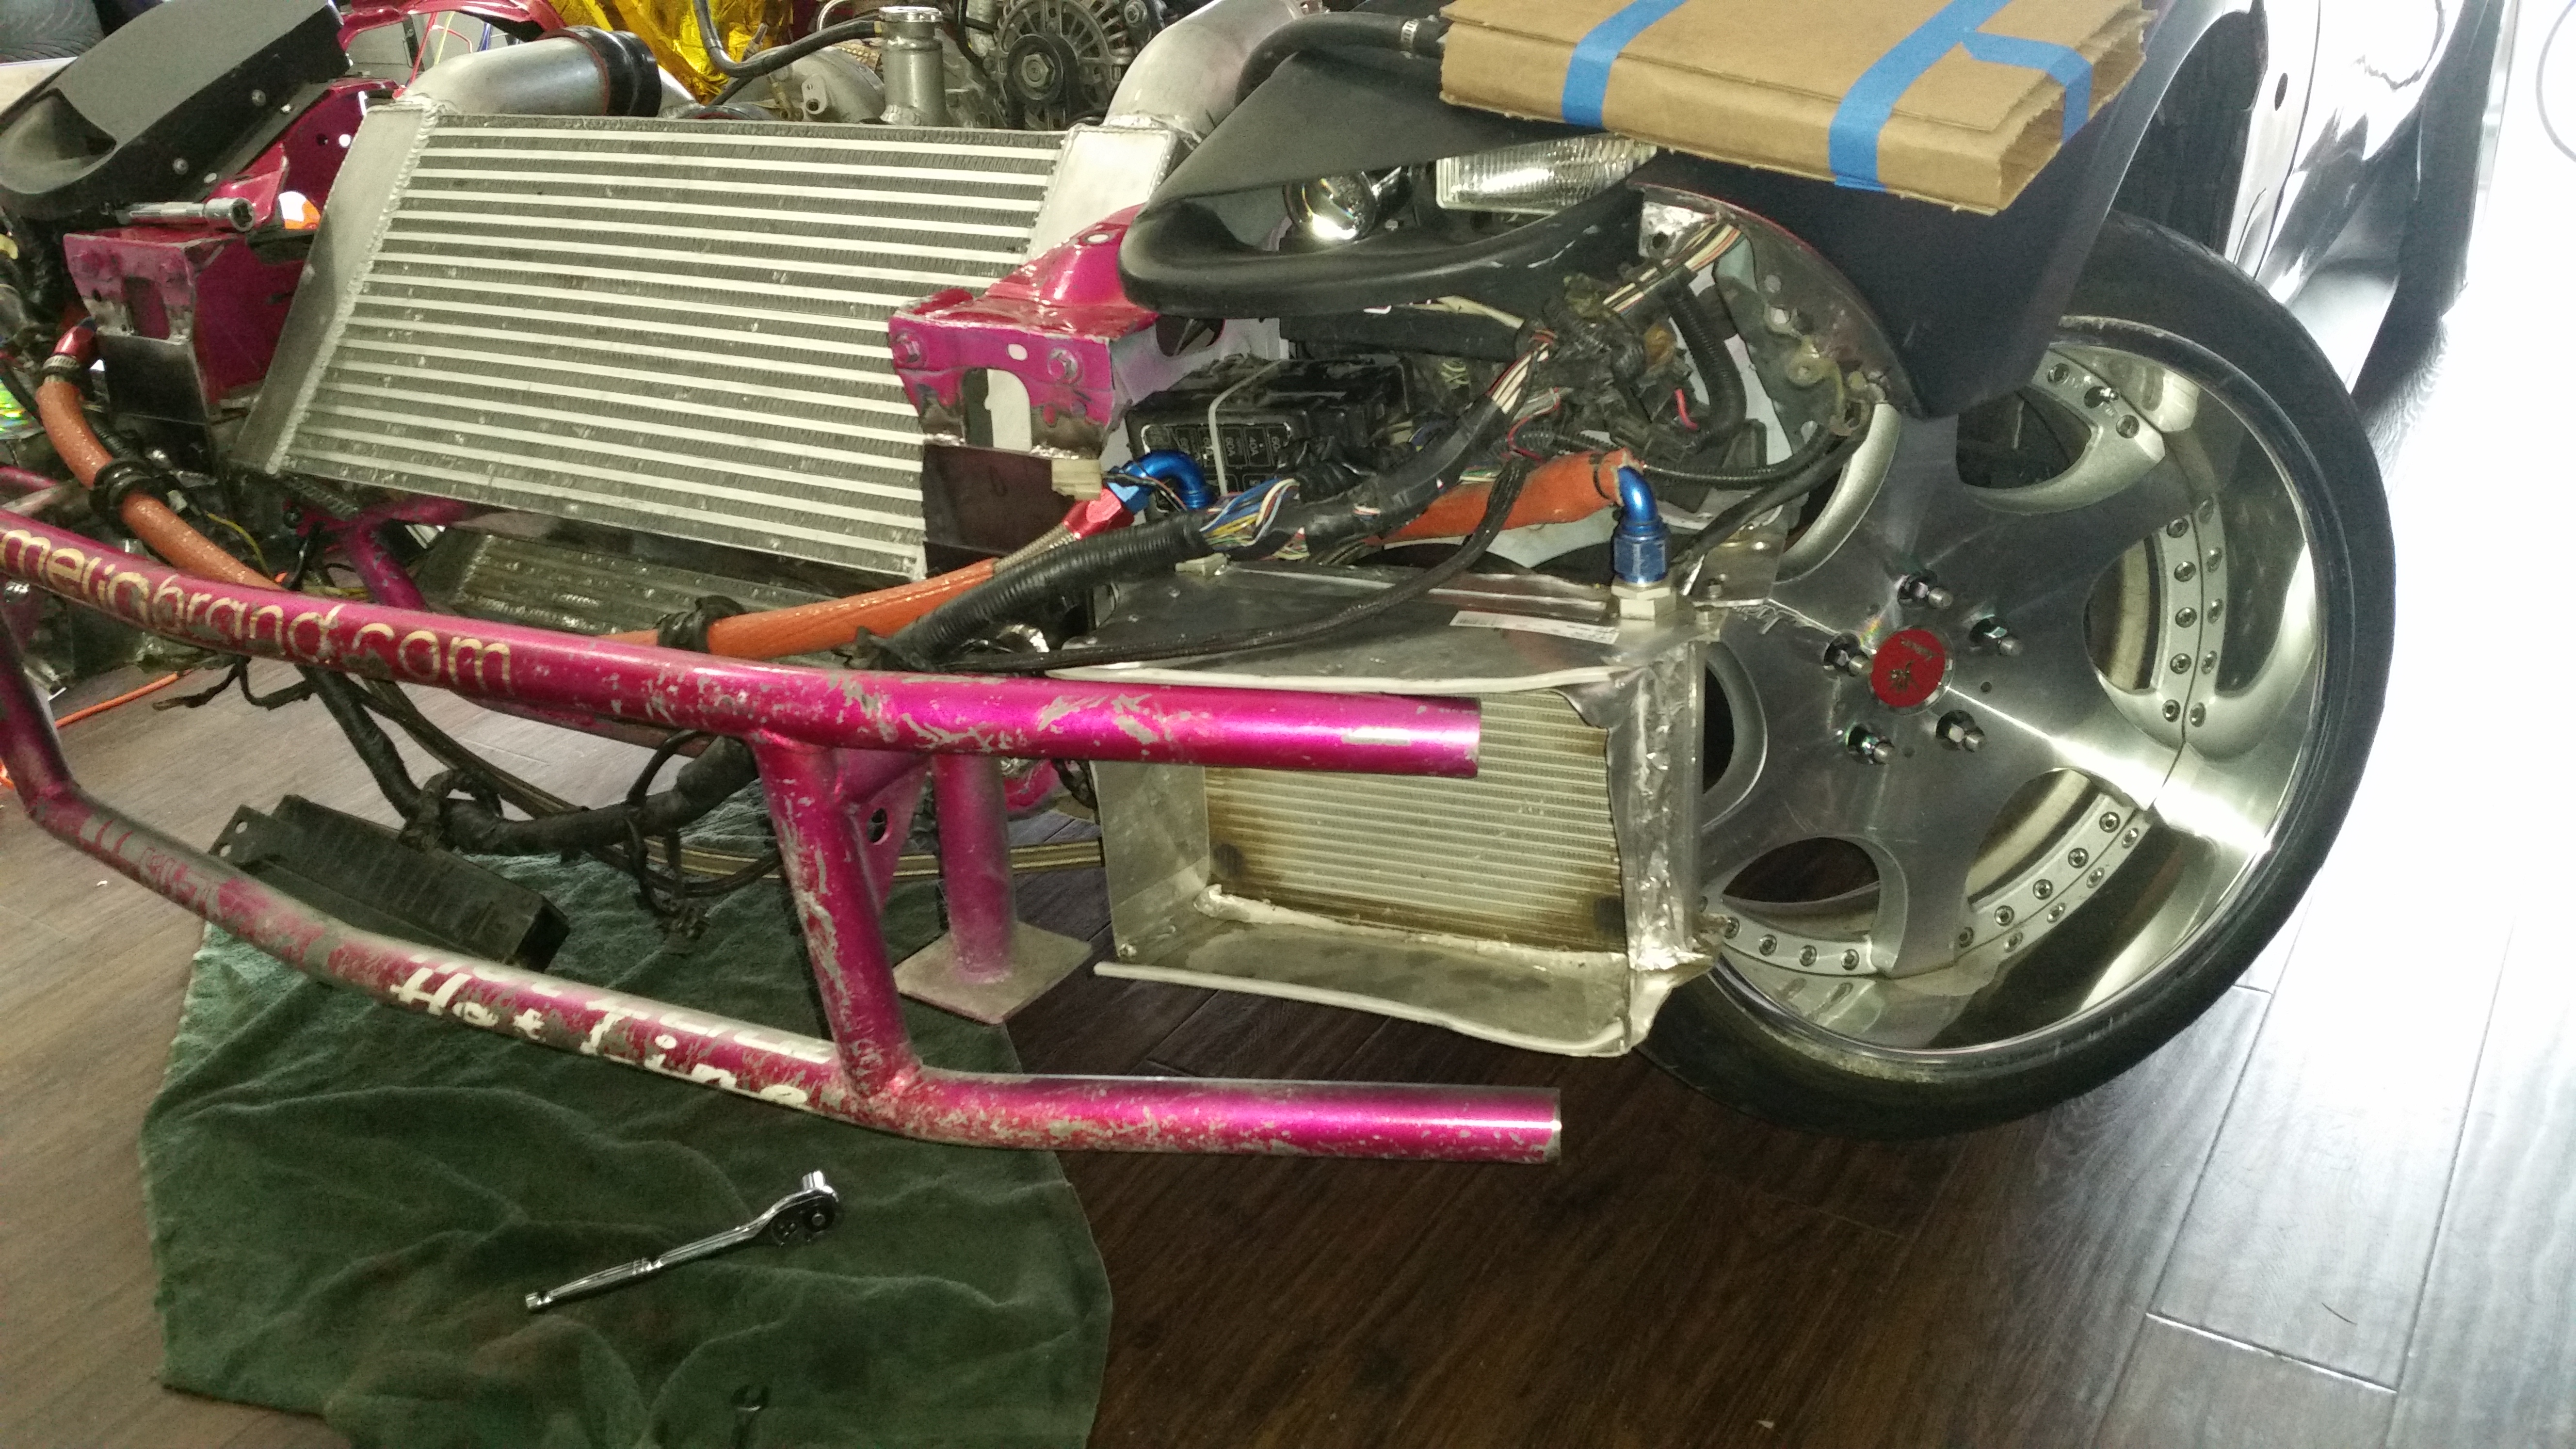
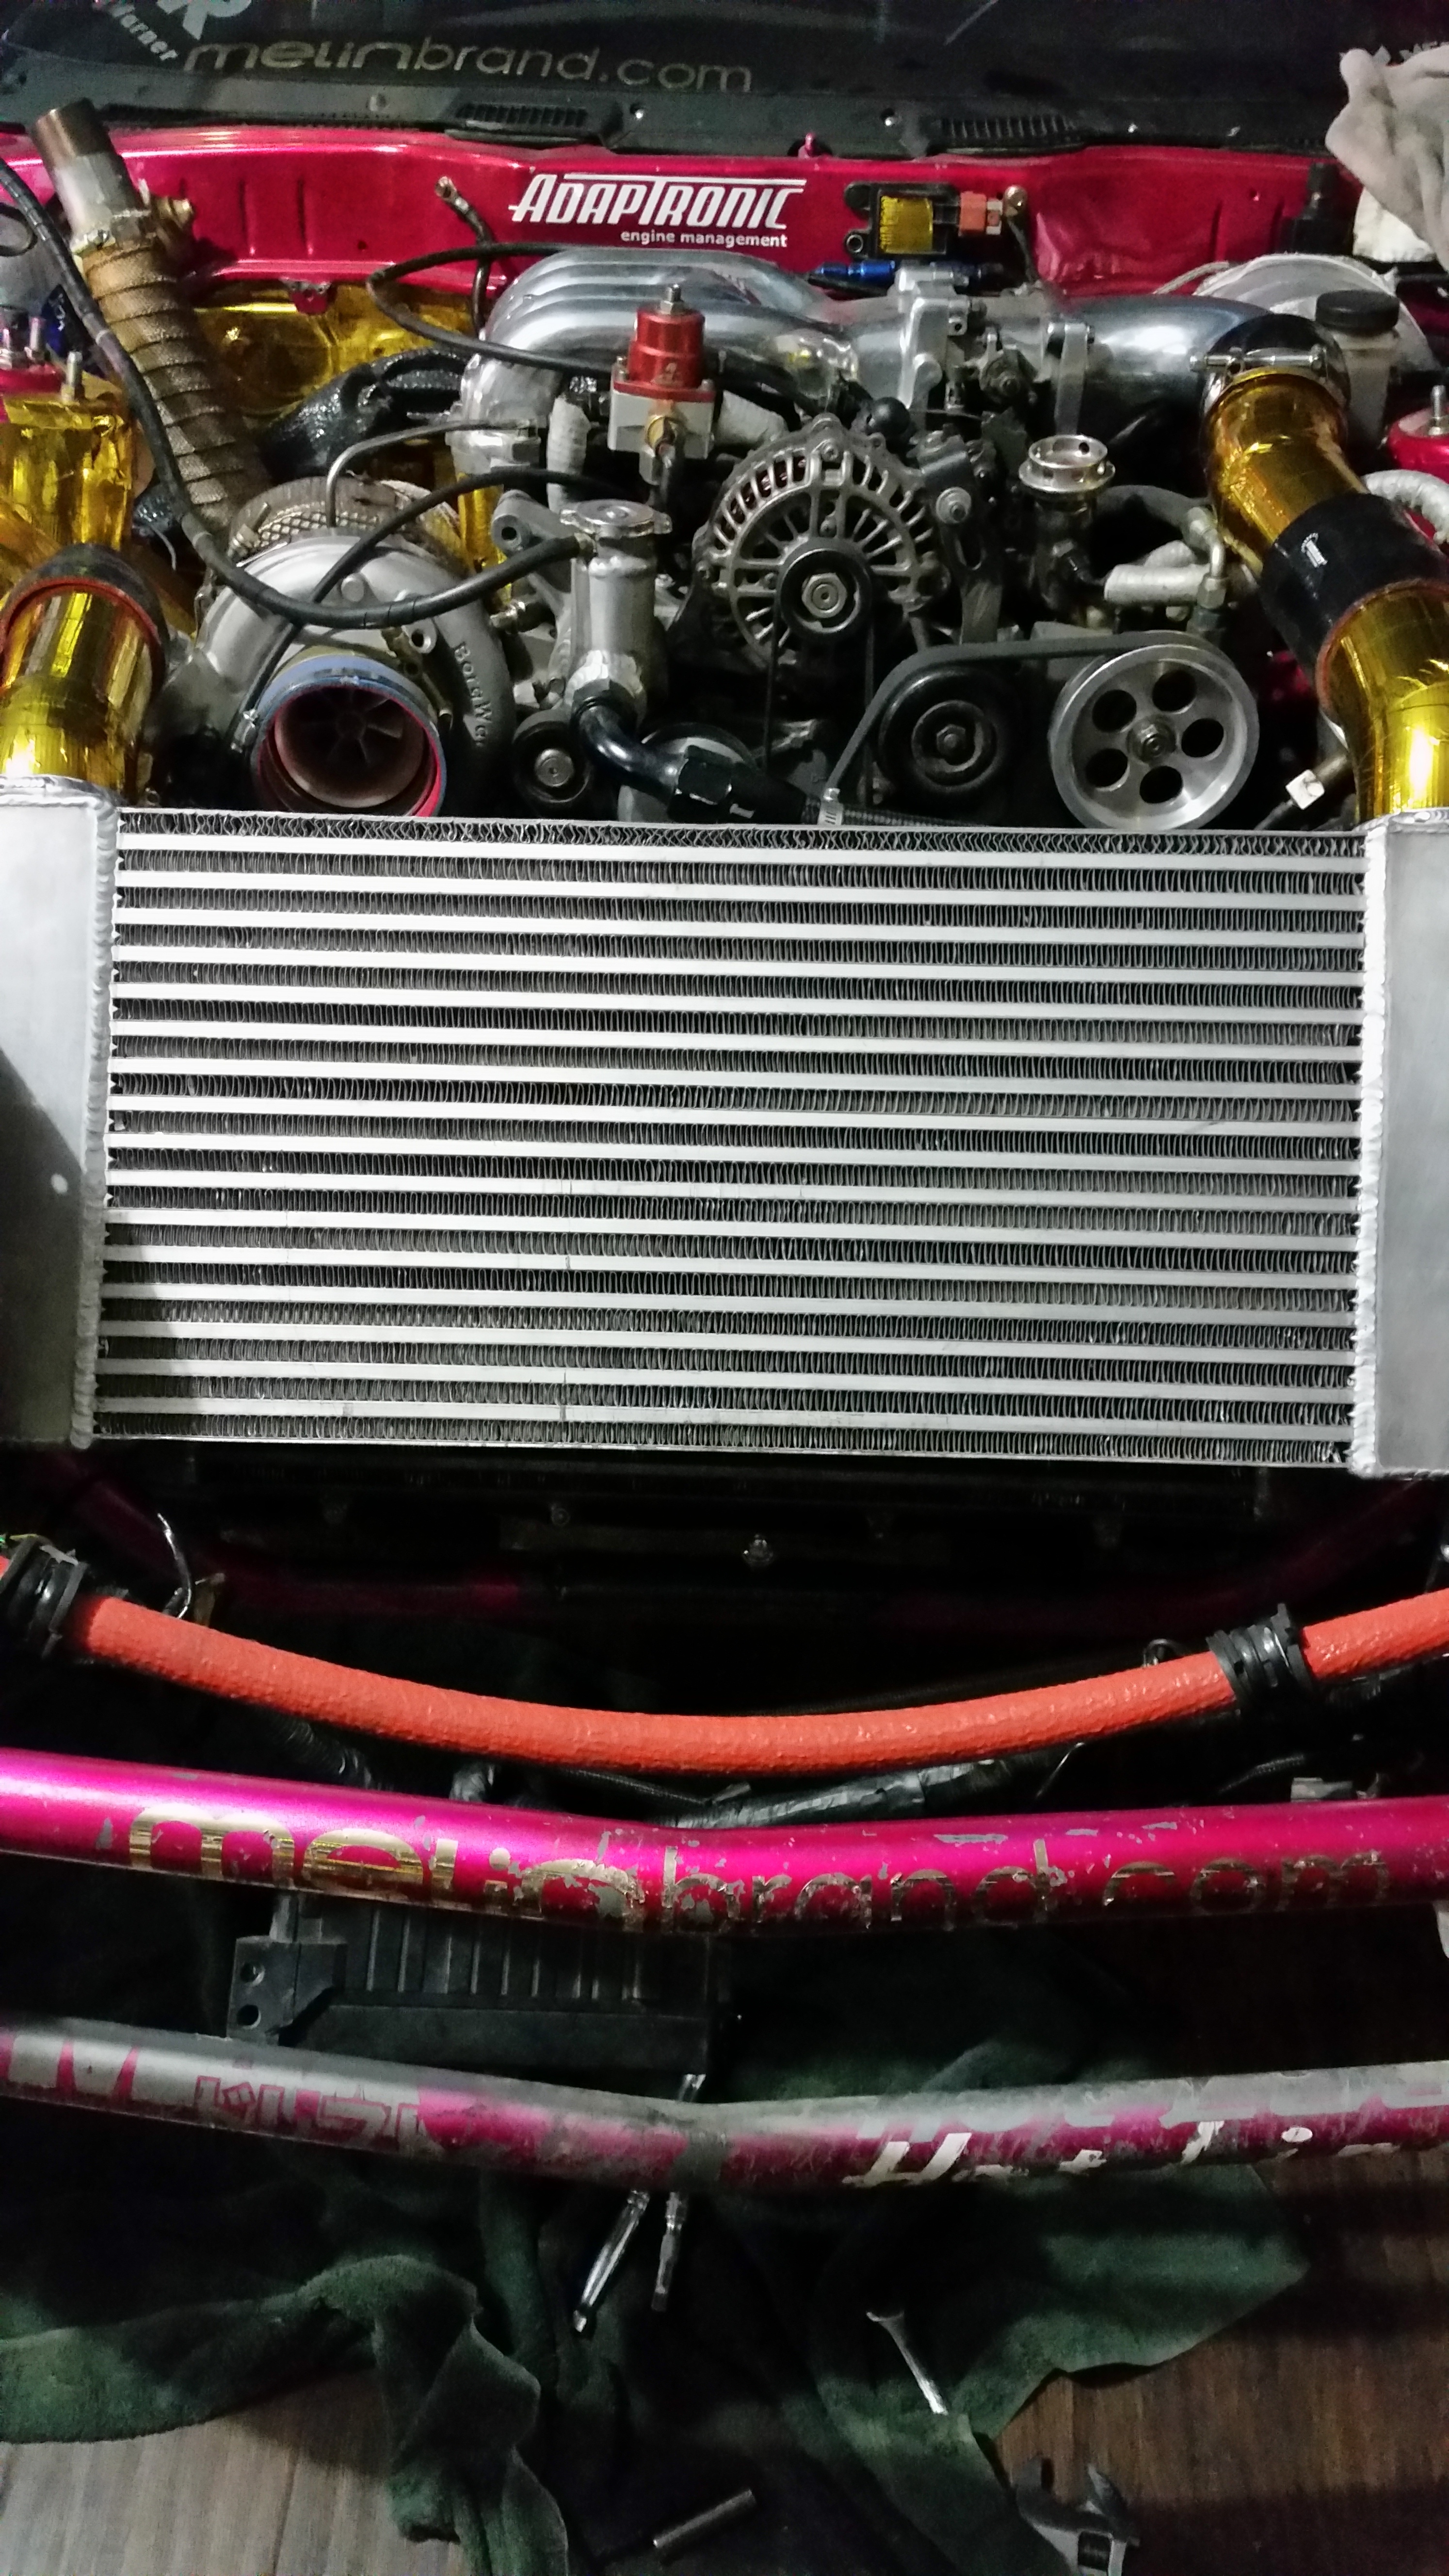
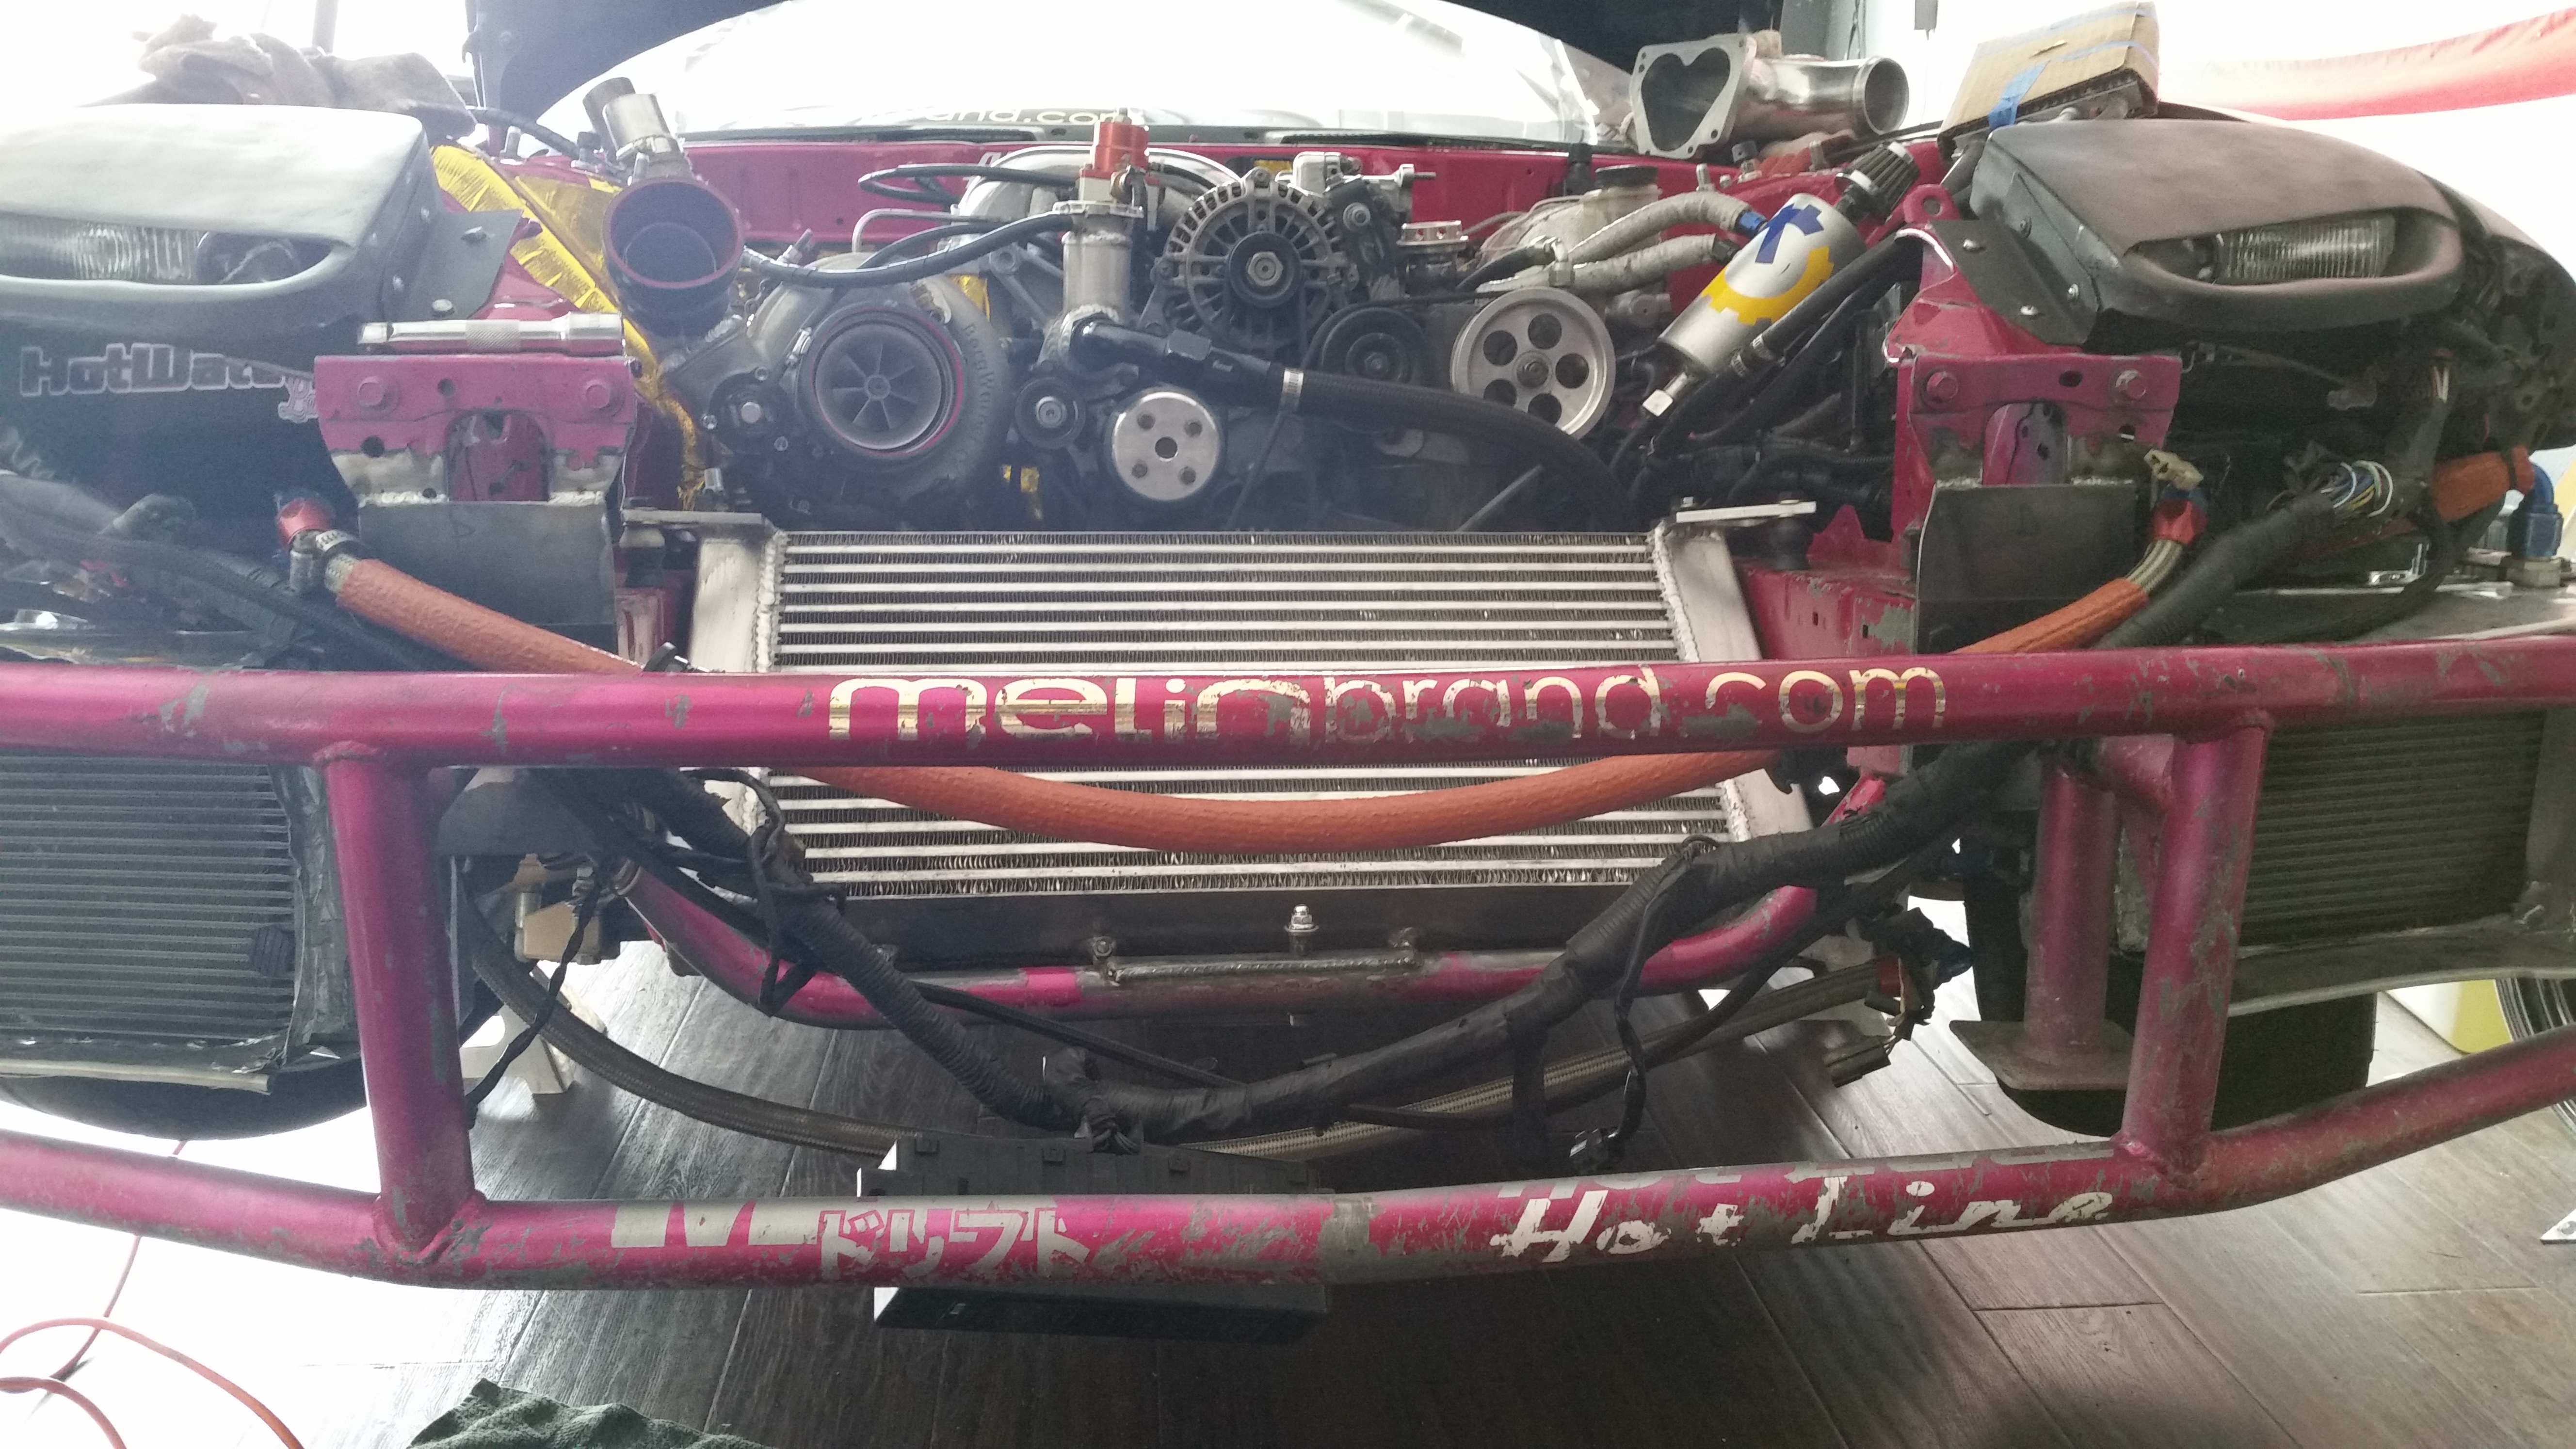
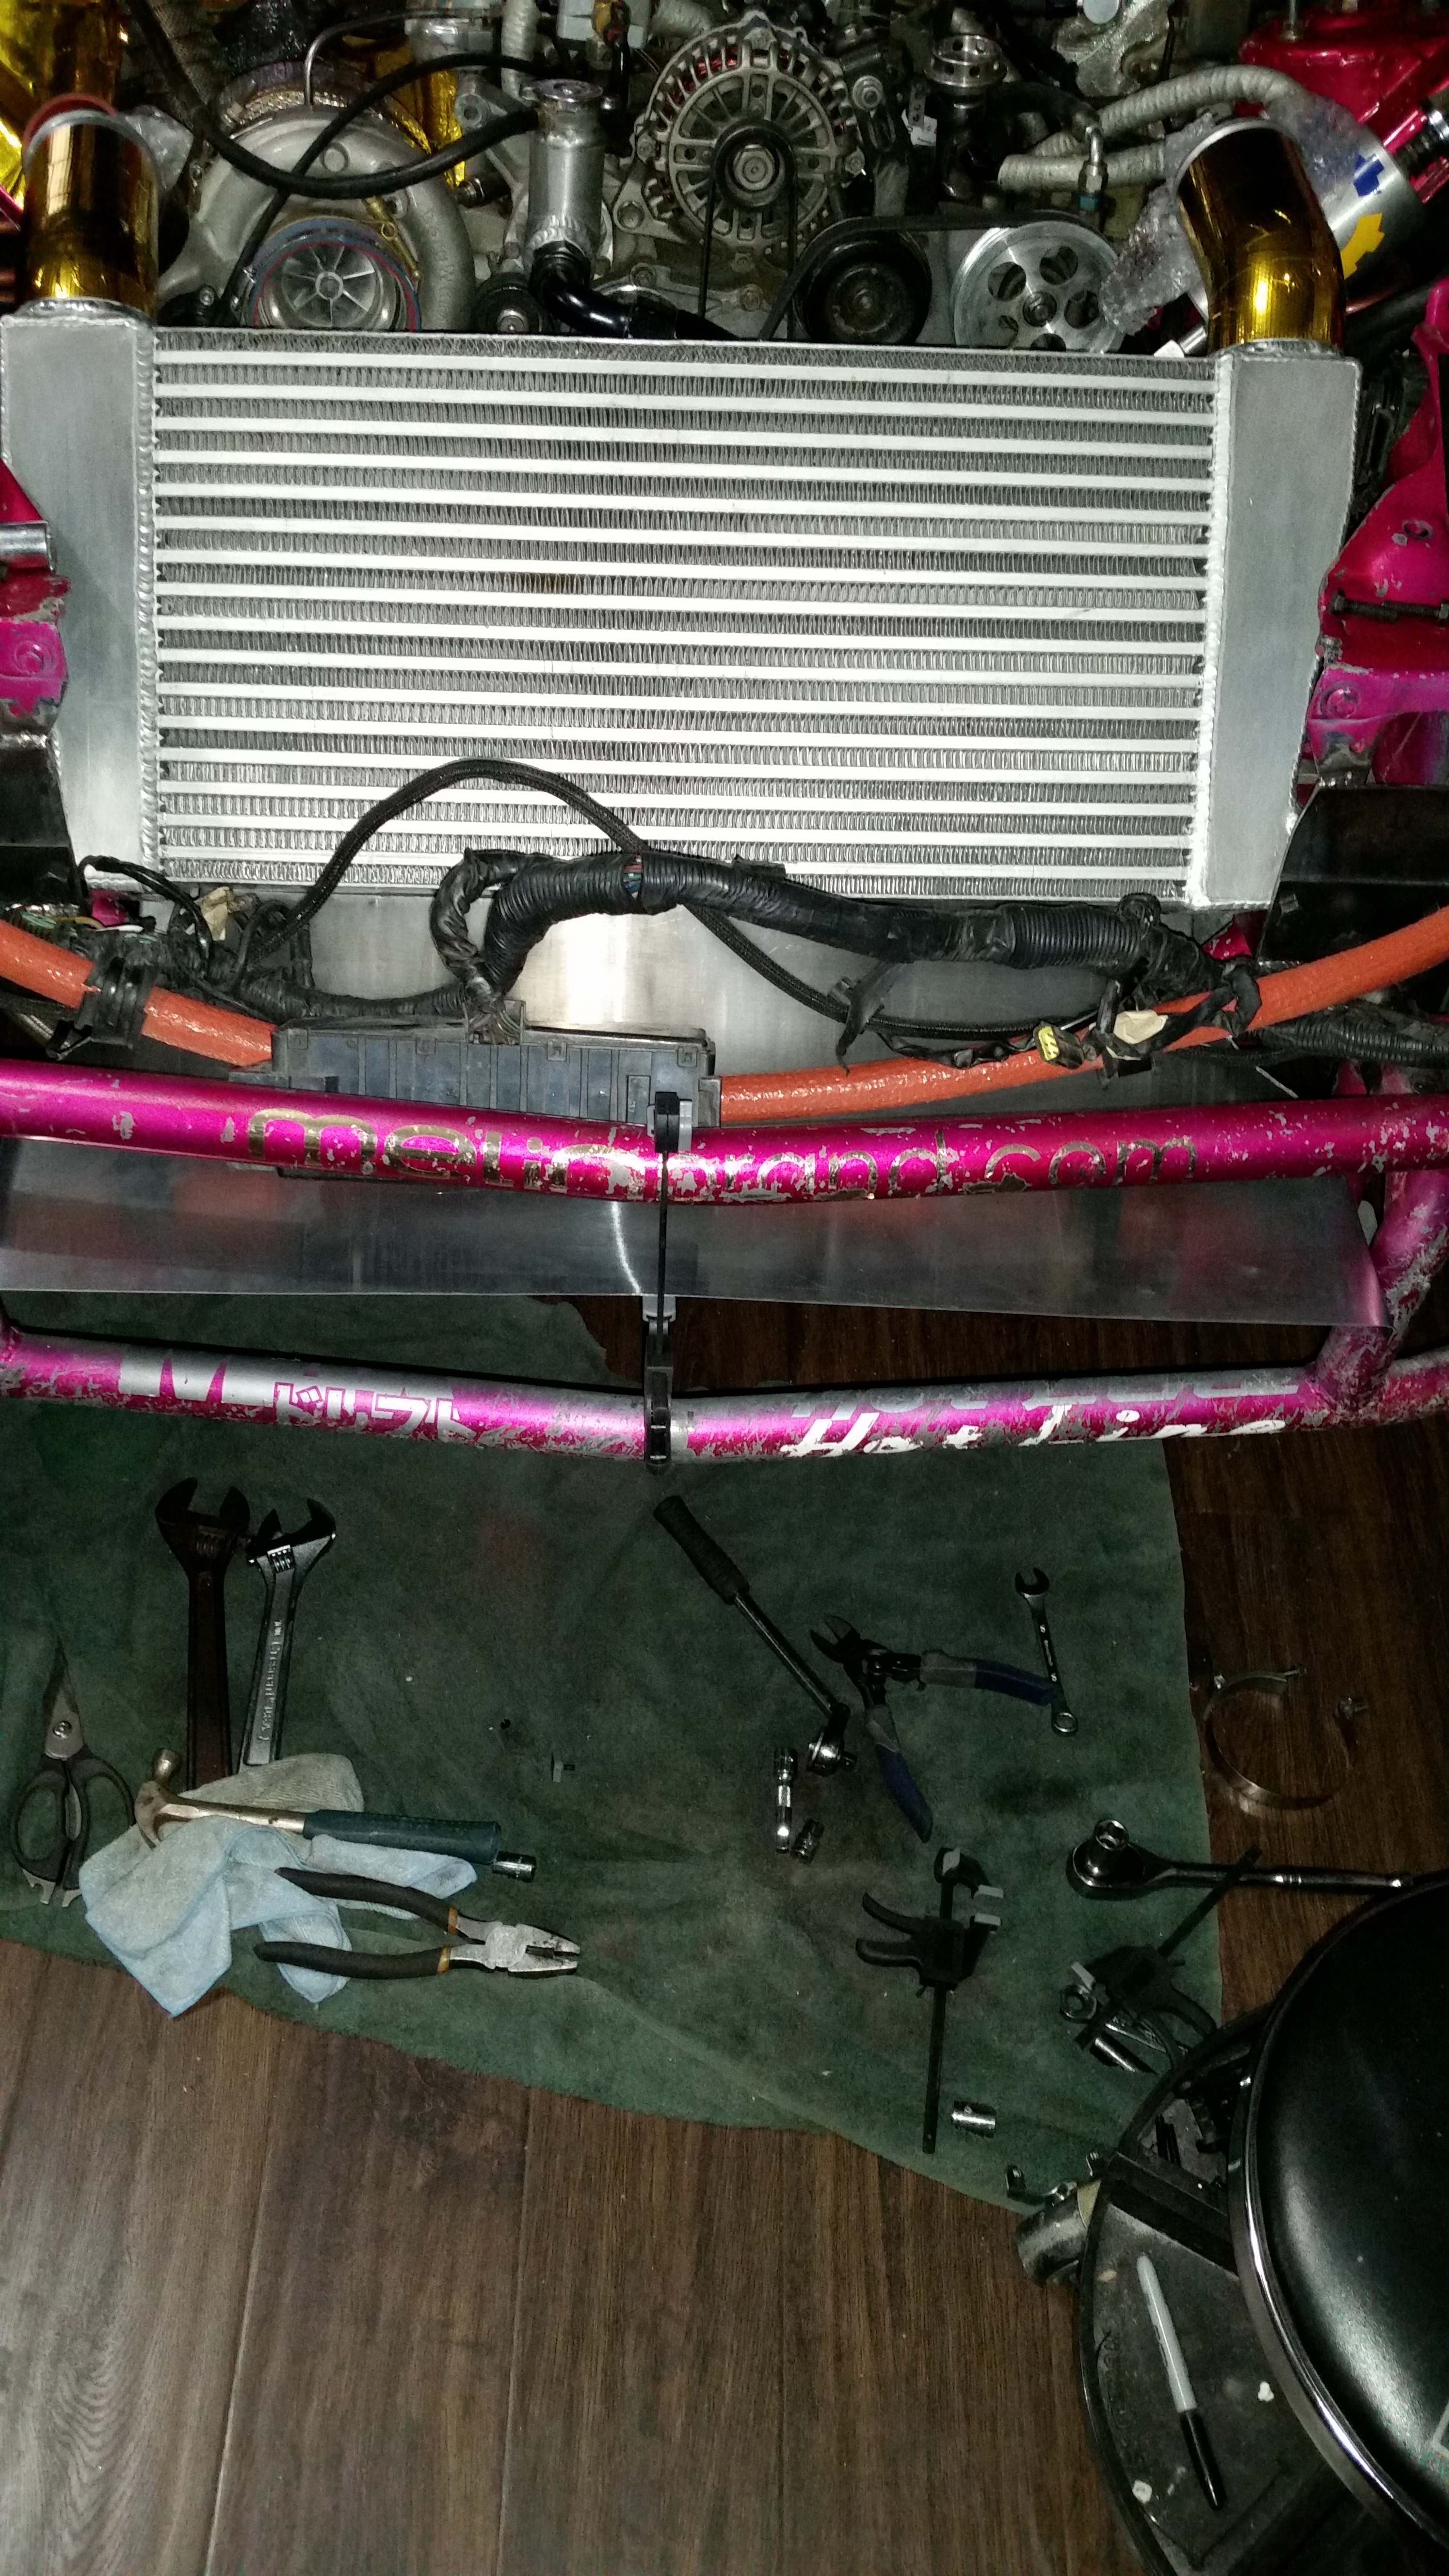
So!... There were a few thigns I've noticed on the car that need to be taken care of... The first is that The Bash bar needed to be fixed as it broke at the weld and ended up doing the opposite of what it was supposed to protect. It bent my Oil coolers back but Luckily DIDN"t end my drift day. So the bar needed to be re configured to mount securely and re-welded where it snapped off. It also needed a sturdy place to be mounted on the frame. Dan Welded some plates onto the front of the car to give the bash bar a sturdy foundation. I also wanted to raise the Radiator up off the floor for at least another inch of travel. Although I havn't had any problems hitting anything underneath the car in terms of vitals...(heat echangers oil pans etc) I still wanted to prevent it further ...just in case. So dan raised the radiator up roughly 2" by cutting the original mounts i made and re-welding them a bit higher. I also wanted to re-do my ducting because it needed to be a bit more sturdy under speed..and still do it's job. But with the Radiator 2" higher.. it closed the low pressure gap between the Radiator and IC... so dan moved the Intercooler forward a few inches and re-welded the Alum mounts to make up for the move forward..with angle. The New The outlets on the IC needed to be extended because of this.. so he exxtended those as well. Luckily the bash bar didn't need much modification to fit the new bumper.. Lucky eh? But here are some pics!!
New Mounts
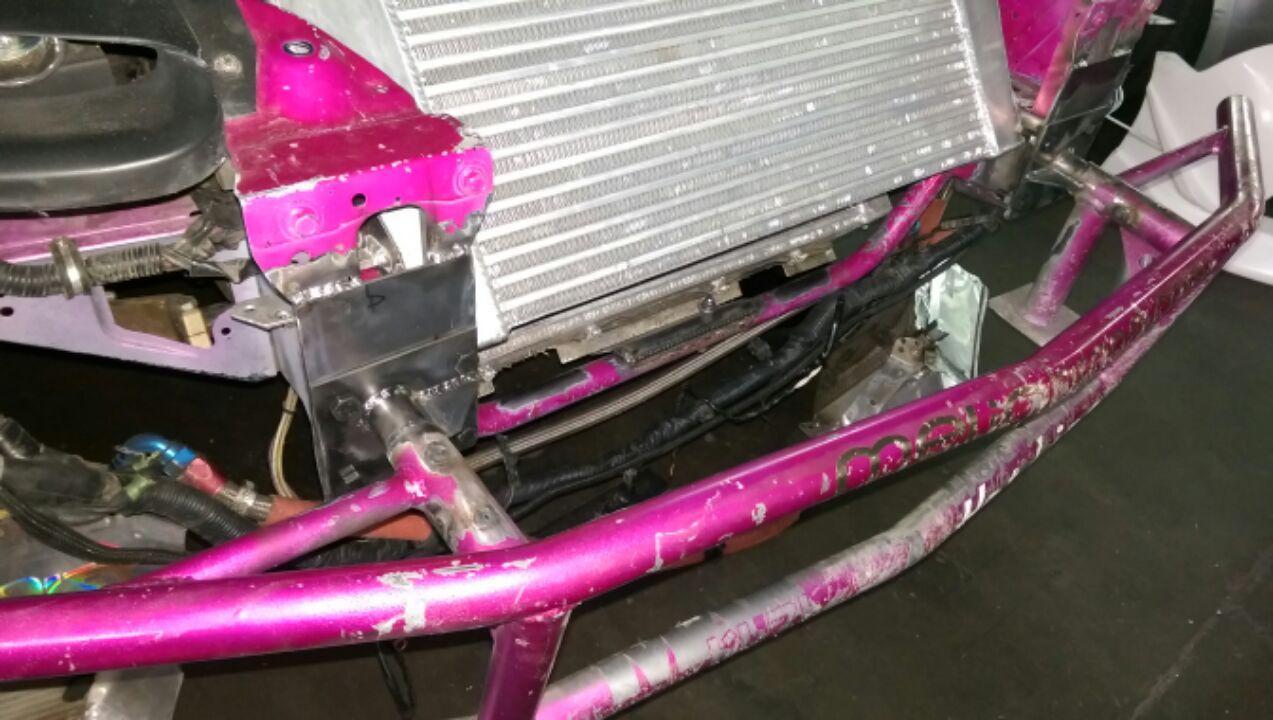
New IC piping and IC position
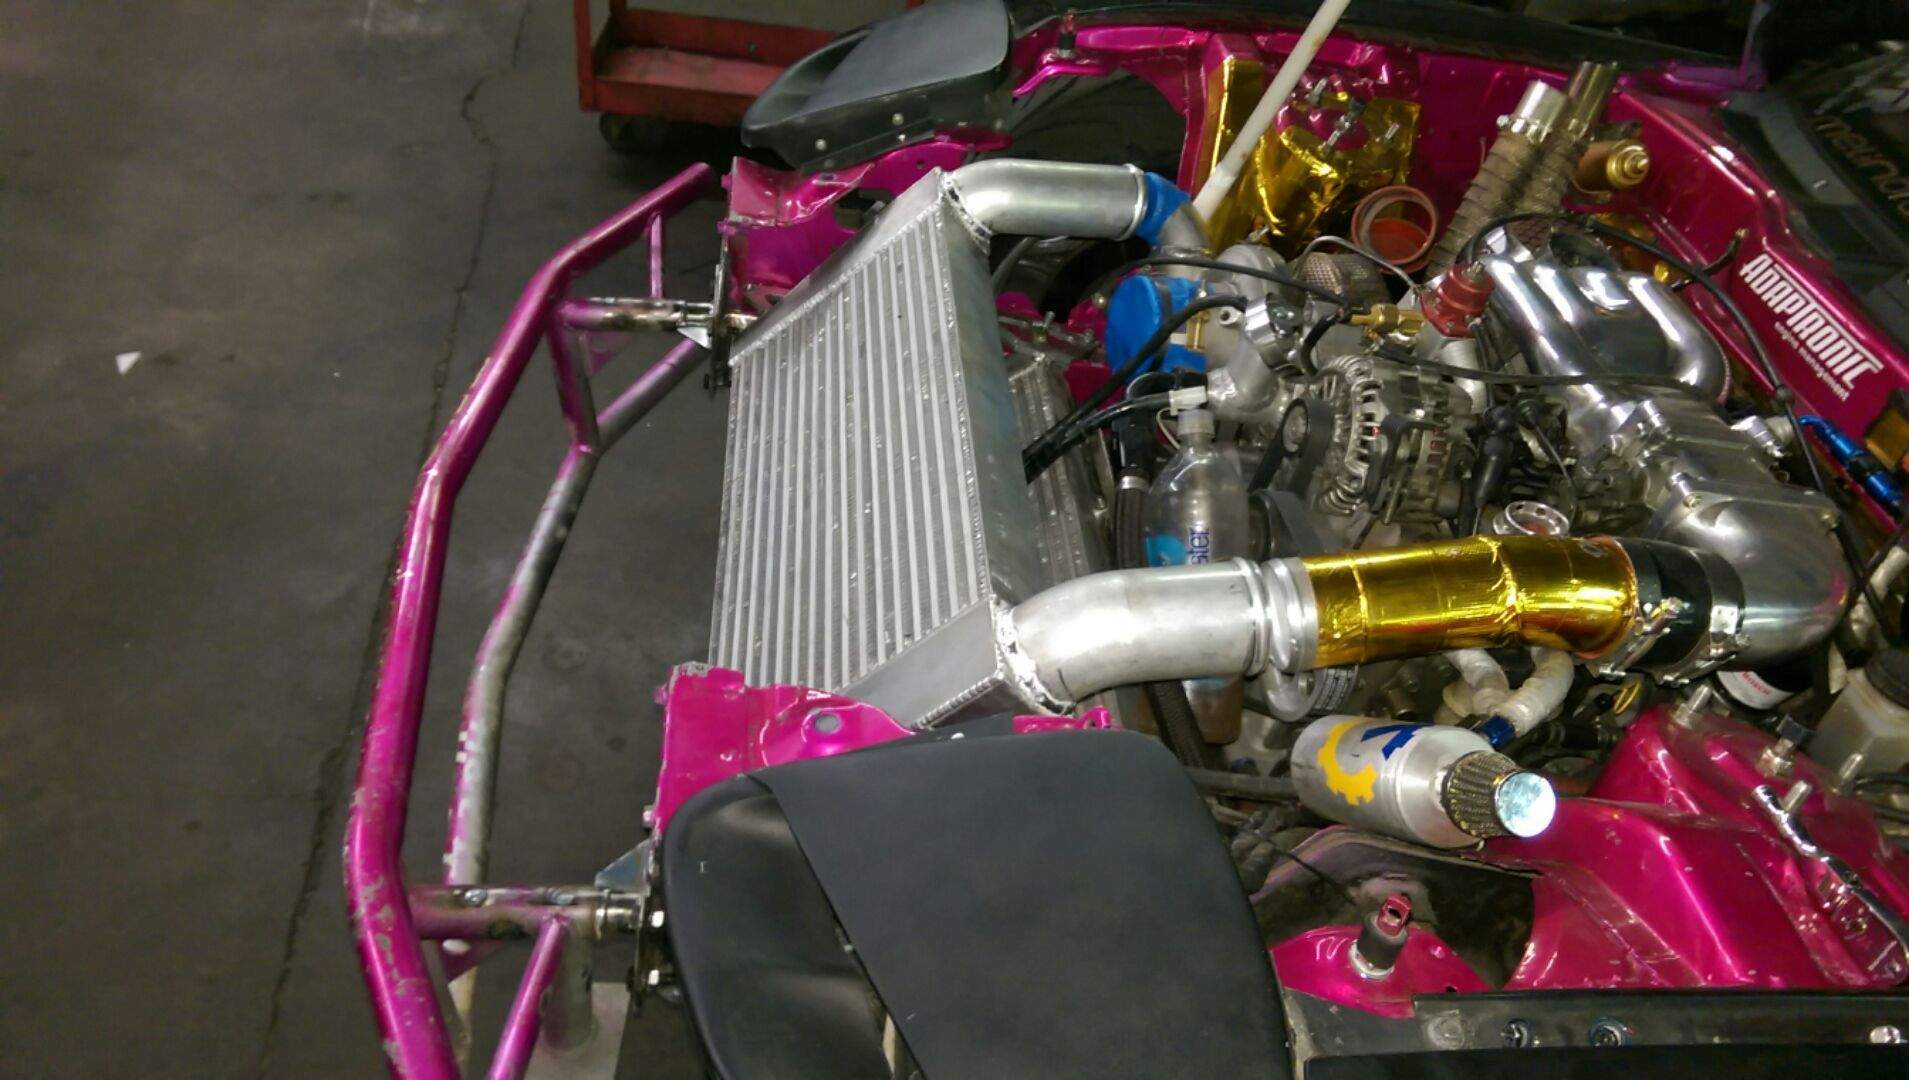
from the top
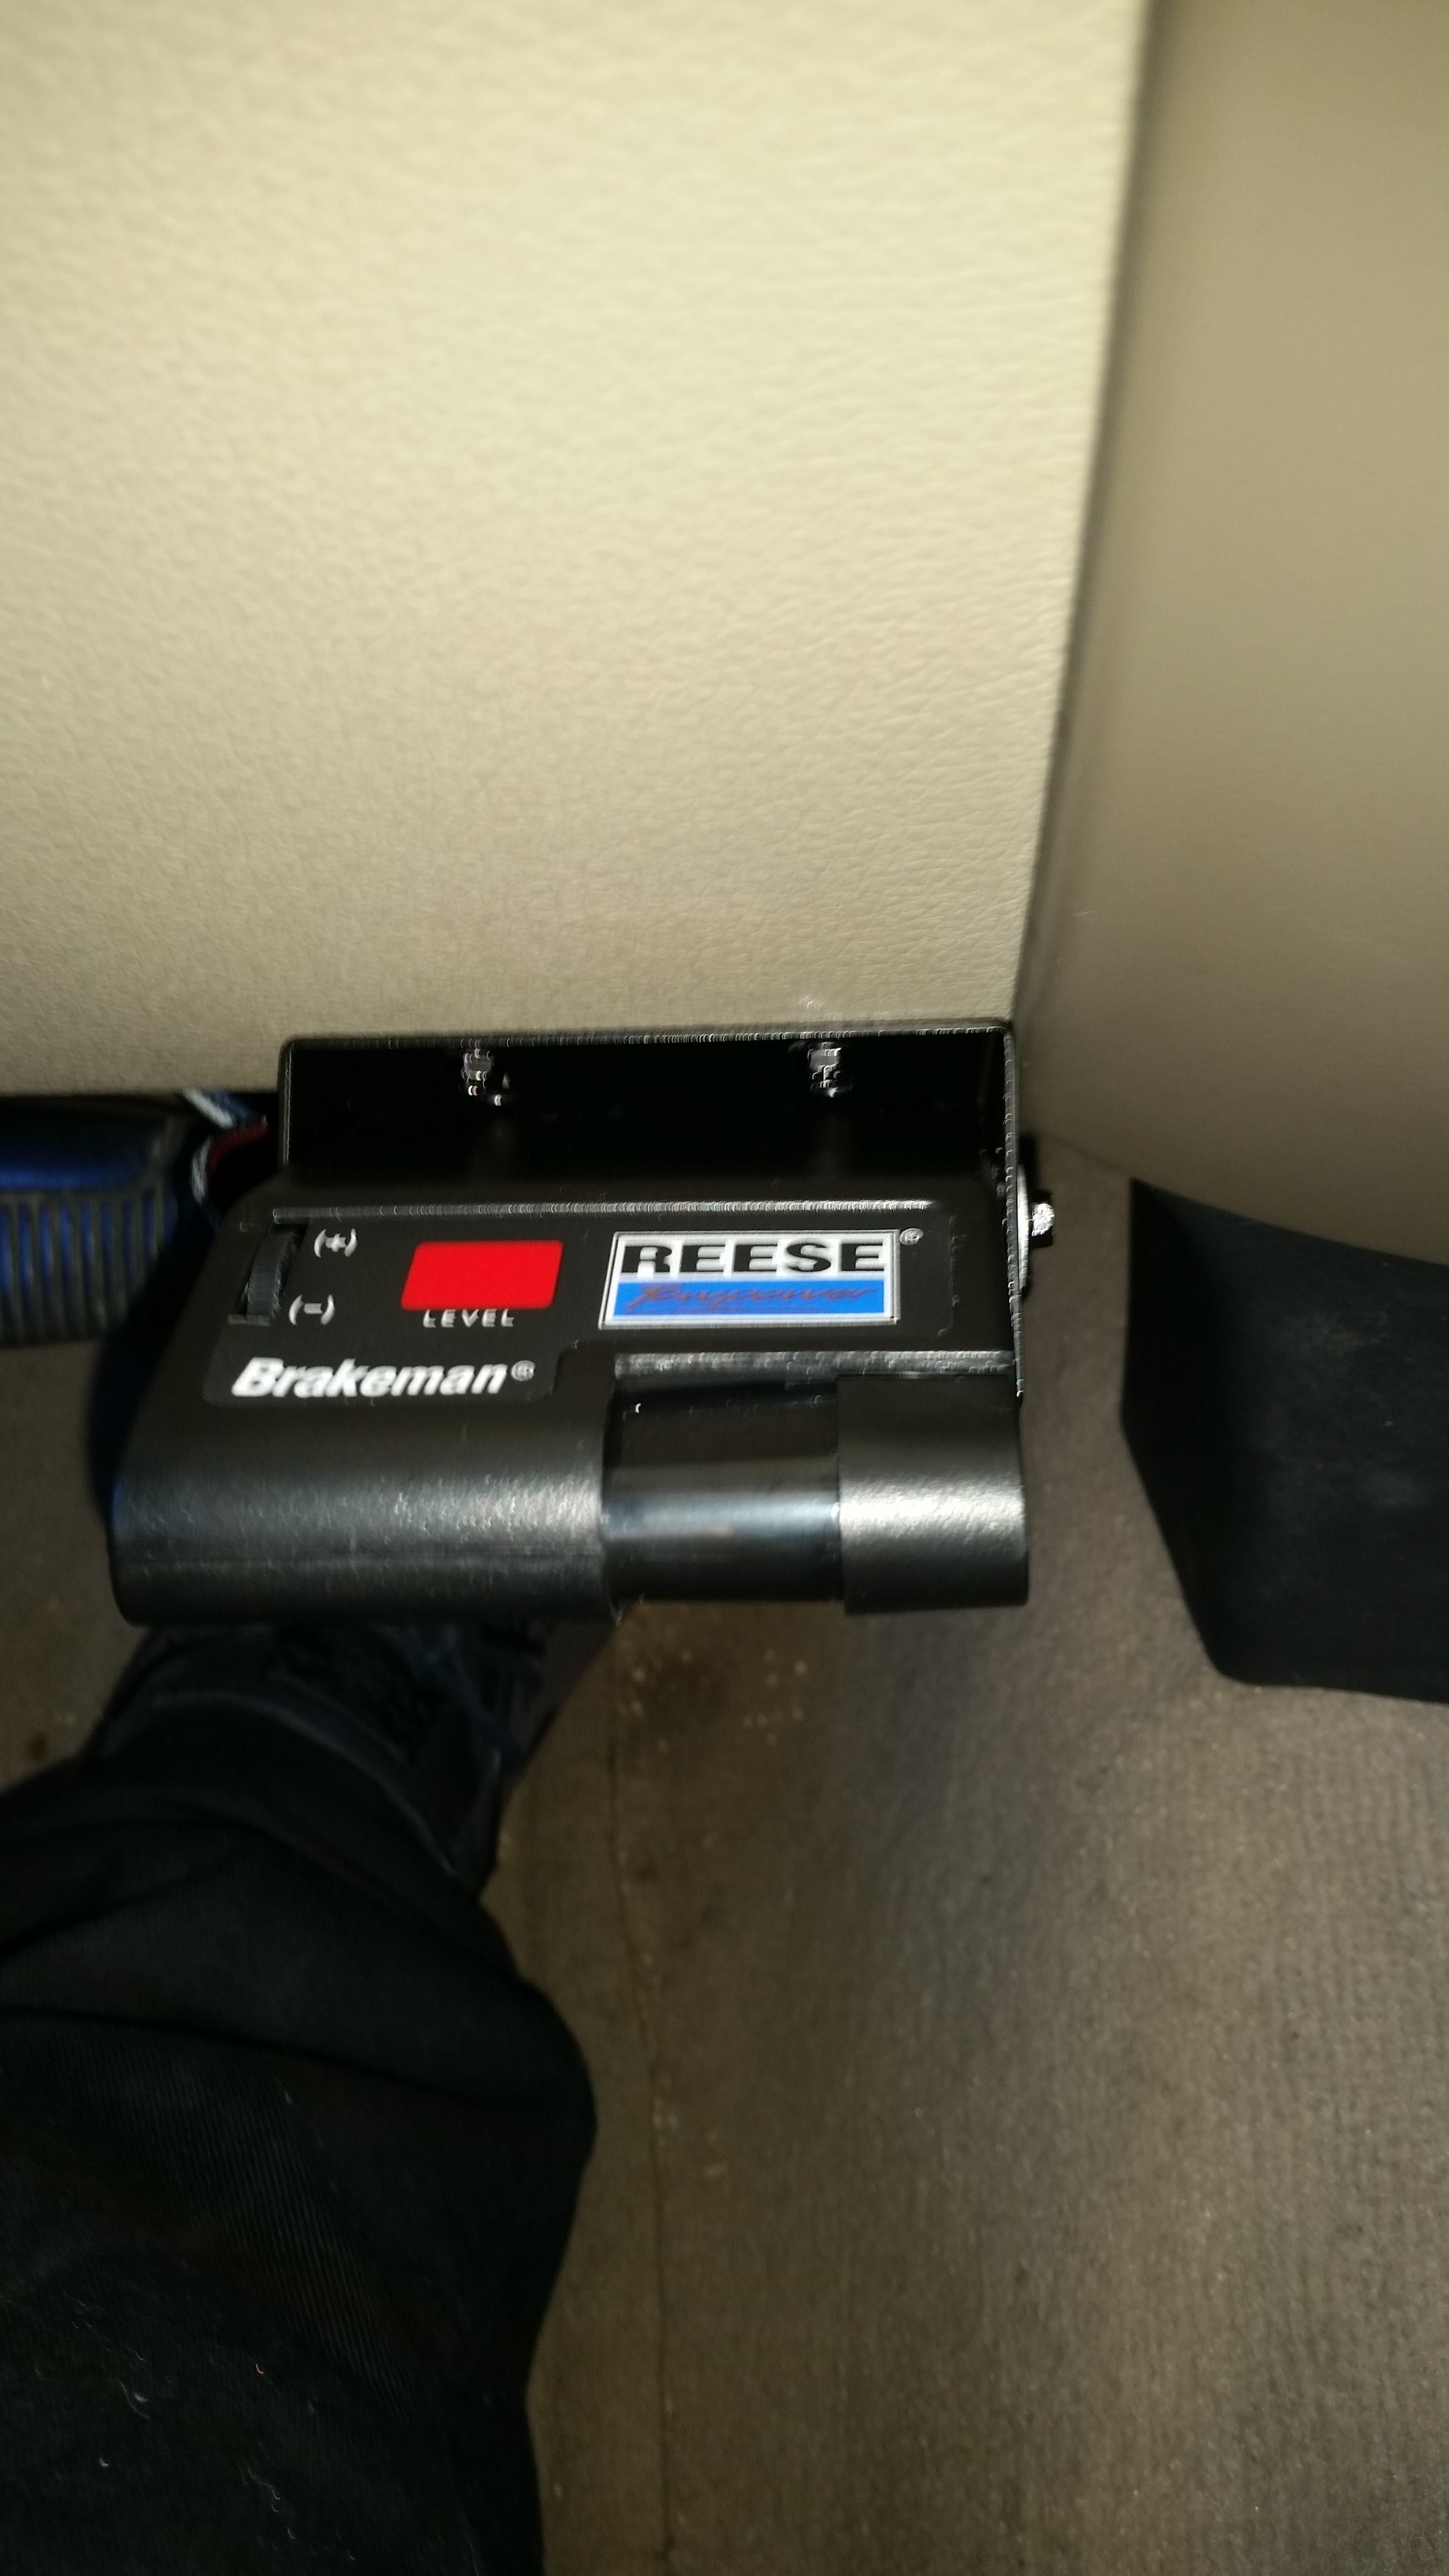
I also purchased a nice little Electronic Brake controller for my truck. I was going to get a much more expensive one... but this one was rated high on Amazon with hardly any negative reviews....it was cheap.. so I picked it up. Install was a breeze.
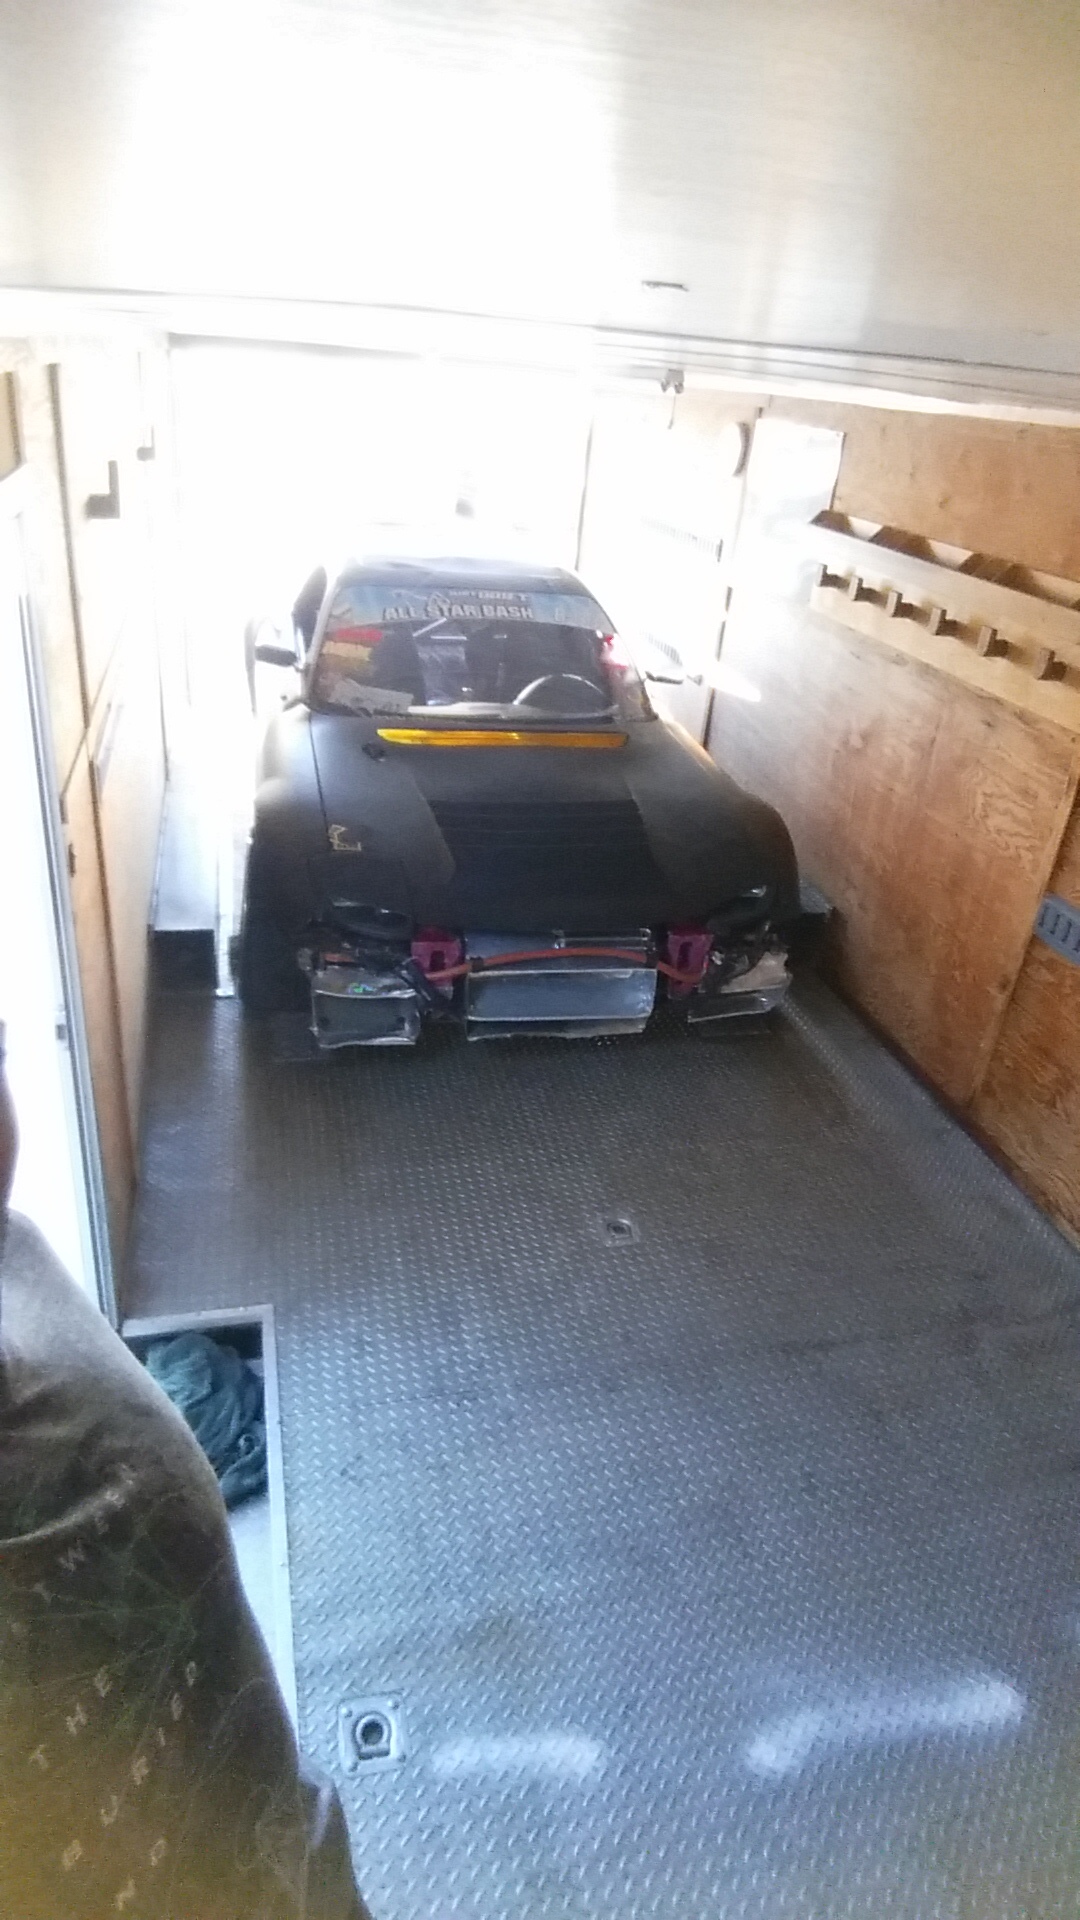
Towed the car down to Dans shop in Santa Ana... sorry I'm out of Chronological order..
TONS of space in the Trailer.. and the truck pulled the car up some long stretches no problem! My F-150 has a 10,000lbt tow capacity....so I'll just keep the trailer as lightly loaded as possible. But I was happy and didn't feel like I was pushing the truck much either.
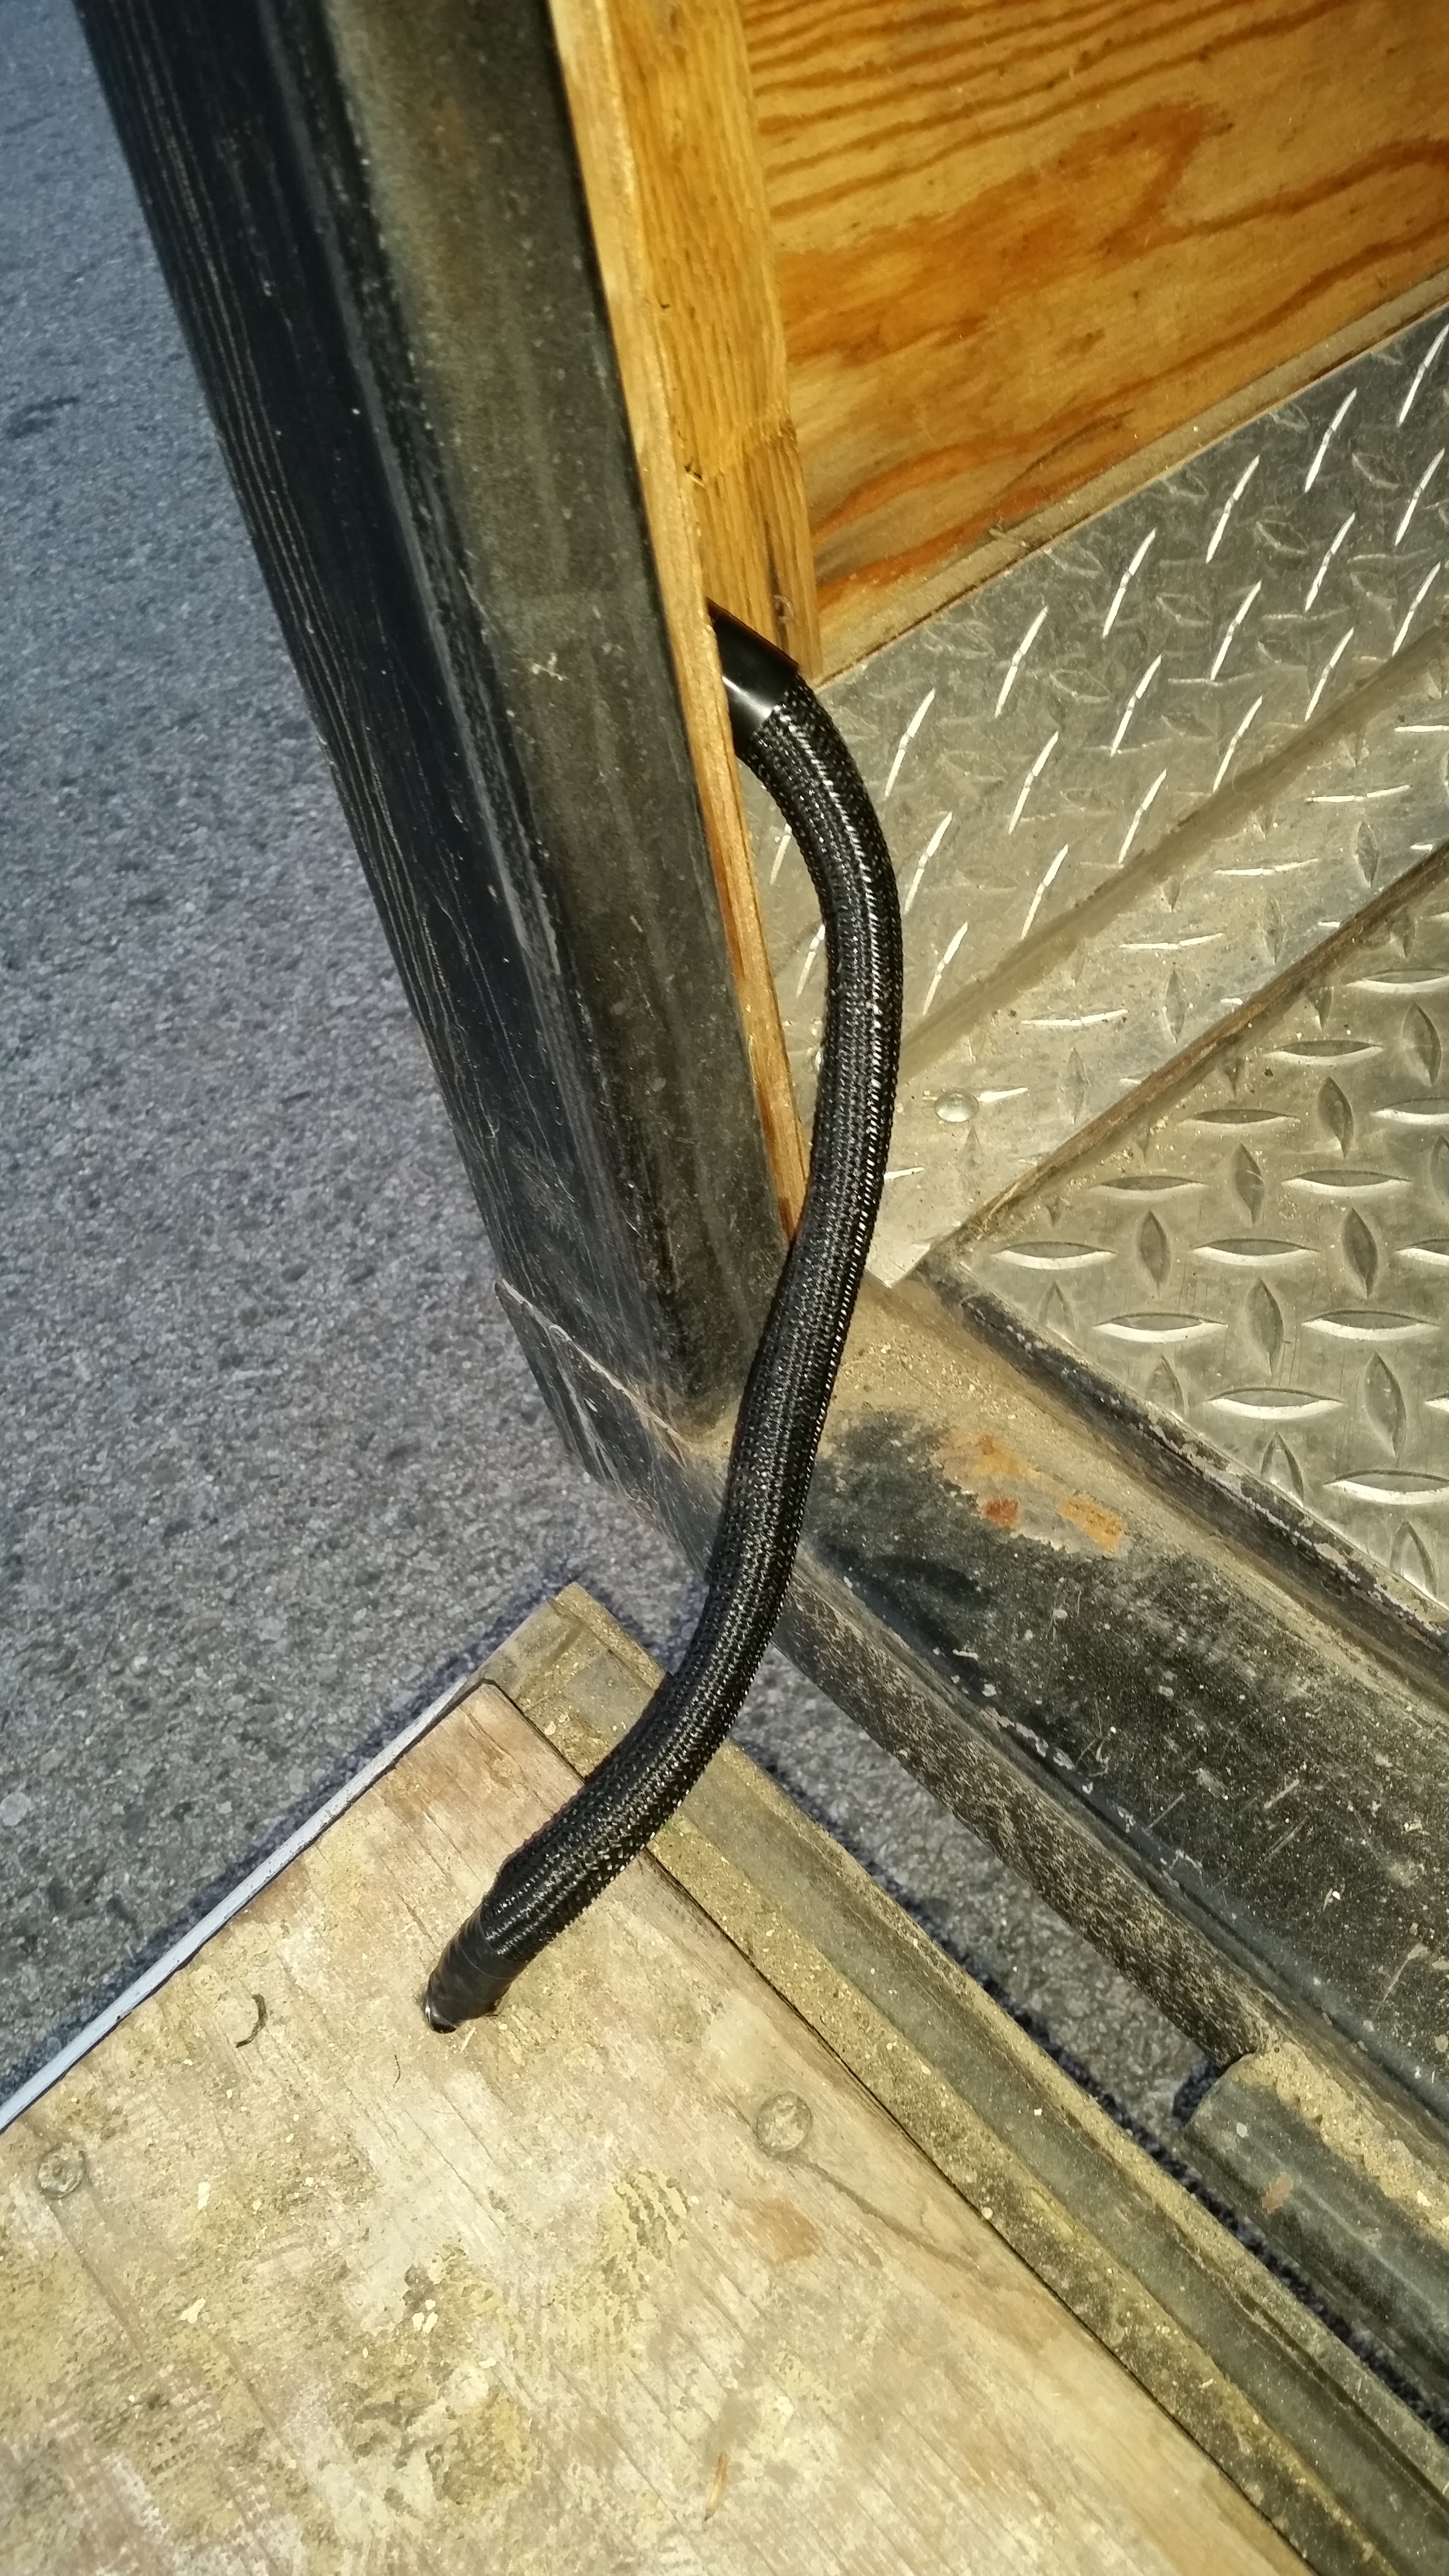
Covered some open wire with a bit of braided sleeve... (just the little things... Right Mike? ;-) haha)
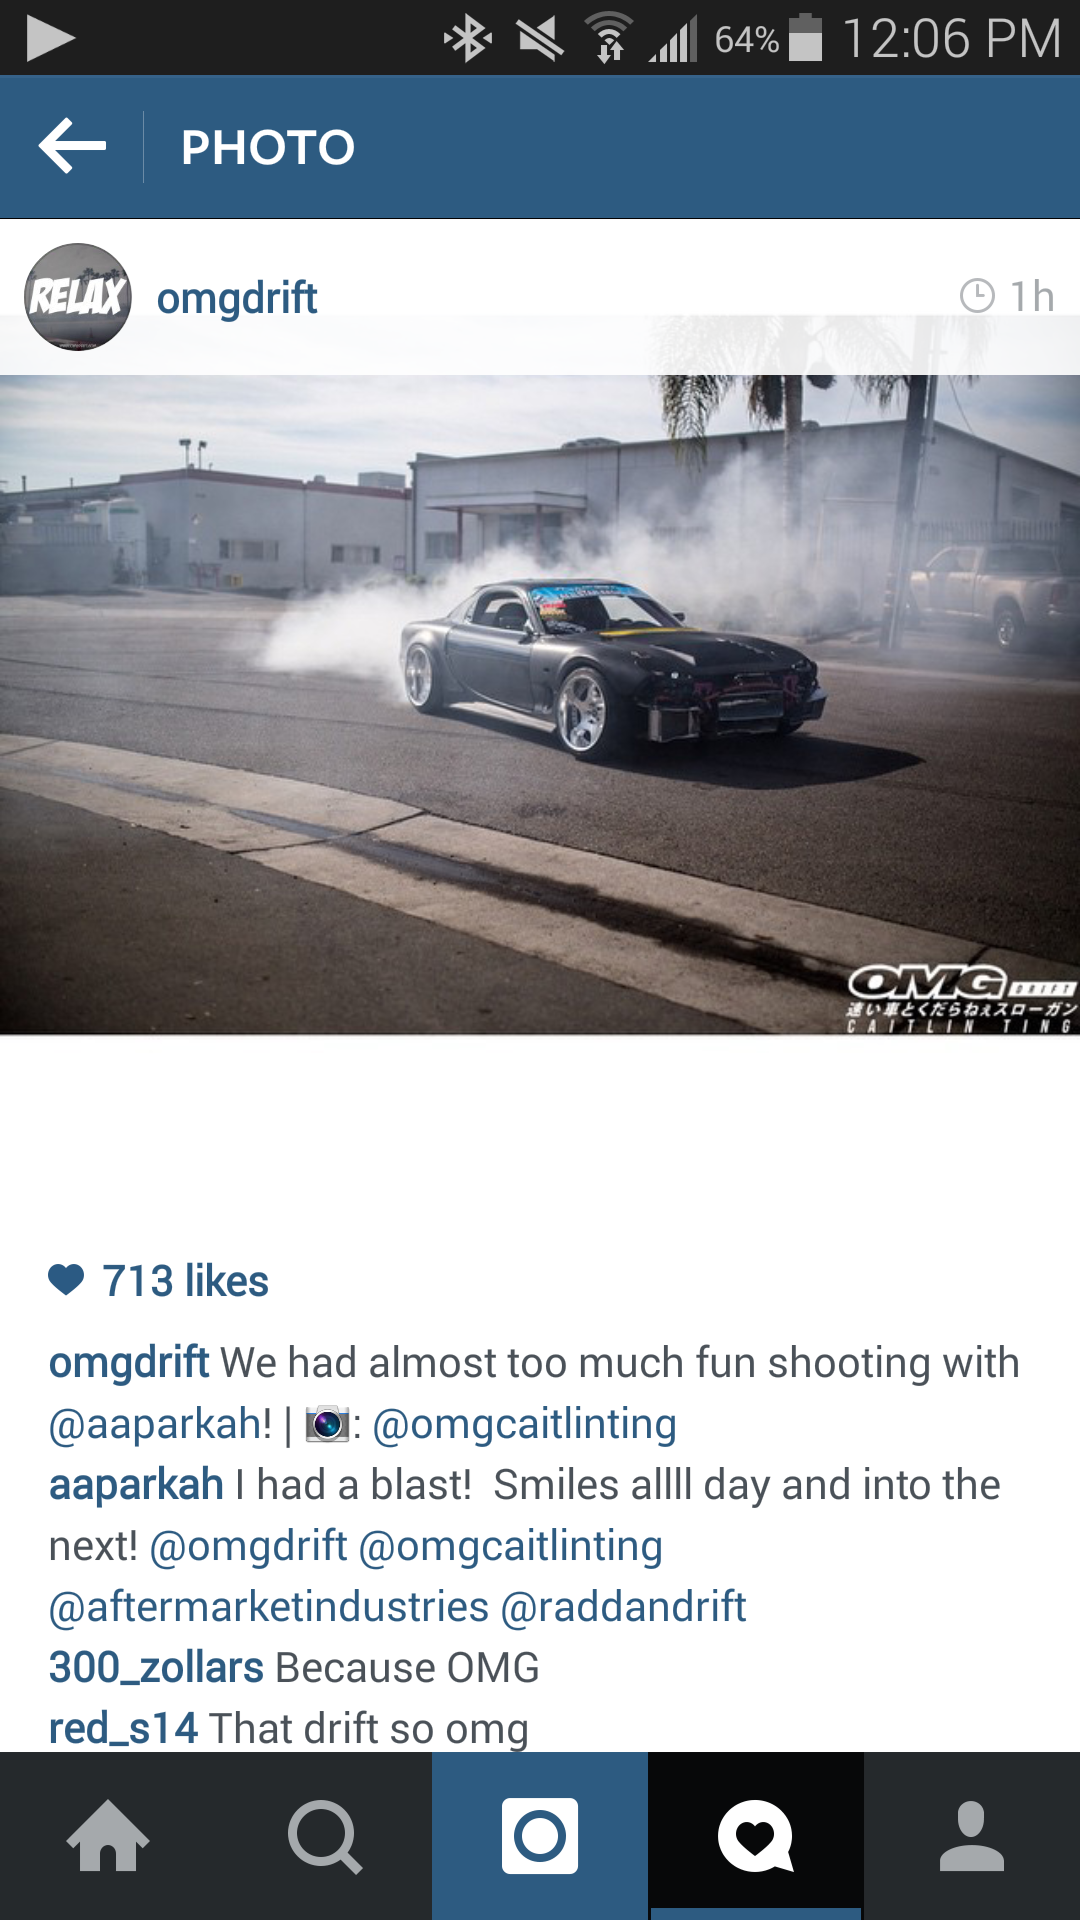
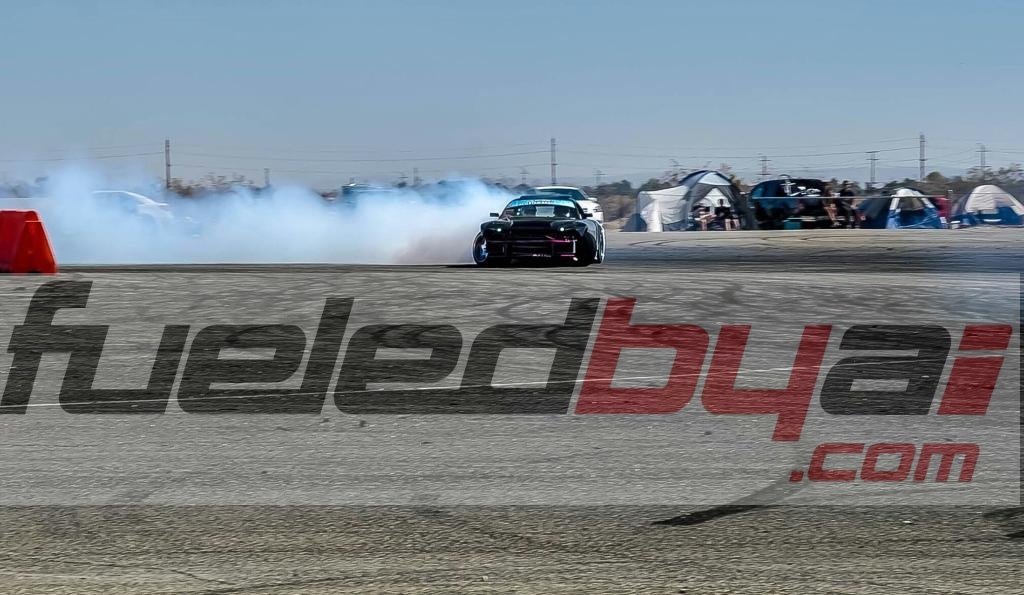
And OMGDRIFT.com came out and shot the car... I thought they just wanted to do a couple shots.. but they did a full on interview with Video and everything. Took some rolling shots of the car and some extra throttle happy vid as well. The Feature should be coming out in the next few weeks or so!
I've also been trying to step up my Instagram game so if you guys havn't added me...My IG name is: @AAPARKAH
So whats coming up?!
I'm trying to convince Alex Rod to whip up the whips paint and body.. The new kit looks great..
And My Aftermarket Industries (FueledbyAI) Sp800 Fuel system will be on it's way VERY shortly here.. Can't wait to show you guys just....how....NICE..and quality this fuel surge system is. The pictures i've been sent of the machining is 100% TOP notch... with ZERO short cuts taken. The Owner.. Julian Austin is one of those guys who is as **** as the best of us when it comes to Design...but also Execution in Building his fueling components. His theme is Fluid Engineering...and he's got the Educational background to back that up. I can't wait to show you guys!! But I'll try and keep you guys as updated as possible over the next couple weeks. Going to be doing some new Front end ducting and doing the best I can on it. Stay Tuned!!!
More Updates soon!!!

So It's a bit hard to keep up with the updates due to my schedule being so full. I literally wake up at 5:45 and pass out around 12:30 Seven days a week. But I wouldnt' have it anyother way.. and I am pleased to say that I am living every single day as much as possible! =-) Although I havn't been able to update much.... It doesn't mean i've slowed down with progress on the car. I recently decided that It's out of my resources and time/schedule to contunue trying to do fab work on my own. I'll do as much as possible..but anything to do with welding is just better done completely by a shop with the correct resources. So with that.. I'm proud to announce that i'll be partnering up completely with Rad_Industries out of Santa Ana. I've known the owner Dan Burkett for a while now.. and his capabilities have definitely spoken for themselves.
So!... There were a few thigns I've noticed on the car that need to be taken care of... The first is that The Bash bar needed to be fixed as it broke at the weld and ended up doing the opposite of what it was supposed to protect. It bent my Oil coolers back but Luckily DIDN"t end my drift day. So the bar needed to be re configured to mount securely and re-welded where it snapped off. It also needed a sturdy place to be mounted on the frame. Dan Welded some plates onto the front of the car to give the bash bar a sturdy foundation. I also wanted to raise the Radiator up off the floor for at least another inch of travel. Although I havn't had any problems hitting anything underneath the car in terms of vitals...(heat echangers oil pans etc) I still wanted to prevent it further ...just in case. So dan raised the radiator up roughly 2" by cutting the original mounts i made and re-welding them a bit higher. I also wanted to re-do my ducting because it needed to be a bit more sturdy under speed..and still do it's job. But with the Radiator 2" higher.. it closed the low pressure gap between the Radiator and IC... so dan moved the Intercooler forward a few inches and re-welded the Alum mounts to make up for the move forward..with angle. The New The outlets on the IC needed to be extended because of this.. so he exxtended those as well. Luckily the bash bar didn't need much modification to fit the new bumper.. Lucky eh? But here are some pics!!
New Mounts
New IC piping and IC position
from the top
I also purchased a nice little Electronic Brake controller for my truck. I was going to get a much more expensive one... but this one was rated high on Amazon with hardly any negative reviews....it was cheap.. so I picked it up. Install was a breeze.
Towed the car down to Dans shop in Santa Ana... sorry I'm out of Chronological order..
TONS of space in the Trailer.. and the truck pulled the car up some long stretches no problem! My F-150 has a 10,000lbt tow capacity....so I'll just keep the trailer as lightly loaded as possible. But I was happy and didn't feel like I was pushing the truck much either.
Covered some open wire with a bit of braided sleeve... (just the little things... Right Mike? ;-) haha)
And OMGDRIFT.com came out and shot the car... I thought they just wanted to do a couple shots.. but they did a full on interview with Video and everything. Took some rolling shots of the car and some extra throttle happy vid as well. The Feature should be coming out in the next few weeks or so!
I've also been trying to step up my Instagram game so if you guys havn't added me...My IG name is: @AAPARKAH
So whats coming up?!
I'm trying to convince Alex Rod to whip up the whips paint and body.. The new kit looks great..
And My Aftermarket Industries (FueledbyAI) Sp800 Fuel system will be on it's way VERY shortly here.. Can't wait to show you guys just....how....NICE..and quality this fuel surge system is. The pictures i've been sent of the machining is 100% TOP notch... with ZERO short cuts taken. The Owner.. Julian Austin is one of those guys who is as **** as the best of us when it comes to Design...but also Execution in Building his fueling components. His theme is Fluid Engineering...and he's got the Educational background to back that up. I can't wait to show you guys!! But I'll try and keep you guys as updated as possible over the next couple weeks. Going to be doing some new Front end ducting and doing the best I can on it. Stay Tuned!!!
More Updates soon!!!
01-26-15, 02:53 PM
#2240
Small quick Update:
I've been talking to Julian the Owner of Aftermarket Industries (Fueled By AI) for a little over a year now and I've come to really like the guy. And the more I think about it the more I feel overly appreciative that he offered me full sponsorship. He's been sending me little nick-nacks of info on my fuel system. This will probably be the best designed fuel system I may ever install haha. Julian Takes Fluid Engineering serious!! and his education backs it up! Not to sit here and boast because he's my sponsor... But honestly... It's hard not to be a fan of the guy who's designing all the fuel systems that will be powering all of Mad Mikes Cars this season. And the best part is he's not skimping on my car because it's a pro-am car... he see's it just as important!! I'm Amped!!
Anyways...worked on the car yesterday all day and I'm going through the pics I took for a better update in the next day or so....Maybe even tonight! Stay tuned!
A little edit I did...
01-26-15, 10:46 PM
#2241
Update:
Soooo I've been working on a few things. Started with The design of my New Race Suit. I chose to go with a Sparco Jade Top. Not the highest quality suit but it does meet the guidelines for Pro-am Competition if I choose to enter! I'm Still a bit un-decided whether I should Go pro-am or just enter the street class. My car qualifies for both.. Just need to change tires. Other than that.. it's allll Gold.
I went simple... think Simple is best with this stuff. But does anyone know where I can get a Nice Patch Made of the "AI" logo? Possibly Iron on? I figured that would be the easiest.

Also took some detailed pics of Dans work. I'm really happy with it. Best part was How nicely it all aligned up.. The Hardware was brand new and I could Literally thread it in by hand till the end. I did end up trimming the Bolts just to eliminate the time it takes to tighten them down and pull them out...but Rock solid job. I can stand on the bar now without it flexing... and the Jack point is far more solid than it was. I'm happy.
Here was the Drivers side Oil cooler mount. Jacked!!!
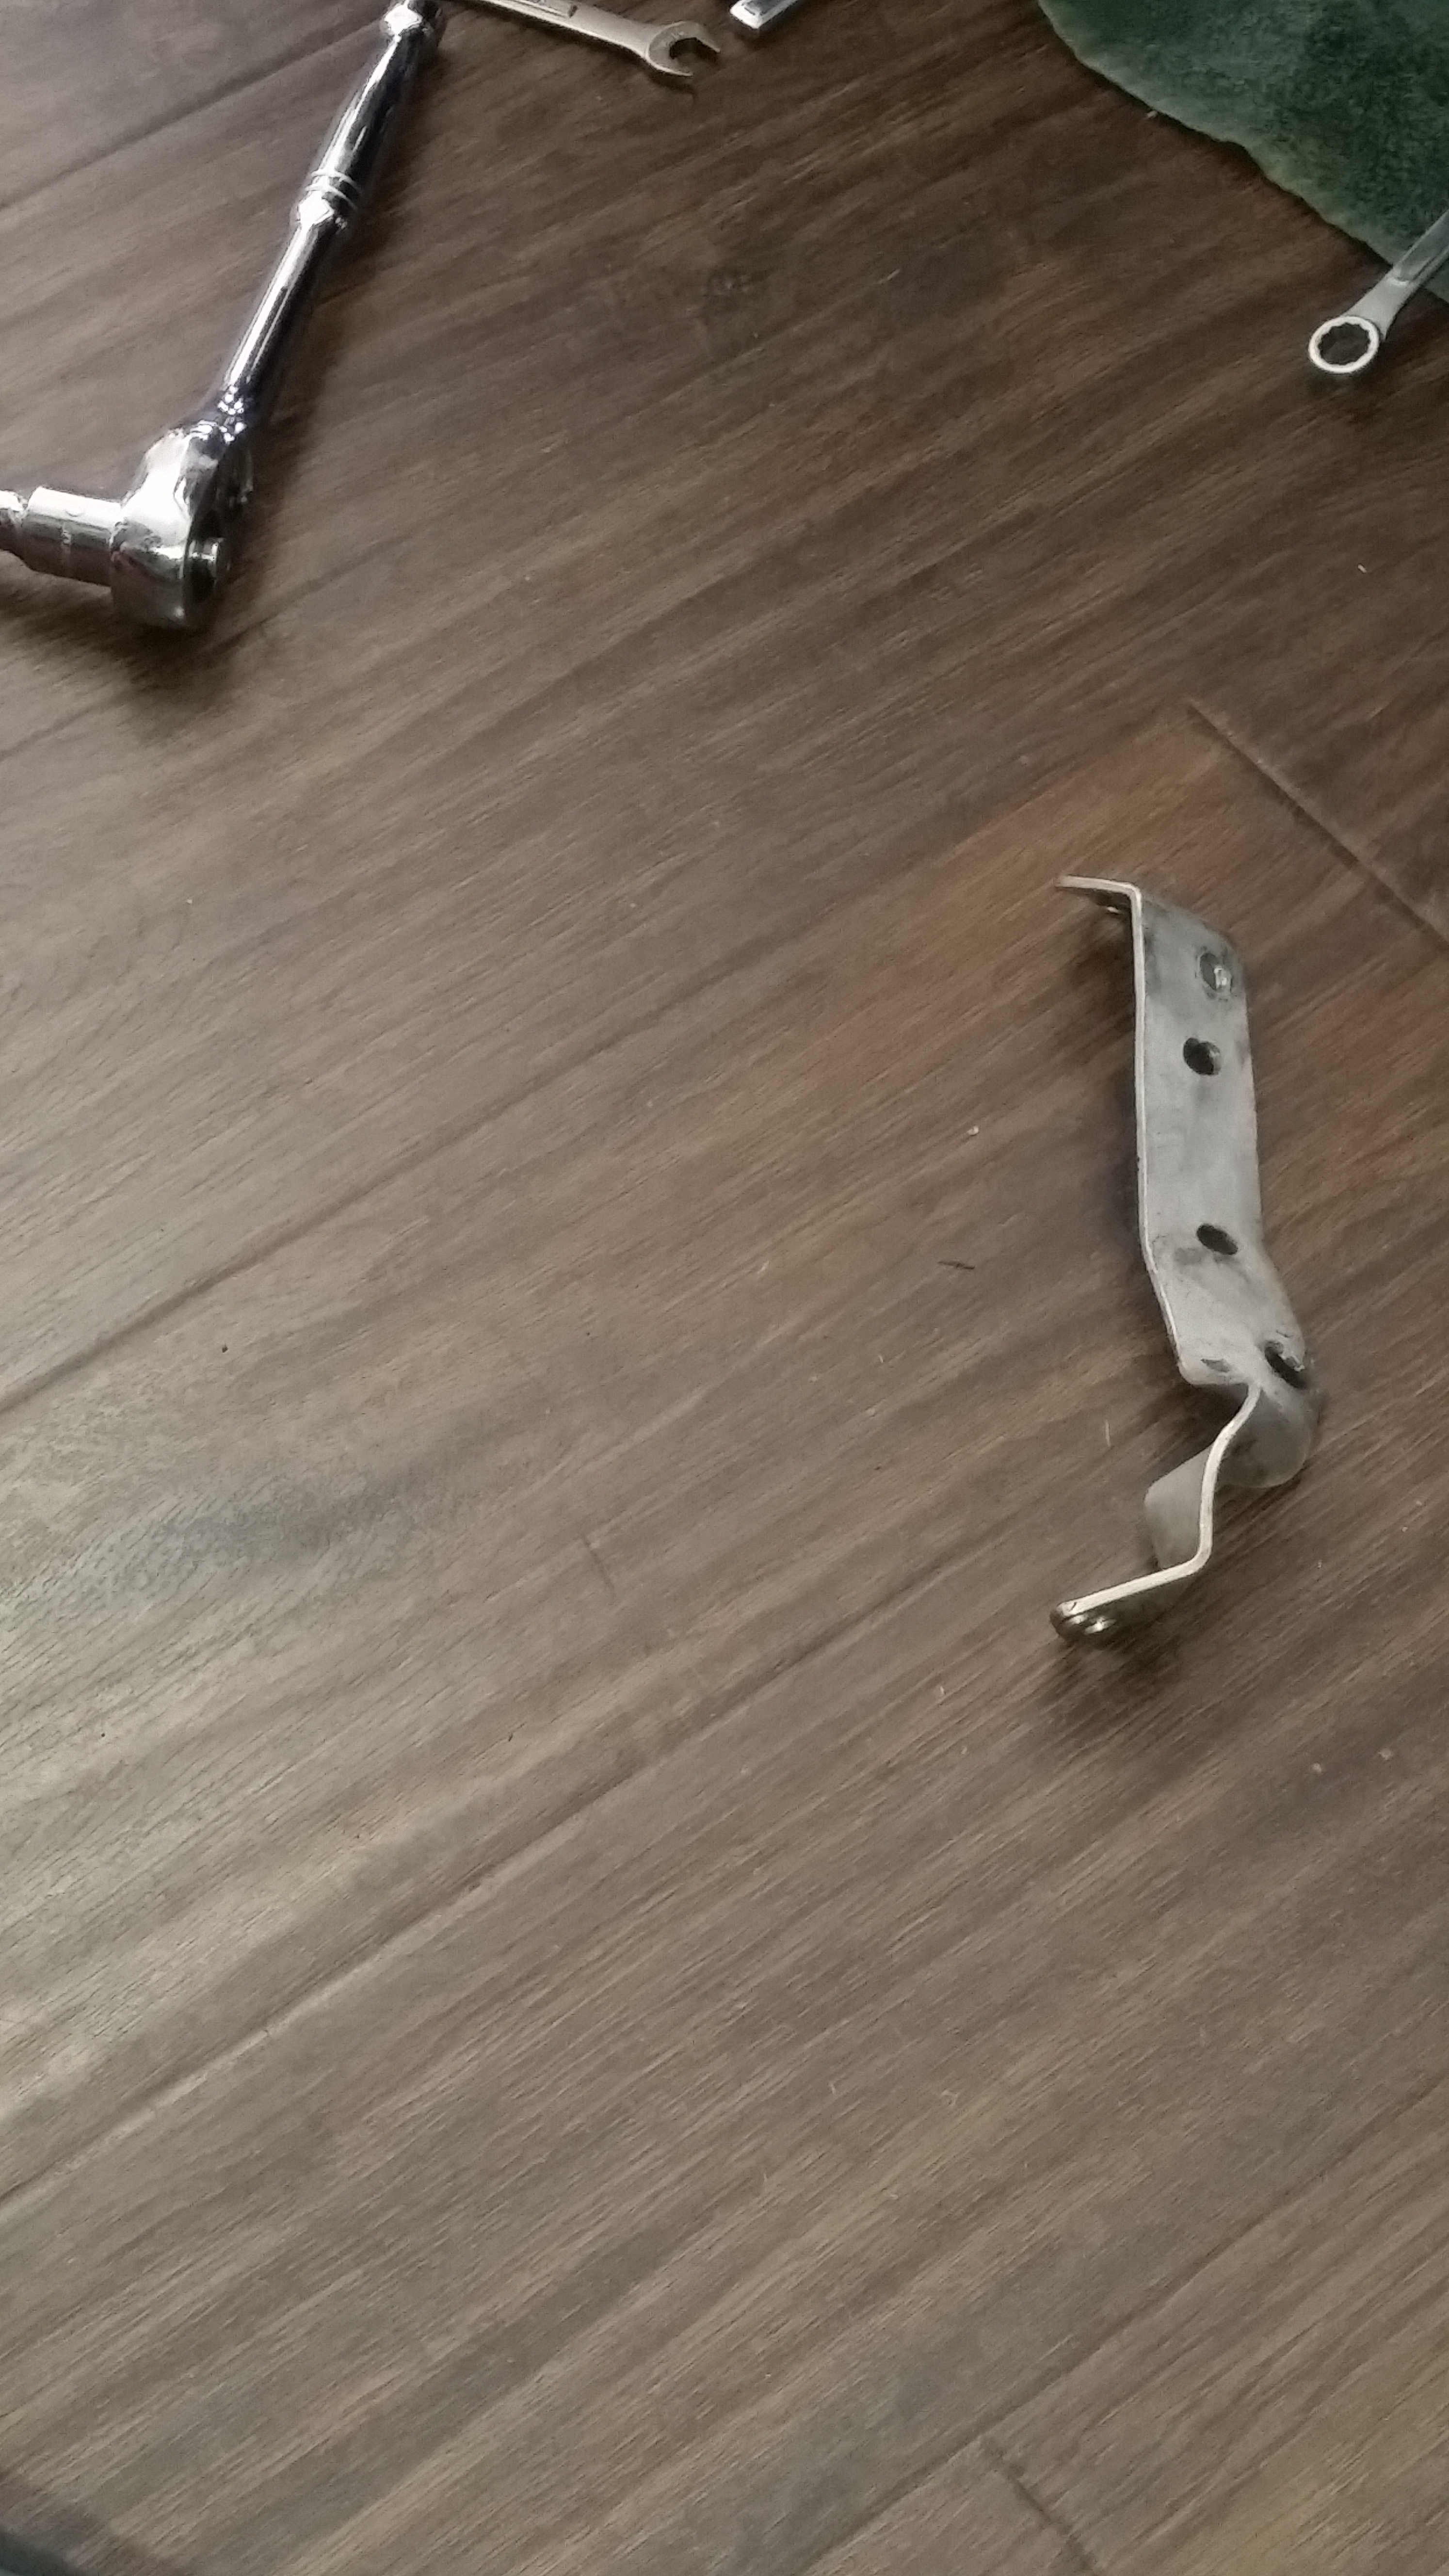
Made another out of cheap strap alum and The cooler was back to normal. DIRTY!!! But normal. I'll get to cleaning before I start the new Duct work.
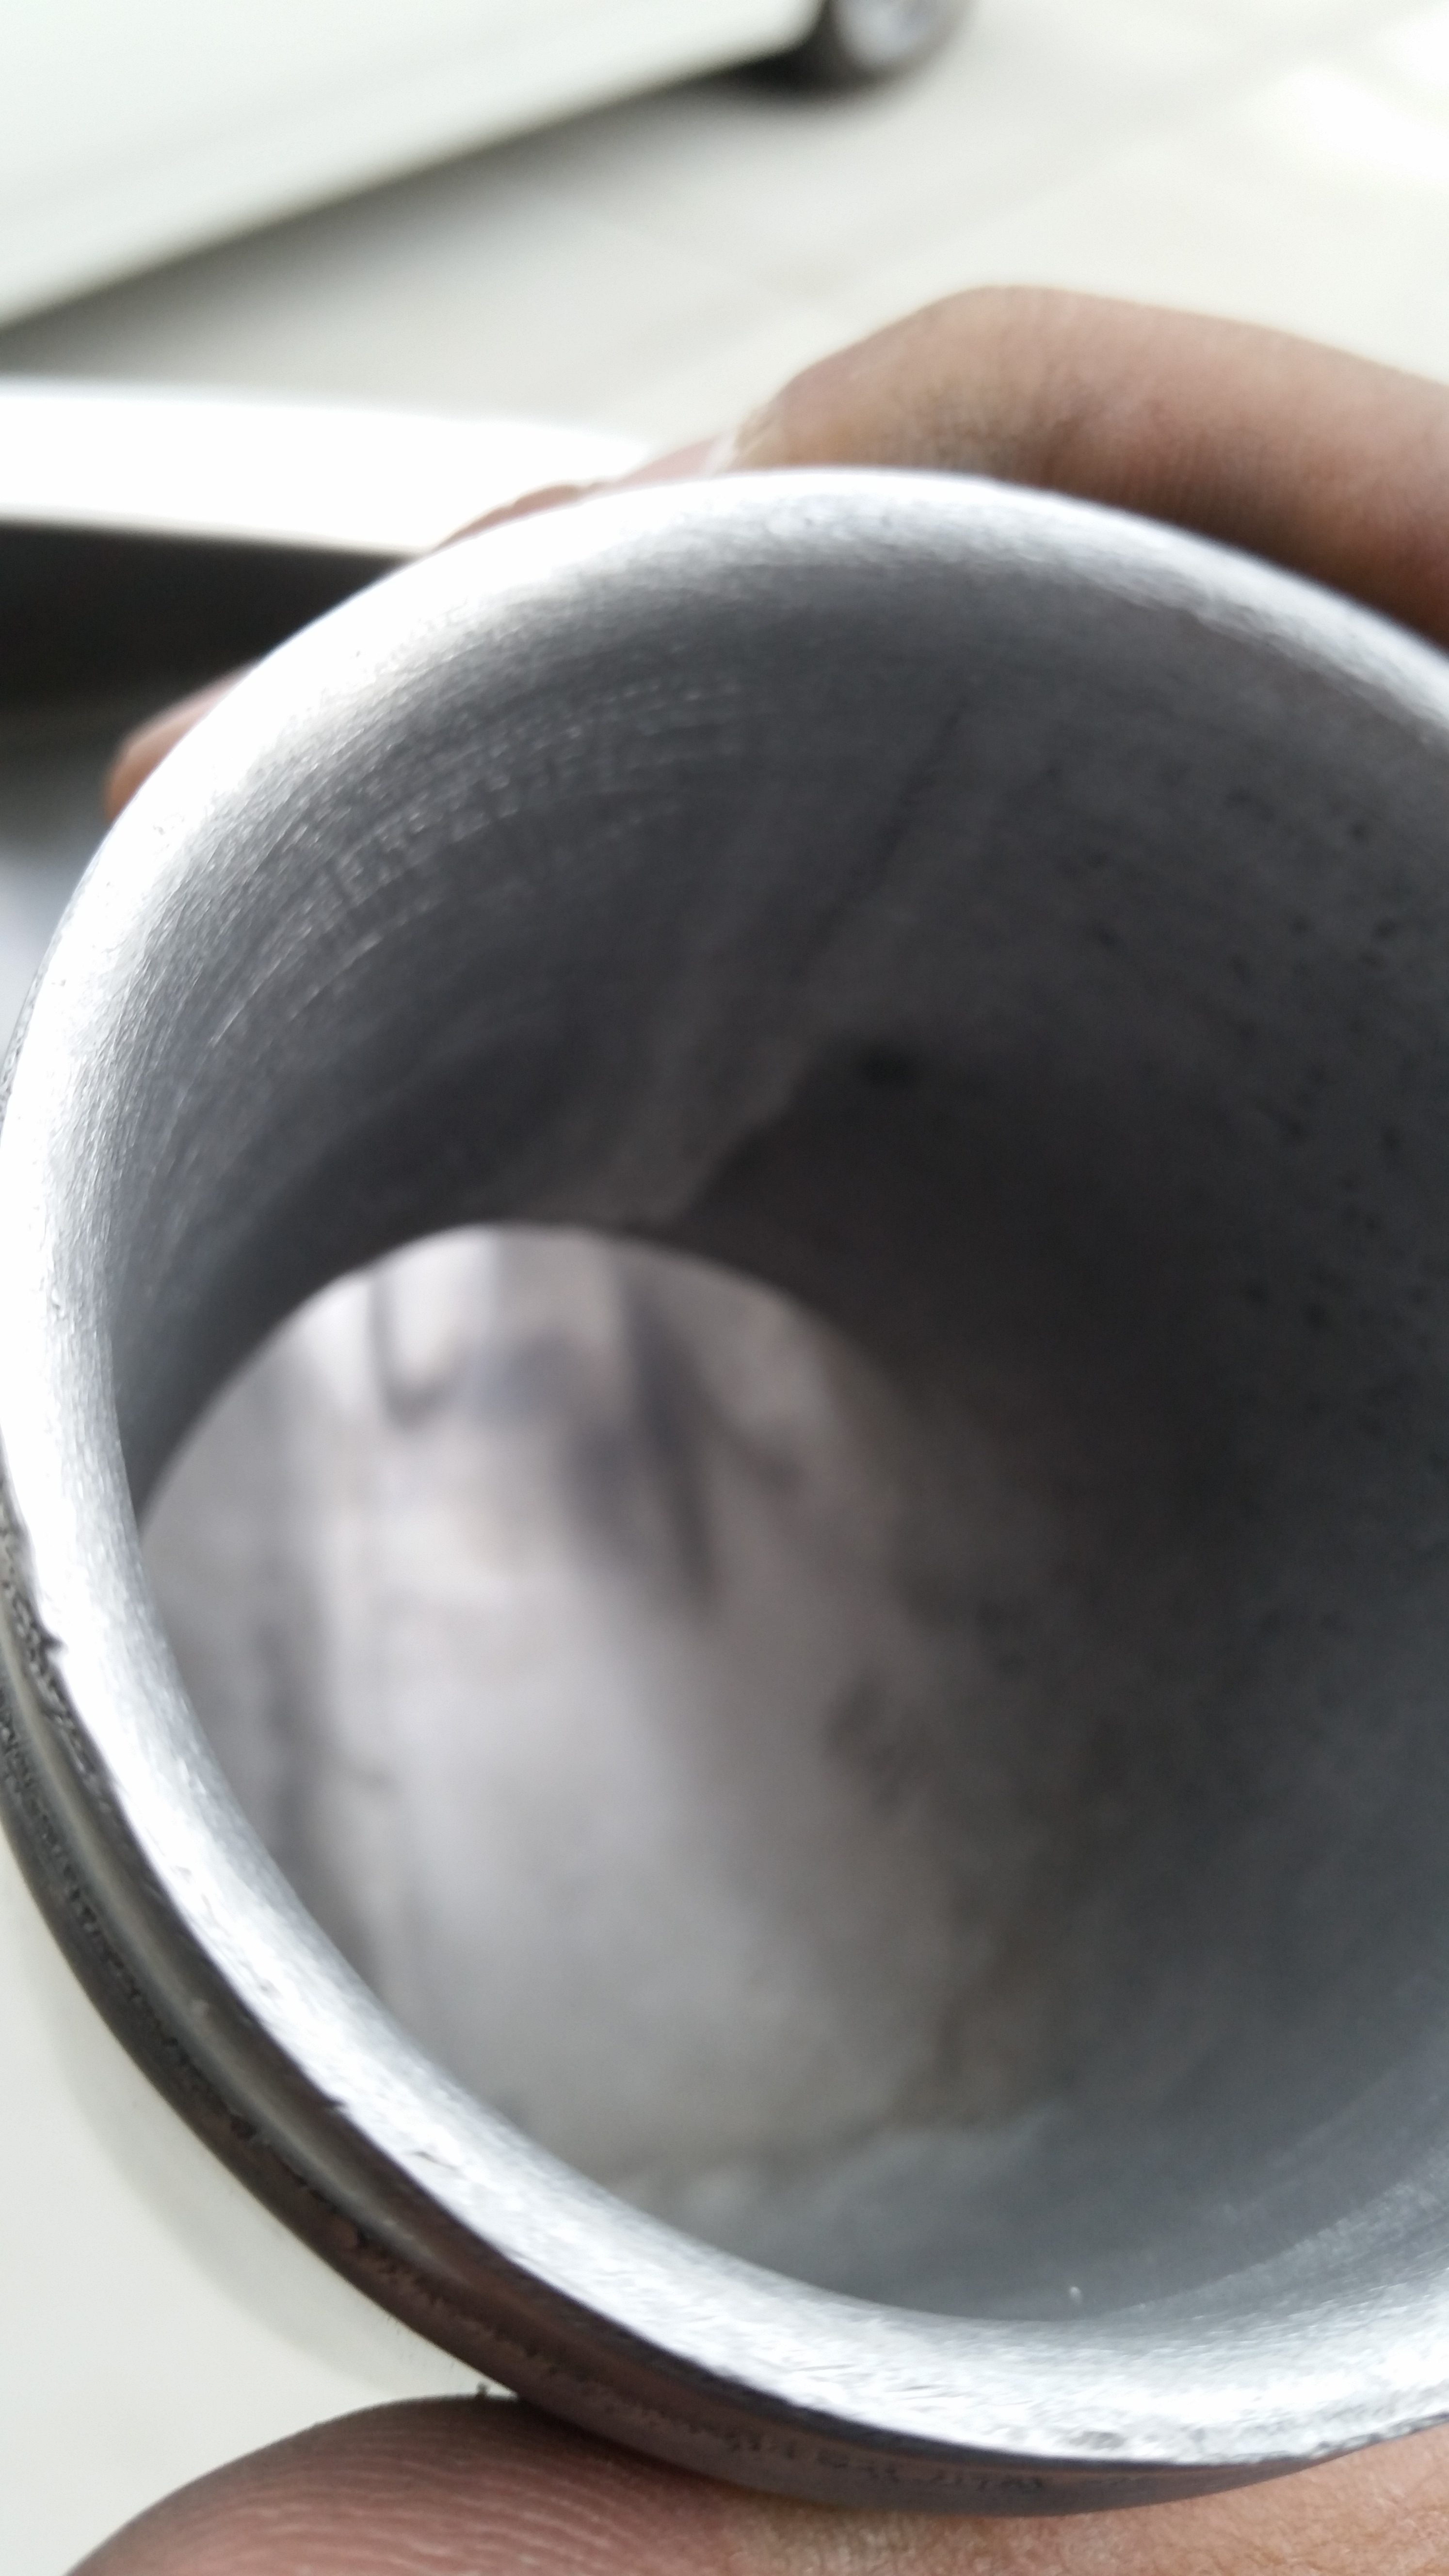
Another thing that bothered me was that the Rotary works elbow didn't have much of a smooth lip. My intake piping literally lines right up to the leading edge... but because the pipe cast is soo thick.. I felt like the incoming air was slamming into the outer edges before it could enter the elbow. Heres a before picture:
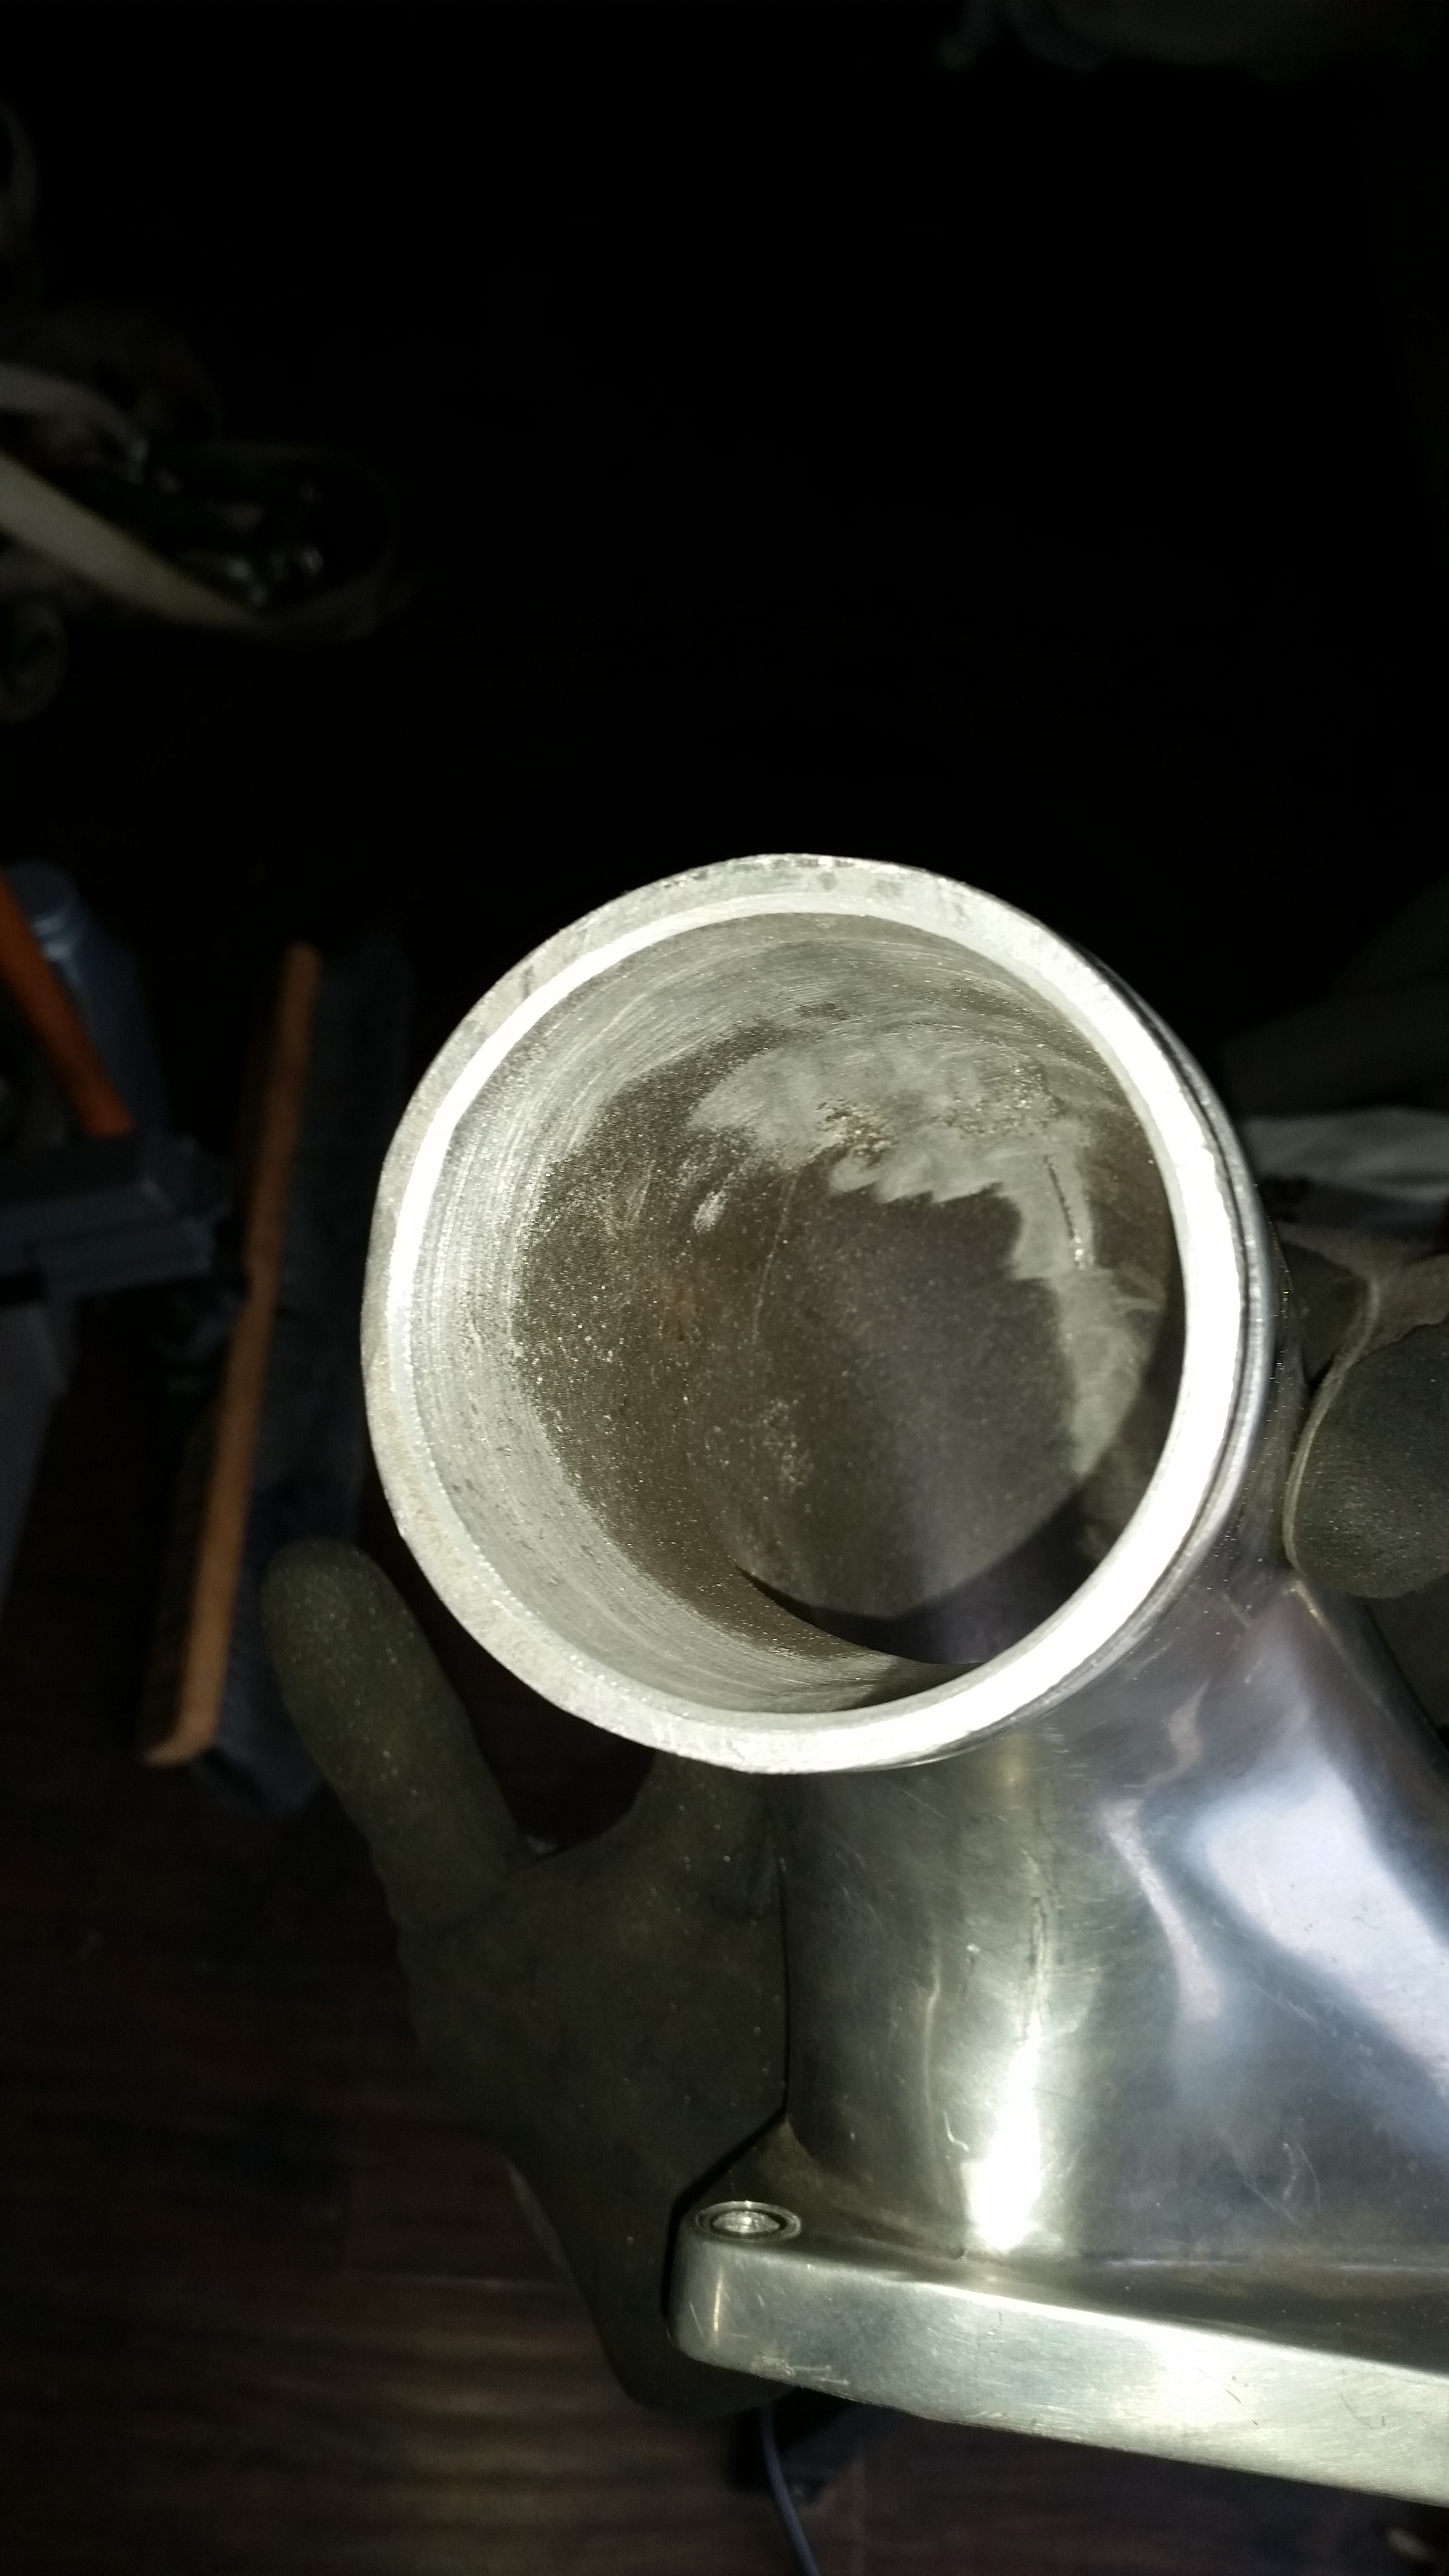
Used my belt sanders edge to slowly work the edge into a nice smooth entrance.
I don't know if that matters....but I care about it haha.
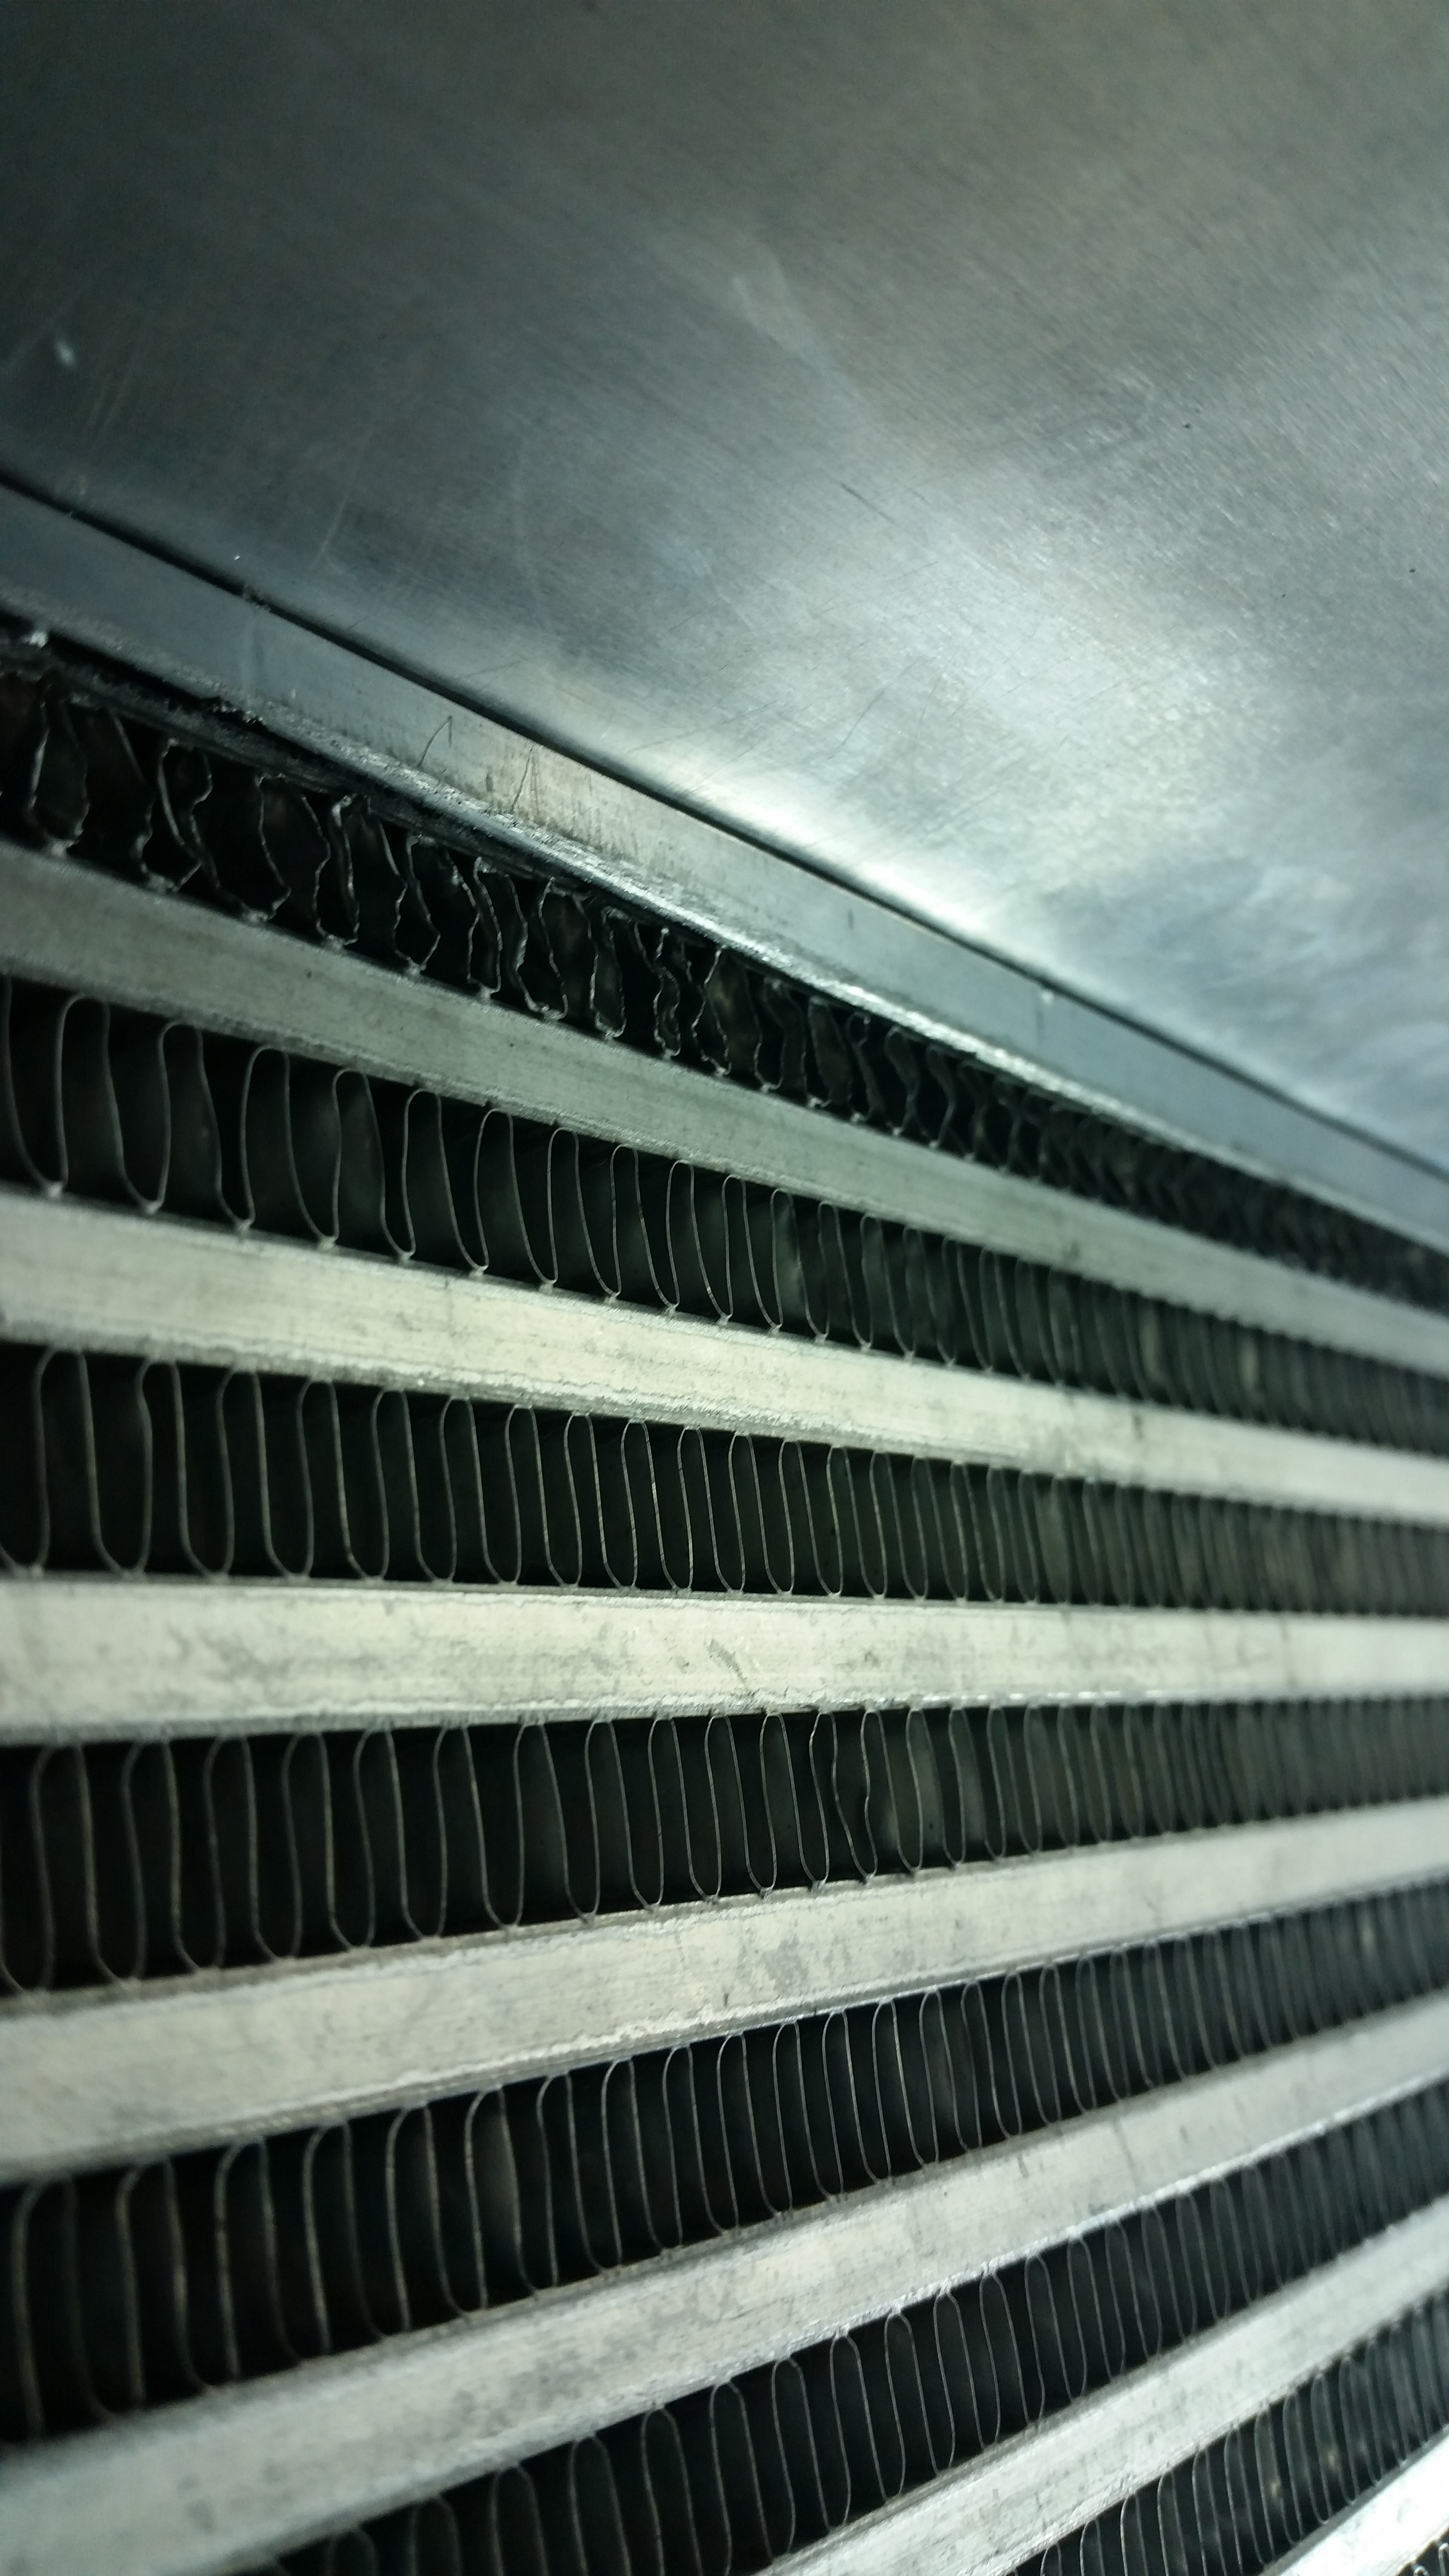
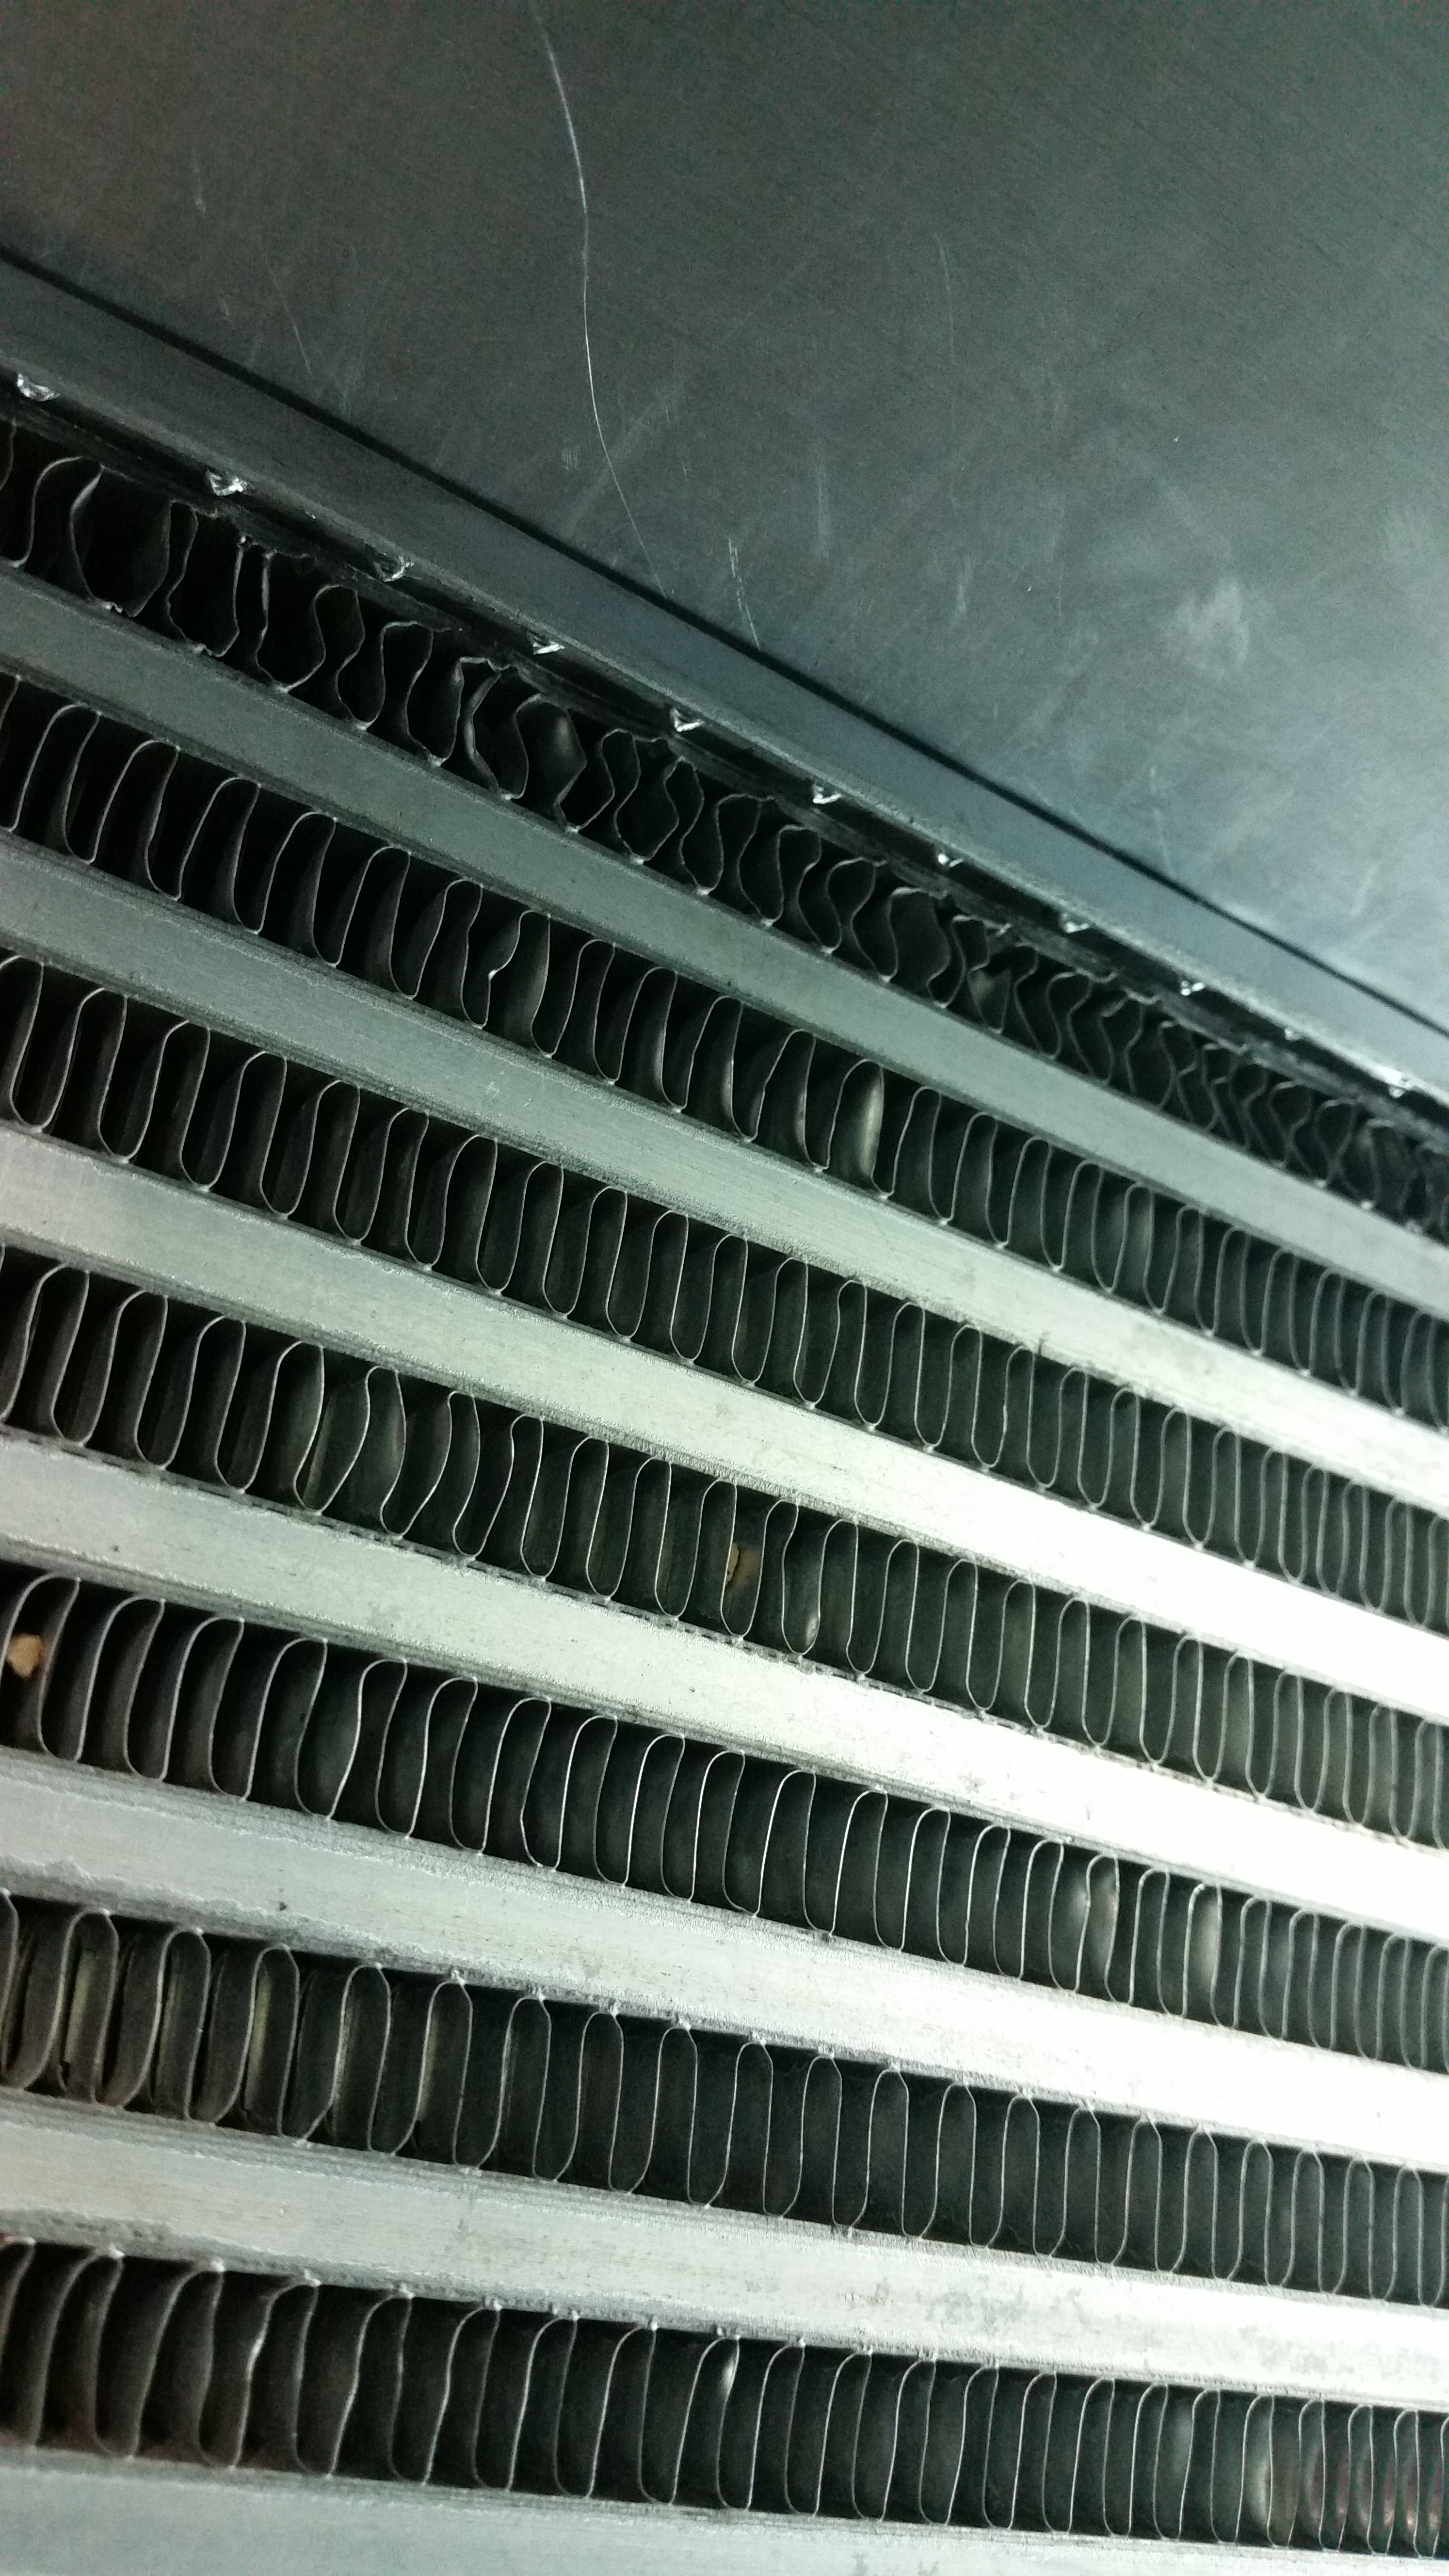
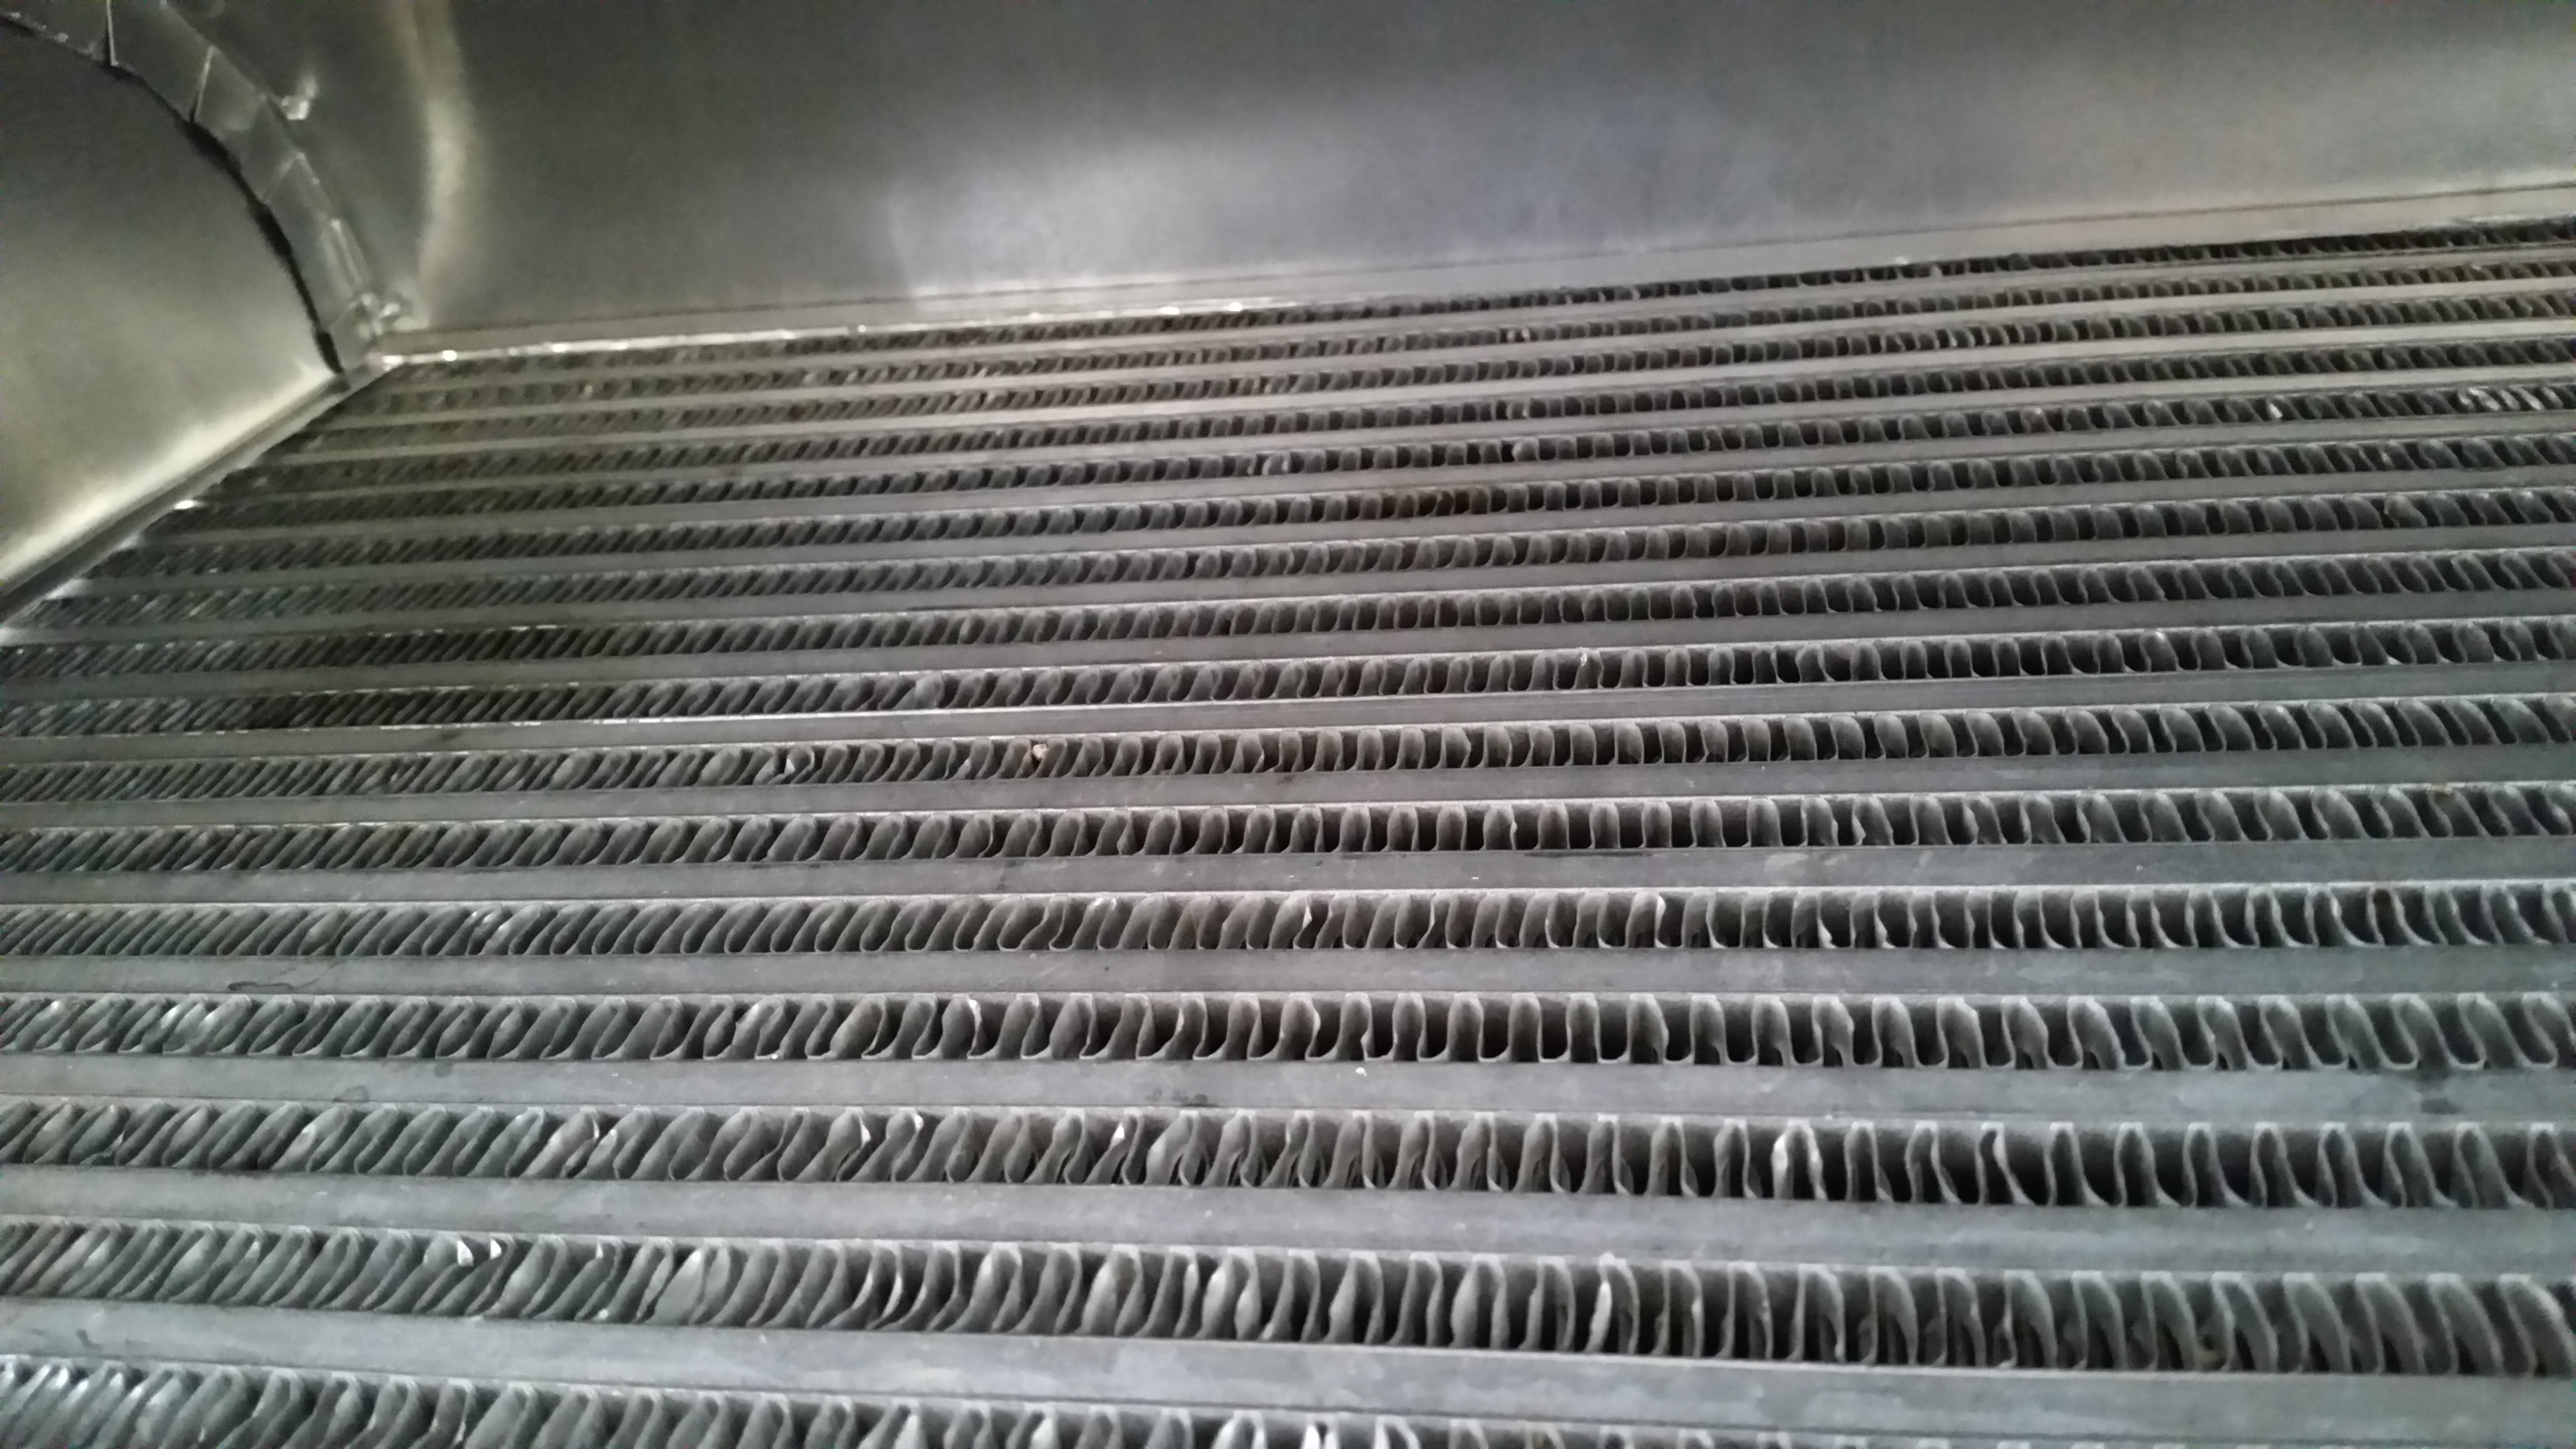
Also got to work straightening out all the bent fins on my IC and cleaning the end tanks that had become gross and dirty/grimy looking. Gave the New Piping some gold treatment as well!
Came out really good... Once again hats off to Rad Industries for the 1 day turn around on a list of things I needed to get done!

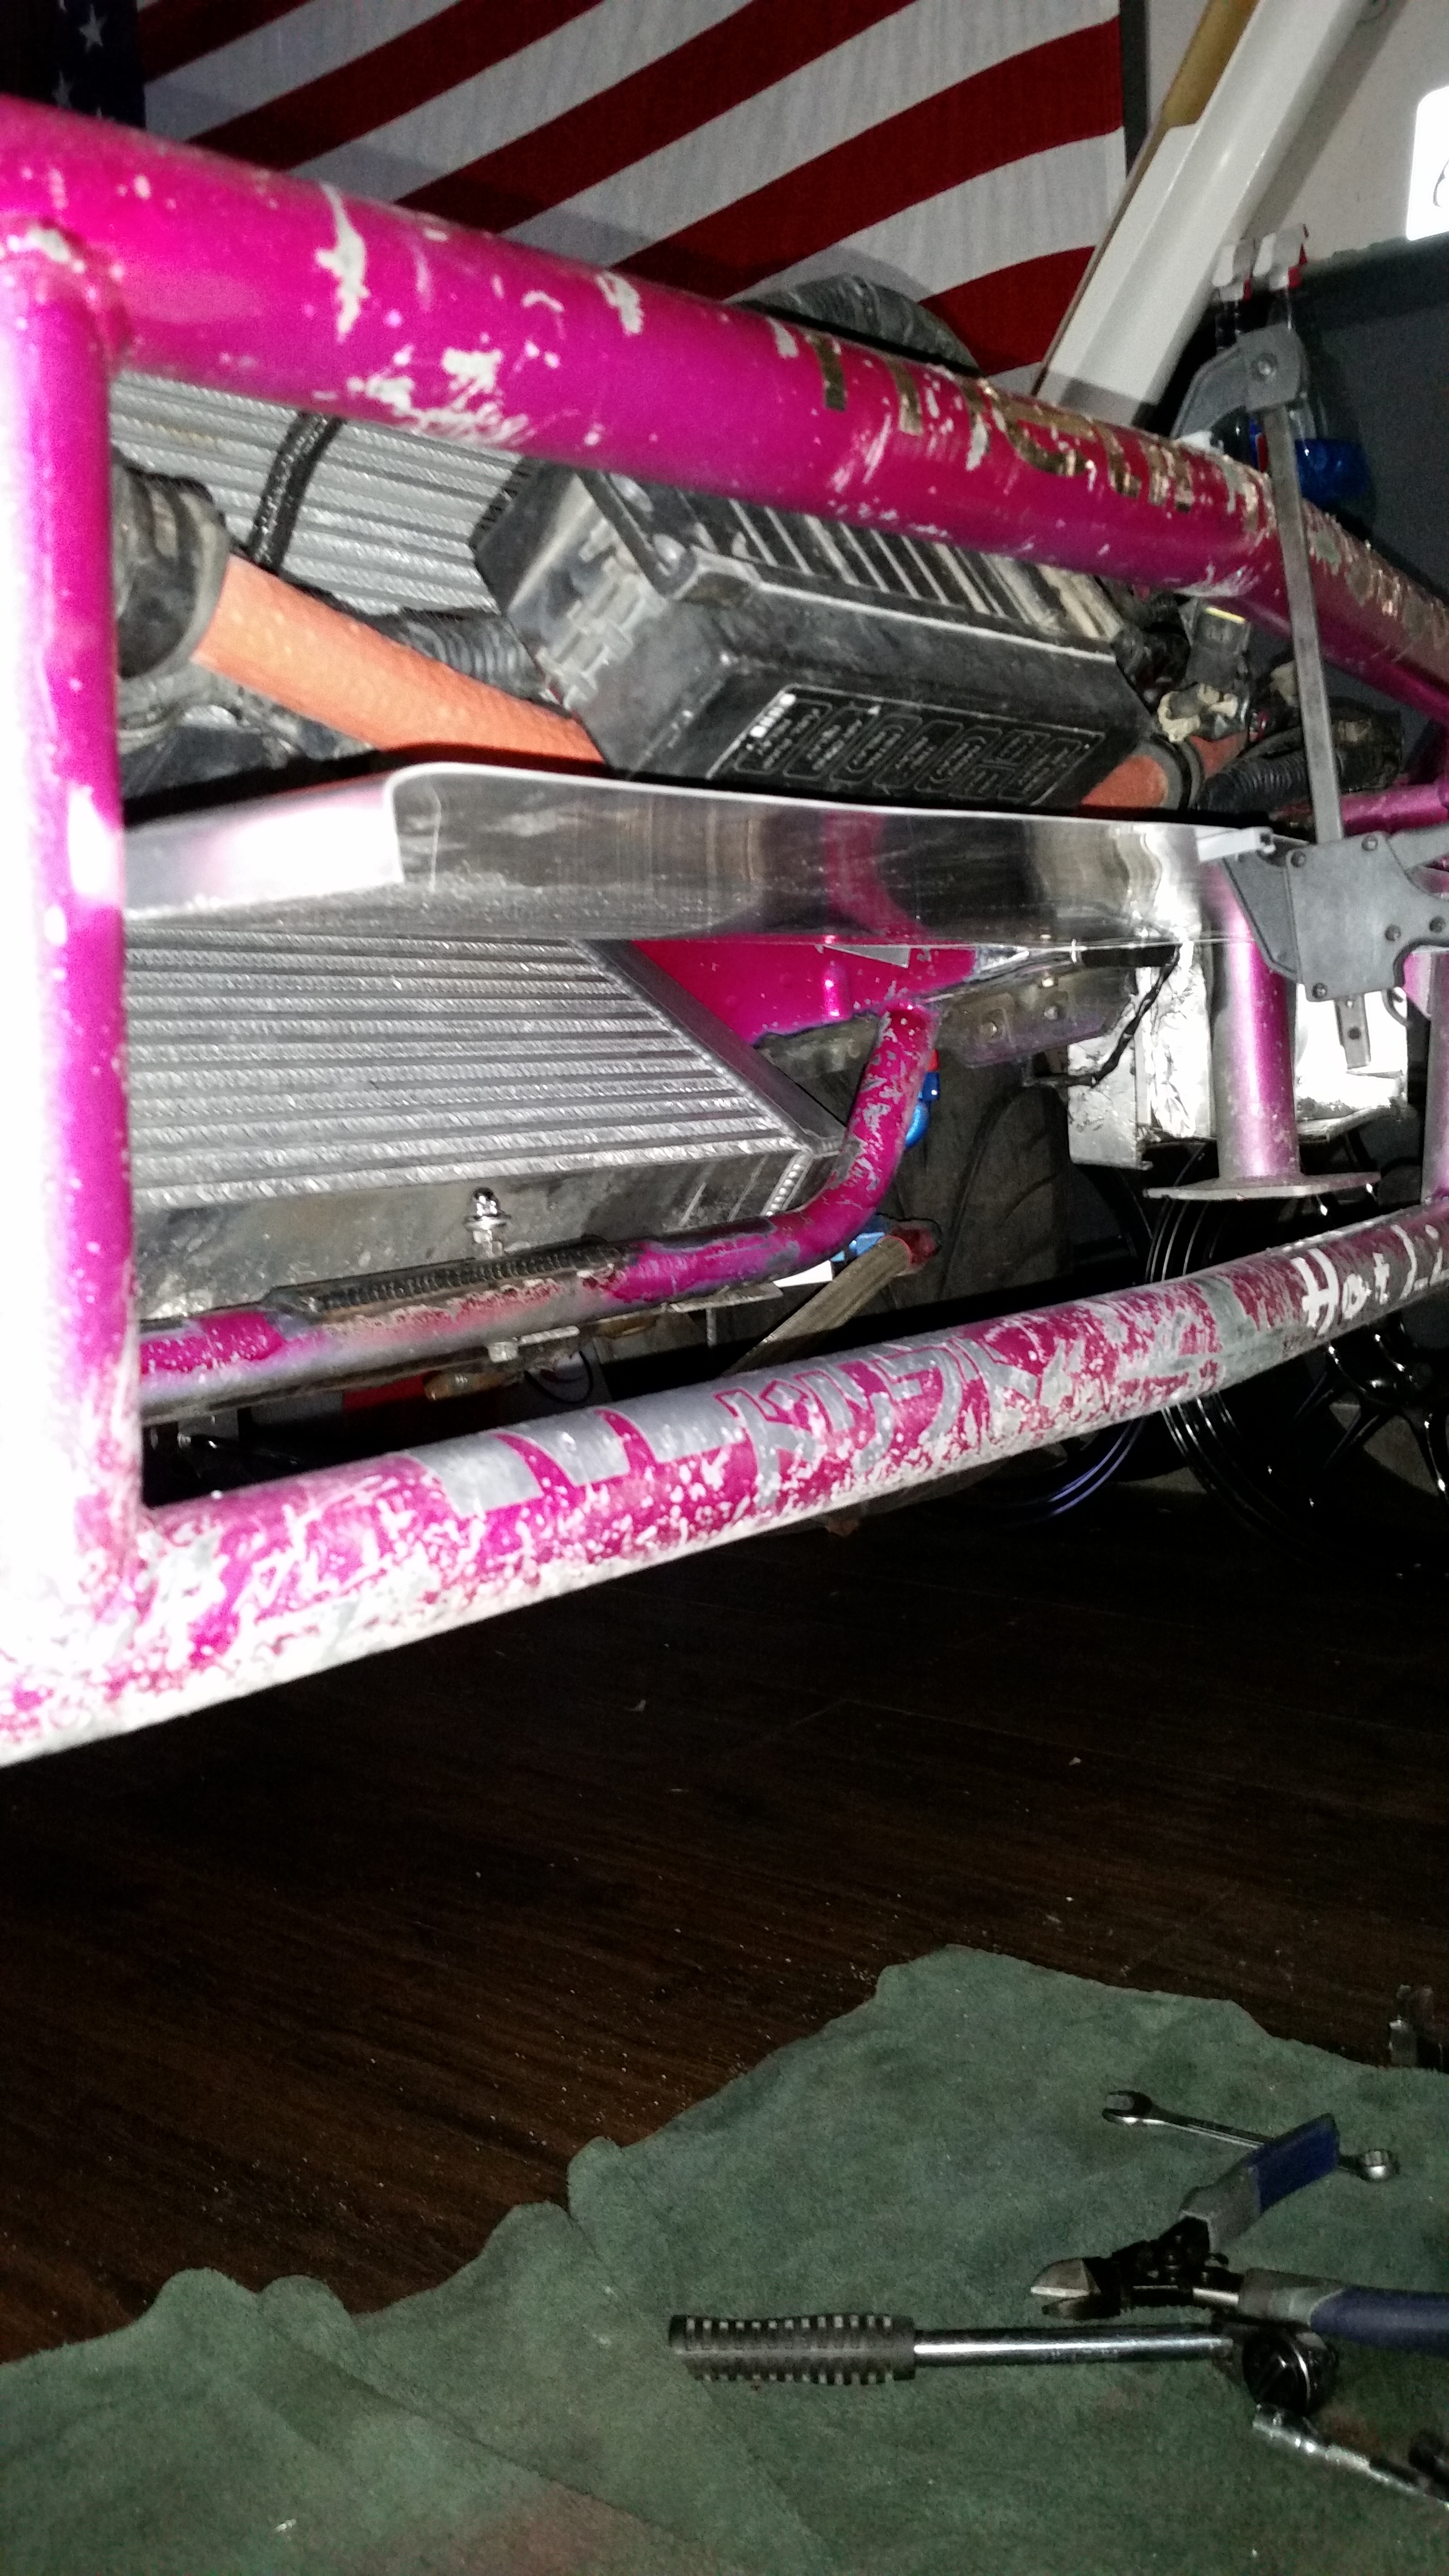
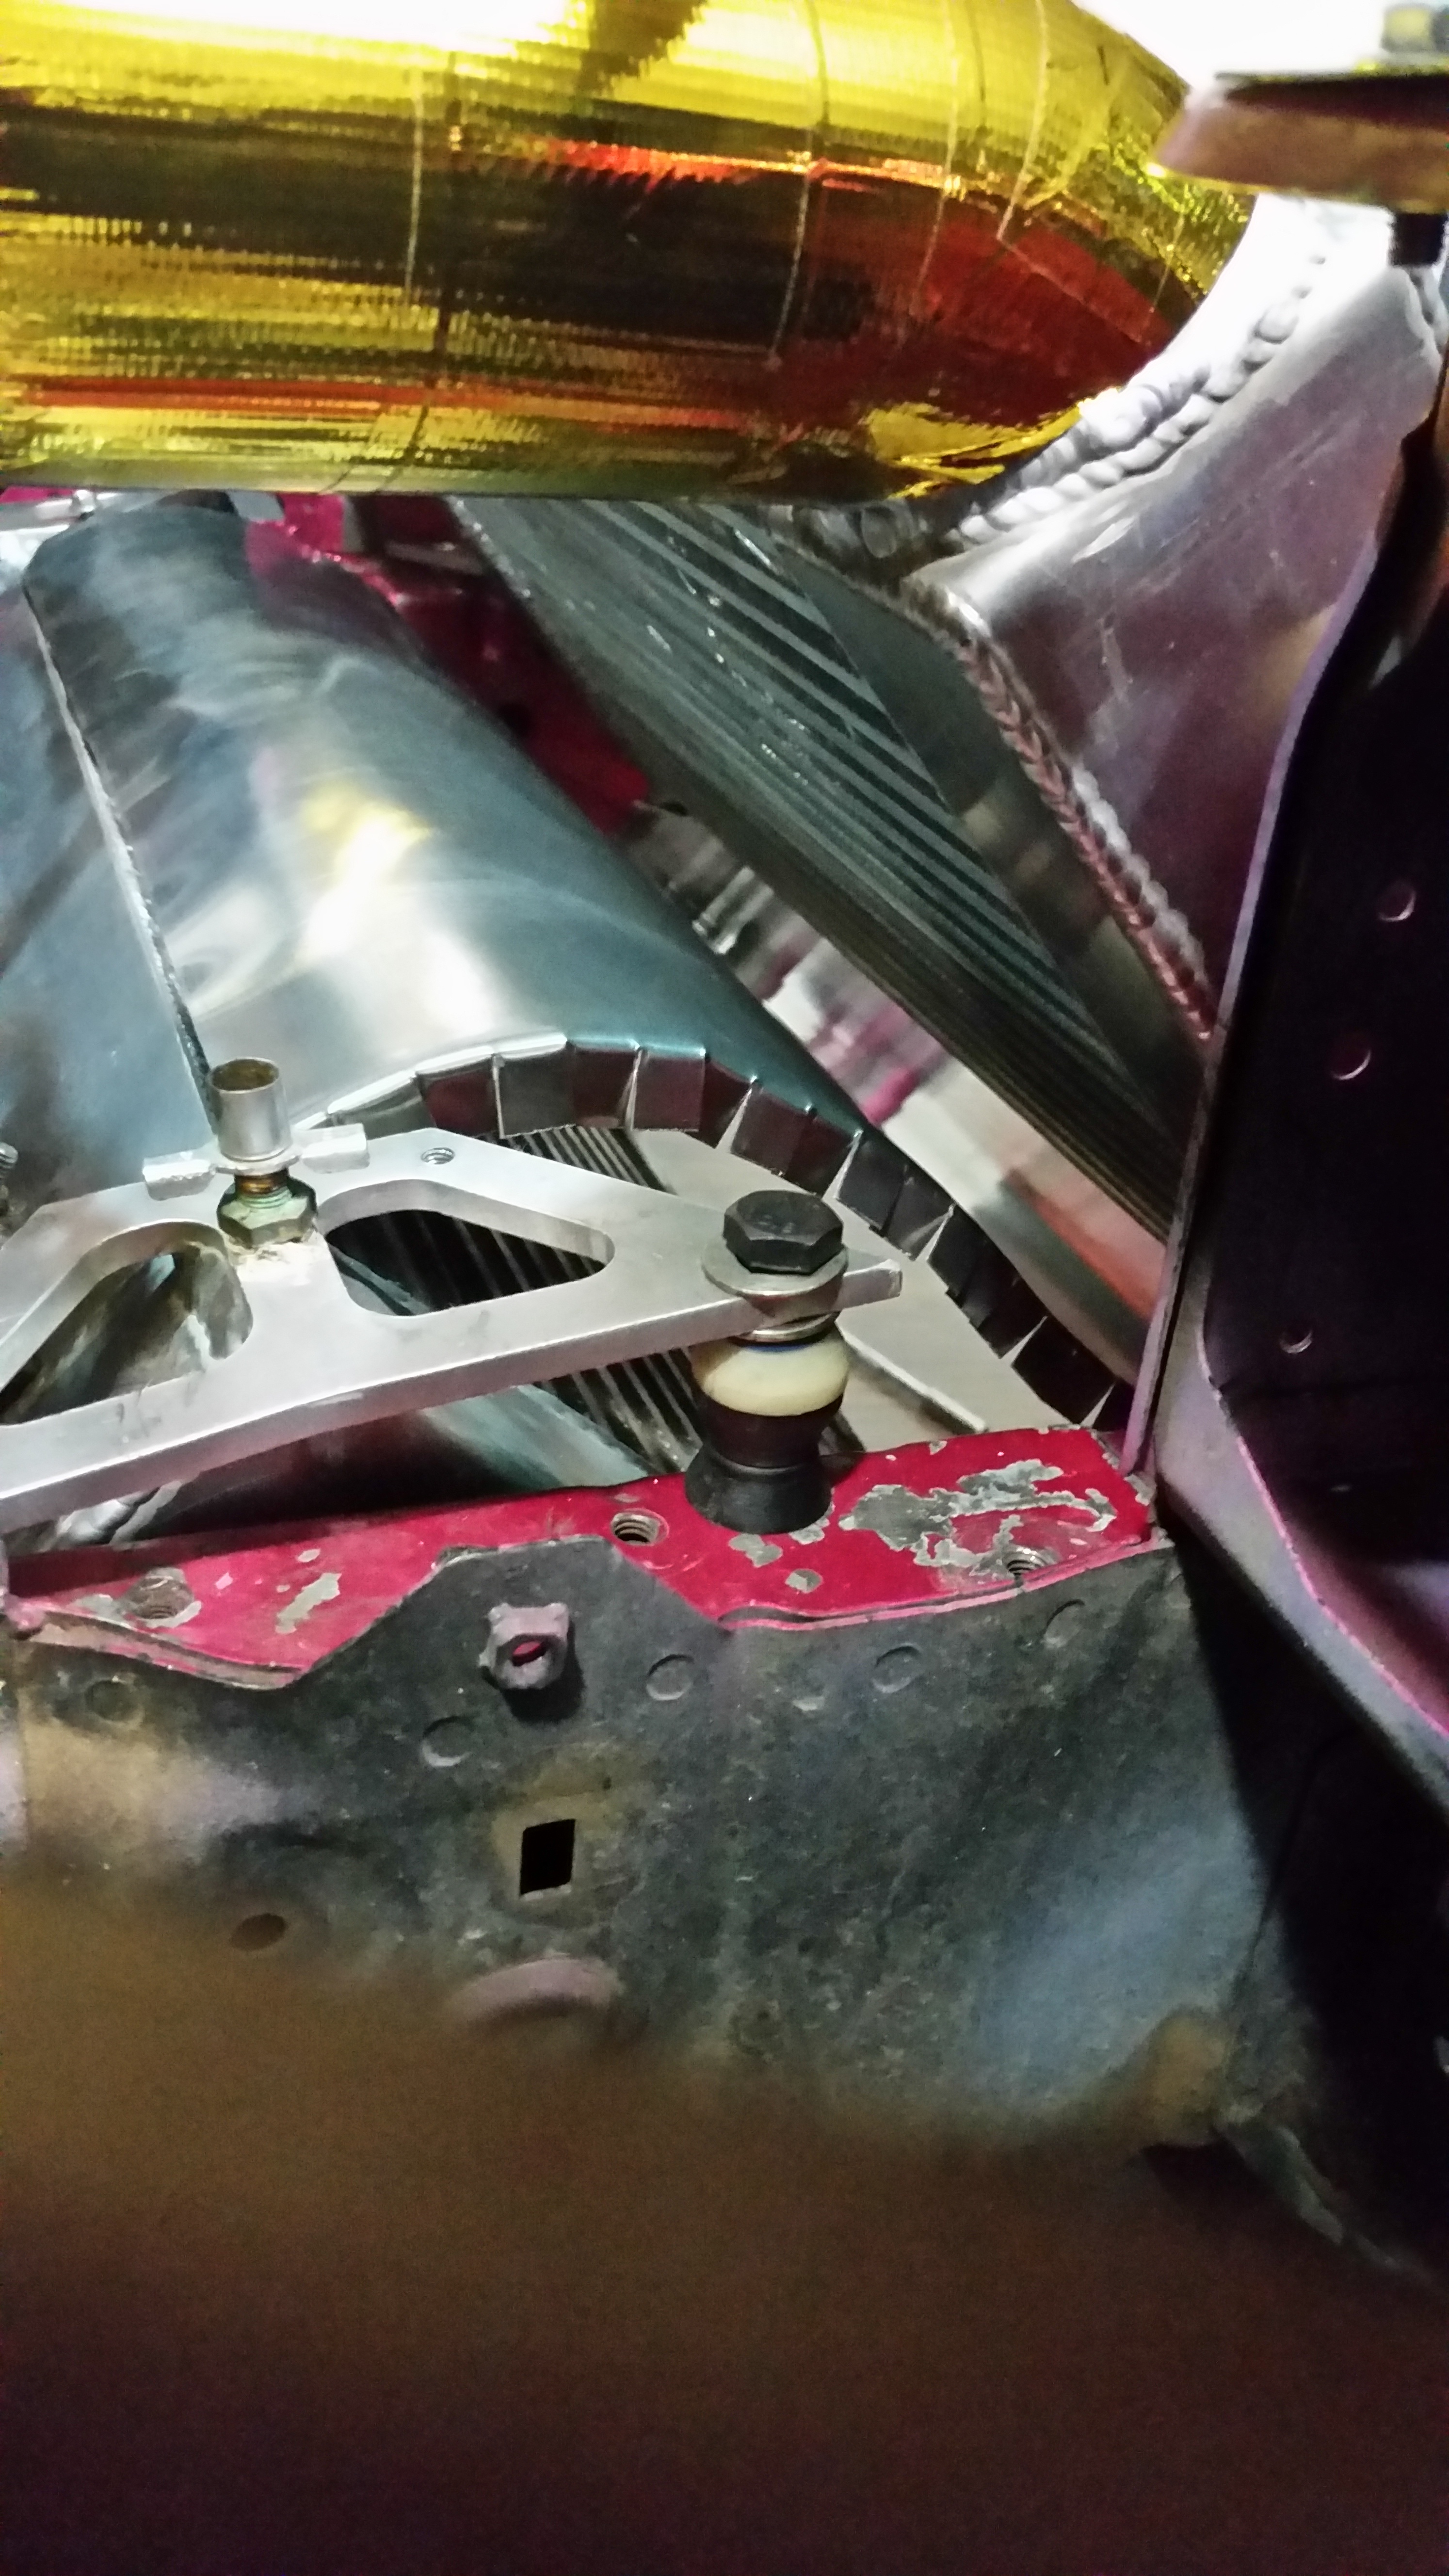
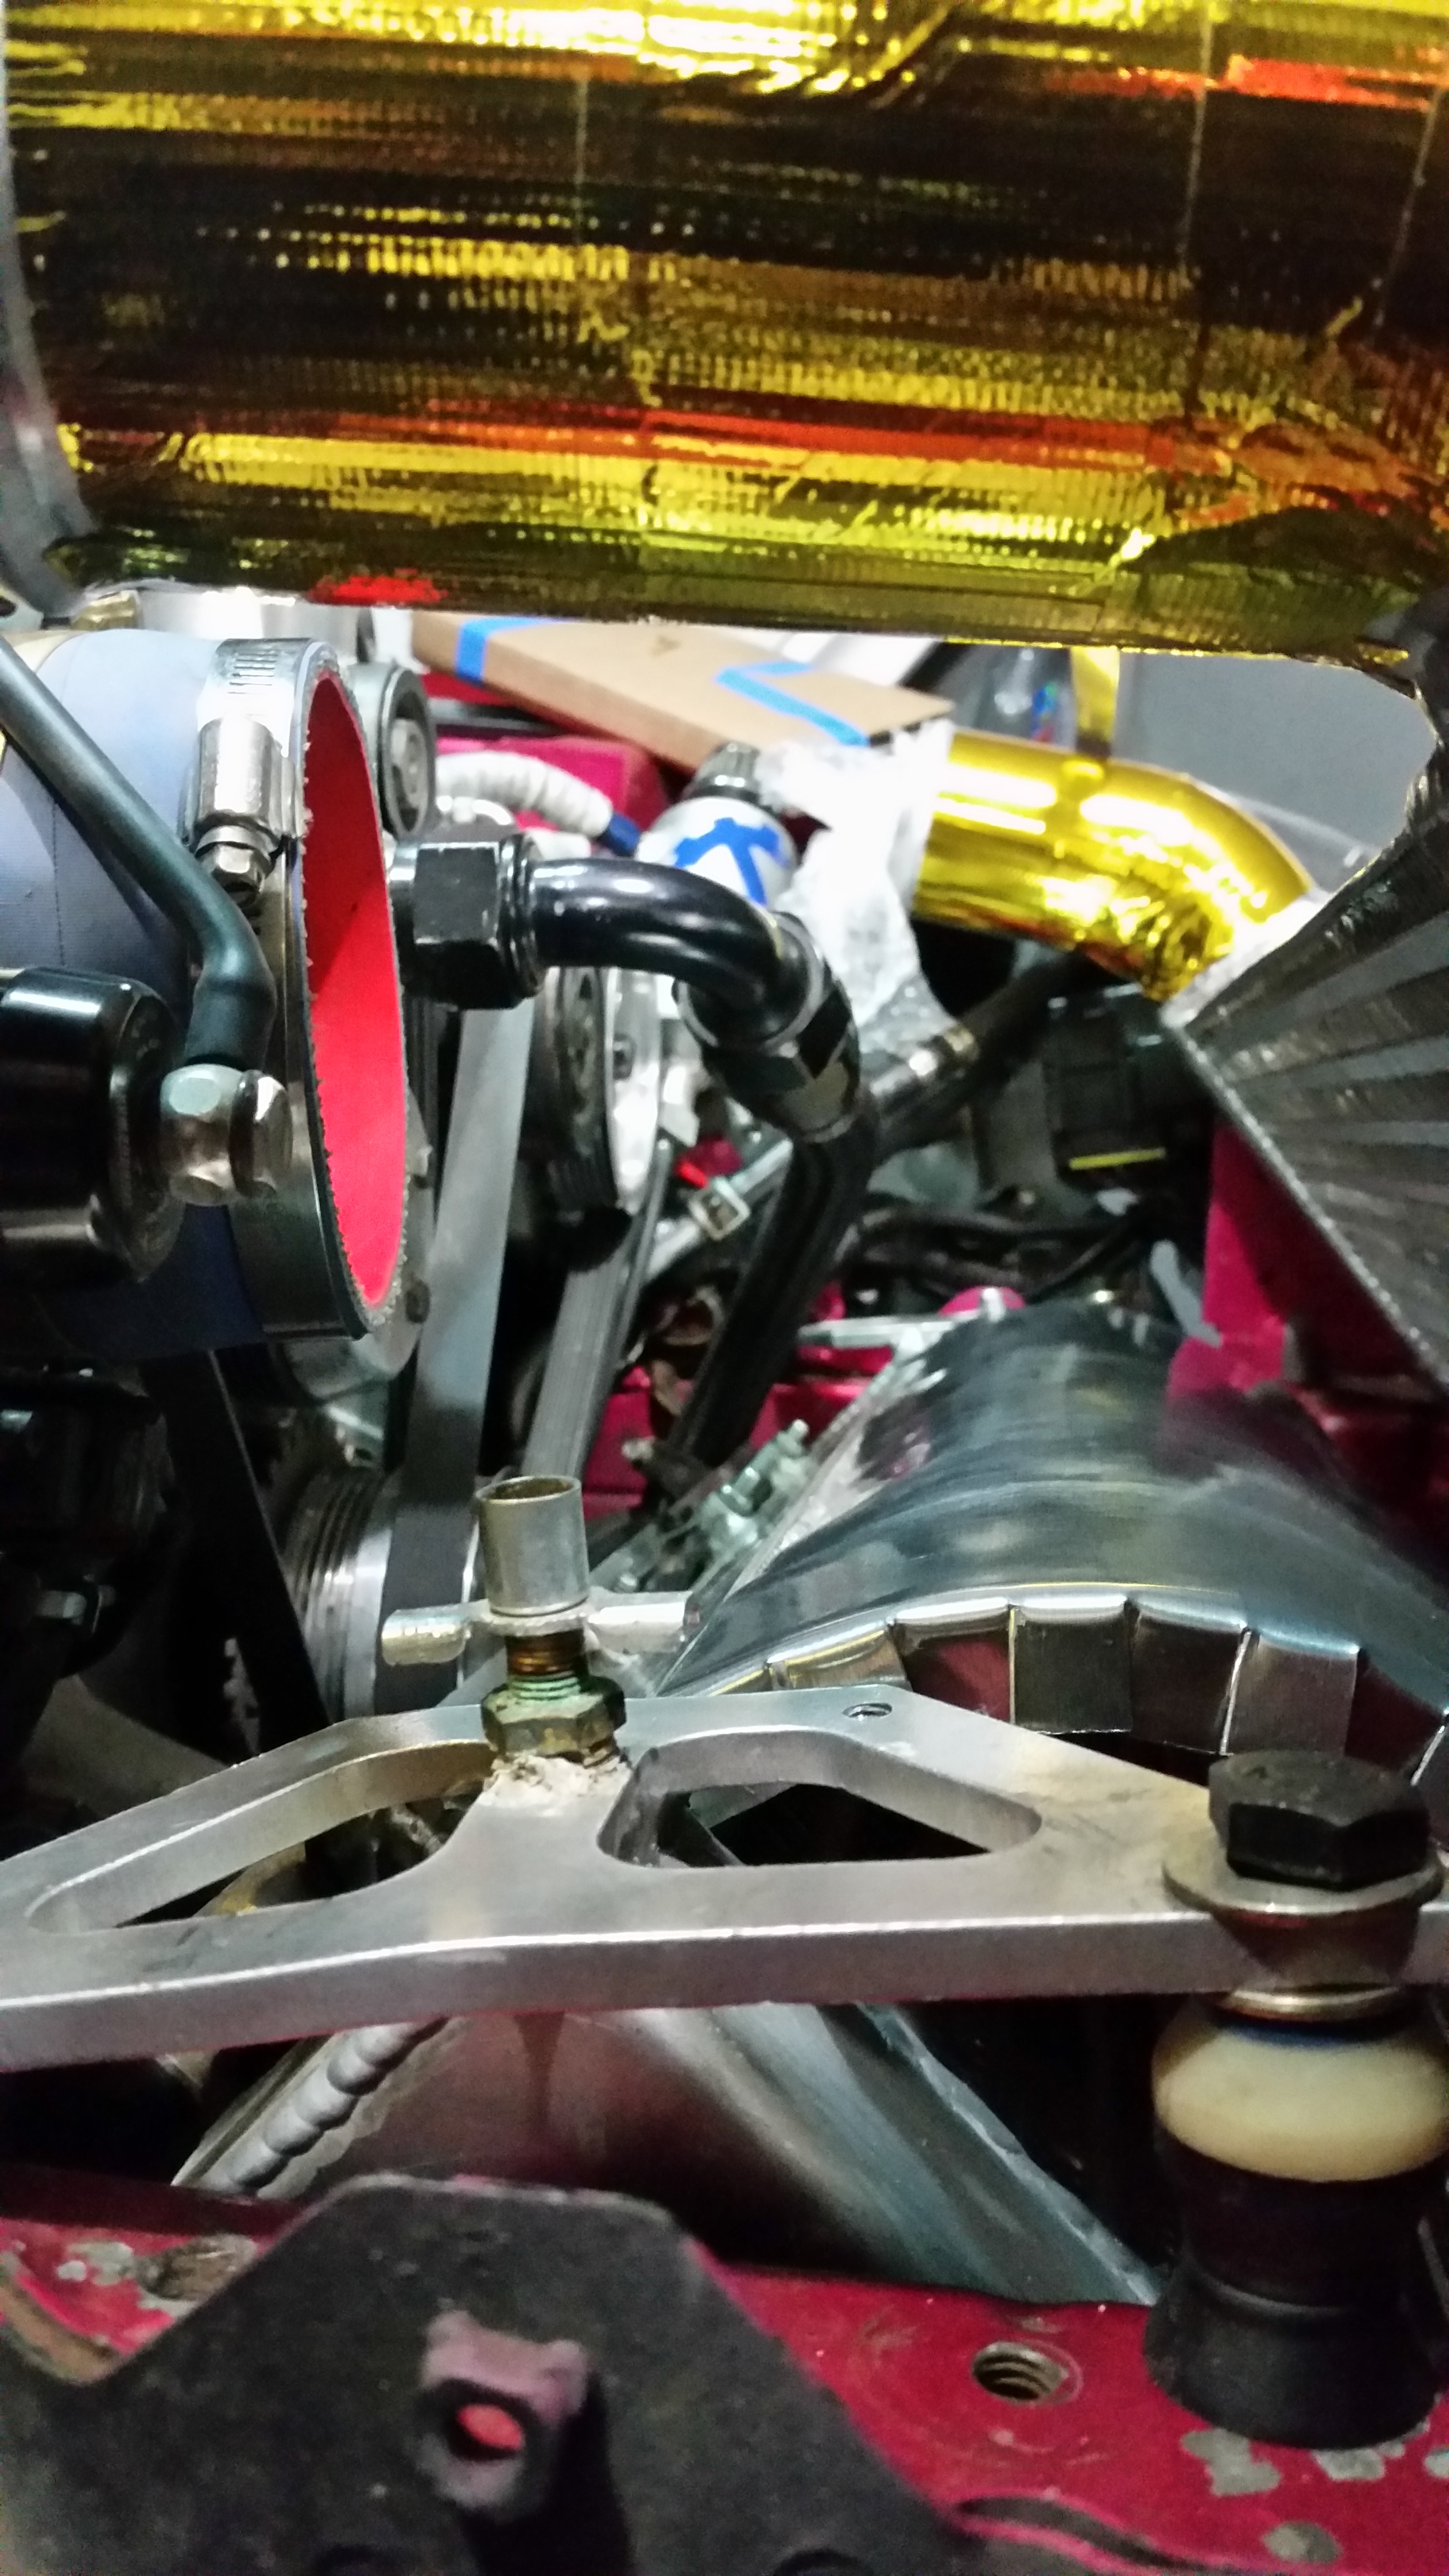
Next up was to check out How the new radiator mount came out. Hooks around and holds the radiator 2" higher than the Old mounts. Dan cut off the old ones and made this one. Simple.. Much stronger than the old ones and again... Gives me more travel than I had before. My main concern was the Lower radiator -16 An 90 Degree fitting. It was the lowest point on the radiator.. and although It had never hit anything.. My last event was a testament that I will end up off course the harder and more I push myself. Better safe than sorry. The AN fitting is now tucked away nice and high and the lowest point of my car is now a section of my exhaust and the engine sub-frame.
Don't mind the scratches.. all that happened when the bar broke off in the gravel.
I need to get my hands on some paint...but I'm afraid my local paint shop won't be able to duplicate my Hot pink Magenta. The last time I asked them....they had told me that they were unable to get the stuff anymore due to a law change in CA prohibiting the paint. Sucks. I'm not really sure what I'm going to do.. But I'm going to ask for it again and see if they have any left over...hopefully!
Anyways.. More updates soon!! Stay tuned!!
Thanks
Soooo I've been working on a few things. Started with The design of my New Race Suit. I chose to go with a Sparco Jade Top. Not the highest quality suit but it does meet the guidelines for Pro-am Competition if I choose to enter! I'm Still a bit un-decided whether I should Go pro-am or just enter the street class. My car qualifies for both.. Just need to change tires. Other than that.. it's allll Gold.
I went simple... think Simple is best with this stuff. But does anyone know where I can get a Nice Patch Made of the "AI" logo? Possibly Iron on? I figured that would be the easiest.
Also took some detailed pics of Dans work. I'm really happy with it. Best part was How nicely it all aligned up.. The Hardware was brand new and I could Literally thread it in by hand till the end. I did end up trimming the Bolts just to eliminate the time it takes to tighten them down and pull them out...but Rock solid job. I can stand on the bar now without it flexing... and the Jack point is far more solid than it was. I'm happy.
Here was the Drivers side Oil cooler mount. Jacked!!!
Made another out of cheap strap alum and The cooler was back to normal. DIRTY!!! But normal. I'll get to cleaning before I start the new Duct work.
Another thing that bothered me was that the Rotary works elbow didn't have much of a smooth lip. My intake piping literally lines right up to the leading edge... but because the pipe cast is soo thick.. I felt like the incoming air was slamming into the outer edges before it could enter the elbow. Heres a before picture:
Used my belt sanders edge to slowly work the edge into a nice smooth entrance.
I don't know if that matters....but I care about it haha.
Also got to work straightening out all the bent fins on my IC and cleaning the end tanks that had become gross and dirty/grimy looking. Gave the New Piping some gold treatment as well!
Came out really good... Once again hats off to Rad Industries for the 1 day turn around on a list of things I needed to get done!
Next up was to check out How the new radiator mount came out. Hooks around and holds the radiator 2" higher than the Old mounts. Dan cut off the old ones and made this one. Simple.. Much stronger than the old ones and again... Gives me more travel than I had before. My main concern was the Lower radiator -16 An 90 Degree fitting. It was the lowest point on the radiator.. and although It had never hit anything.. My last event was a testament that I will end up off course the harder and more I push myself. Better safe than sorry. The AN fitting is now tucked away nice and high and the lowest point of my car is now a section of my exhaust and the engine sub-frame.
Don't mind the scratches.. all that happened when the bar broke off in the gravel.
I need to get my hands on some paint...but I'm afraid my local paint shop won't be able to duplicate my Hot pink Magenta. The last time I asked them....they had told me that they were unable to get the stuff anymore due to a law change in CA prohibiting the paint. Sucks. I'm not really sure what I'm going to do.. But I'm going to ask for it again and see if they have any left over...hopefully!
Anyways.. More updates soon!! Stay tuned!!
Thanks
01-30-15, 10:44 AM
#2242
Small Update:
Go Check out the OMGDRIFT Feature that was Released!!!
WooHoo!!! HOping they're put out the video as well!!
Feature Dopeness >>> Aaron Parker & ?The Wolf? | OMGDrift.com - Relax..We're Professionals!
Go Check out the OMGDRIFT Feature that was Released!!!
WooHoo!!! HOping they're put out the video as well!!
Feature Dopeness >>> Aaron Parker & ?The Wolf? | OMGDrift.com - Relax..We're Professionals!
02-05-15, 01:27 PM
#2243
Update:
Well!!!! Geese....I'm pretty amped on the positive reaction just from people in general on the OMG feature. Aside from the owner Drew just being a solid positive guy, and getting to sit and chat with him and Caitlin.. I think the most exciting part was getting to show off my pride and joy. I hear people all the time say... "don't get attached to the car"...but I think thats a load of garbage. If your not attached to your car... in my opinion.... you're doing something wrong.
one of my personal favorites

I don't take enough interior shots...but heres a good one!

Anyways! that was Wayyyy exciting. And it's cool to see what people thing. I've also gotten some negative feedback as well. At first it really bothered me, but I quickly realized that there's no way to please everyone. I figured the people who really know what this is about.. will understand the car... even if it's not to their liking. And the people who make comments tagging another fd owner and saying things such as "this dudes copying you" or "copied your gates" or a million other dumb statements.... just want to feel like they're part of whoever is "Killing it." these days. Which... by the way has completely lost subtance to the masses. I've seen the phrase used for cars that deserved it. And I've seen the same phrase used for cars that limp ran once and someone got a pic of the occasion. But the car is defining the game....totally "KILLING IT." Gahh... i'm ruining my thread with this stuff. Lets get back on track!!!
I've been working on the front ducting the past couple weeks and came down with some nasty flue plague like sickness that took hold of me for the better part of a week and a half..and utterly ruined one of the nicest weekends i've seen in a while. But It's taking much longer this time around... Mostly because I'v been trying to resolve all the short comings of the last job I did. Always improve.... Making things function better....while pleasing my visual. But one of the short comings of the last design was the duct work would bow/flex/rise under speed. keeping air in is going to stress things. And the old mounts although I thought might be good enough....simply weren't. Speed tested the duct work up to around 130mph and although it stayed... Eventually the thin mounts and lack of support just took it's toll on the ducting and the moutns ended up ripping. I finally was using safety wire in a handfull of occasions to keep it from straying too far...but I could tell efficiency had dropped below what I'd like. SO it was time to fix the probs!!! The car deserves to be maintained. So when the Front bash bar failed.. and I decided tomove the IC forward....it was the perfect time for new ducting.
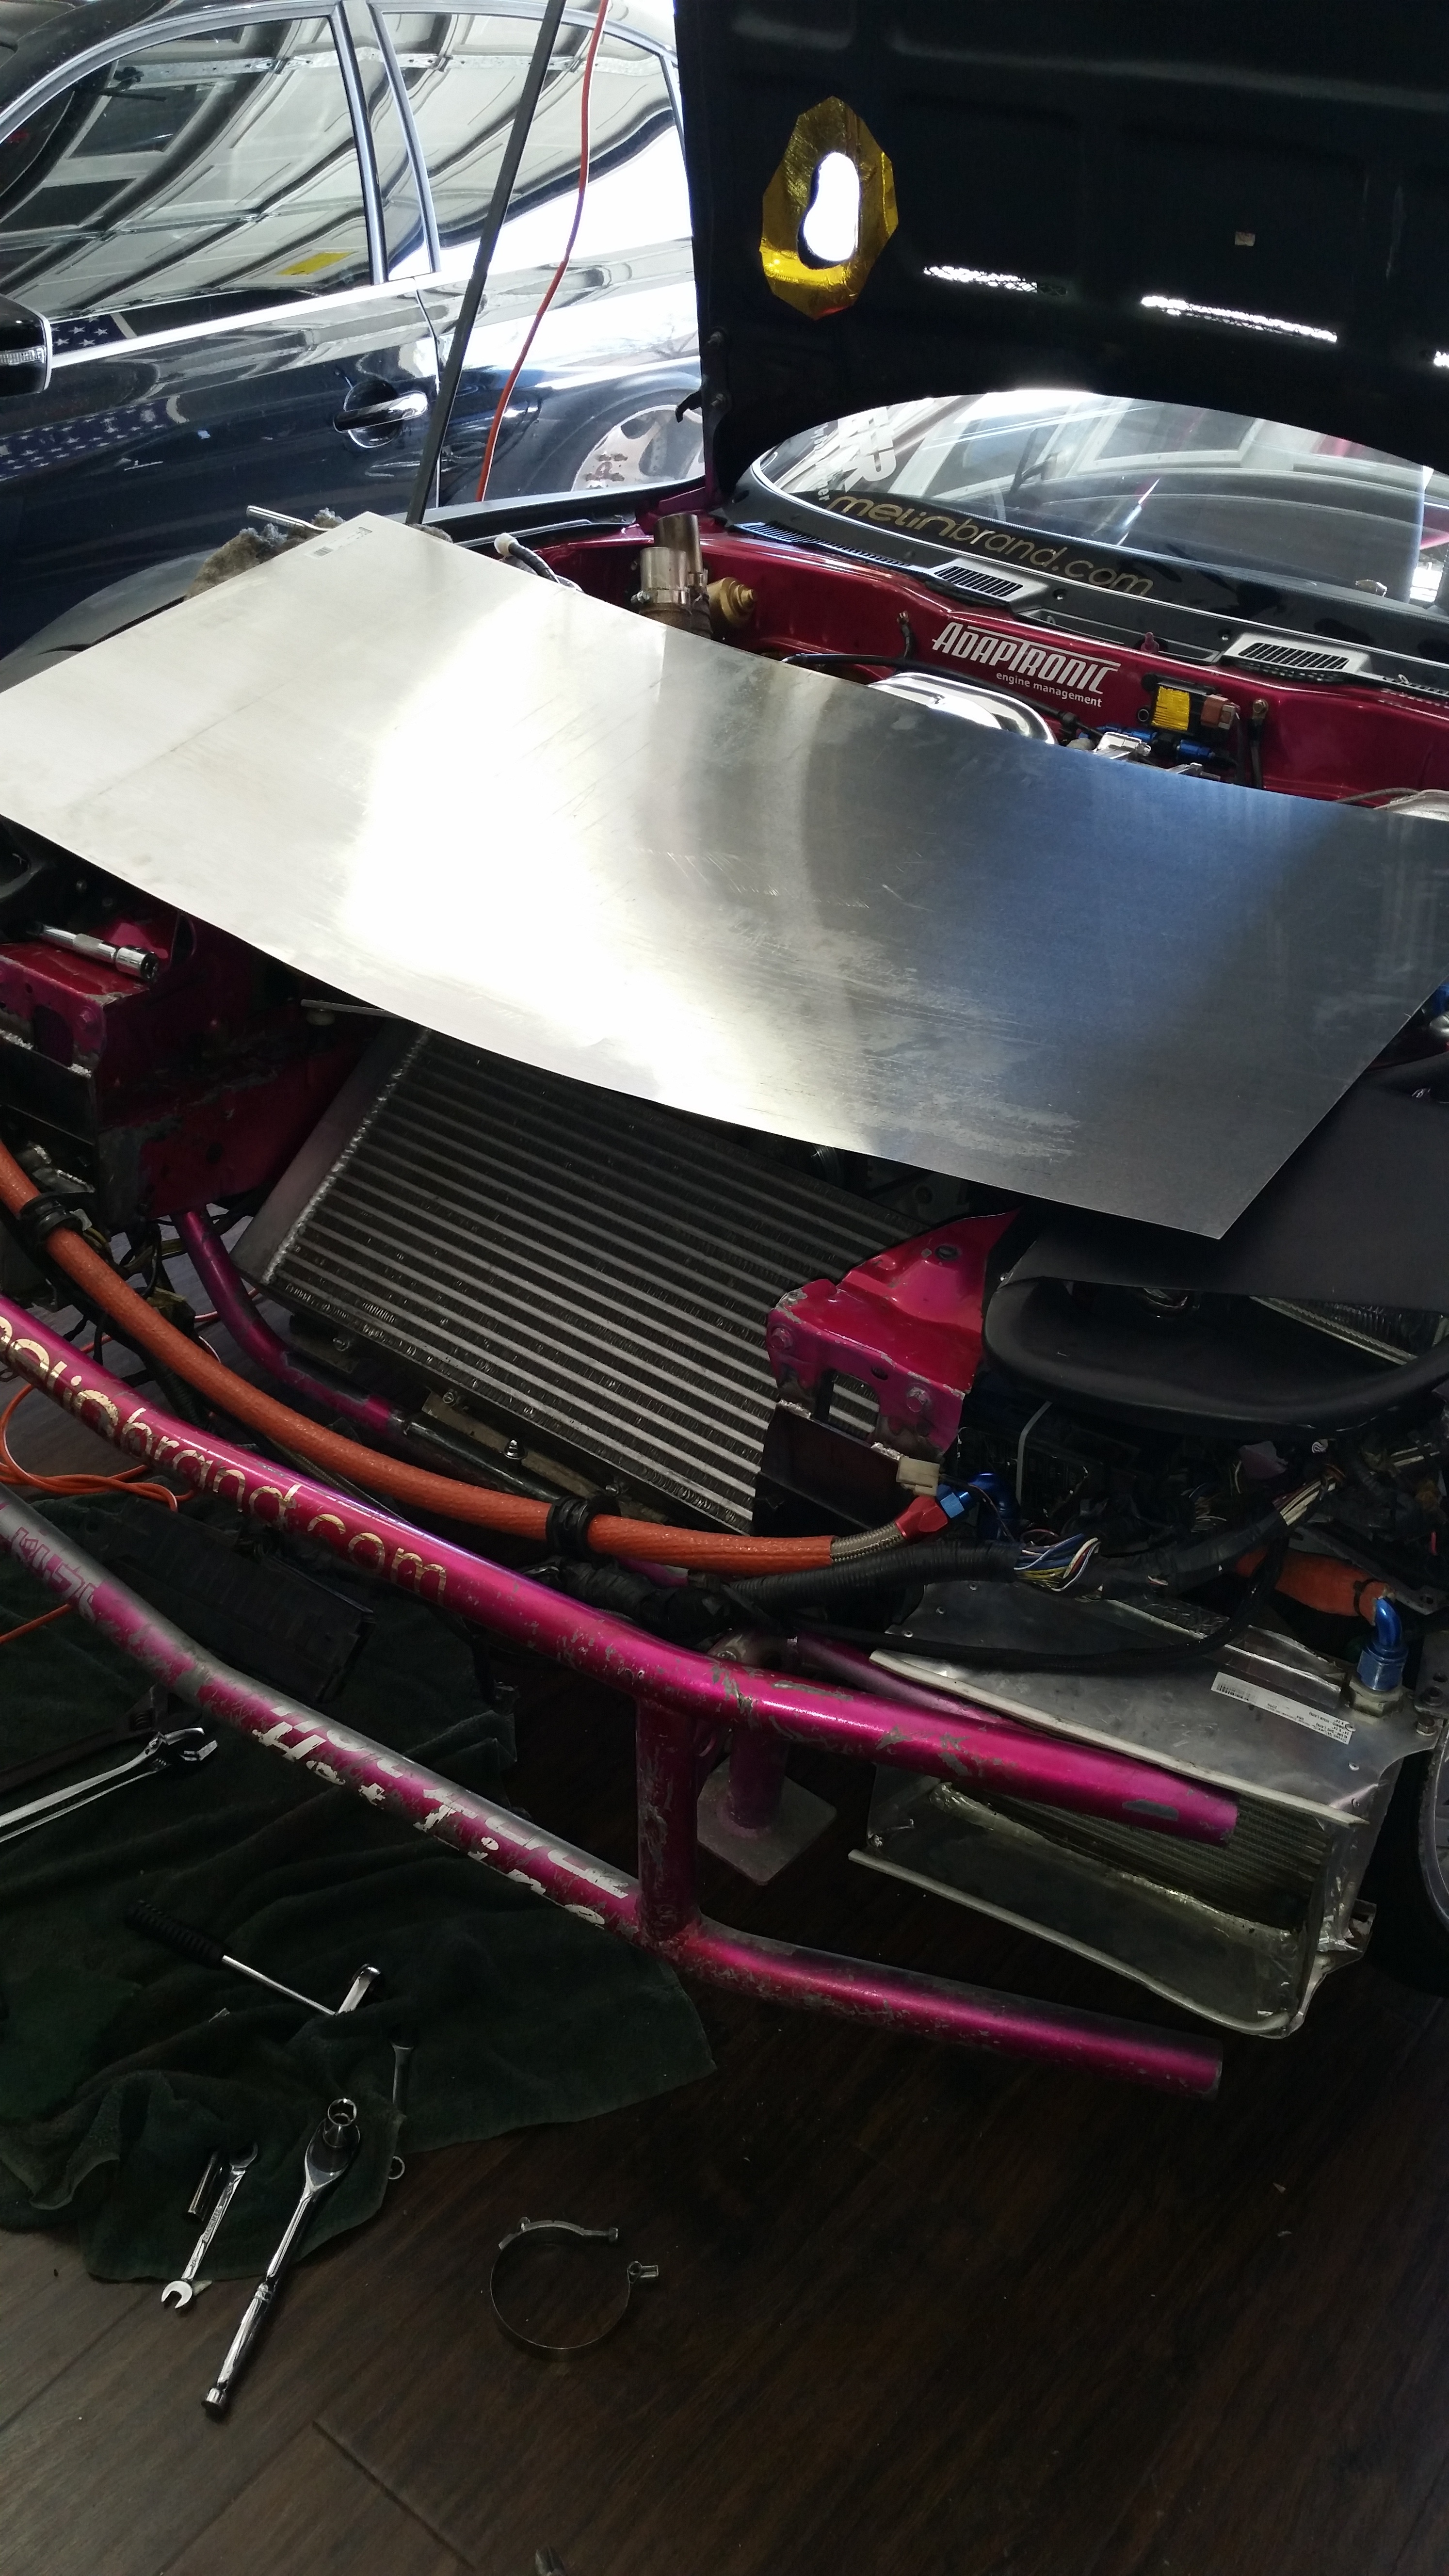
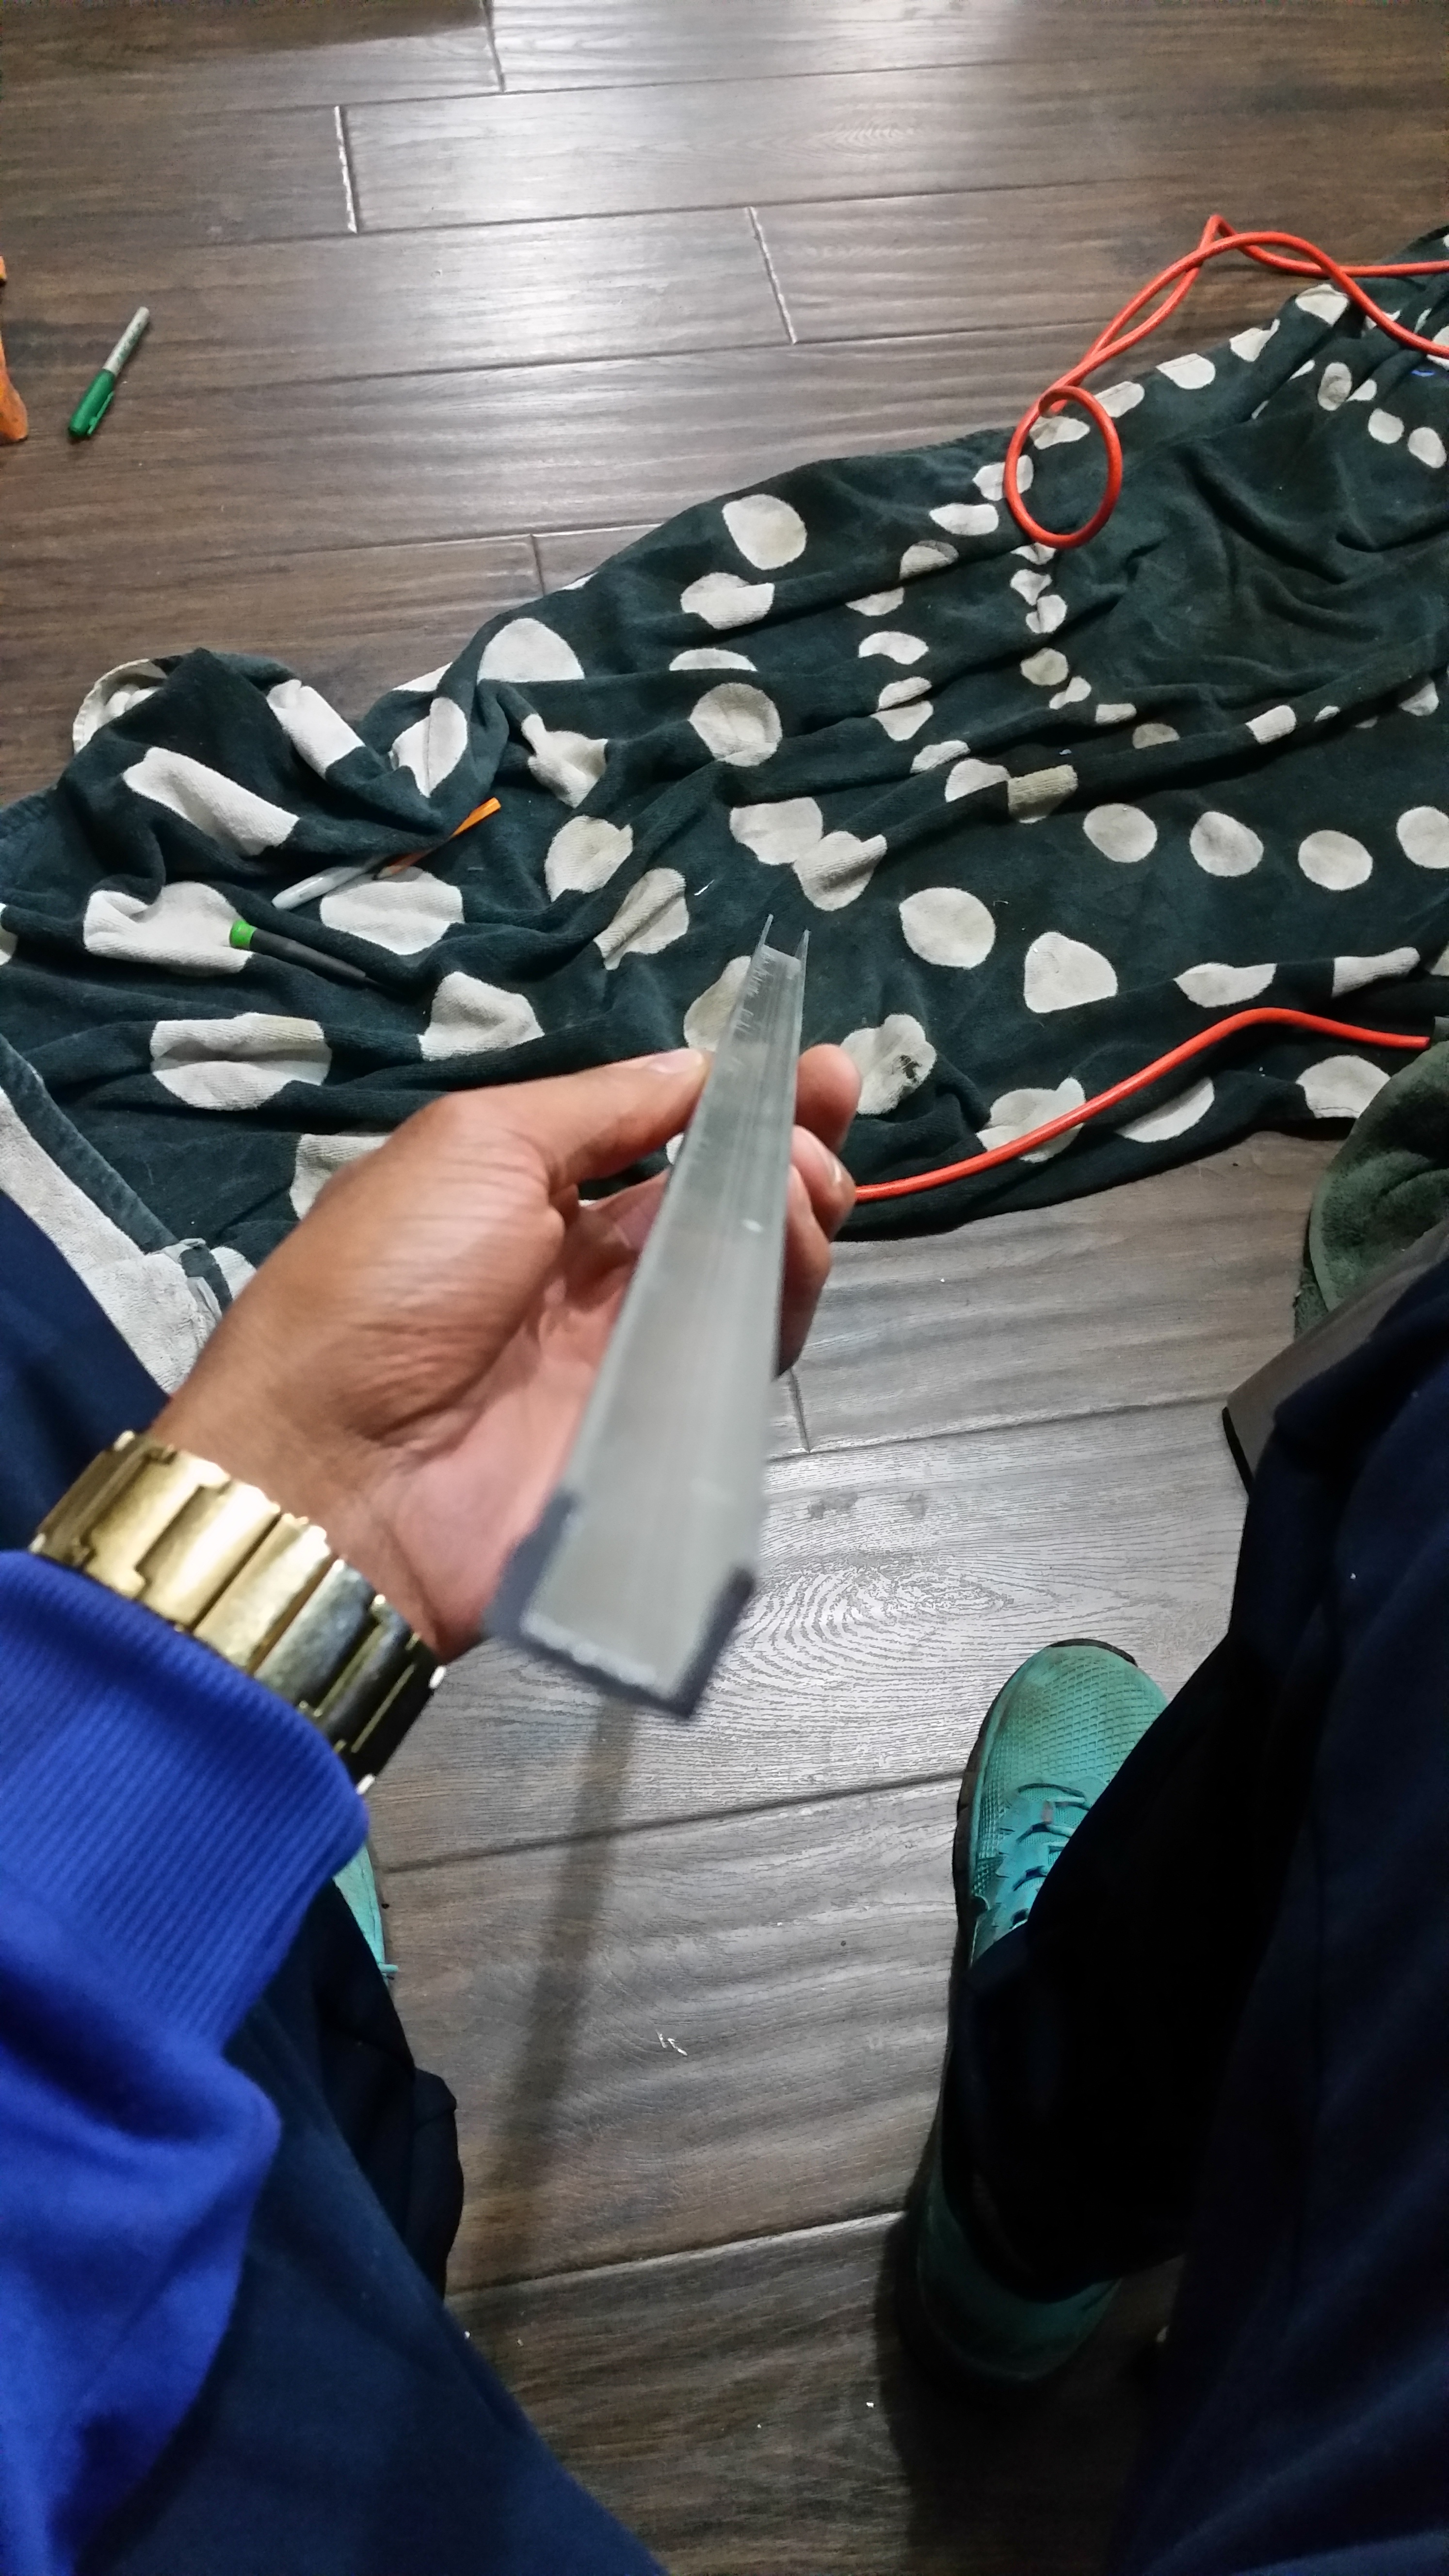
So here's where I started..I wanted the duct work to extend the width of the bumper opening so was unable to use the old sheet alum I was getting because it wasn't wide enough. I went to Lowes and purchased the much larger 24X48 Sheet. And some Alum Window frame/seal track stuff that was right next to it. Figured I needed a better mounting system. I'd cut this in half and use it to sit as a mount on top of and cupping an edge and being strong enough to maintain that hold at speed without flexing.
tons of measuring
I wouldn't really advise using an angle grinder while working with stuff like this..but it's really all i've got and i'm pretty good at it by now haha
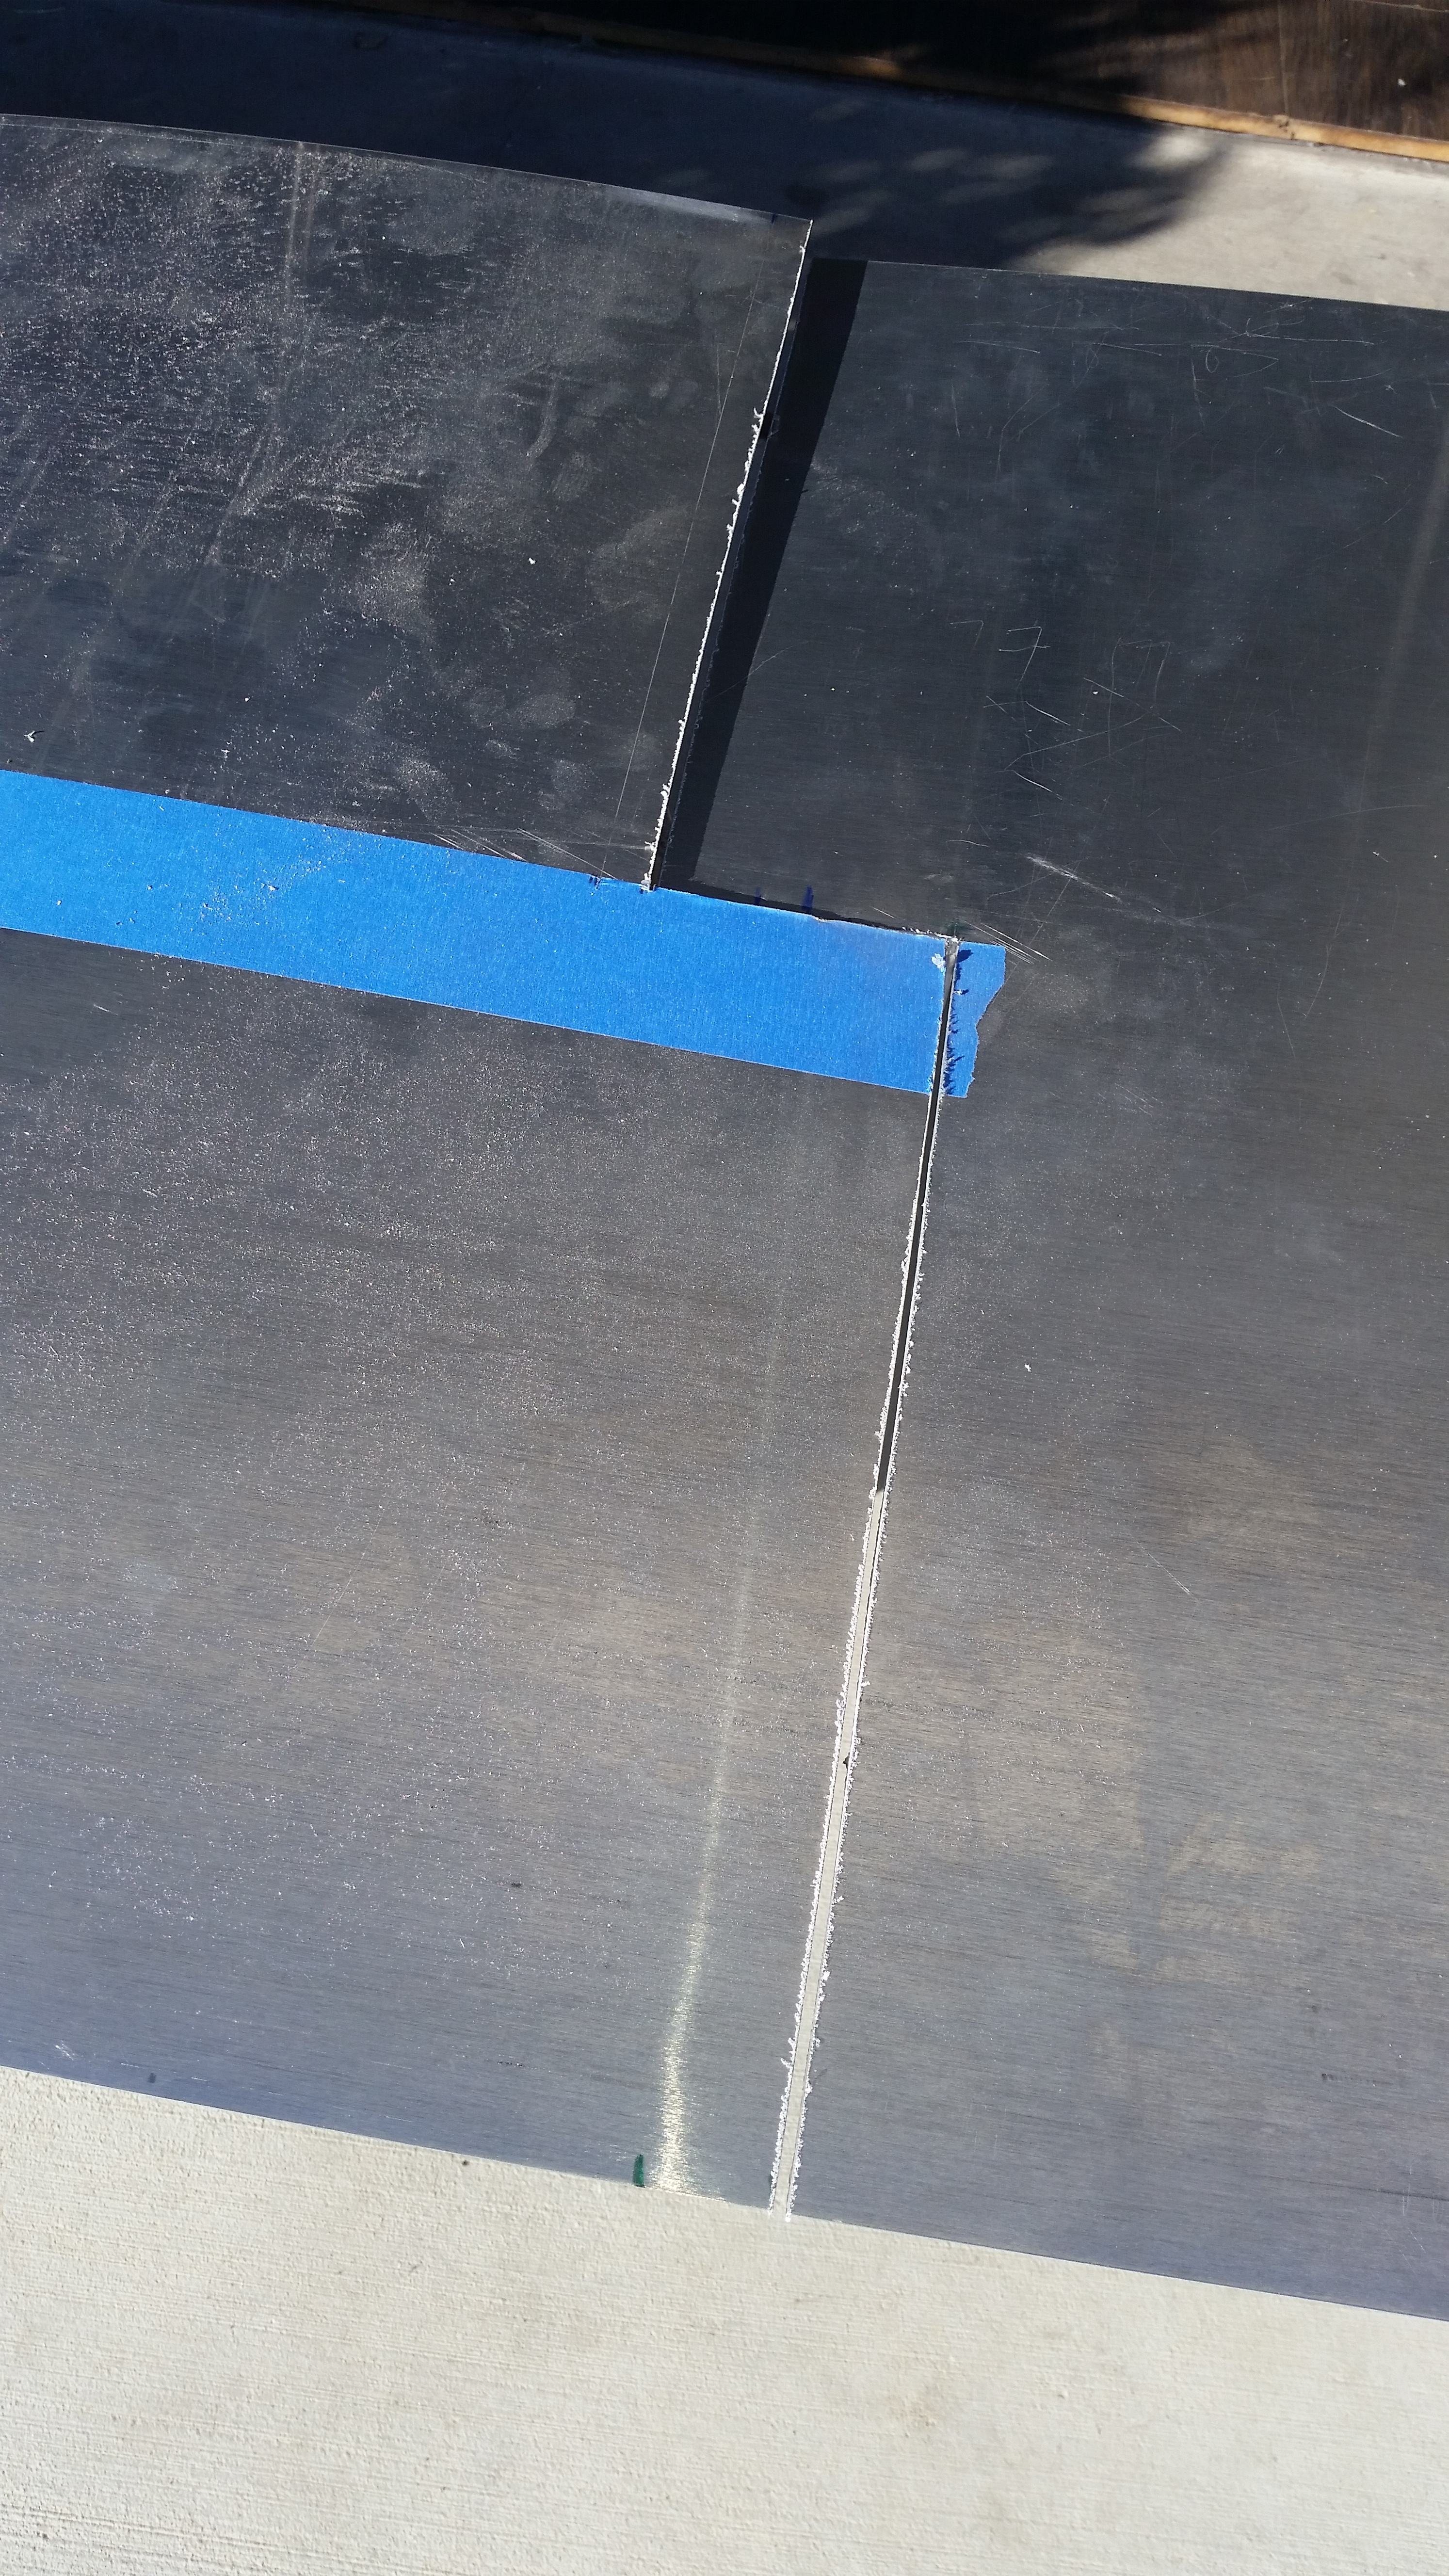
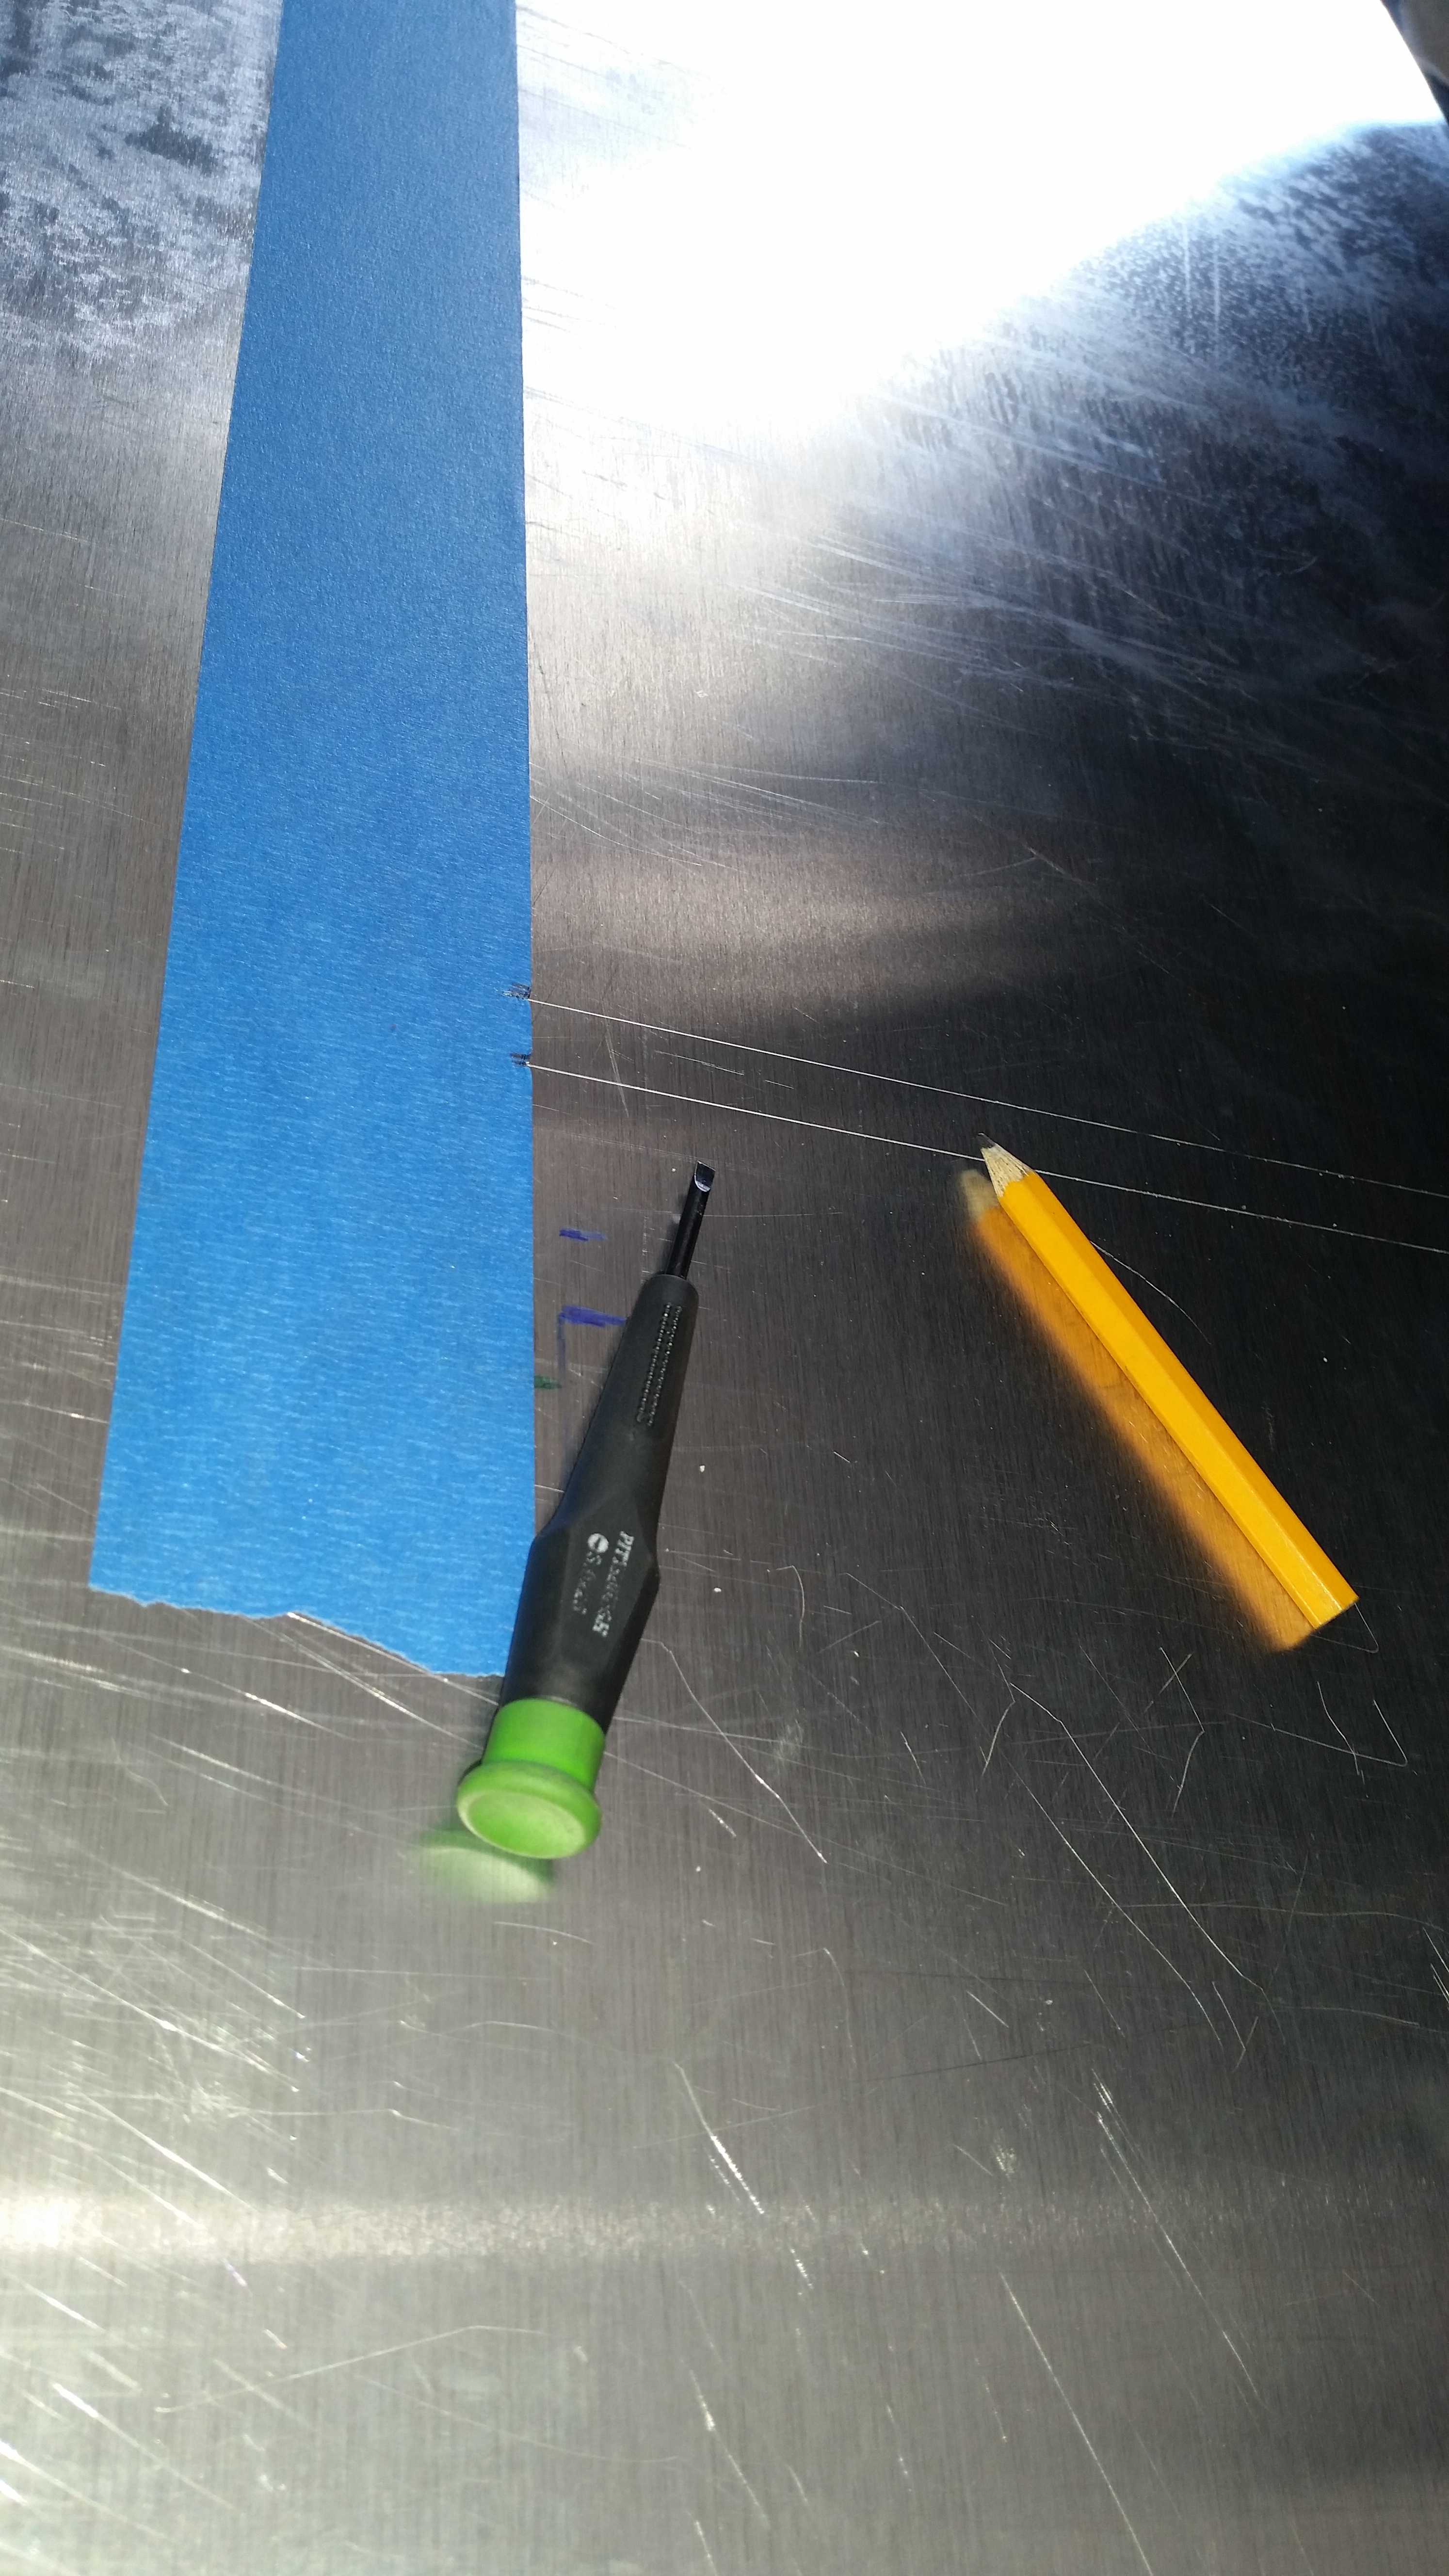
the outline of the Upper Radiator plenum/duct scribed into the sheet
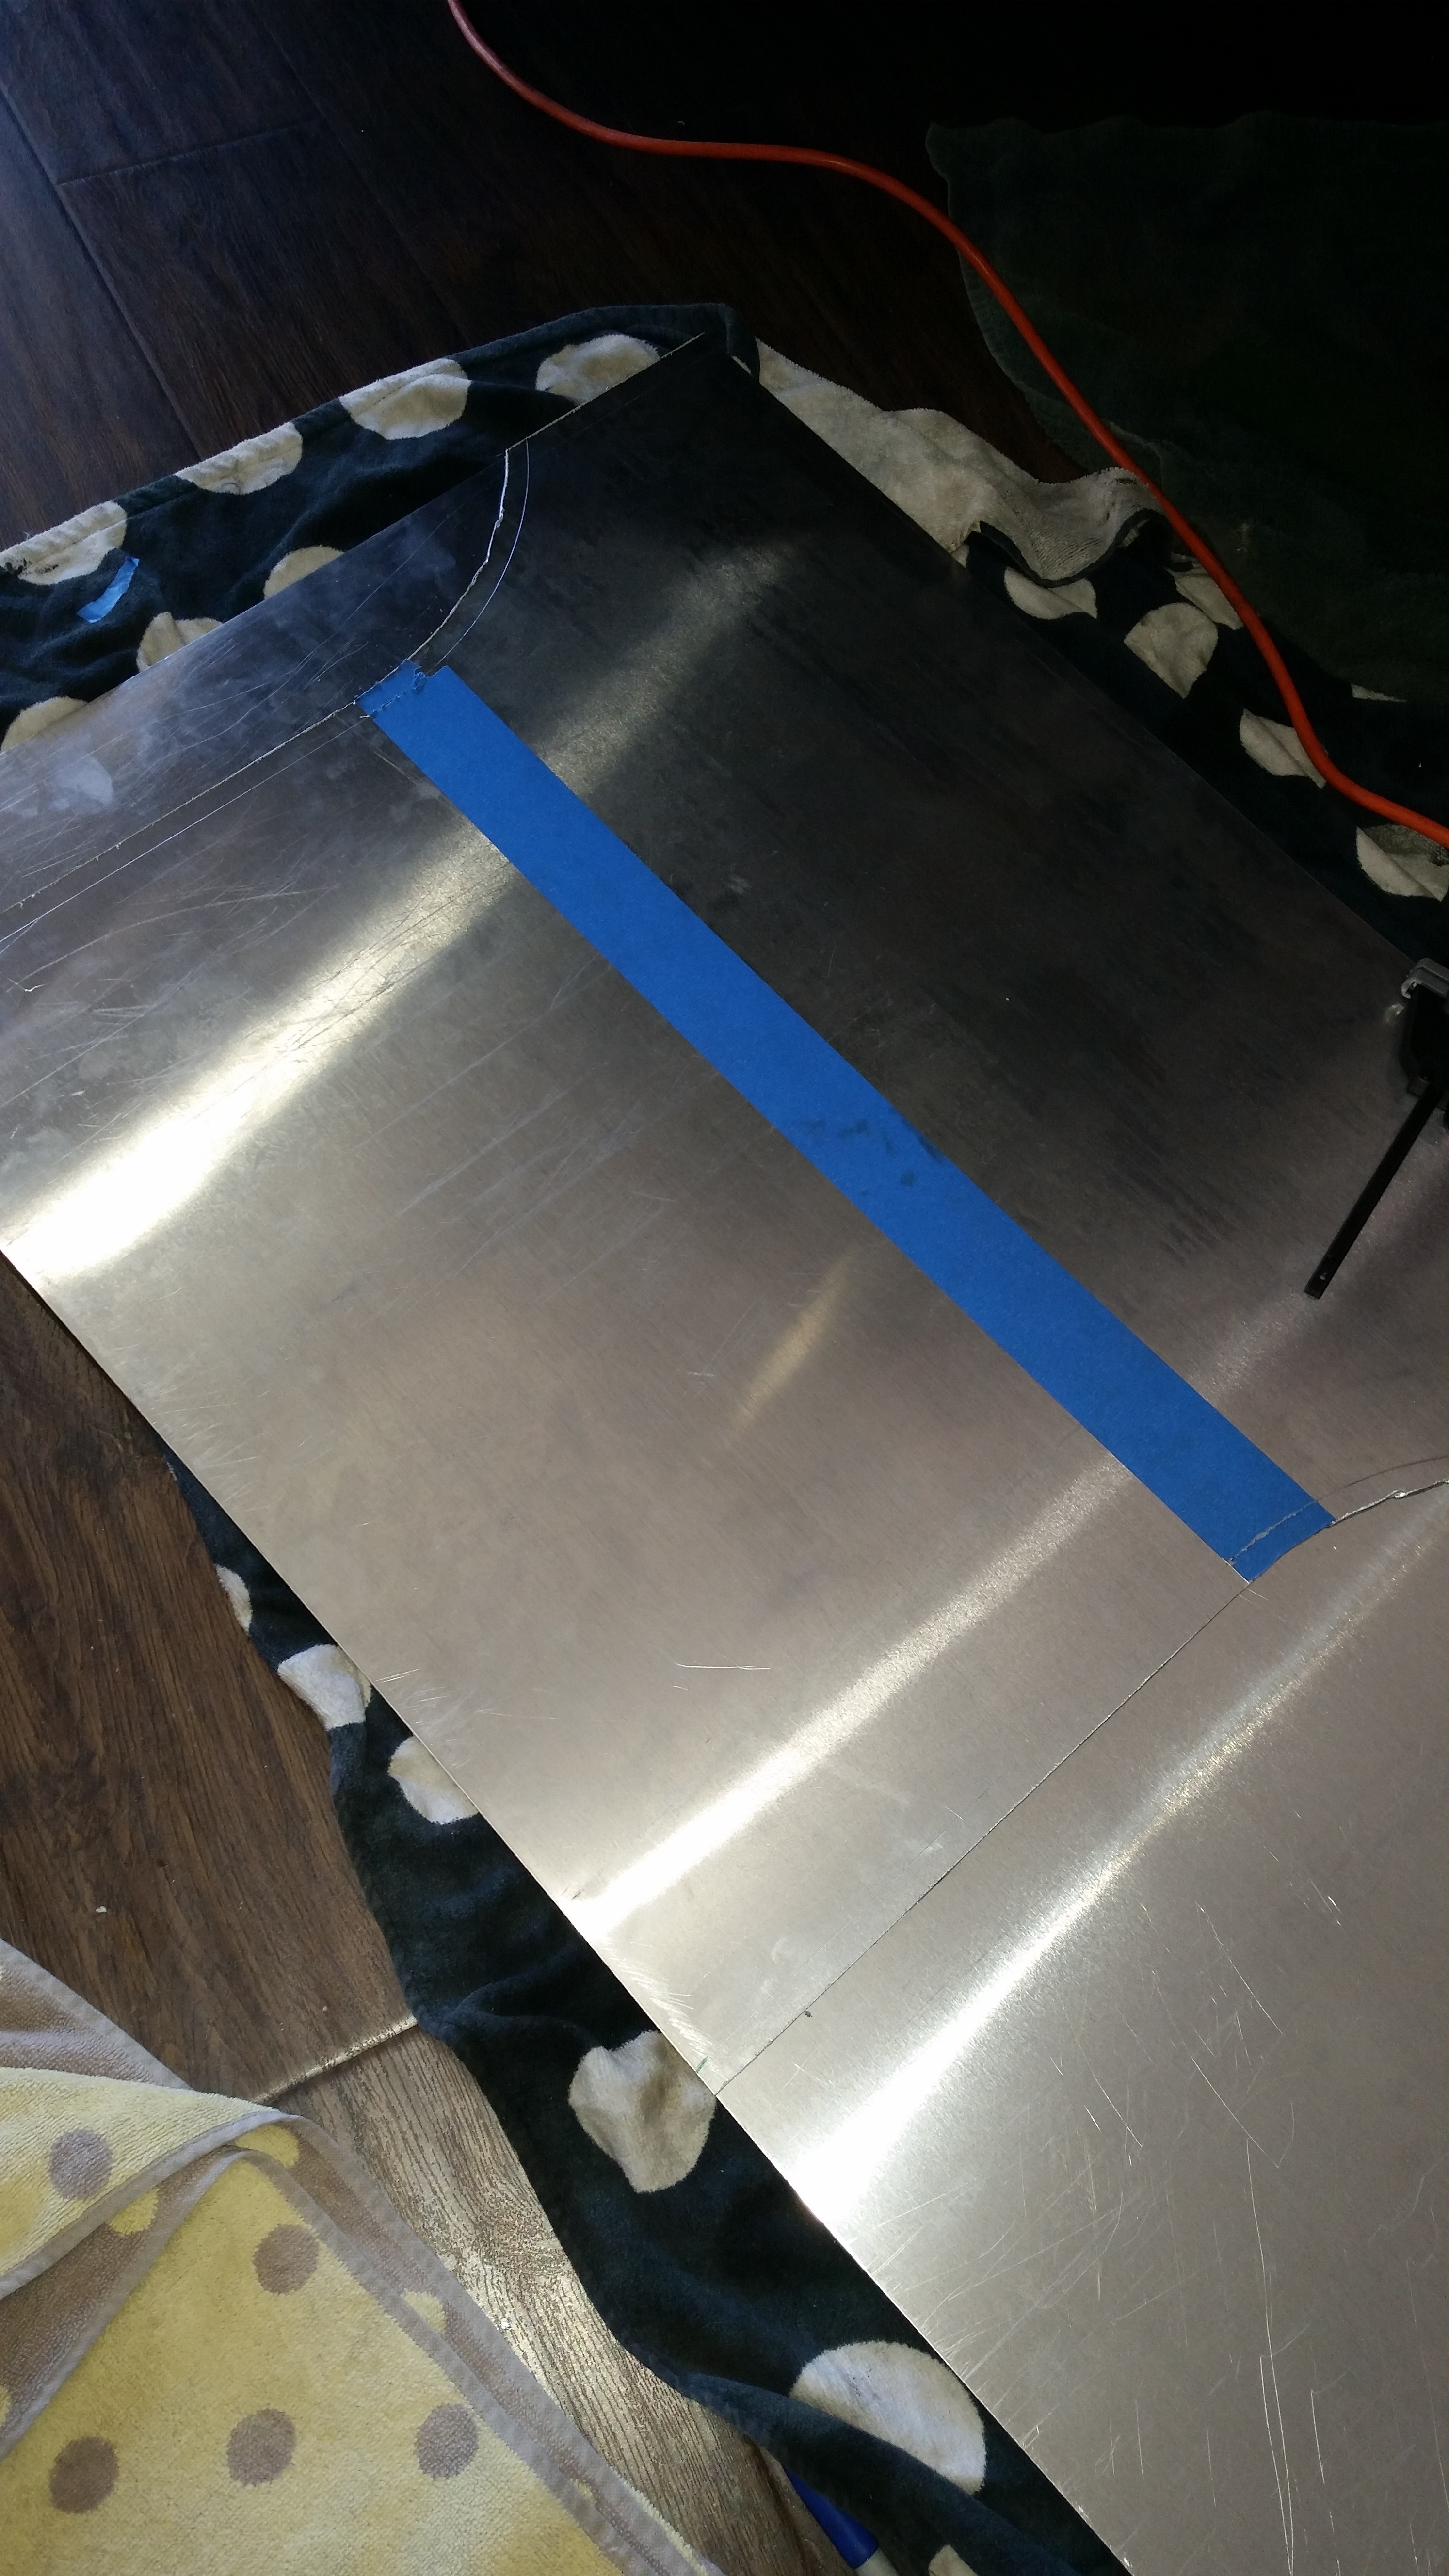
my new method of making precision bends haha. Much better than using flat pliers. Using the support piece i'll be using for ducting.....i'm using to bend the sheet as well. These little clamps were 1.99 a piece at harbor freight. really useful!
smaller bend
First Mock.. I did this a ton of times.
Well!!!! Geese....I'm pretty amped on the positive reaction just from people in general on the OMG feature. Aside from the owner Drew just being a solid positive guy, and getting to sit and chat with him and Caitlin.. I think the most exciting part was getting to show off my pride and joy. I hear people all the time say... "don't get attached to the car"...but I think thats a load of garbage. If your not attached to your car... in my opinion.... you're doing something wrong.
one of my personal favorites
I don't take enough interior shots...but heres a good one!
Anyways! that was Wayyyy exciting. And it's cool to see what people thing. I've also gotten some negative feedback as well. At first it really bothered me, but I quickly realized that there's no way to please everyone. I figured the people who really know what this is about.. will understand the car... even if it's not to their liking. And the people who make comments tagging another fd owner and saying things such as "this dudes copying you" or "copied your gates" or a million other dumb statements.... just want to feel like they're part of whoever is "Killing it." these days. Which... by the way has completely lost subtance to the masses. I've seen the phrase used for cars that deserved it. And I've seen the same phrase used for cars that limp ran once and someone got a pic of the occasion. But the car is defining the game....totally "KILLING IT." Gahh... i'm ruining my thread with this stuff. Lets get back on track!!!
I've been working on the front ducting the past couple weeks and came down with some nasty flue plague like sickness that took hold of me for the better part of a week and a half..and utterly ruined one of the nicest weekends i've seen in a while. But It's taking much longer this time around... Mostly because I'v been trying to resolve all the short comings of the last job I did. Always improve.... Making things function better....while pleasing my visual. But one of the short comings of the last design was the duct work would bow/flex/rise under speed. keeping air in is going to stress things. And the old mounts although I thought might be good enough....simply weren't. Speed tested the duct work up to around 130mph and although it stayed... Eventually the thin mounts and lack of support just took it's toll on the ducting and the moutns ended up ripping. I finally was using safety wire in a handfull of occasions to keep it from straying too far...but I could tell efficiency had dropped below what I'd like. SO it was time to fix the probs!!! The car deserves to be maintained. So when the Front bash bar failed.. and I decided tomove the IC forward....it was the perfect time for new ducting.
So here's where I started..I wanted the duct work to extend the width of the bumper opening so was unable to use the old sheet alum I was getting because it wasn't wide enough. I went to Lowes and purchased the much larger 24X48 Sheet. And some Alum Window frame/seal track stuff that was right next to it. Figured I needed a better mounting system. I'd cut this in half and use it to sit as a mount on top of and cupping an edge and being strong enough to maintain that hold at speed without flexing.
tons of measuring
I wouldn't really advise using an angle grinder while working with stuff like this..but it's really all i've got and i'm pretty good at it by now haha
the outline of the Upper Radiator plenum/duct scribed into the sheet
my new method of making precision bends haha. Much better than using flat pliers. Using the support piece i'll be using for ducting.....i'm using to bend the sheet as well. These little clamps were 1.99 a piece at harbor freight. really useful!
smaller bend
First Mock.. I did this a ton of times.
02-05-15, 01:46 PM
#2244
Continued:
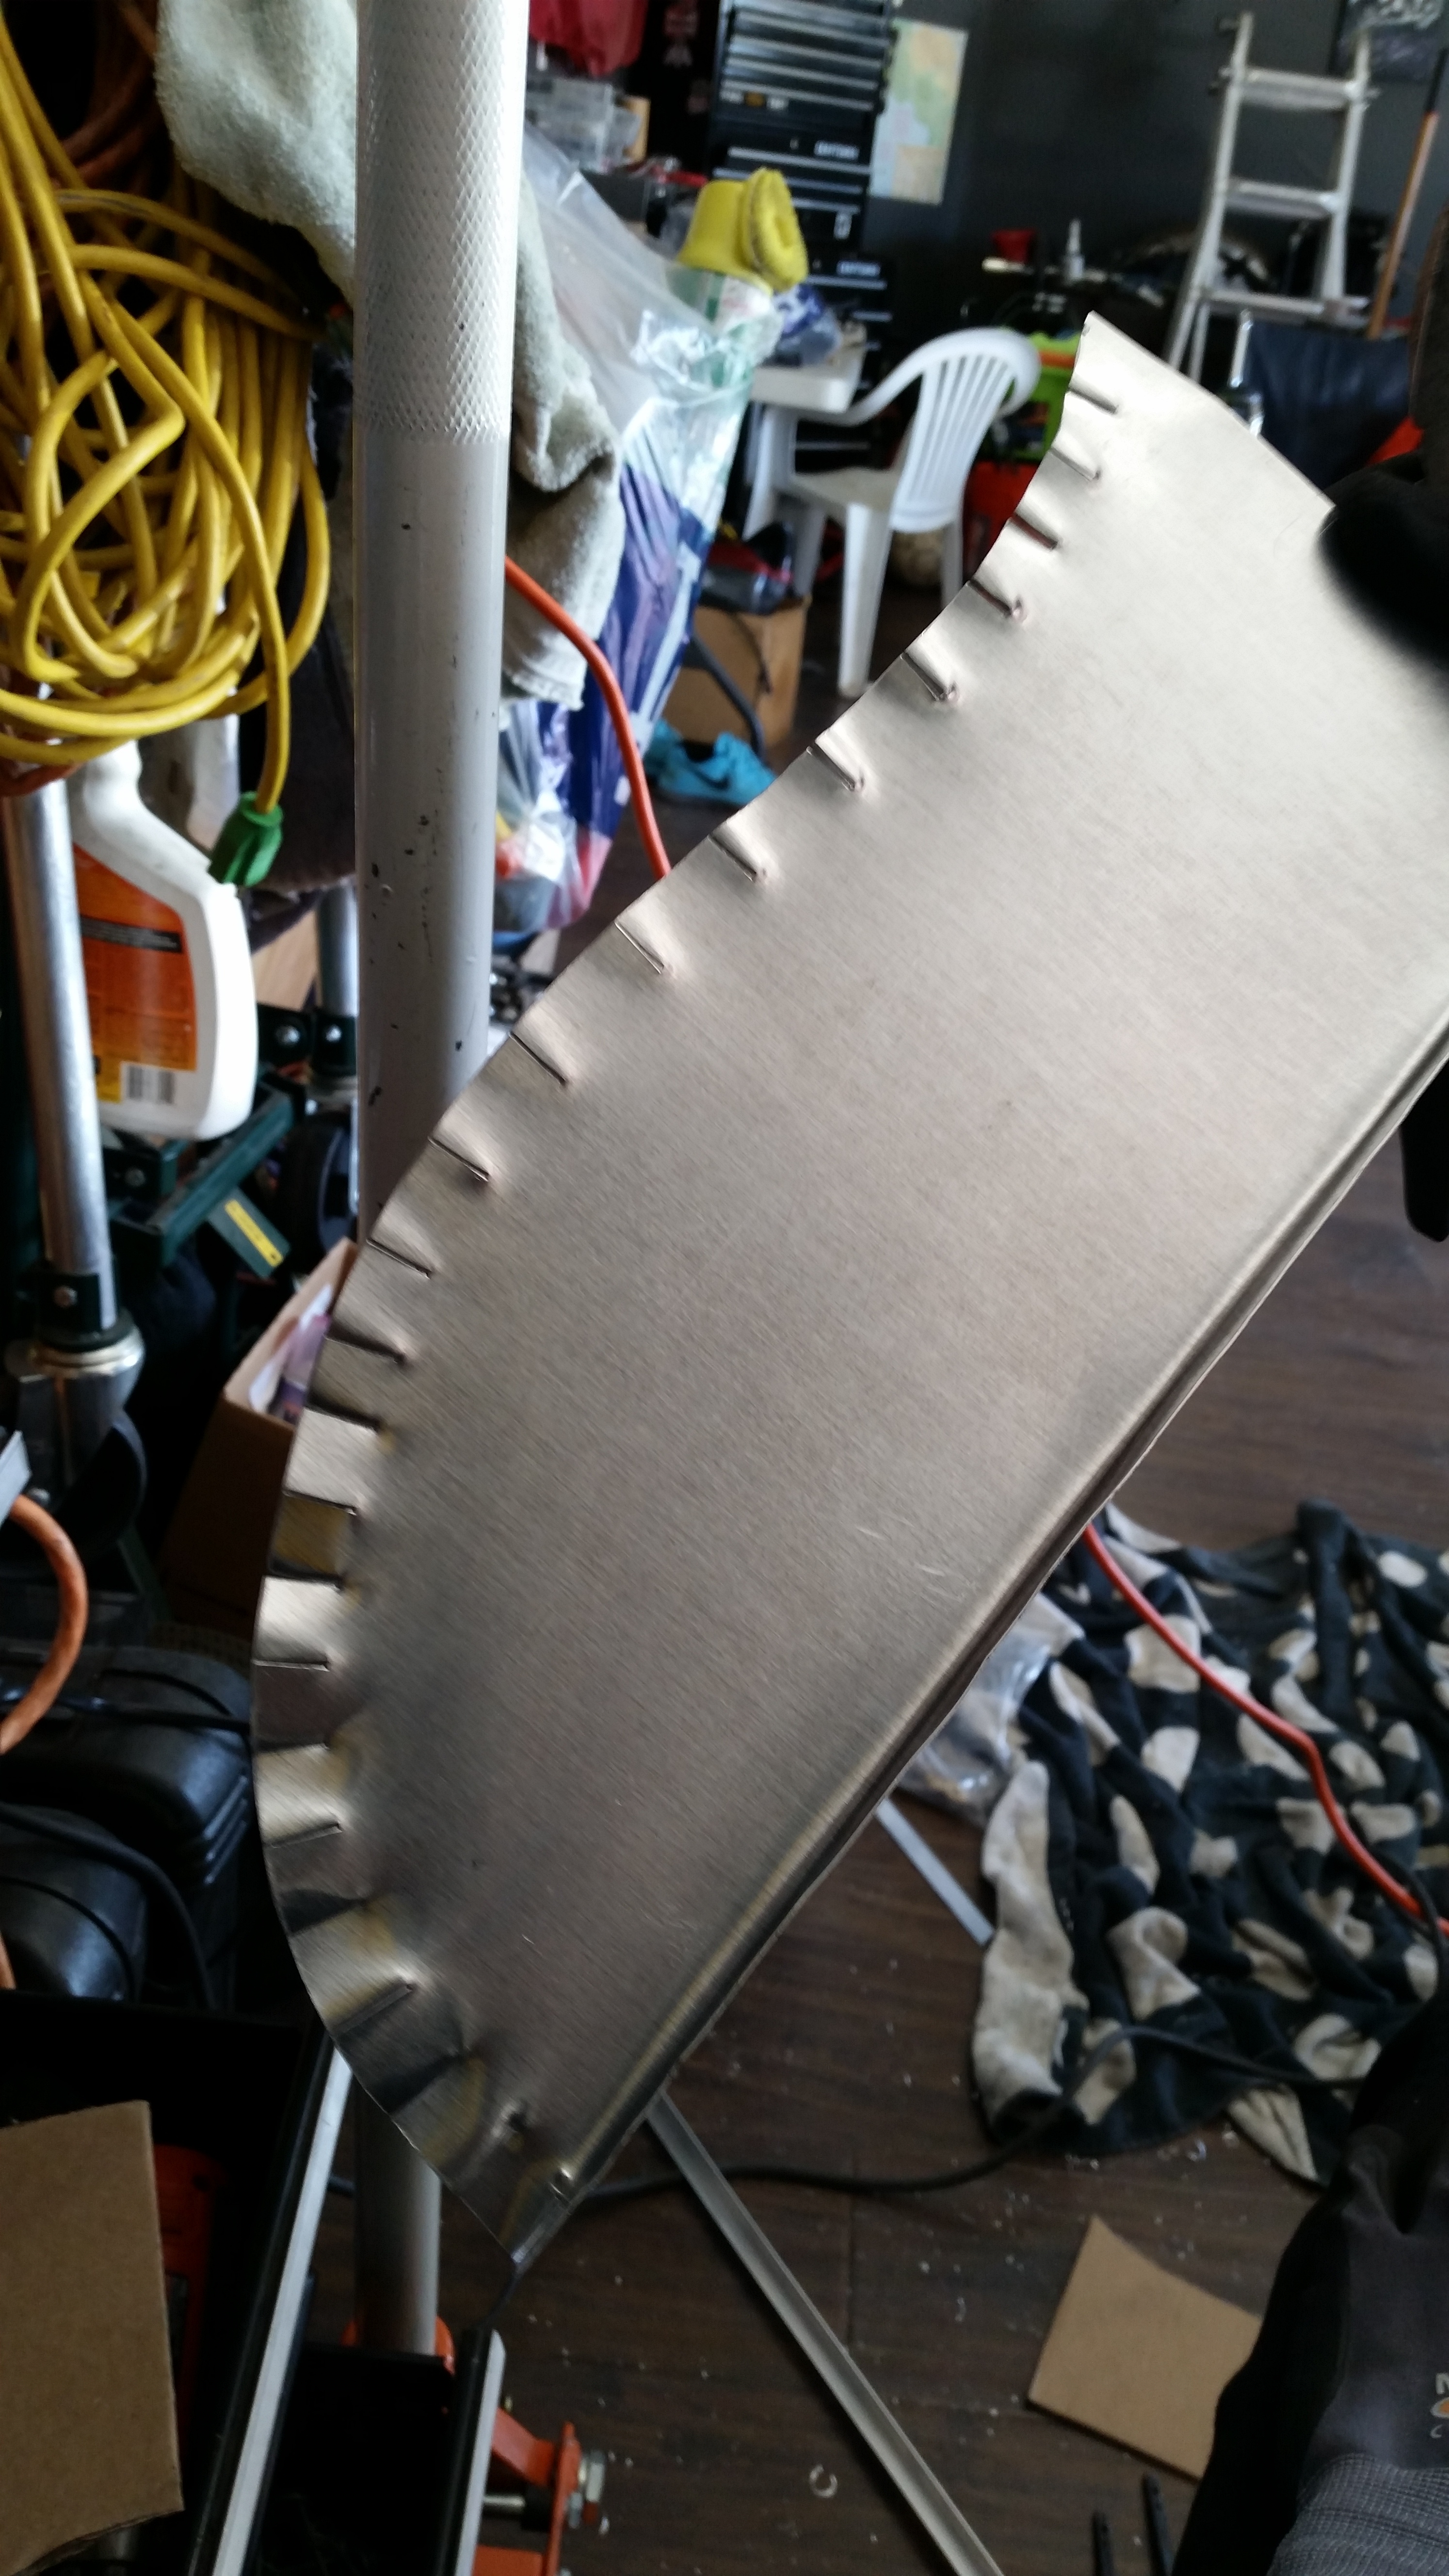
Started making Slot cuts or whatever fabricators might call this....These worked well for my last set up so I figured to keep things cheap and to stay within the confines of my garage without having to outsource machines etc... I chose to stick with what i'm comfortable with.
this allows me to make bends wherever I may need...and not just straight kinks... but smooth flowing bends.
here's the start of that process... the duct goes on and off on and off again and again until I am satisfied with the progress and can move on. You could really spend and endless amount of time on this.... and I caught myself getting hung up on trynig to get a perfect flowing contour when I knew other thigns woudl affect that...so i'd force myself to move forward.
getting better...
I wanted the plenum to be a bit bigger this time around.
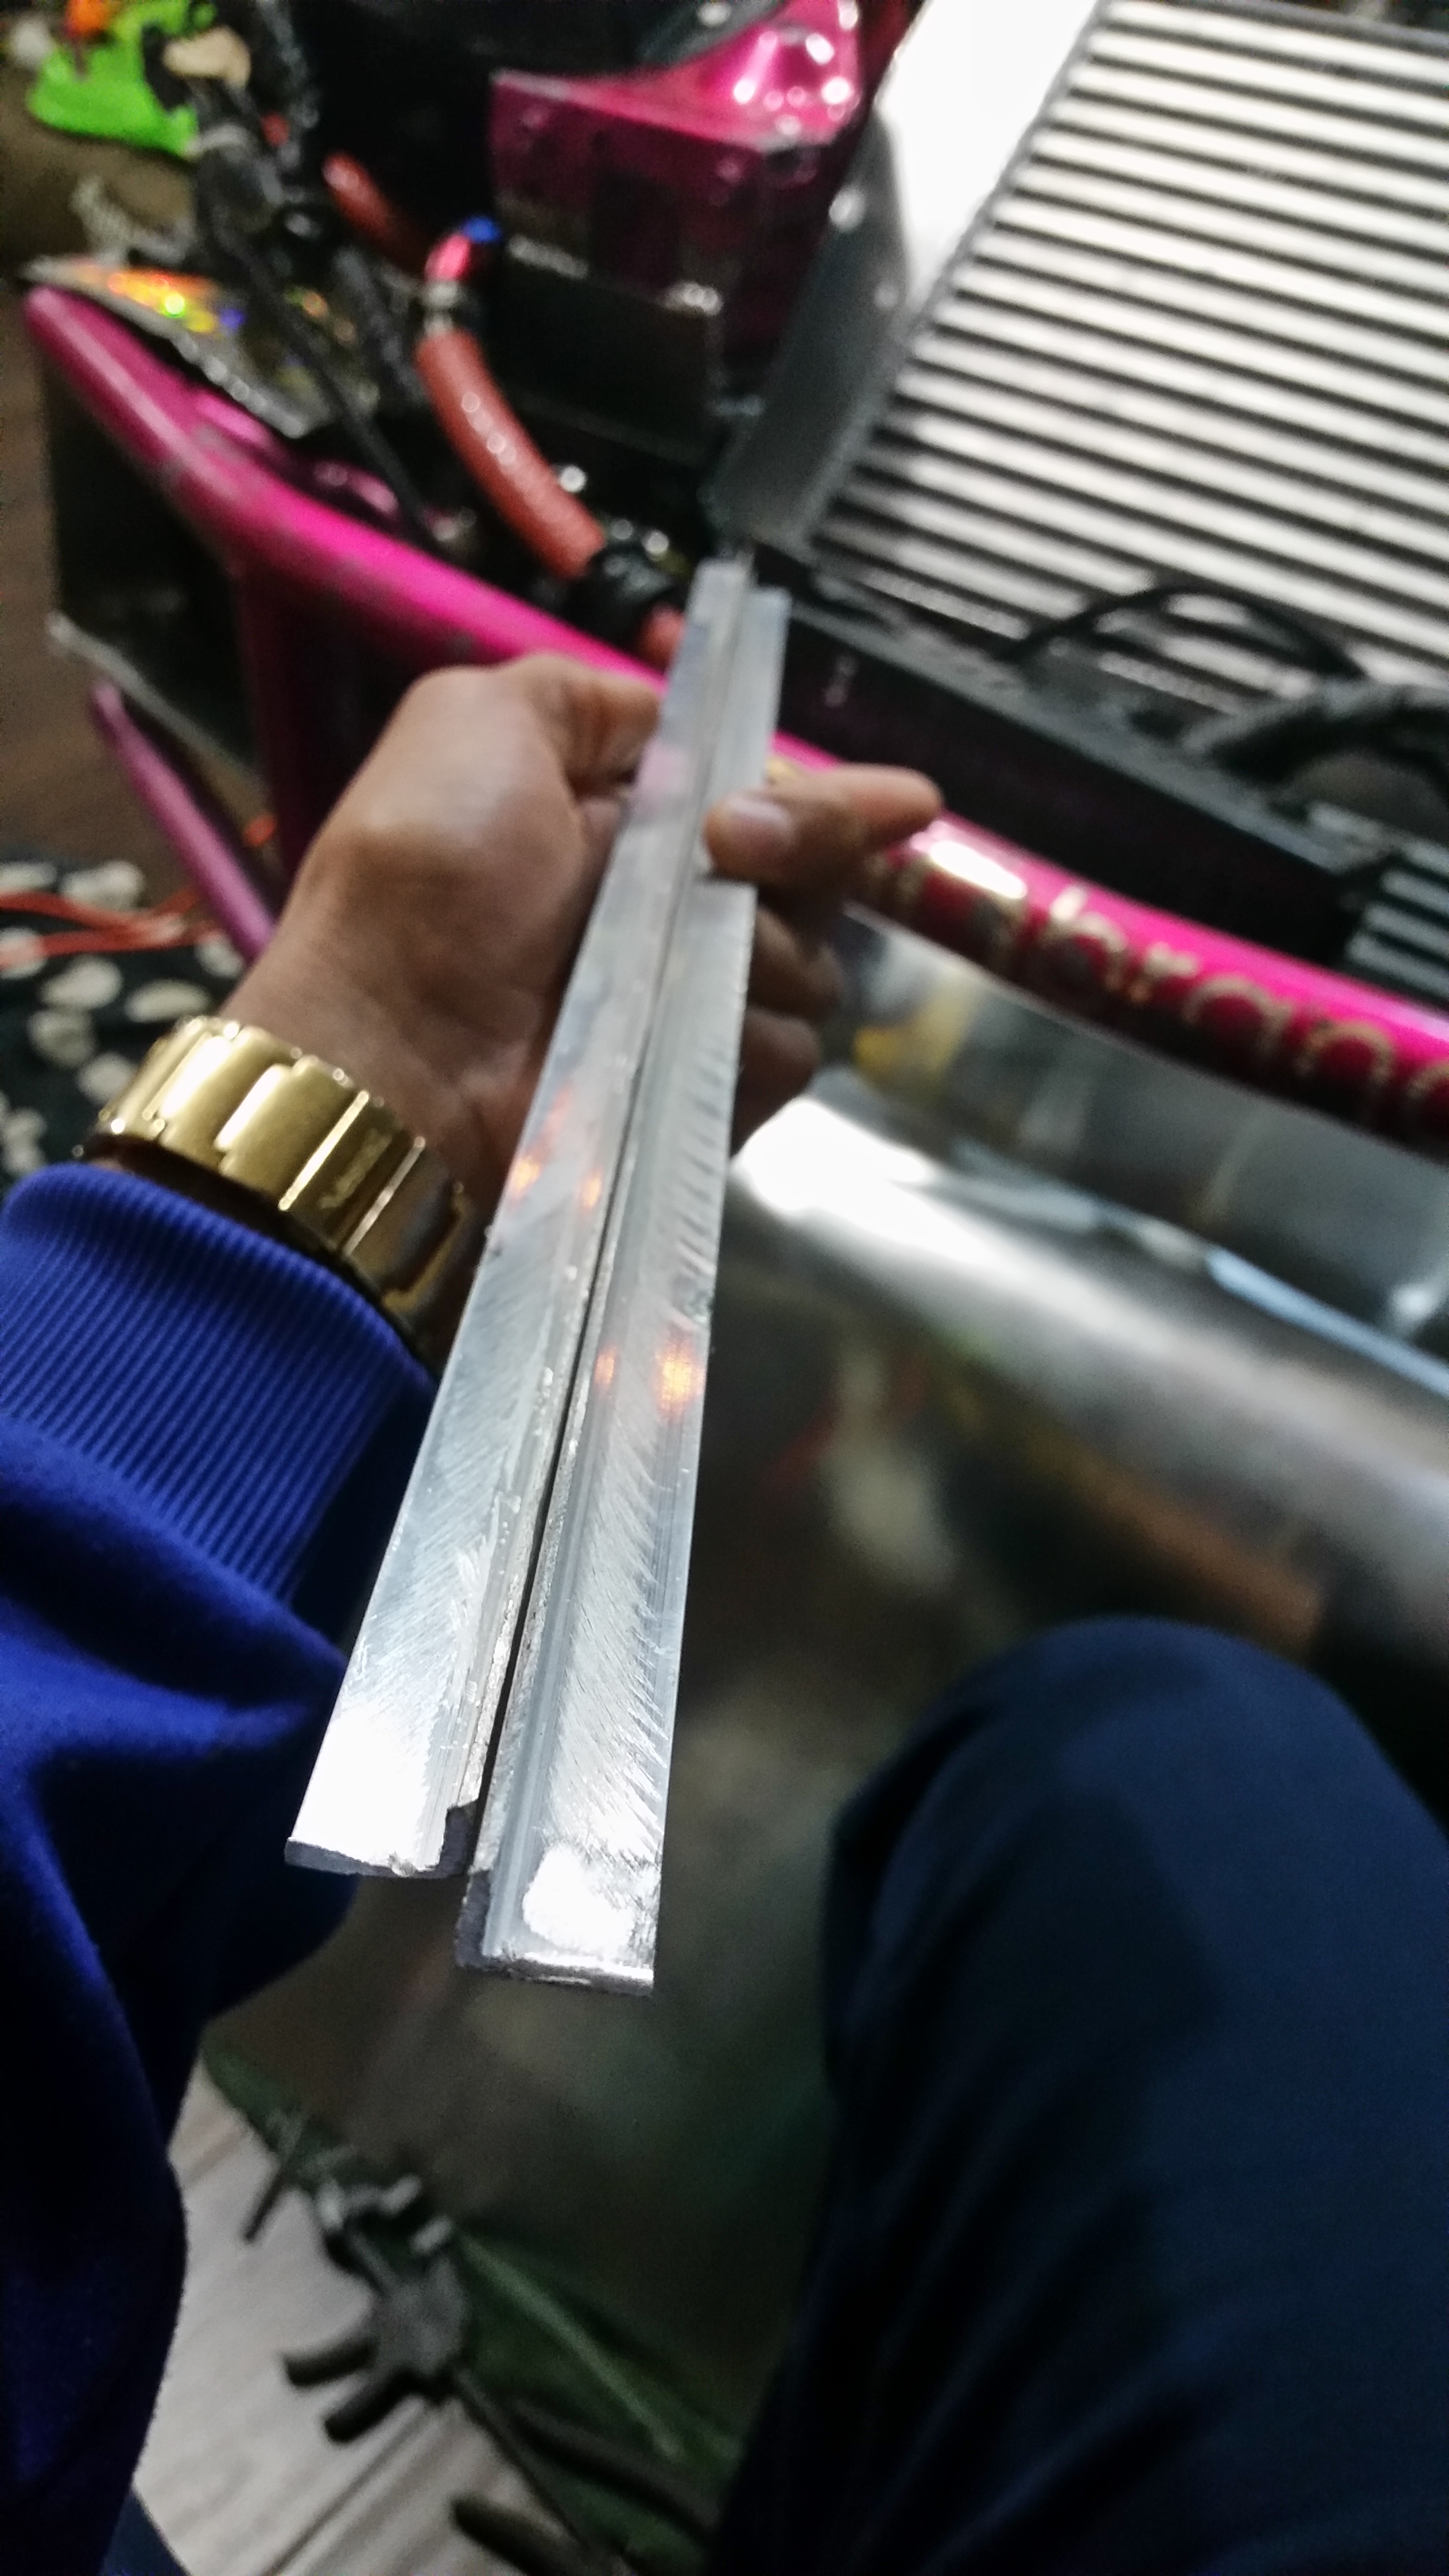
Here is a pic of the support window framing i'll be cutting in half and using to reinforce most of theduct work....and use/used to make straight bends with the clamps =-)
cut in half with angle grinder
where it'll Hook the outside of the IC
Drilled a Billion holes measuring out every 1/2 Inch and drilling
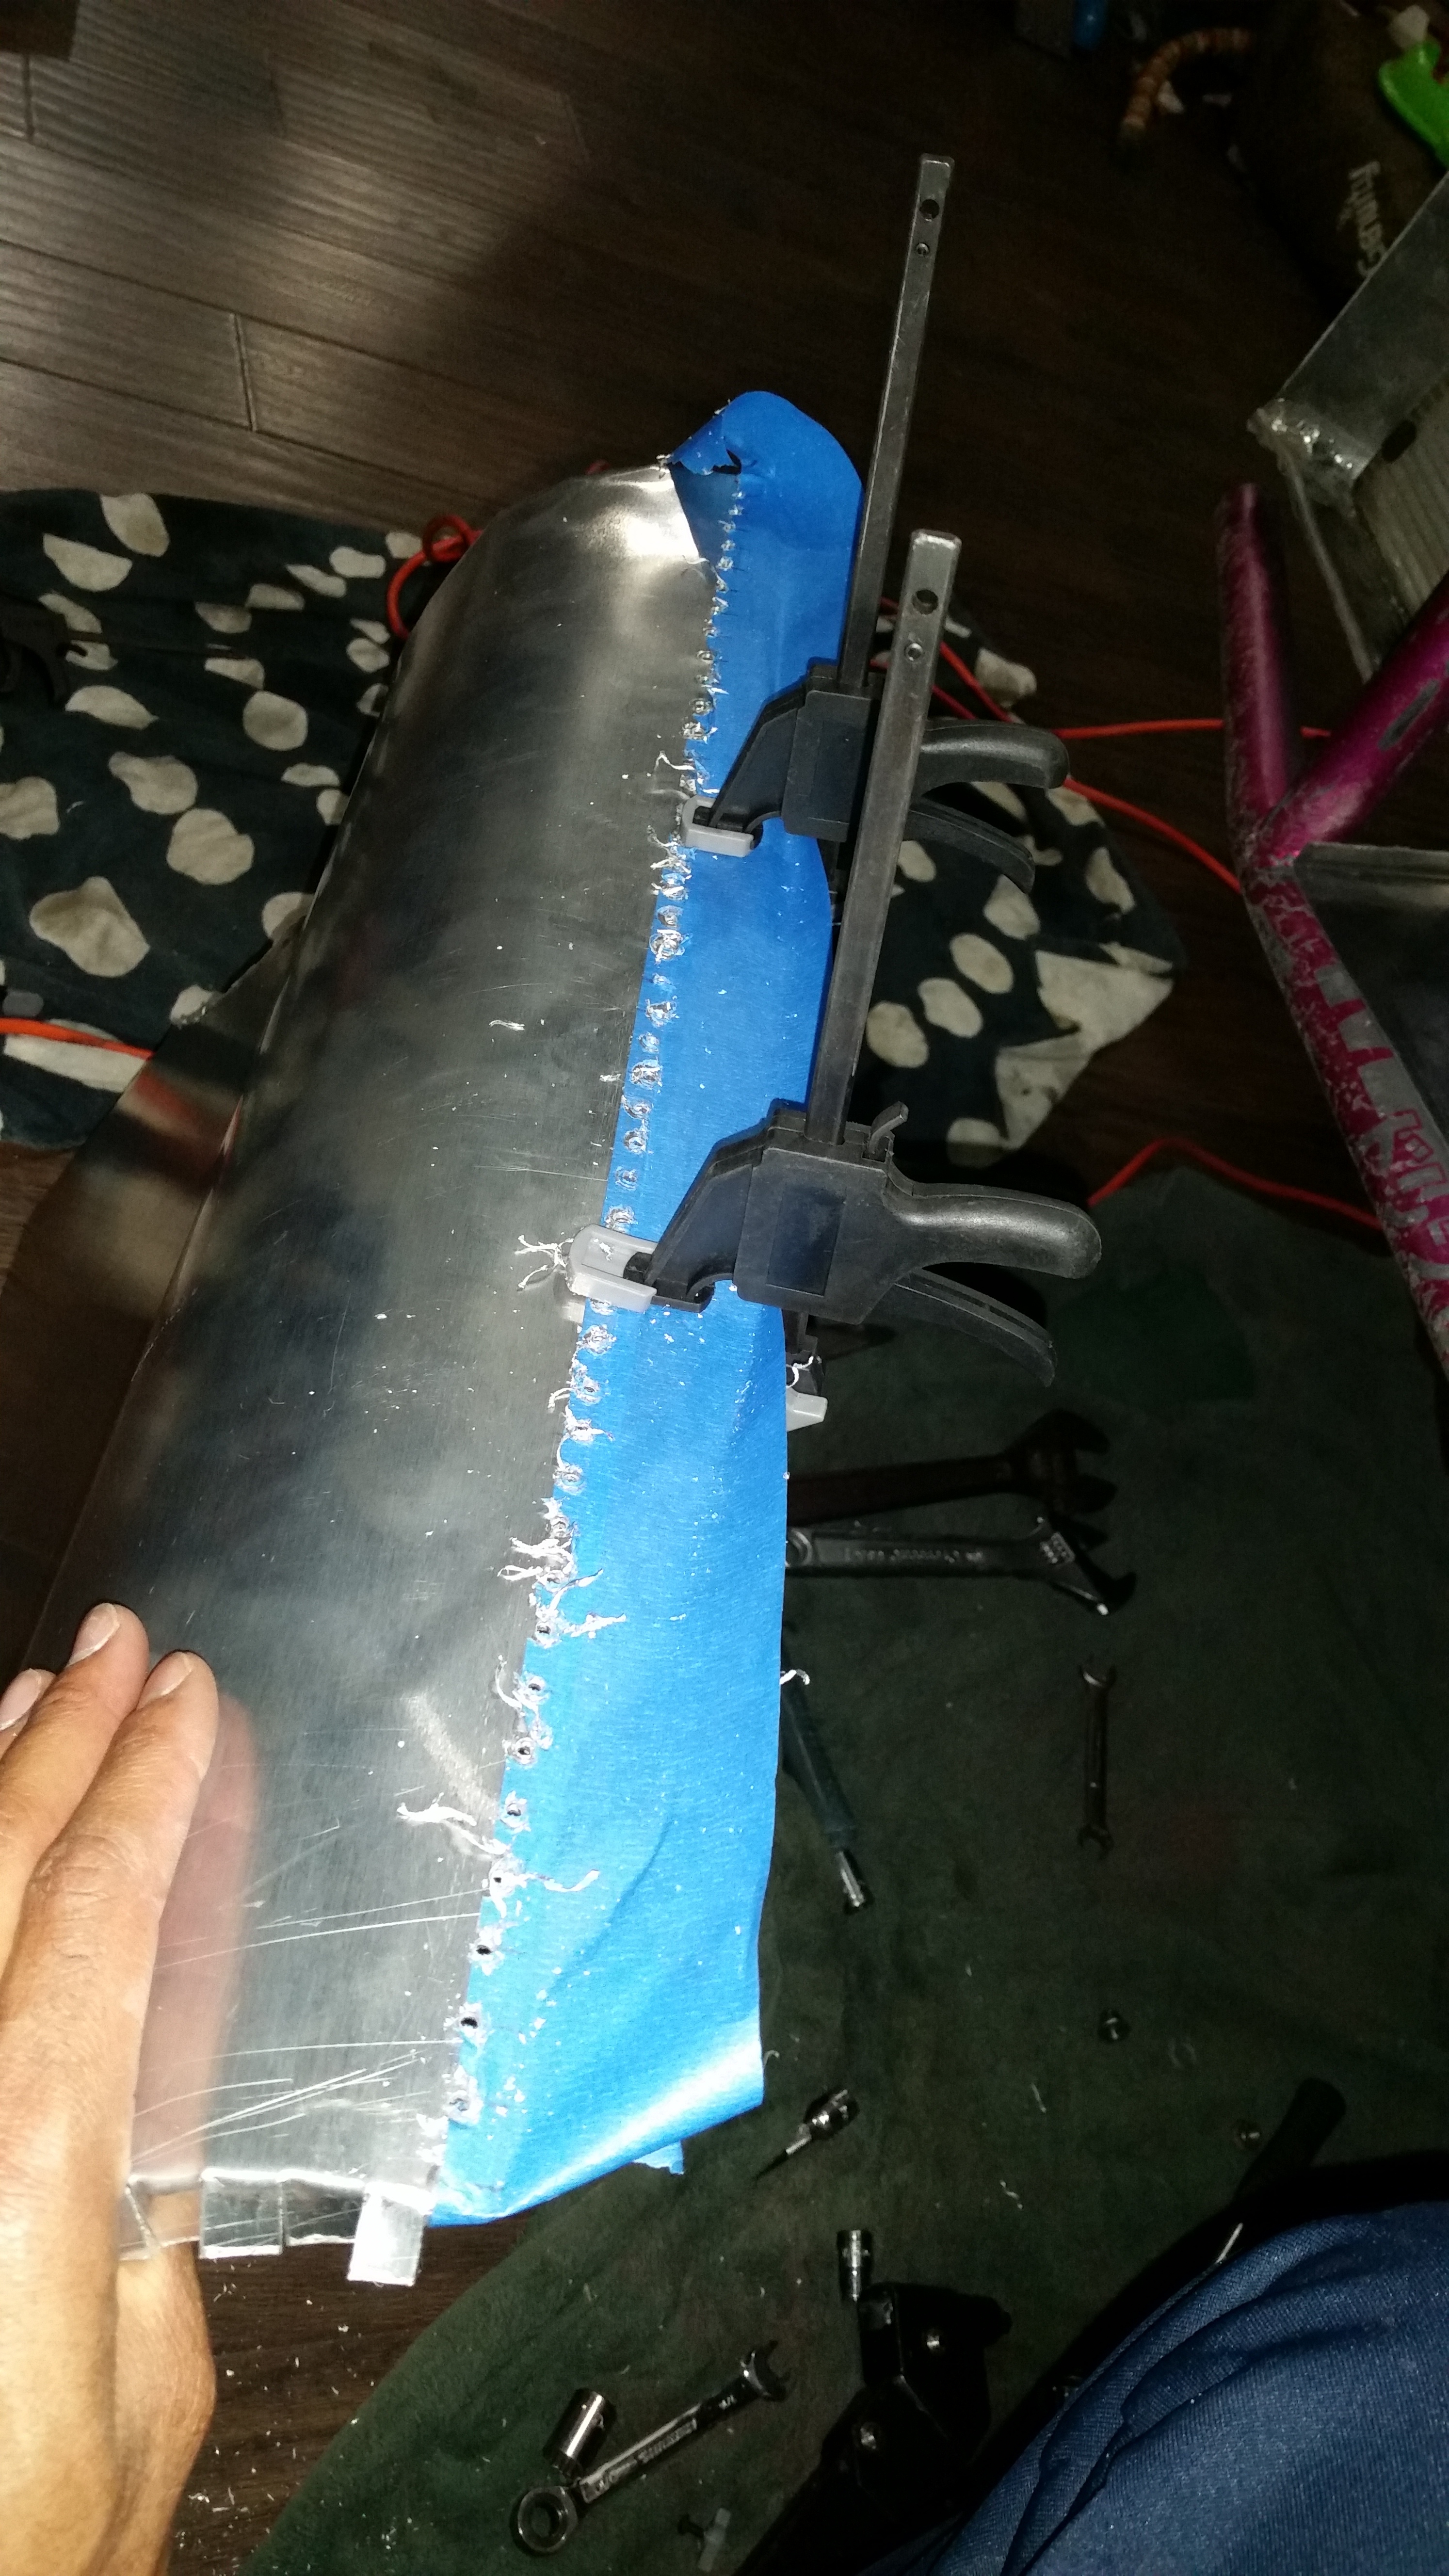
and installed a Billion rivits to keep it nice and rigid. NO AIR SHALL ESCAPE!!!!
I had to clean up all that on the back side otherwise there wouldn't be enough space for the lip to actually grab onto the and mount to the radiator. I forgot to snap a picture of that...but here's how it'll sit on the Rad...you get the point right?
This came out reallly good and I'm wayyyyy amped on how close it sits on the edge....and more importantly.. how strong it is
Started making Slot cuts or whatever fabricators might call this....These worked well for my last set up so I figured to keep things cheap and to stay within the confines of my garage without having to outsource machines etc... I chose to stick with what i'm comfortable with.
this allows me to make bends wherever I may need...and not just straight kinks... but smooth flowing bends.
here's the start of that process... the duct goes on and off on and off again and again until I am satisfied with the progress and can move on. You could really spend and endless amount of time on this.... and I caught myself getting hung up on trynig to get a perfect flowing contour when I knew other thigns woudl affect that...so i'd force myself to move forward.
getting better...
I wanted the plenum to be a bit bigger this time around.
Here is a pic of the support window framing i'll be cutting in half and using to reinforce most of theduct work....and use/used to make straight bends with the clamps =-)
cut in half with angle grinder
where it'll Hook the outside of the IC
Drilled a Billion holes measuring out every 1/2 Inch and drilling
and installed a Billion rivits to keep it nice and rigid. NO AIR SHALL ESCAPE!!!!
I had to clean up all that on the back side otherwise there wouldn't be enough space for the lip to actually grab onto the and mount to the radiator. I forgot to snap a picture of that...but here's how it'll sit on the Rad...you get the point right?
This came out reallly good and I'm wayyyyy amped on how close it sits on the edge....and more importantly.. how strong it is
02-05-15, 03:56 PM
#2245
Continued Update part 3:
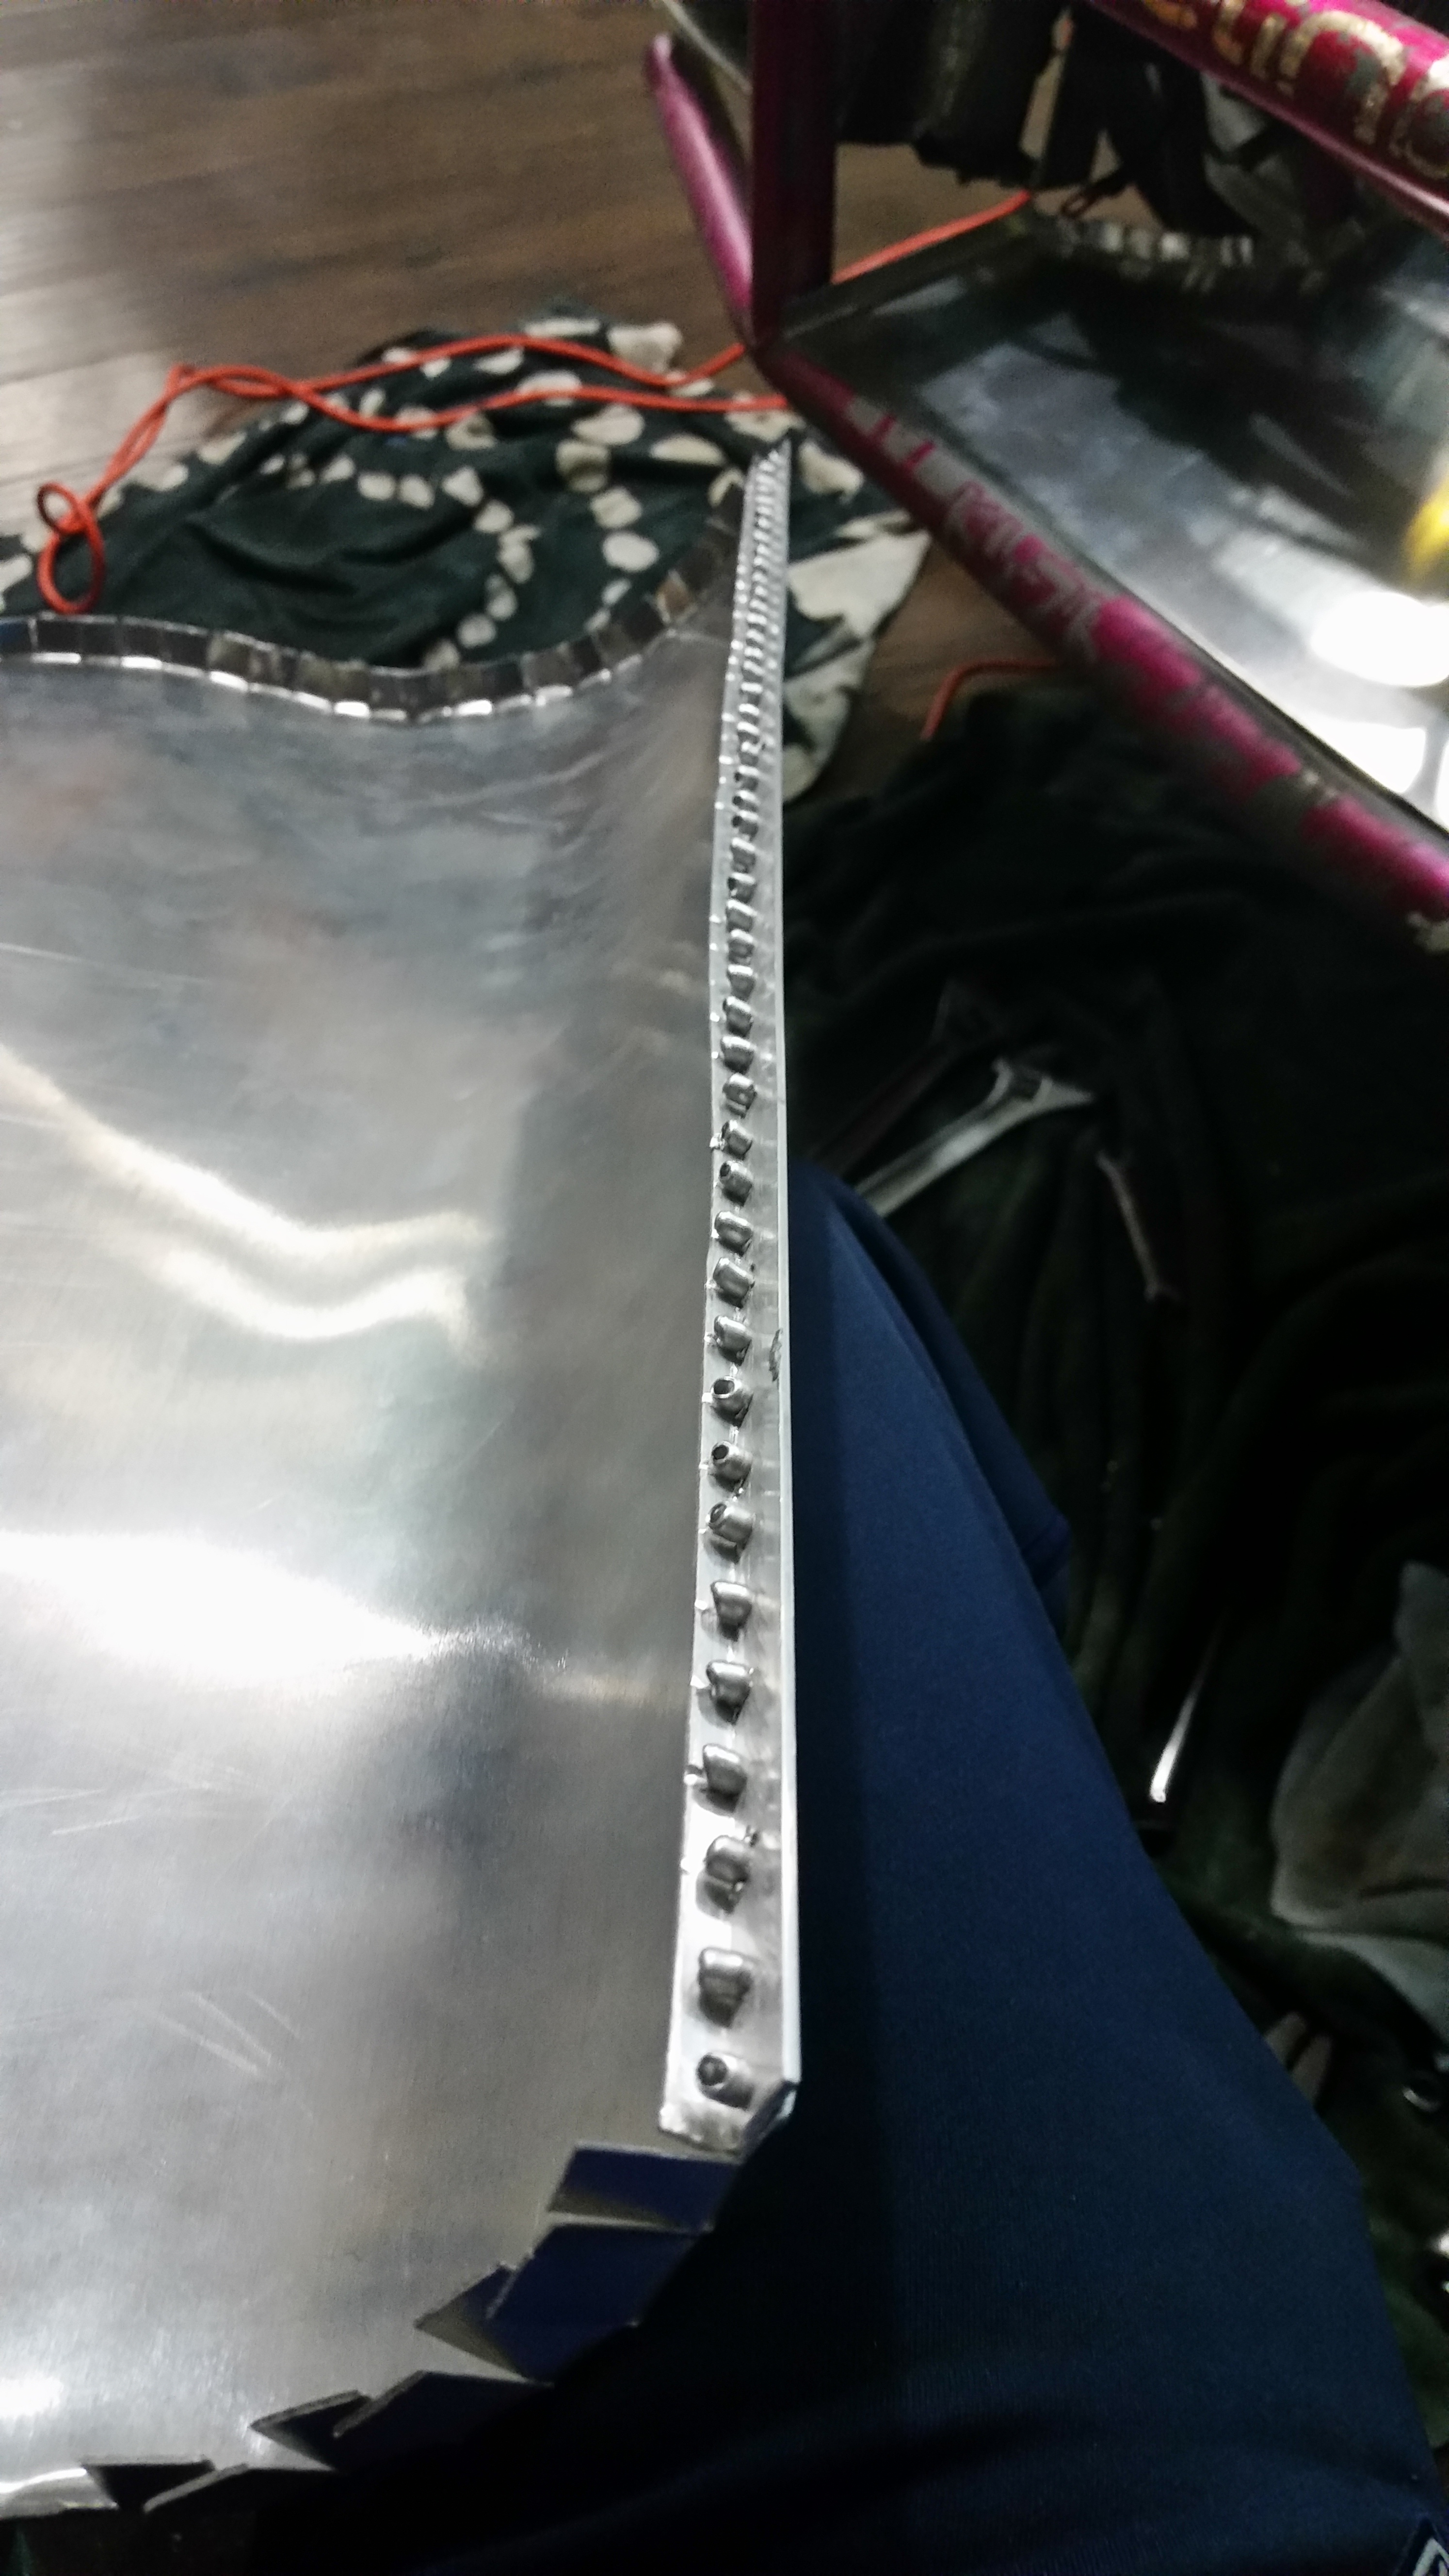
messed up on the last two pictures above and meant to show this picture so you guys could see how close the tolerance is
Outer shot of rivits
The top is nearly finished.... but I had traced the Shape of the Top...onto another sheet which I went back and purchased from Lowes because I needed more material. I also wanted to keep the same shape for the upper and the lower to keep things symetrical. I used the same process on the lower that I had used on the upper.
I am using the same L shaped mount as I did on the Upper bracket... just back wards to keep the lower from sliding up over the radiator...but at the same time....keeping strength and making it impossible for air to force the lower duct sheet out of position.
I'll be adding a few more rivits to this piece as well....But you get the point.
So that leaves me to where I'm at right now in terms of Progress on the duct work. I need to make sure to continue to take my time with it to make sure that I don't take any short cuts. I'm pretty confident in the work i've done thus far.... So the next step is to get both Upper and Lower EXACTLY where I want them and trace out the hardest part... The Side Sections. After that...it'll simply be a matter of supports and getting the thing mounted rigid enough.
Anyways..... More updates soon!!
Stay tuned!!
And always....thanks for the Support guys!
02-10-15, 03:10 PM
#2246
Update: "25 Hour Radiator Duct Job"
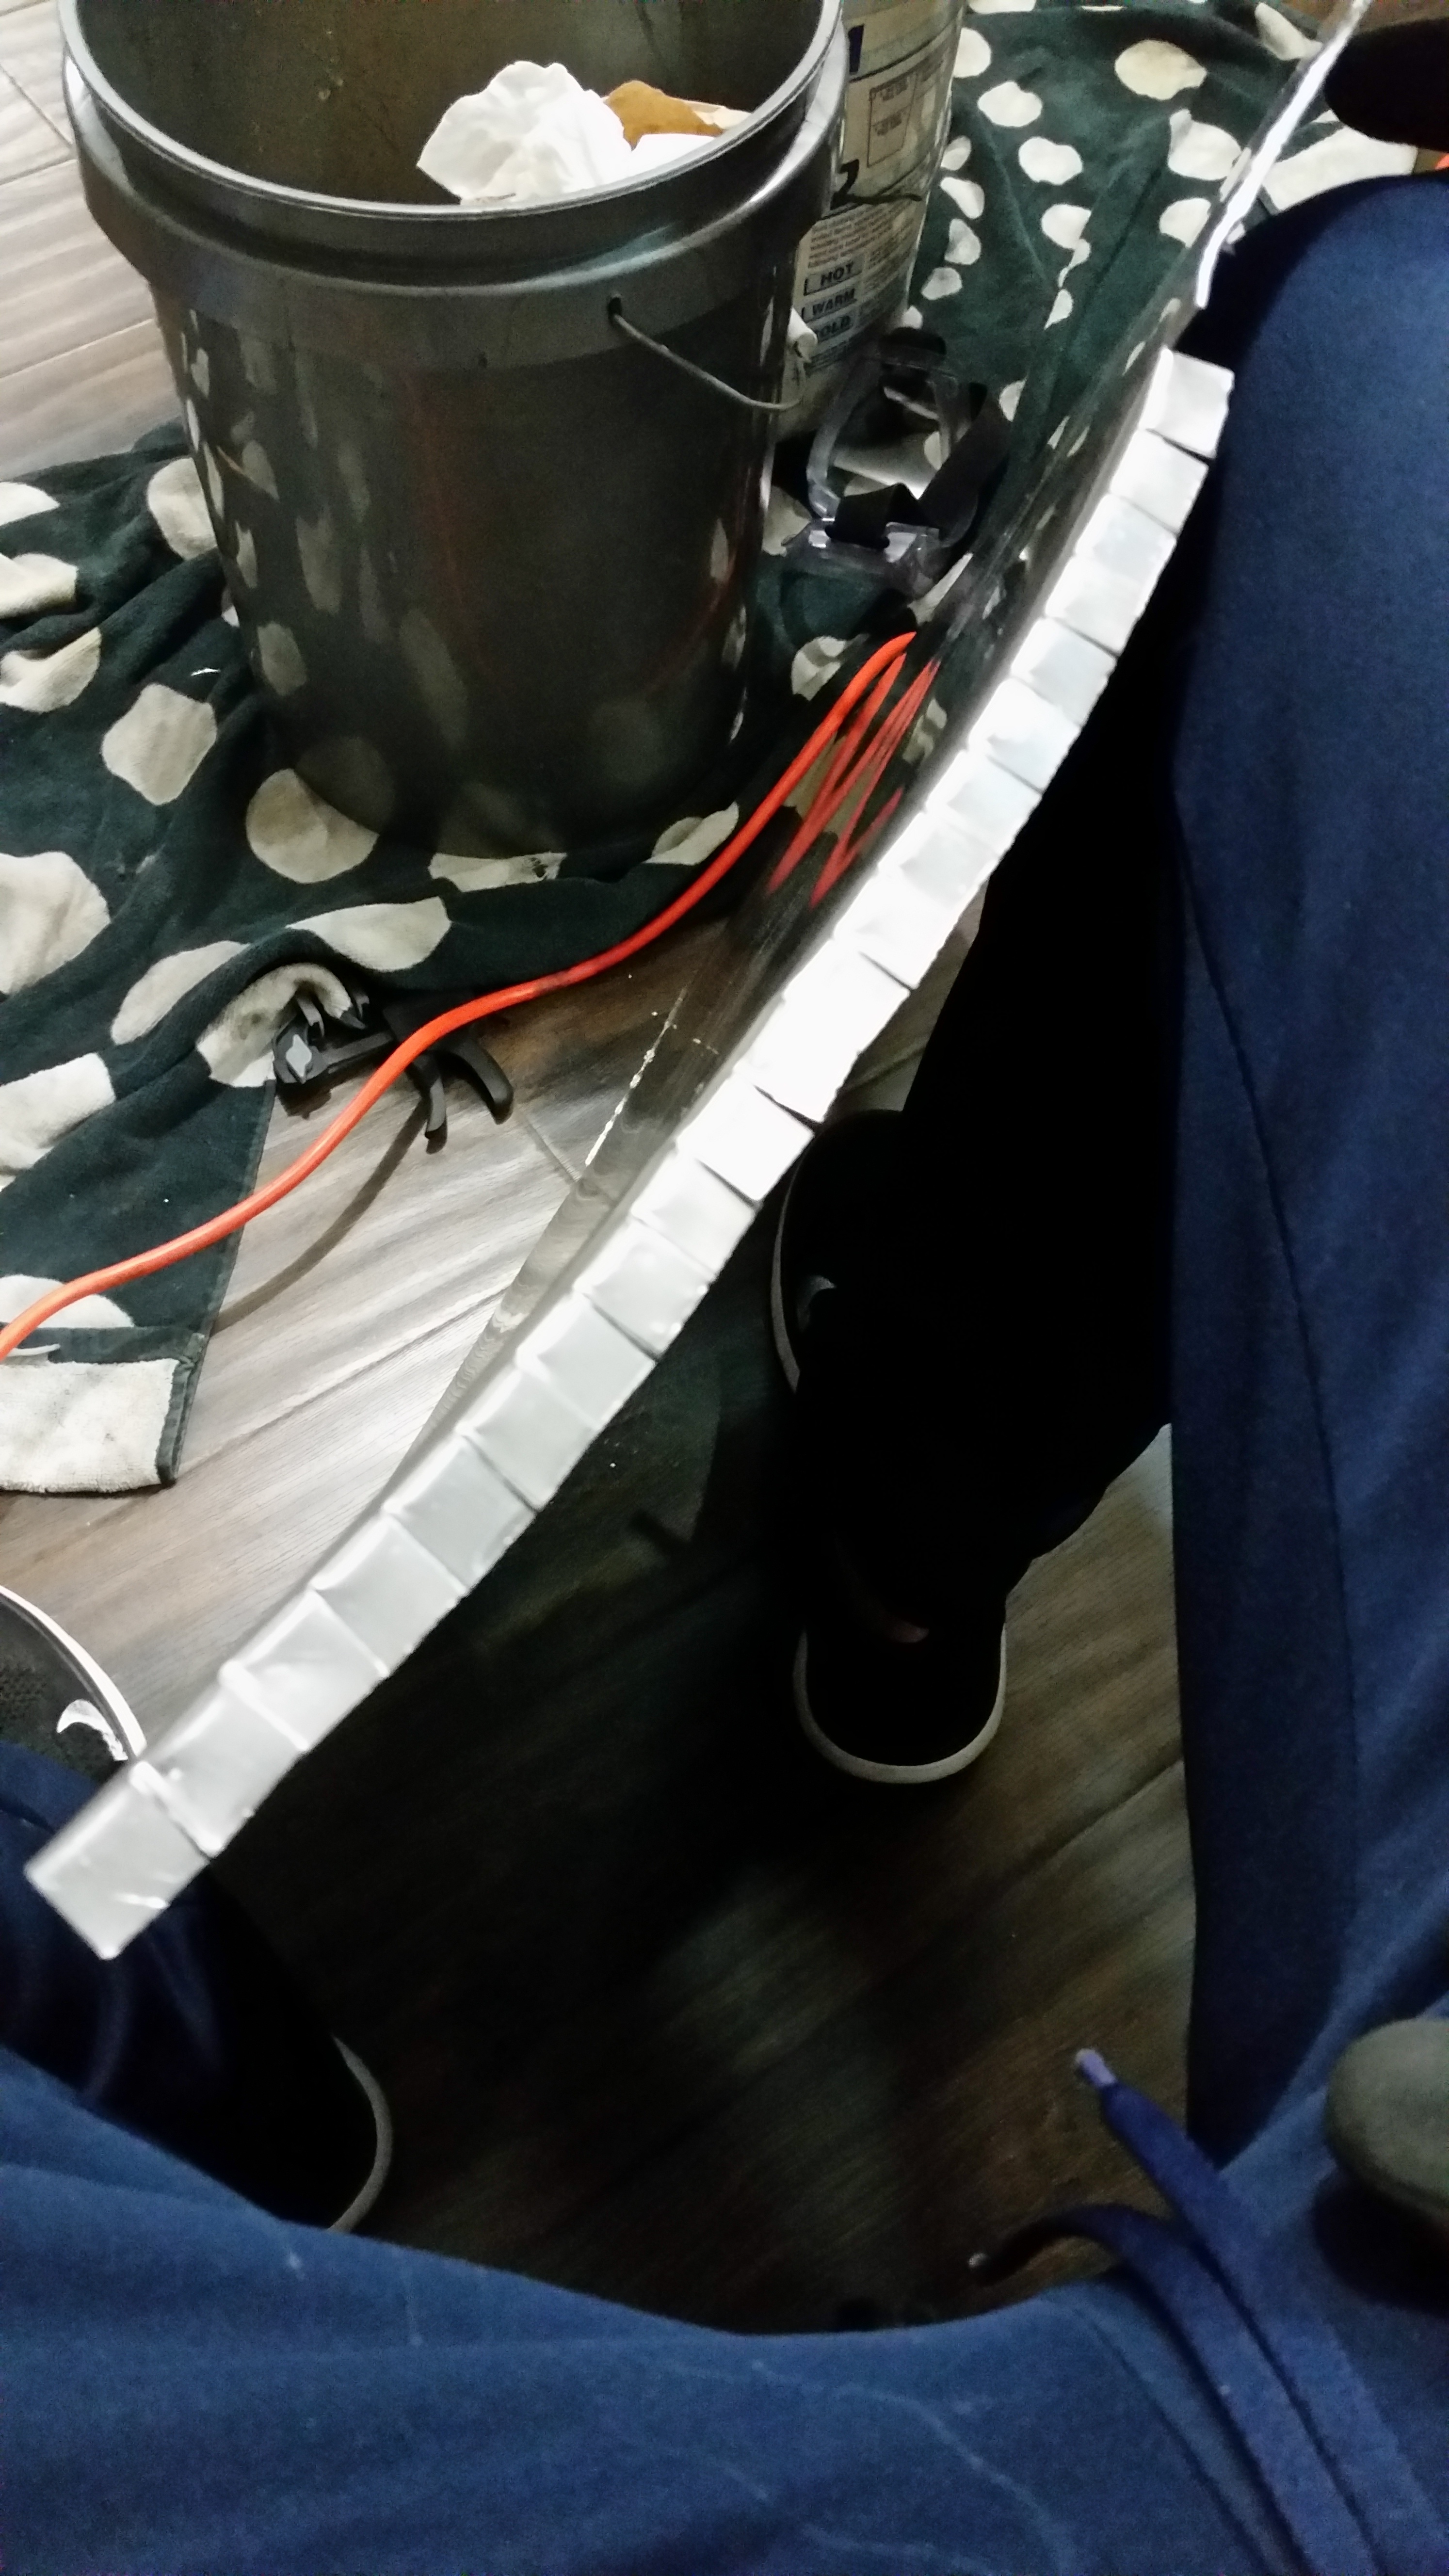
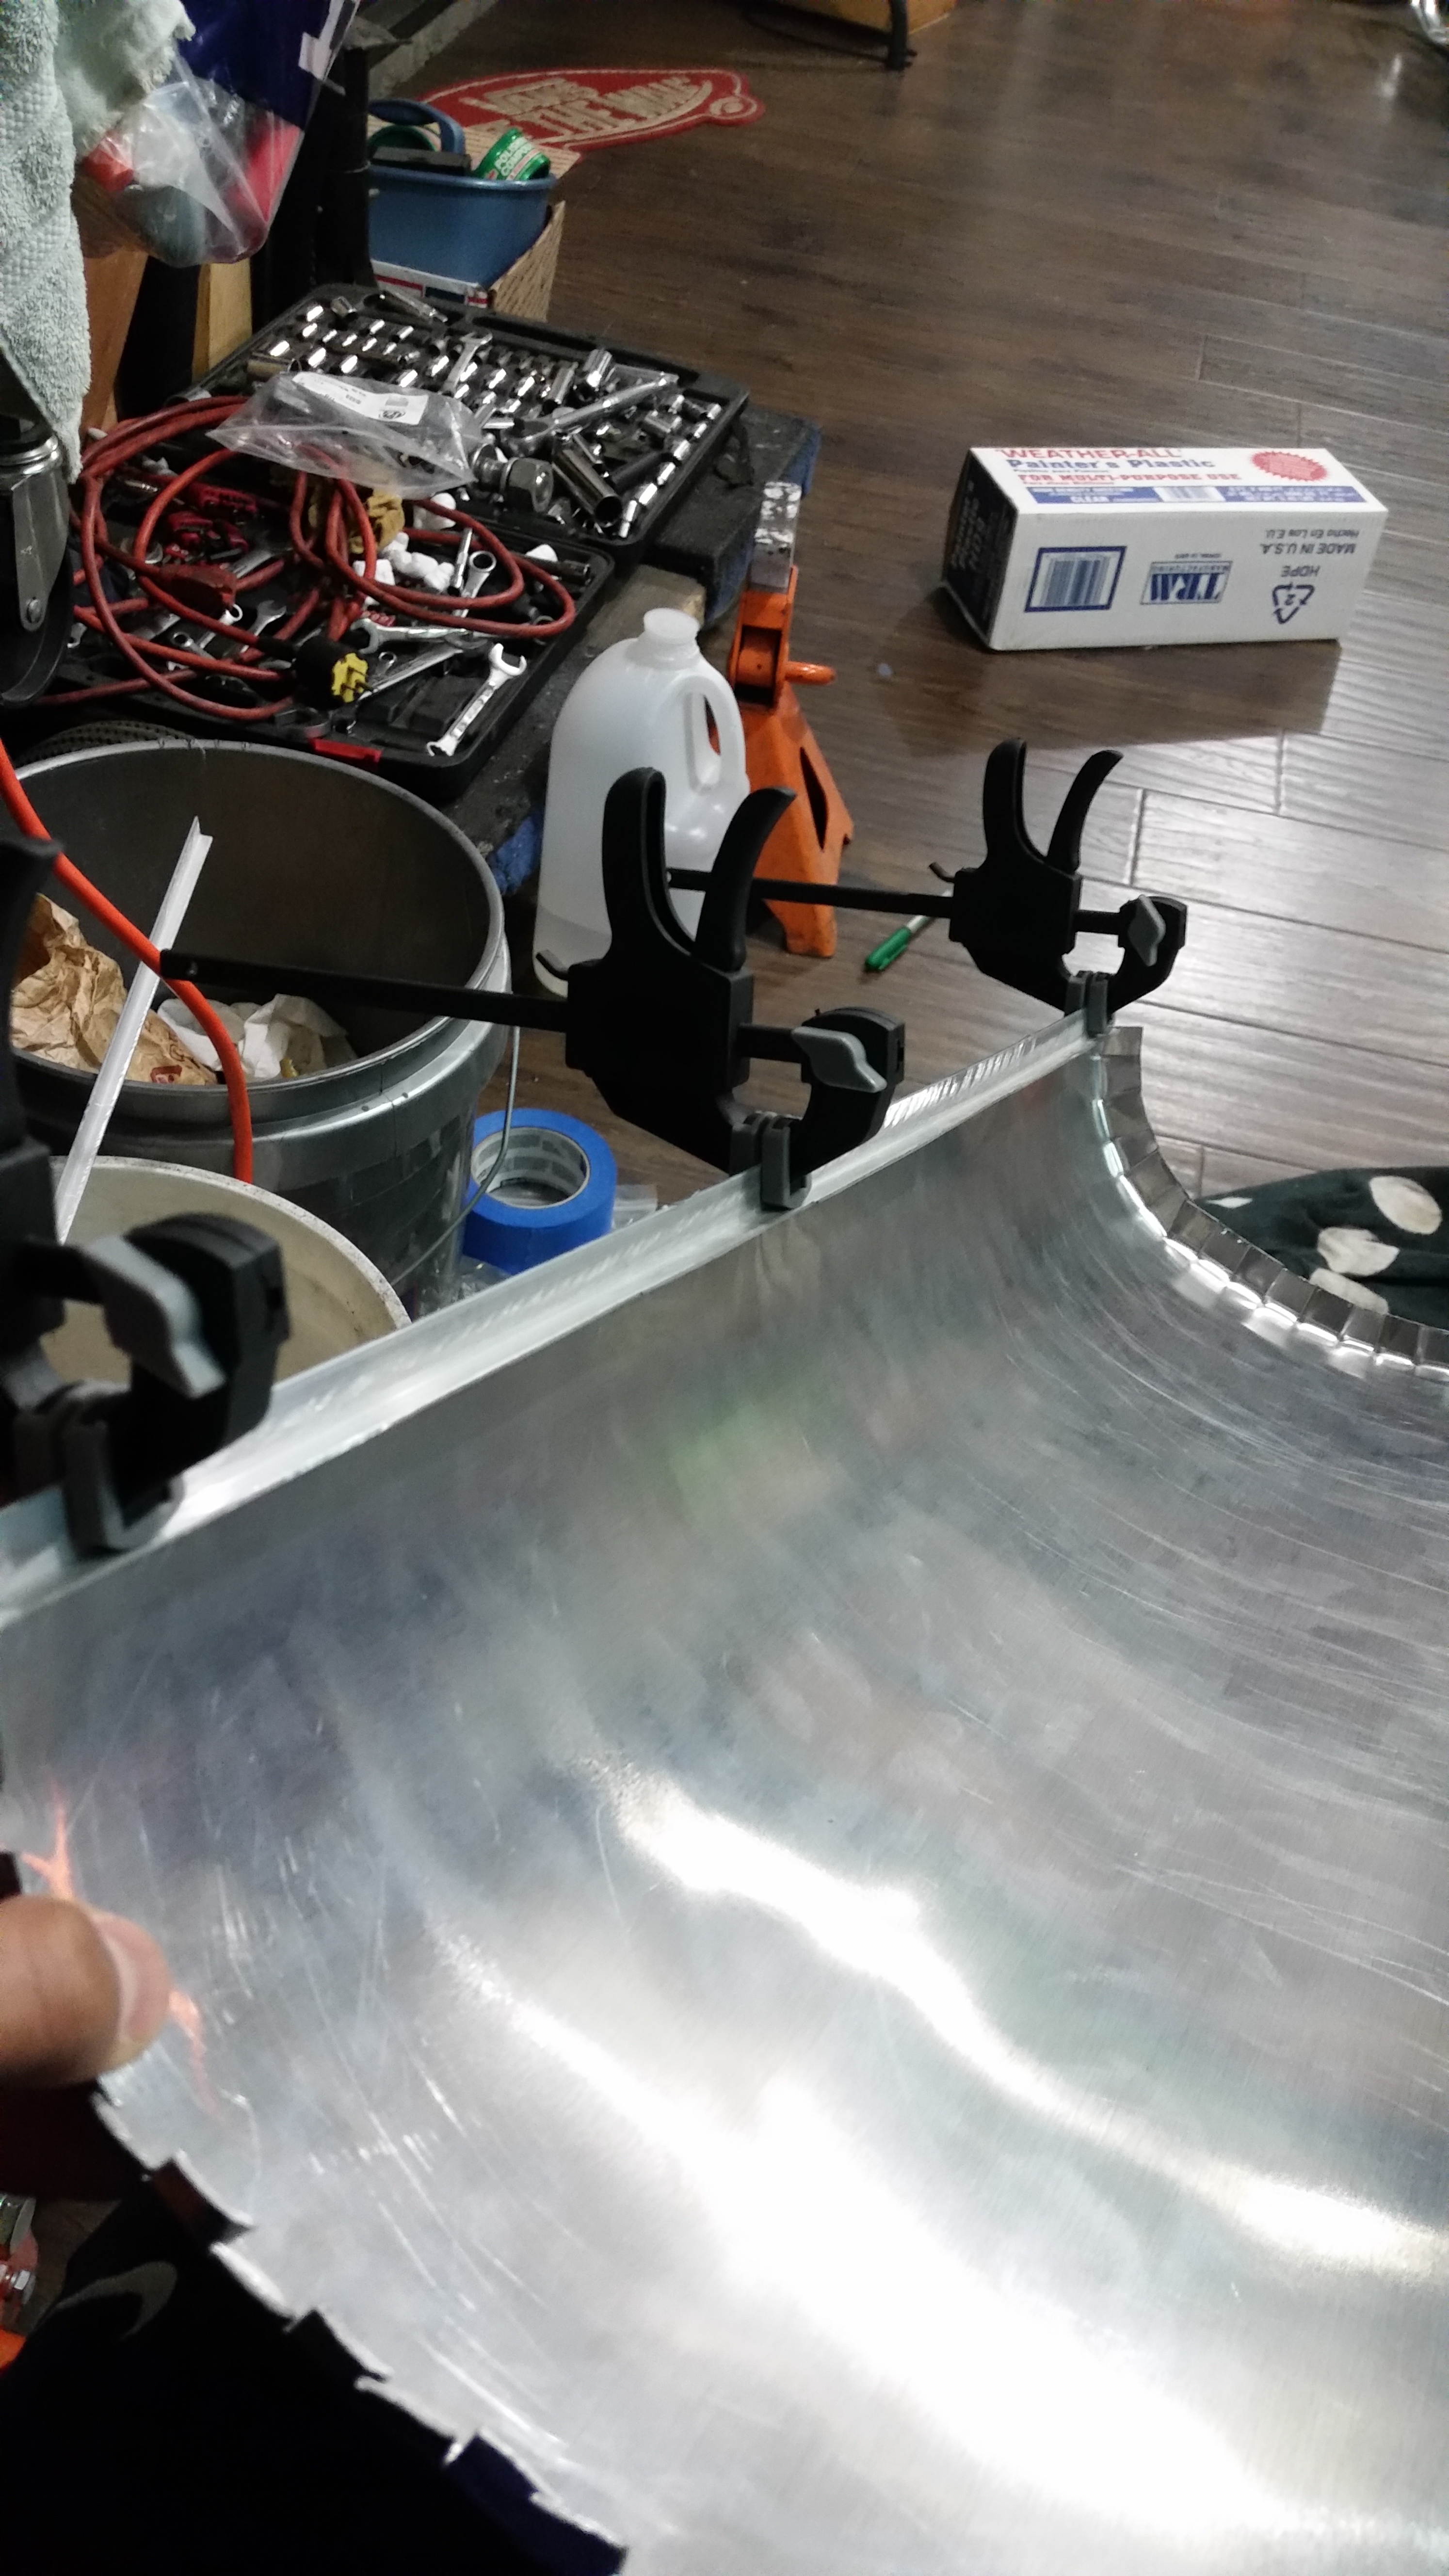
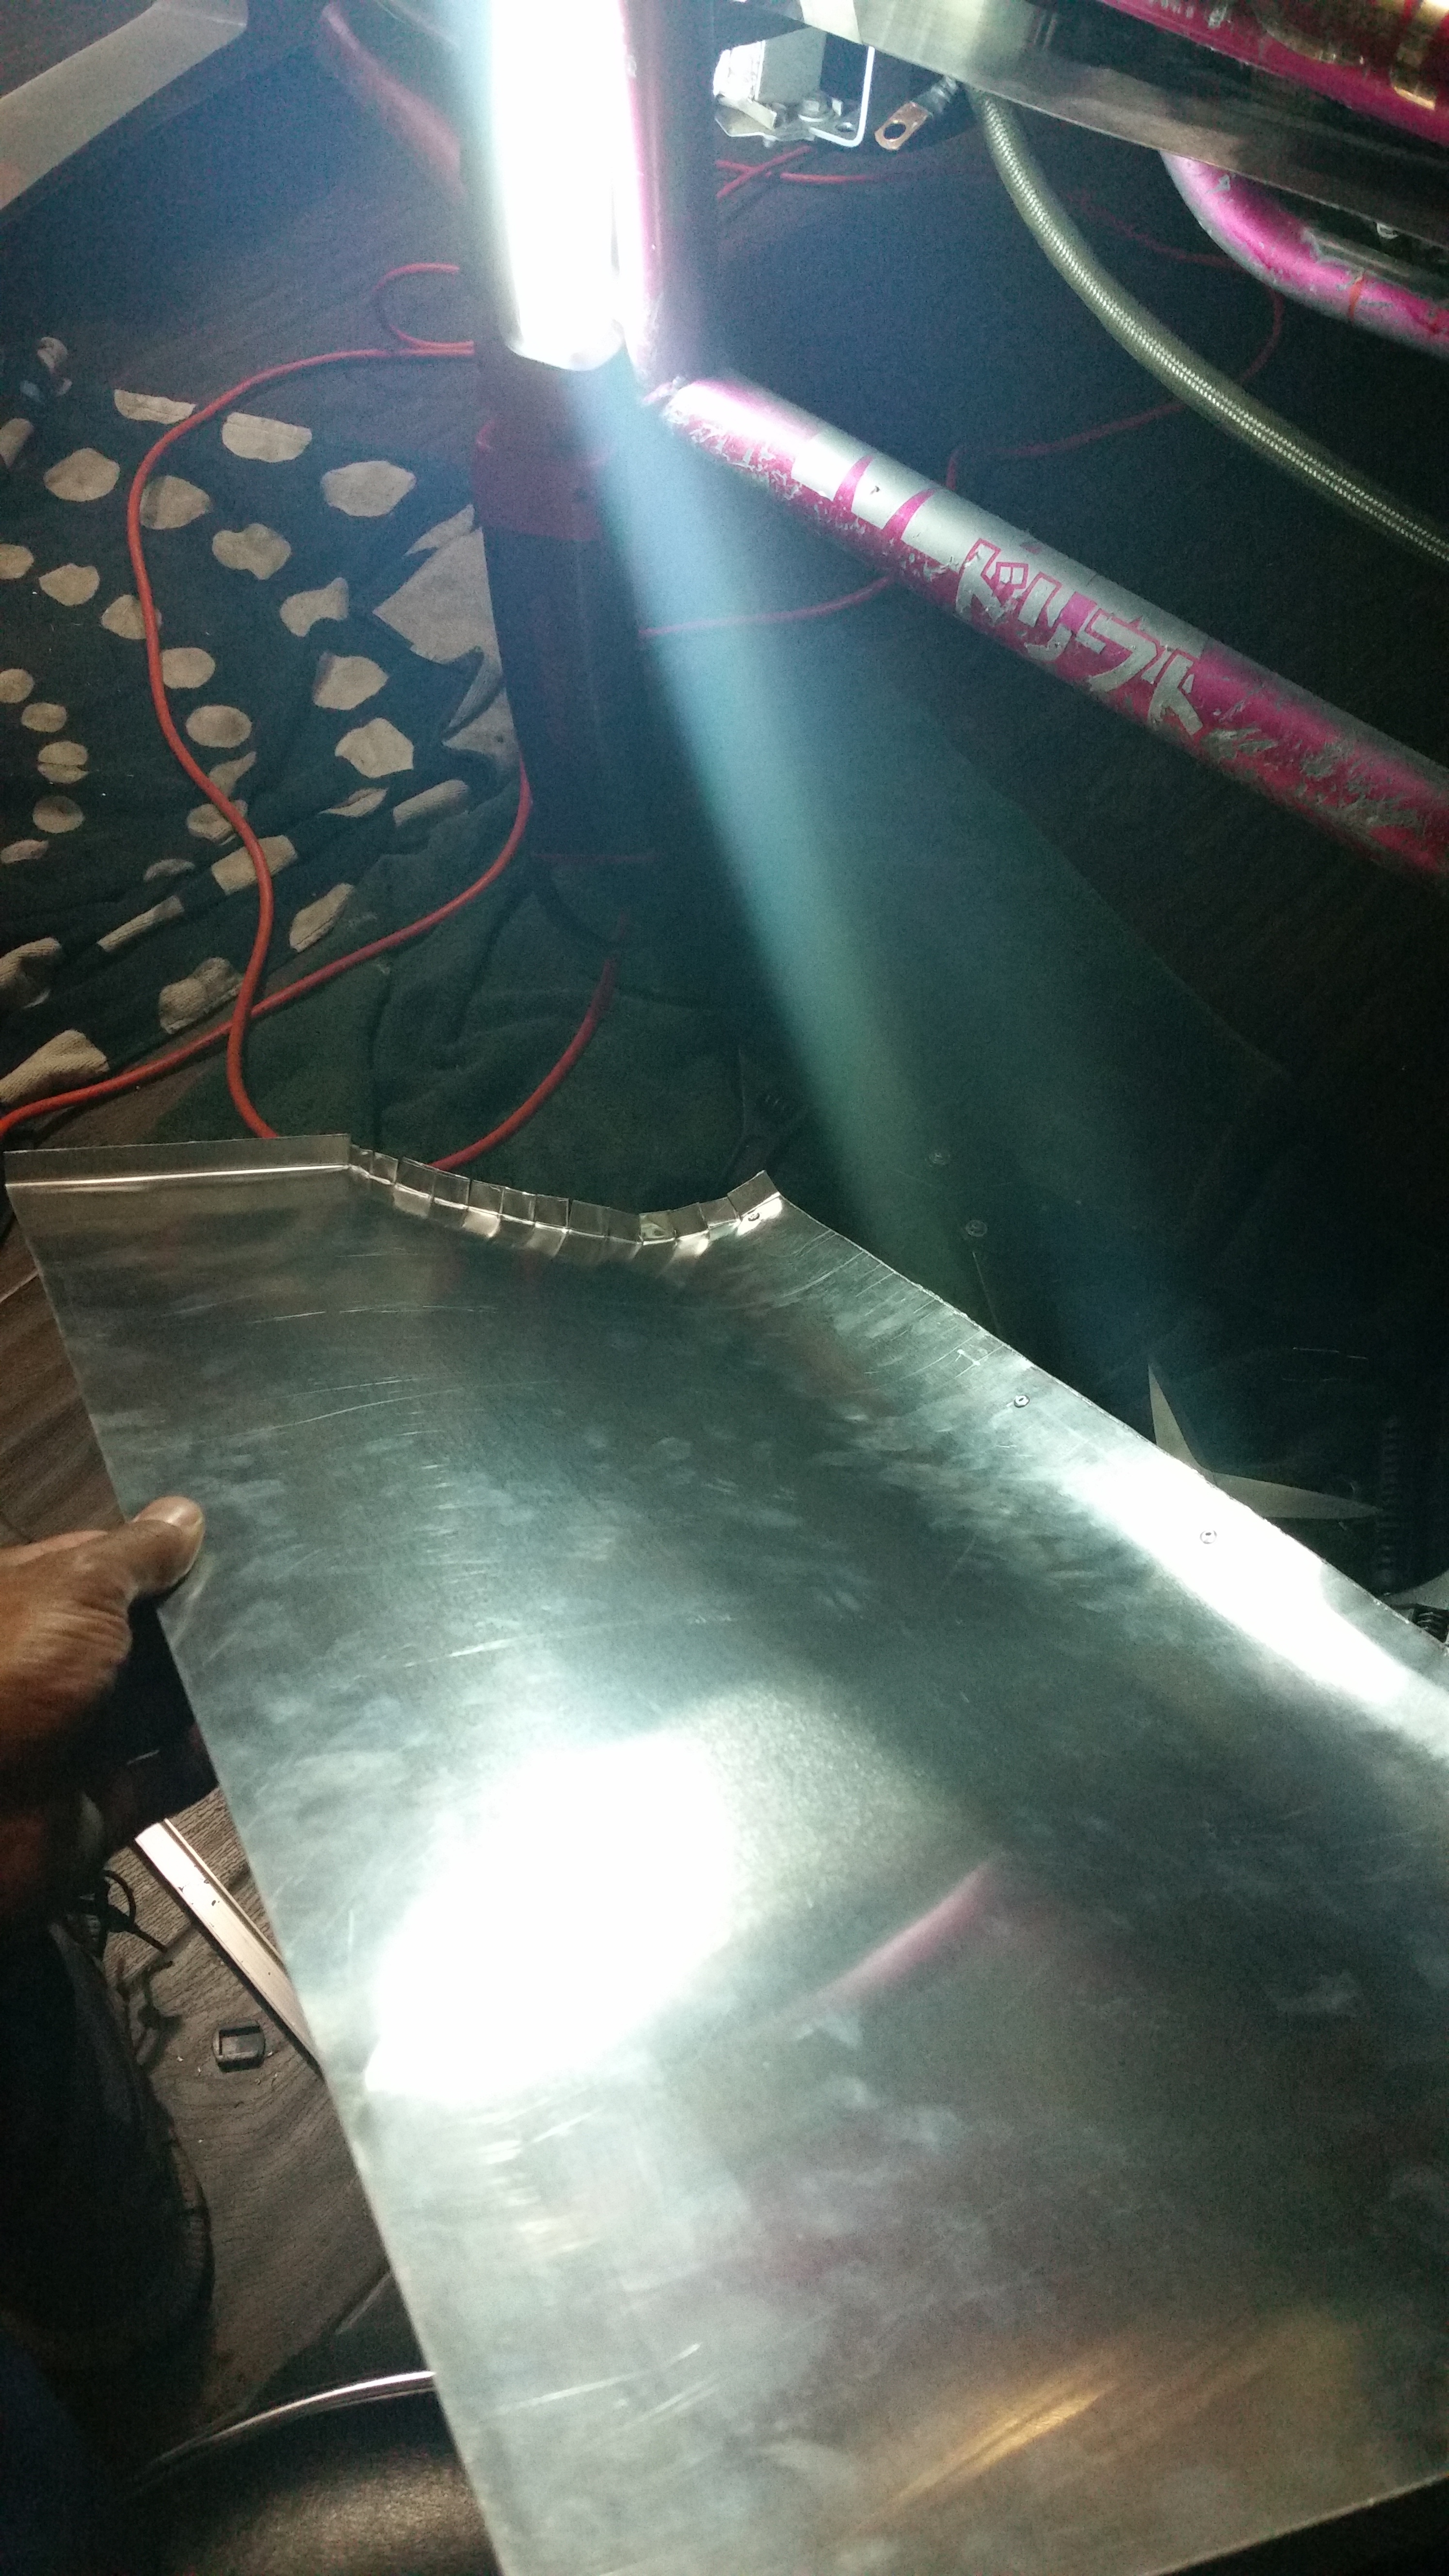
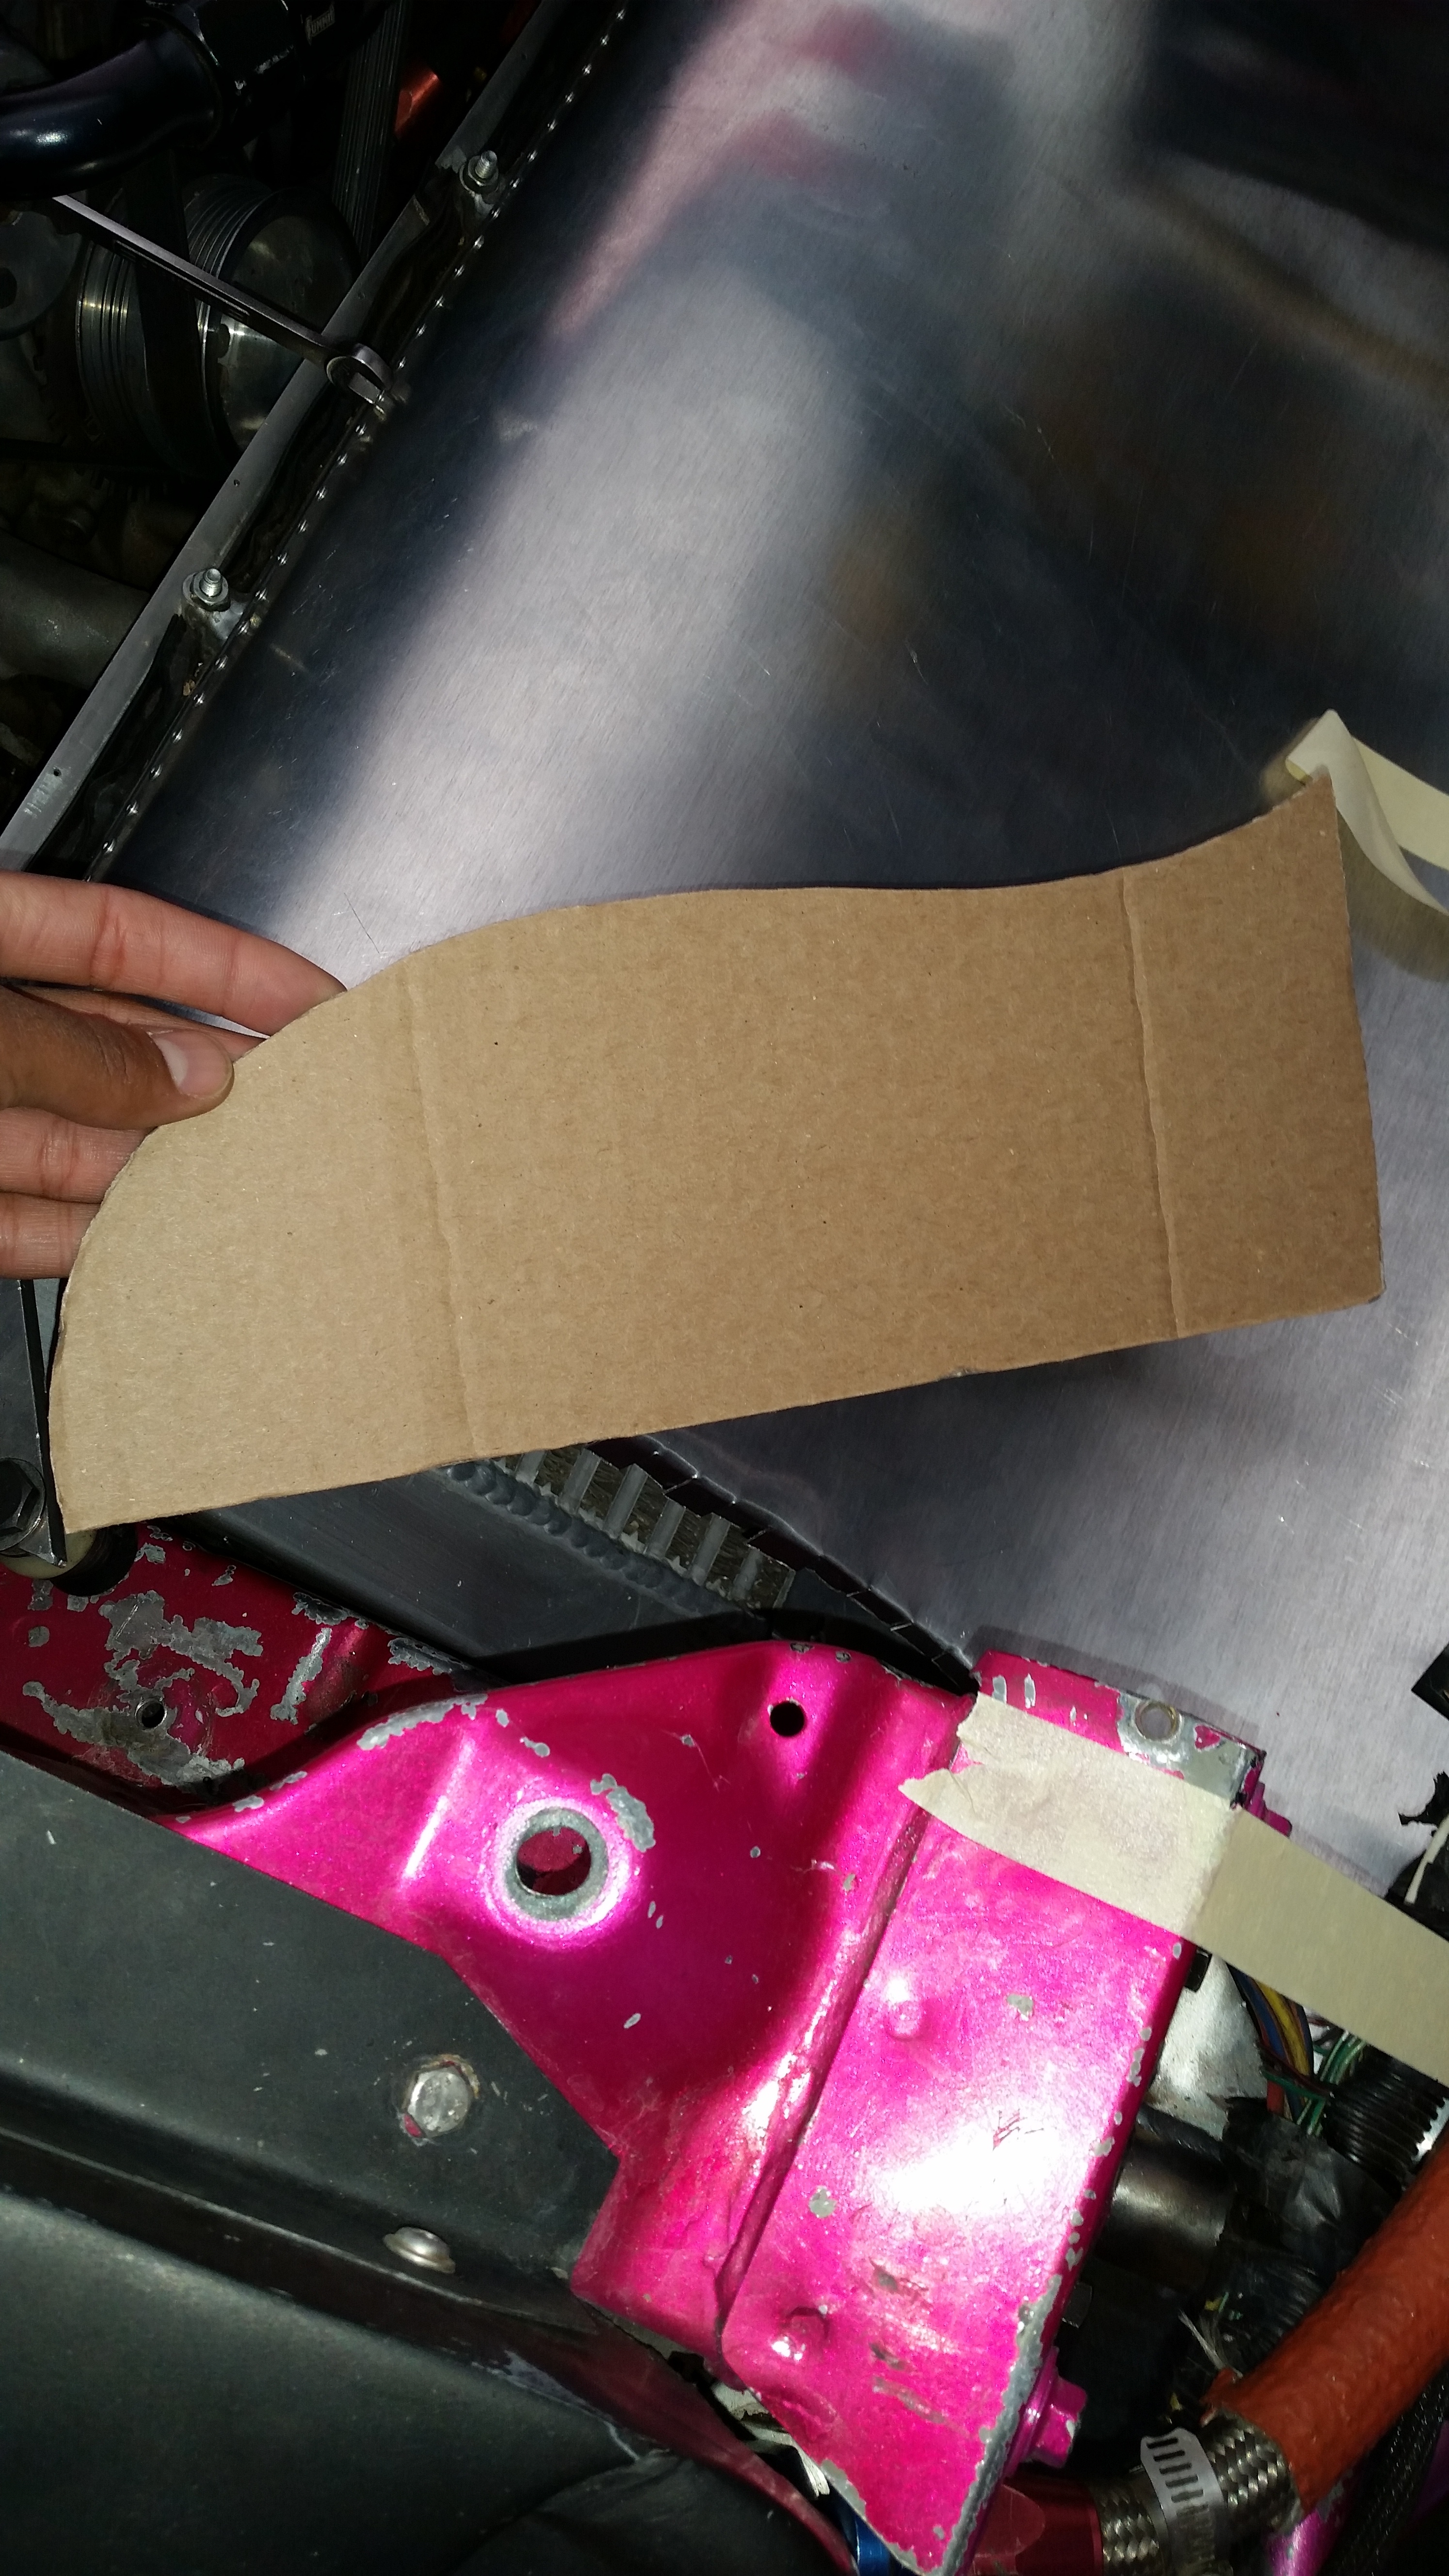
As the title states...... I'm not sure if I should be proud of this or if it's a pathetic outcome of what 25 hours will yield in terms of productivity haha. I kind of lost myself in the radiator duct. All the short comings of the last design..... were really eerrking me. So when I came across one of the issues.... I'd take a step back and ask myself how I could effectively resolve it. Usually this meant doing things the hard way.. making small trims.. pulling an extra rivet etc.... But what made the duct unusually hard was the fact that the fd engine set up sits roughly 2-3 Inches pointed towards the drivers side of the car. meaning it's not symmetrically located in the engine bay. Mazda did this to achieve weight distribution...(don't quote me on that....just from what I remember). Anyways... When we were making the IC and Radiator set up... we simply aligned the heat exchangers in a way to where they looked good and cleared everything we needed them too. That worked just fine. When I was doing the first ducting job... I remember one side of the ducting was roughly an inch and a half shorter in overall length.. So to make it look symmetrical... there was a lot of trimming to do. With the new duct... I incorporated those offsets into the equation. But the measuring part was a complete pain in the ****... and then riveting the sides... They had to be clamped Perfectly.. in order to maintain the shape.. otherwise it wouldn't fit correctly... one side may lift which would make it seat twisted etc. I must've taken the duct on and off 40 or so times. Everytime waiting for something to change. And it did.. I caught it a few times. A bad clamp... or the drill caused it to misalign. Either way... Instead of just saying "Screw it, move on." I kept going back and making sure the damn thing fit and would seat correctly. This was what took up most of my time. I remember starting on sunday morning at 7.. and around 9:30 I hadn't event pulled a damn rivet yet haha. But anyways... I finally got it finished. Check it out!:
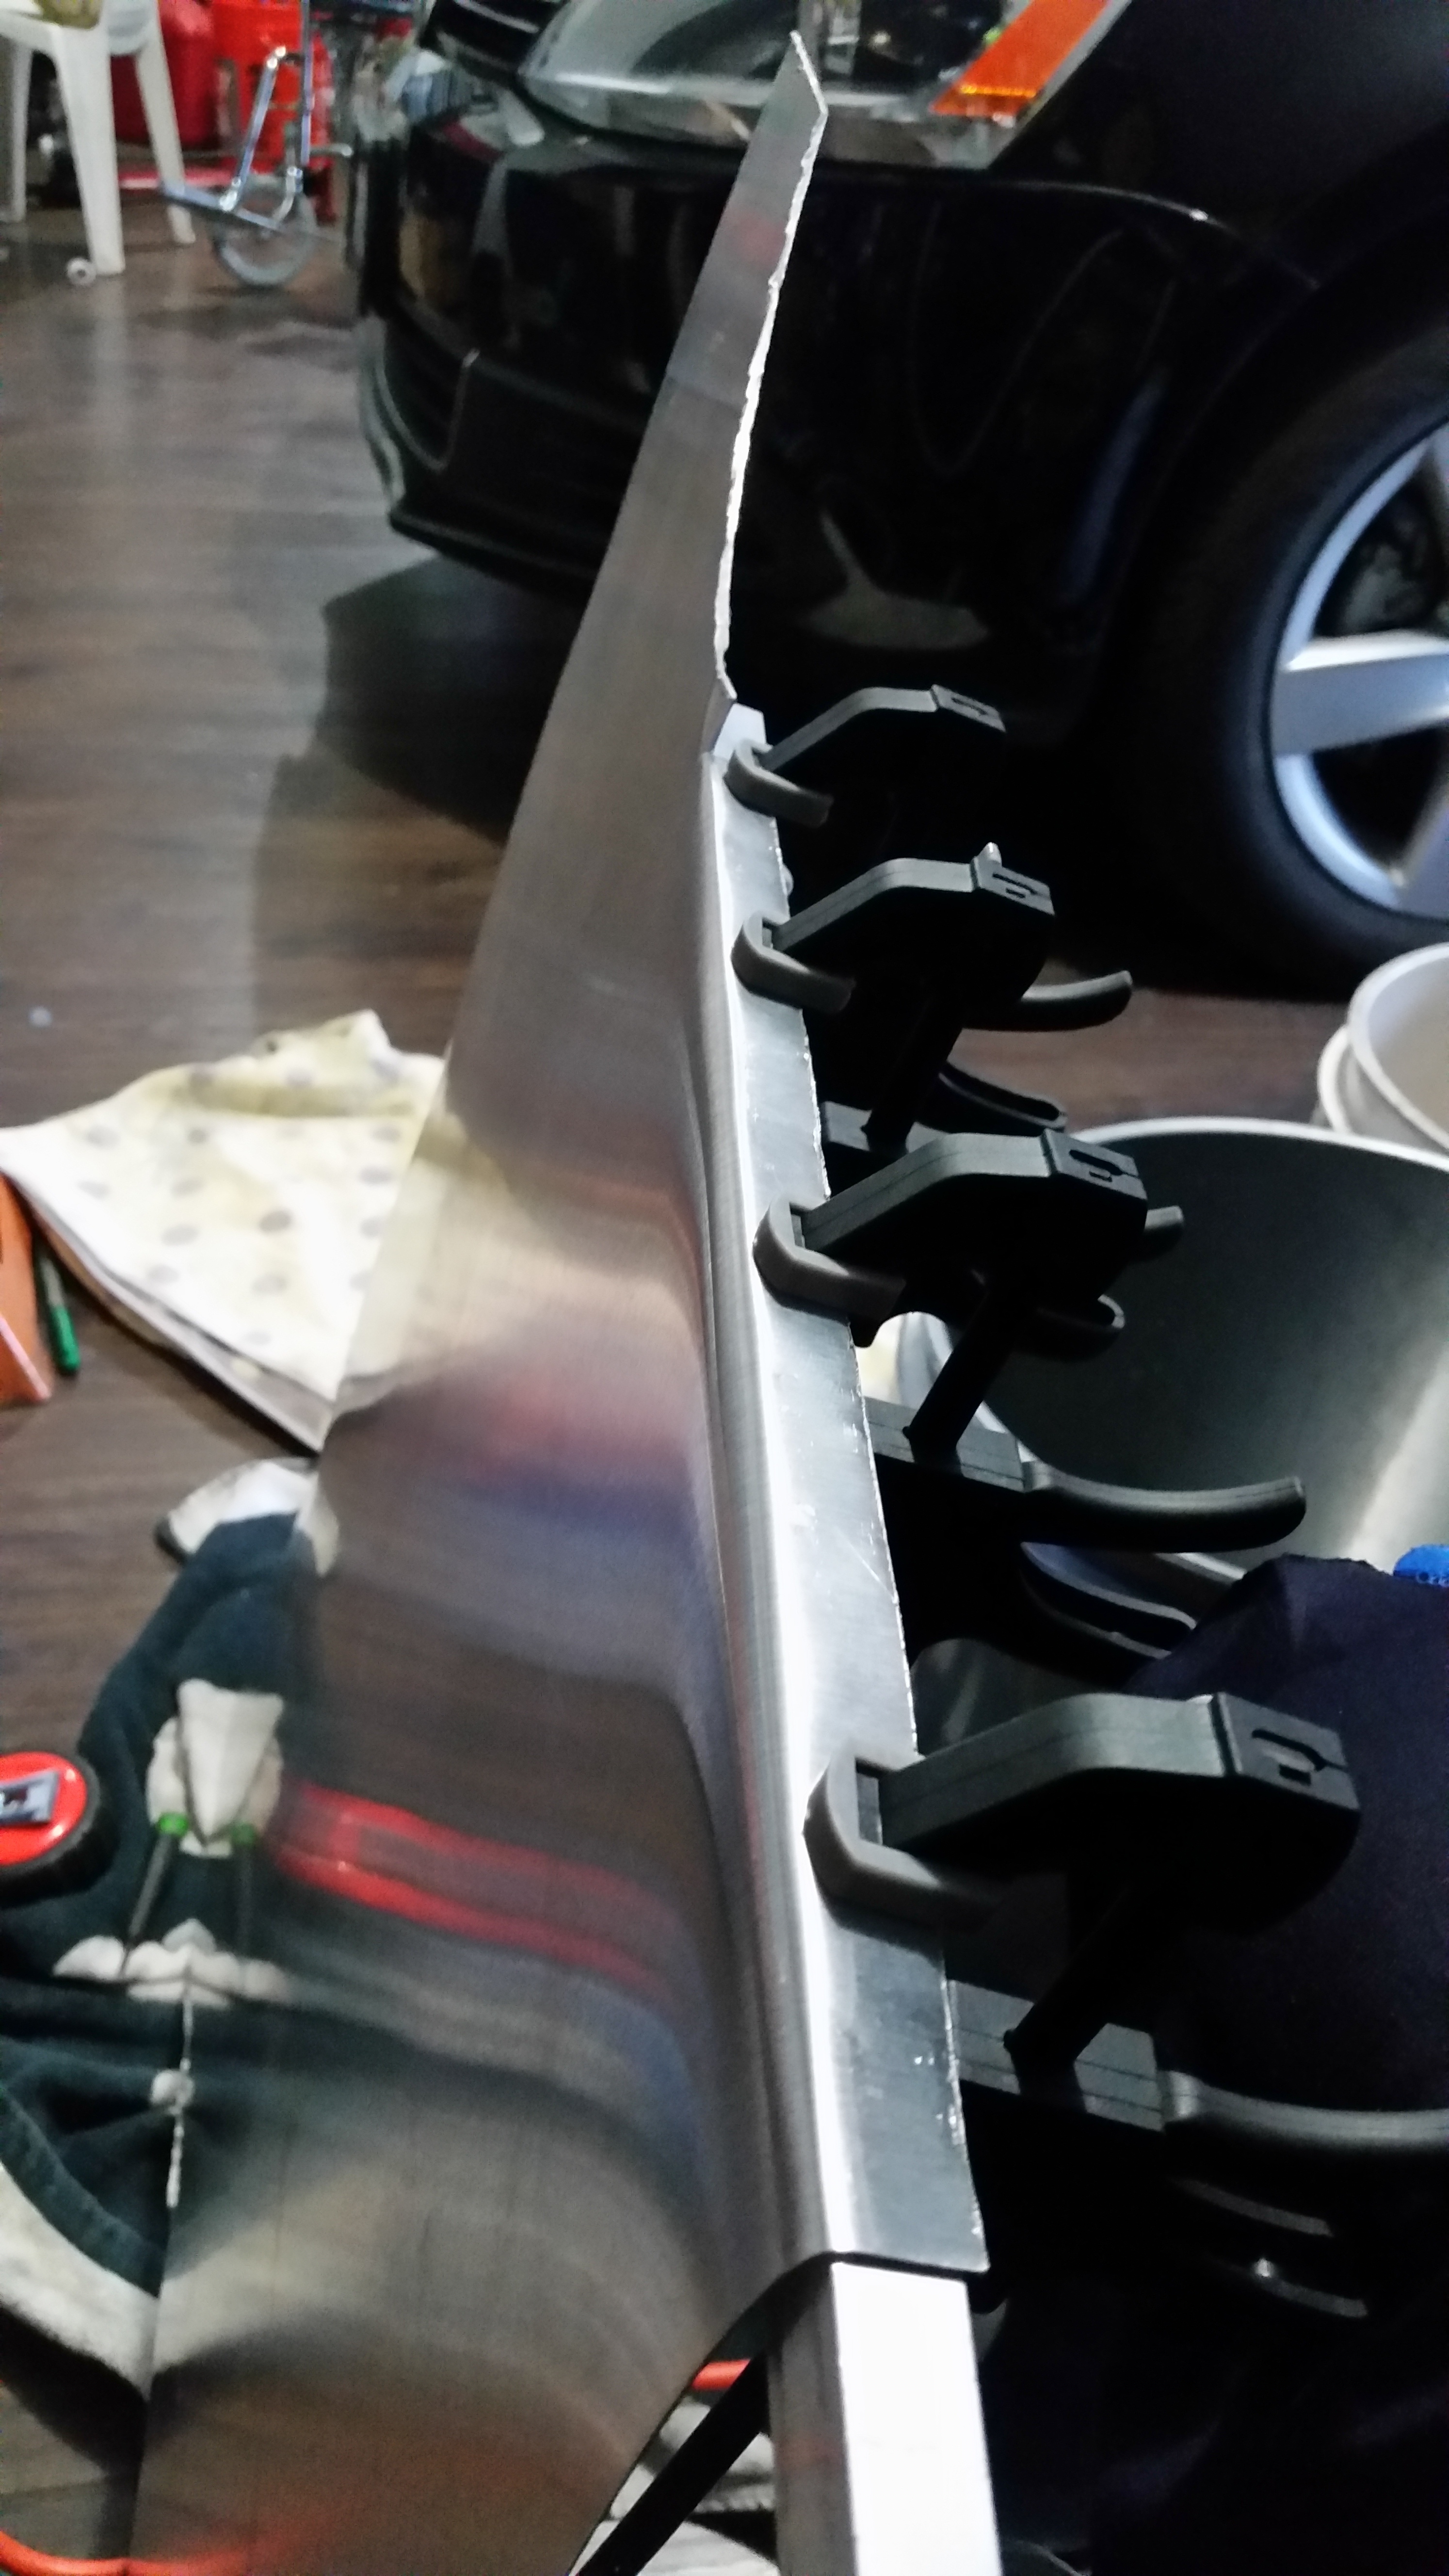
Side Area.... the contours were tough to measure out on the flat sheet
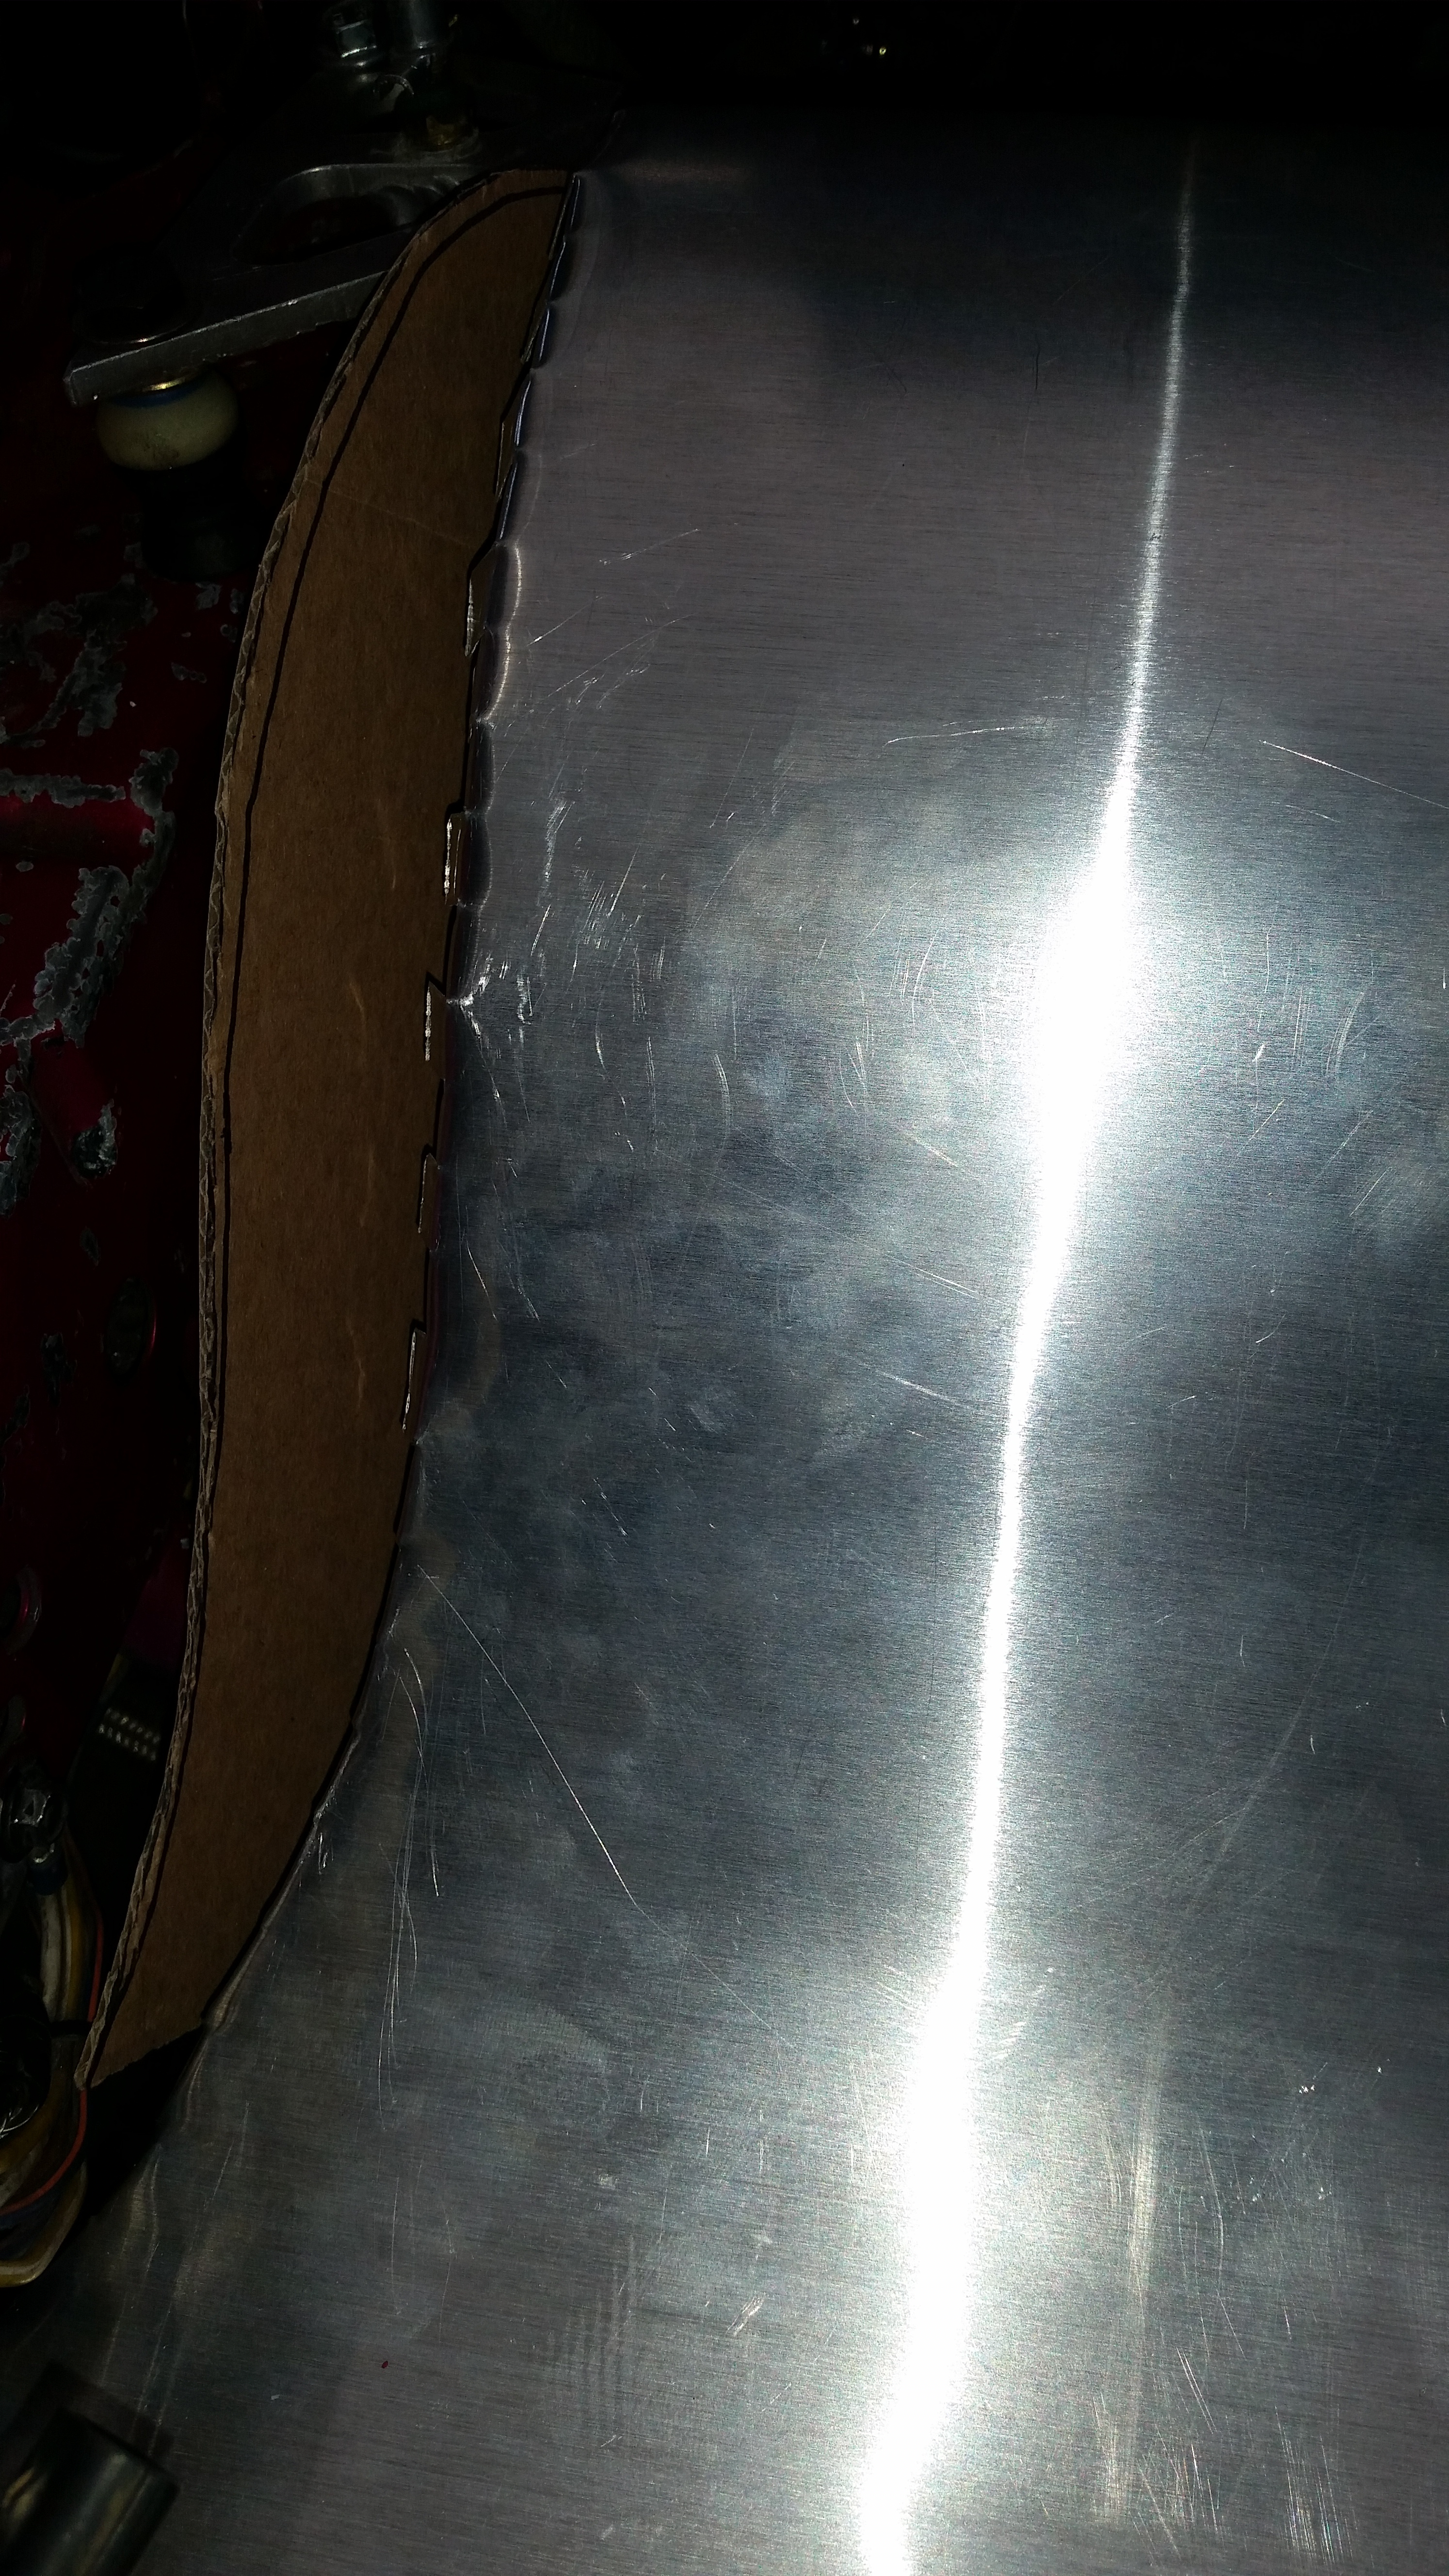
Cut onto Alum.... I figured it'd be much safer to do the sides in two pieces because if I messed up... I'd end up messing up the whole piece and materials for this duct cost me just under 100 bucks.
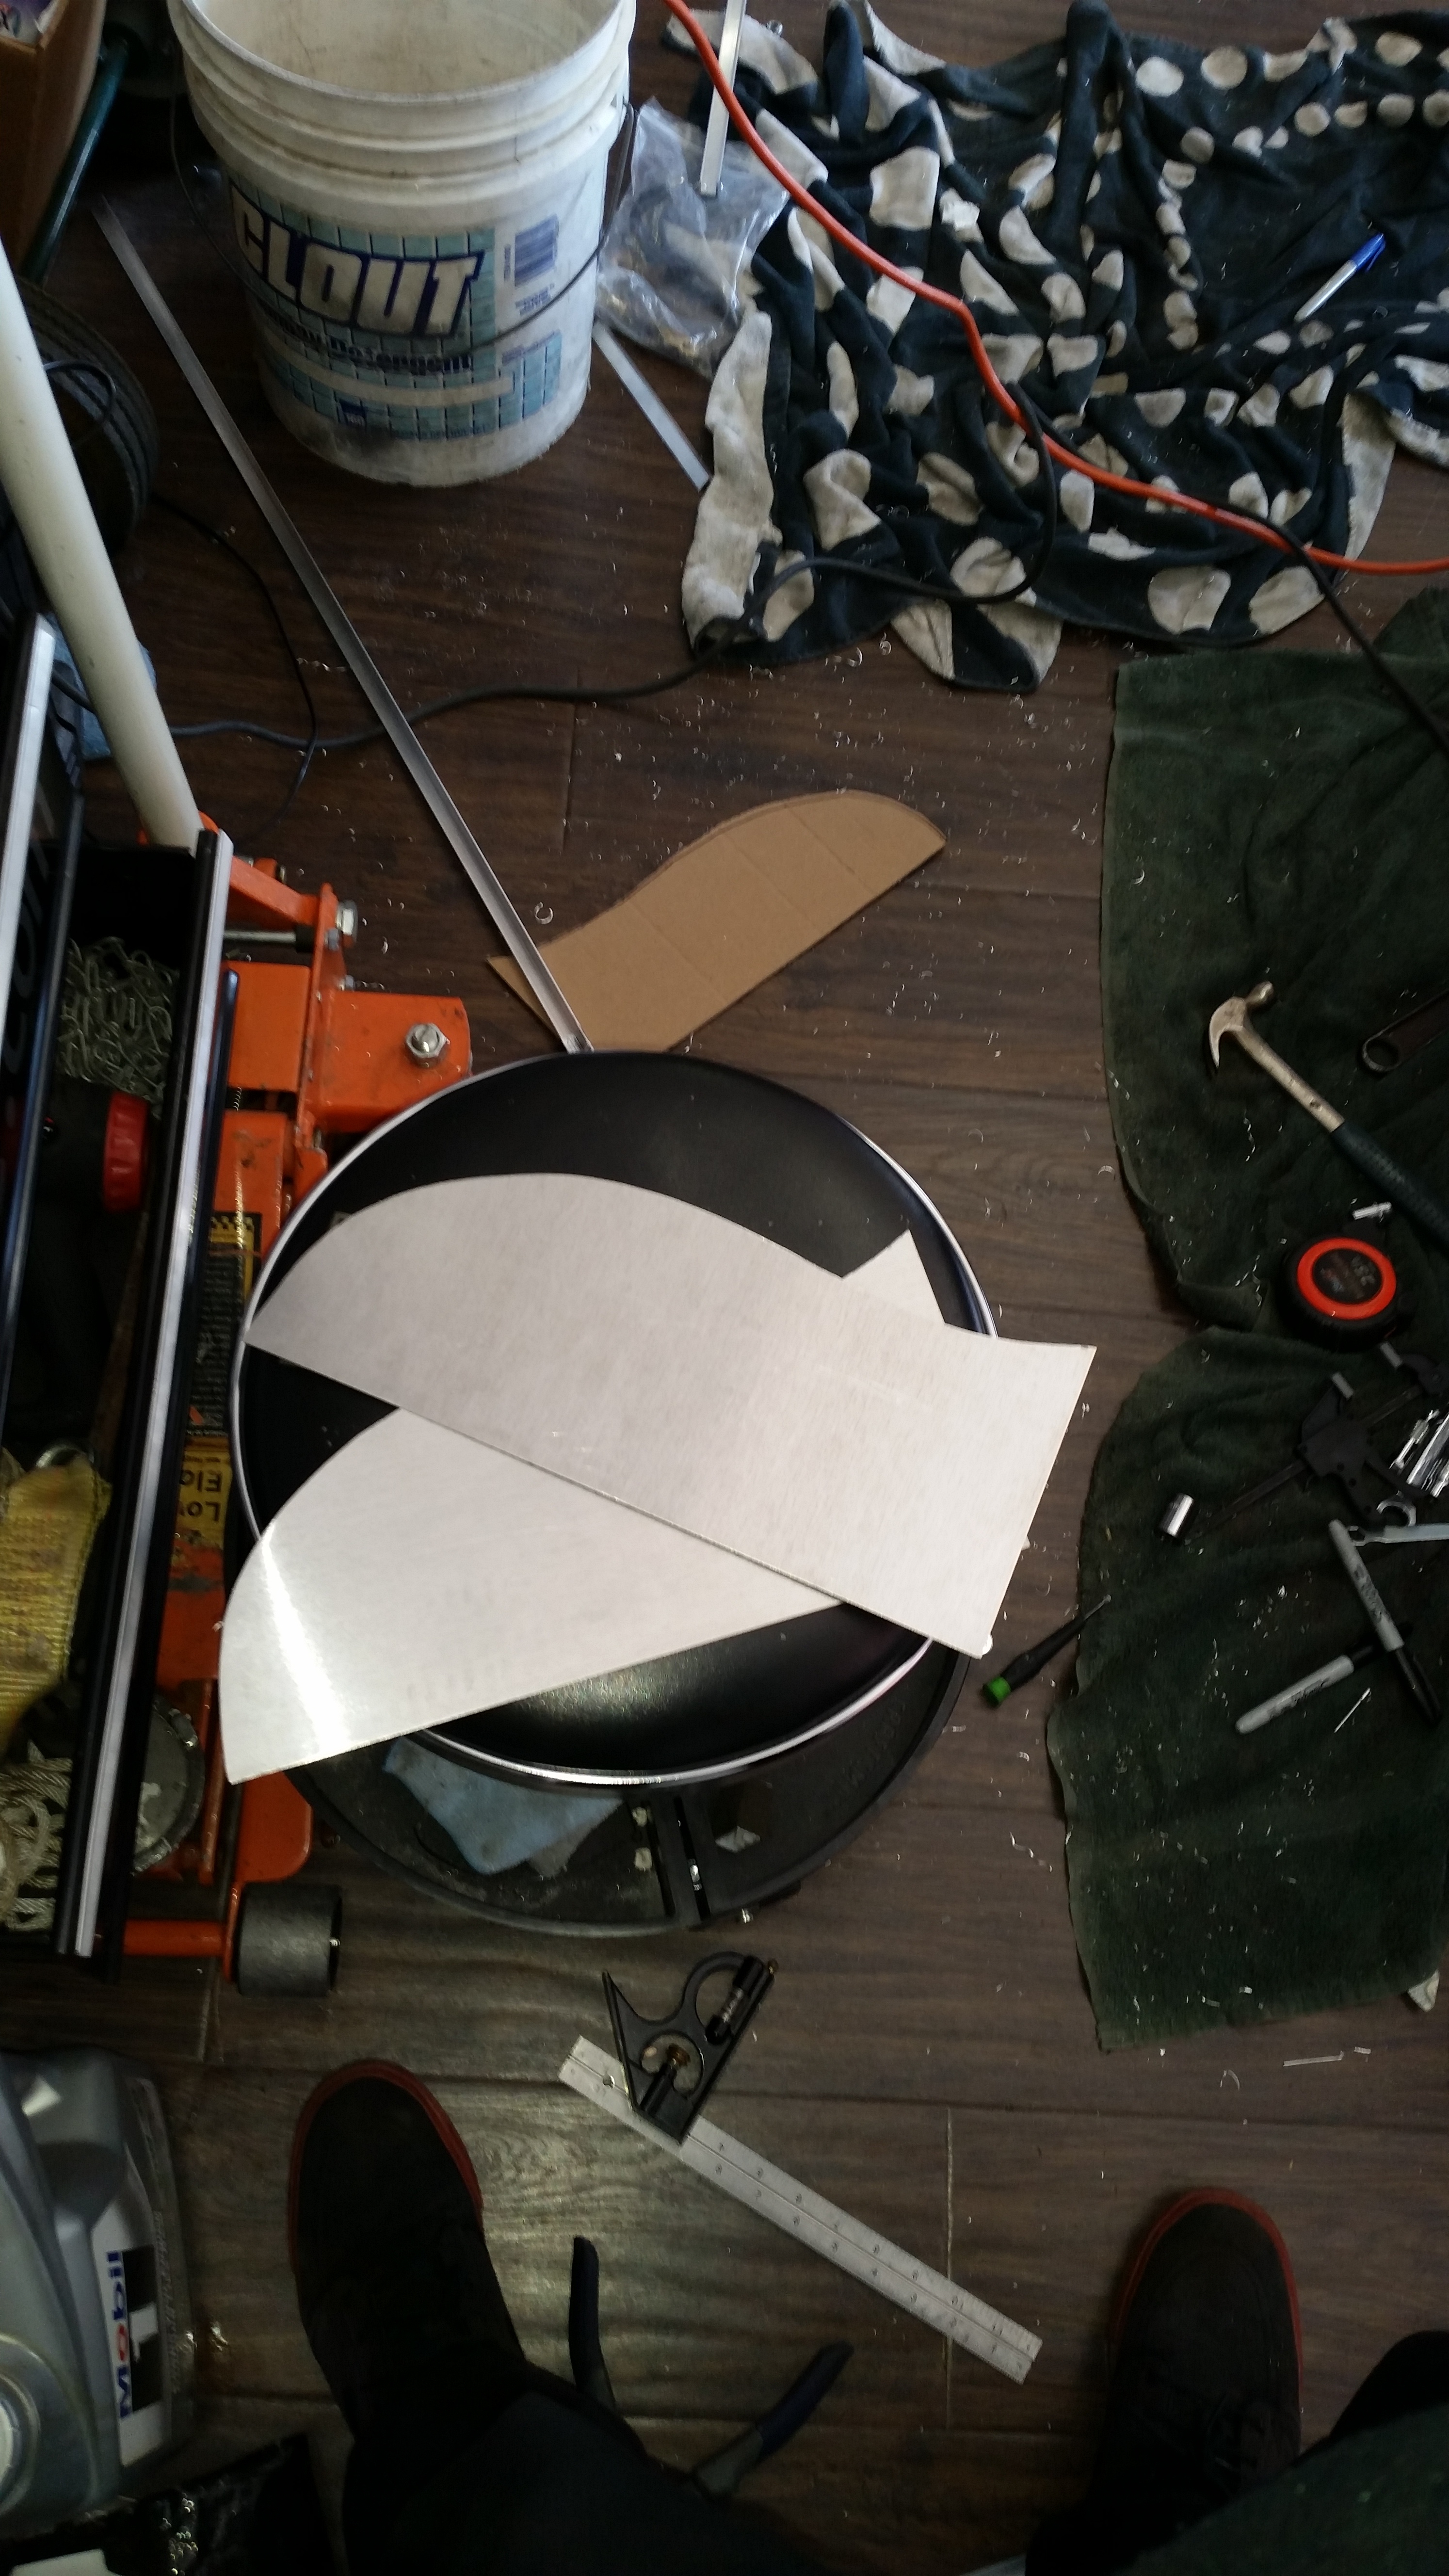
Nice straight Bends.... Who say's you can't make it work in the garage?
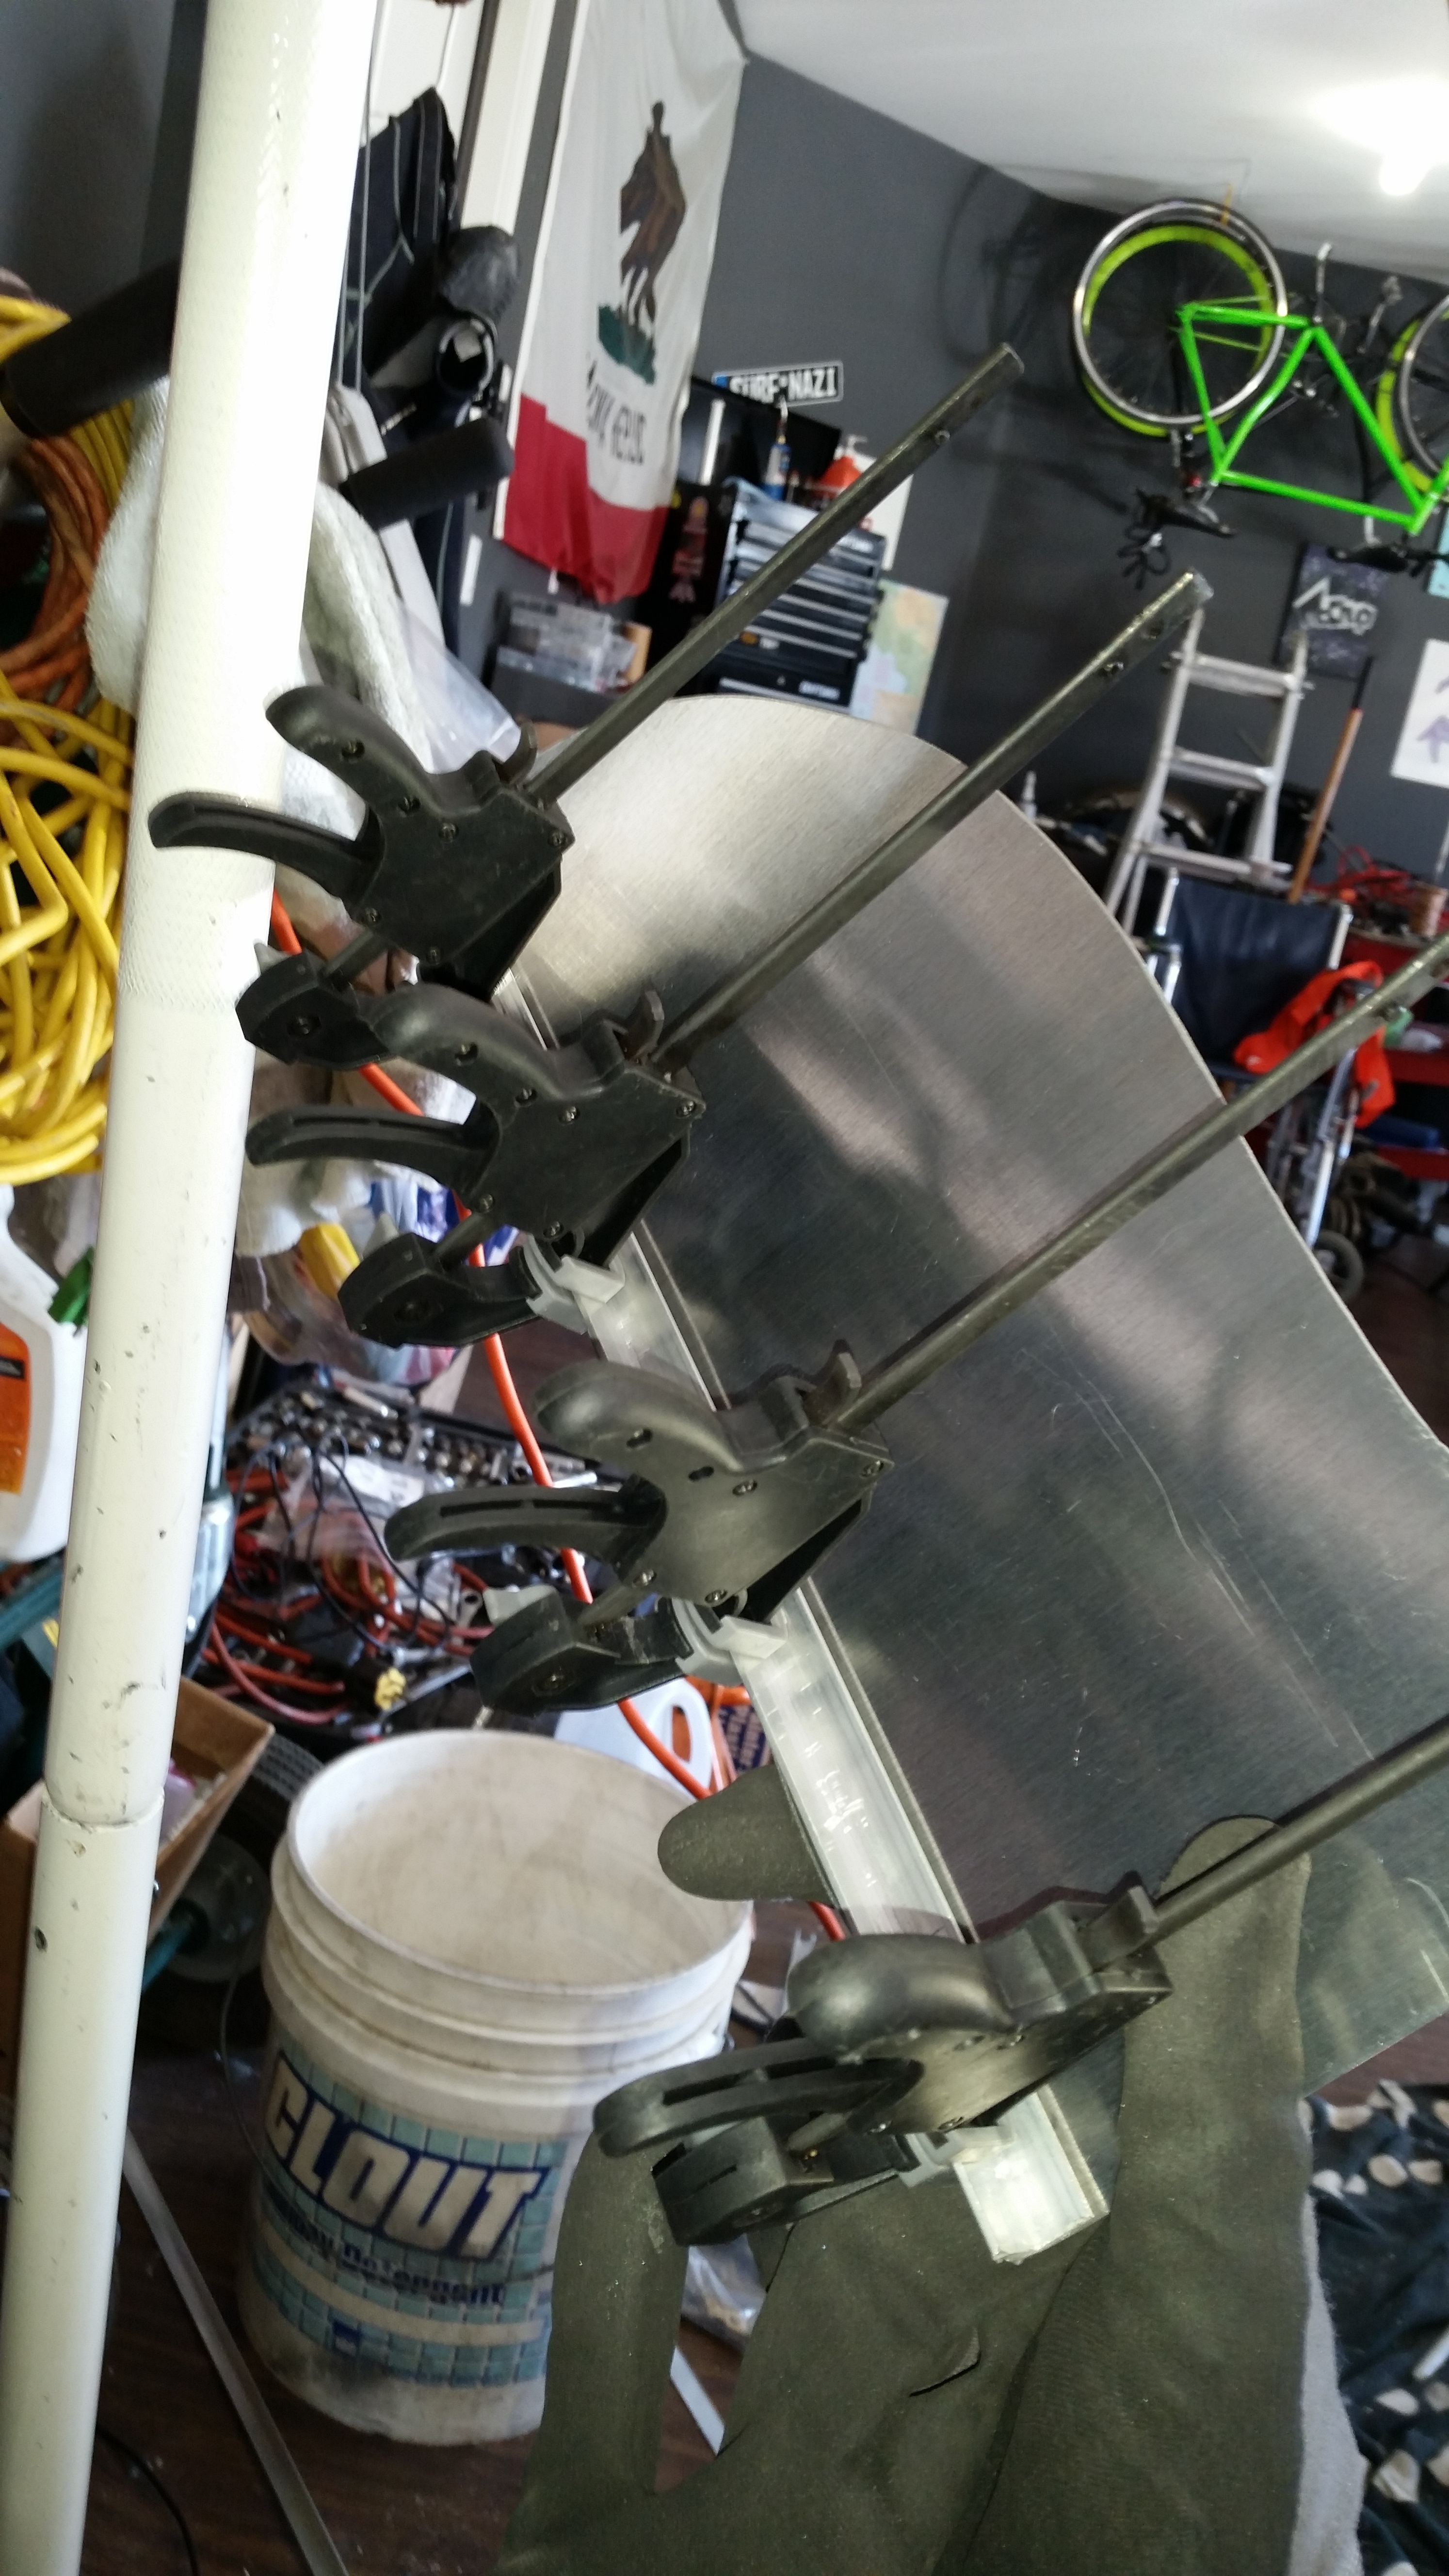
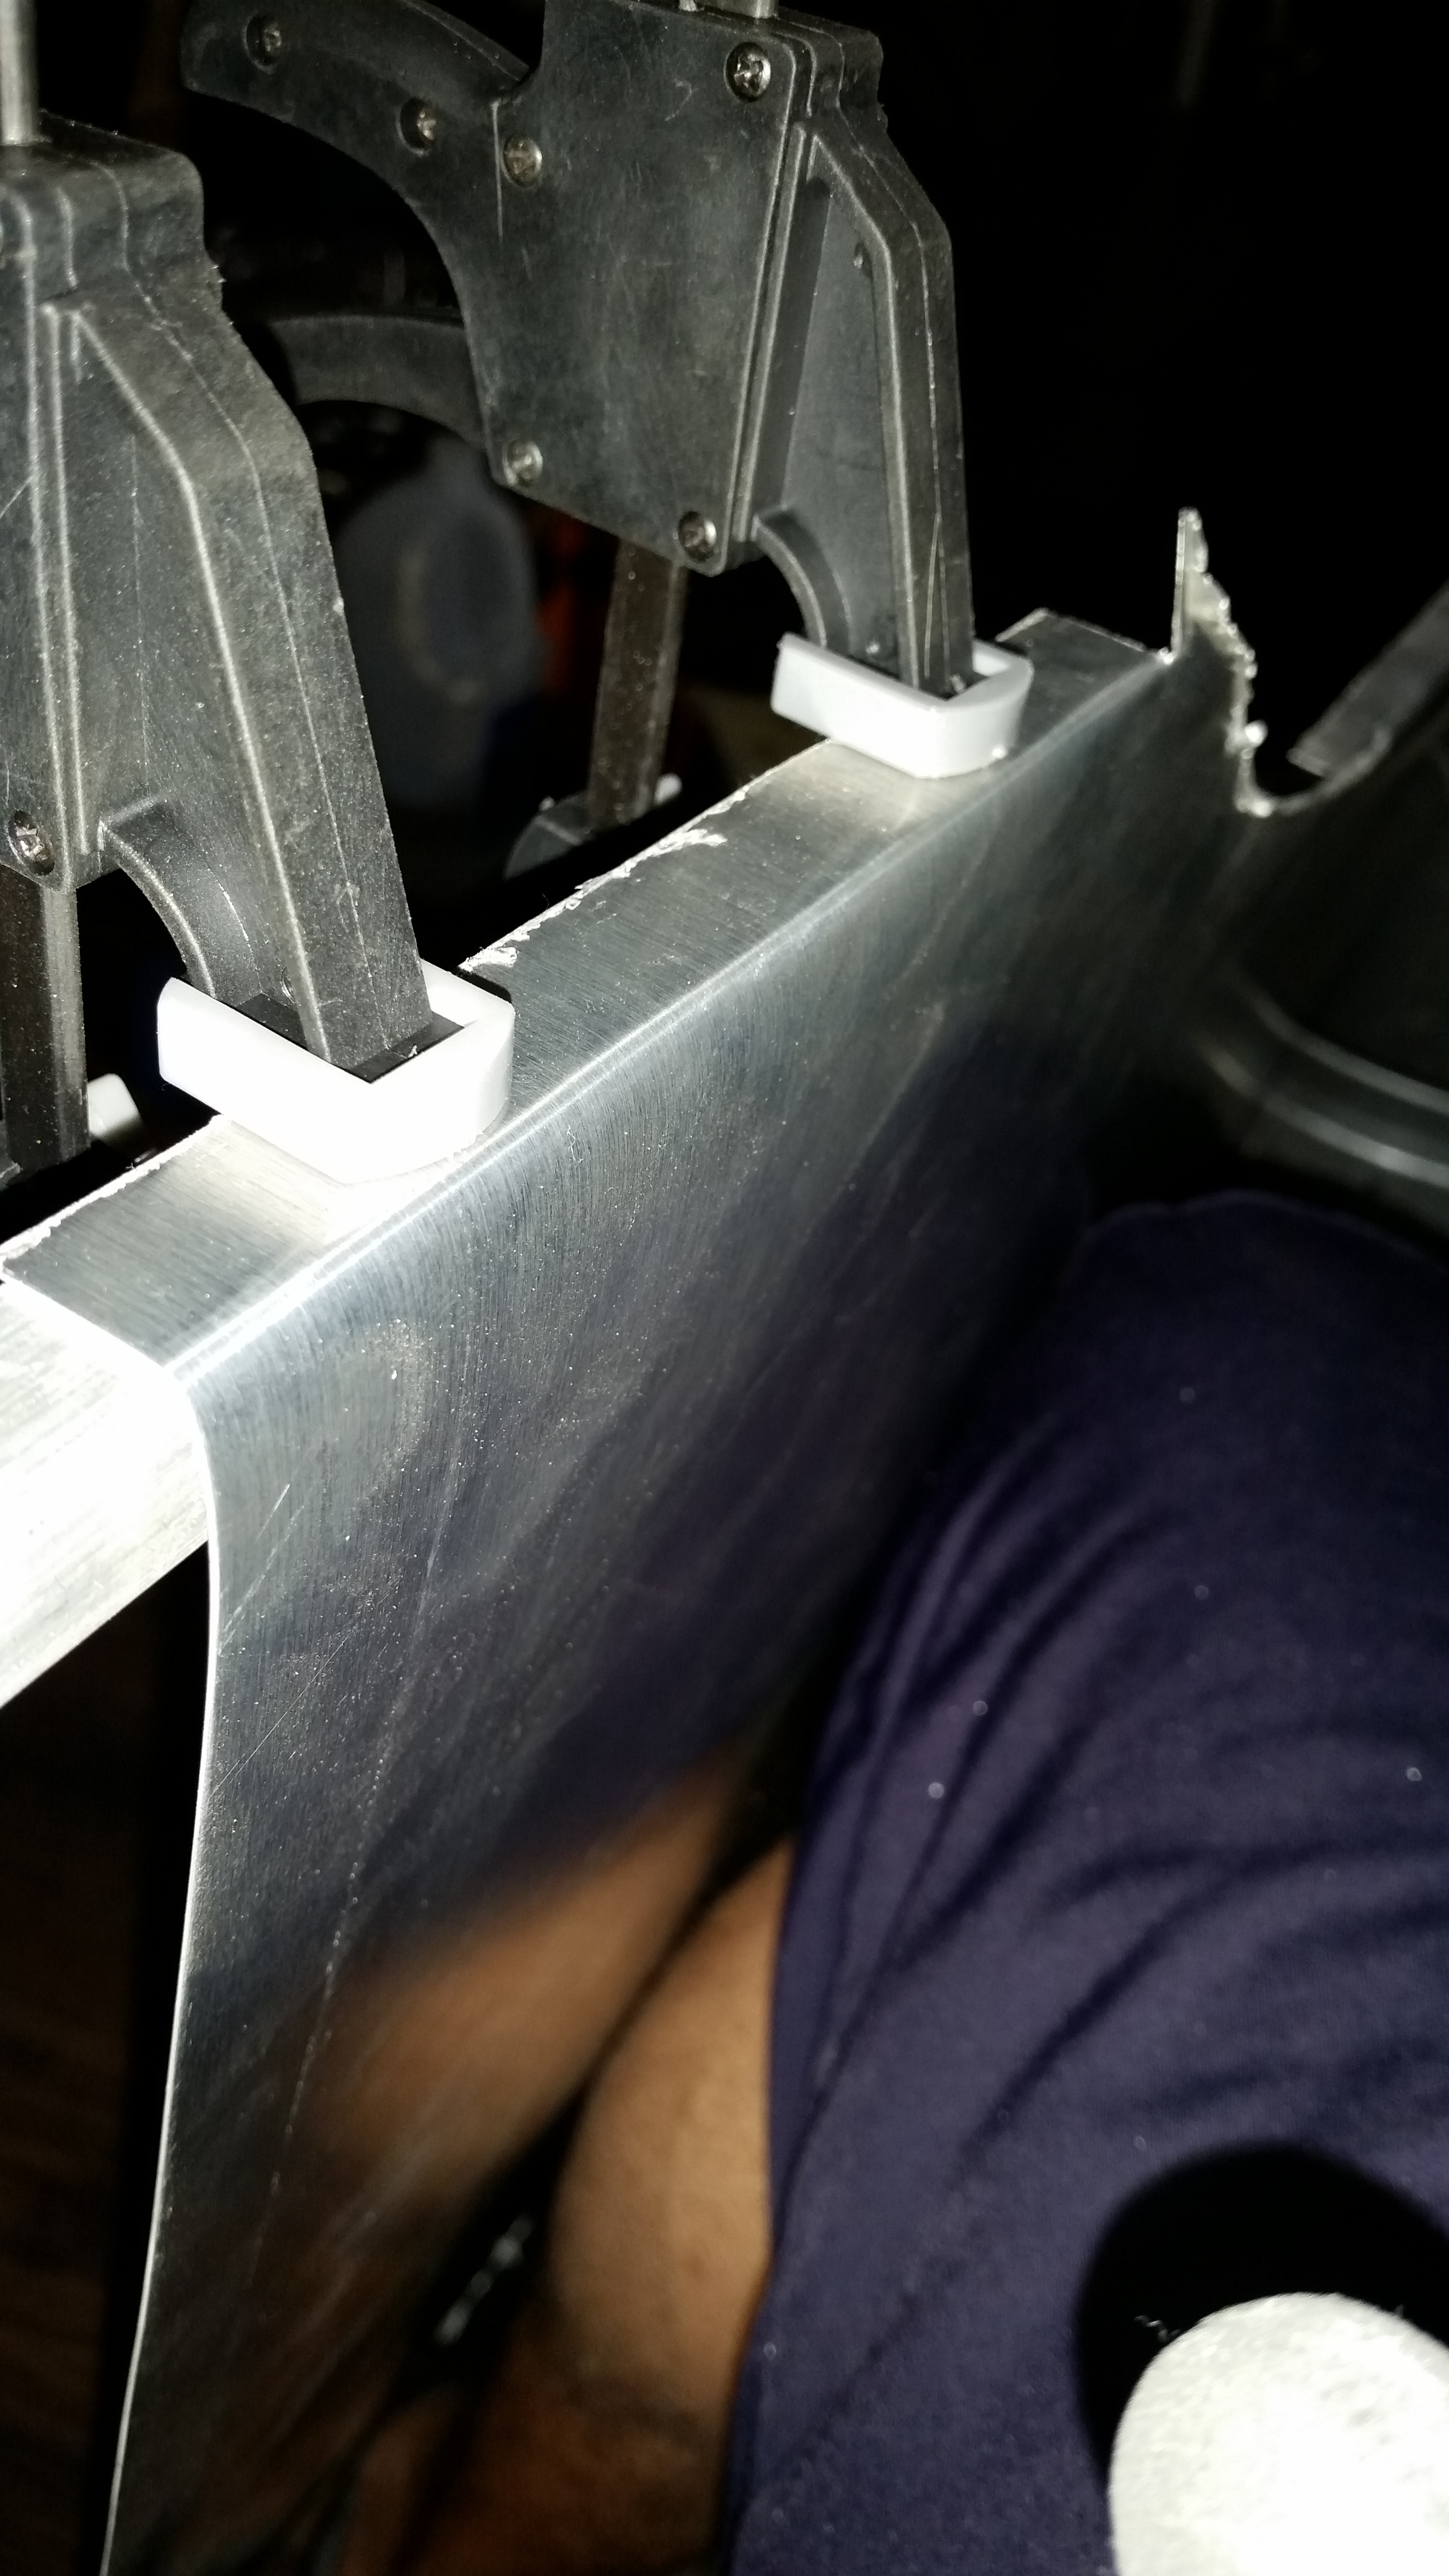
These guys are really helpful. Each one is bent by hand to allow me to produce the shape scribed onto the side cut. I'm sure it's slightly off... but getting the sides to seal was a huge deal to me.
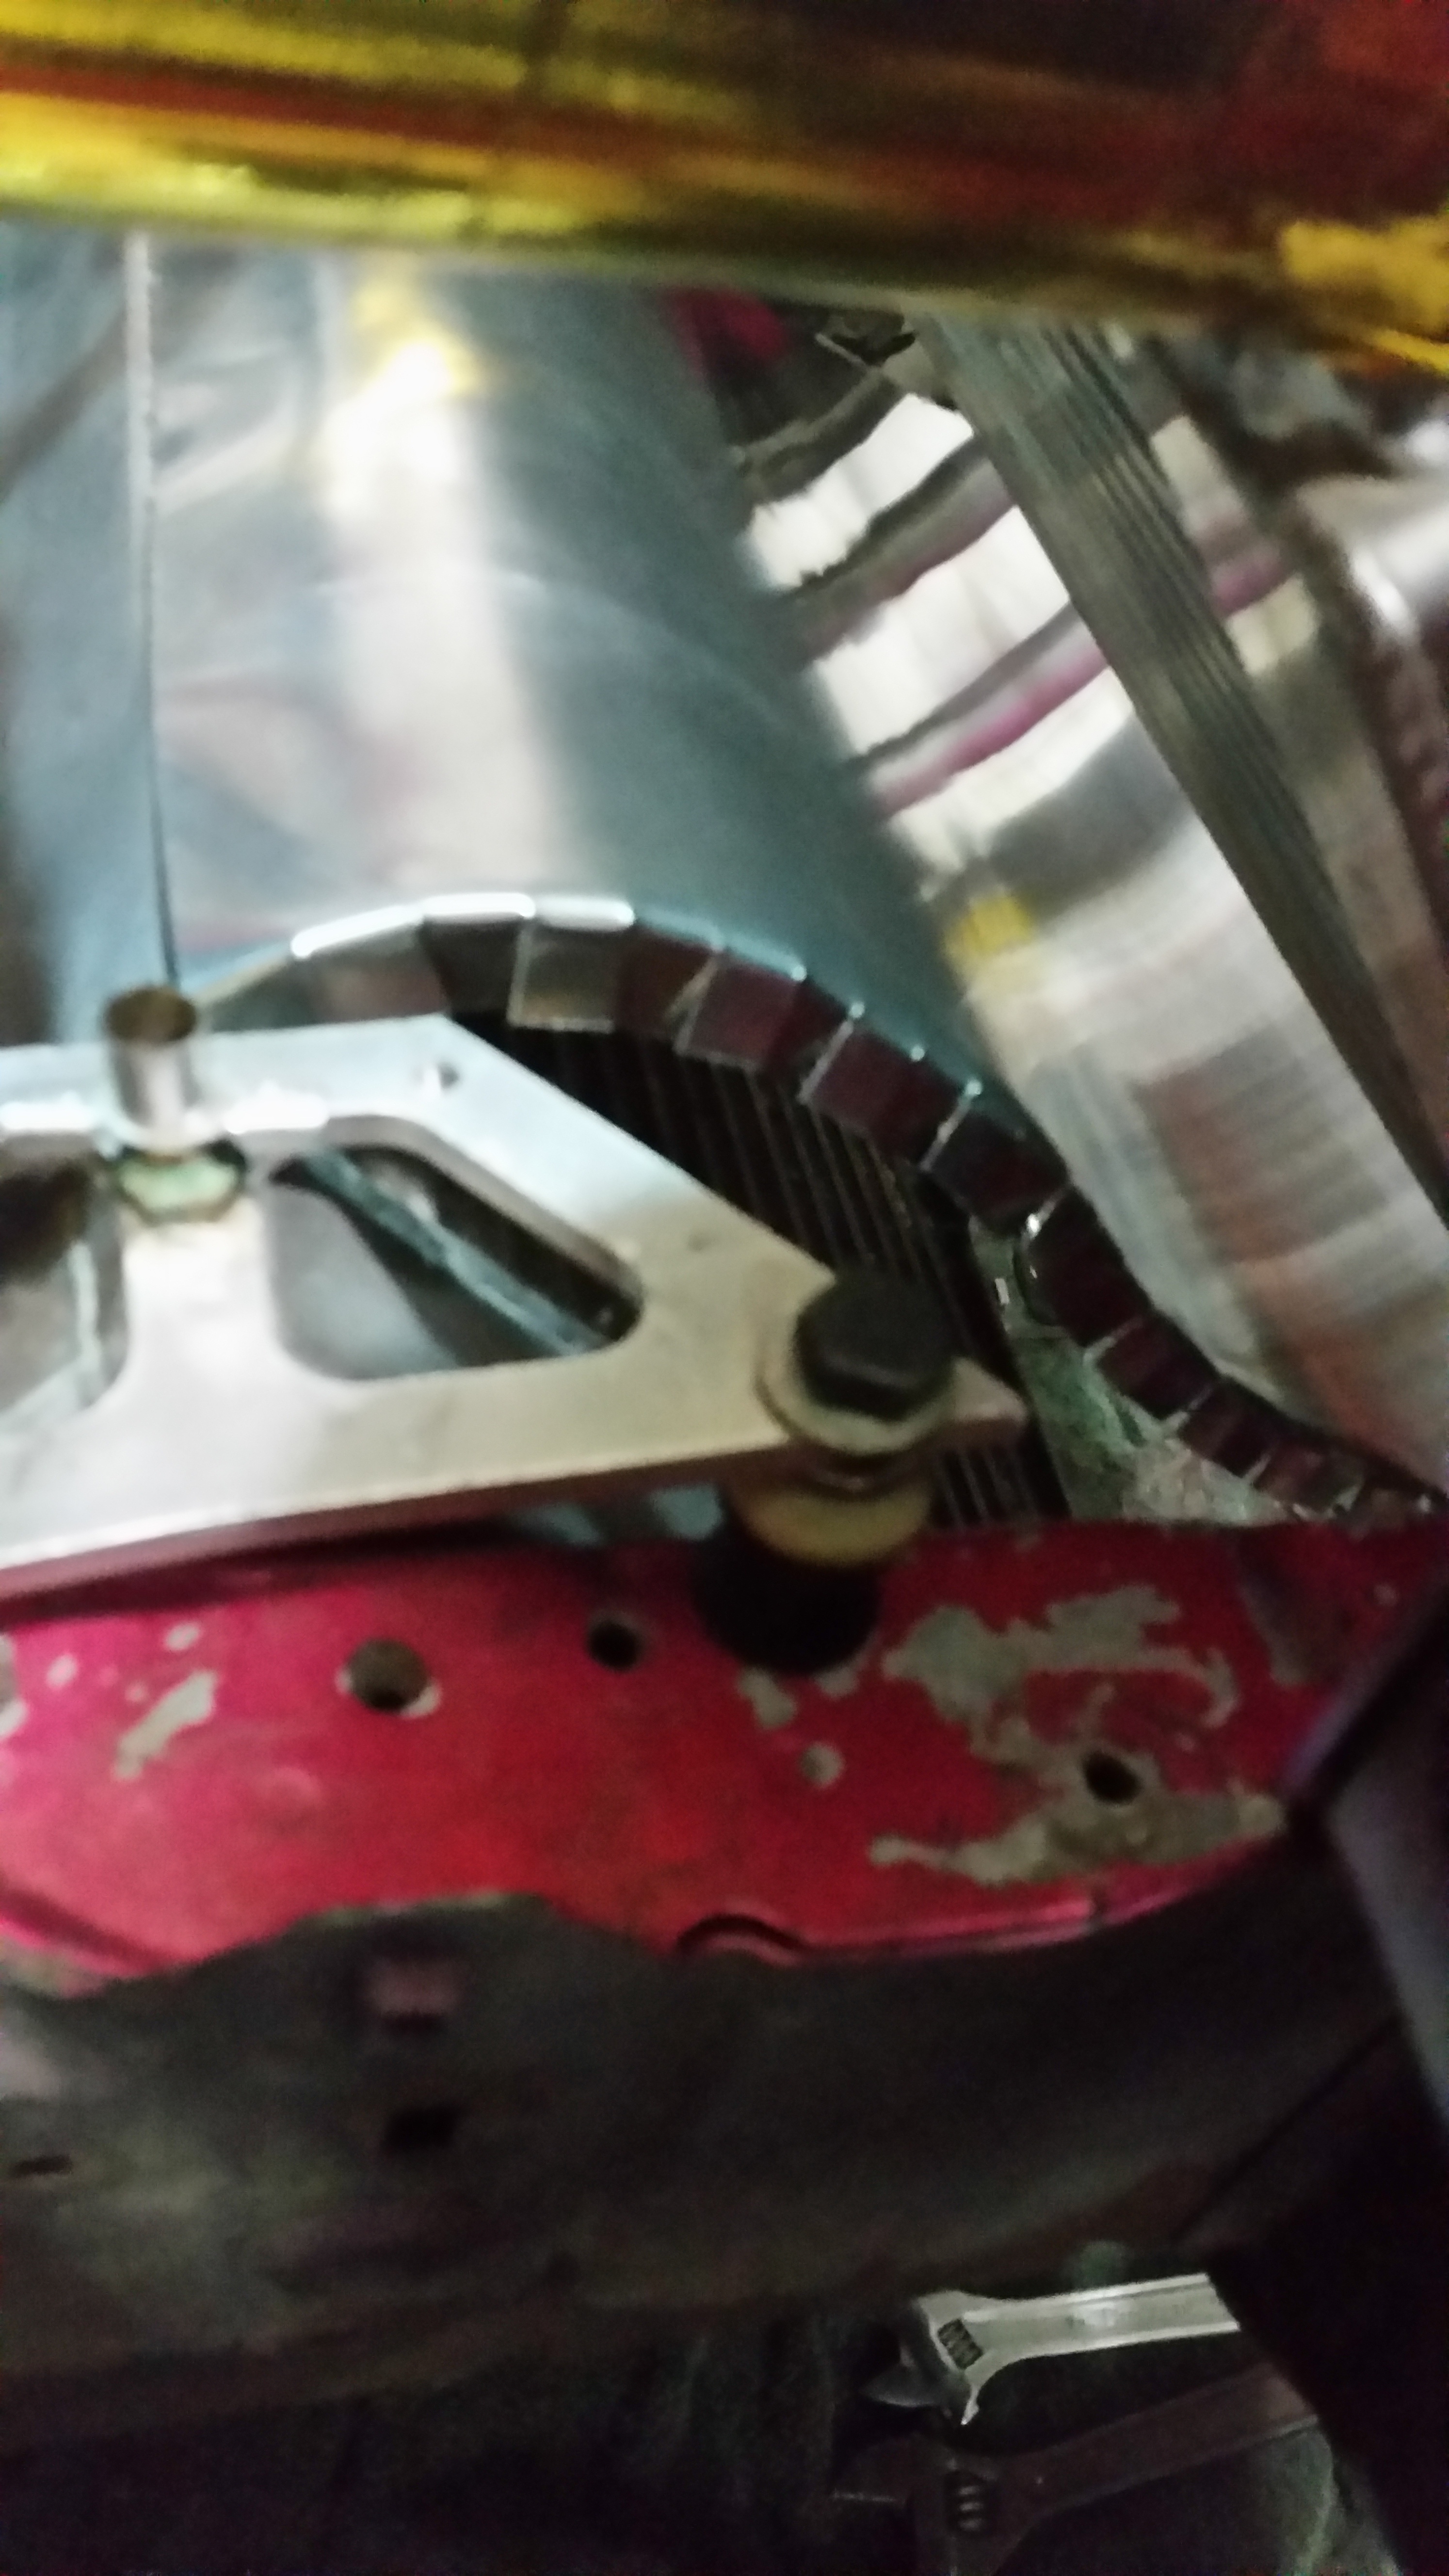
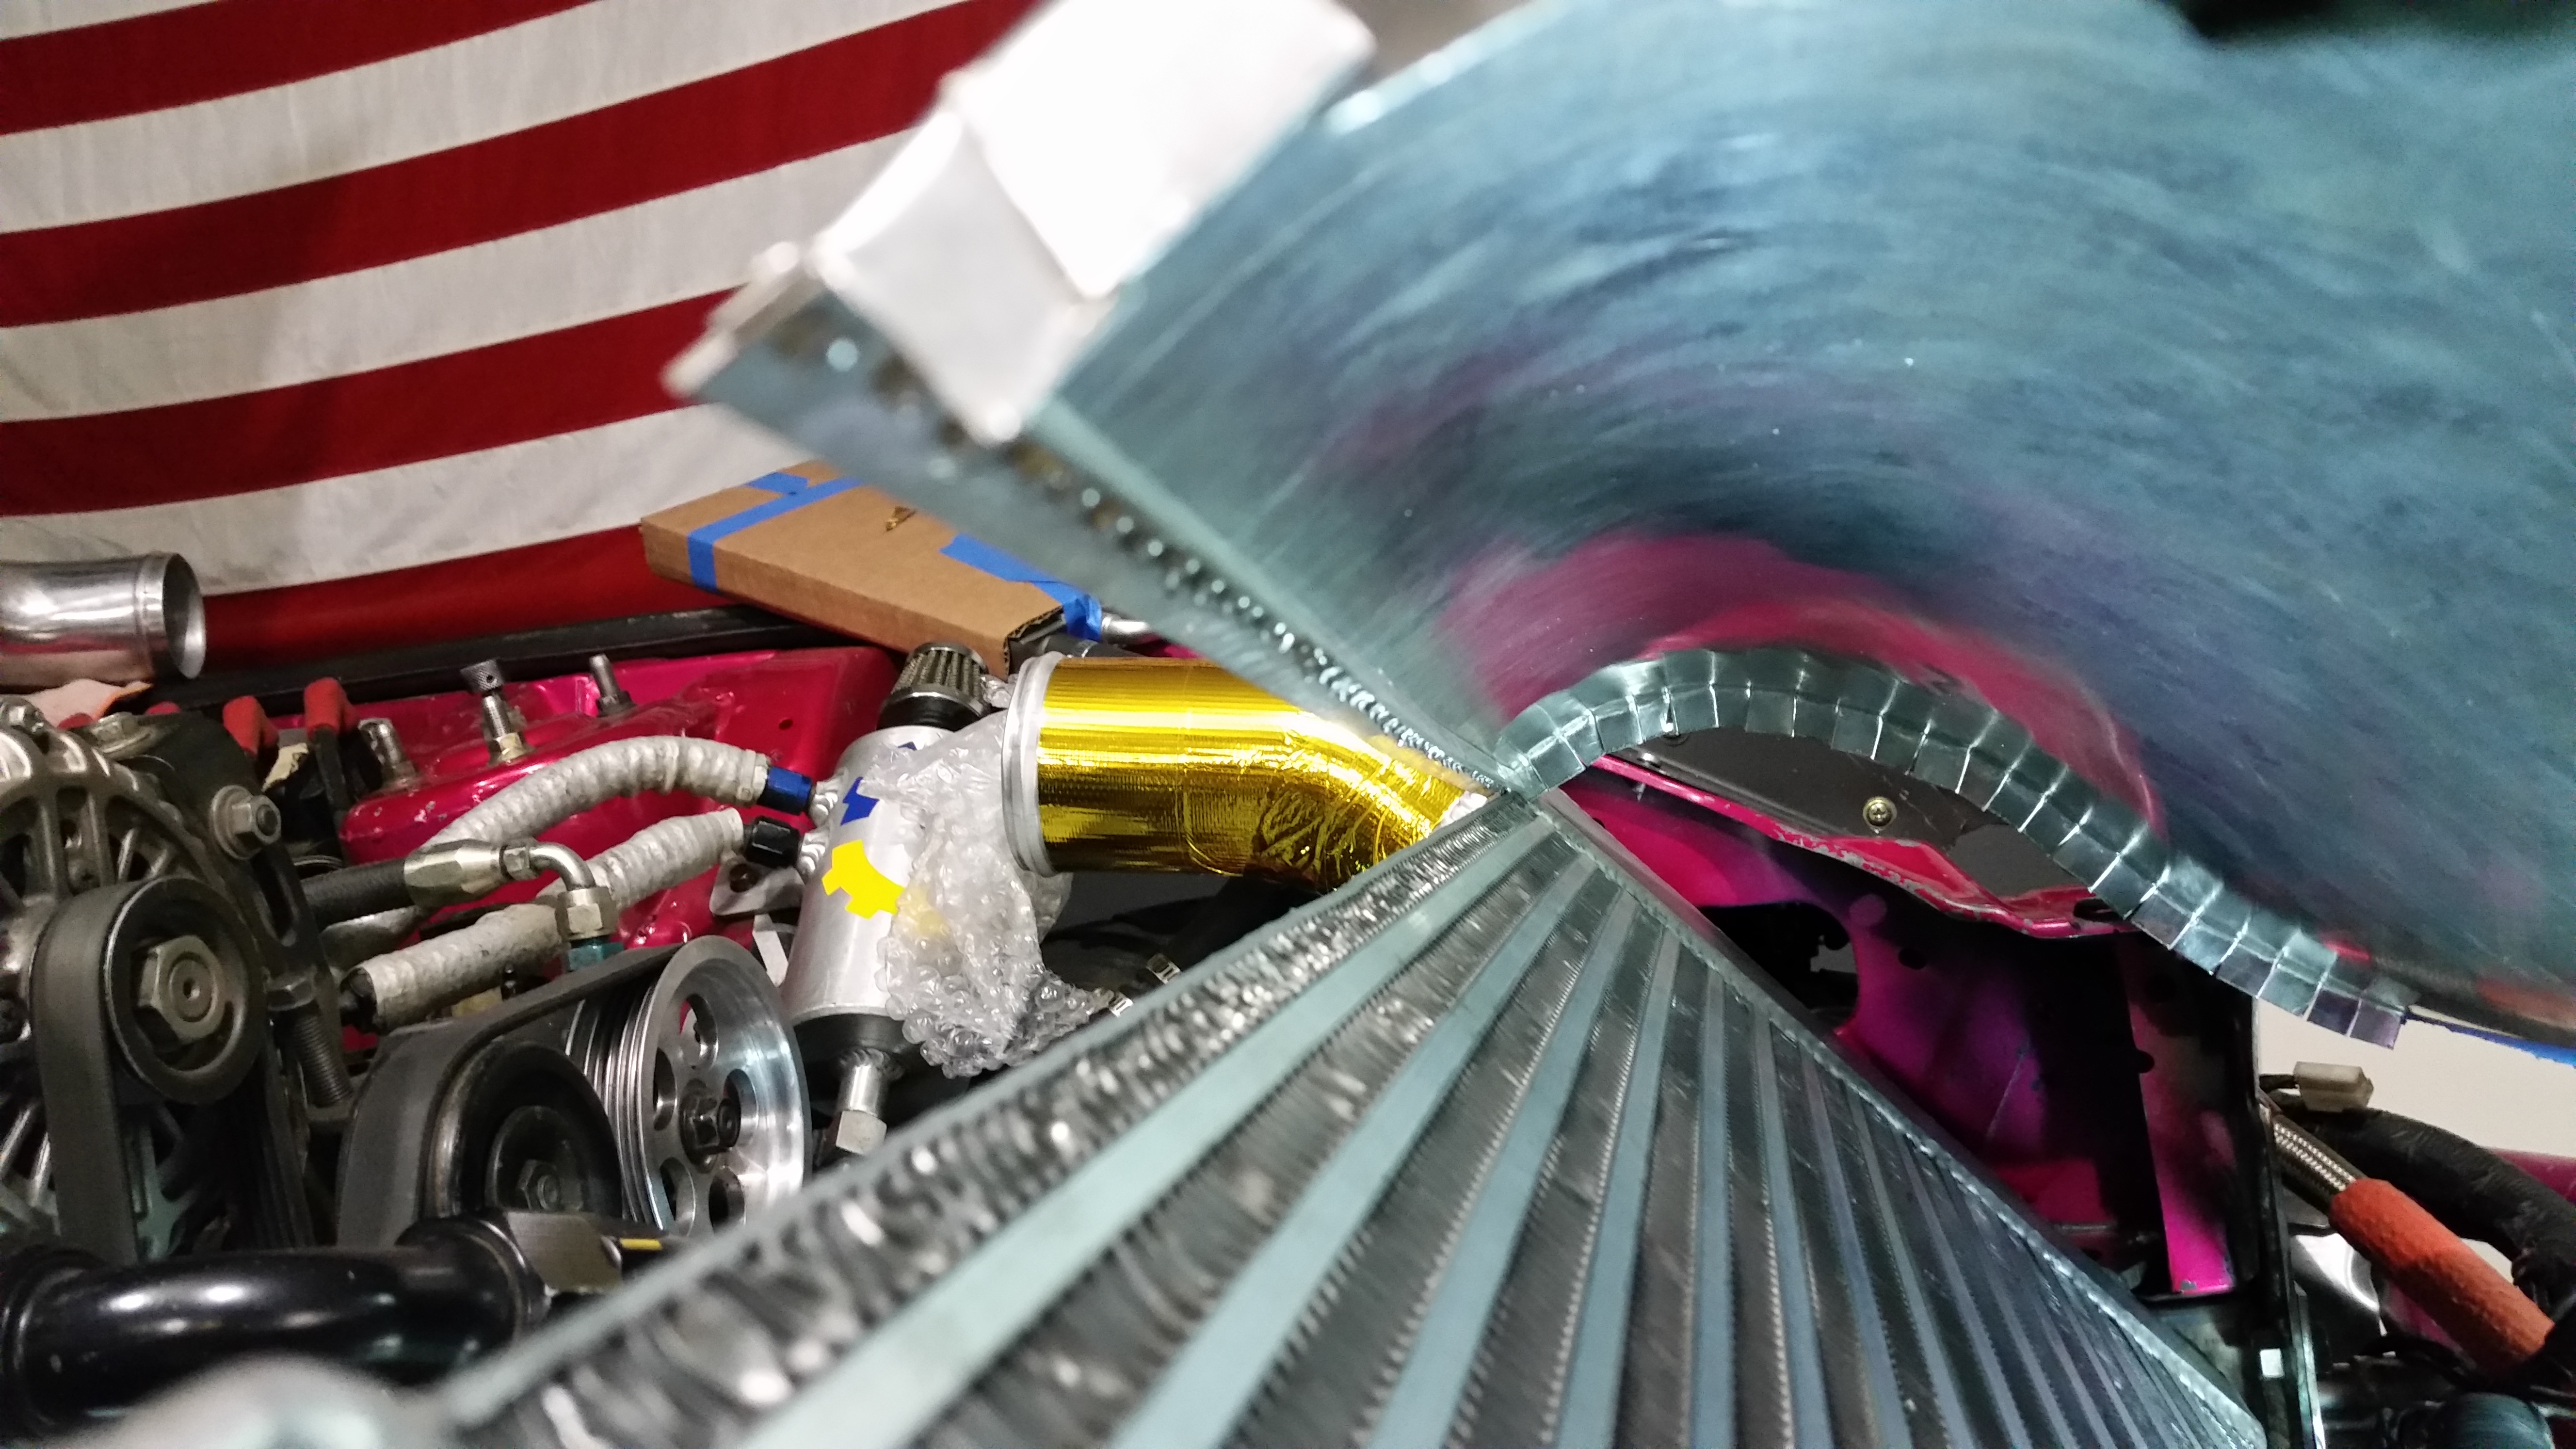
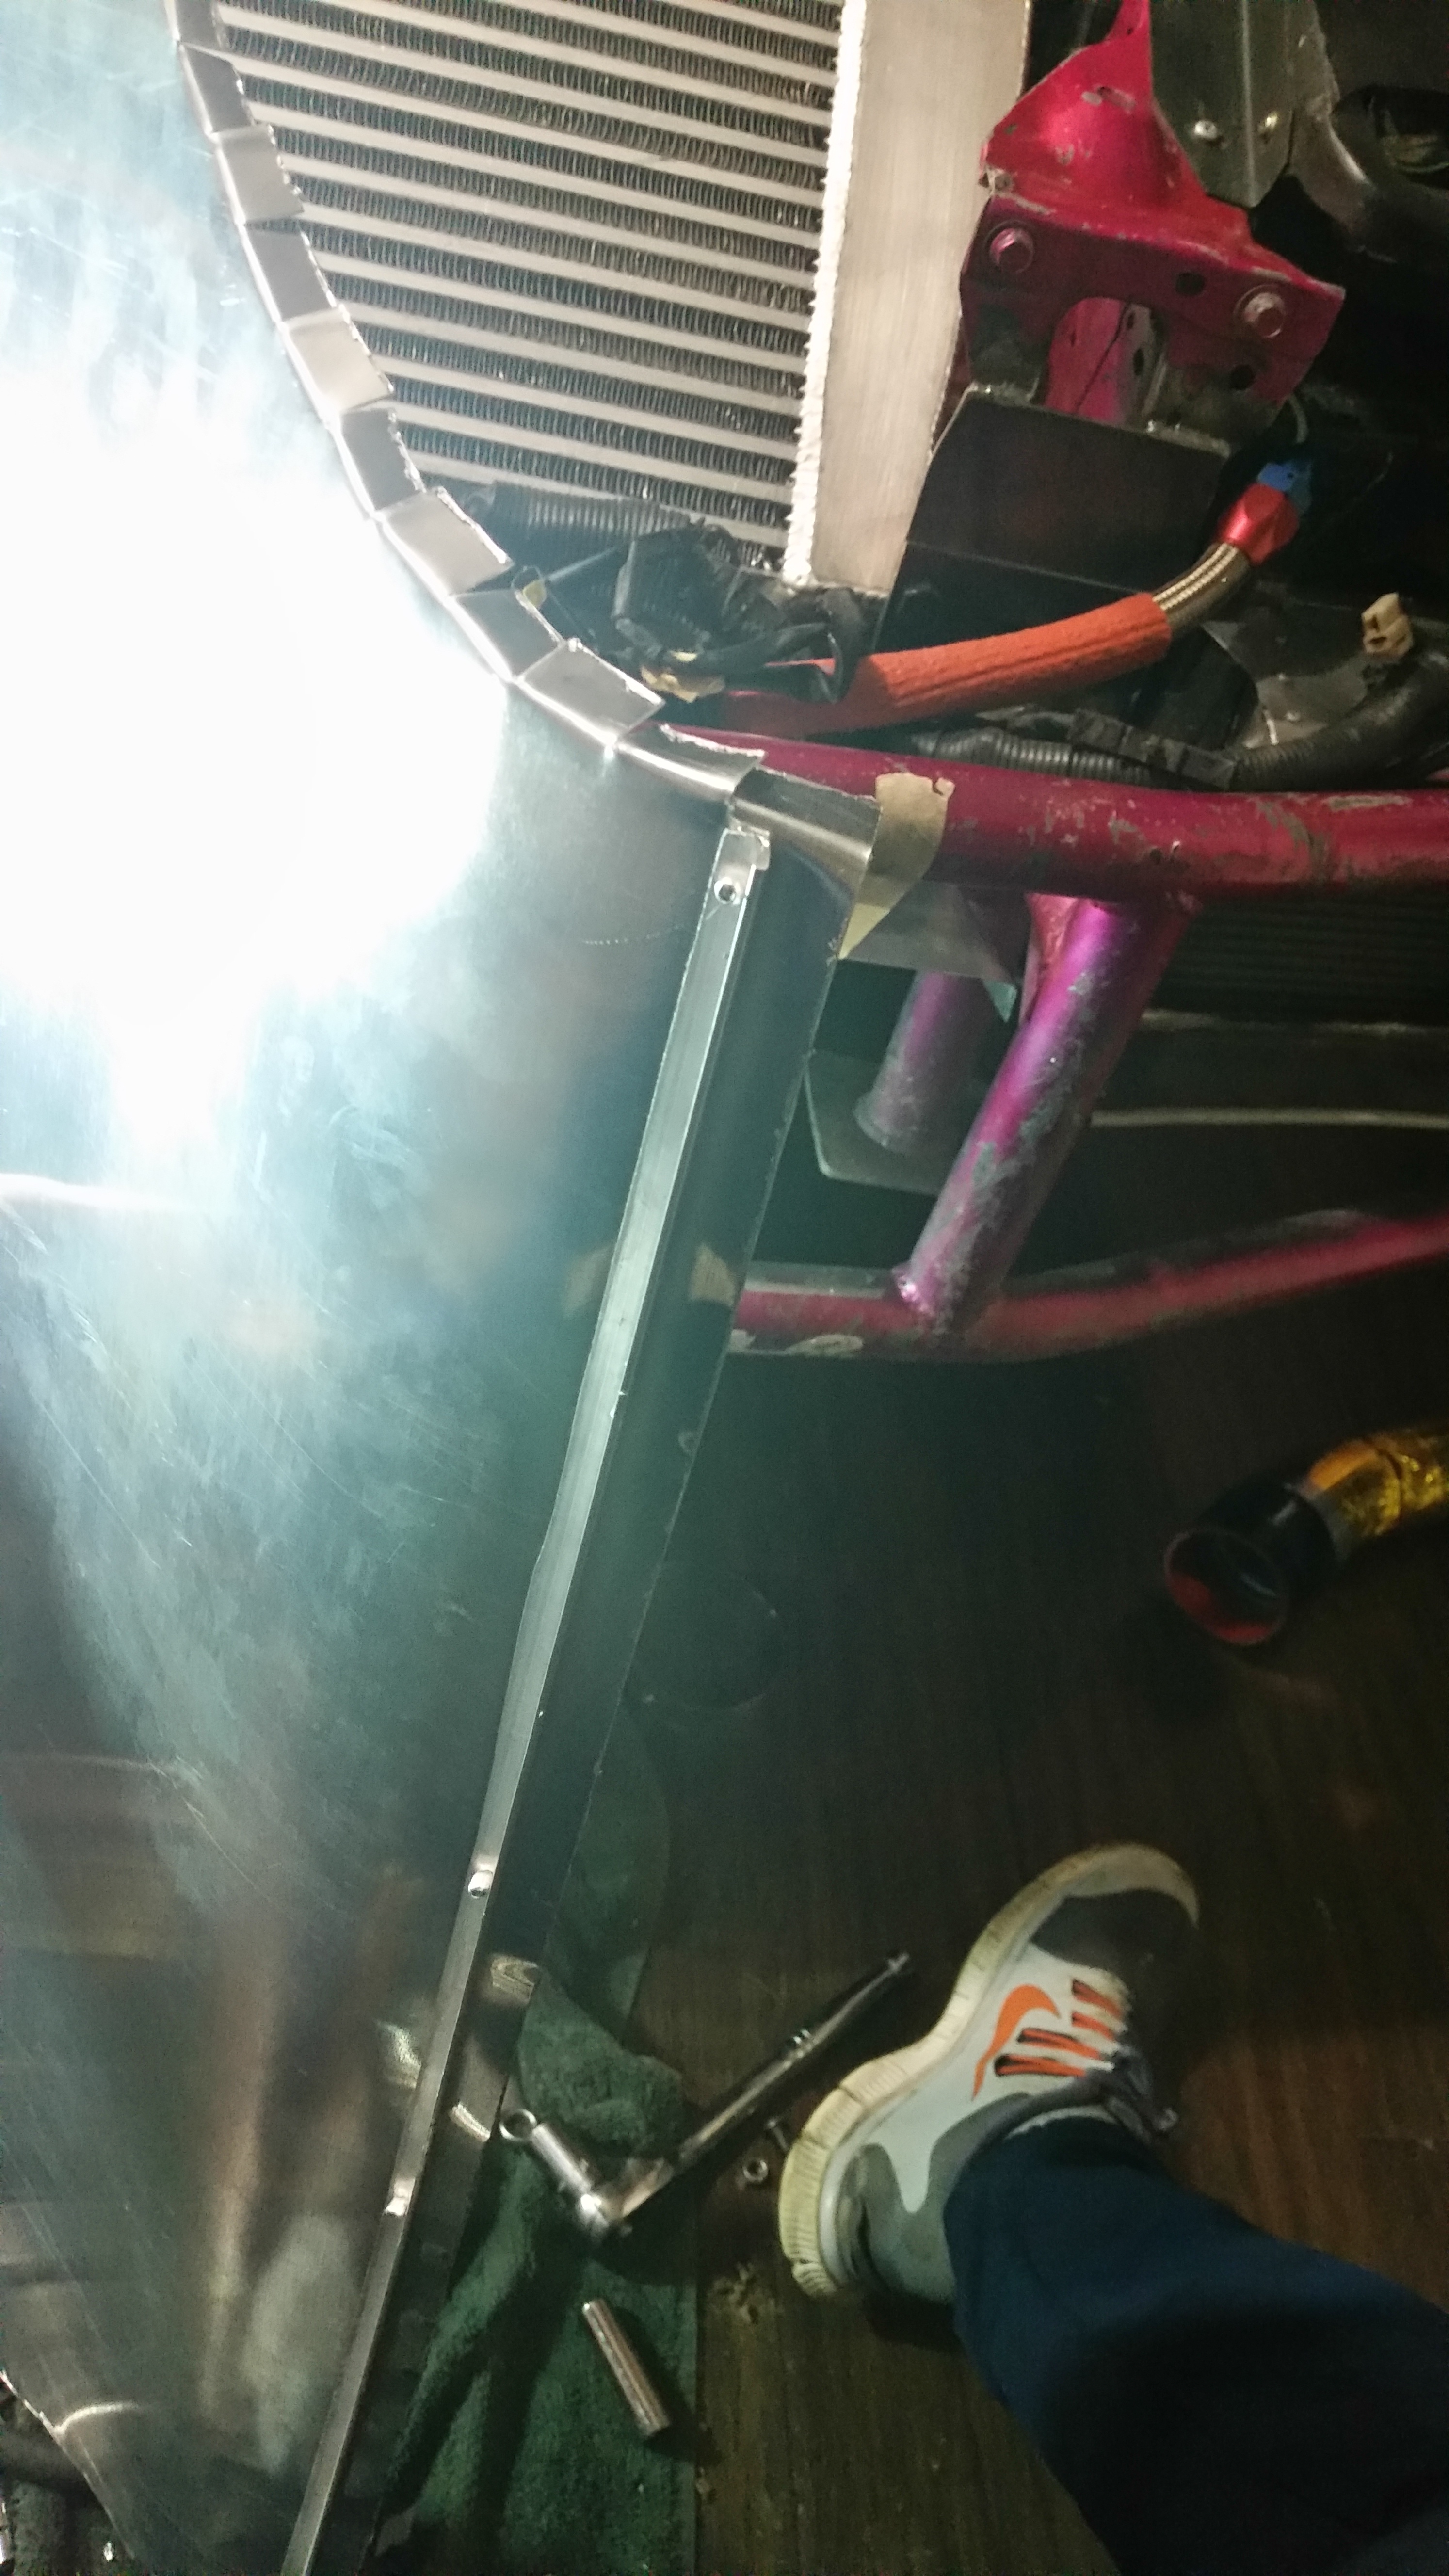
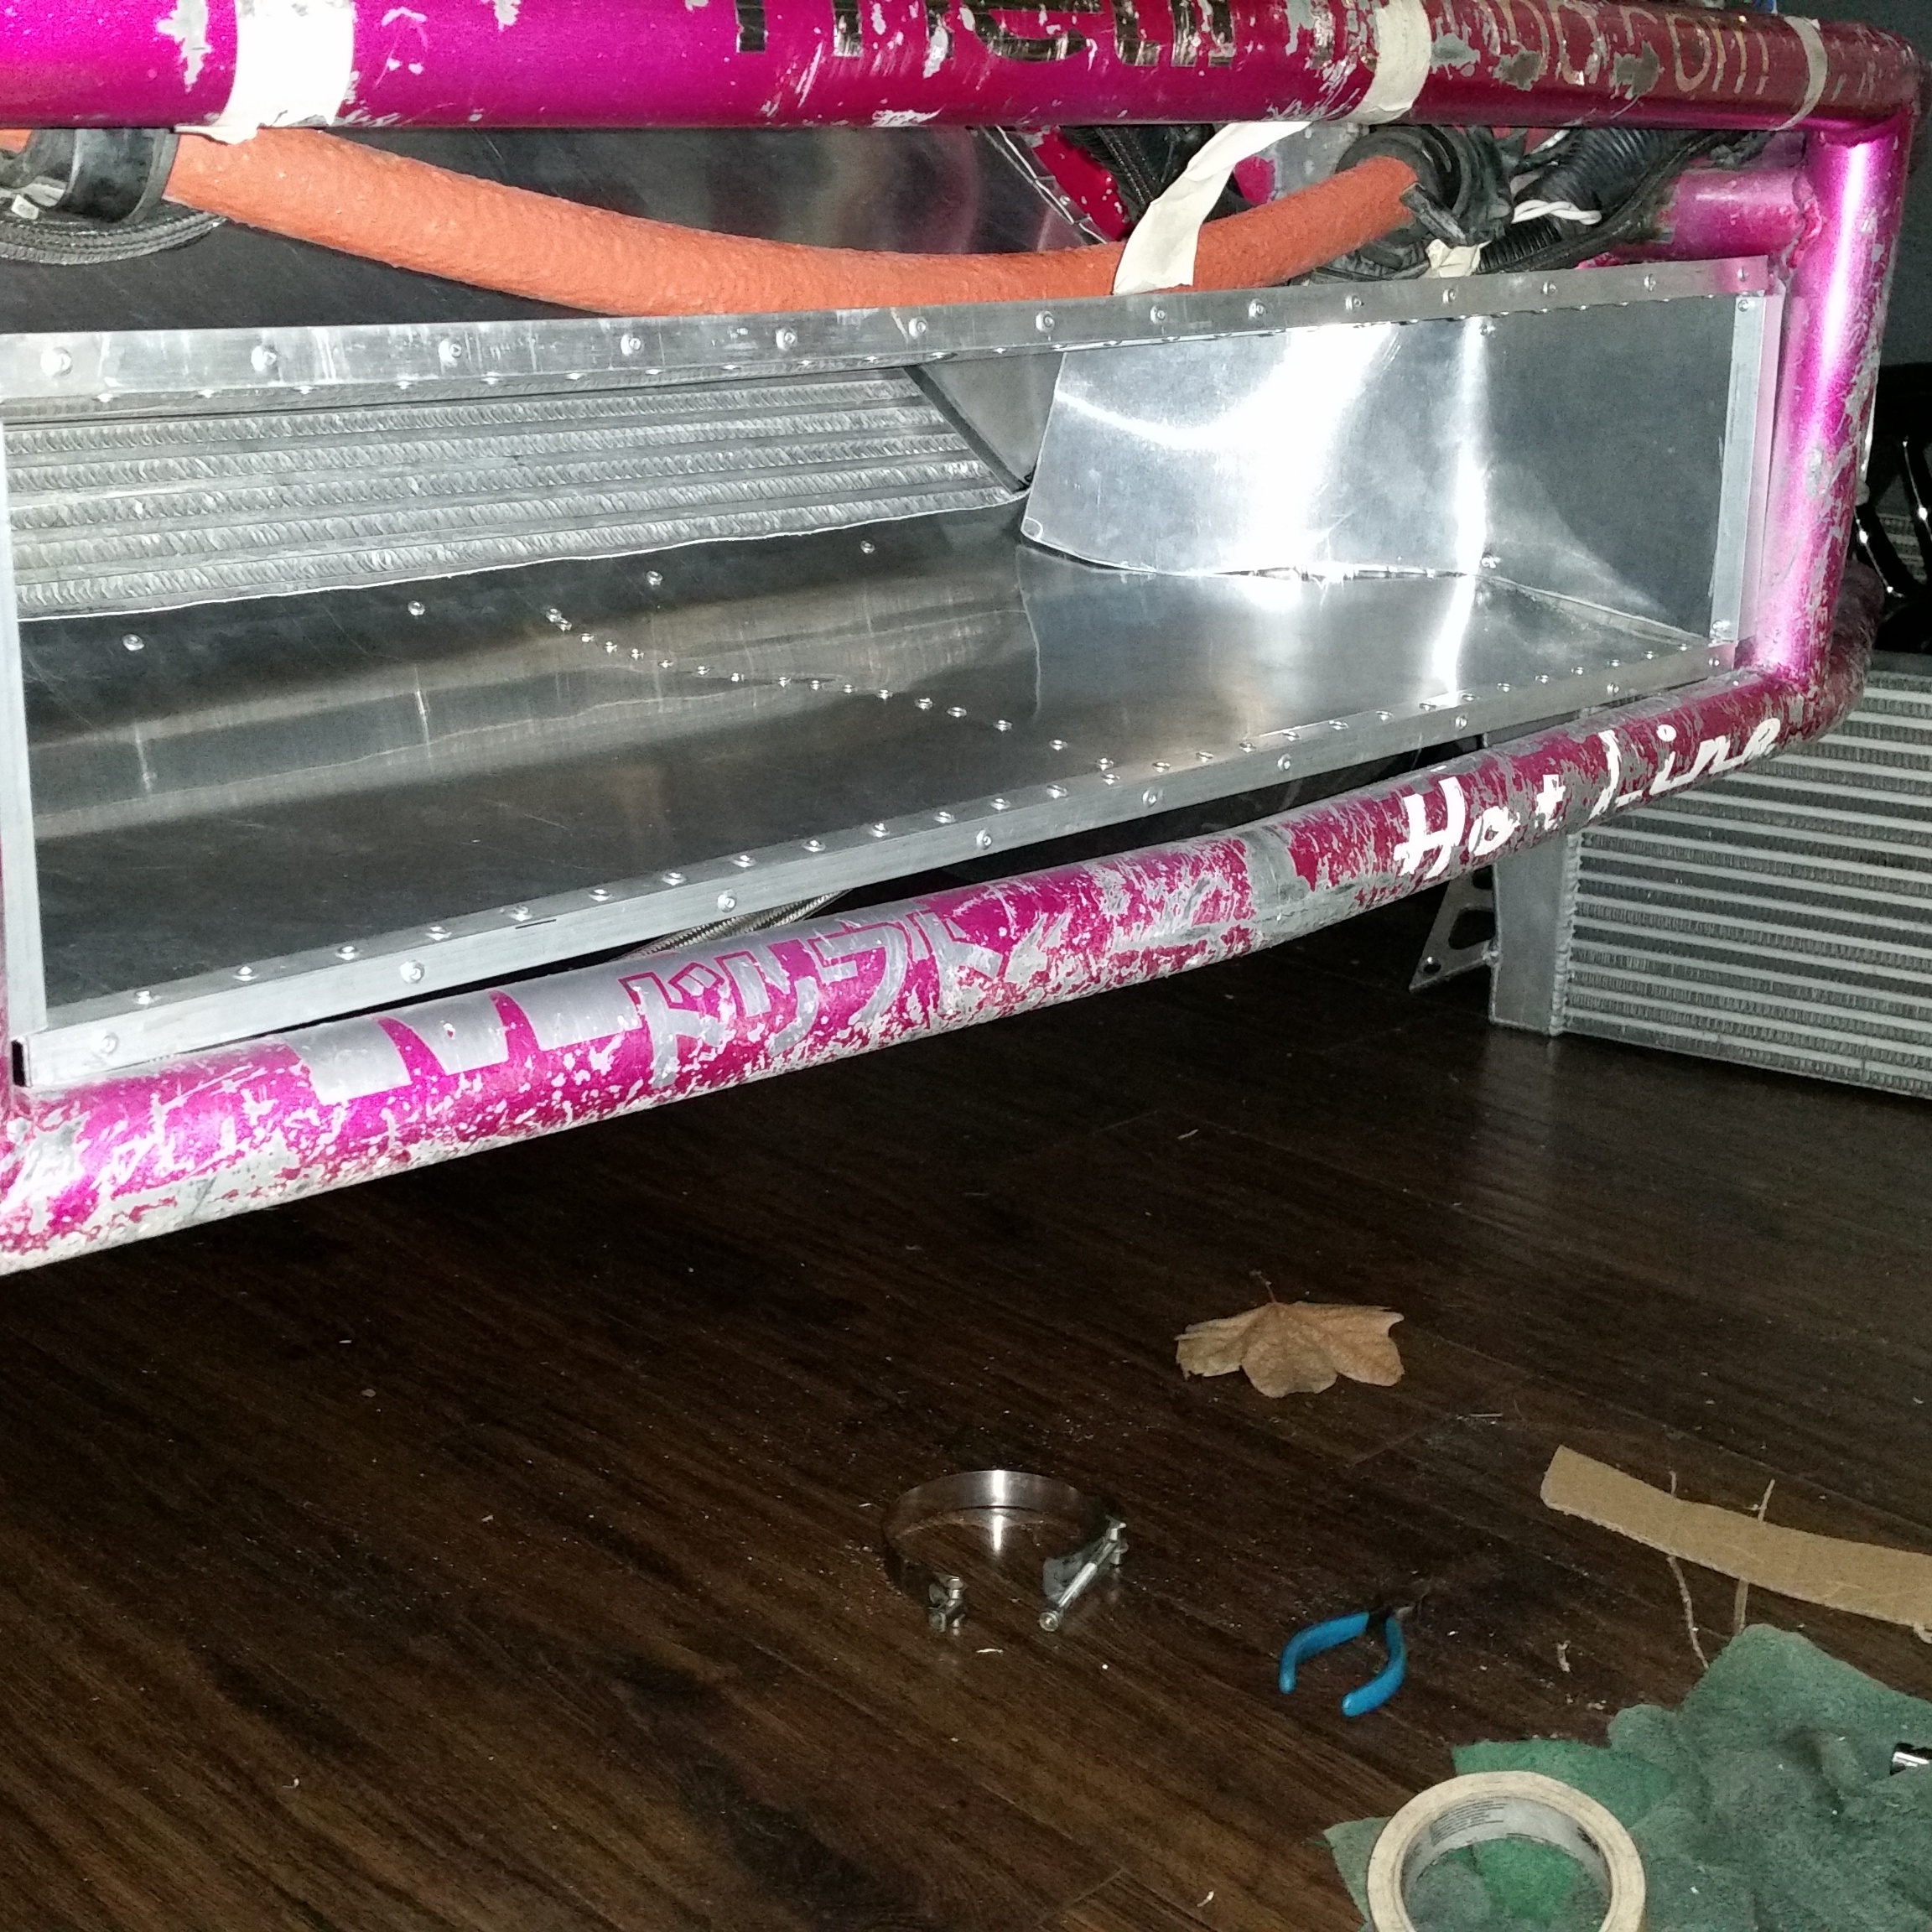
initial test fit
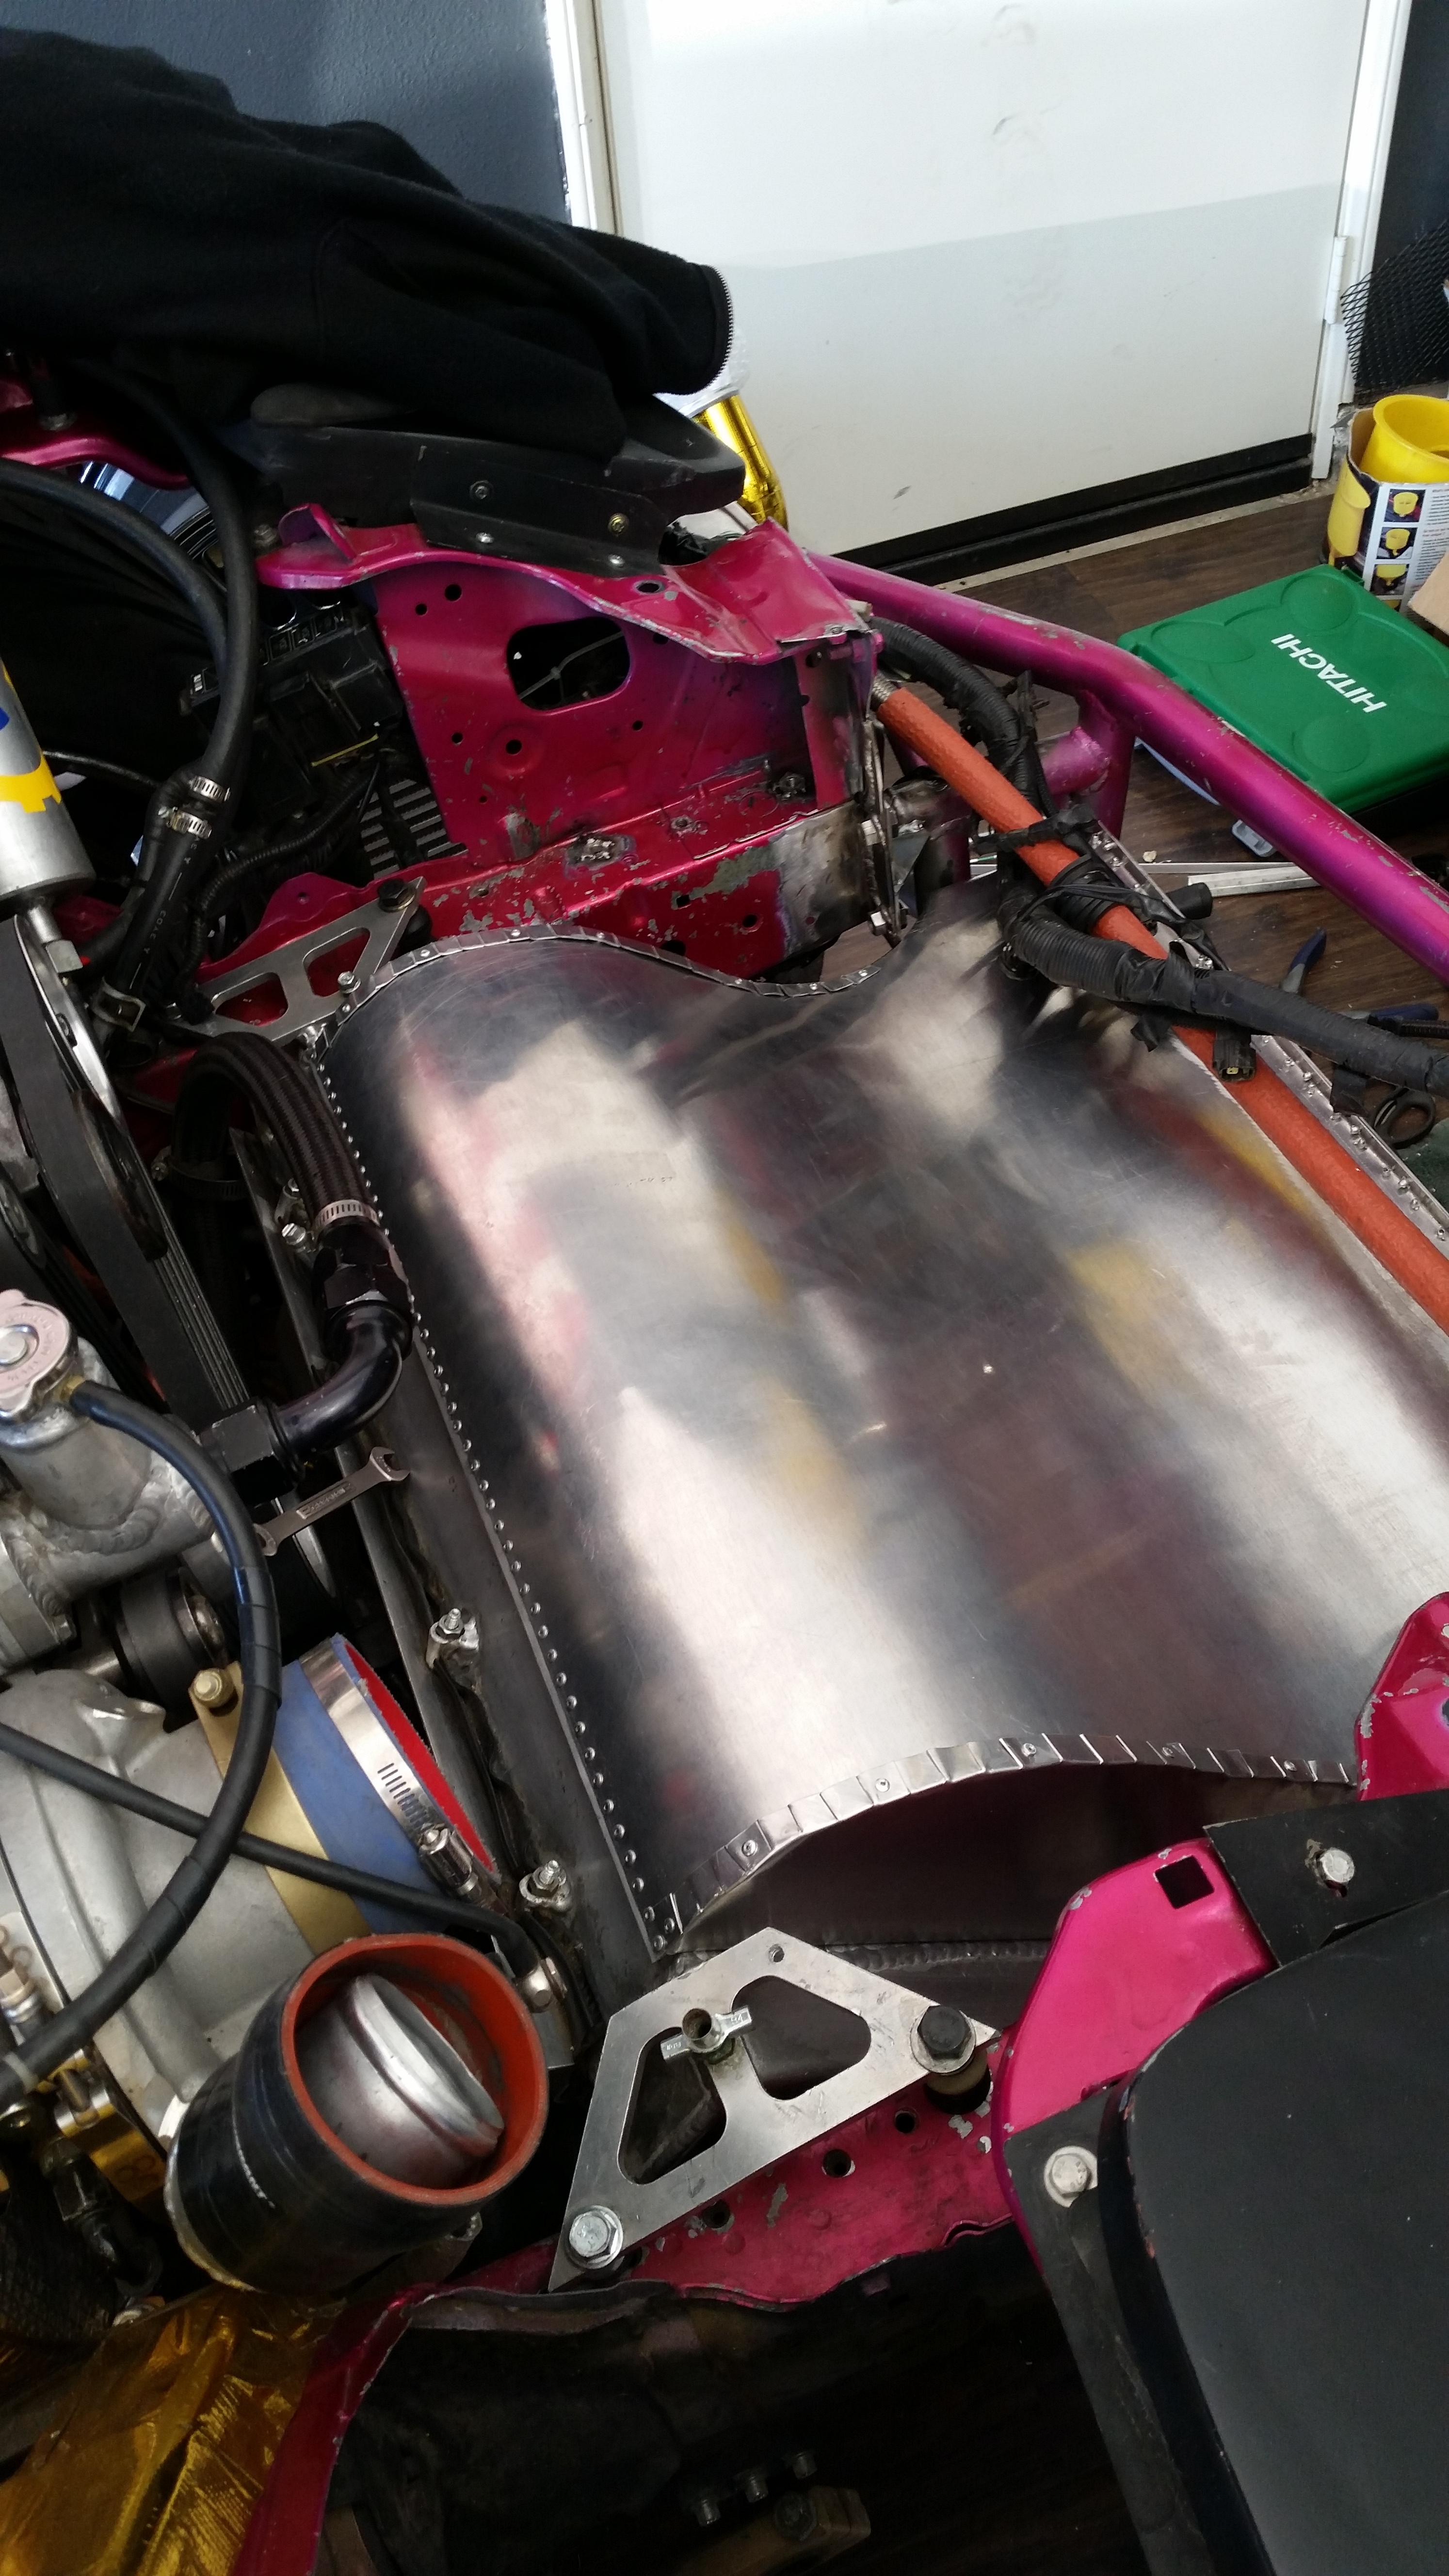
And this was why I took all that time. Where it all counts. This is without any fasteners holding the Duct onto the Radiator.
It was around 11:45 on Sunday and my buddies were on me all morning to come out and drive for their Birthday. I wish I could've been done. but I was taking my time on it and didn't want to rush it. Plus I still need an oil change... ye3a yea ....either way I should've hustled it up a little to get out there. Decided to go spend the rest of the day with them out at Balcony.
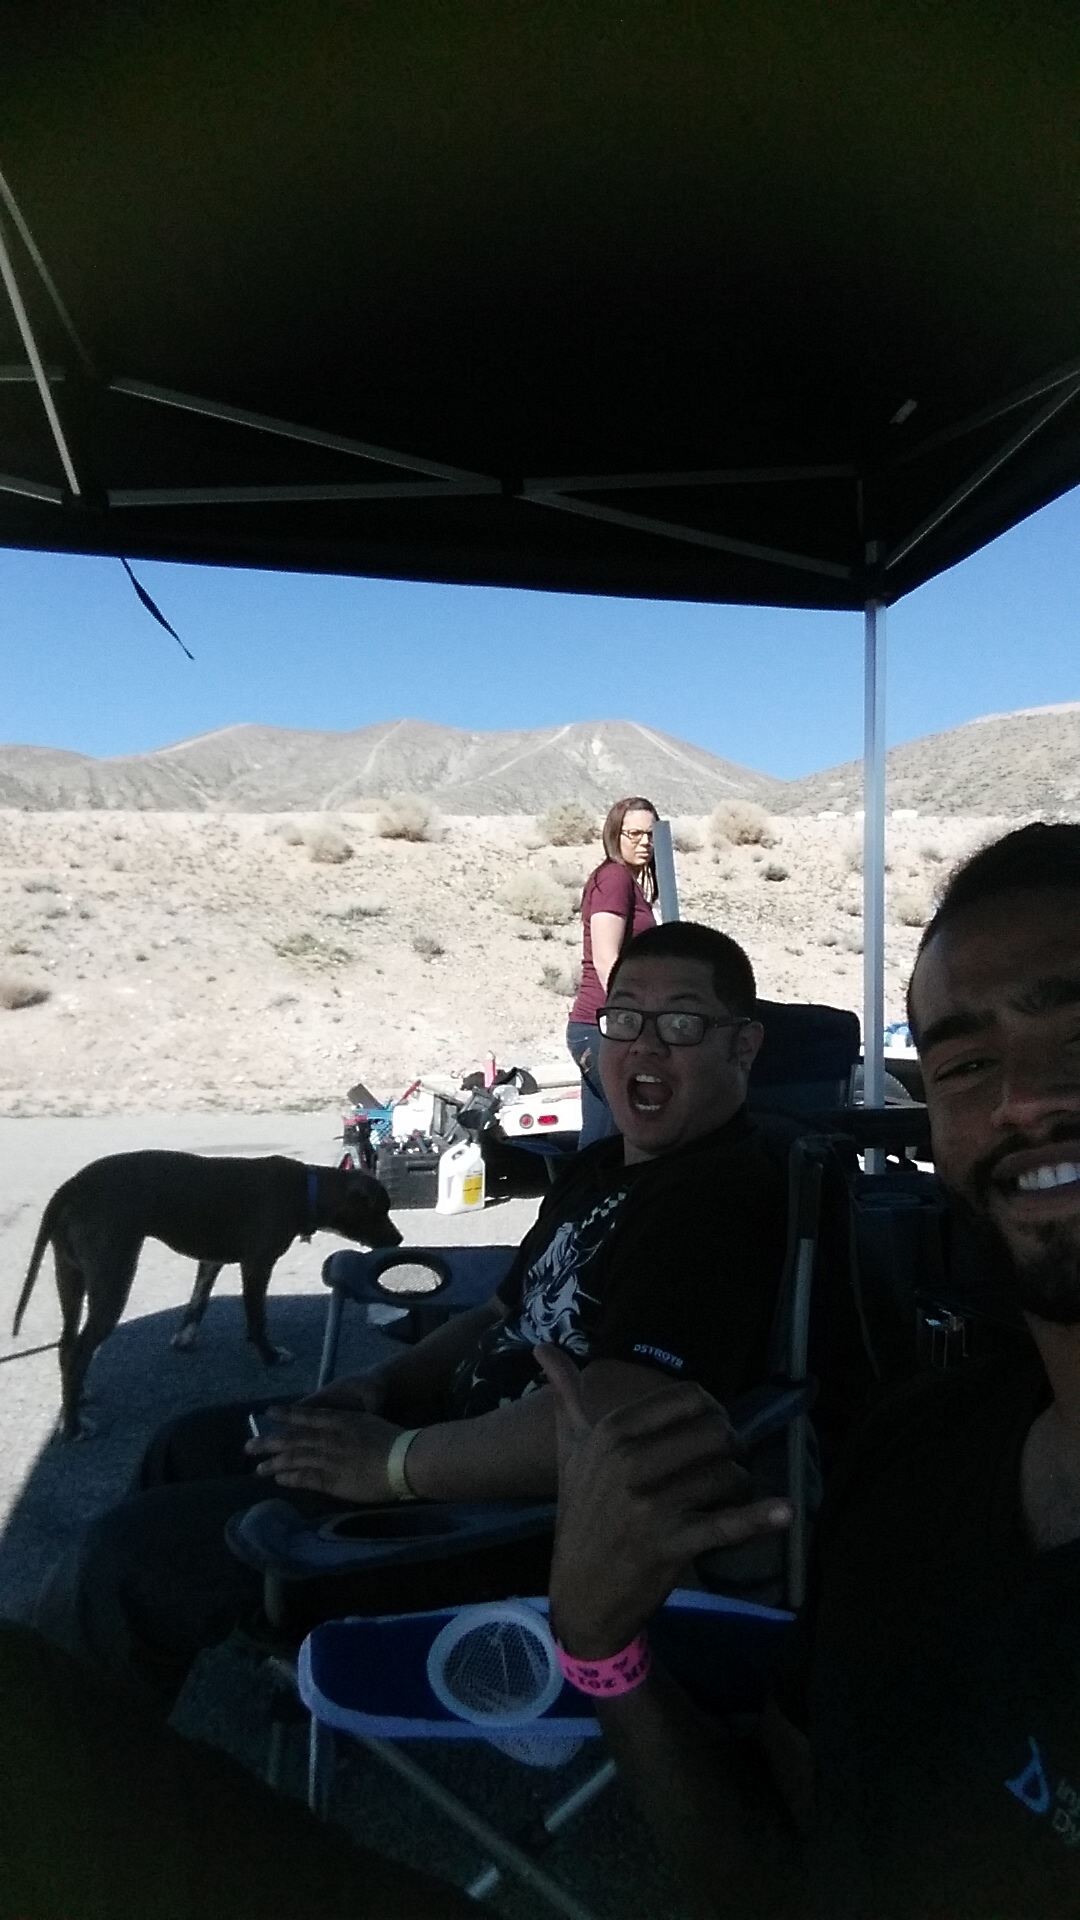
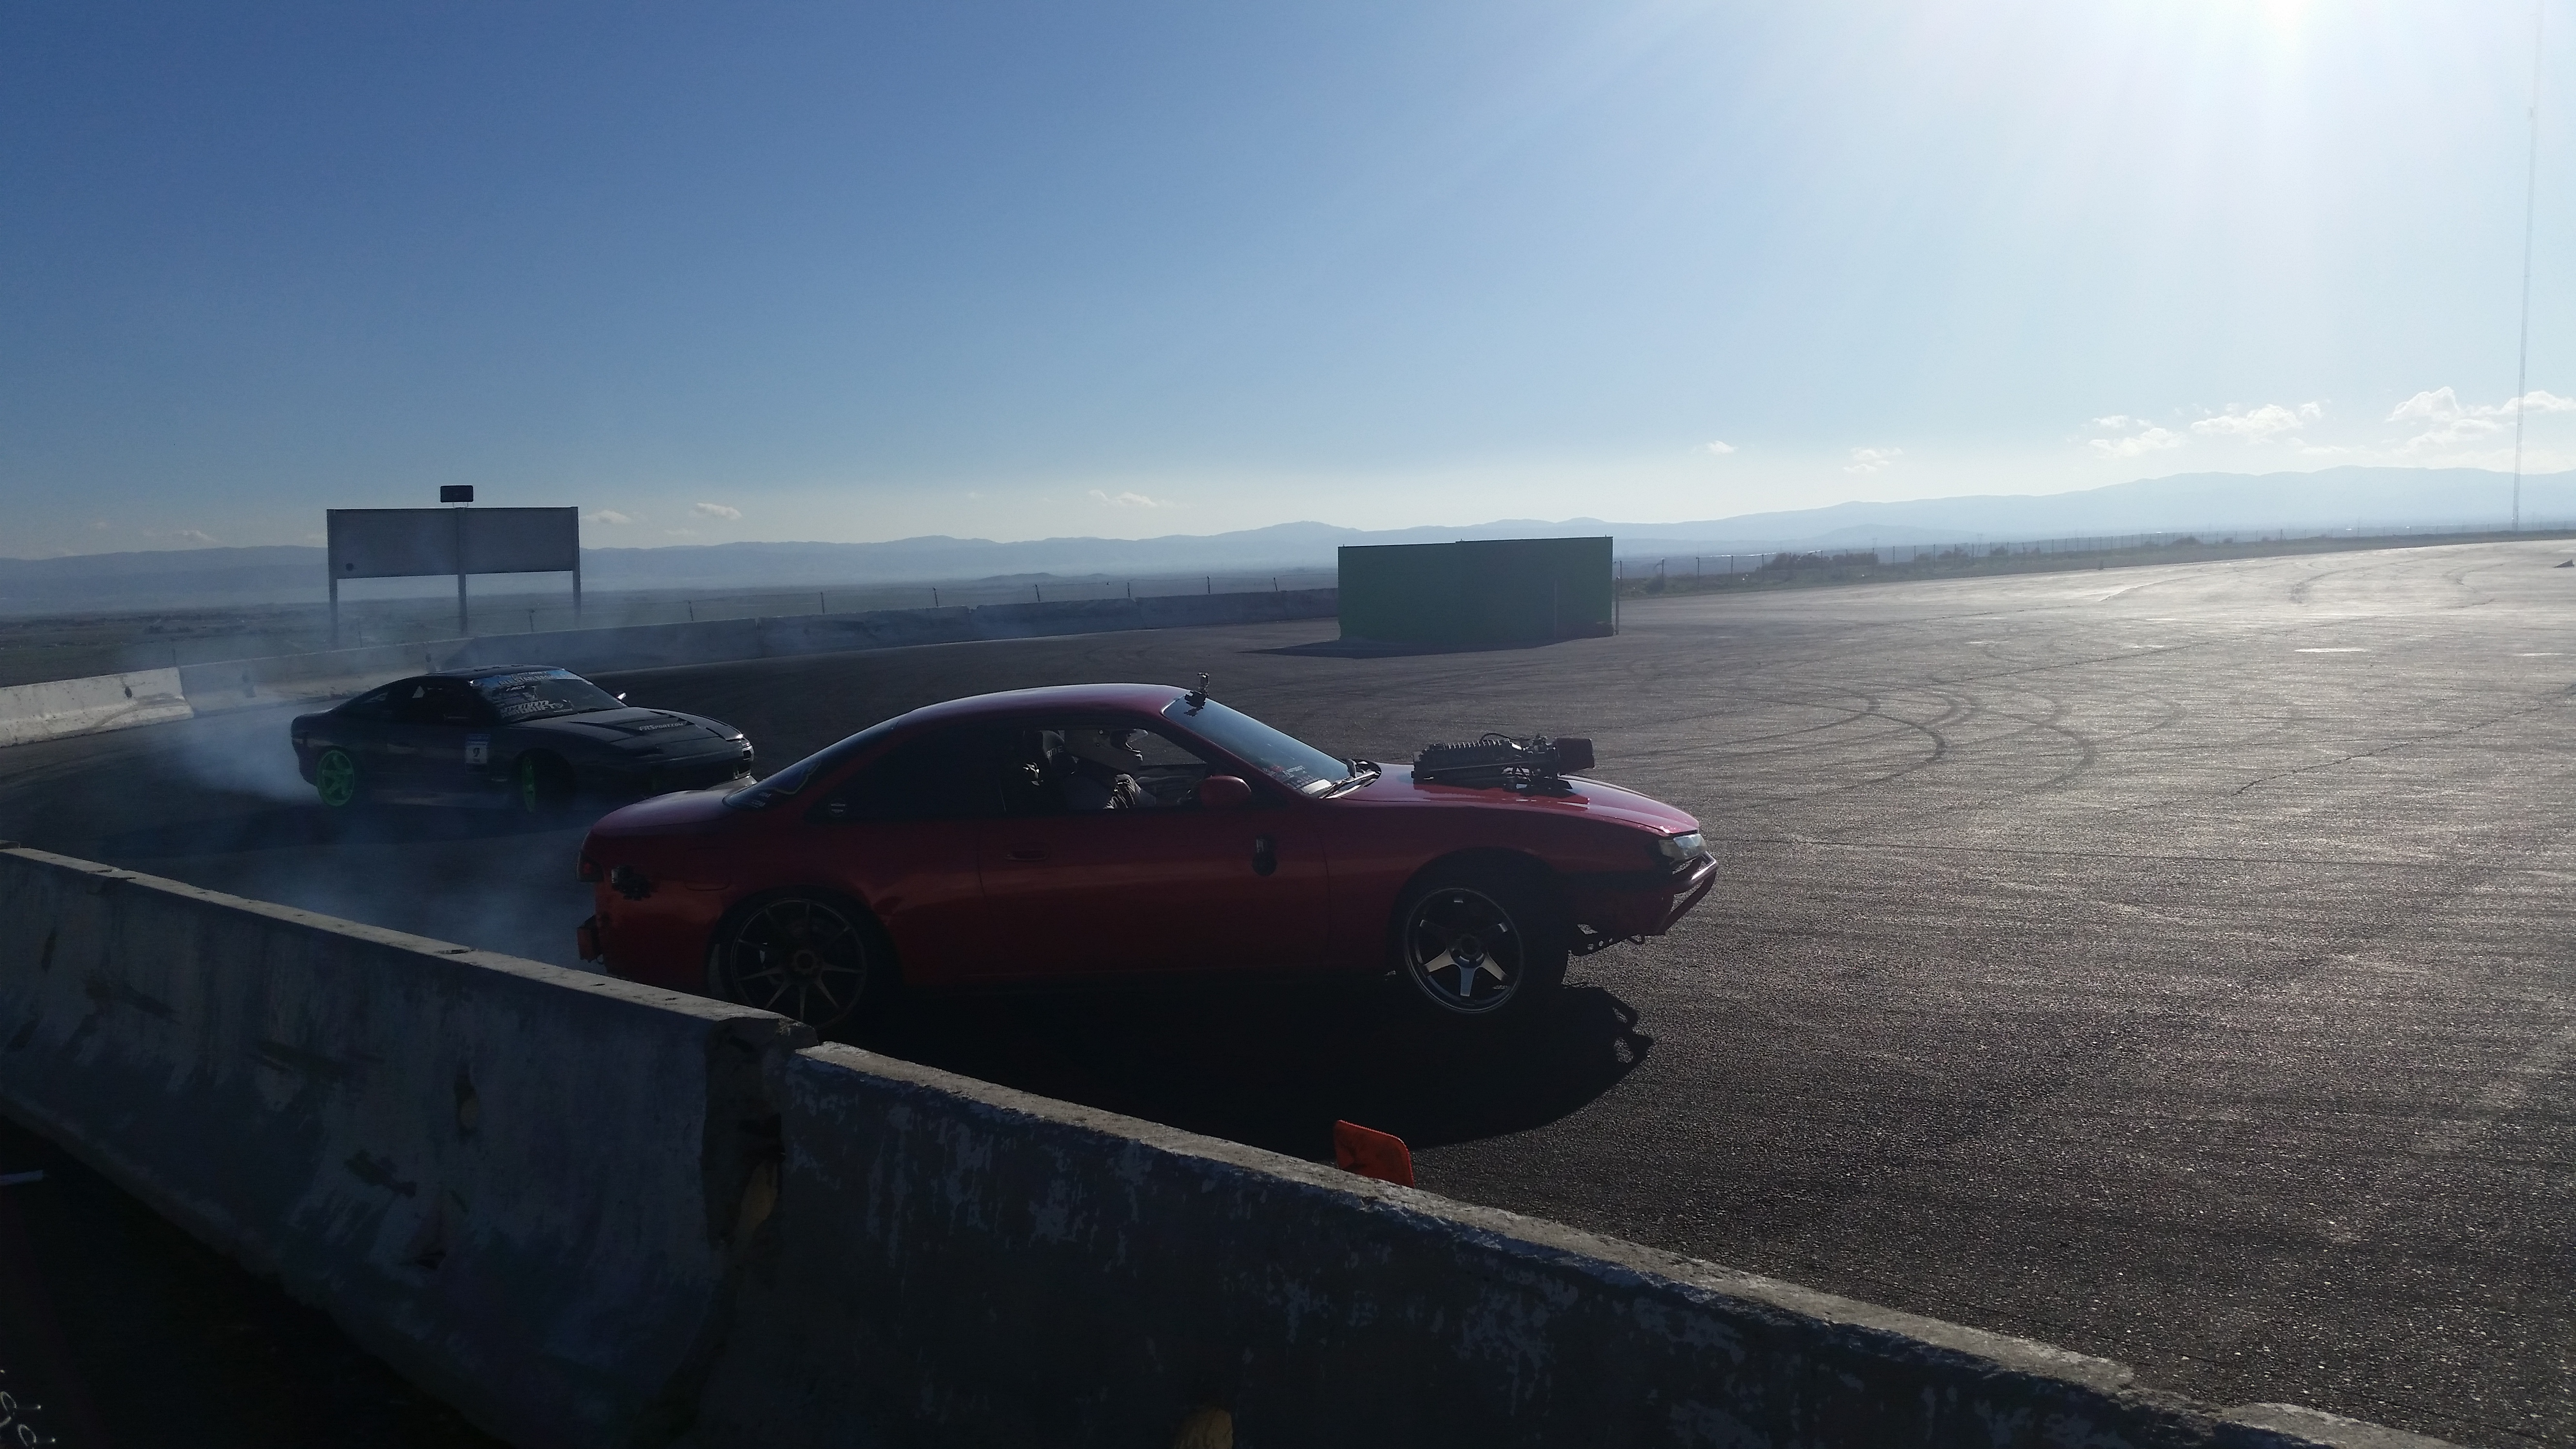
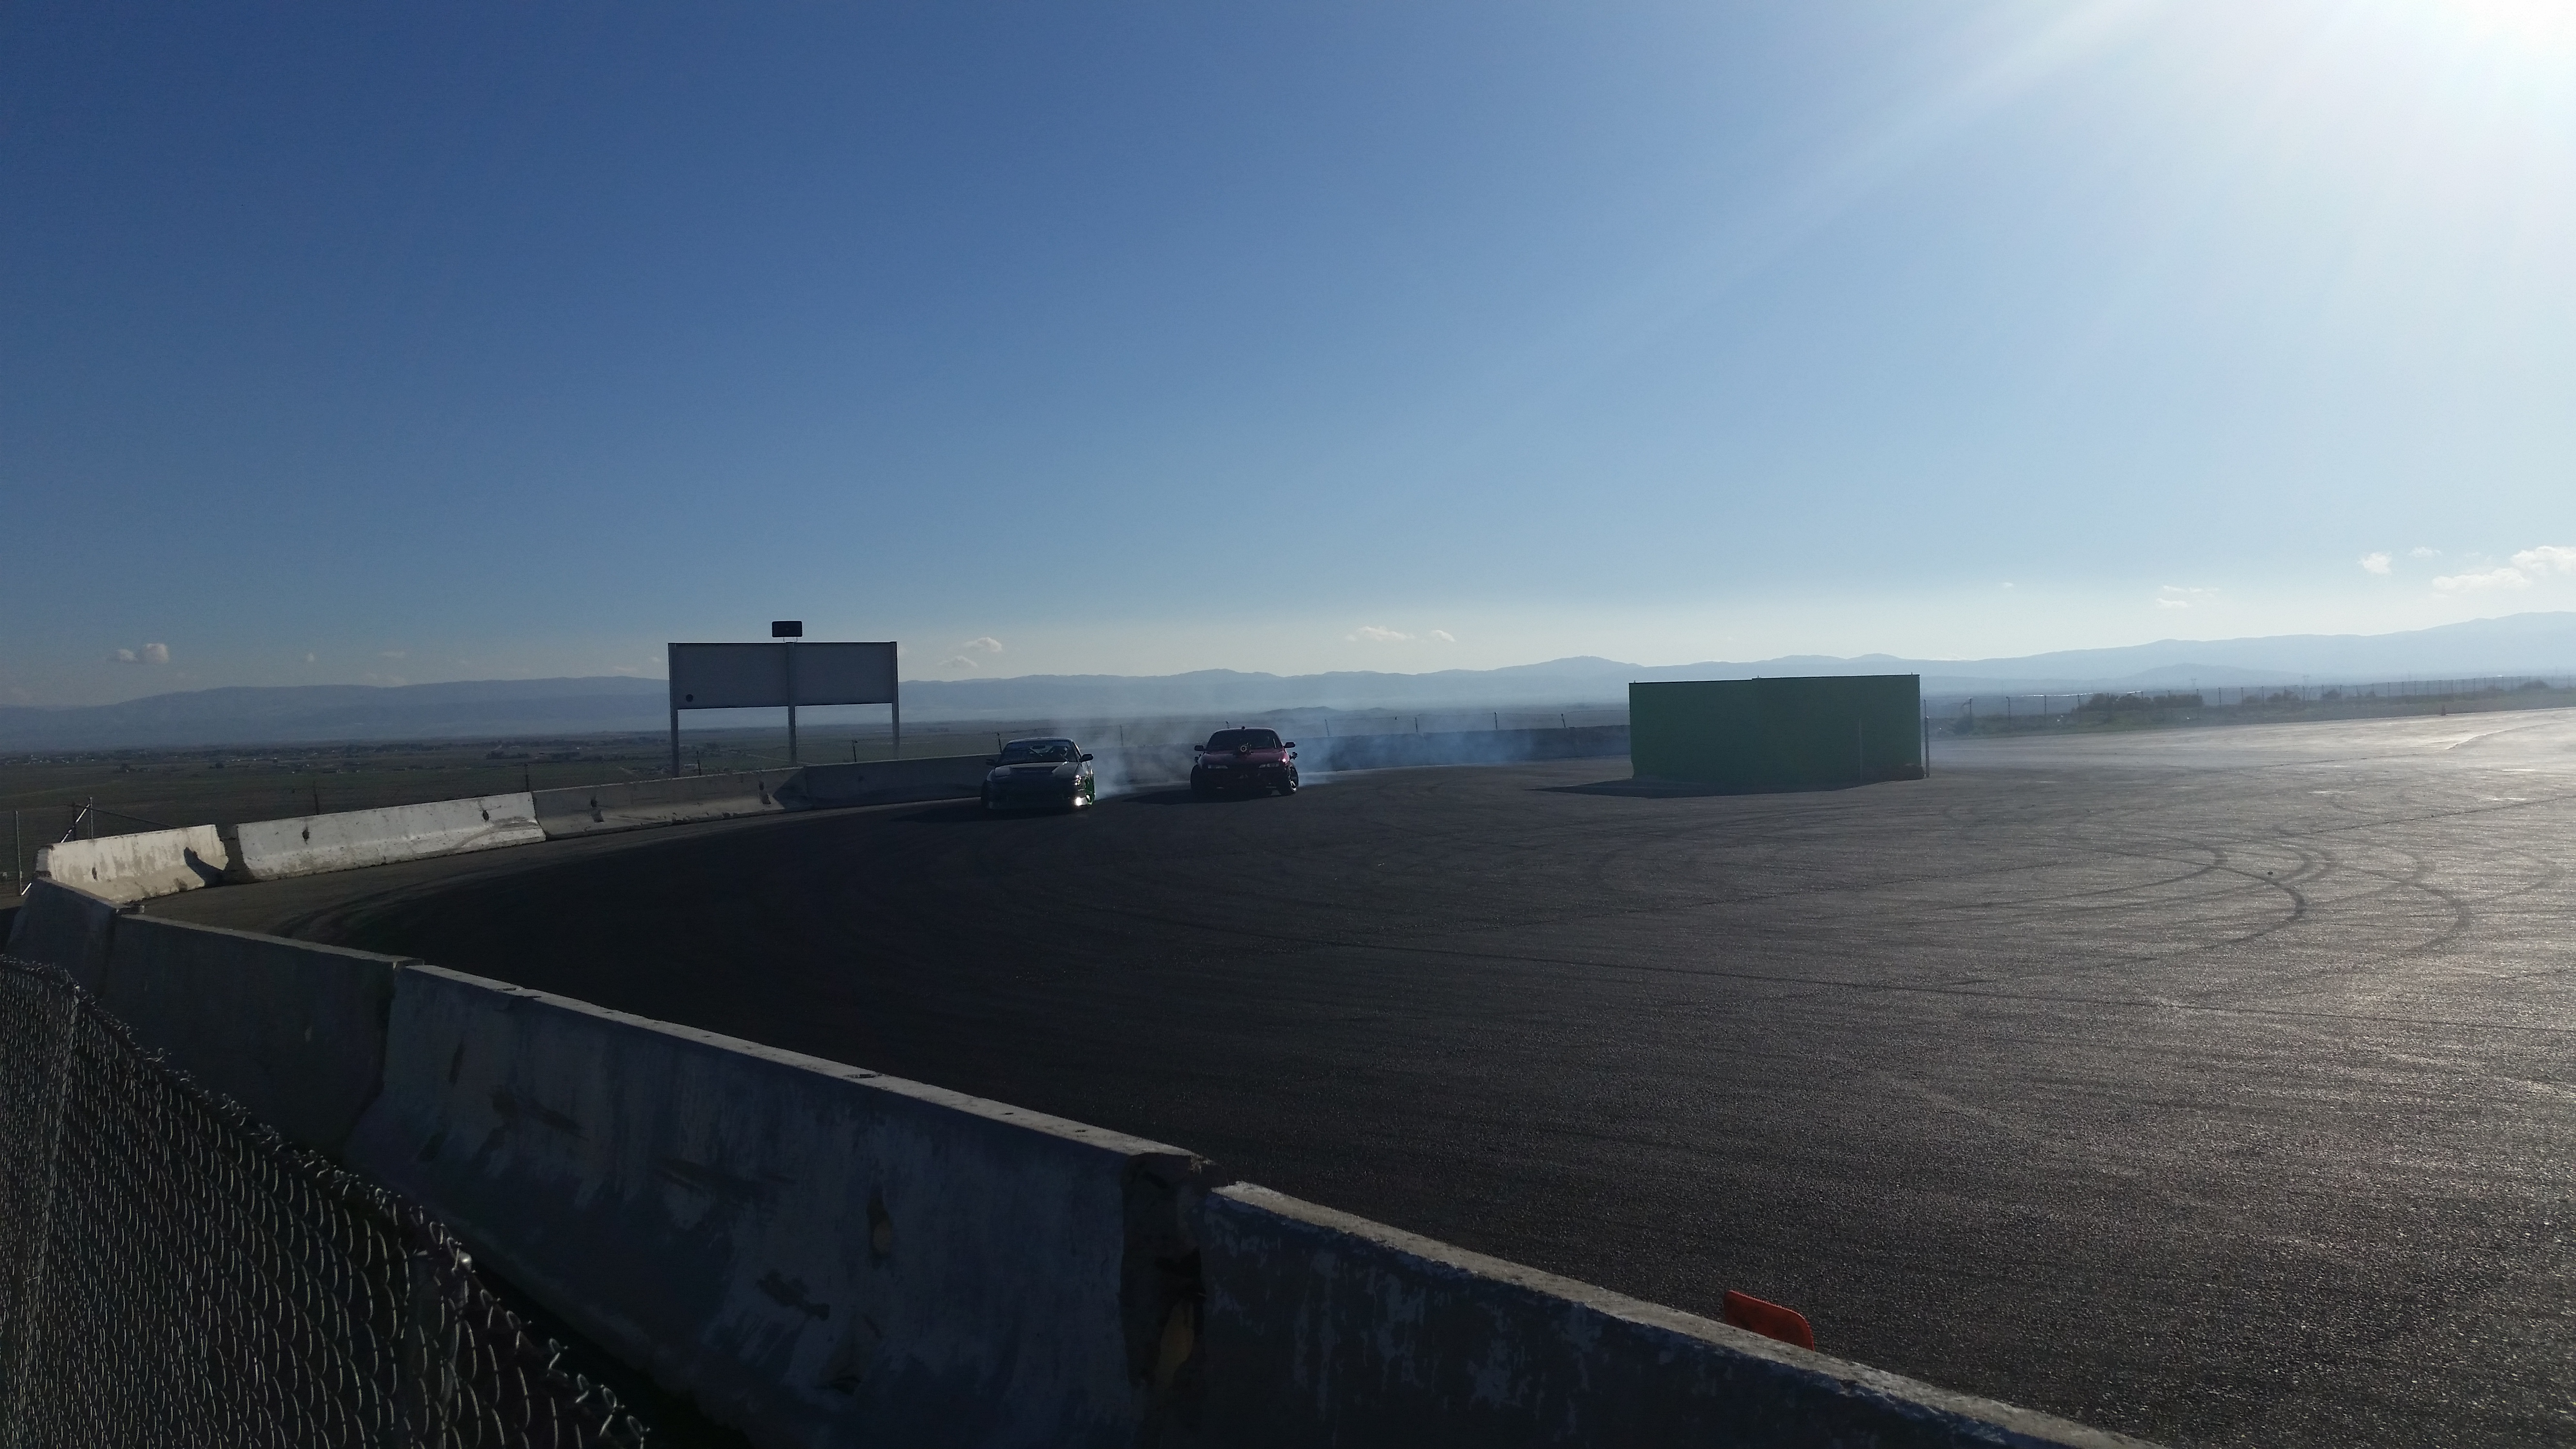
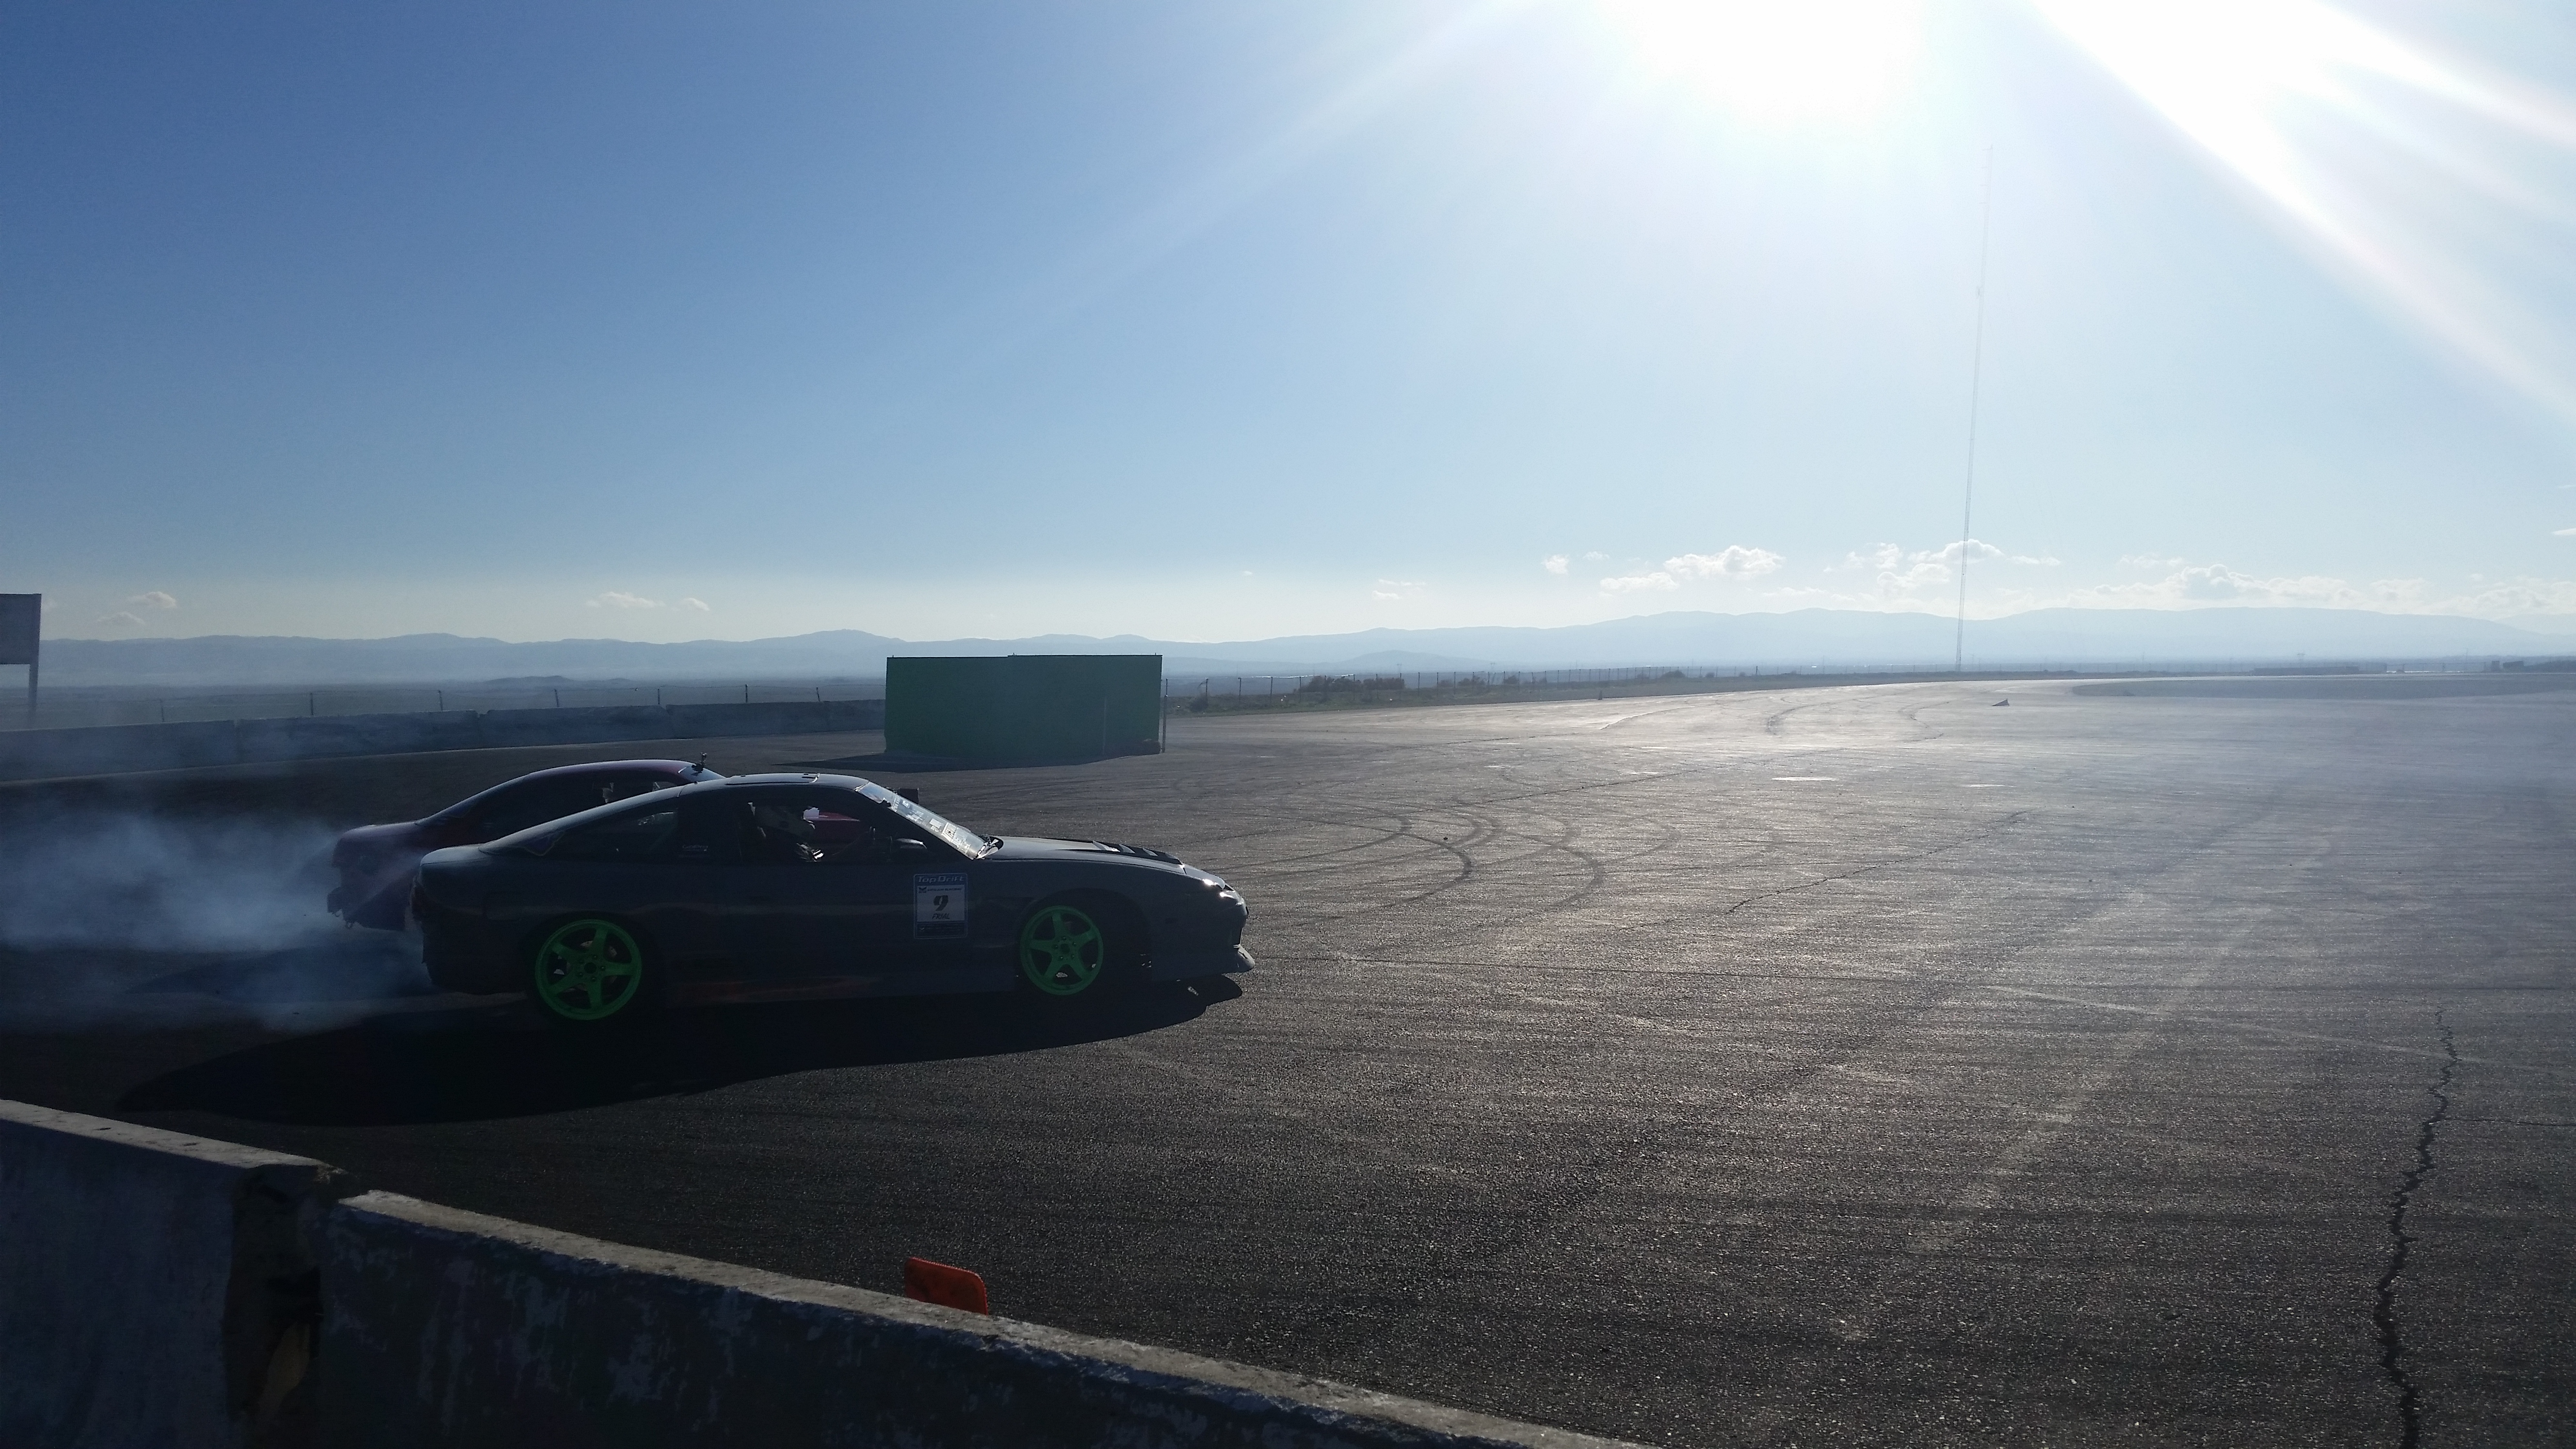
WSIR Balcony with Drivers: Micki Frial, Brandon Contreras and Ian Archer. Was definitely a good solid day. Just pumped me up to finish the ducting!!

As the title states...... I'm not sure if I should be proud of this or if it's a pathetic outcome of what 25 hours will yield in terms of productivity haha. I kind of lost myself in the radiator duct. All the short comings of the last design..... were really eerrking me. So when I came across one of the issues.... I'd take a step back and ask myself how I could effectively resolve it. Usually this meant doing things the hard way.. making small trims.. pulling an extra rivet etc.... But what made the duct unusually hard was the fact that the fd engine set up sits roughly 2-3 Inches pointed towards the drivers side of the car. meaning it's not symmetrically located in the engine bay. Mazda did this to achieve weight distribution...(don't quote me on that....just from what I remember). Anyways... When we were making the IC and Radiator set up... we simply aligned the heat exchangers in a way to where they looked good and cleared everything we needed them too. That worked just fine. When I was doing the first ducting job... I remember one side of the ducting was roughly an inch and a half shorter in overall length.. So to make it look symmetrical... there was a lot of trimming to do. With the new duct... I incorporated those offsets into the equation. But the measuring part was a complete pain in the ****... and then riveting the sides... They had to be clamped Perfectly.. in order to maintain the shape.. otherwise it wouldn't fit correctly... one side may lift which would make it seat twisted etc. I must've taken the duct on and off 40 or so times. Everytime waiting for something to change. And it did.. I caught it a few times. A bad clamp... or the drill caused it to misalign. Either way... Instead of just saying "Screw it, move on." I kept going back and making sure the damn thing fit and would seat correctly. This was what took up most of my time. I remember starting on sunday morning at 7.. and around 9:30 I hadn't event pulled a damn rivet yet haha. But anyways... I finally got it finished. Check it out!:
Side Area.... the contours were tough to measure out on the flat sheet
Cut onto Alum.... I figured it'd be much safer to do the sides in two pieces because if I messed up... I'd end up messing up the whole piece and materials for this duct cost me just under 100 bucks.
Nice straight Bends.... Who say's you can't make it work in the garage?
These guys are really helpful. Each one is bent by hand to allow me to produce the shape scribed onto the side cut. I'm sure it's slightly off... but getting the sides to seal was a huge deal to me.
initial test fit
And this was why I took all that time. Where it all counts. This is without any fasteners holding the Duct onto the Radiator.
It was around 11:45 on Sunday and my buddies were on me all morning to come out and drive for their Birthday. I wish I could've been done. but I was taking my time on it and didn't want to rush it. Plus I still need an oil change... ye3a yea ....either way I should've hustled it up a little to get out there. Decided to go spend the rest of the day with them out at Balcony.
WSIR Balcony with Drivers: Micki Frial, Brandon Contreras and Ian Archer. Was definitely a good solid day. Just pumped me up to finish the ducting!!
02-10-15, 03:24 PM
#2247
Update Continued Part 2:
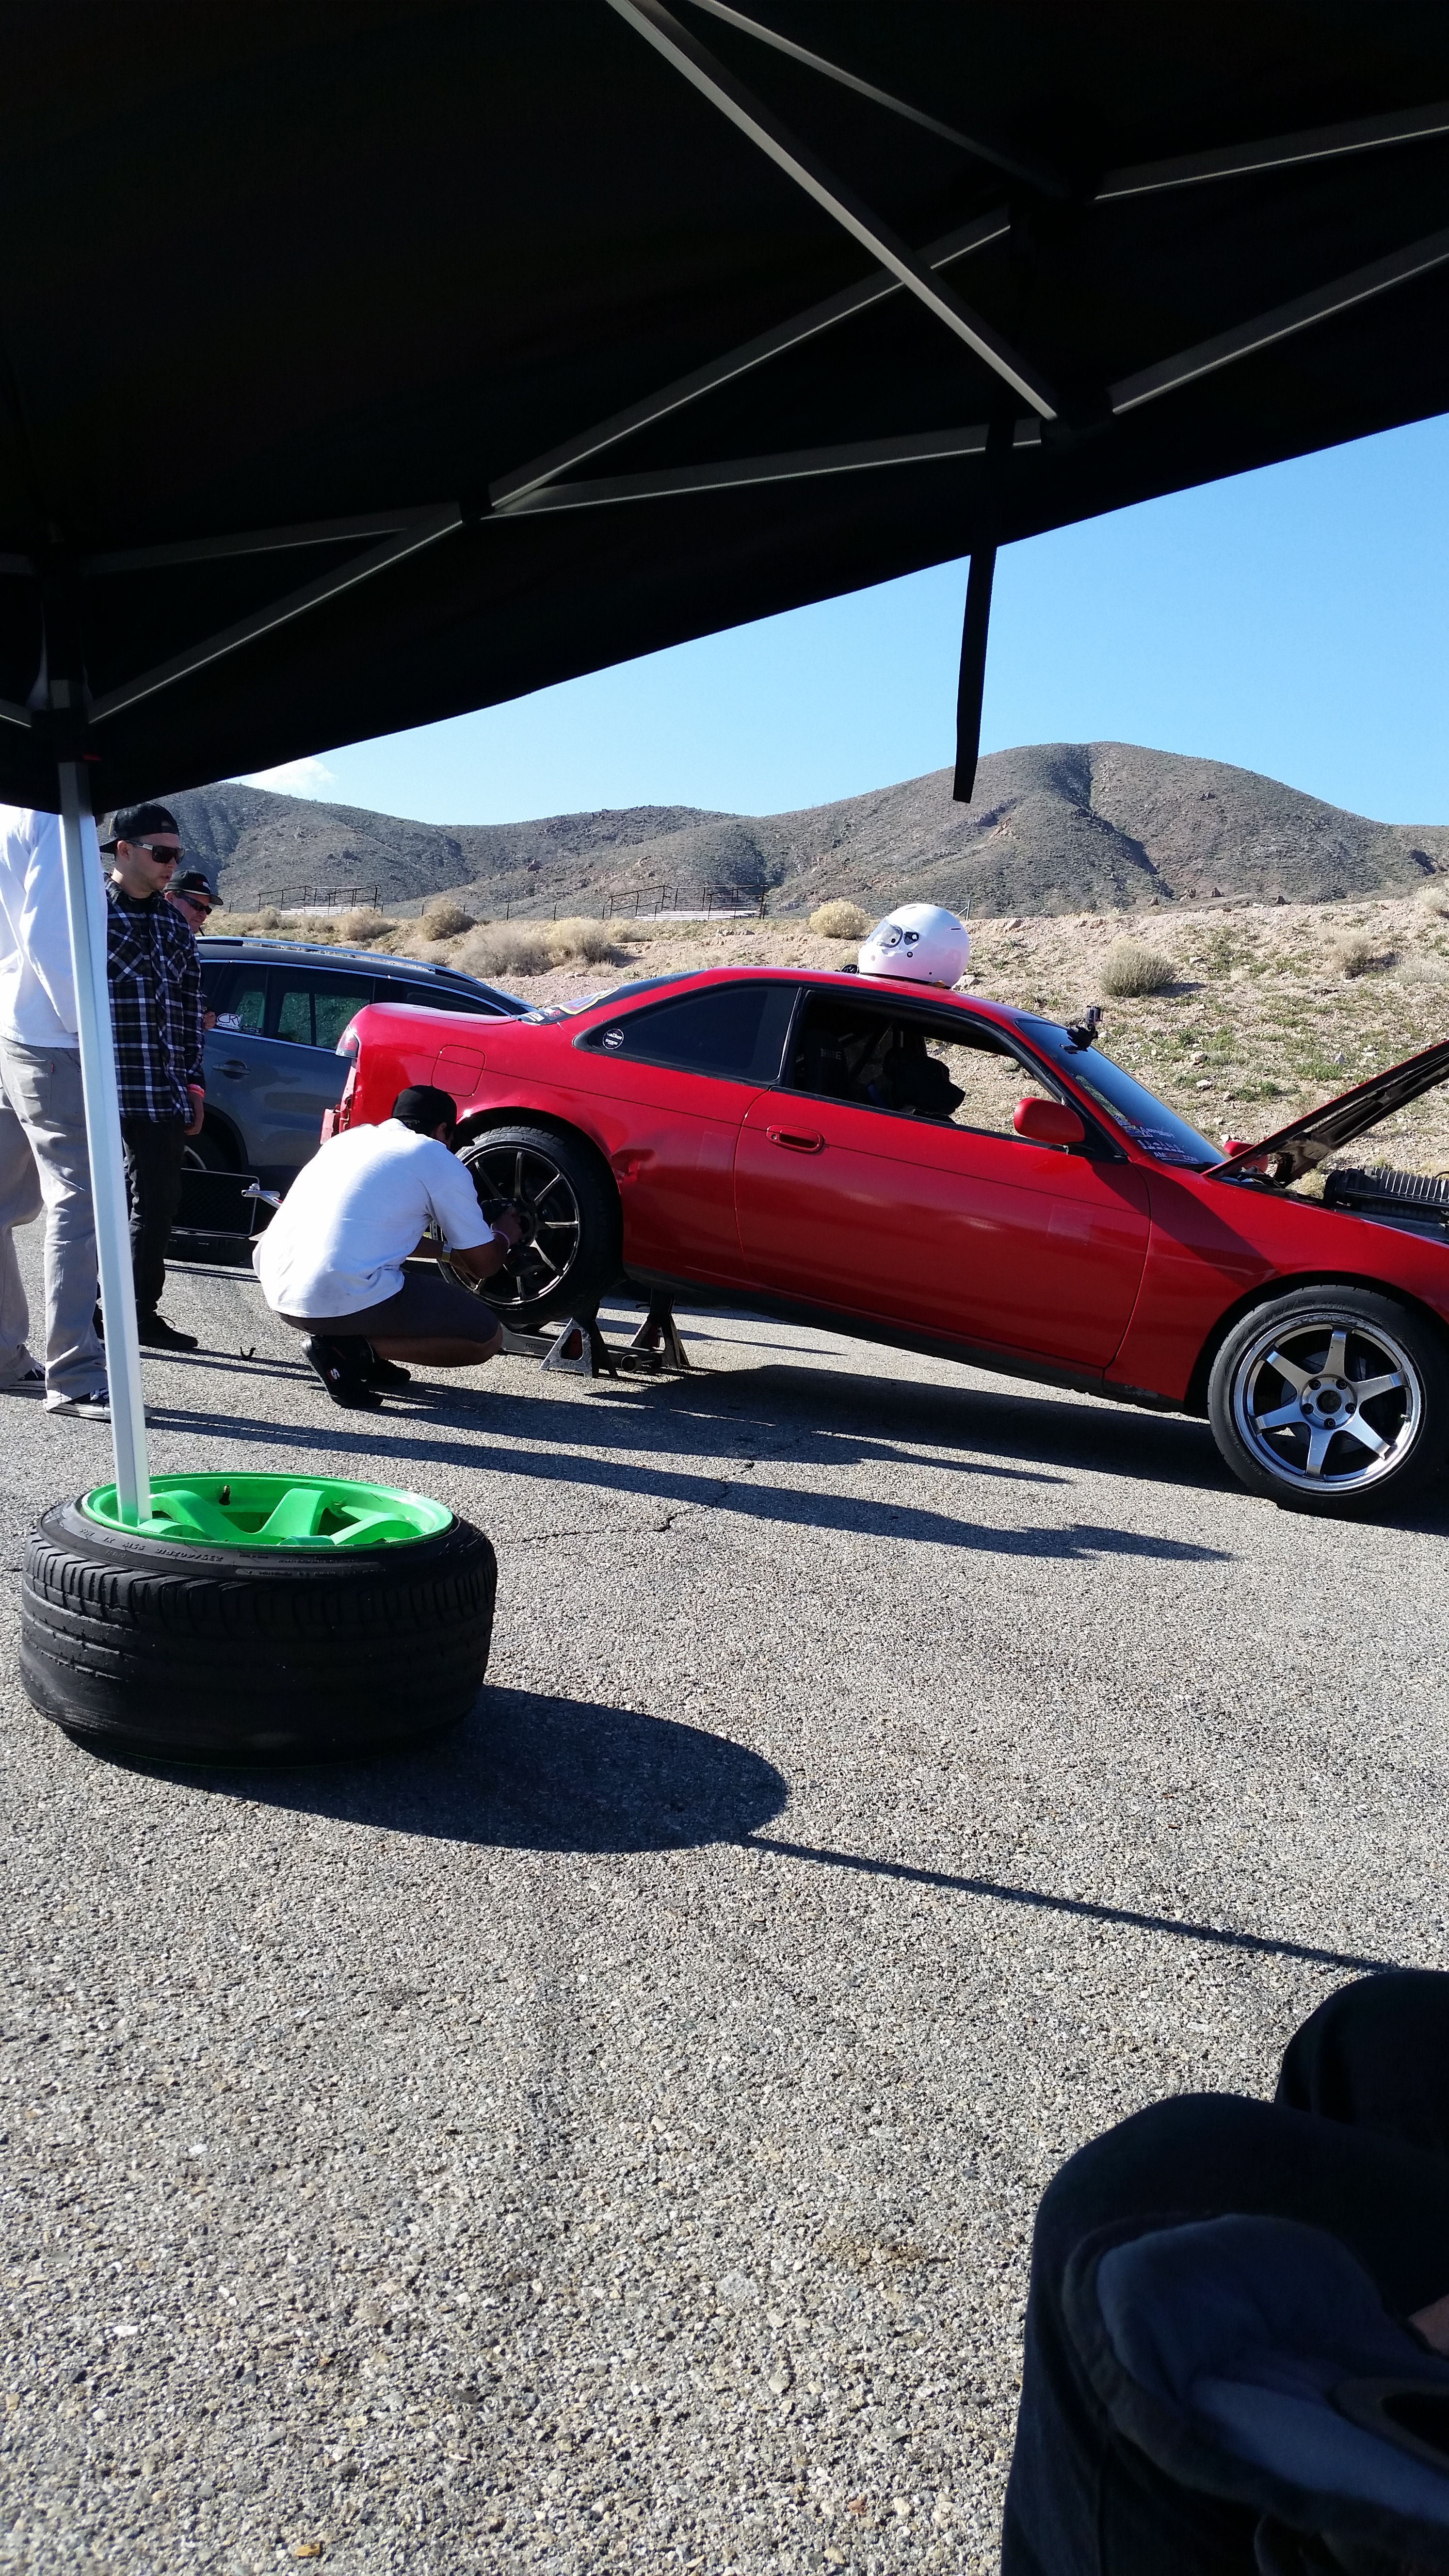
Brandon working on his freshly wrapped 14
go pro's all over
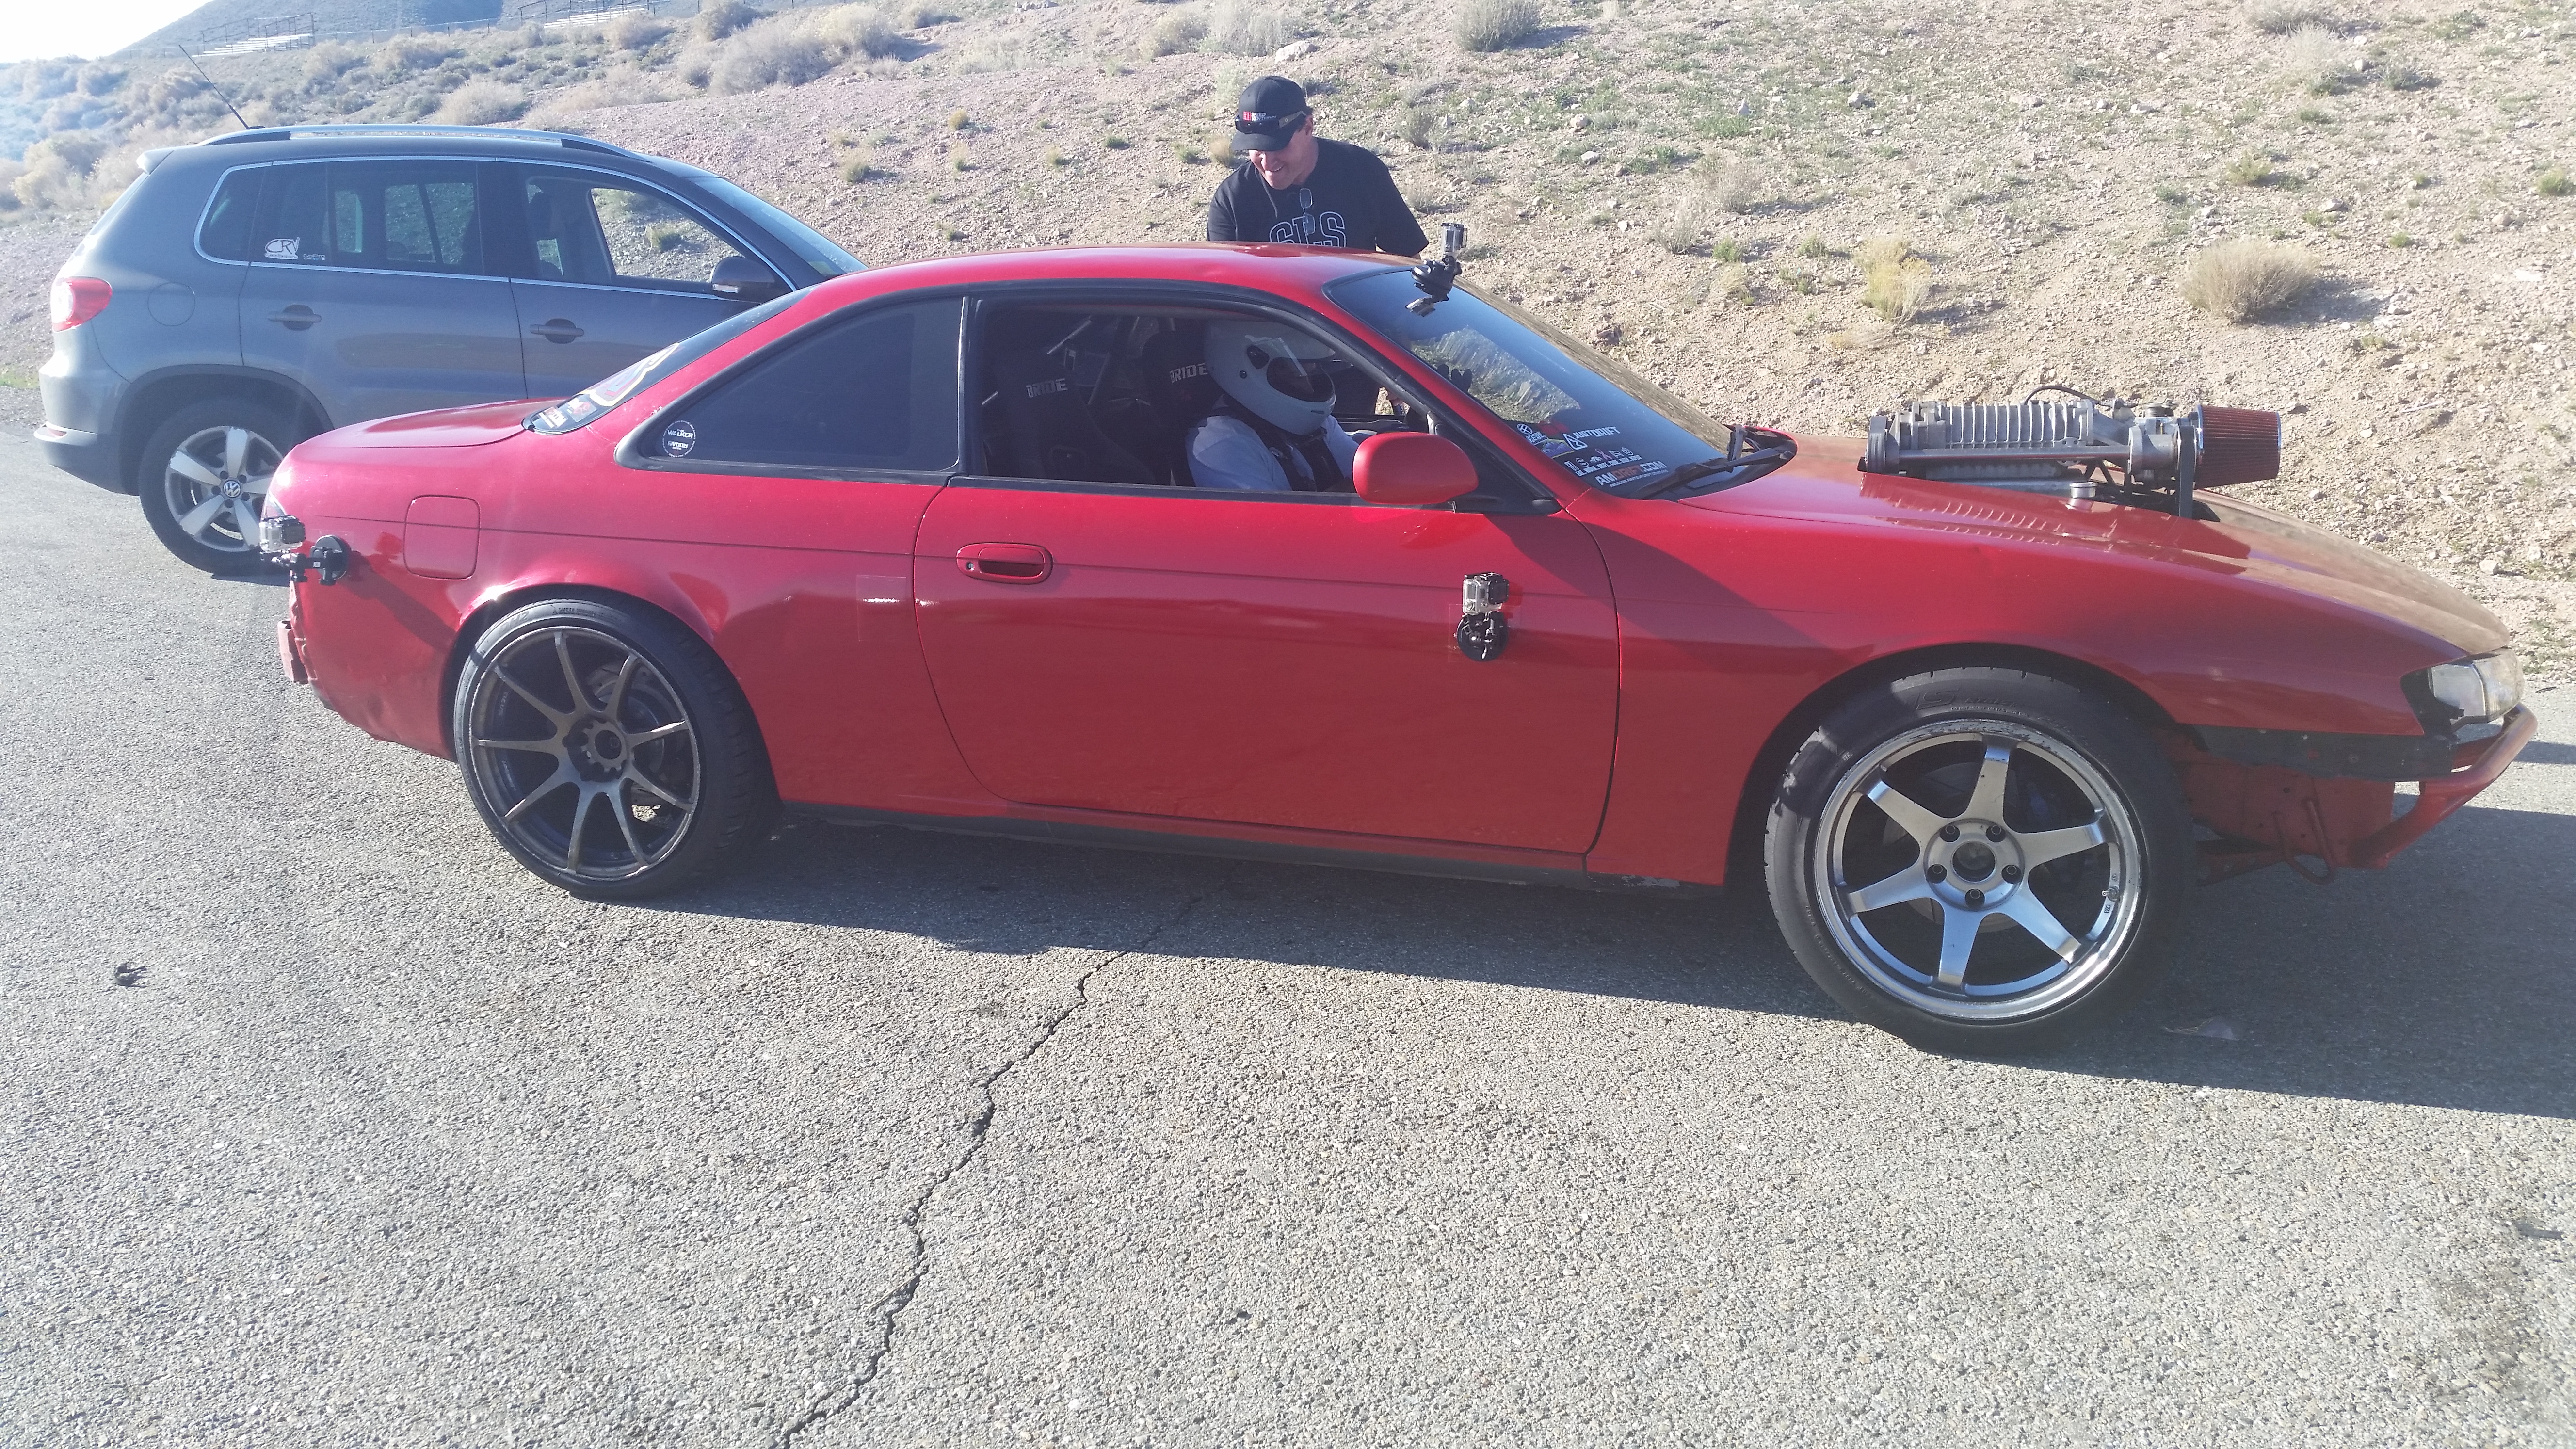
Mick in the longest lasting most solid and reliable 300+WHP SR 13 on the planet. going on some 13 Years.... Car runs flawlessly.
rippers
So I got all pumped up and dedicated the rest of the night to finishing the Radiator duct. Caught myself a couple times trying to cut corners. Took some discipline..but I made sure not to haha.
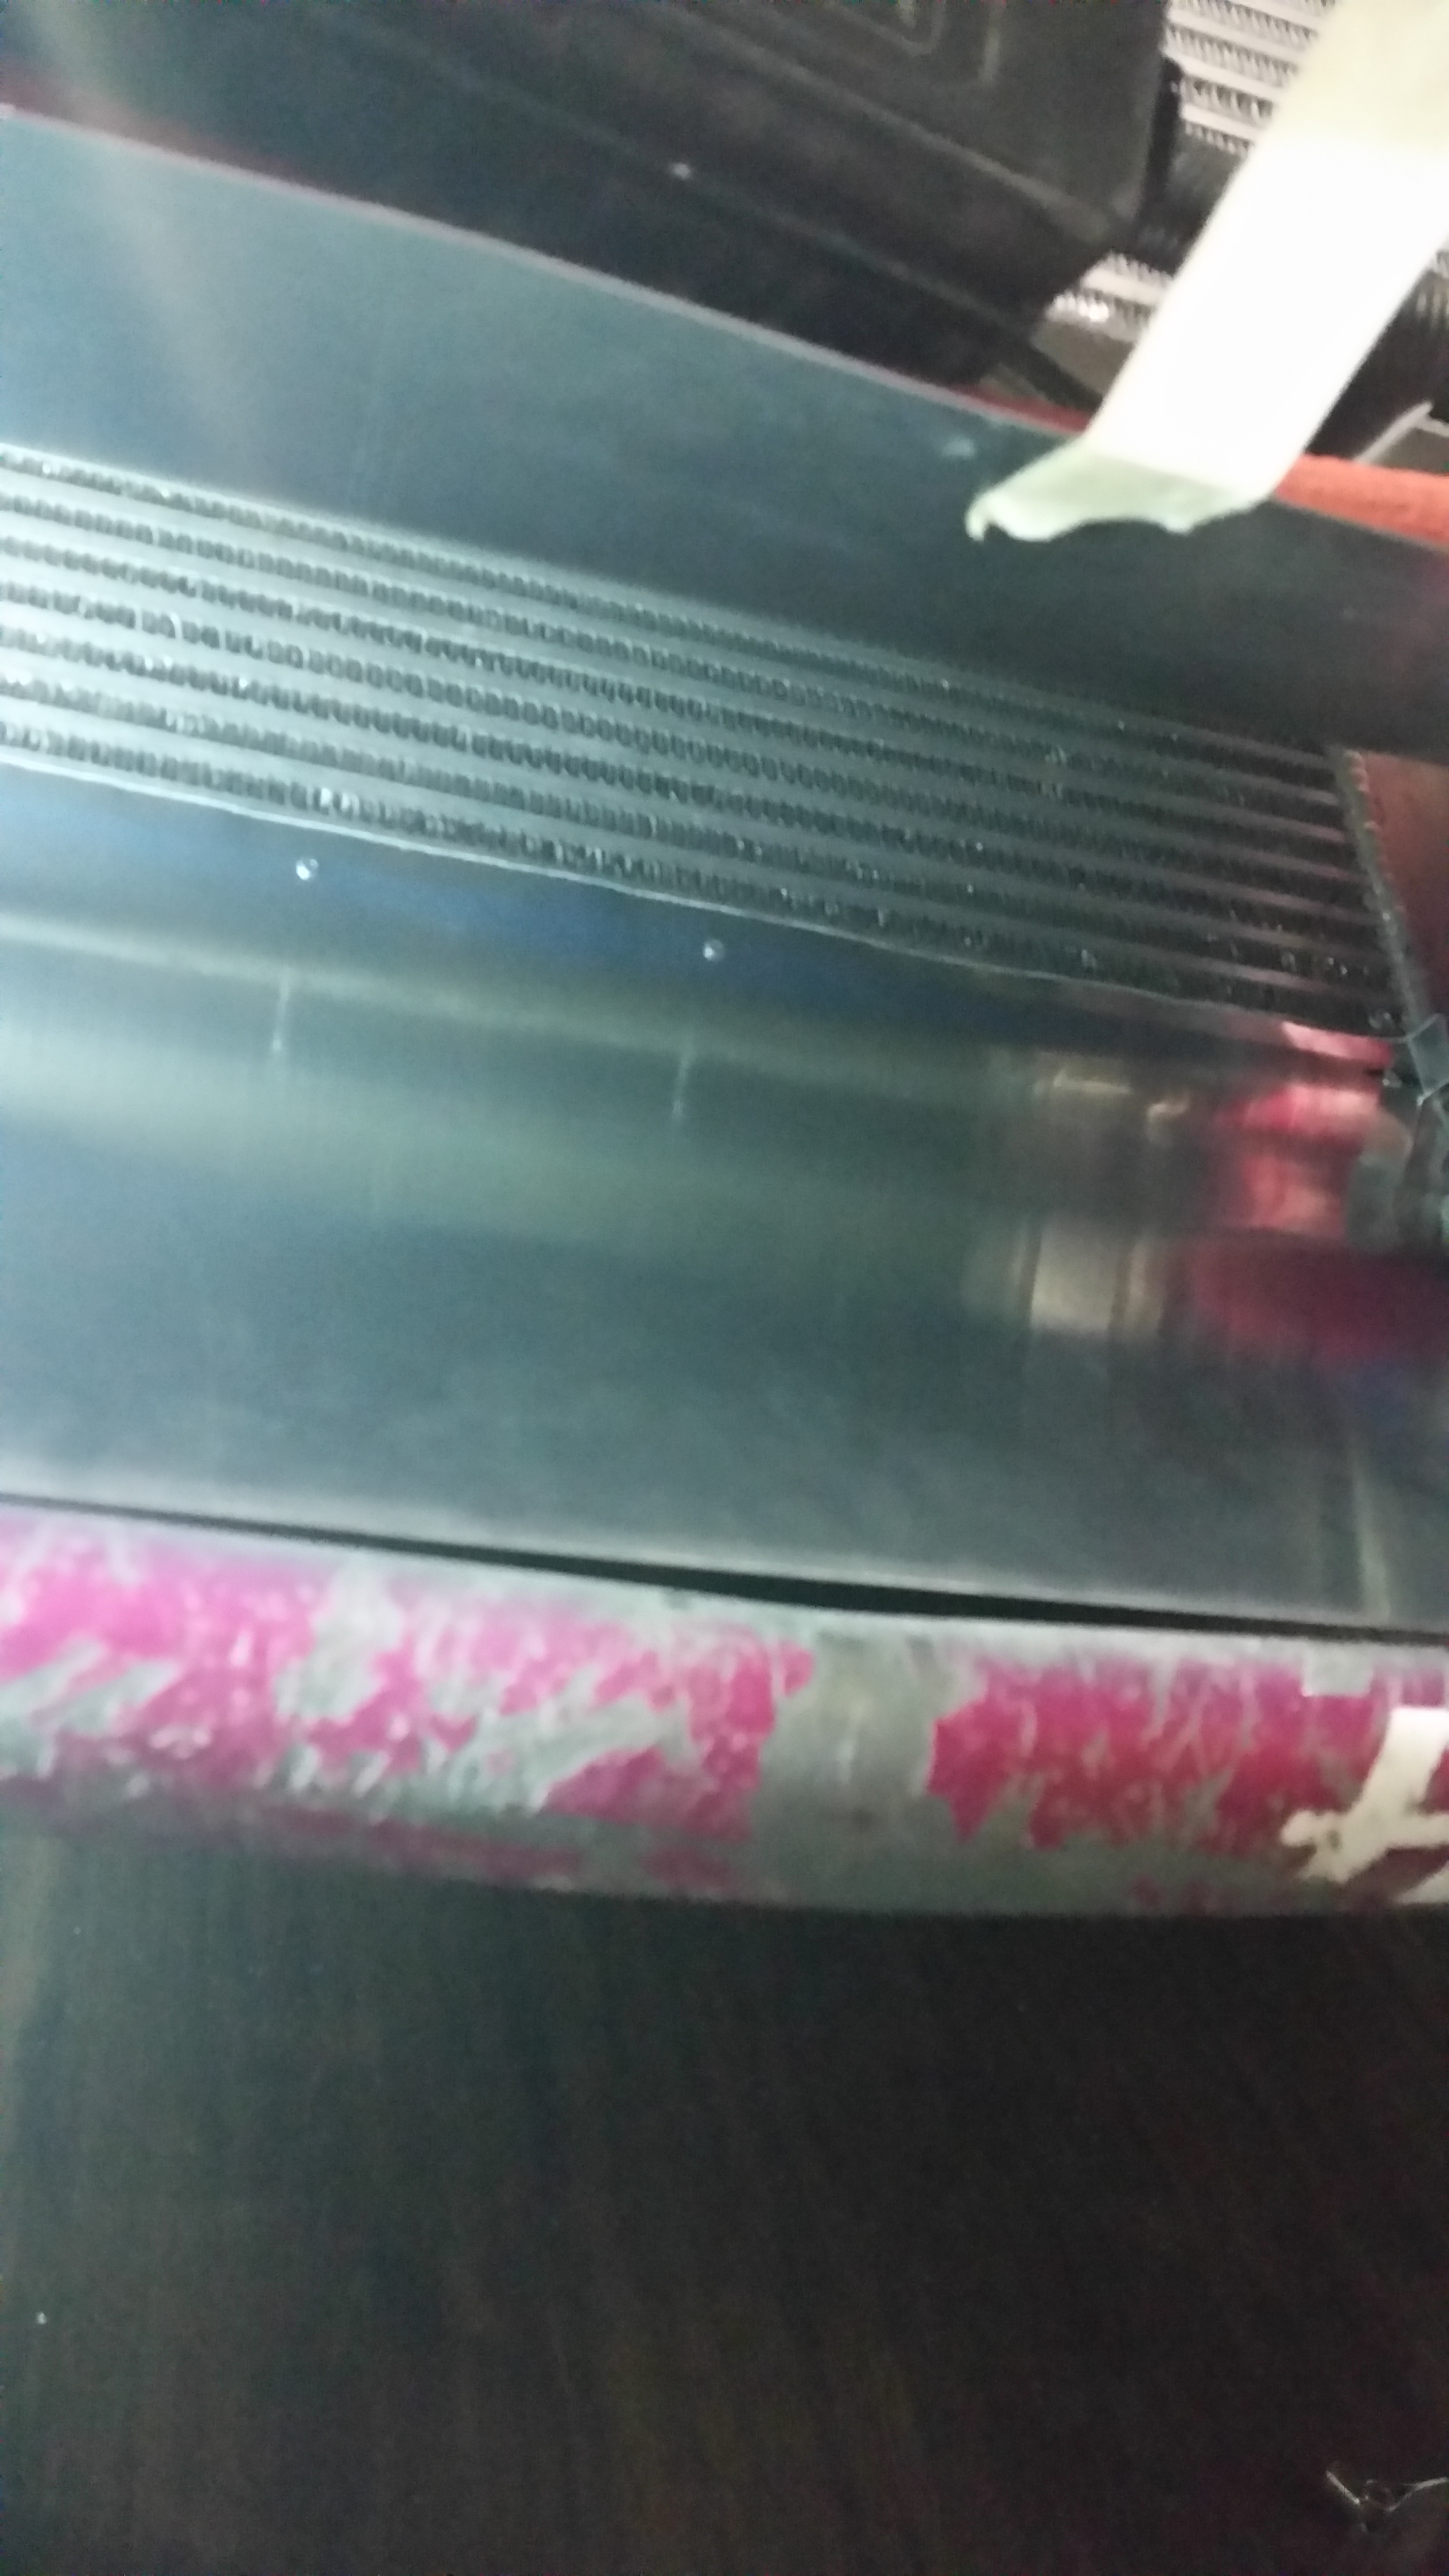
Sides fitted and a couple rivits pulled on each side.
side shot
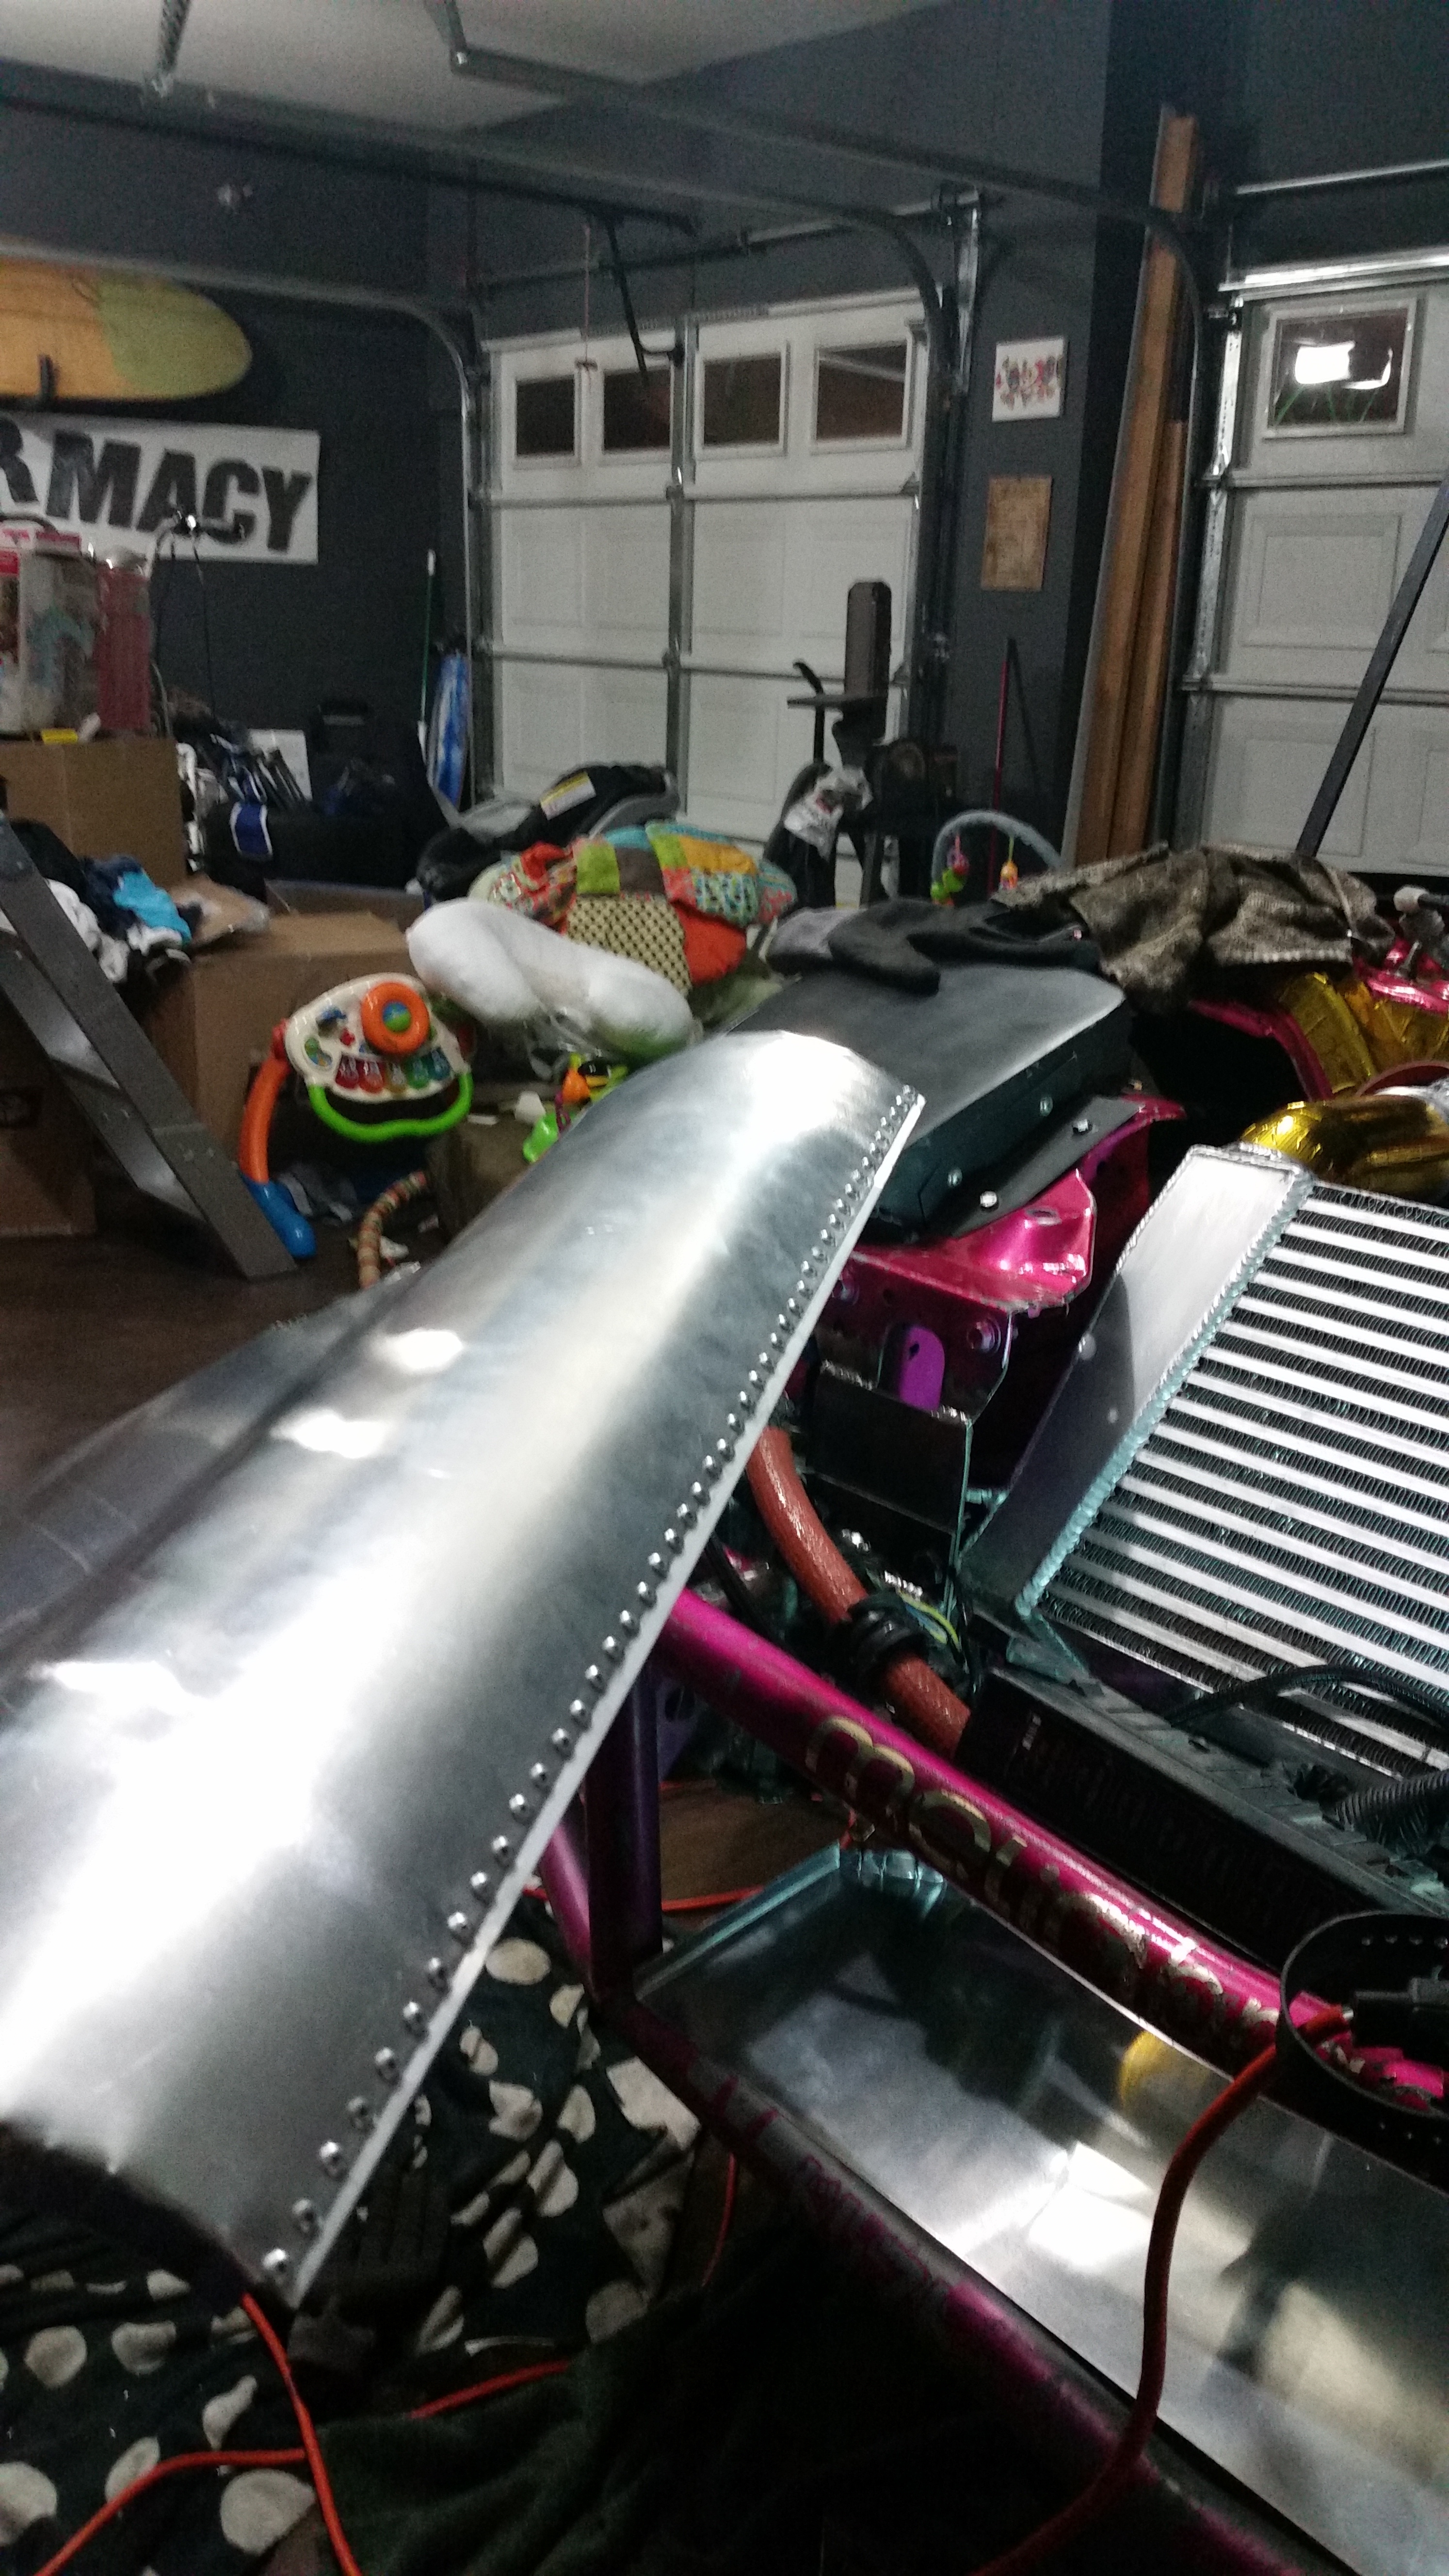
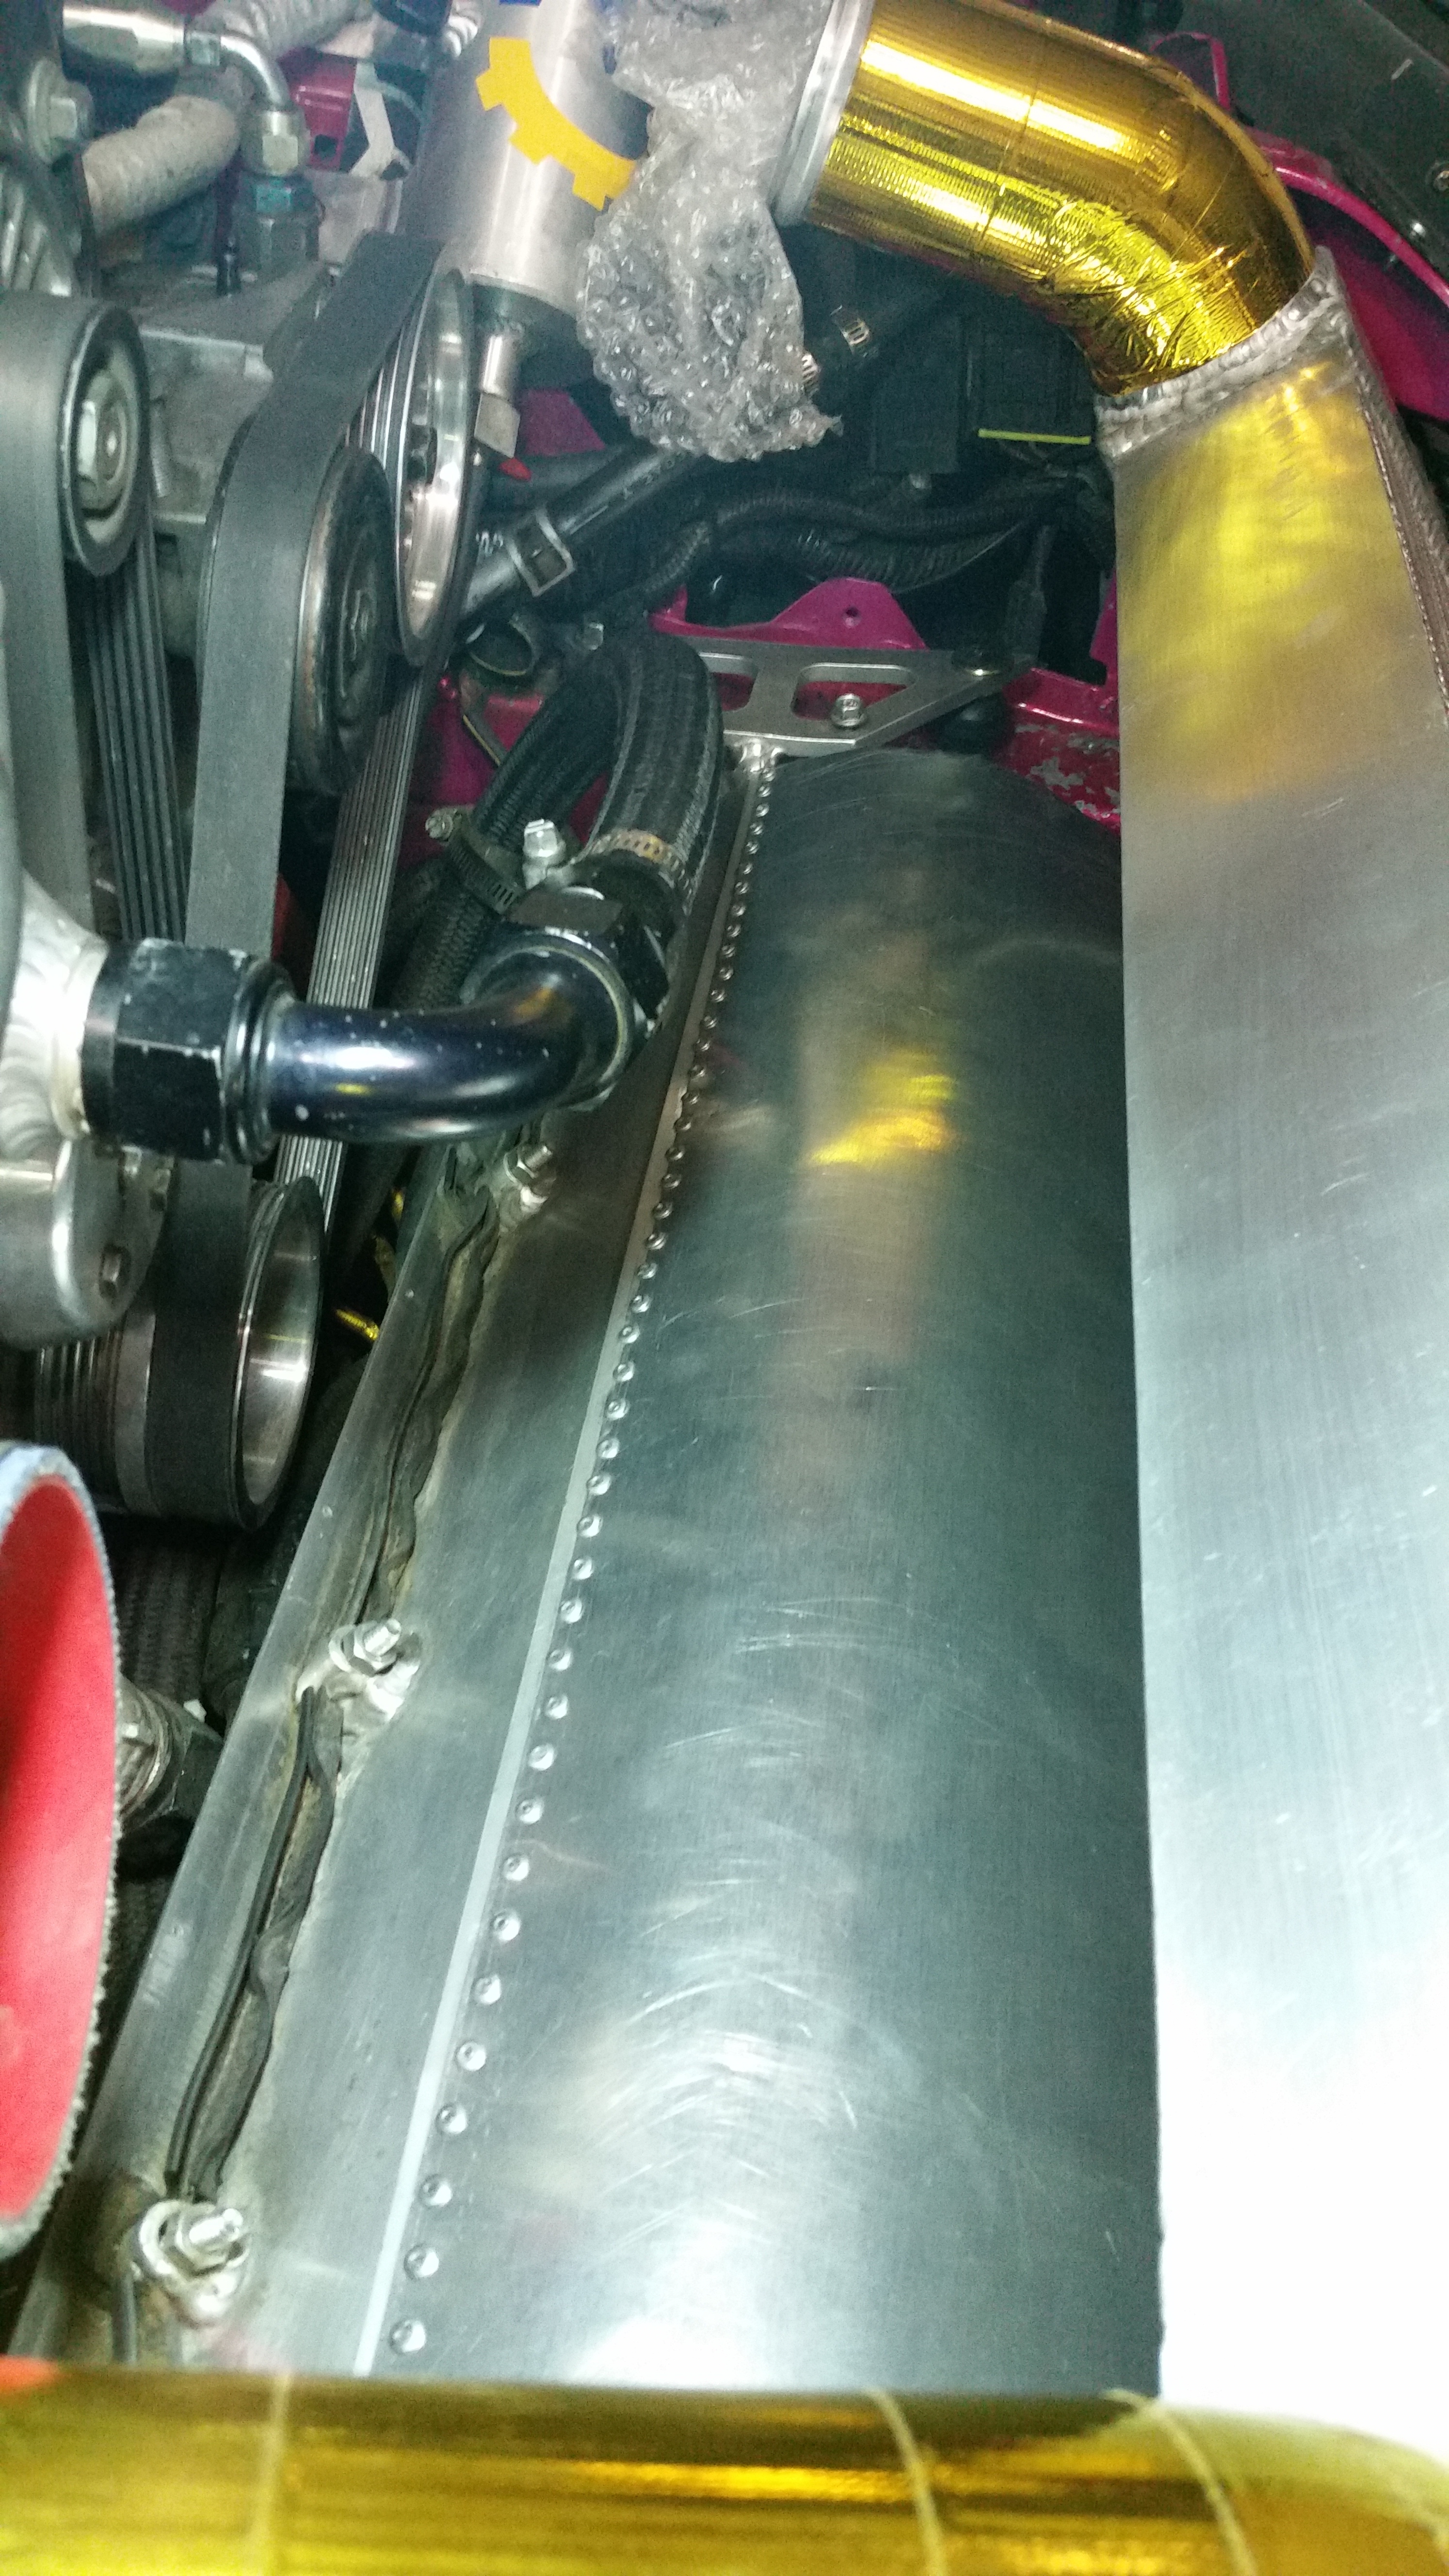
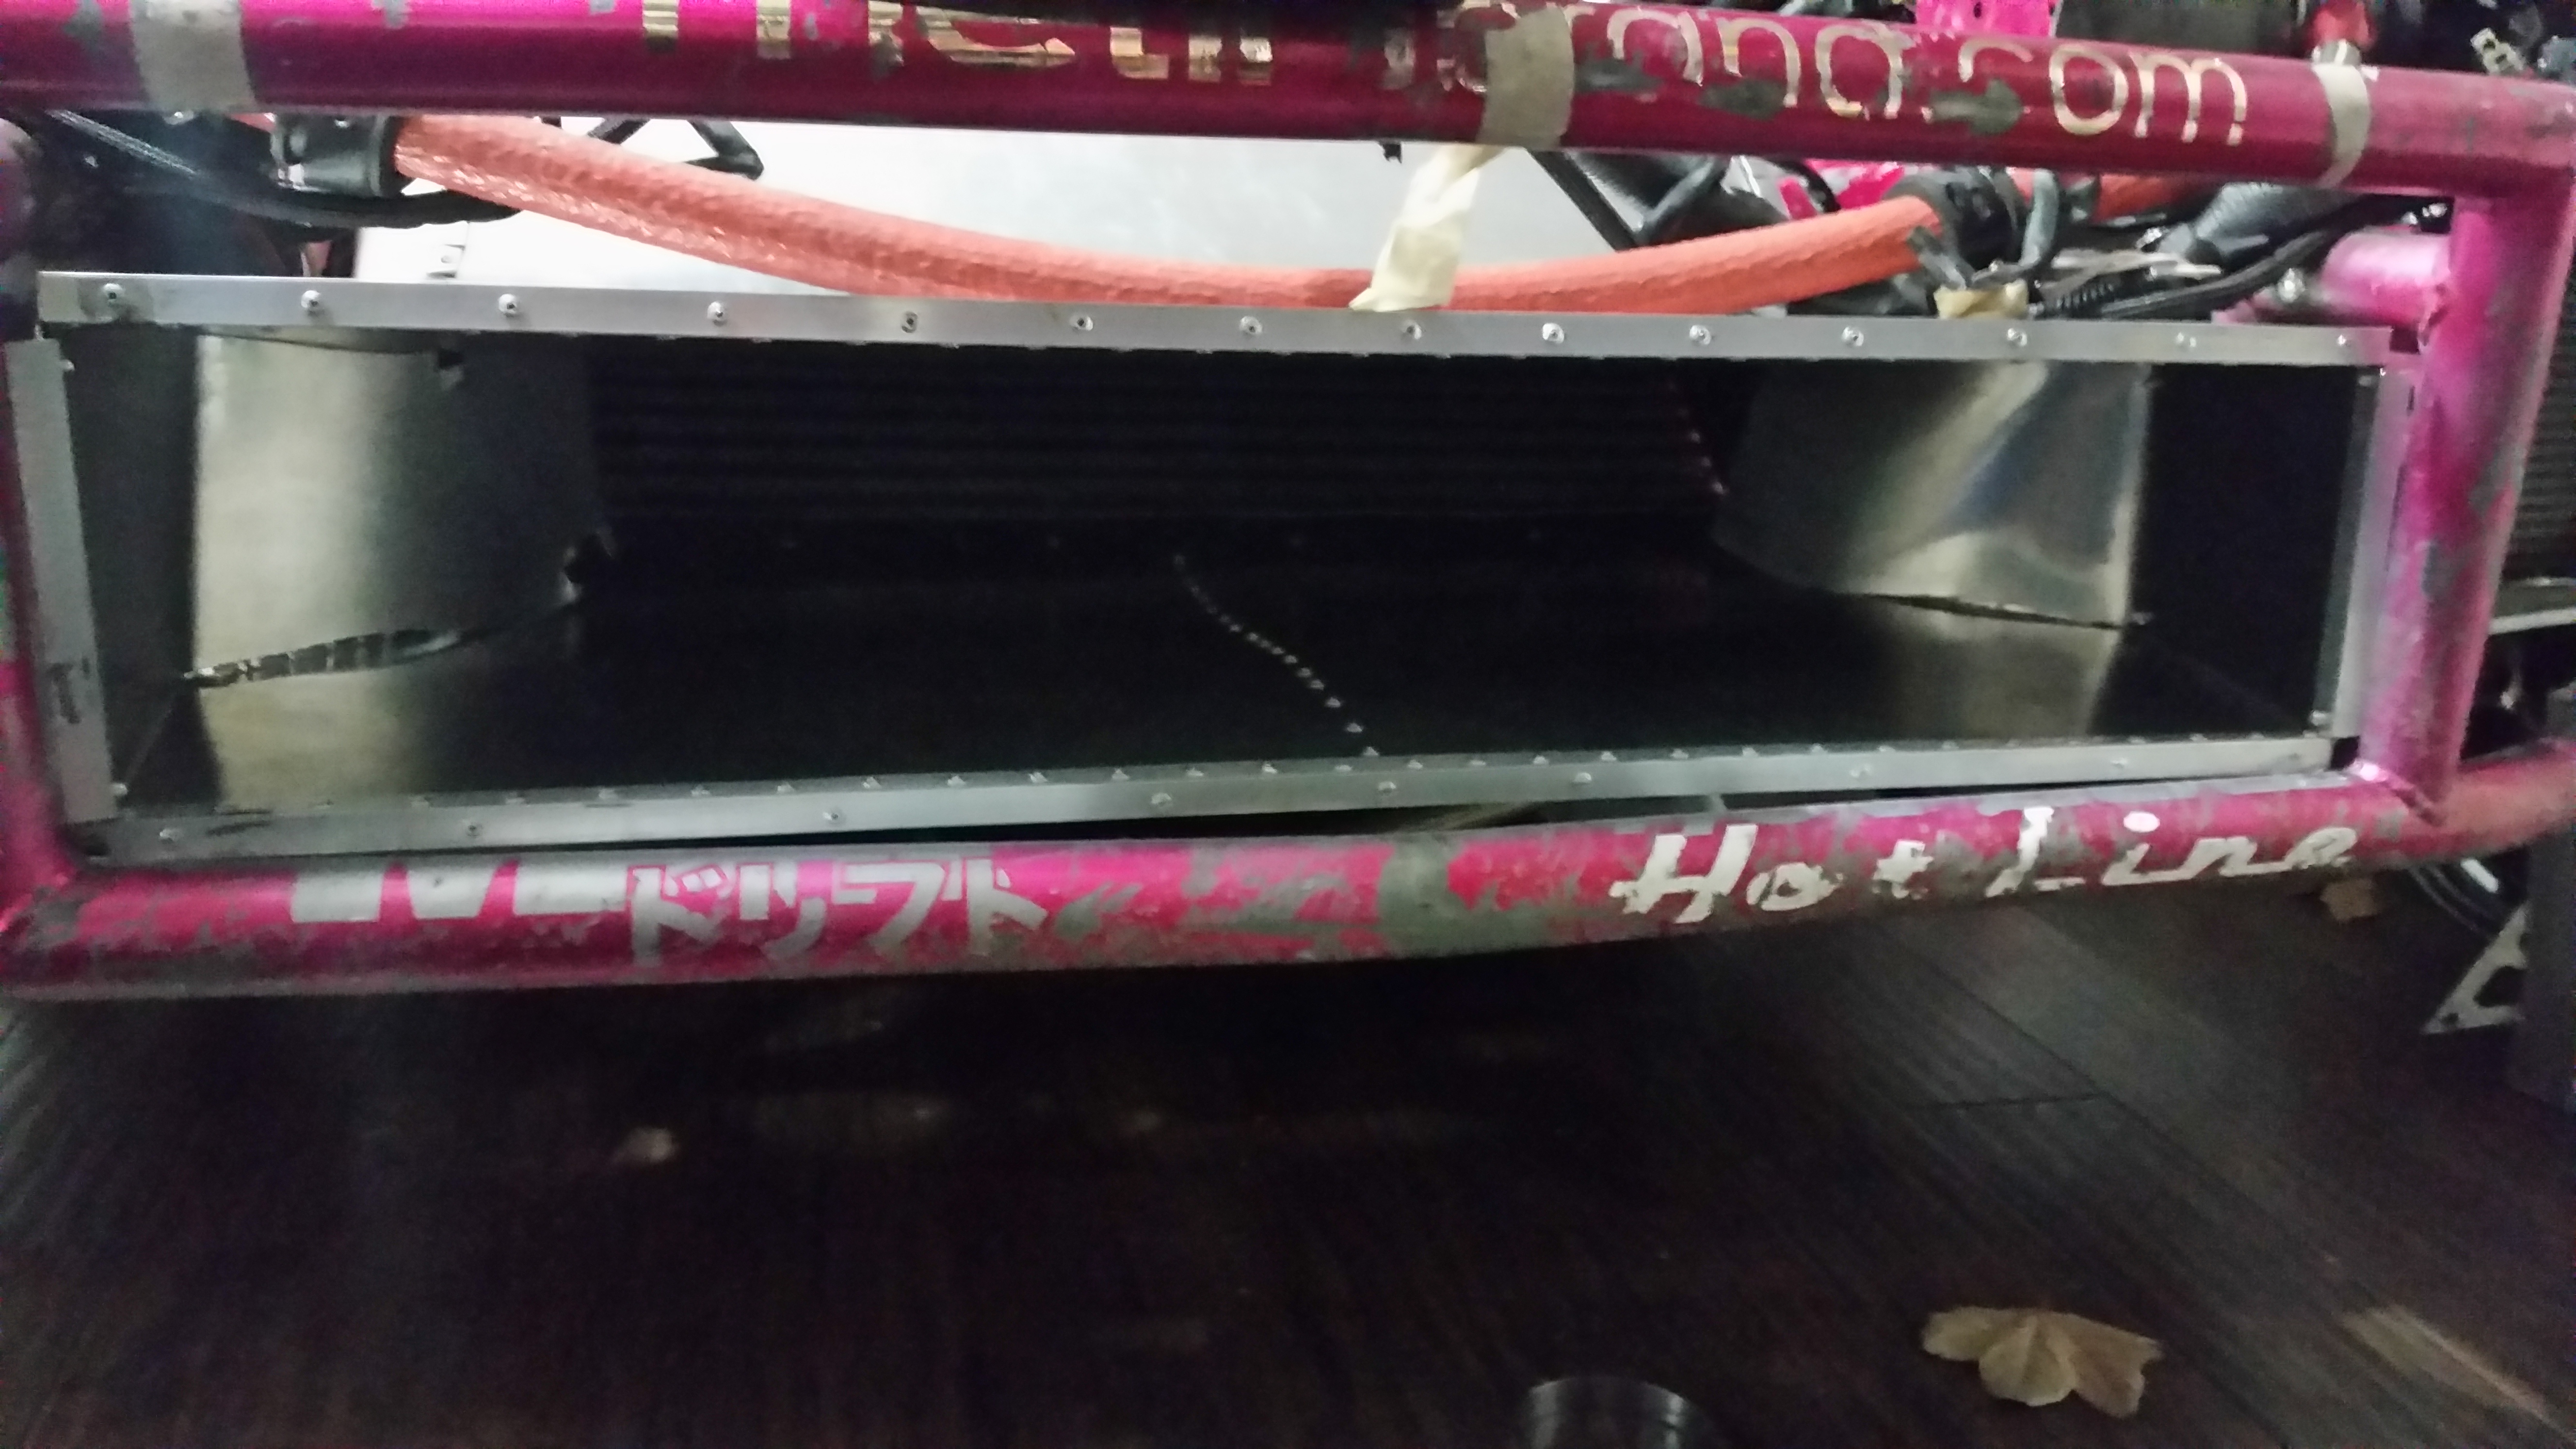
And here she is, all sealed up with exhaust tape.
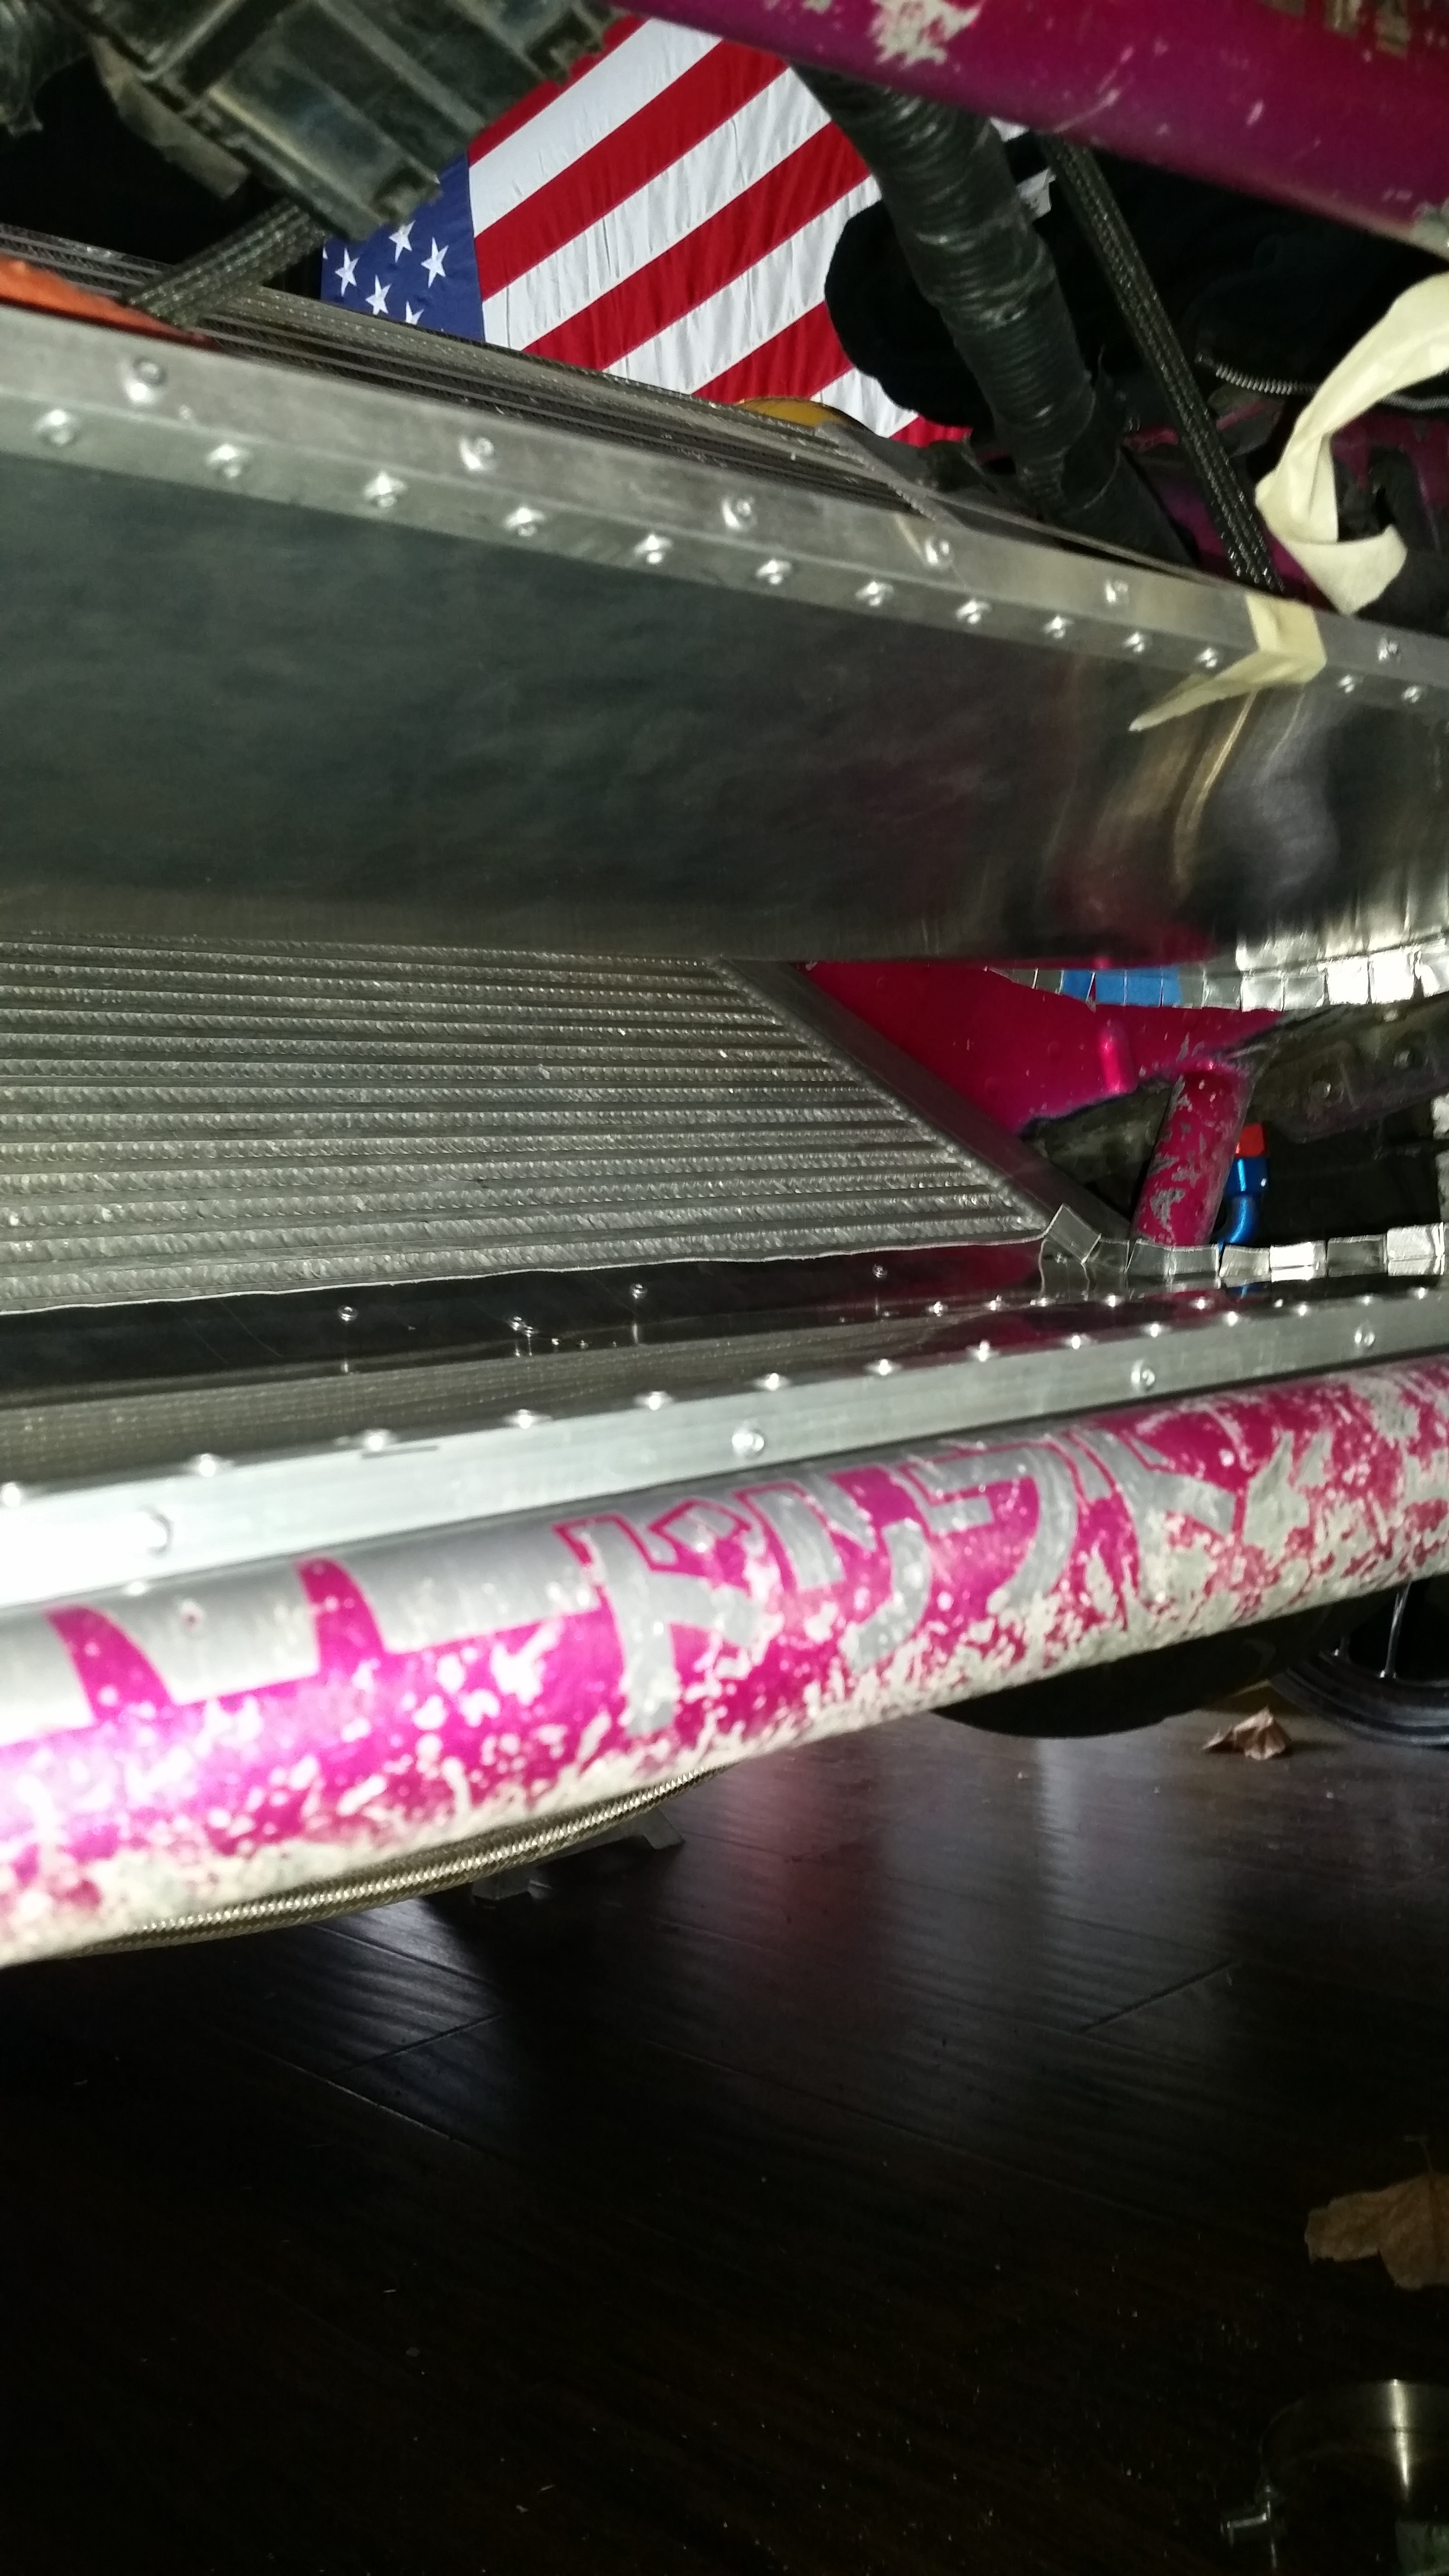
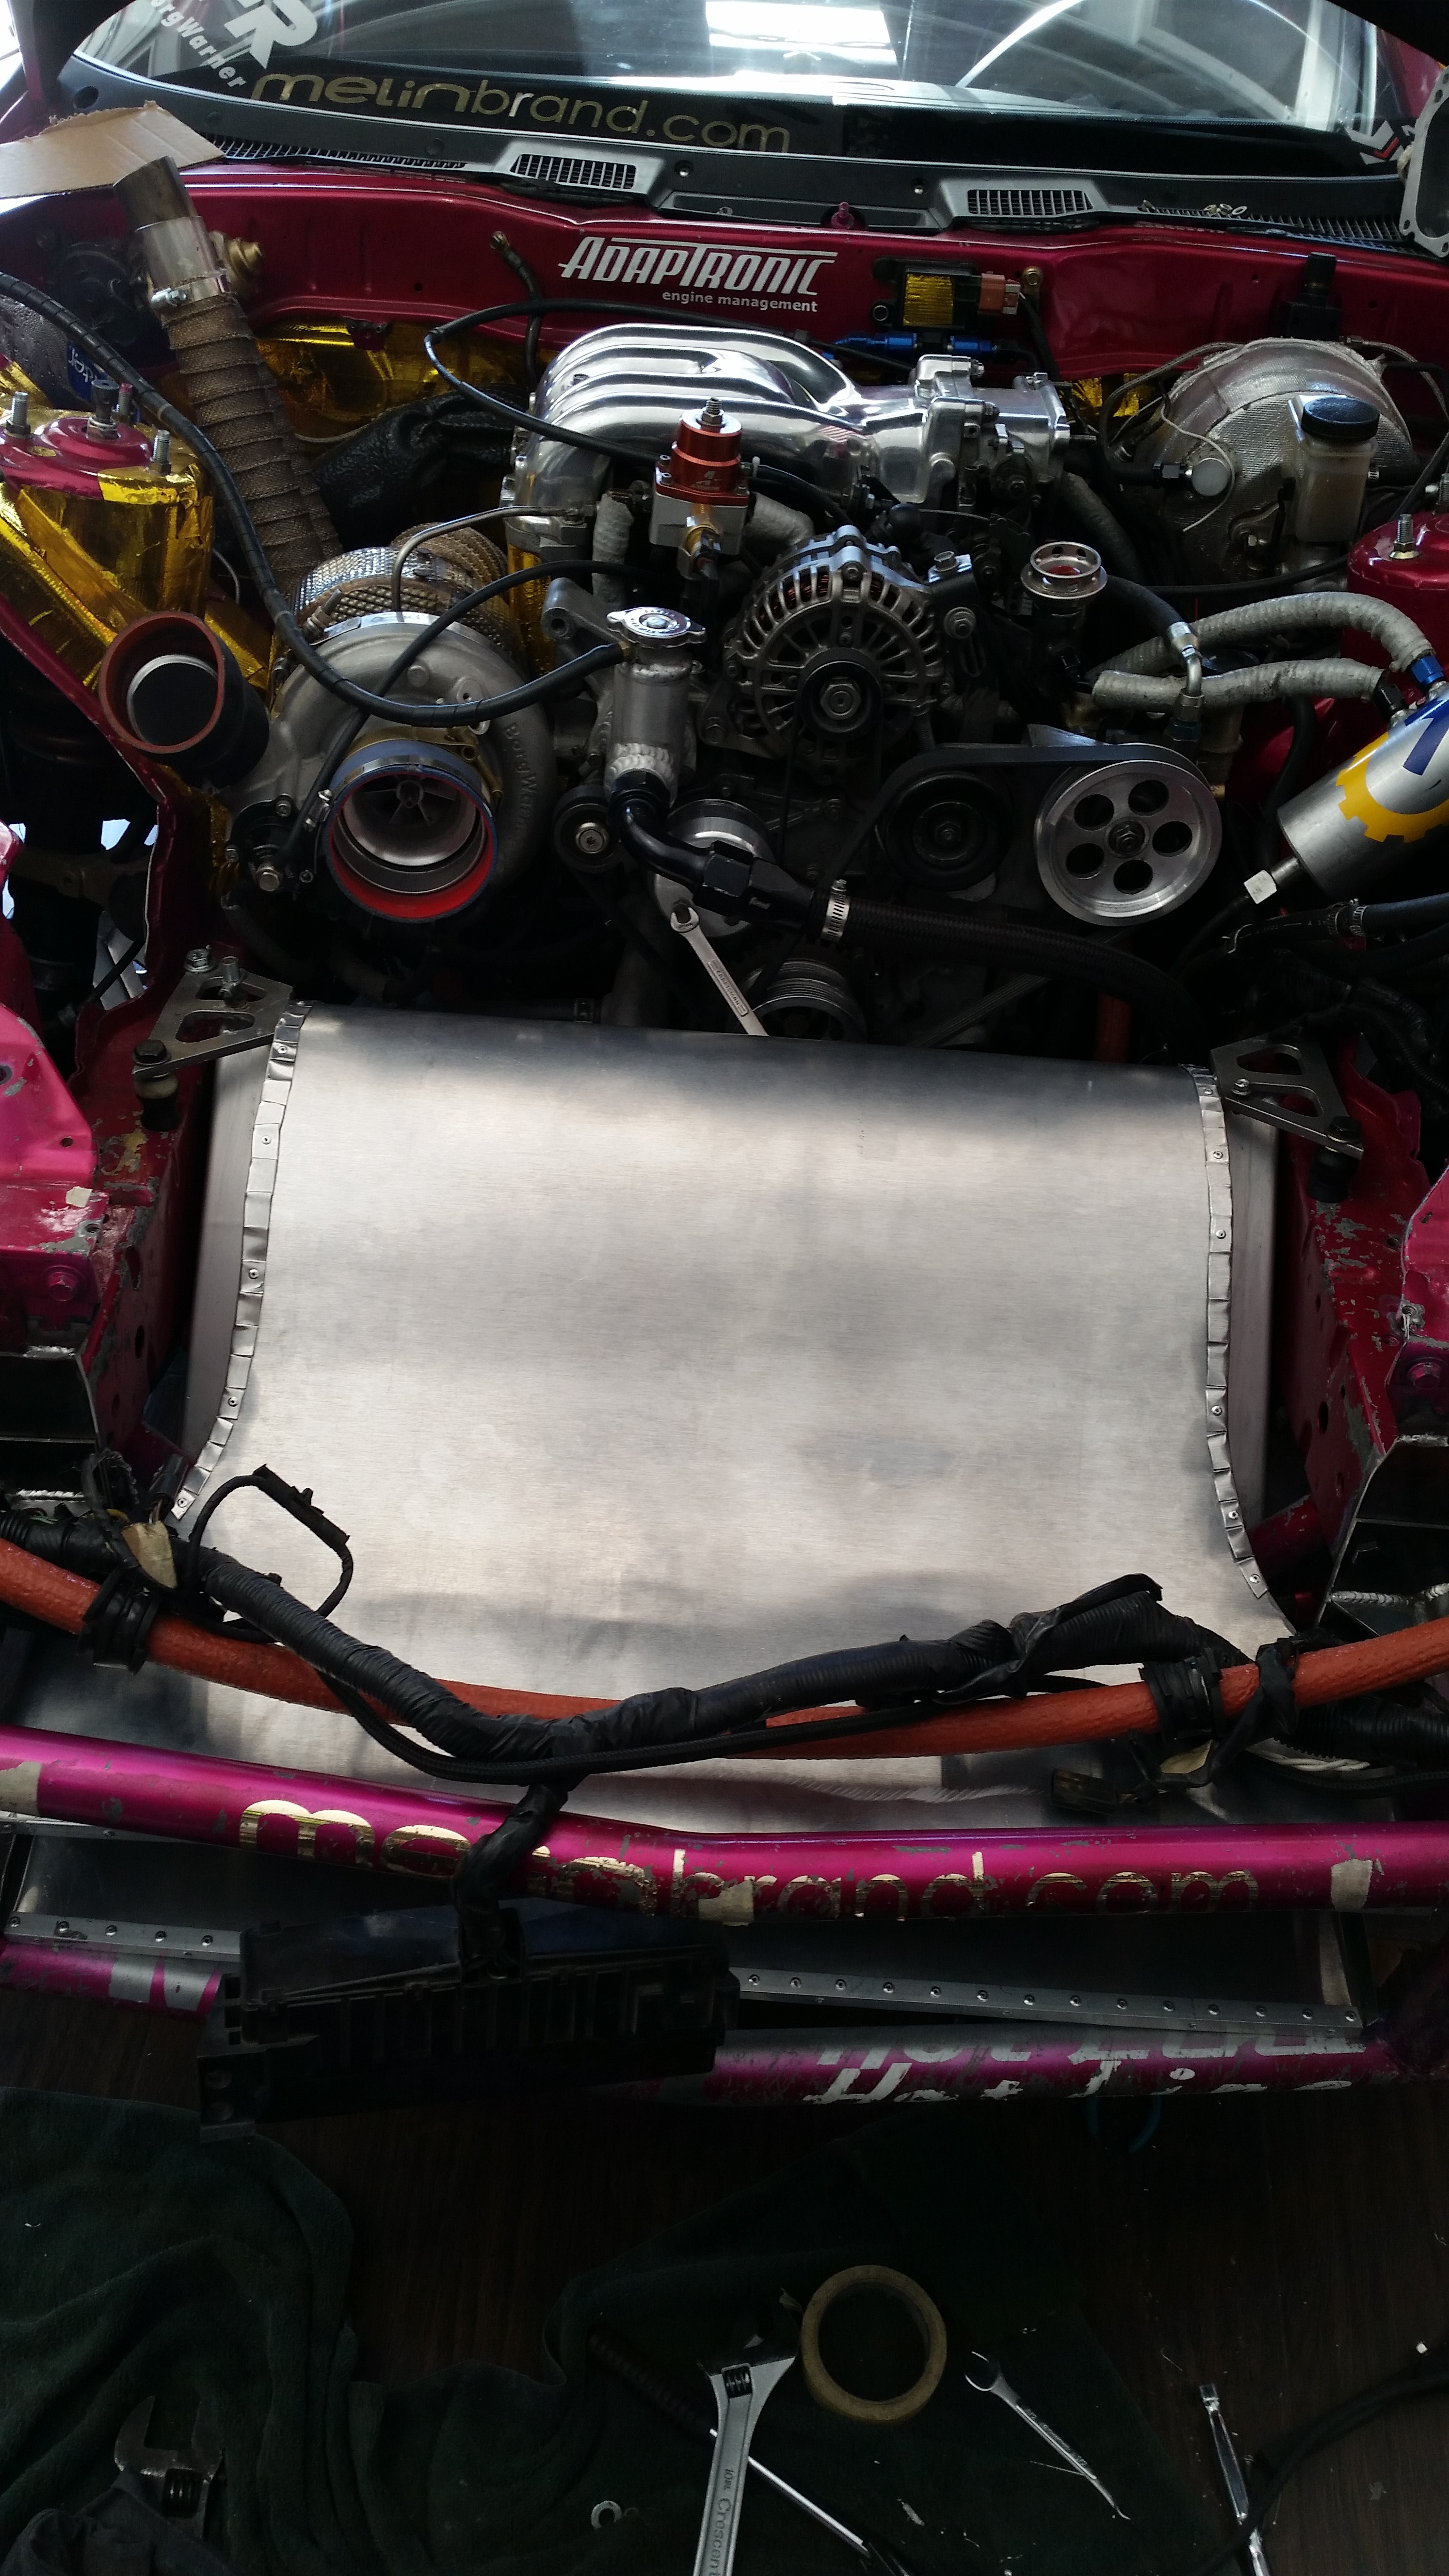
Installed
With New bumper opening
More Updates soon!!! Starting the IC duct ASAP.. shouldn't take as long now that I have the correct shape and Know exactly where I want it etc.
Stay tuned!!
Thanks for reading!!
Brandon working on his freshly wrapped 14
go pro's all over
Mick in the longest lasting most solid and reliable 300+WHP SR 13 on the planet. going on some 13 Years.... Car runs flawlessly.
rippers
So I got all pumped up and dedicated the rest of the night to finishing the Radiator duct. Caught myself a couple times trying to cut corners. Took some discipline..but I made sure not to haha.
Sides fitted and a couple rivits pulled on each side.
side shot
And here she is, all sealed up with exhaust tape.
Installed
With New bumper opening
More Updates soon!!! Starting the IC duct ASAP.. shouldn't take as long now that I have the correct shape and Know exactly where I want it etc.
Stay tuned!!
Thanks for reading!!
02-10-15, 07:05 PM
#2248
02-11-15, 11:55 AM
#2249
Dang it.... I saw them but I didn't want to look at how much they "Might" be haha. Saving as much as possible for this upcoming season. It's gonna be $$$$. But thanks man. I don't much like Laying glass. But I should really look into it... thats a good trade/skill to have.
02-11-15, 06:03 PM
#2250
Make an assessment...

iTrader: (3)
I think they were on sale when I got mine, but I still haven't used it, and if I do the new ducting in glass, I might never use it haha. I've never really laid fiberglass before. I did the back of my Speedhut gauges, but my buddy did the mix for me. That's the part I'm always afraid of messing up lol. I plan to get better at it this year though and do some stuff myself. That and welding hopefully lol.