JhnRX7's 2017 Season Track Tour: Rotary FD & MX-5 Powah'ed
#226
Glad to see you made it back and that you are still using the FD as it was made for (driving enjoyment.) I was bummed that originally left as this was one of my favorite builds since you were doing to much to make the car track ready. Any update picks and changes of the past few years on the rest of the setup? I would like to know how well your ducting and the endless pads/fluid setup faired as I plan on keeping the stock calipers so it won't bump me out of a class.
#227
Thread Starter
Golf Cart Hooligan
iTrader: (12)
Joined: Oct 2002
Posts: 993
Likes: 23
From: Philadelphia, PA
Glad to see you made it back and that you are still using the FD as it was made for (driving enjoyment.) I was bummed that originally left as this was one of my favorite builds since you were doing to much to make the car track ready. Any update picks and changes of the past few years on the rest of the setup? I would like to know how well your ducting and the endless pads/fluid setup faired as I plan on keeping the stock calipers so it won't bump me out of a class.
- Ohlins
- AEM Series 2 ECU
- Returned back to sequential turbos (controlled by the AEM)
- Set the car up for Flex Fuel. 316L SS hardlines from tank to fuel rails w/ short hose flex sections.
- SBG Brake kit front / rear
- 17x9.5 +38 RPF1 w/ 255/40/17 NT01 track wheels
- RZ Recaros recovered by ESH Upholstery (black alcantara)
- Custom 99 spec steering wheel (D shape w/ alcantara)
There is probably more, but those are the big items.
Unfortunately I did not have a lot of time on the OEM brakes w/ endless pads as I ended up moving to the SBG setup. I have a good friend who has been running the OEM / endless setup for a while now on a car that makes more power than mine. The setup has been working well for him at the expense of frequent disc changes. With my setup now its overbuilt where i don't have to think about it much.
#228
Were you and Scrub getting any time data at Road Atlanta? Was that 1:25 you best lap?
Good seeing you guys last weekend. I've been watching the weather and Saturday now is looking like rain. I will keep an eye on it and see what happens.
Good seeing you guys last weekend. I've been watching the weather and Saturday now is looking like rain. I will keep an eye on it and see what happens.
Last edited by ZoomZoom; 03-28-17 at 01:13 PM.
#231
Since i last left off on this thread I have done:
- Ohlins
- AEM Series 2 ECU
- Returned back to sequential turbos (controlled by the AEM)
- Set the car up for Flex Fuel. 316L SS hardlines from tank to fuel rails w/ short hose flex sections.
- SBG Brake kit front / rear
- 17x9.5 +38 RPF1 w/ 255/40/17 NT01 track wheels
- RZ Recaros recovered by ESH Upholstery (black alcantara)
- Custom 99 spec steering wheel (D shape w/ alcantara)
There is probably more, but those are the big items.
Unfortunately I did not have a lot of time on the OEM brakes w/ endless pads as I ended up moving to the SBG setup. I have a good friend who has been running the OEM / endless setup for a while now on a car that makes more power than mine. The setup has been working well for him at the expense of frequent disc changes. With my setup now its overbuilt where i don't have to think about it much.
#232
Thread Starter
Golf Cart Hooligan
iTrader: (12)
Joined: Oct 2002
Posts: 993
Likes: 23
From: Philadelphia, PA
I have the AEM Series 2 ECU. Install is very easy requiring only one 4 pin DTM connector with power, ground, can H and Can L all coming from the ECU. I made a bracket with a CNC plasma table that bolts on with two bolts and is easily removed when not in use.
At first, I felt the AIM was a bit limited in what it allowed you to do as far as viewing ECU data. However after using it I am completely sold. The software interface is VERY good for both dash setup and data analysis. Also the lap timing functions are effortless and just work the first time. Most other loggers I have used require a bit of fiddling around with and don't always end up actually displaying your lap times in real time.
On the street / seat of the pants feel, the transition feels perfect. In 4th and 5th its like its not even there. However, looking at the logs the boost trace looks like it could be improved. Specifically a spike when the second turbo comes online. I am going to add a second solenoid (controlled by the same PWM output) and see if that makes any difference.
#233
Thread Starter
Golf Cart Hooligan
iTrader: (12)
Joined: Oct 2002
Posts: 993
Likes: 23
From: Philadelphia, PA
Got the FD back out on track this past weekend at NJMP. The South Jersey region of the SCCA is starting up a new PDX program (HPDE), myself and a few other guys joined for the weekend on the Lightning track. Had a bunch of fun with Dan in his silver FD, another buddy in his Cayman and Jason in his Miata.
Struggled with the car a bit on this track. This track has two long right hand WOT sweepers that was hard on the left rear tire and the oil system. First session out I overfilled the catch can spraying oil all over the engine bay. Once the oil level would get down to about half full the blow by would be manageable only filling 1/4 to 1/2 of the catch can per session however my oil pressure protection began kicking in. I noticed in the logs oil pressure would drop to about 40 psi mid corner. I had to ride a fine line of keeping the oil level just over half full while emptying the catch can every session. This was frustrating especially after the car worked like a dream last month at Road Atlanta filling the catch can only about 1/4 full the WHOLE weekend. I don't plan on bringing the FD back to this track anytime soon.
My best lap of the weekend:
#234
Do you think an internally baffled oil pan, like the Len Bacon pan, would help? His pan has trap door baffles surrounding the oil pick up tube. Also, there is a baffle plate covering the top of the pan, which in essence could prevent oil slosh going up the oil fill neck.
-Jehan
-Jehan
#235
Do you think an internally baffled oil pan, like the Len Bacon pan, would help? His pan has trap door baffles surrounding the oil pick up tube. Also, there is a baffle plate covering the top of the pan, which in essence could prevent oil slosh going up the oil fill neck.
-Jehan
-Jehan
Back on topic, it's great to see you tracking the FD again and putting updates in this thread. Let me know if you come West to Mid Ohio at all. I'll likely be heading to Watkins in August of this year. Unfortunately I'm not likely making PITT this year.
#236
Thread Starter
Golf Cart Hooligan
iTrader: (12)
Joined: Oct 2002
Posts: 993
Likes: 23
From: Philadelphia, PA
Not to jump into his thread with answers, but my experience with the Bacon Sports pan is that it did not help with the catch can issues. It's a great piece and I'm still happy with it, but the baffling didn't help with slosh on a road course.
Back on topic, it's great to see you tracking the FD again and putting updates in this thread. Let me know if you come West to Mid Ohio at all. I'll likely be heading to Watkins in August of this year. Unfortunately I'm not likely making PITT this year.
Back on topic, it's great to see you tracking the FD again and putting updates in this thread. Let me know if you come West to Mid Ohio at all. I'll likely be heading to Watkins in August of this year. Unfortunately I'm not likely making PITT this year.
I would be interested in Watkins in August. I know Pete will probably make the trip as well as a few other local FD buddies.
I'm planning on doing Summit Point at the beginning of May. Probably taking the miata for that though.
#237
Thread Starter
Golf Cart Hooligan
iTrader: (12)
Joined: Oct 2002
Posts: 993
Likes: 23
From: Philadelphia, PA
So after a good summer tracking the Miata I decided to get the FD back out on track. Due to the Miata, it had been over 3 years since I last had the FD on my favorite home track, NJMP Thunderbolt. Brought the car out for the yearly PCA Delaware event and signed up for all three days. Friday was advanced / intermediate groups only with four 25 minute sessions in the morning and four 30 minute sessions in the afternoon. I had never done so many sessions in a single day before!
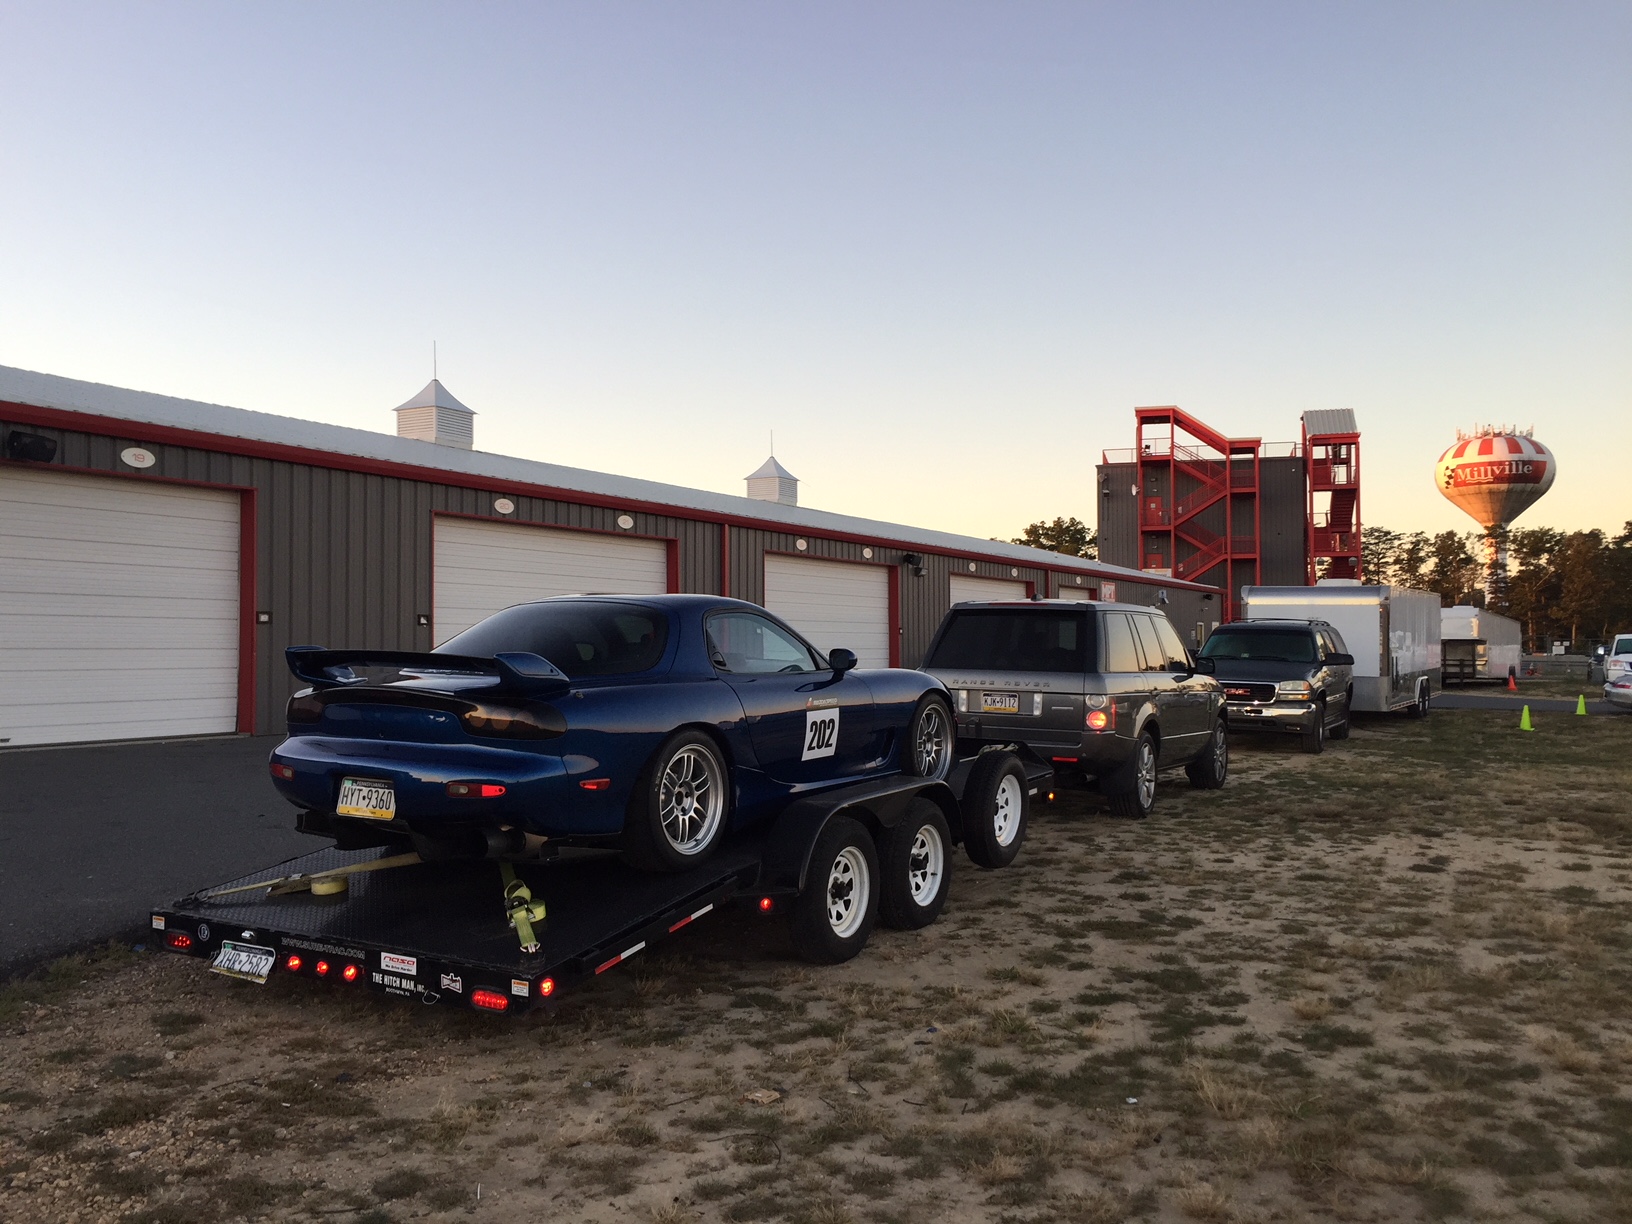
Started the weekend with the oil level about halfway up the dipstick in attempt to prevent any catch can issues. By the end of the first session I was getting into the engine protection ignition cuts for low oil pressure. Even to the point where I could see the low oil level light come on in the dash. Back in the paddock I checked the catch can and there was nothing in there. Filled the level back up to full and went back out the next session to see how it does. Towards the end of the session I start getting engine protection ignition cuts again but this time the oil gauge in the dash looks fine. Turns out it was for fuel pressure. Back in the paddock I checked the catch can and still not a drop. Oil issue taken care of! Seems the car just does not like certain tracks.
I was running a mixture of about E45 for the first and second session. With the ethanol the car sucks through the fuel. I am only able to make it a little over a session and a half before it starts fuel starving at around 3/8 tank. The remainder of the weekend I lowered the mixture to around E30 and made sure to top off the tank between sessions. With those two annoyances sorted out the car ran flawlessly the rest of the day.
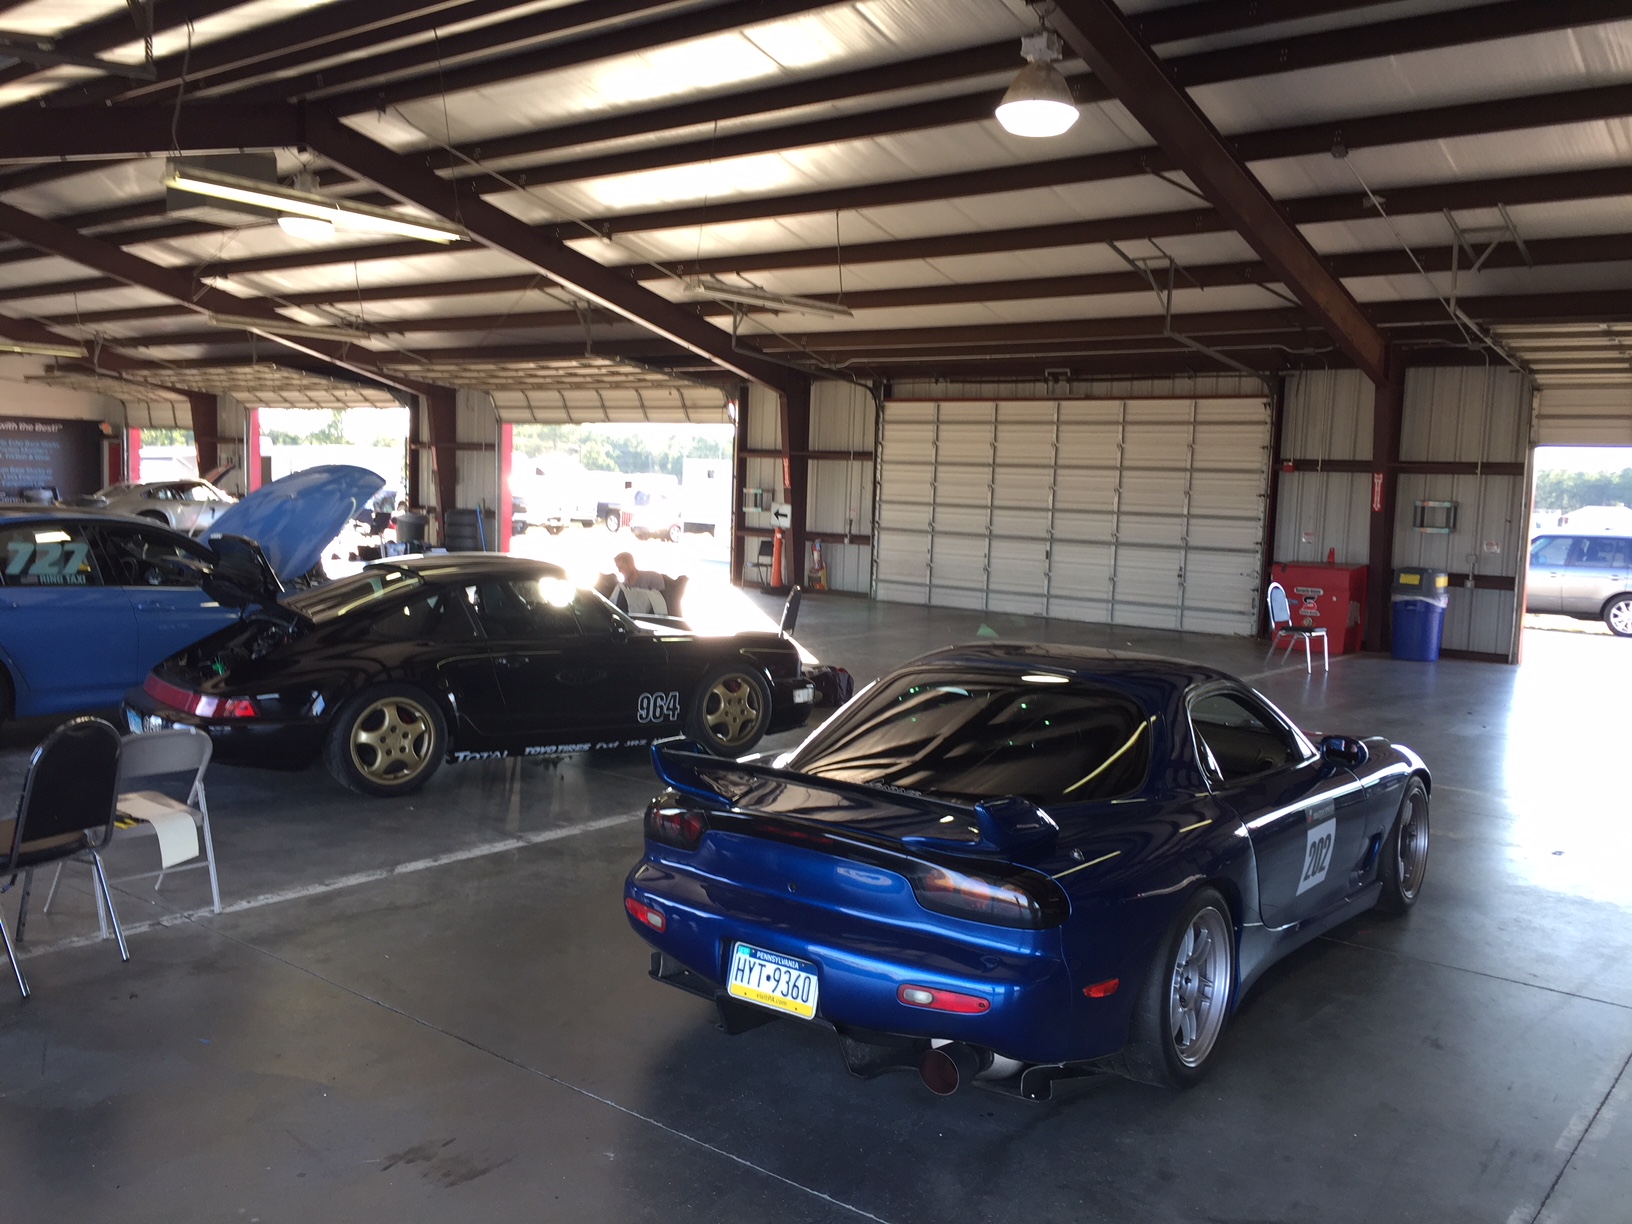
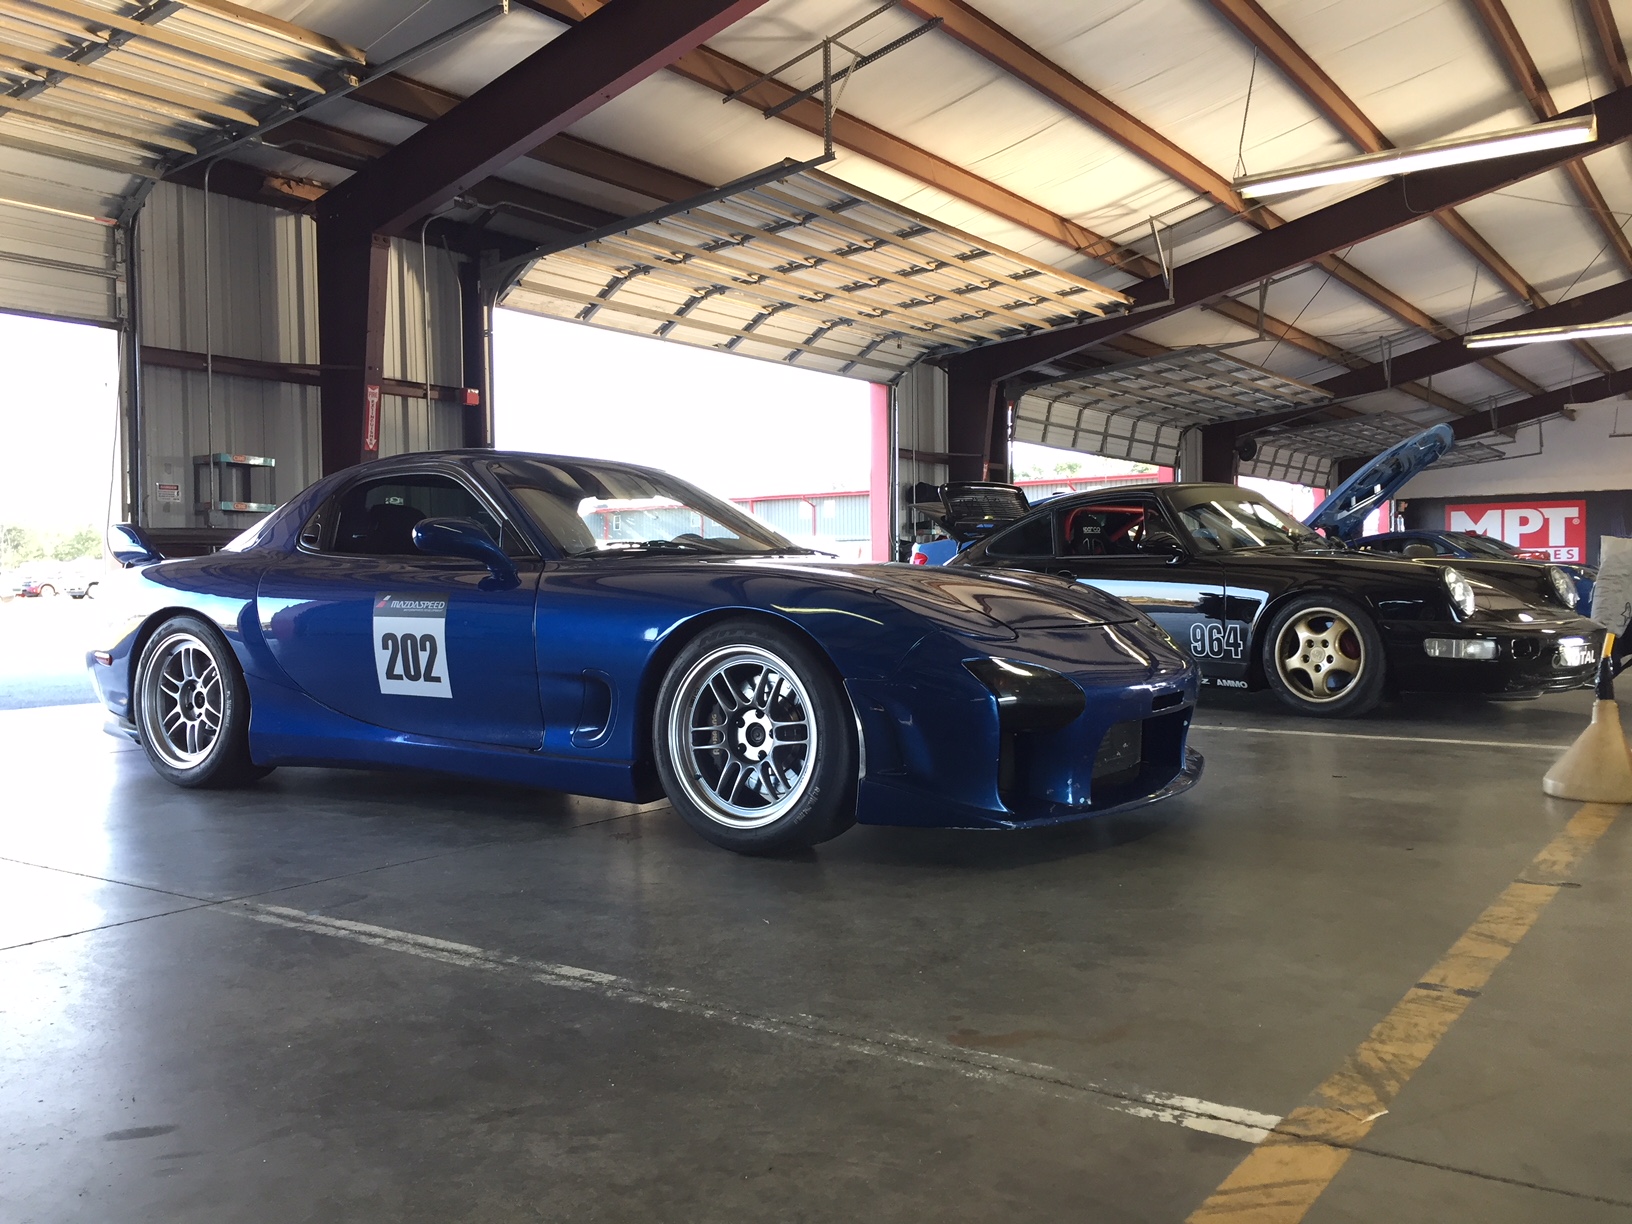
Using everything I learned about this track in the Miata and the predictive lap timing on my AIM Solo I managed to get my lap time down to a 1:32.43, a massive improvement over 3 years ago.

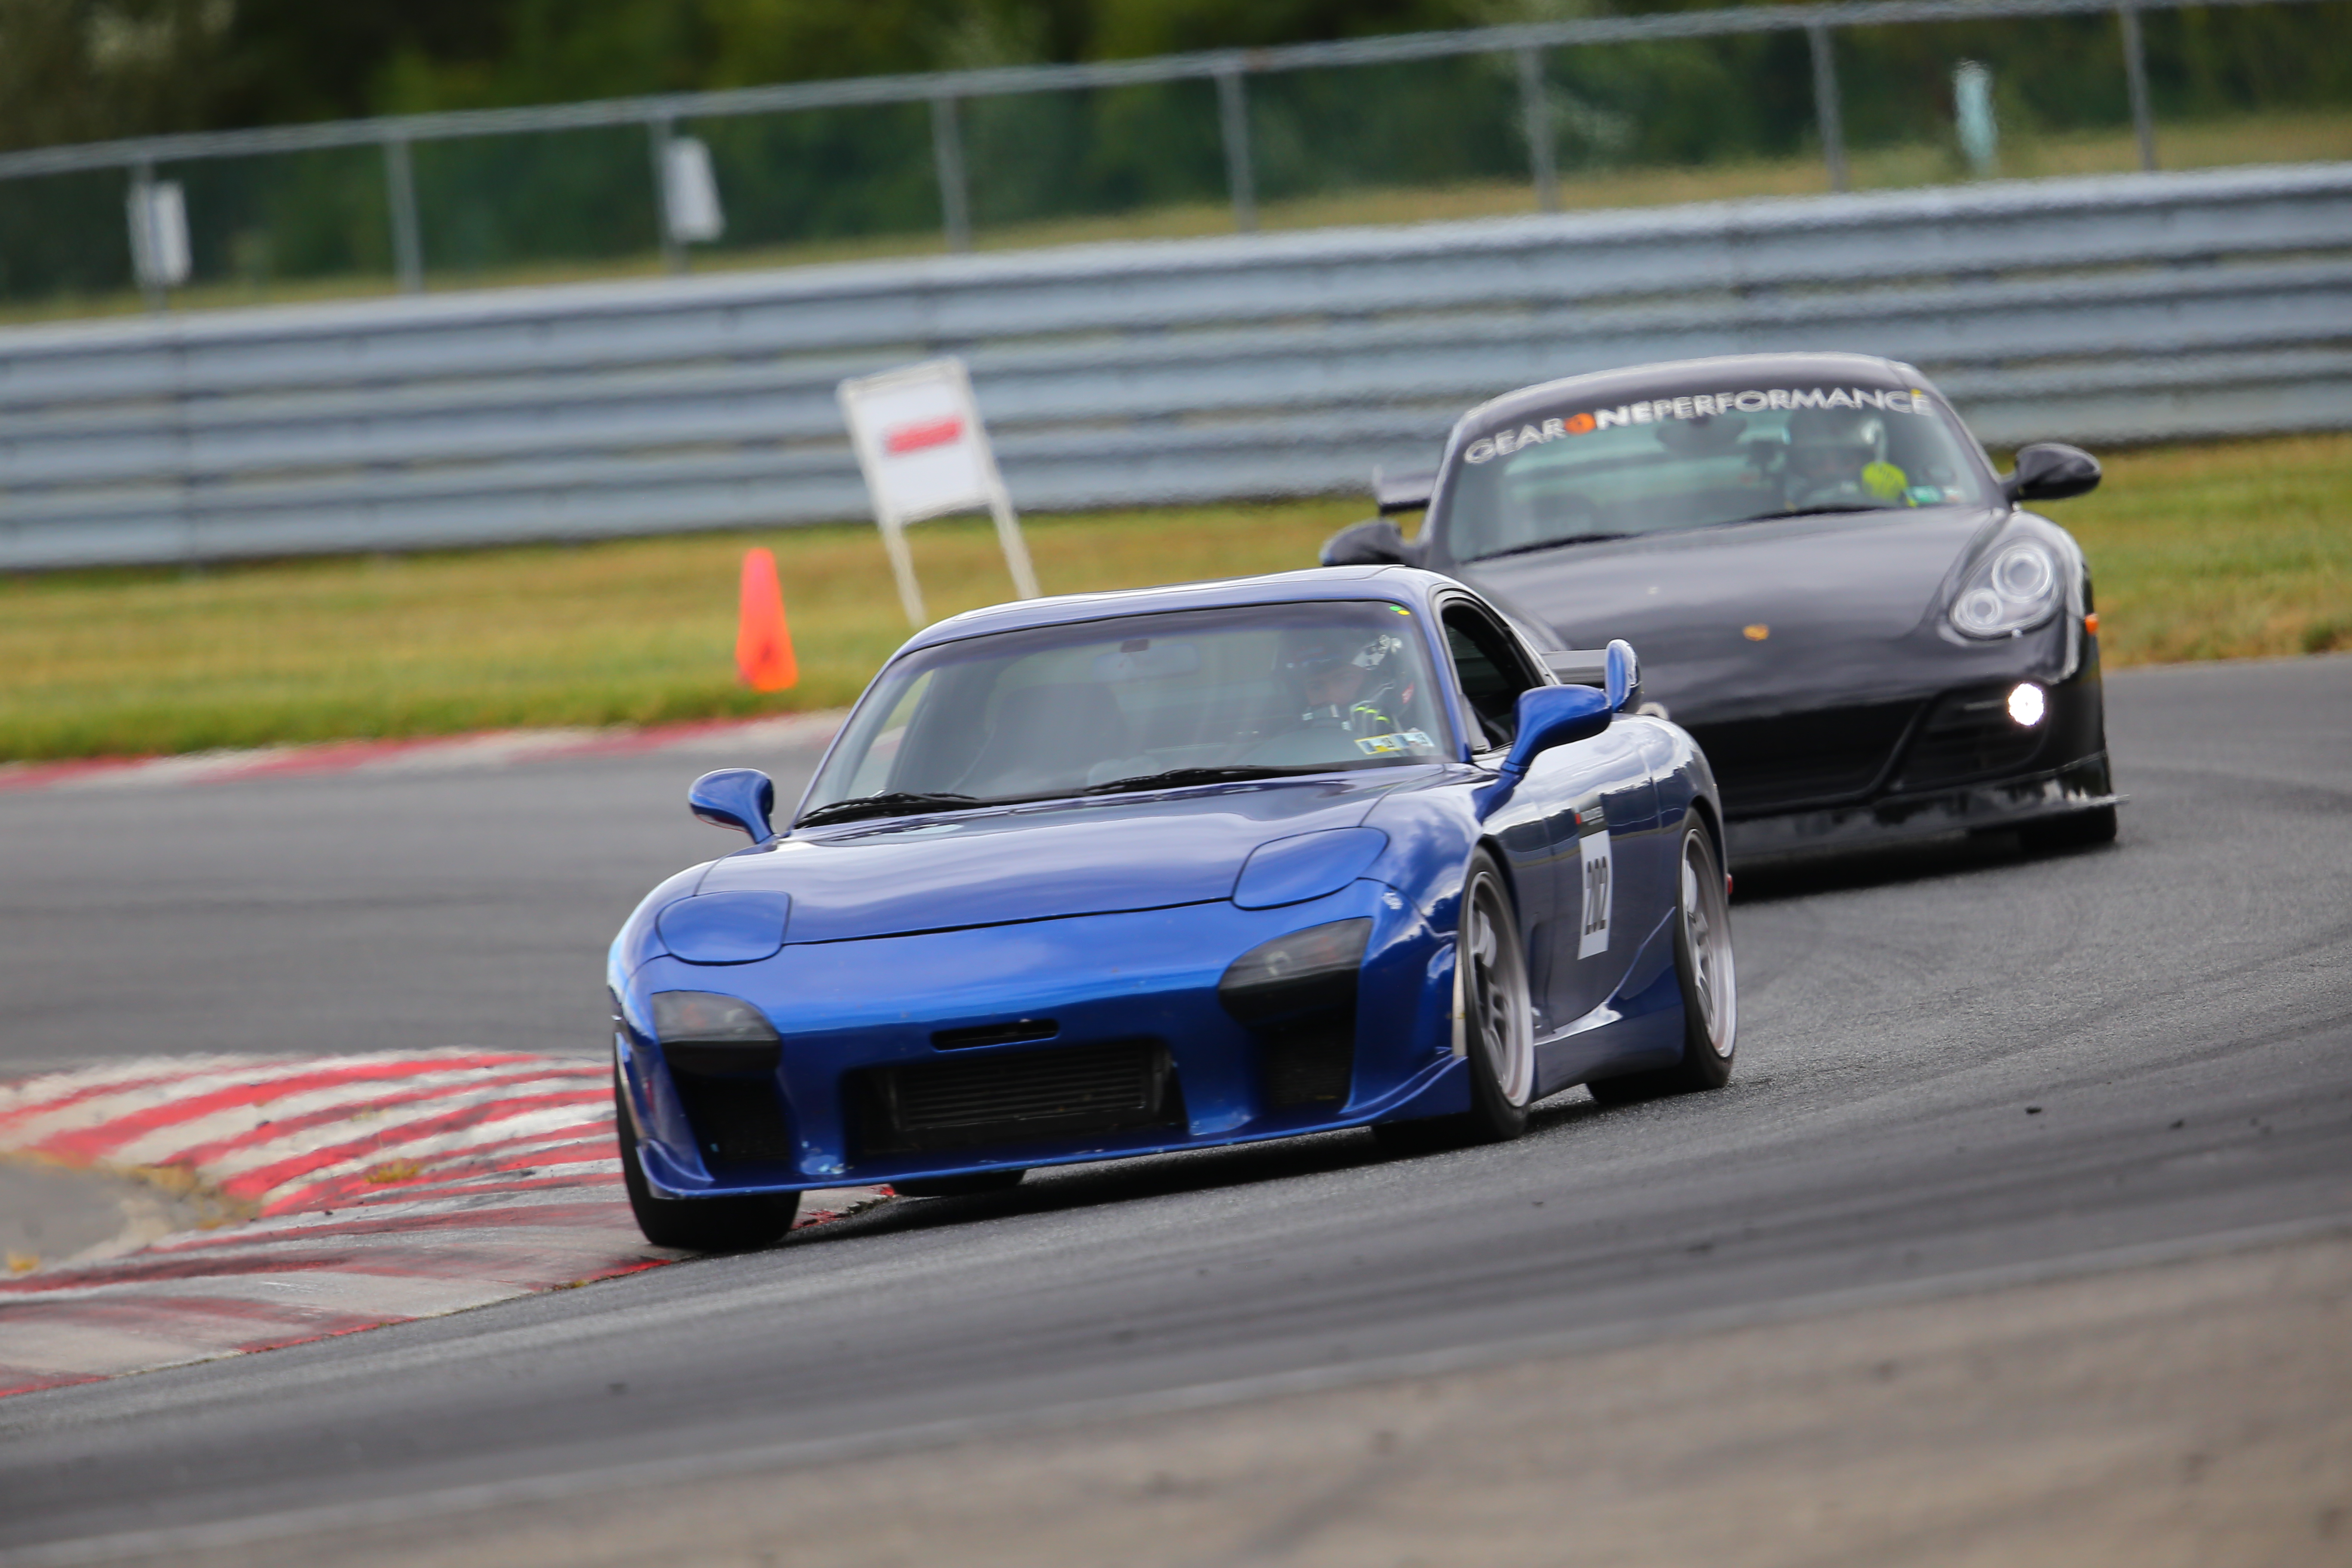
On Saturday my buddy with his prepped Cayman S came and we had a blast running through traffic together. A lot more people showed up for sat/sun so the traffic prevented any additional lap time improvement. However chasing my buddy and playing with 911 turbo's and GT3's was just as much fun.
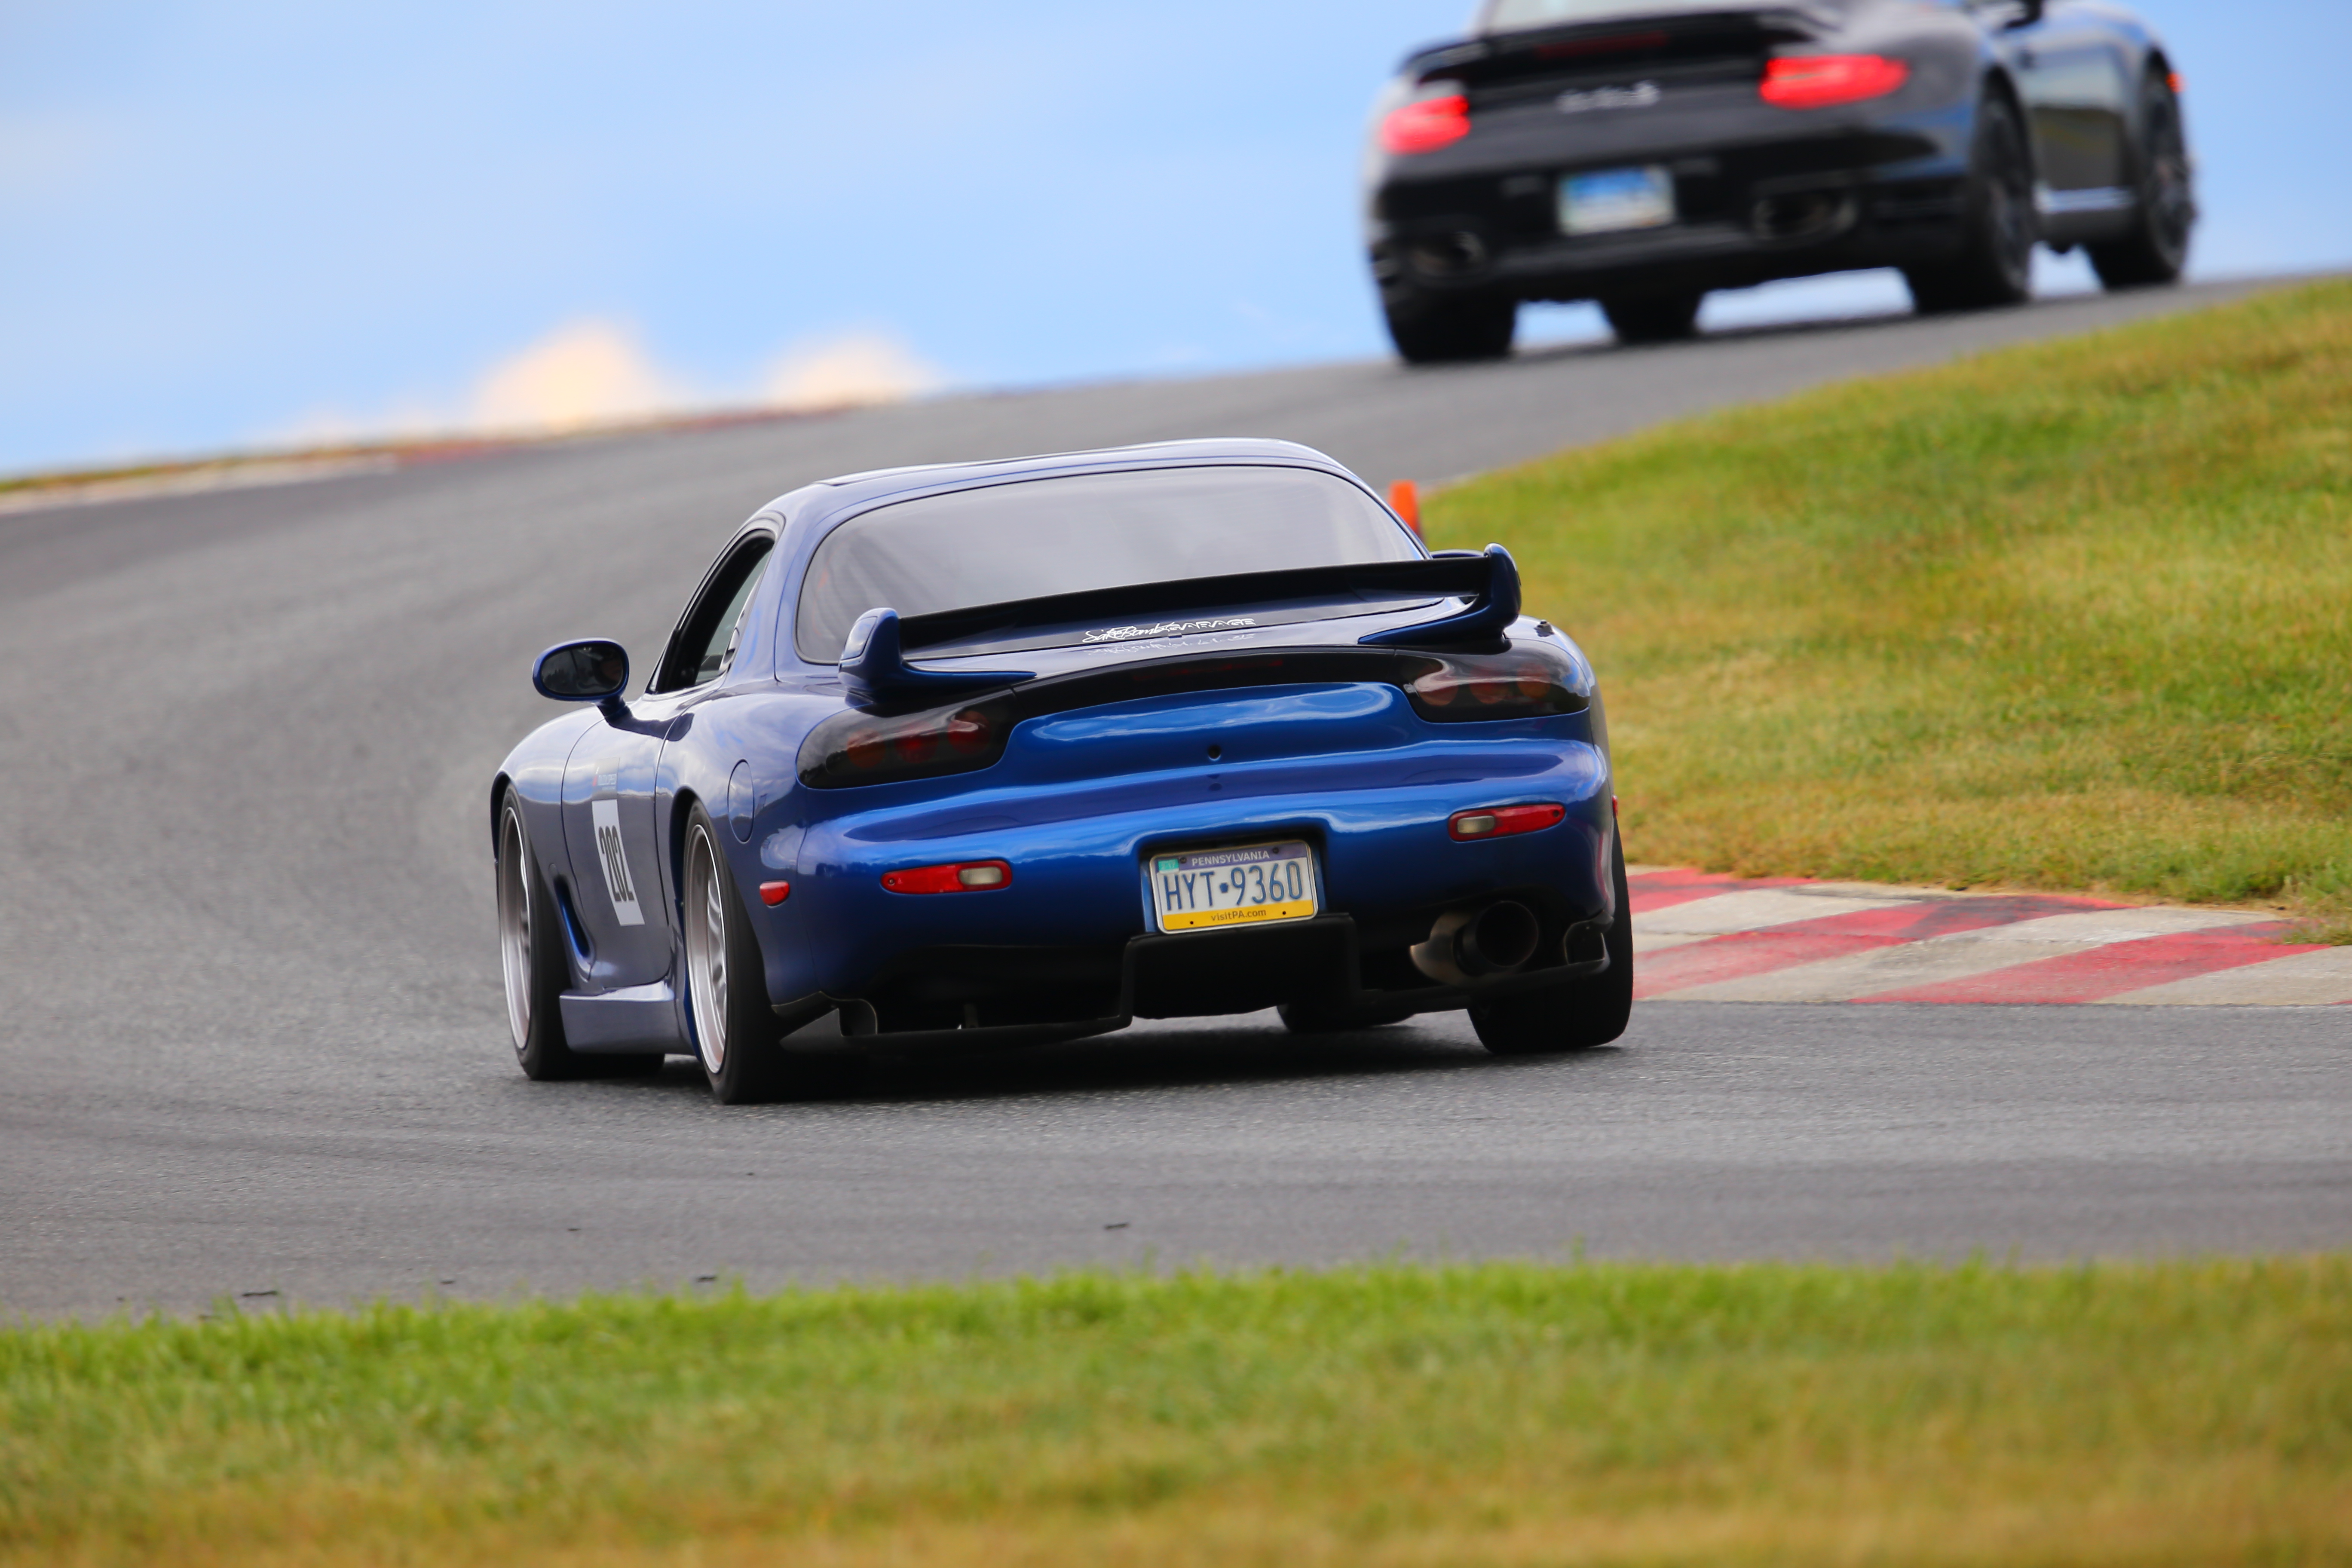
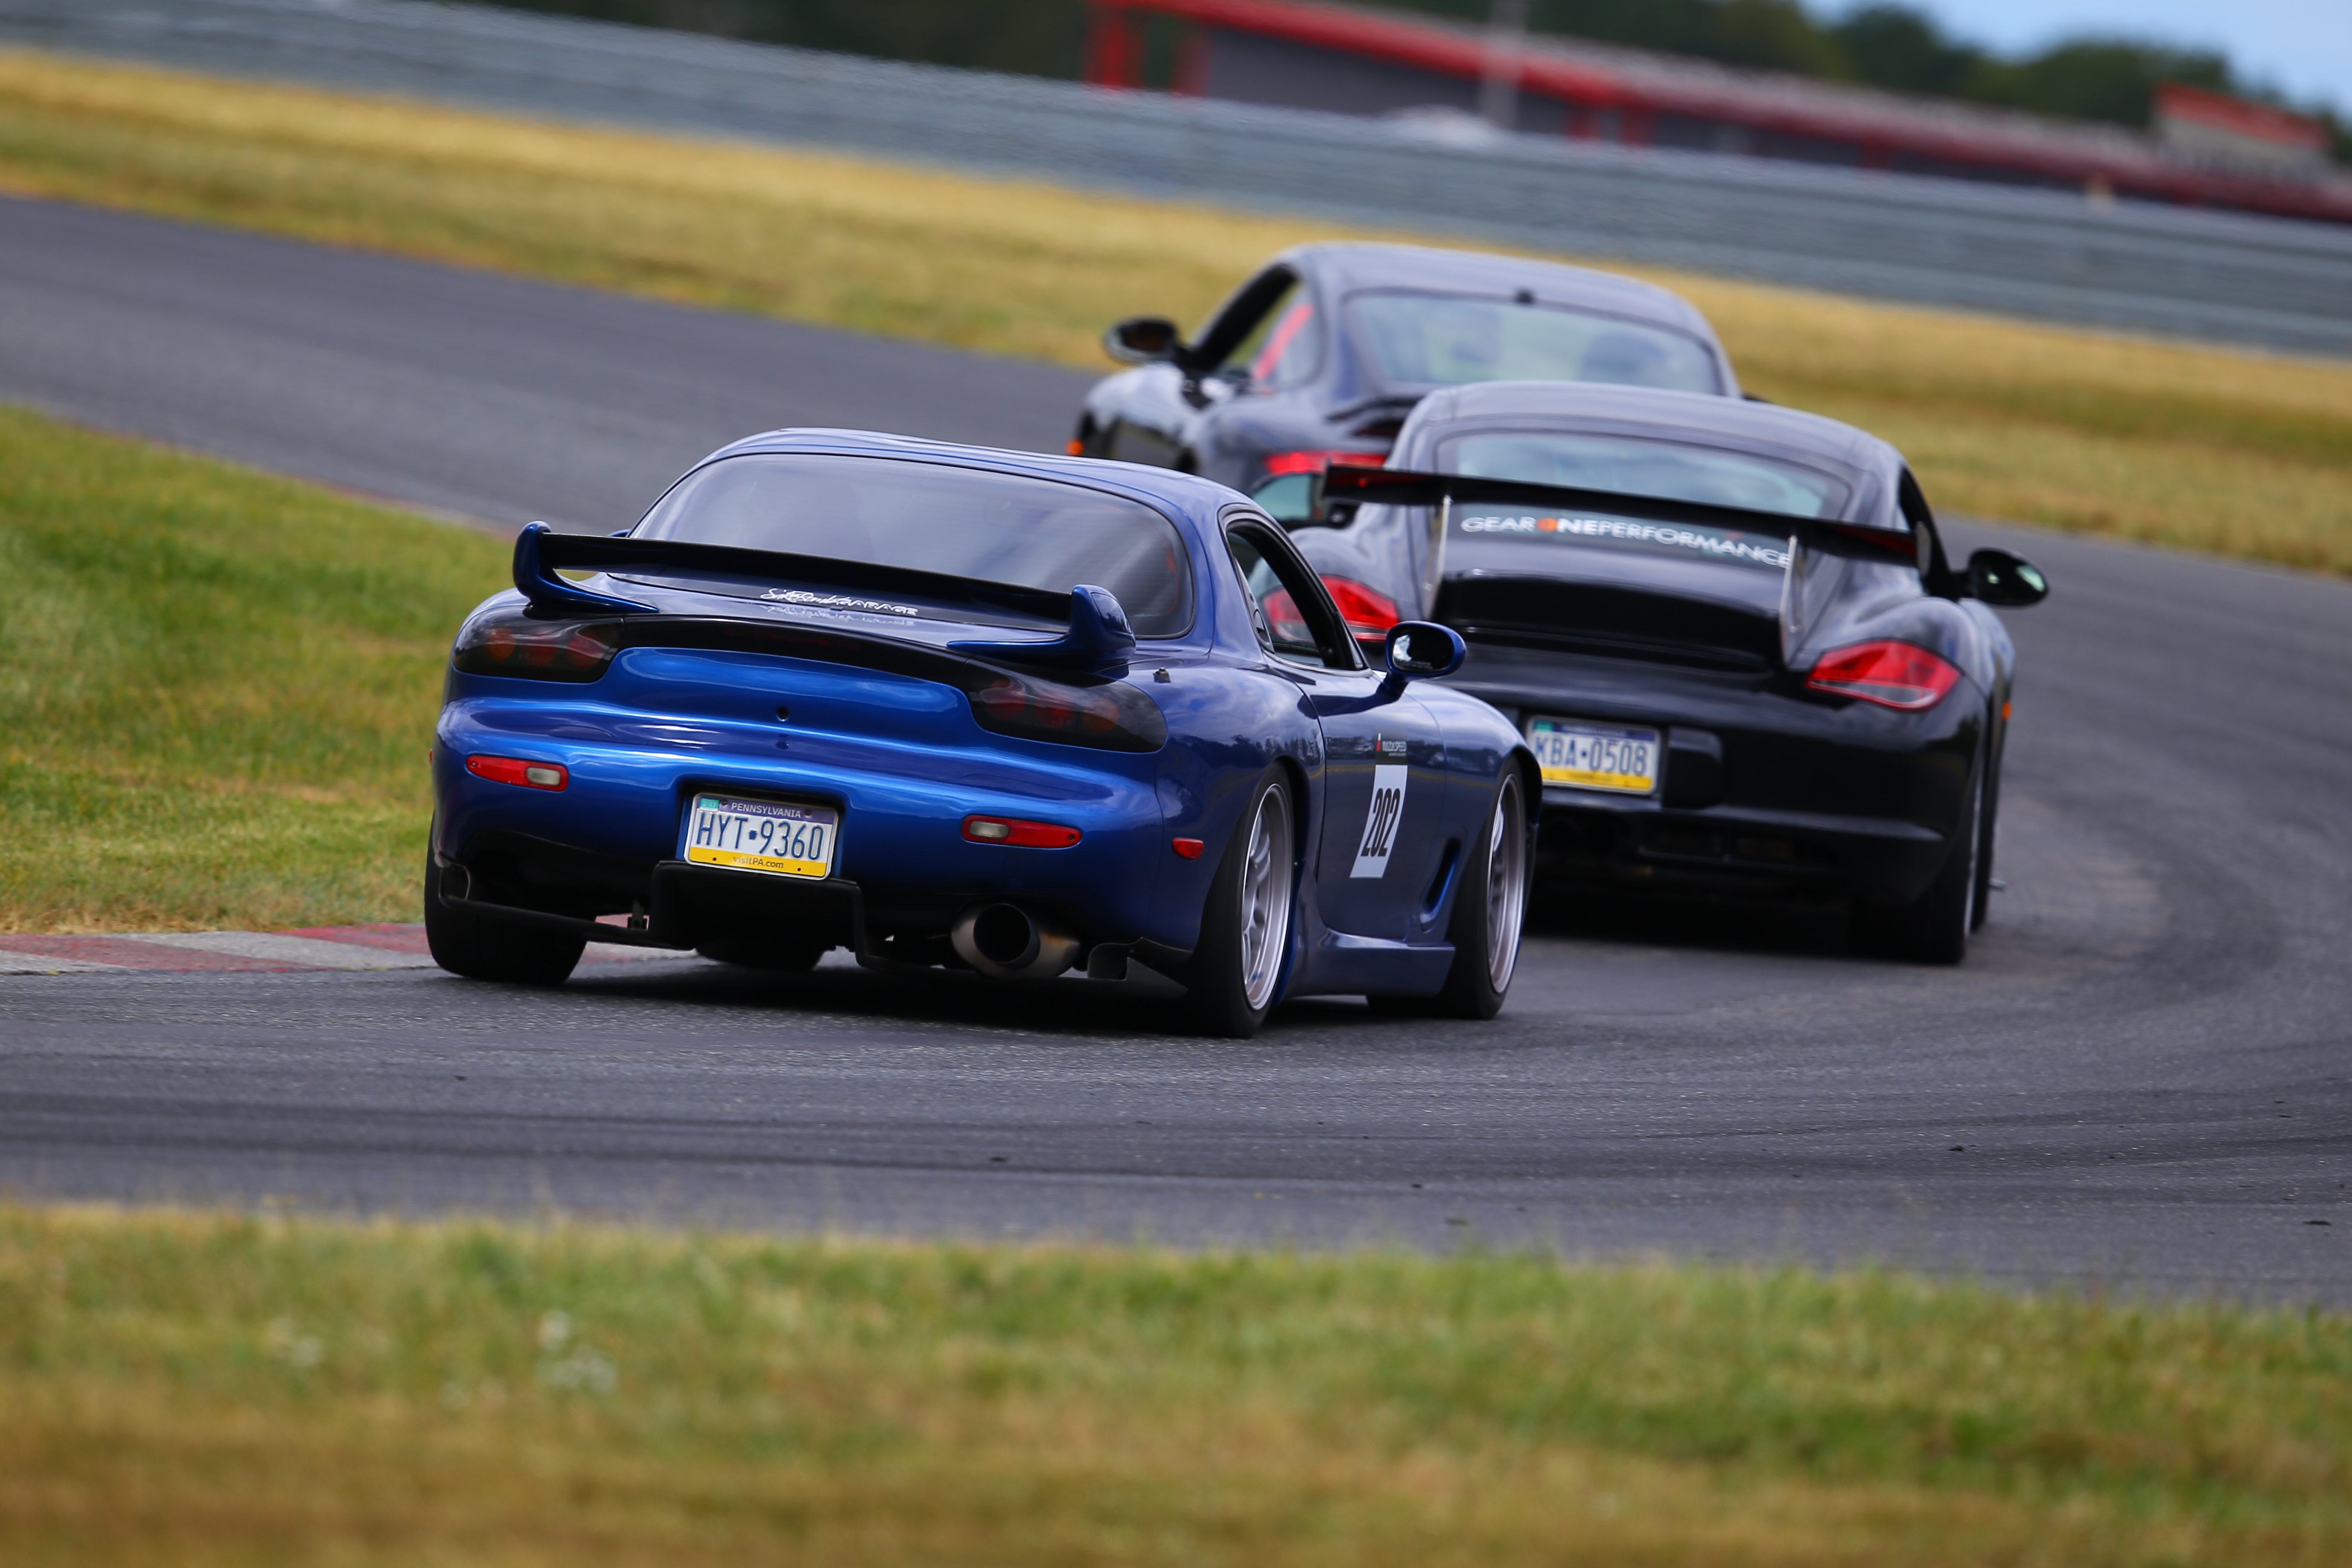
After the last session I had noticed that my left rear brake pad had burned off all its coating indicating some serious heat while the other side looked fine. While jacking up the car to investigate my buddy noticed that wheel move quite a bit as it lifted off the ground. Turns out I toasted the wheel bearing. There was a concerning amount of play in the wheel. Interestingly, the bearing did not make any noise... That was the end of the weekend for the FD!
Oh well, I'm only an hour from home and I have another track car waiting in the garage Brought the Miata back for Sunday and managed to achieve a goal I had been working towards for over a year, break into the 1:39.XX's. The conditions were just right and I managed to smash it with a 1:39.58
The FD has a lot more in it. I'm looking forward to getting it back and working at the time some more. I am going to have to do something about safety in the FD though. I have a Hans, full halo seat, harness', etc in the Miata, but the FD only has the stock 3 point belts. It getting to the point where I am going uncomfortably fast in the car so I will need to do something about that.

Started the weekend with the oil level about halfway up the dipstick in attempt to prevent any catch can issues. By the end of the first session I was getting into the engine protection ignition cuts for low oil pressure. Even to the point where I could see the low oil level light come on in the dash. Back in the paddock I checked the catch can and there was nothing in there. Filled the level back up to full and went back out the next session to see how it does. Towards the end of the session I start getting engine protection ignition cuts again but this time the oil gauge in the dash looks fine. Turns out it was for fuel pressure. Back in the paddock I checked the catch can and still not a drop. Oil issue taken care of! Seems the car just does not like certain tracks.
I was running a mixture of about E45 for the first and second session. With the ethanol the car sucks through the fuel. I am only able to make it a little over a session and a half before it starts fuel starving at around 3/8 tank. The remainder of the weekend I lowered the mixture to around E30 and made sure to top off the tank between sessions. With those two annoyances sorted out the car ran flawlessly the rest of the day.


Using everything I learned about this track in the Miata and the predictive lap timing on my AIM Solo I managed to get my lap time down to a 1:32.43, a massive improvement over 3 years ago.

On Saturday my buddy with his prepped Cayman S came and we had a blast running through traffic together. A lot more people showed up for sat/sun so the traffic prevented any additional lap time improvement. However chasing my buddy and playing with 911 turbo's and GT3's was just as much fun.


After the last session I had noticed that my left rear brake pad had burned off all its coating indicating some serious heat while the other side looked fine. While jacking up the car to investigate my buddy noticed that wheel move quite a bit as it lifted off the ground. Turns out I toasted the wheel bearing. There was a concerning amount of play in the wheel. Interestingly, the bearing did not make any noise... That was the end of the weekend for the FD!
Oh well, I'm only an hour from home and I have another track car waiting in the garage
 Brought the Miata back for Sunday and managed to achieve a goal I had been working towards for over a year, break into the 1:39.XX's. The conditions were just right and I managed to smash it with a 1:39.58
The FD has a lot more in it. I'm looking forward to getting it back and working at the time some more. I am going to have to do something about safety in the FD though. I have a Hans, full halo seat, harness', etc in the Miata, but the FD only has the stock 3 point belts. It getting to the point where I am going uncomfortably fast in the car so I will need to do something about that.
Last edited by JhnRx7; 10-10-17 at 08:04 PM.
The following 5 users liked this post by JhnRx7:
7_rocket (10-19-17),
allenhah (10-16-17),
Ceylon (10-11-17),
GoodfellaFD3S (10-11-17),
ZoomZoom (10-11-17)
#238
Interior Update... continued
LED Gauge Cluster
A while back I had converted my cluster to white LED's via the Hypertite method of sanding off the red film on the back of the gauge faces. I lived with that for a while however it never looked good... The lighting was uneven, the gauges were very bright, and it was distracting at night.
Since I had already sanded off the film on the back I could not go back to stock. I decided to try out red LED's. The red looked MUCH better, however there was still the uneven lighting issue. I tried to solve the issue by adding more LED's.
RotaryAddicts Guide for LED Conversion
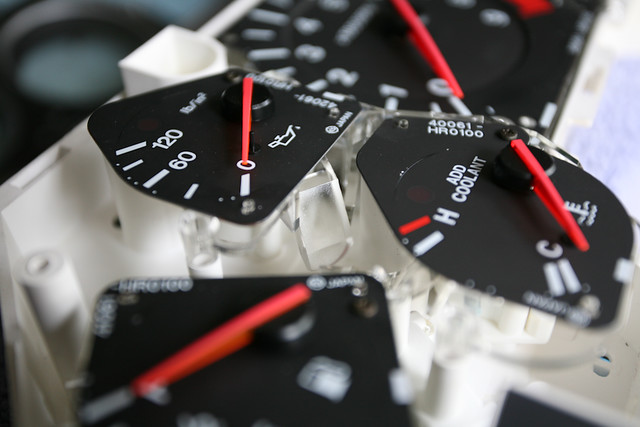
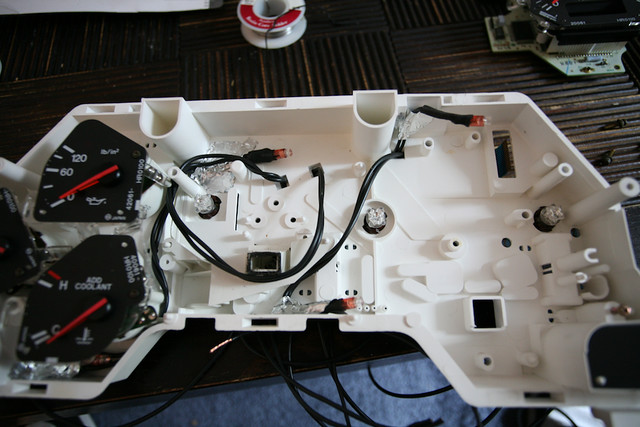
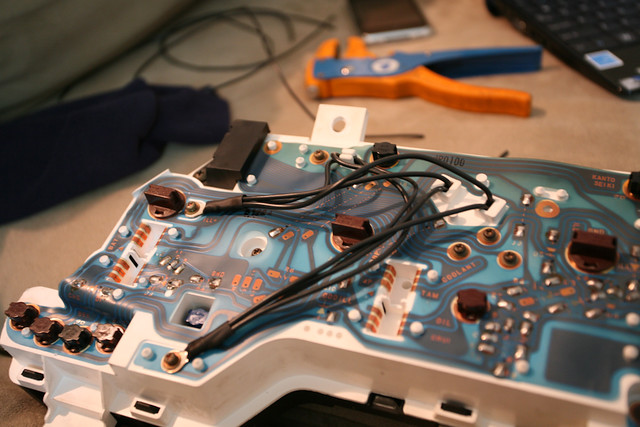
The extra LED's did a great job of evening out the light output, but the biggest difference was made by switching to circuit board style LED's.

After I had converted the cluster to red LED's the HVAC controls did not match so I converted them to LED's as well using NeoWedge 3mm and circuit board style 74 bulbs.
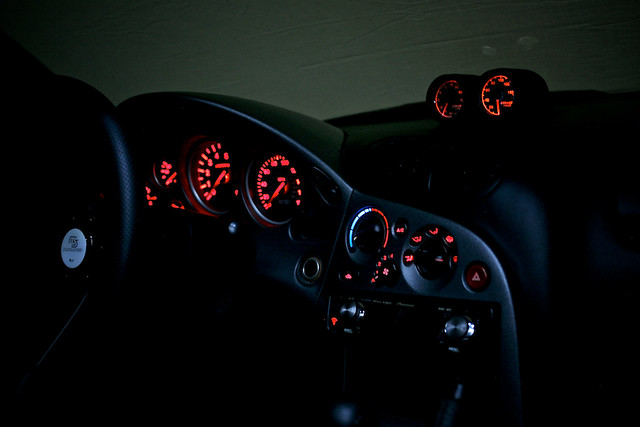
Here are some shots of the interior in its current state.

It was really hard to capture the true color of the cluster lights... this is the closest I was able to get.
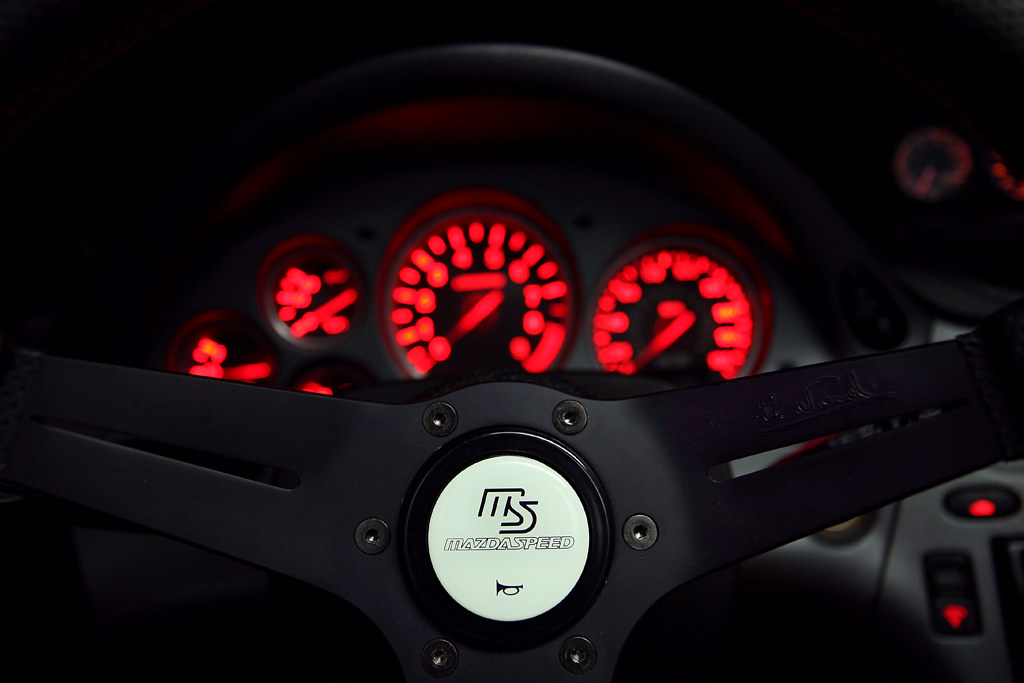
My Nardi 350mm Deep corn wheel and Mazdaspeed horn button I got from GoodfellaFD3S himself

Also my recovered shift **** done by fellow forum member hulandfd3s.
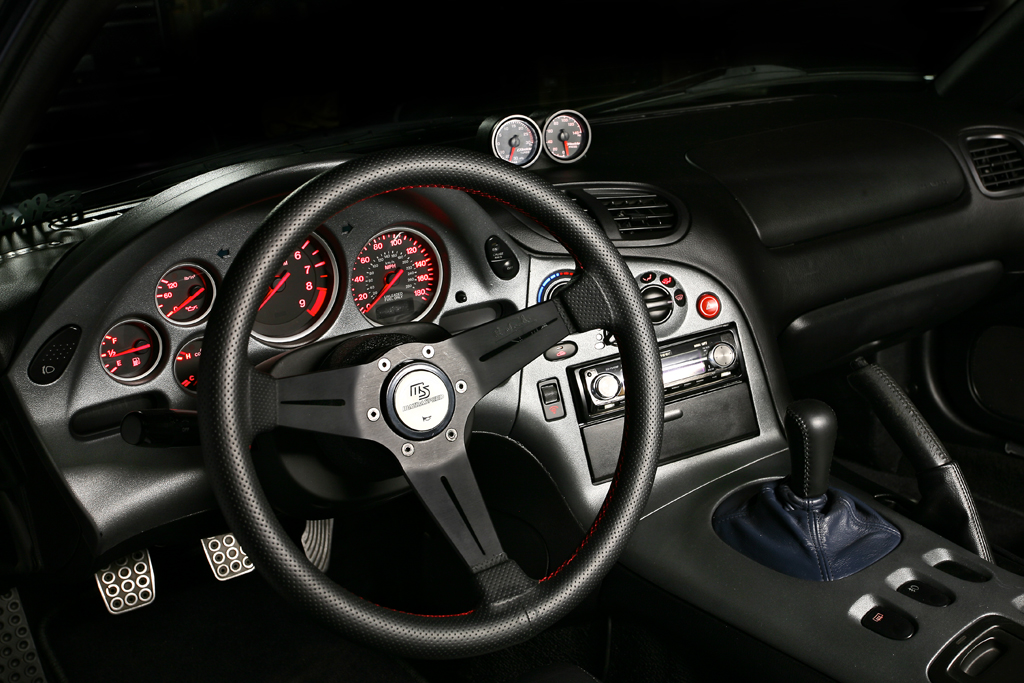
LED Gauge Cluster
A while back I had converted my cluster to white LED's via the Hypertite method of sanding off the red film on the back of the gauge faces. I lived with that for a while however it never looked good... The lighting was uneven, the gauges were very bright, and it was distracting at night.
Since I had already sanded off the film on the back I could not go back to stock. I decided to try out red LED's. The red looked MUCH better, however there was still the uneven lighting issue. I tried to solve the issue by adding more LED's.
RotaryAddicts Guide for LED Conversion


The extra LED's did a great job of evening out the light output, but the biggest difference was made by switching to circuit board style LED's.

After I had converted the cluster to red LED's the HVAC controls did not match so I converted them to LED's as well using NeoWedge 3mm and circuit board style 74 bulbs.

Here are some shots of the interior in its current state.

It was really hard to capture the true color of the cluster lights... this is the closest I was able to get.

My Nardi 350mm Deep corn wheel and Mazdaspeed horn button I got from GoodfellaFD3S himself

Also my recovered shift **** done by fellow forum member hulandfd3s.

I just finished converting my HVAC panel to LED but I did mine in Cool White. I bought new gauge faces for the HVAC from BlackCatCustoms.com with clear lettering so the light would come through nice. Like you, I'm not 100% satisfied and am going to go to red like you.
My questions are:
1. Did you sand the Amber coating off the HVAC panel like you did for your dash? I'm asking because BlackCatCustoms offers red tint for the gauge faces. I currently have clear and I'm not so sure Red LED's alone will look red with my clear faces. If you did sand off the factory coloring on the HVAC gauge faces then I think I will be fine but if not I'm thinking mine may look pink.
2. Did you add LED's or LED Strips to the HVAC panel? Yours look really good and even in the picture.
Thank You in advance!
#239
Thread Starter
Golf Cart Hooligan
iTrader: (12)
Joined: Oct 2002
Posts: 993
Likes: 23
From: Philadelphia, PA
John,
I just finished converting my HVAC panel to LED but I did mine in Cool White. I bought new gauge faces for the HVAC from BlackCatCustoms.com with clear lettering so the light would come through nice. Like you, I'm not 100% satisfied and am going to go to red like you.
My questions are:
1. Did you sand the Amber coating off the HVAC panel like you did for your dash? I'm asking because BlackCatCustoms offers red tint for the gauge faces. I currently have clear and I'm not so sure Red LED's alone will look red with my clear faces. If you did sand off the factory coloring on the HVAC gauge faces then I think I will be fine but if not I'm thinking mine may look pink.
2. Did you add LED's or LED Strips to the HVAC panel? Yours look really good and even in the picture.
Thank You in advance!
2. No extra LEDís or strips were added to the HVAC panel. Just straight replacement with red LEDís. Only exception is the temperature dial. I used a white LED behind the blue trim area. It blended in very well.
#240
1. I didnít not sand the film off from the HVAC panel gauges. I simply put the red LEDís and the ended up matching my red LEDís with sanded instrument cluster very well.
2. No extra LEDís or strips were added to the HVAC panel. Just straight replacement with red LEDís. Only exception is the temperature dial. I used a white LED behind the blue trim area. It blended in very well.
2. No extra LEDís or strips were added to the HVAC panel. Just straight replacement with red LEDís. Only exception is the temperature dial. I used a white LED behind the blue trim area. It blended in very well.


