Powerflex steering rack bushings - need help
#1
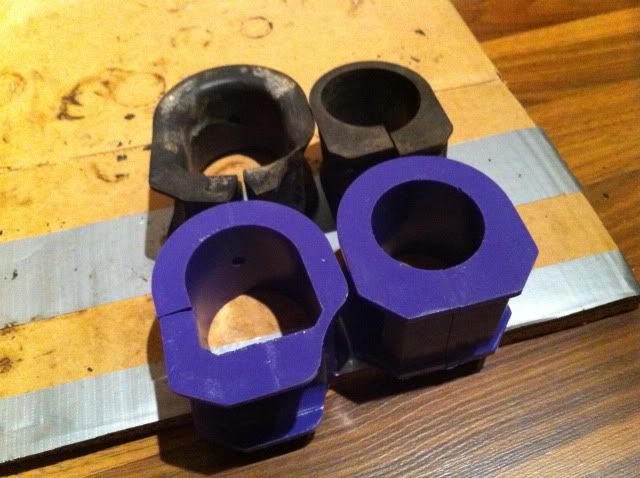
So I tried to tackle the steering rack bushings. I came up with nothing but cuts and problems. So I wanted to check in and find definitive info on this. I tried to search and I remembered this guy's thread where he had to dremel the bushing.
https://www.rx7club.com/suspension-wheels-tires-brakes-20/highend-fd-coilovers-whats-good-enough-957486/
However even after dremeling it I still had the same issue. I rounded out the edges but am I missing something? Are the racks on the 94 vs 93 different sizes? Looks like the passenger side is also not fitting correctly. However it does have a smaller gap than the driver side. Unfortunately I didn't take pics of the install and I won't be able to until I get the car back on the ramps. Also would it be better to be on jack stands or would it be the same as on car ramps?


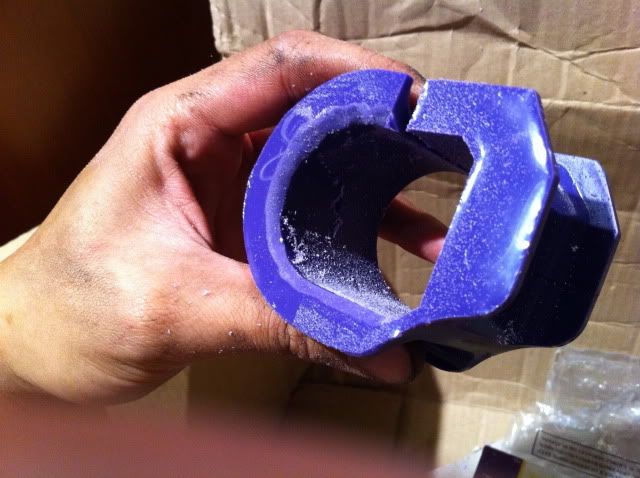
Partly dremeled.

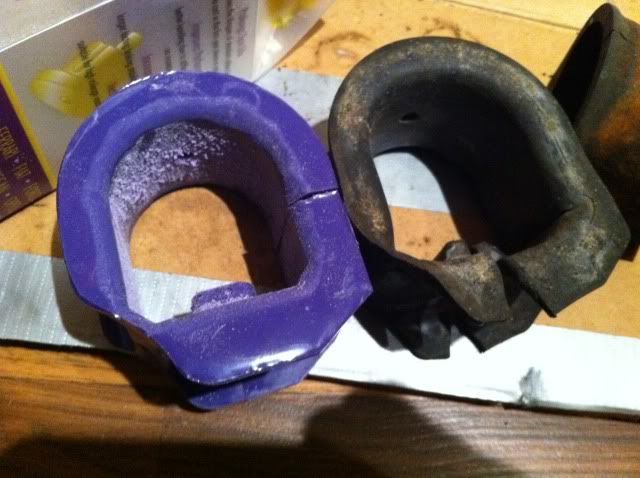
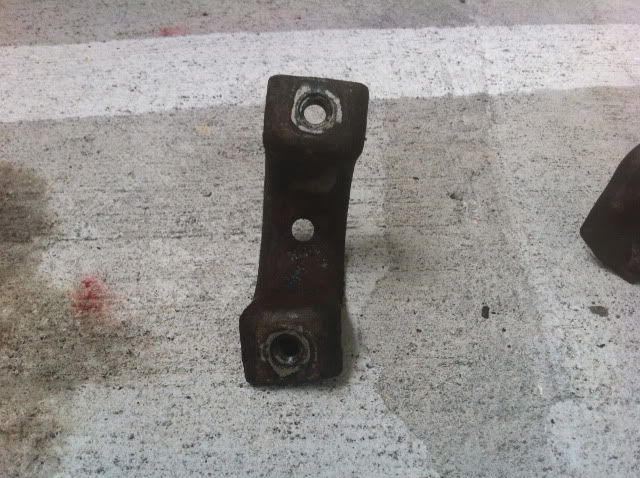
After dremeling. Any thoughts would be great. Looks like I also need a new bracket...

https://www.rx7club.com/suspension-wheels-tires-brakes-20/highend-fd-coilovers-whats-good-enough-957486/
However even after dremeling it I still had the same issue. I rounded out the edges but am I missing something? Are the racks on the 94 vs 93 different sizes? Looks like the passenger side is also not fitting correctly. However it does have a smaller gap than the driver side. Unfortunately I didn't take pics of the install and I won't be able to until I get the car back on the ramps. Also would it be better to be on jack stands or would it be the same as on car ramps?


Partly dremeled.

After dremeling. Any thoughts would be great. Looks like I also need a new bracket...

Last edited by tv4184; 11-20-11 at 05:44 PM.
#2
i had the same issue with my super pro, the passenger side went on no problem, but i had to dremel the driver side a little, it ended up fitting but tightly, i could of dremeled it a little more but i didnt want to go to much.
#3
Same here.... One side was a cinch, the other was a bear! I fought it for about an hour and finally got it. I didn't shave it down or do anything spectacular. Lots of grease and patience.
#7
I rough cut it with a knife and then smoothed it out with a dremel. I also had to trim off some of the nub so it could seat properly in the rack. Took me about 2 hours of struggle to get it fitting.
Trending Topics
#8
really? took me about an hour i think... i only had to dremel it 2 or 3 times and it fit(tightly)
#9
That was my last bushing on a 95 degree night. By that point I was so pissed at how long mazda made the bolts on the rear upper arms and having to take the drivers front off again that I wasnt the most efficient by the time i got to it.
#11
Juan @ J-AUTO - Bushings, Suspension, Parts for Mazdas might know. Great guy to deal with.
#12
Curious if they make those bushings for a jdm rx7. The jdm and US spec share one identical bushing but the other one.. the one closer to the steering input shaft is different and that one has been discontinued by Mazda.
#13
93-95 Rx7 Left Steering Rack Mount Bushing (FD01-32-124)
93-95 Rx7 Right Steering Rack Mount Bushing (F110-32-123)
#15
I had to replace my steering rack bushings as the rack moved back and forth with the old stock ones.
You want the new bushings really tight so putting in the new bushings shouldn't be a drop in affair.
Put the bushings on the rack and see if you can get the bolt threads to start on the metal piece by pushing or clamping it down into position. You can get longer bolts if they aren't close.
Then, tighten the bolts down, alternating side to side so that the metal piece clamps down on the bushing evenly. If you used longer bolts, you can take them back out and put the stock ones in once you get close enough.
Don't strip out the threads in the metal pieces. You just have to know what is a reasonable amount of force while doing this and what will strip the threads.
#16
Reviving this old thread just to say the design has changed on the SuperPro bushings. The set I got had rounded edges and went on without much of a fight at all. This thread and a couple others had me expecting a bad time, but it only took an hour or two and no dremel 
#17
Any feedback on steering feel?
#19
I put some in my car a while ago, I don't remember any drama with the install.
As far as feel, I don't think it make a huge difference. One of those "while you're in there" things. If you had shot bushings of course new ones will be better.
The OEM bushings don't have a lot of compliance so it's really not going to be a big difference.
Dale
As far as feel, I don't think it make a huge difference. One of those "while you're in there" things. If you had shot bushings of course new ones will be better.
The OEM bushings don't have a lot of compliance so it's really not going to be a big difference.
Dale
#20
Much improved, but mine was a mess. The stock bushing on the driver's side had turned to jello, allowing the rack to slip. Every time I hit a bump, the steering wheel's definition of "straight" would change a little bit. I bought this car a year ago and have been slowly addressing all of the issues. Brakes are next.
#21
I put in new powerflex bushings over the weekend and like others, the ones I bought were already rounded. However, after spending about 4 hours of pain trying to get the driver side bushing to fit, I realized they must have left about an extra 1/8" of material on the side. So much for quality control. It looks like it came out of a mold and was never properly cut down. After I sanded that down it fit like a glove.
The following users liked this post:
DaleClark (05-09-22)


