
My Shine RE Carbon Fiber Diffuser Install
 05-06-10, 12:07 PM
#1
My Shine RE Carbon Fiber Diffuser Install
Well after sitting in my garage since last year  I finally got around to installing the diffuser.
Overall the install went fairly smoothly with few issues. Quality of the diffuser is good, not perfect but great for what it is. A few imperfections exist and seem to be consistent with what others have said so I was suitably prepared to not be disappointed. And I was able to install the diffuser with my PFS exhaust with minumal cutting necessary. My thanks to gracer-rx7 for the install hints and Herblenny for the inspiration regarding the rear mudguards (but I was going to do that anyway ) Working slowly I completed all aspects of the install in about 4 hours. What is comical is I had it on and off the car - 22 times - during the install. I counted since I knew it would be a lot.
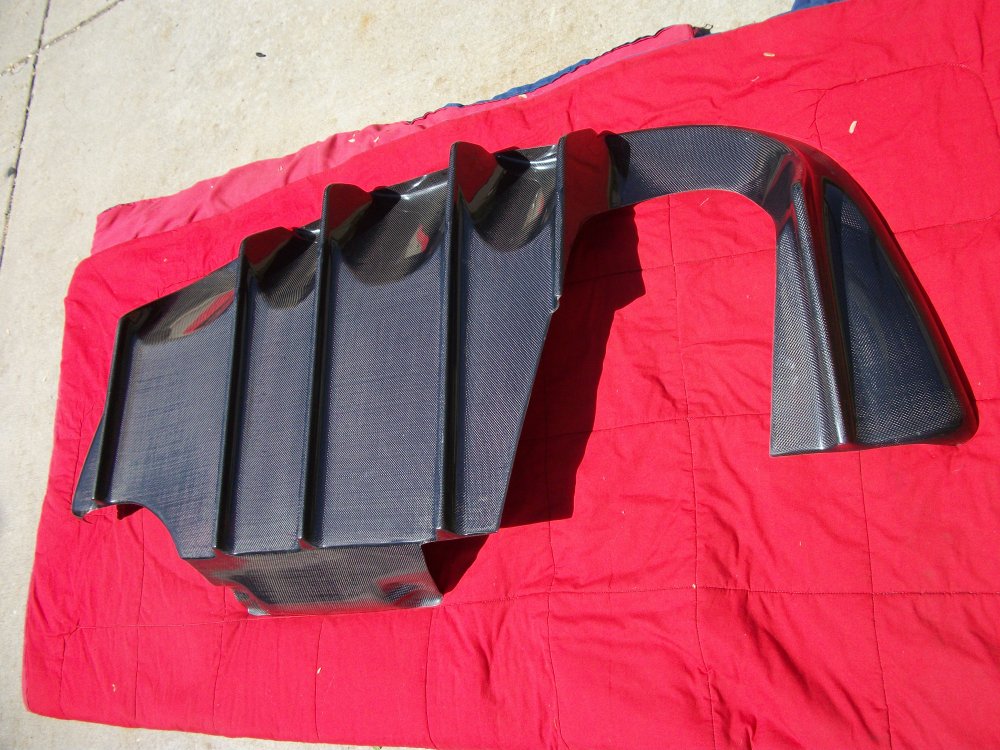
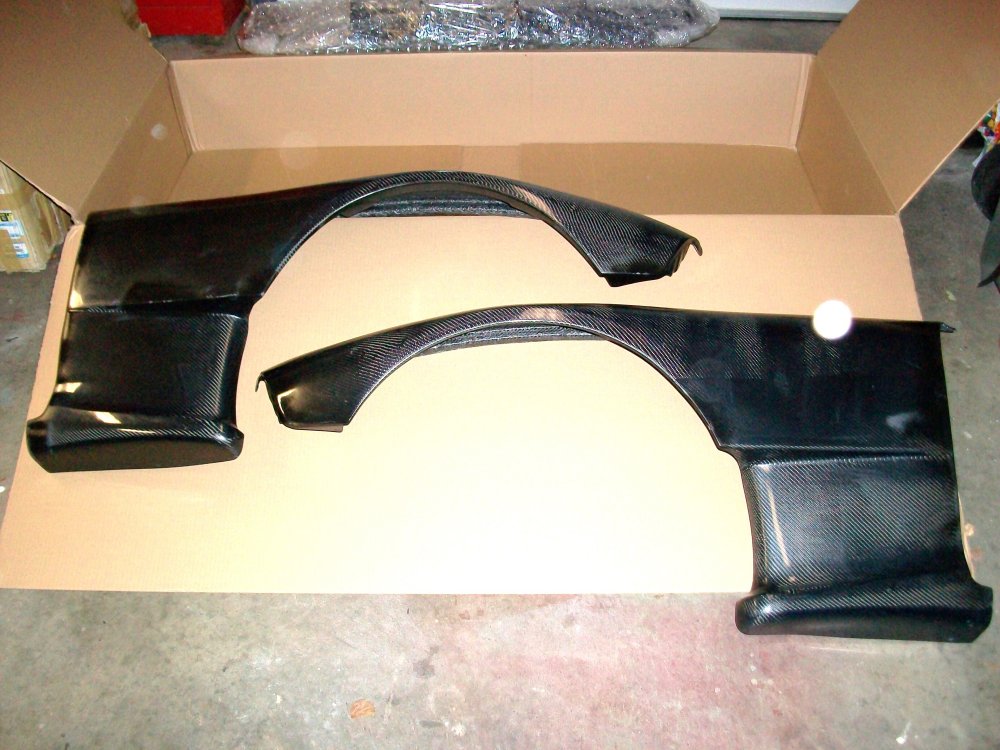
The diffuser:
The first problem area - small gap above the exhaust (between the yellow grease pencil markings):
The second problem area - the small gap on the drivers side corner (between the yellow grease pencil markings). This is the one most people were griping about:

Modification to accommodate the PFS exhaust...just a some minor trimming.

Finished install below.
Crispy
I finally got around to installing the diffuser.Overall the install went fairly smoothly with few issues. Quality of the diffuser is good, not perfect but great for what it is. A few imperfections exist and seem to be consistent with what others have said so I was suitably prepared to not be disappointed. And I was able to install the diffuser with my PFS exhaust with minumal cutting necessary. My thanks to gracer-rx7 for the install hints and Herblenny for the inspiration regarding the rear mudguards (but I was going to do that anyway
) Working slowly I completed all aspects of the install in about 4 hours. What is comical is I had it on and off the car - 22 times - during the install. I counted since I knew it would be a lot. The diffuser:
The first problem area - small gap above the exhaust (between the yellow grease pencil markings):
The second problem area - the small gap on the drivers side corner (between the yellow grease pencil markings). This is the one most people were griping about:
Modification to accommodate the PFS exhaust...just a some minor trimming.
Finished install below.
Crispy

 05-06-10, 12:25 PM
#4
A few pics with it all buttoned up and mudguards installed. I key to making it look nice is to use a small bead of black RTV along the edge. This helps seal up the gaps and finish off the raw edges of the carbon fiber.
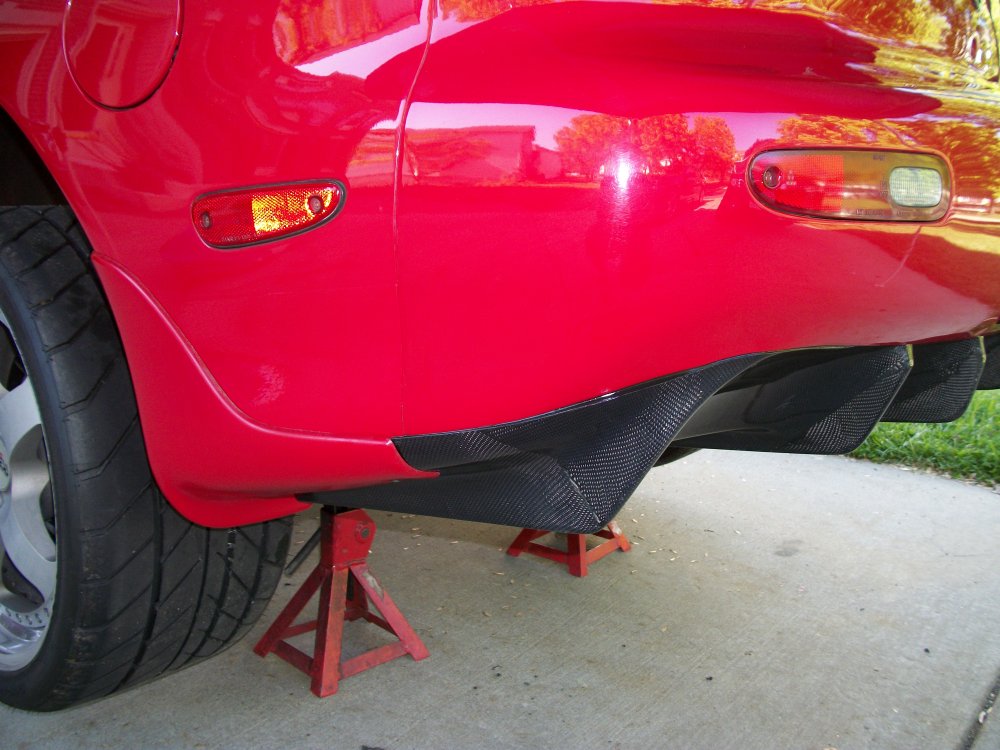
Finished gap on the rear quarter (I jammed a wooden dowel with padded end ont he inside of the bumper skin to push the bumper out a little in that area to tighten up the gap some):

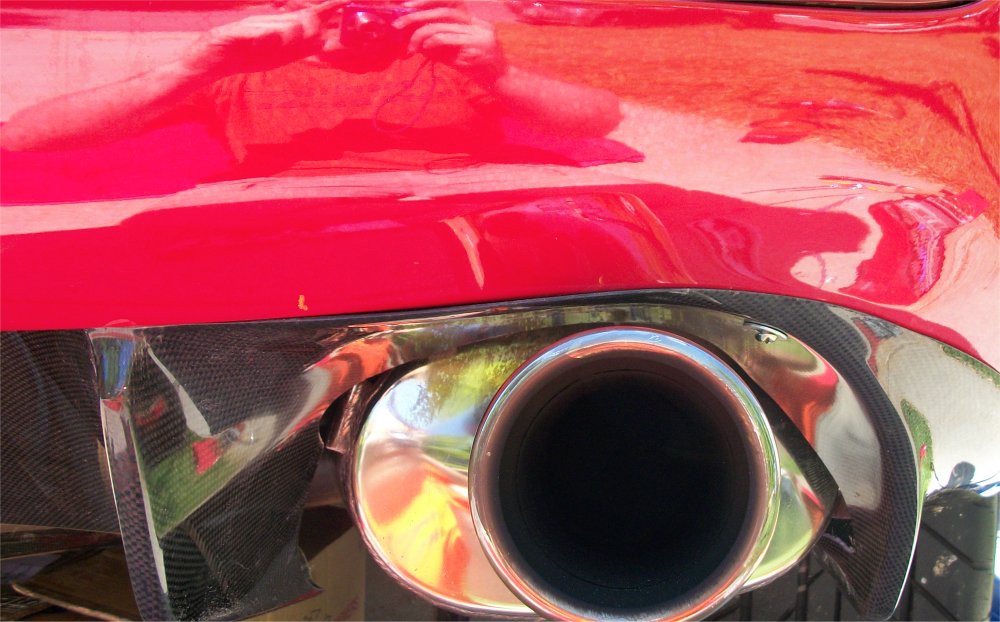
Finished gap above the exhaust:
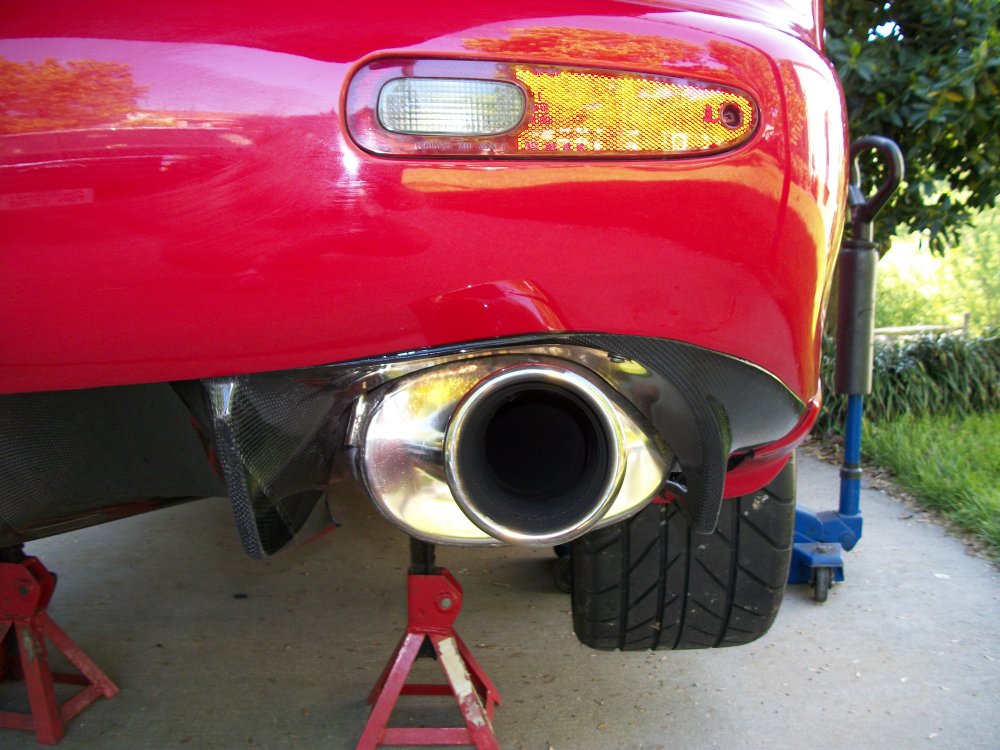
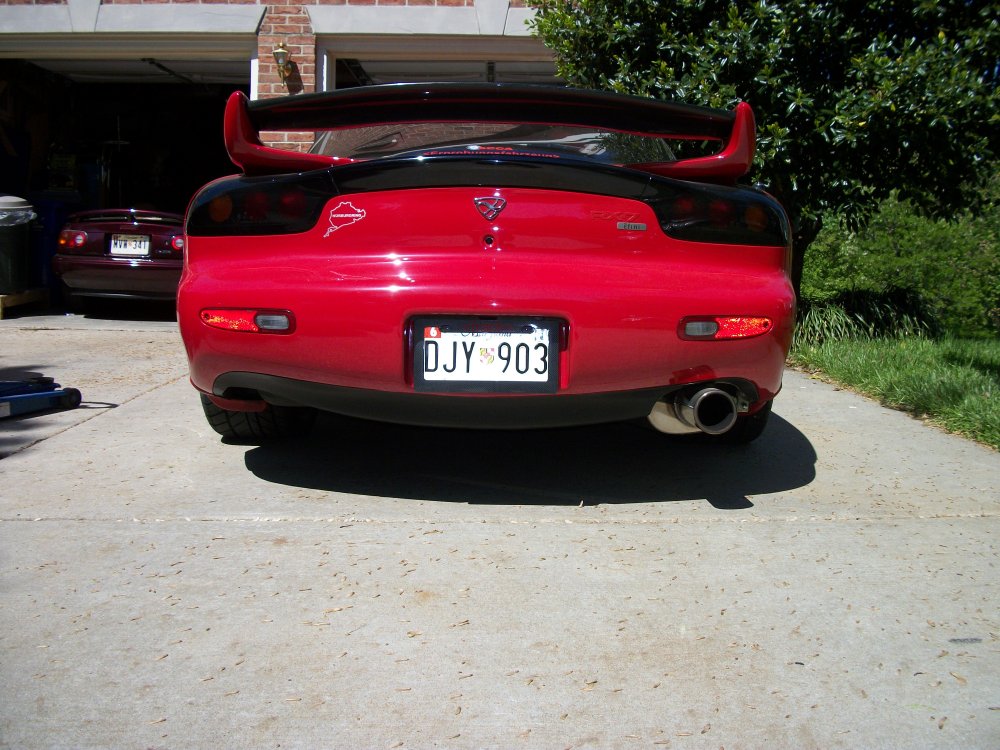
And the final finished look. (the ride height is a work in progress...stay tuned):


Regards,
Crispy
Finished gap on the rear quarter (I jammed a wooden dowel with padded end ont he inside of the bumper skin to push the bumper out a little in that area to tighten up the gap some):
Finished gap above the exhaust:
And the final finished look. (the ride height is a work in progress...stay tuned):
Regards,
Crispy
 05-06-10, 12:39 PM
#7
Yes some minor trimming where the outermost diffuser "vane" intersects with the mudguard.
That and it's a bit snug wrapping the mudguard around the diffuser due to the added thickness of the diffuser material where there was only the car body before.
FWIW
Crispy
That and it's a bit snug wrapping the mudguard around the diffuser due to the added thickness of the diffuser material where there was only the car body before.
FWIW
Crispy
Trending Topics
05-06-10, 02:03 PM
#11
From what I understand - yes...and they are worse.
Ken @ Shine did quite a bit of work to make a mold from the original.
https://www.rx7club.com/shineautoproject-161/re-amemiya-style-street-diffuser-618785/page17/
Oh and RE doesn't make one in CF.
Regards,
Crispy
Ken @ Shine did quite a bit of work to make a mold from the original.
https://www.rx7club.com/shineautoproject-161/re-amemiya-style-street-diffuser-618785/page17/
Oh and RE doesn't make one in CF.
Regards,
Crispy
 05-06-10, 06:22 PM
#15
*** Bless The USA
iTrader: (8)
Join Date: Jan 2007
Location: Saint Louis / Illinois
Posts: 7,140
Received 0 Likes
on
0 Posts
Thanks for the pictures. I'm waiting on the truck to deliver mine. Does it come with mounting hardware? One thing I can't find is pictures of where and how this thing mounts up.
05-06-10, 06:34 PM
#16
No hardware...it uses all the existing mounting points so you can just reuse the same screws and nuts. Mine were fairly corroded so I replaced them with good uncorroded OEM hardware from my inventory.
The diffuser basically mounts using the same tabs and locations the OEM rear trim piece mounts. You will see when you get the piece. The front edge in front of the fuel tank uses two prexisting studs on tabs welded to the fuel tank straps. There is a small splash/rock deflector mounted there - just remove it and reuse the same mounting studs for the diffuser.
If you look/feel carefully on the diffuser you can locate the places where the holes are supposed to be so you know where to drill. It's not a big deal and fairly intuitive.
Regards,
Crispy
05-06-10, 08:22 PM
#18
^ LOL ya pretty much so.
It helped but did not fix entirely. Don't worry too much. The gap is probably only about 1/16"
A small bead of RTV sealed it up nicely. To some they wouldn't care about such small gaps...and you wouldn't notice from 10 feet and only then if someone pointed it out. I just wanted it to look good from 3 feet and not 10.
And I'm a perfectionist.
Regards,
Crispy
05-06-10, 08:24 PM
#19
Nice pics, wish I had it before I mounted mine to see the gaps that would have been there. I have the same gaps crispy described but wasn't overly concerned. Figured I'll get a body guy to fit them better later down the road. Overall the fit is great and looks good. I like the use of rear mud guards, I opted to put the craftsquare add on instead.