my first brew rebuild
#1
Thread Starter
On the fasttrack!
iTrader: (22)
Joined: Oct 2006
Posts: 2,494
Likes: 2
From: virginia beach, virginia
my first brew rebuild
so, first off, this engine is not mine, but i have been left in charge of the engine to get it ready to be dropped in my friends FD. the car is located in GA, because thats where hes from, but we picked up this engine locally.
originally this engine was supposed to just be rebuilt and kinda prettied up and have all the emissions devices so we can take his current engine out, drop this in, pass smog, then drop the other back in.................buuuuuuuuuuuuut, being us, stock is just not acceptable.
a little bit of back story about this engine.
he had been looking around for an engine that was stock, either running or not, that we could use as an emissions legal engine. He picked up the engine for 500$ including an auto tranny and all that. we got rid of the flex plate, he gave me the counterweight for my fc, got rid of anything that wasnt going to be used.
we got around to pulling the spark plugs, and realized they were normal autolite plugs............welllllllll, go ******* figure, thats probably why it wouldn't crank over. luckily enough, the spark plugs were not long enough to cause interference.
we started pulling the engine apart, taking the rear iron off, seeing the rear main seal almost looked new, pulled the rear iron off, took the rotor out.............the apex seal had broken in two, one of the side seals was broken in 3, and it took us 3 hours to get another of the sideseals out. i had to take a metal scraper, grind it to a point, then get up under the seal, breaking it into about 15 pieces.....****
we got a little ahead of ourselves and put everything back together so we could take the front bolt out. i used my snapon mt725, that sucker puts some serious nut busting torque. after heating it with an oxy/acetyln torch, we used my gun......nothing.
ok, so we put my breaker bar on it.....nothing
long story short, and 4 hours later, we got a breaker bar, 3 feet of pipe, and my 3 foot pry bar, plus my 280lbs of texan, it broke loose. we were so sure that we broken something, we both looked at each other in horror, i nudged the breaker bar a little then realized the front bolt broke loose, finally.
THE ******* IDIOT WHO REBUILT THE ENGINE PREVIOUSLY USED RTV ON THE FRONT BOLT..............................................i have no ******* clue why.
so, we start tearing it apart, it all was gravy after that. well, us being us and joking around, we said "hey, why dont we just port this mother and have fun with it, i know a smog tech who will pass it." well, that was it, and that was the plan of attack after that.
furthermore, after looking at all the pretty engines and me showing him my powdercoating that ive done, he then tells me its getting coated. thats cool, thats money in my pocket.
so, master plan for this engine is now as follows
medium street port- pineapple racing
medium exhaust port- pineapple racing port ep3a
master rebuild kit, super seal apex seals, oem main and rotor bearing
custom powdercoating done by me
im pretty sure that hes going to upgrade the fuel lines and all that, i dont know, i havent seen his car seeing as its on the other side of the country.
now that thats all said and done, here are the pictures, in the order taken. i will have some brief commentary as the pictures progress. and trust me, i like pictures, and i know you rx7 picture ******. sorry, i dont have any pictures of the tear down, we were both ******* coated and i dont like touching things with my disgusting hands, specially not my camera
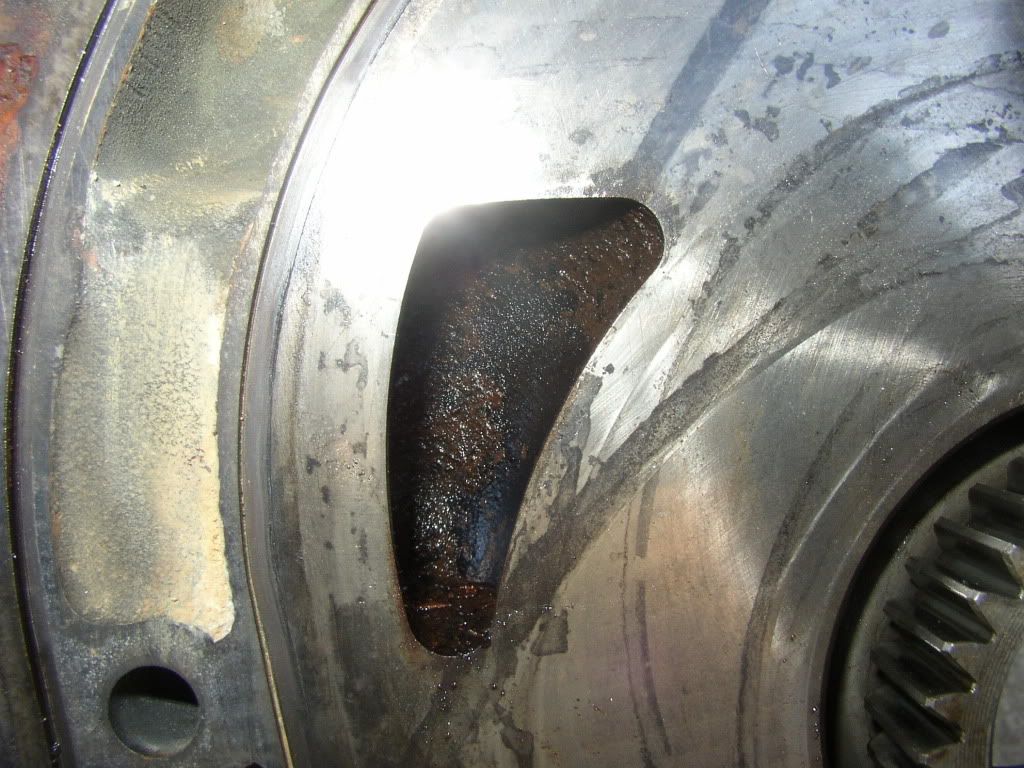
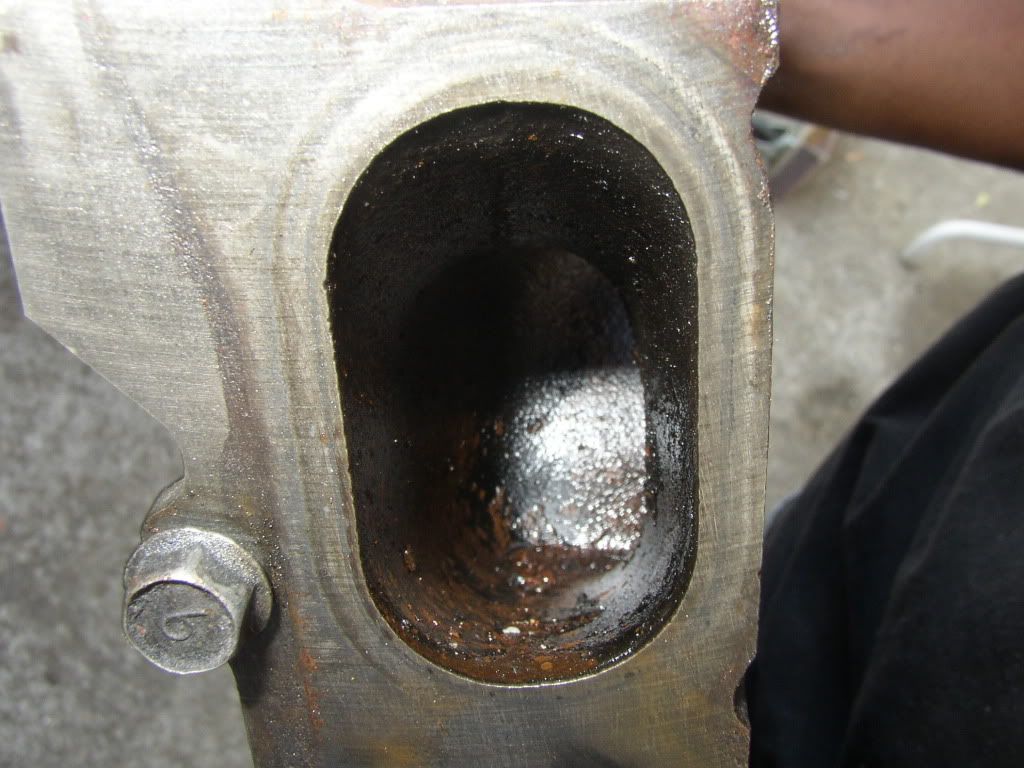
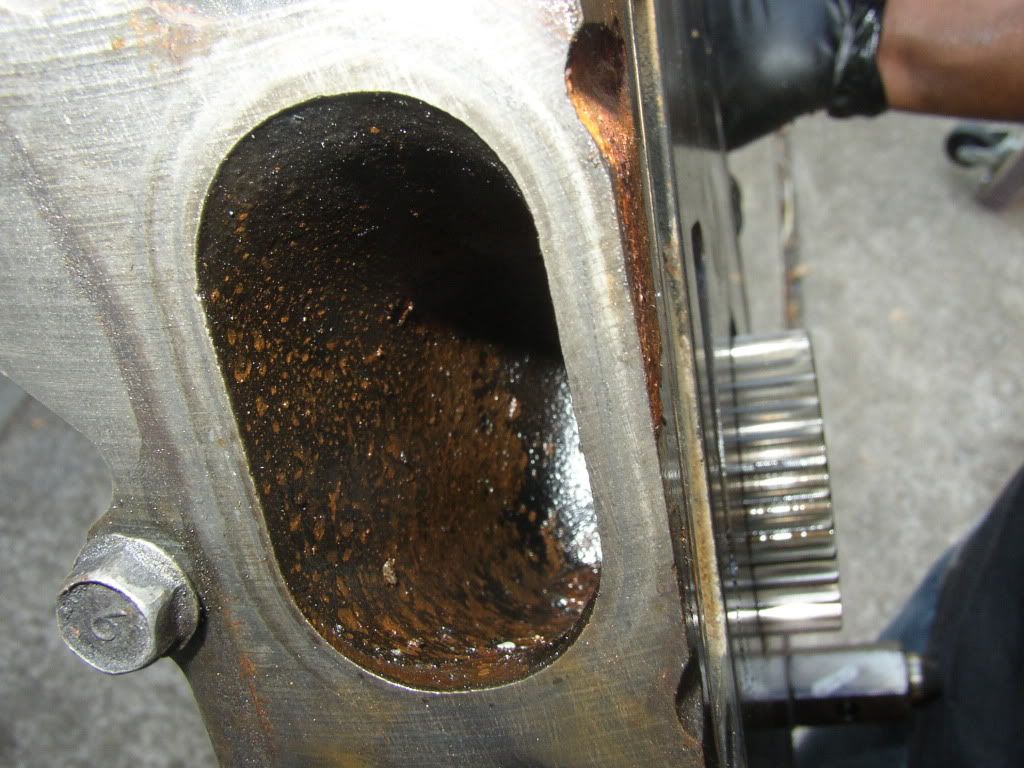
starting with the irons being ported
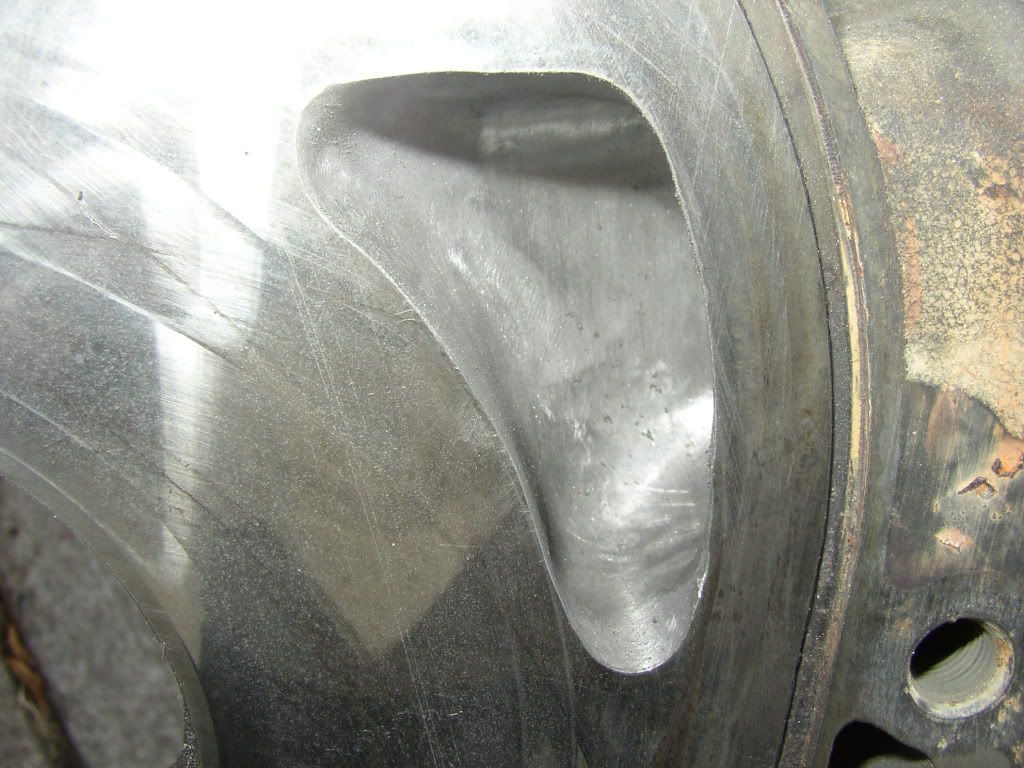
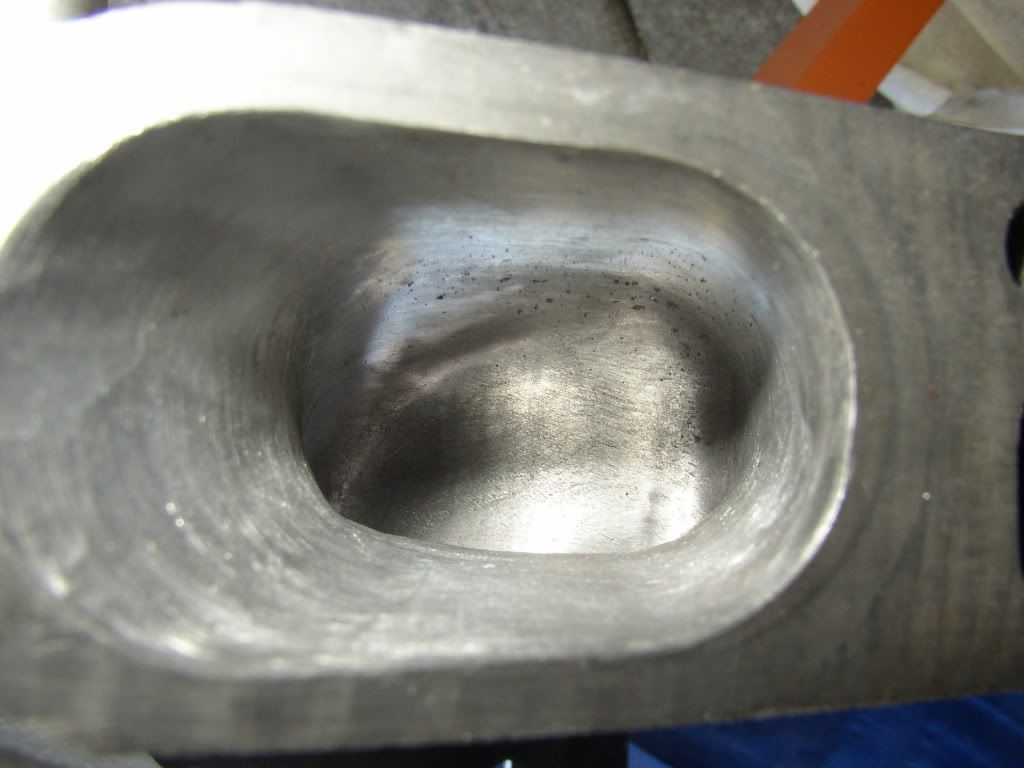
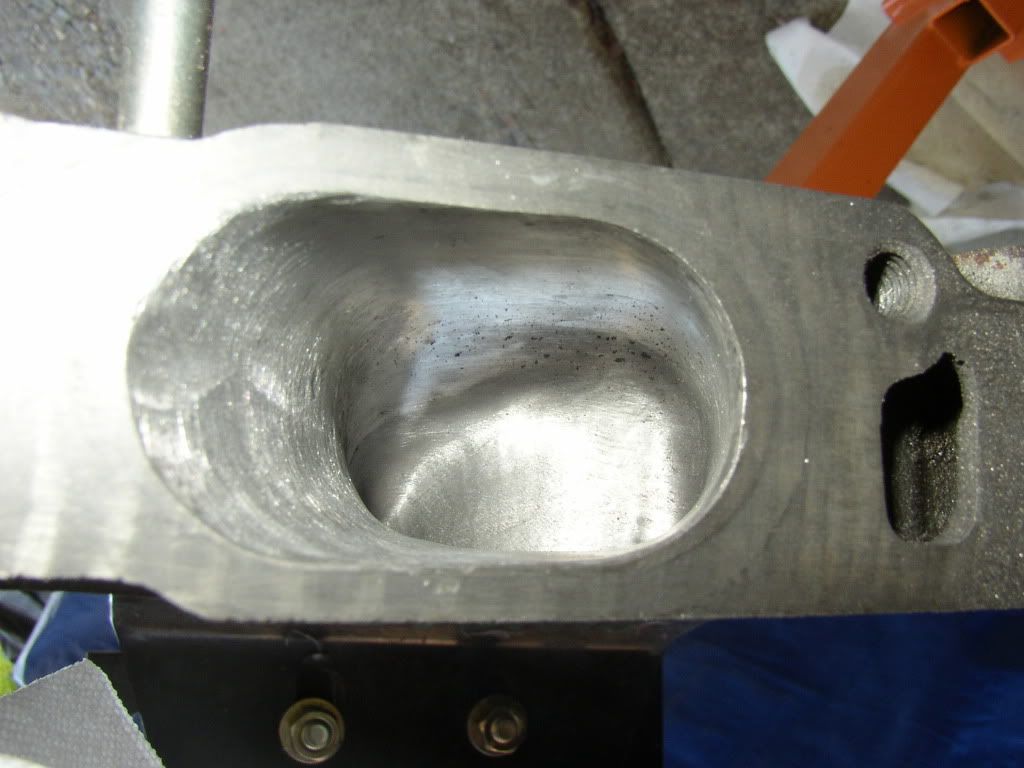
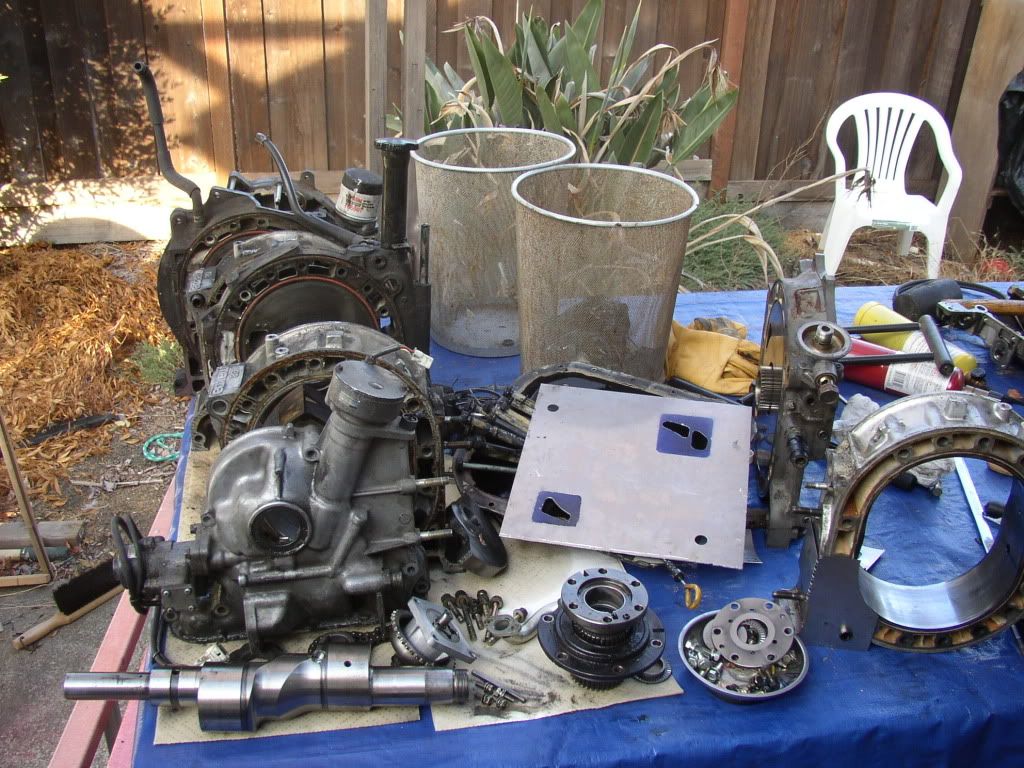
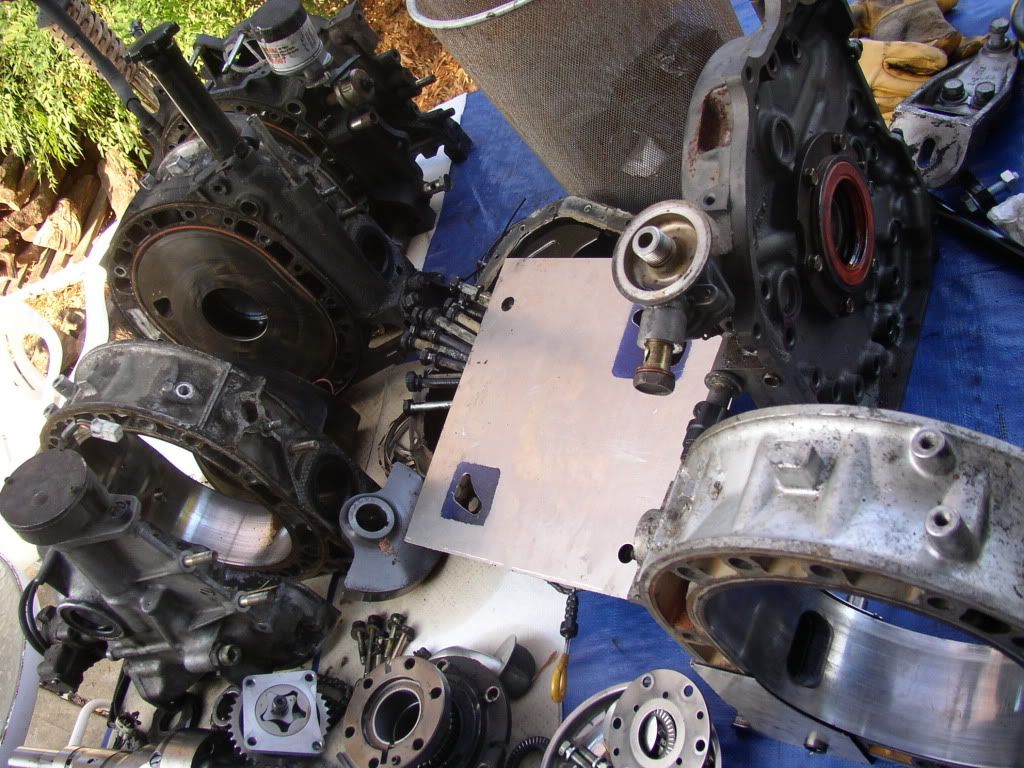
and hers stuff just stacked, we were just putting them there as we went
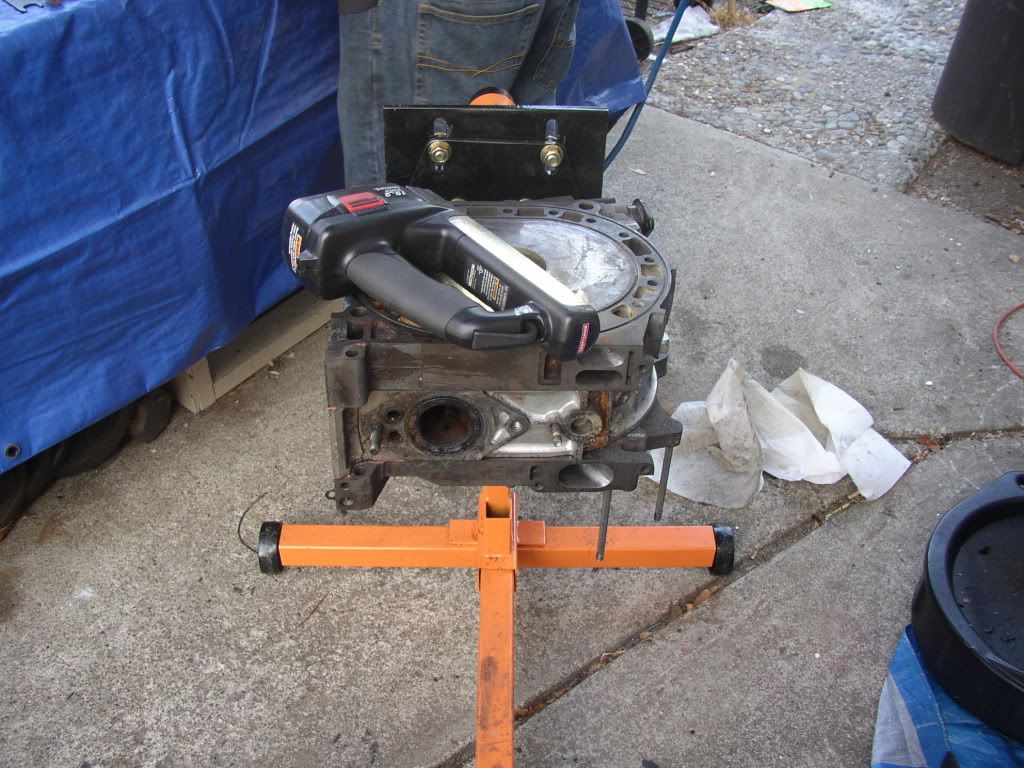
originally this engine was supposed to just be rebuilt and kinda prettied up and have all the emissions devices so we can take his current engine out, drop this in, pass smog, then drop the other back in.................buuuuuuuuuuuuut, being us, stock is just not acceptable.
a little bit of back story about this engine.
he had been looking around for an engine that was stock, either running or not, that we could use as an emissions legal engine. He picked up the engine for 500$ including an auto tranny and all that. we got rid of the flex plate, he gave me the counterweight for my fc, got rid of anything that wasnt going to be used.
we got around to pulling the spark plugs, and realized they were normal autolite plugs............welllllllll, go ******* figure, thats probably why it wouldn't crank over. luckily enough, the spark plugs were not long enough to cause interference.
we started pulling the engine apart, taking the rear iron off, seeing the rear main seal almost looked new, pulled the rear iron off, took the rotor out.............the apex seal had broken in two, one of the side seals was broken in 3, and it took us 3 hours to get another of the sideseals out. i had to take a metal scraper, grind it to a point, then get up under the seal, breaking it into about 15 pieces.....****
we got a little ahead of ourselves and put everything back together so we could take the front bolt out. i used my snapon mt725, that sucker puts some serious nut busting torque. after heating it with an oxy/acetyln torch, we used my gun......nothing.
ok, so we put my breaker bar on it.....nothing
long story short, and 4 hours later, we got a breaker bar, 3 feet of pipe, and my 3 foot pry bar, plus my 280lbs of texan, it broke loose. we were so sure that we broken something, we both looked at each other in horror, i nudged the breaker bar a little then realized the front bolt broke loose, finally.
THE ******* IDIOT WHO REBUILT THE ENGINE PREVIOUSLY USED RTV ON THE FRONT BOLT..............................................i have no ******* clue why.

so, we start tearing it apart, it all was gravy after that.
furthermore, after looking at all the pretty engines and me showing him my powdercoating that ive done, he then tells me its getting coated. thats cool, thats money in my pocket.
so, master plan for this engine is now as follows
medium street port- pineapple racing
medium exhaust port- pineapple racing port ep3a
master rebuild kit, super seal apex seals, oem main and rotor bearing
custom powdercoating done by me
im pretty sure that hes going to upgrade the fuel lines and all that, i dont know, i havent seen his car seeing as its on the other side of the country.
now that thats all said and done, here are the pictures, in the order taken. i will have some brief commentary as the pictures progress. and trust me, i like pictures, and i know you rx7 picture ******. sorry, i dont have any pictures of the tear down, we were both ******* coated and i dont like touching things with my disgusting hands, specially not my camera
starting with the irons being ported


and hers stuff just stacked, we were just putting them there as we went

#2
Thread Starter
On the fasttrack!
iTrader: (22)
Joined: Oct 2006
Posts: 2,494
Likes: 2
From: virginia beach, virginia
the next couple of pictures are the whole arranement of my s5 engine and just a whole shitload of stuff
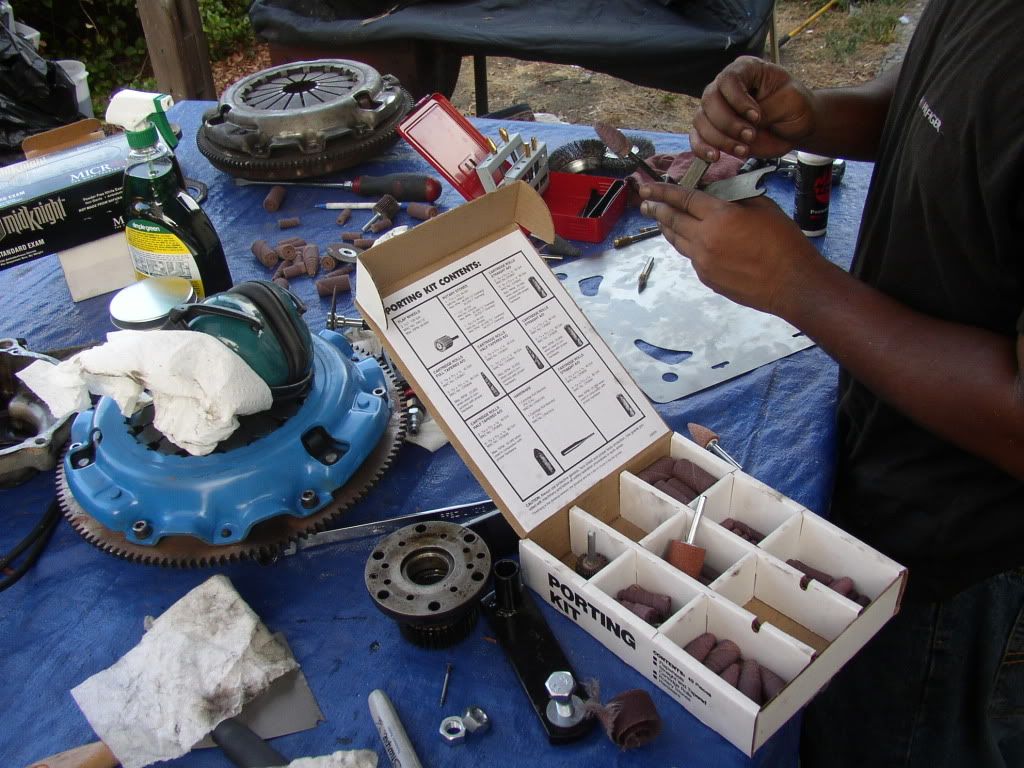
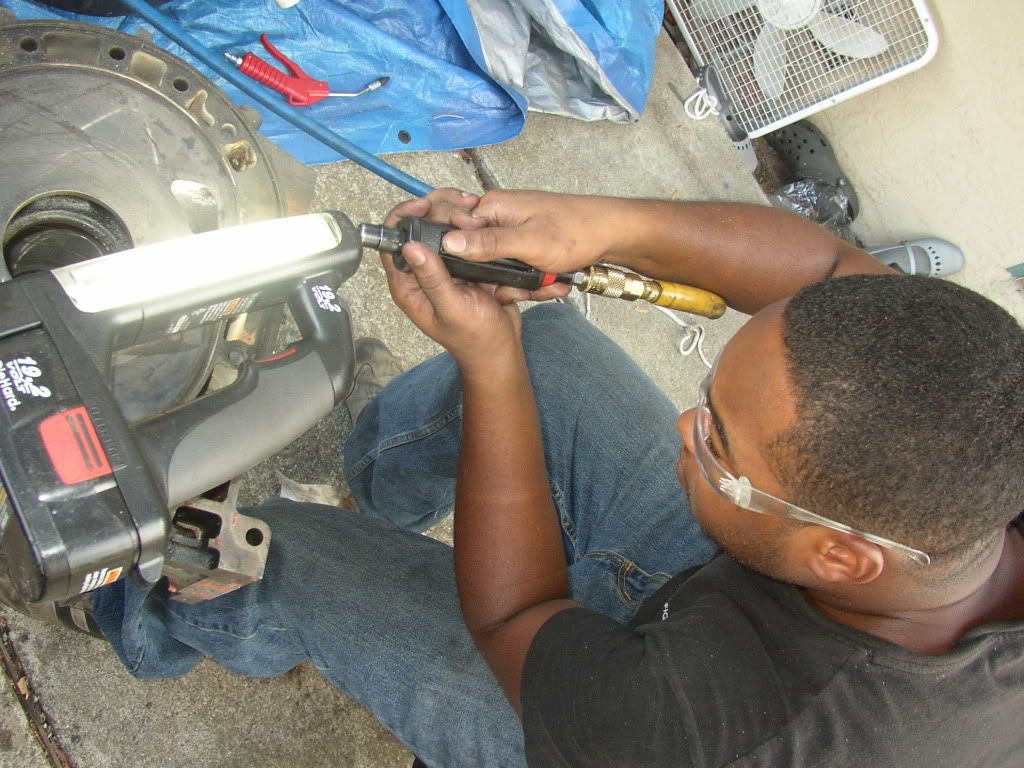
this one is him (the owner of the engine and fd) have fun porting
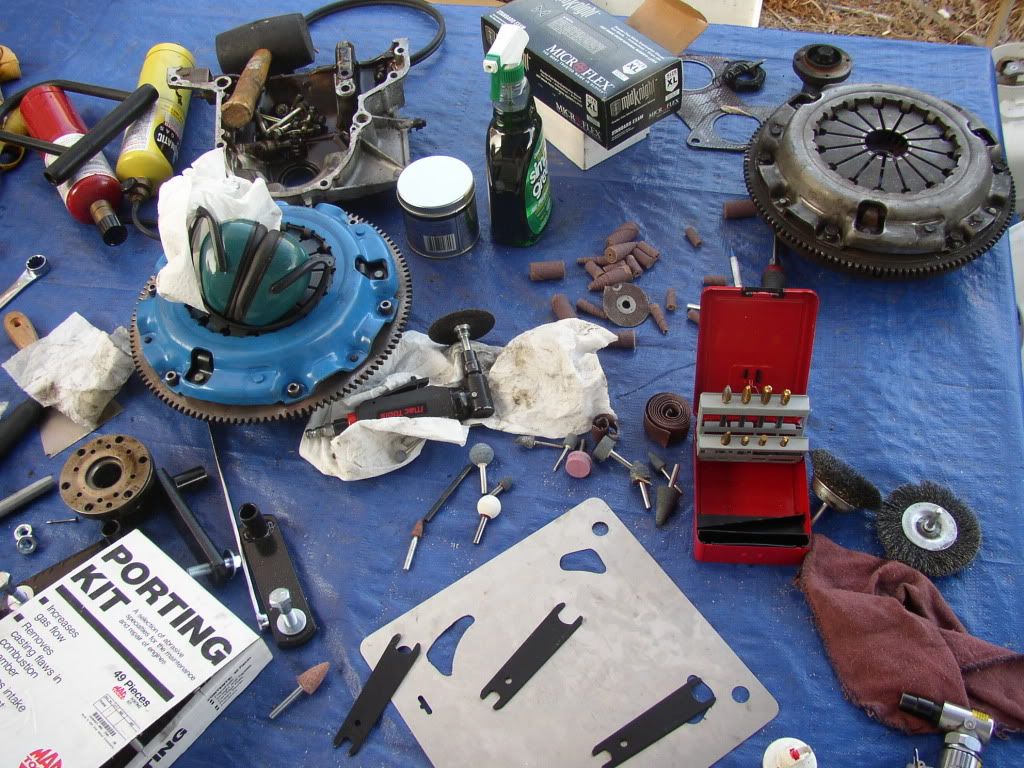
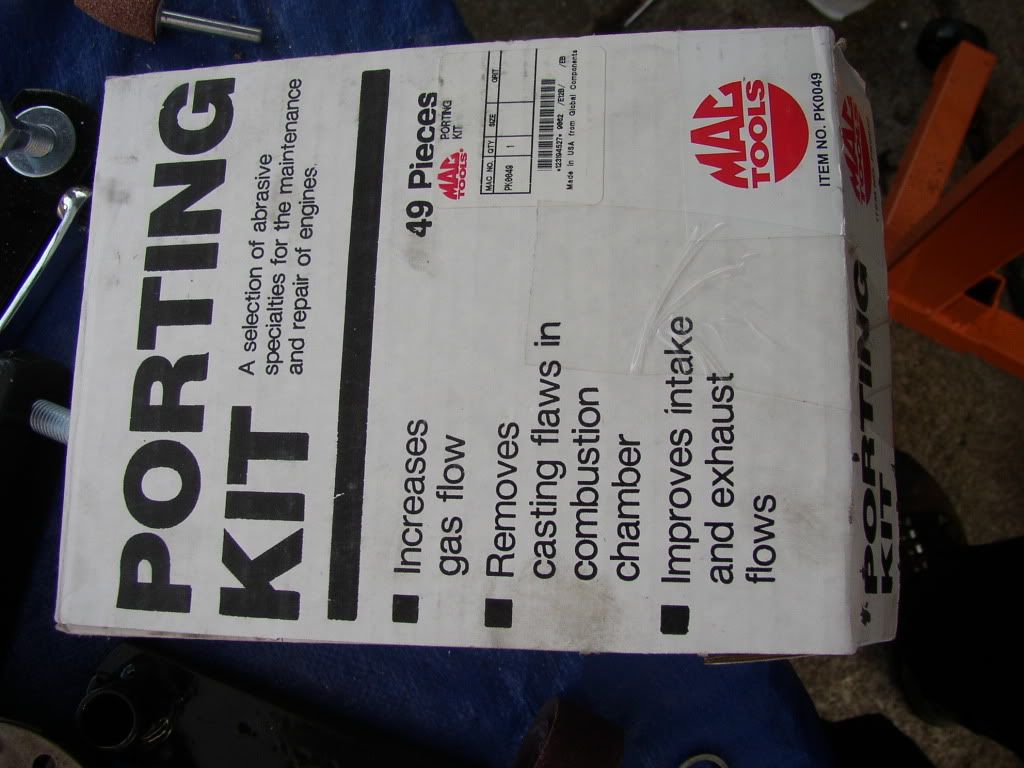
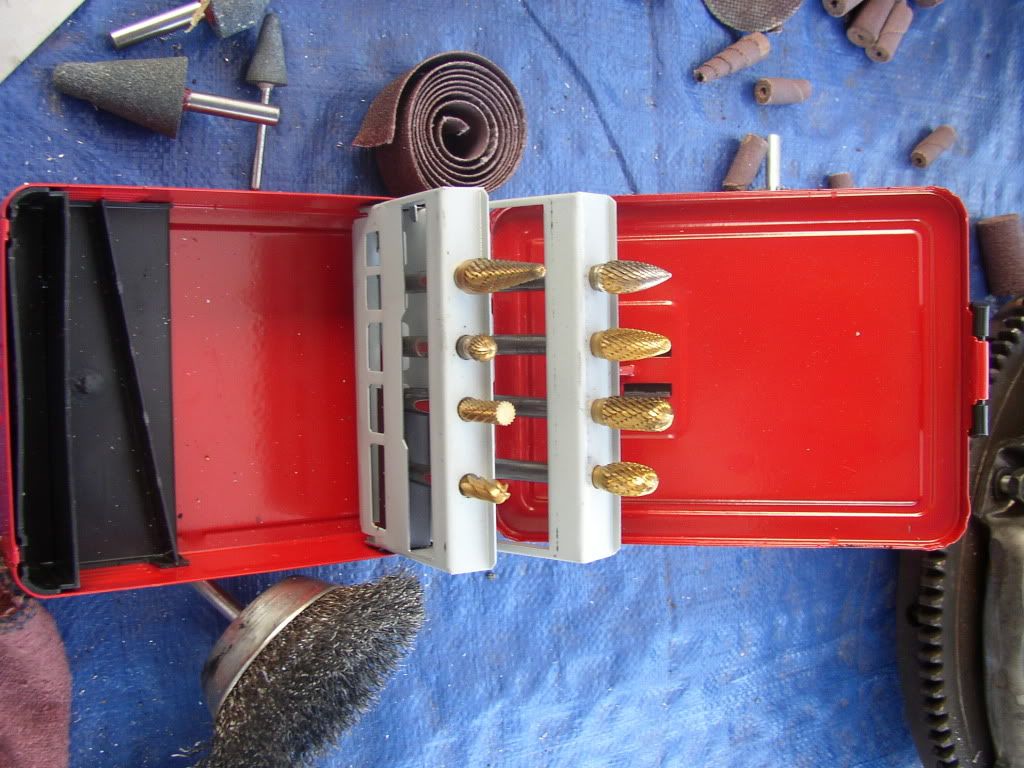
the tools we used
mac tools porting kit
mac tools porting bits (these little bastards are ******* expensive)
harbor freight 1/4" and 1/8" collet stones


this one is him (the owner of the engine and fd) have fun porting

the tools we used
mac tools porting kit
mac tools porting bits (these little bastards are ******* expensive)
harbor freight 1/4" and 1/8" collet stones


#3
Thread Starter
On the fasttrack!
iTrader: (22)
Joined: Oct 2006
Posts: 2,494
Likes: 2
From: virginia beach, virginia
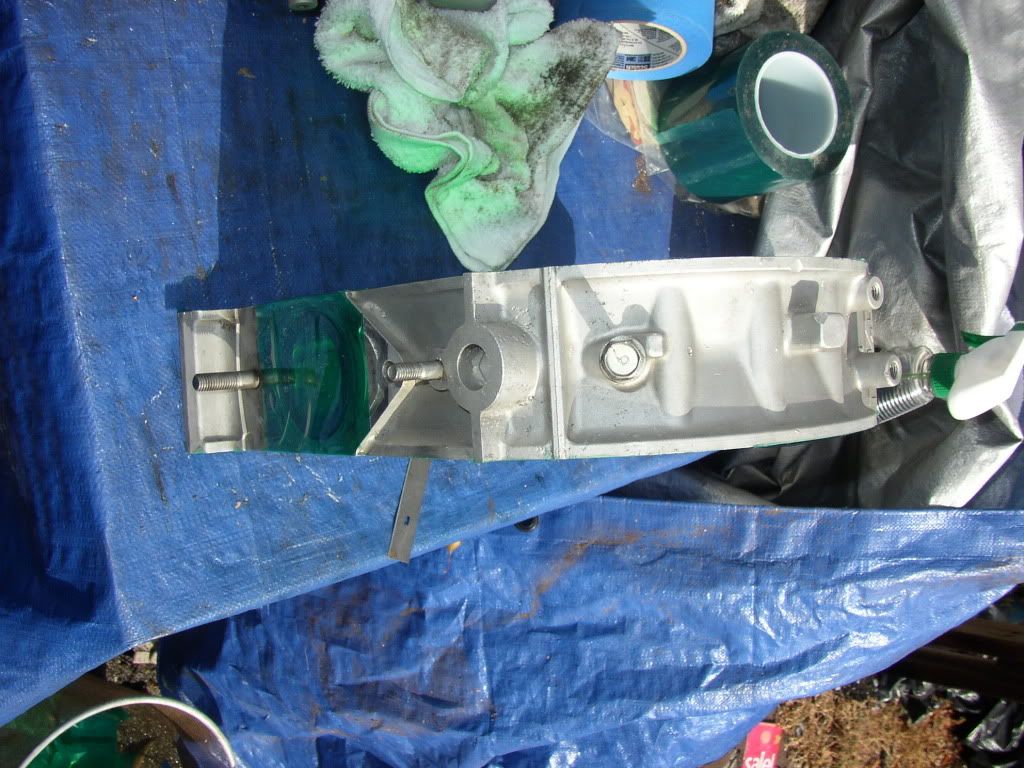
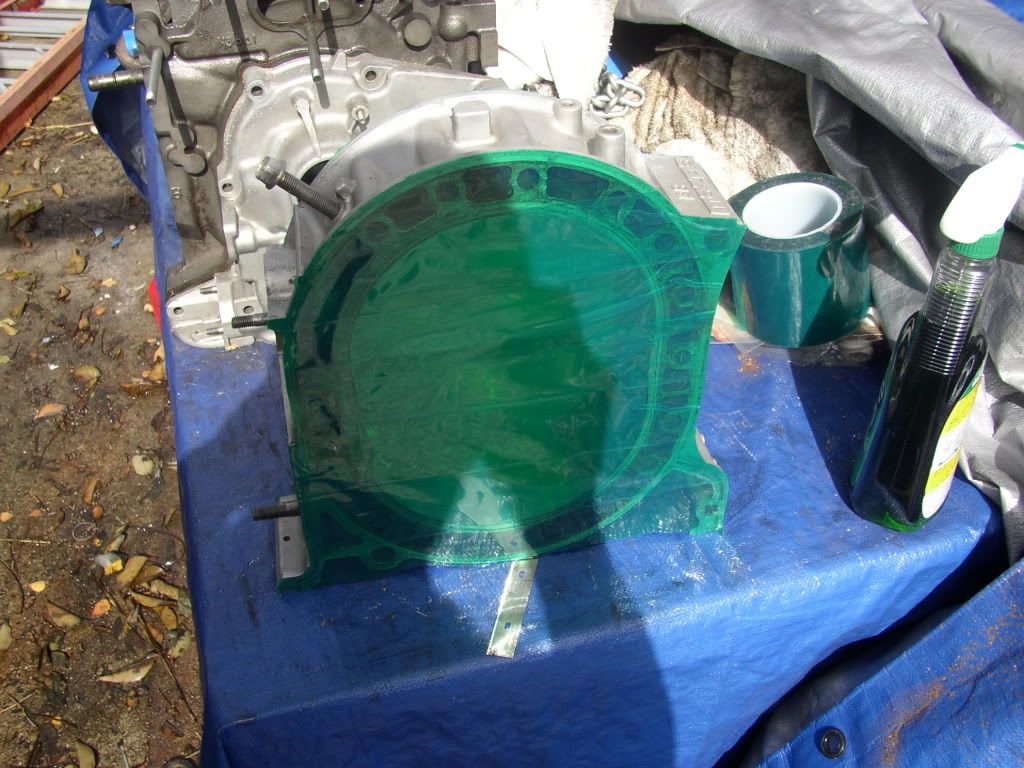
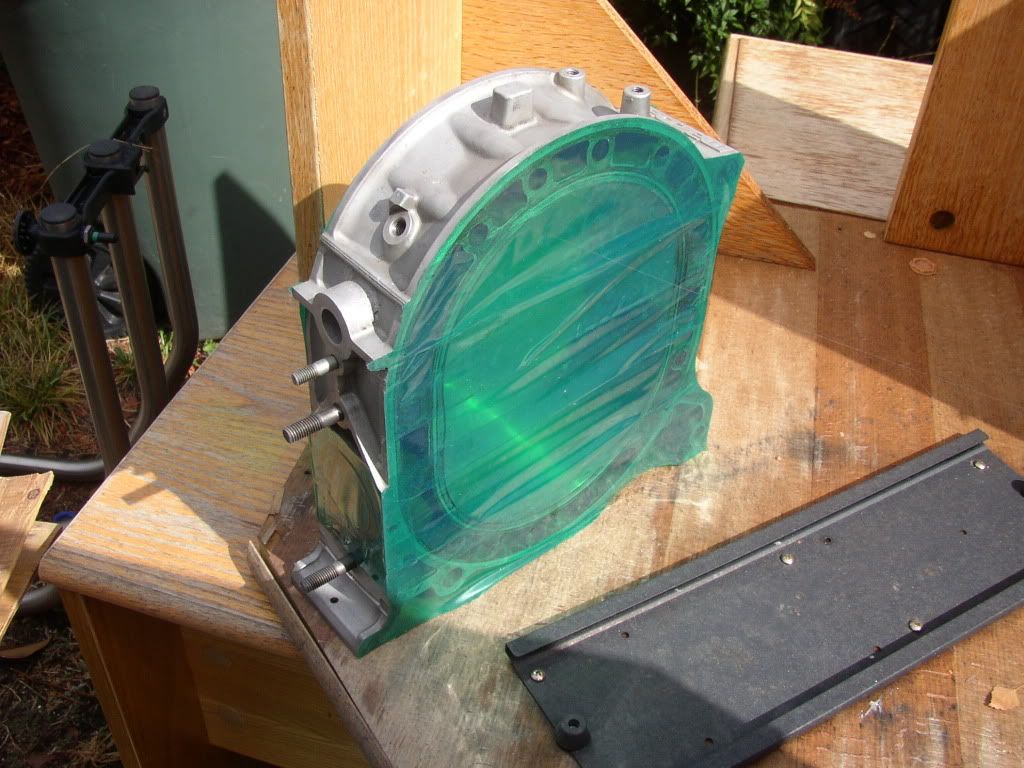
thats all the pictures of the ports, the next couple of pictures are the plates and housings taped up for media blasting.
for the media, i used 80 grit number 4 glass bead. it turned out quite well.
little tip if blasing, mask off everything, and take apart the gear in the front plate for the MOP.
after you blast them, soak them in chemdip and clean them with a tooth brush (im just **** enough to do that) just to make sure all the media and all the shavings from porting are cleaned out, dont want that **** to end up in the oil and getting shot into the engine
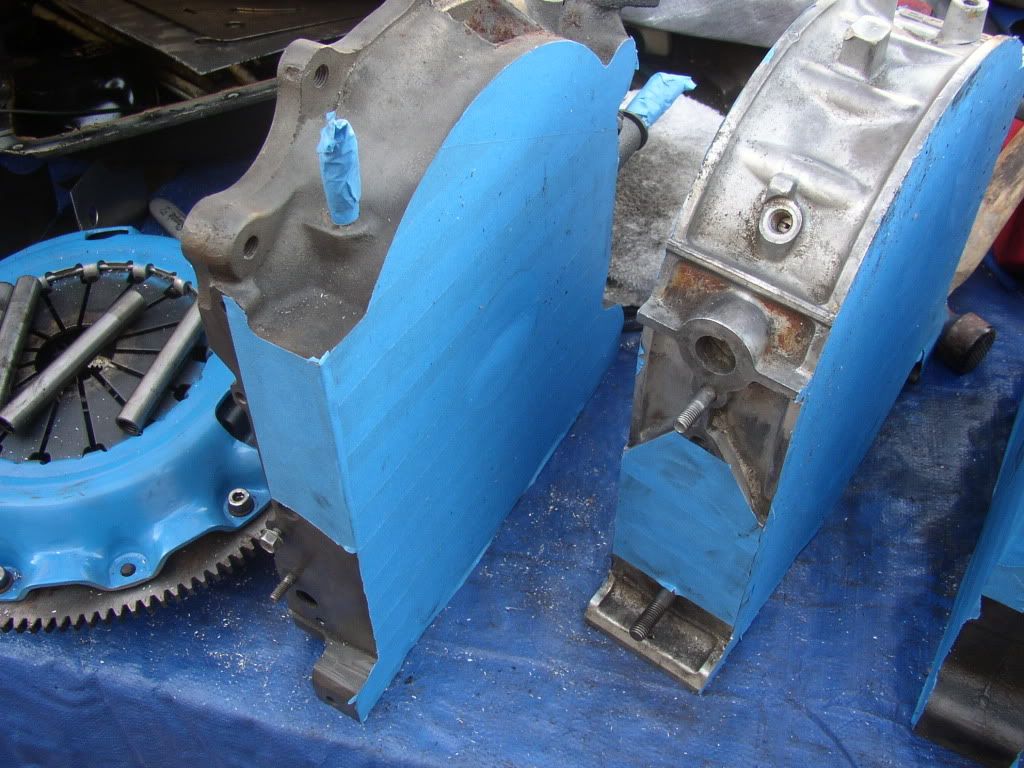
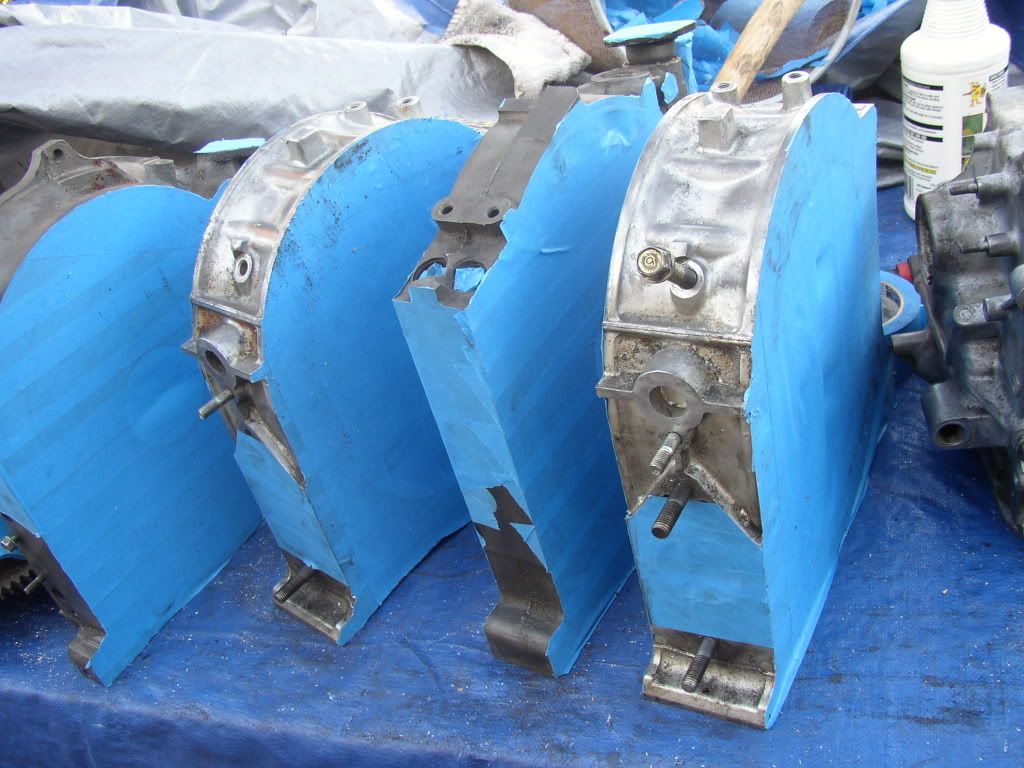
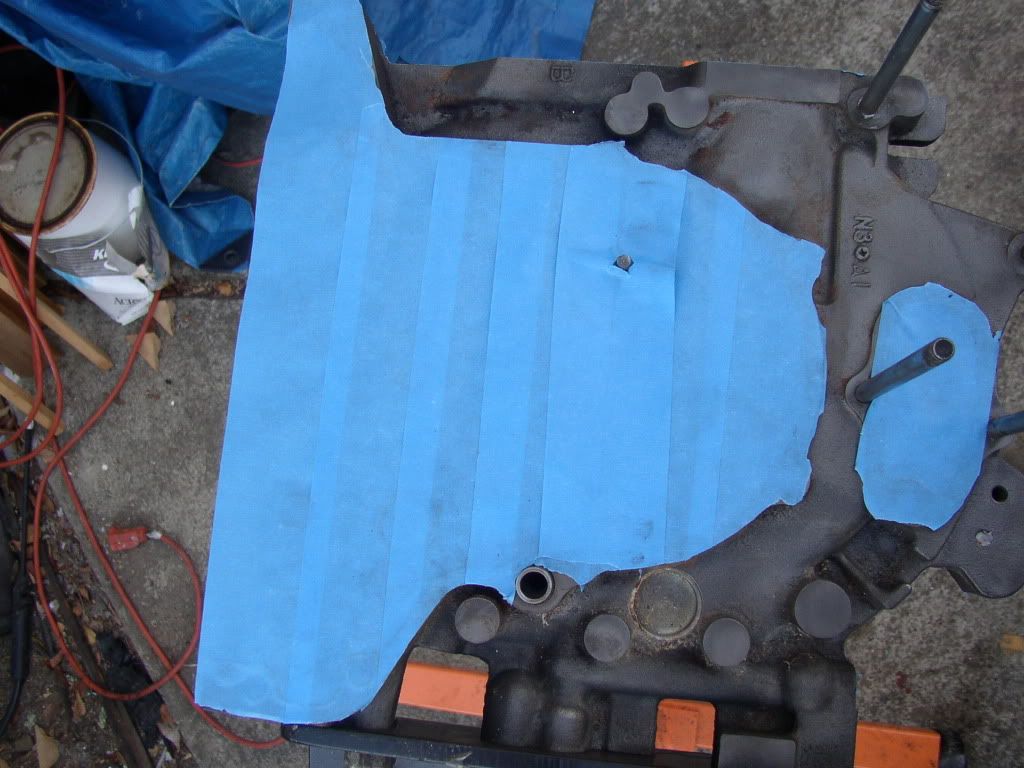
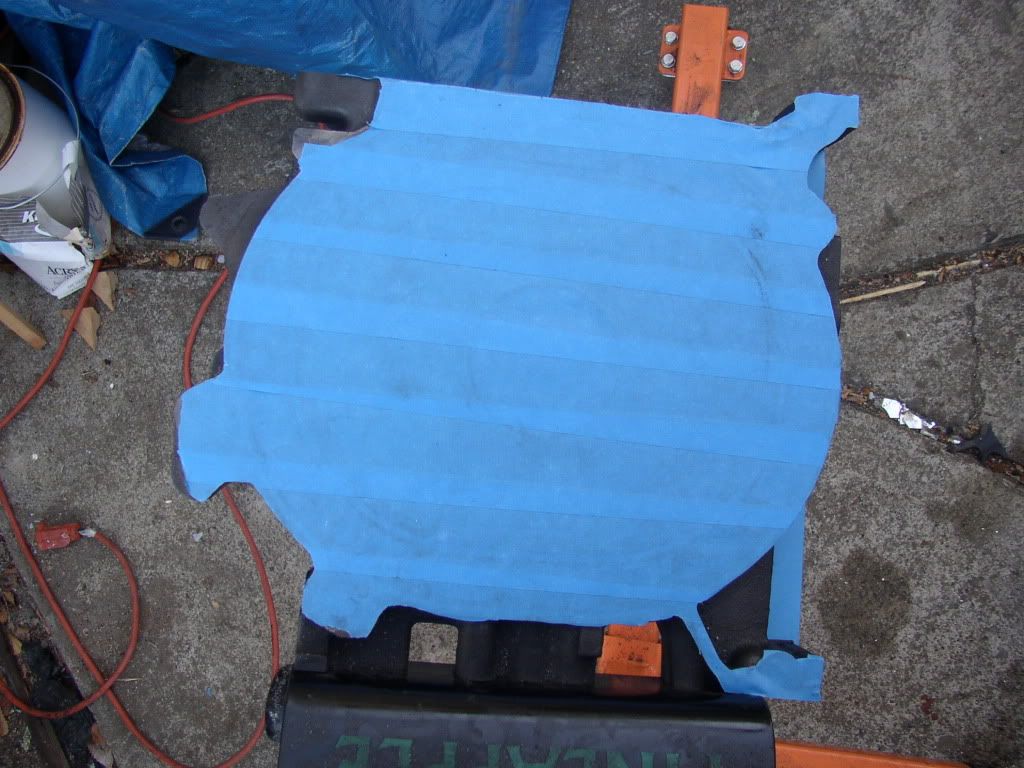
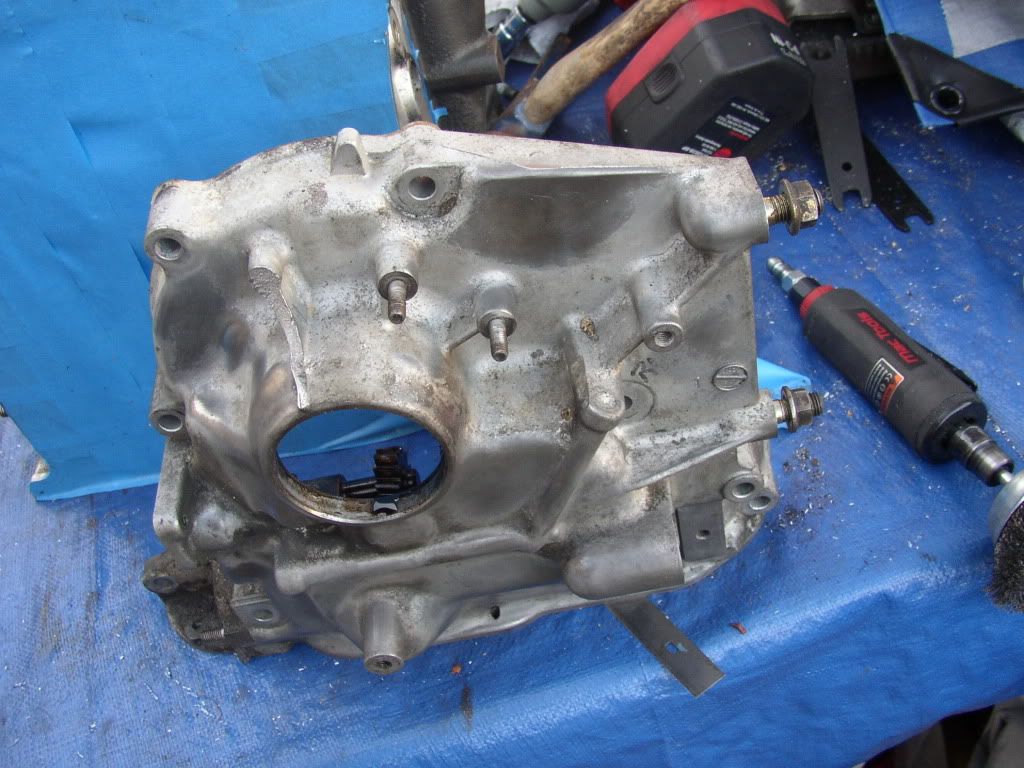
i like to use masking tape, then follow along the contours of the plates with a long scraper blade, just to get rid of the tape so the media doesnt stick to it
for the media, i used 80 grit number 4 glass bead. it turned out quite well.
little tip if blasing, mask off everything, and take apart the gear in the front plate for the MOP.
after you blast them, soak them in chemdip and clean them with a tooth brush (im just **** enough to do that) just to make sure all the media and all the shavings from porting are cleaned out, dont want that **** to end up in the oil and getting shot into the engine


i like to use masking tape, then follow along the contours of the plates with a long scraper blade, just to get rid of the tape so the media doesnt stick to it
#4
Thread Starter
On the fasttrack!
iTrader: (22)
Joined: Oct 2006
Posts: 2,494
Likes: 2
From: virginia beach, virginia
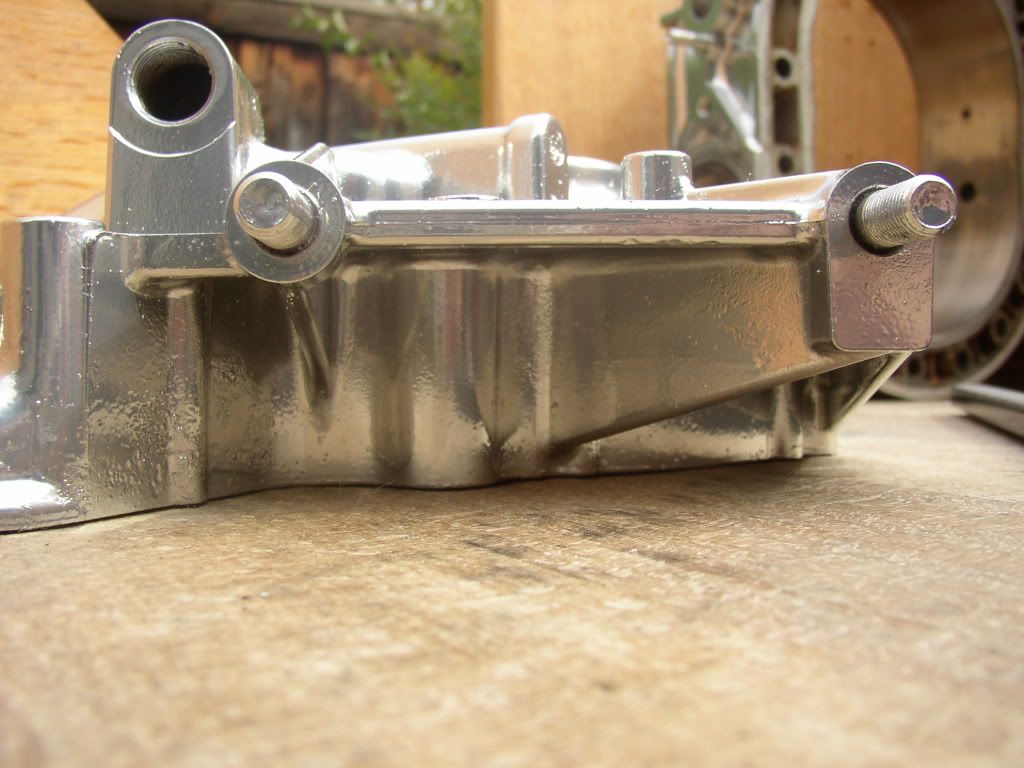
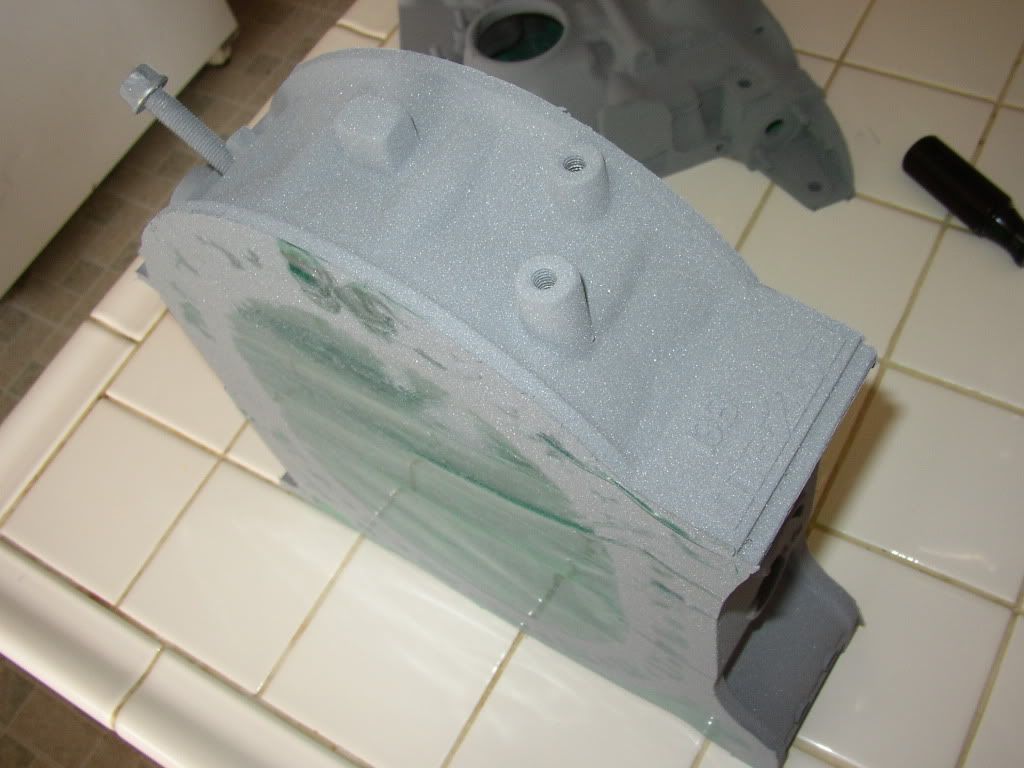
here are all the housings after blasting, chemdip and cleaning, prepped for powdercoating
now, since i do my own powdercoating, i like to get all my powder from columbiacoatings.com
they have superior powder and i have had great luck with it. even though im using a shitty craftsman powder gun, it all turned out pretty good, cept for a few things that i sorta fucked up, but its all been fixed since the pictures
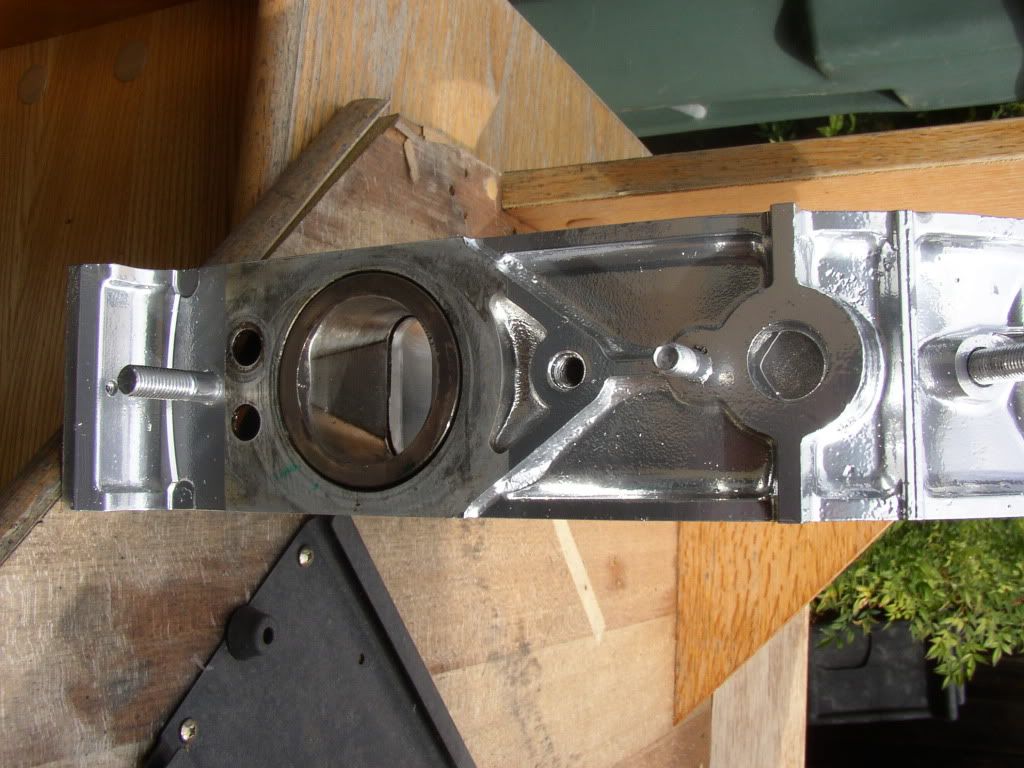
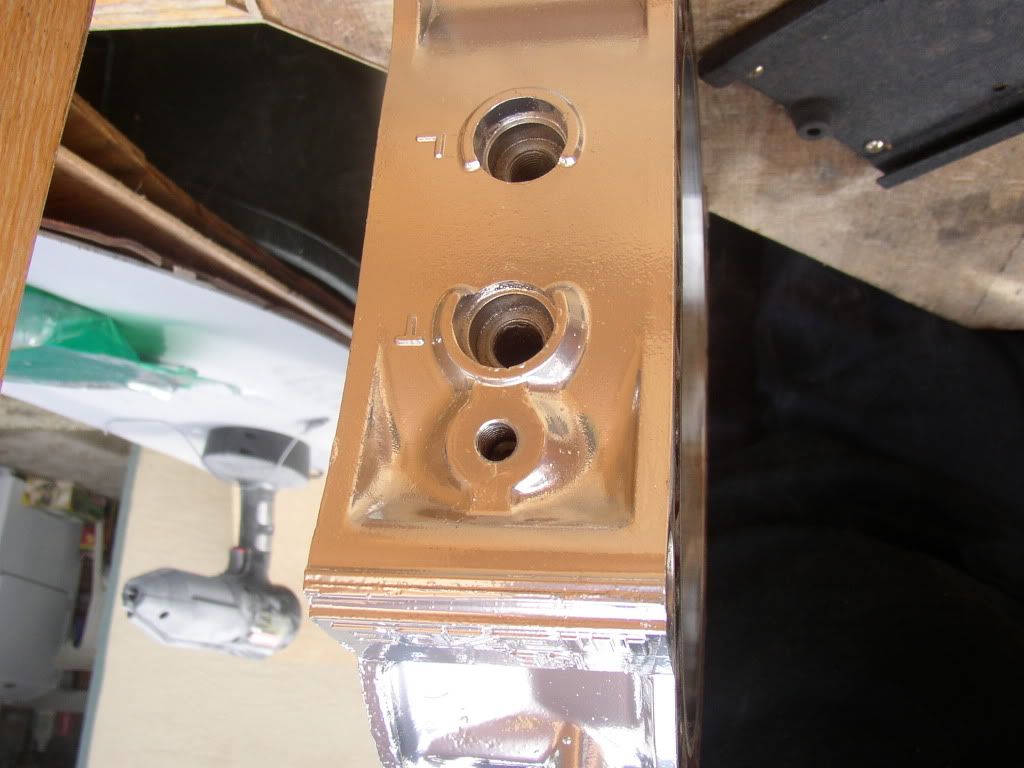
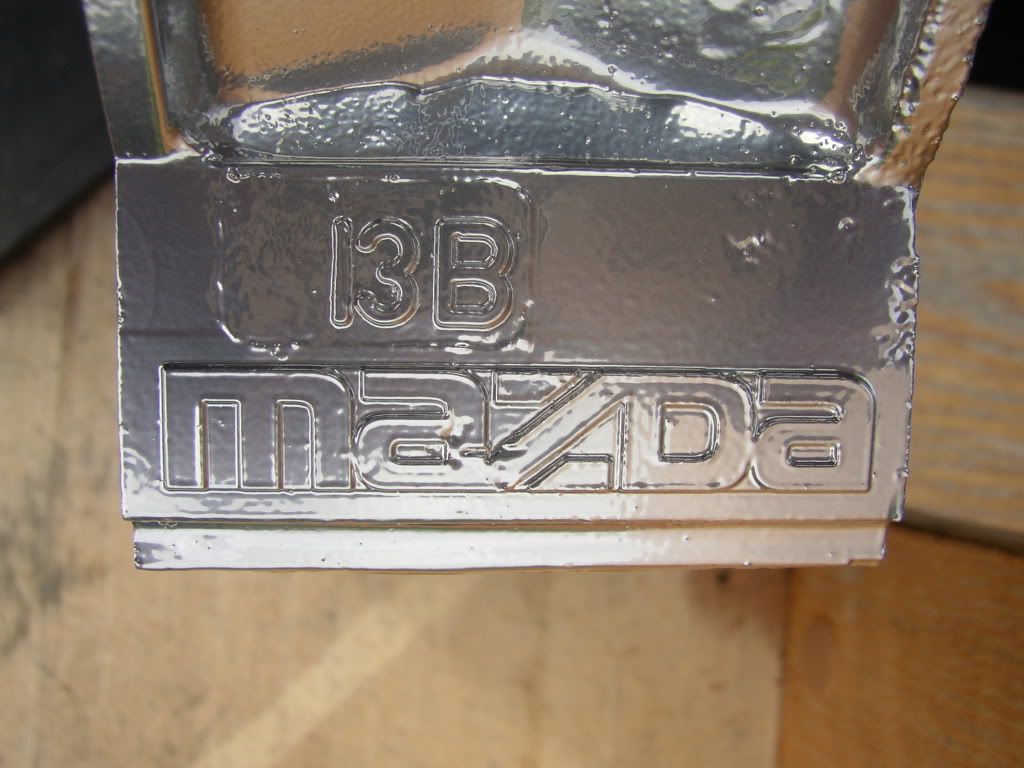
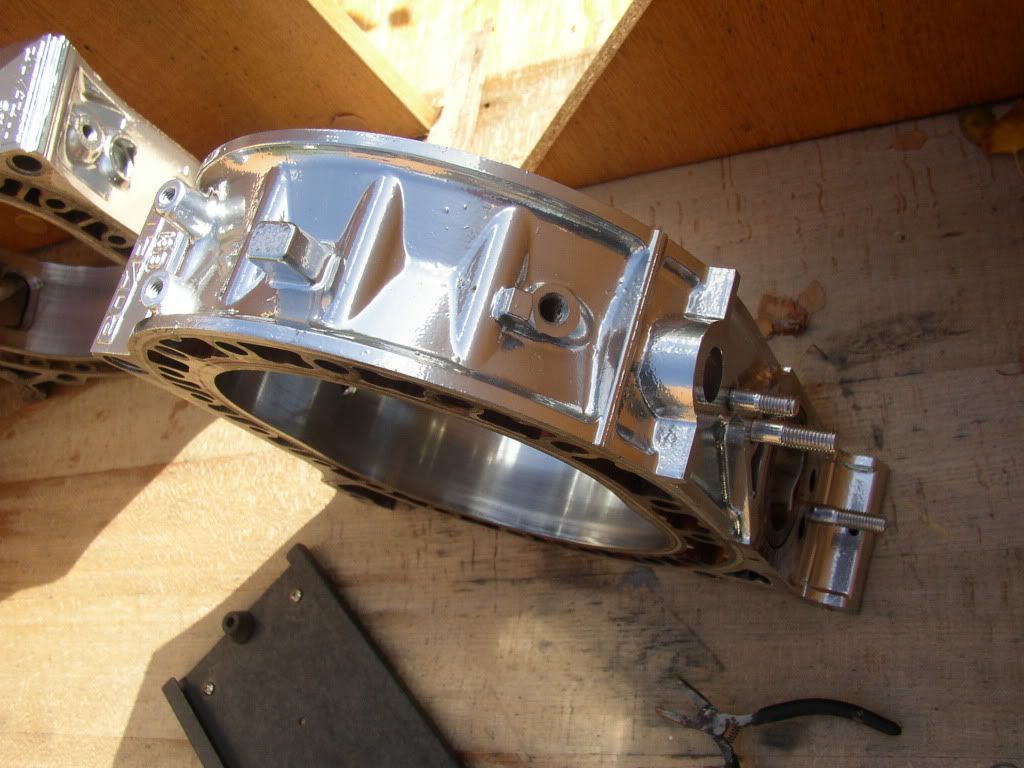
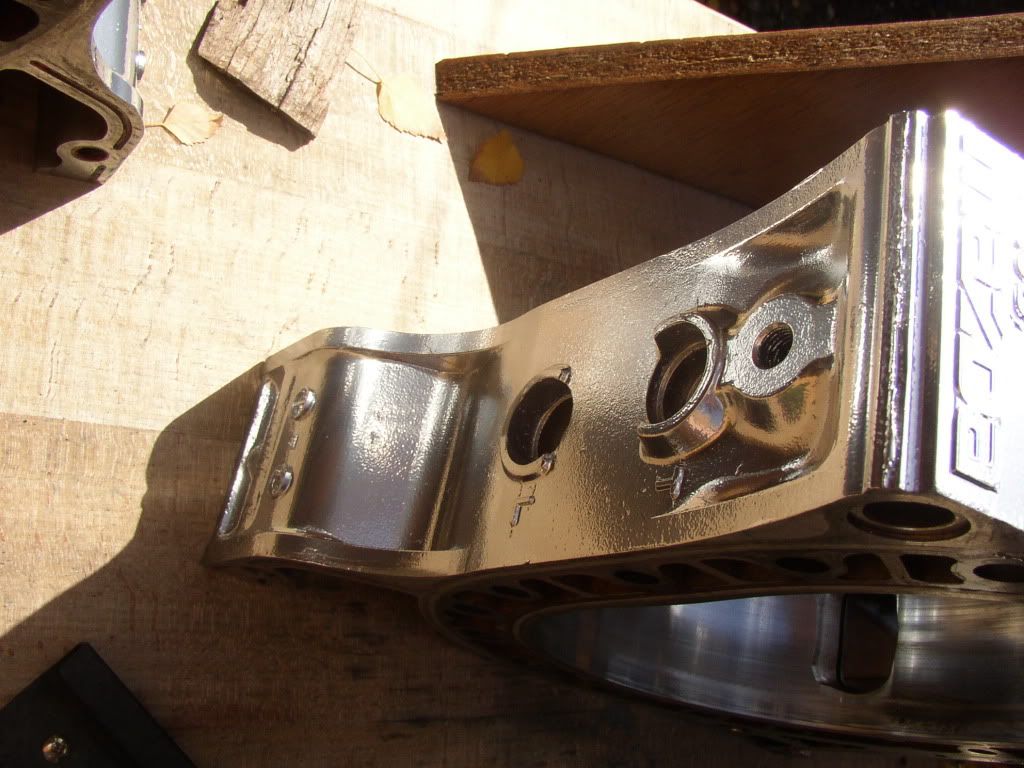
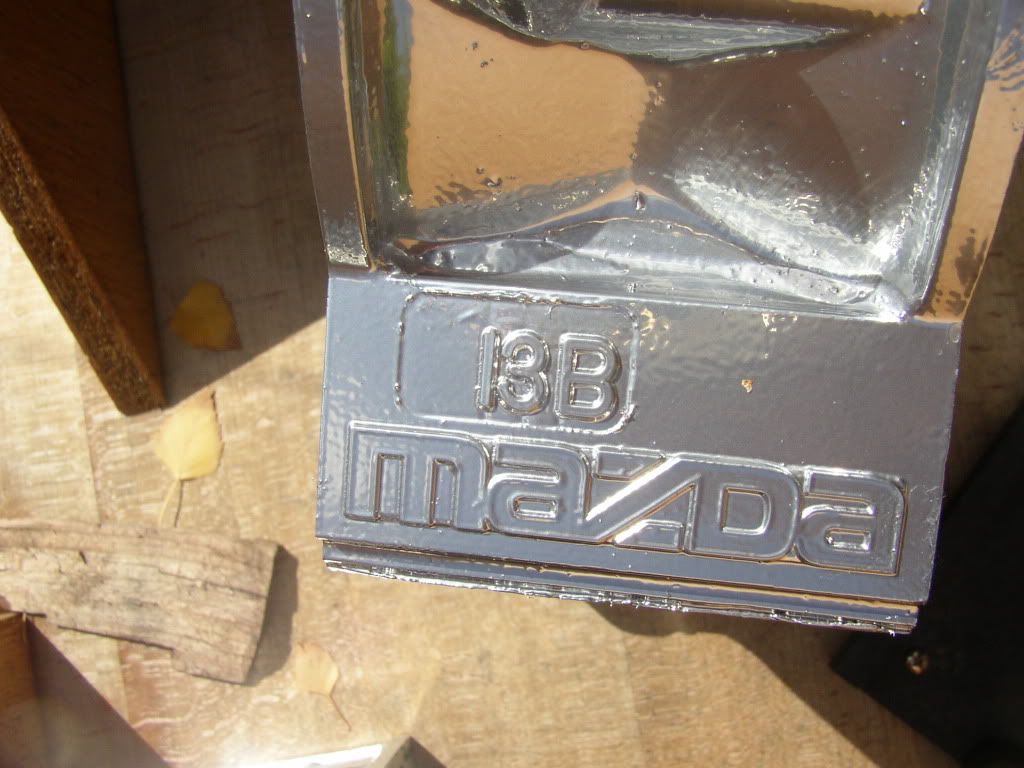
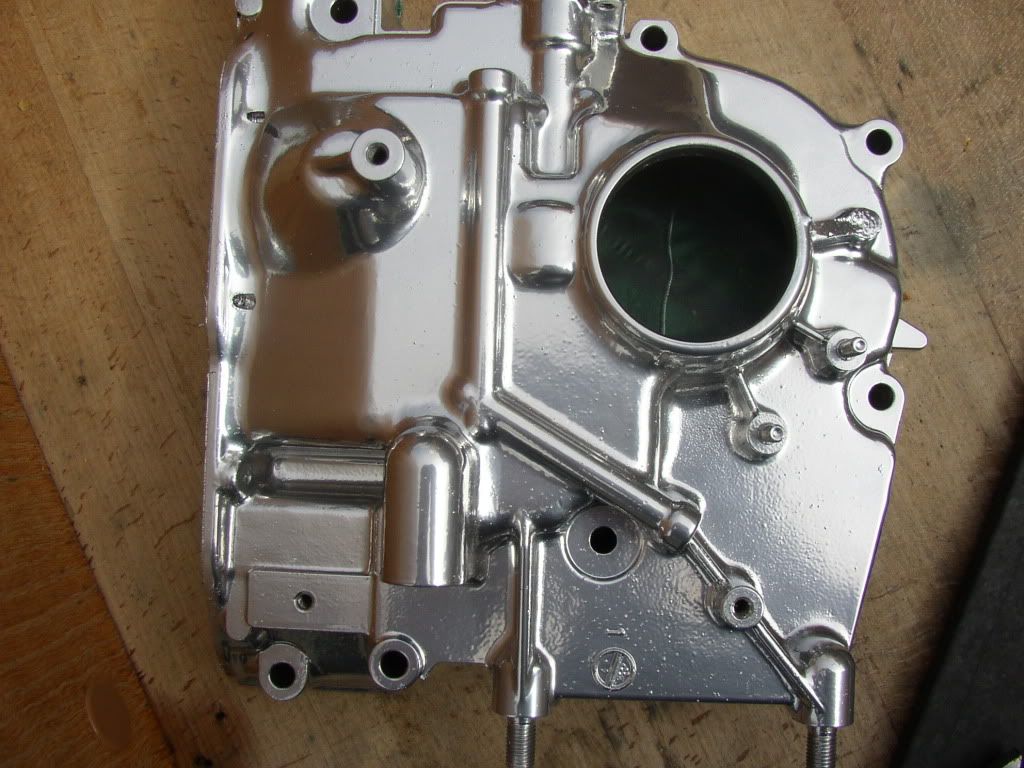
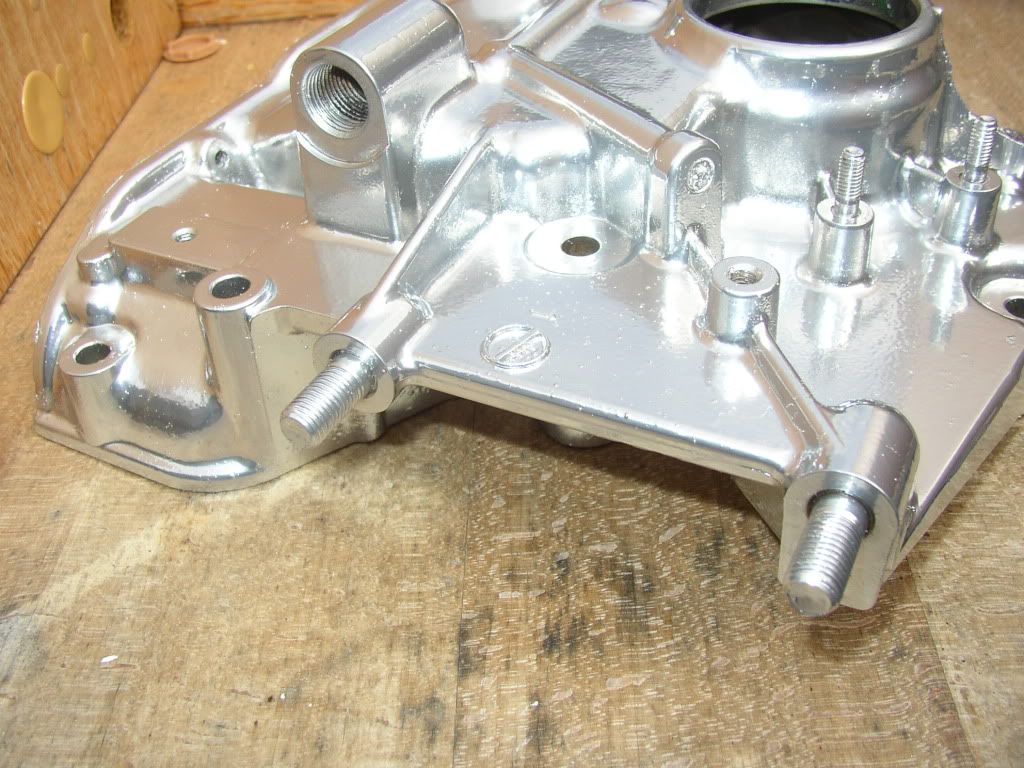
the housings are being powdercoated with a Candy Blue Translucent powder, it has to have either a silver or chrome basecoat, i decided on the chrome because i have seen it used as a base, and its fappable to say the least
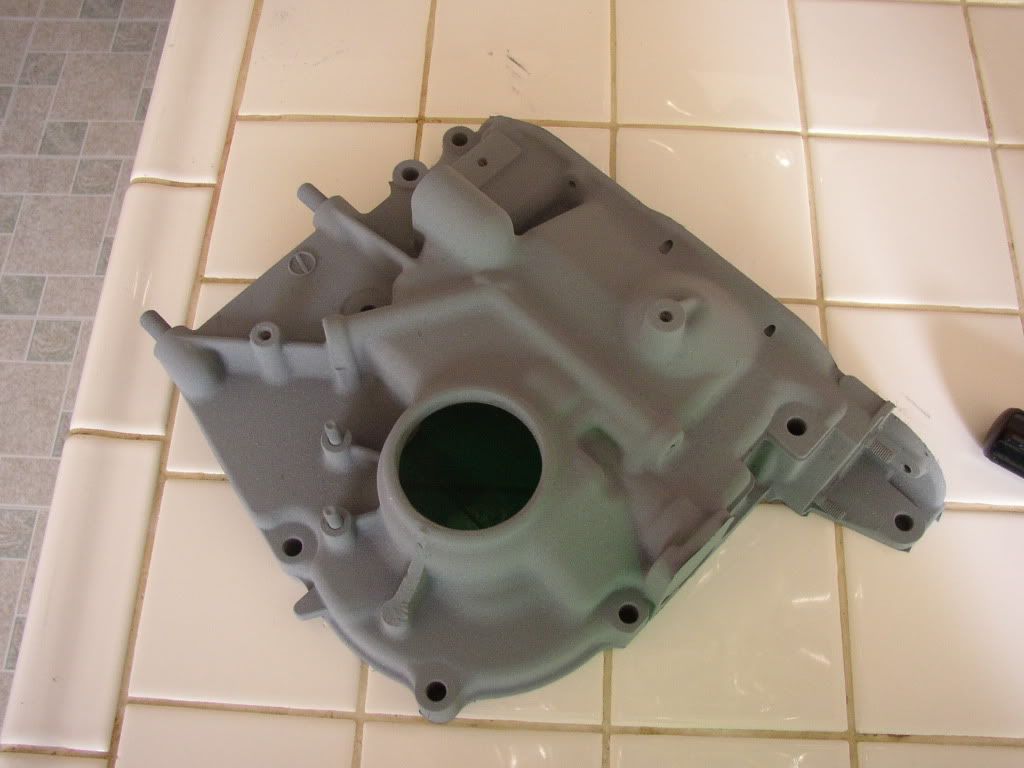
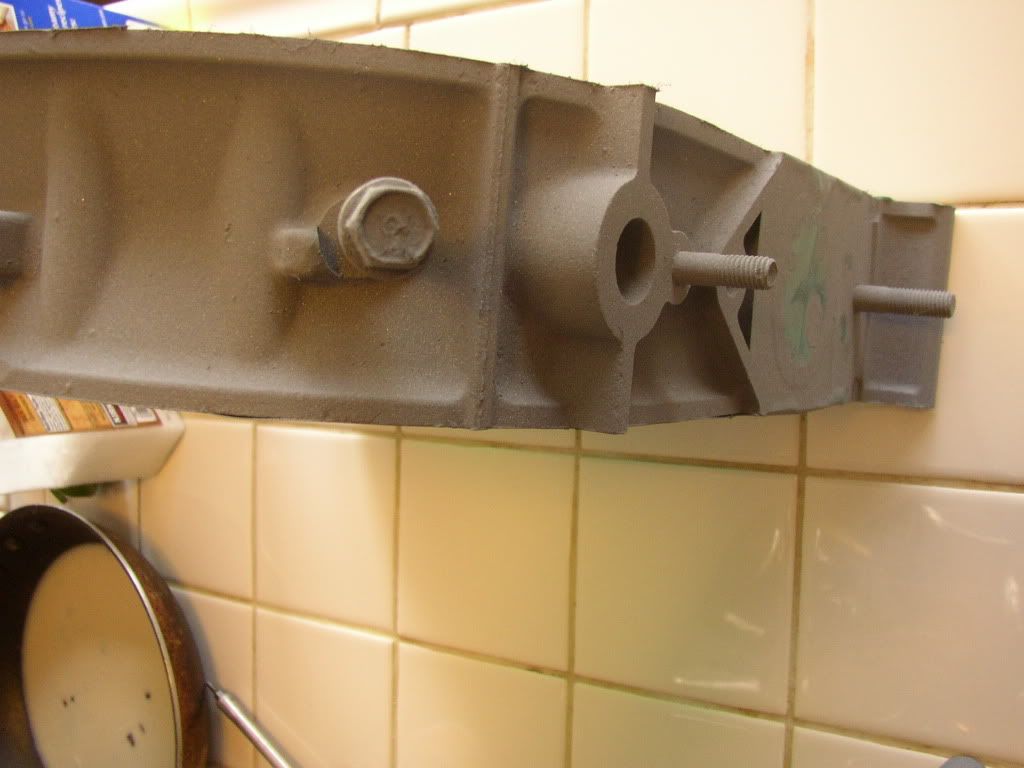
these pictures just show the chrome in powder form
baked them at around 380 for exactly 16 minutes as per instructions from CC.com
put them in, then waited, in the meantime, beer break
shameless plug, i love bluemoon, i just didnt have any pyrimids hefeweizen.


now, since i do my own powdercoating, i like to get all my powder from columbiacoatings.com
they have superior powder and i have had great luck with it. even though im using a shitty craftsman powder gun, it all turned out pretty good, cept for a few things that i sorta fucked up, but its all been fixed since the pictures
the housings are being powdercoated with a Candy Blue Translucent powder, it has to have either a silver or chrome basecoat, i decided on the chrome because i have seen it used as a base, and its fappable to say the least
these pictures just show the chrome in powder form


baked them at around 380 for exactly 16 minutes as per instructions from CC.com
put them in, then waited, in the meantime, beer break

shameless plug, i love bluemoon, i just didnt have any pyrimids hefeweizen.
#6
Thread Starter
On the fasttrack!
iTrader: (22)
Joined: Oct 2006
Posts: 2,494
Likes: 2
From: virginia beach, virginia
ok, i kinda ran out of room on my camera, so i dont have complete pictures of everything, but i will take them tomorrow when i do the irons the hyper mirror wet black
here is the candy blue on the chrome
powder form before baking
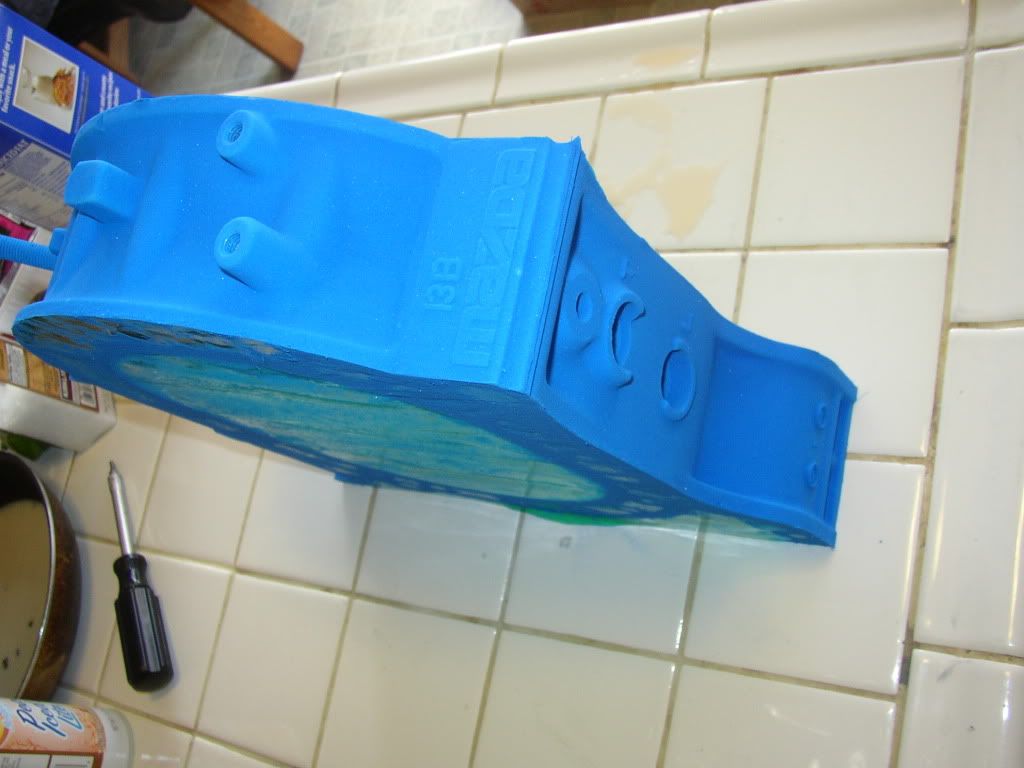
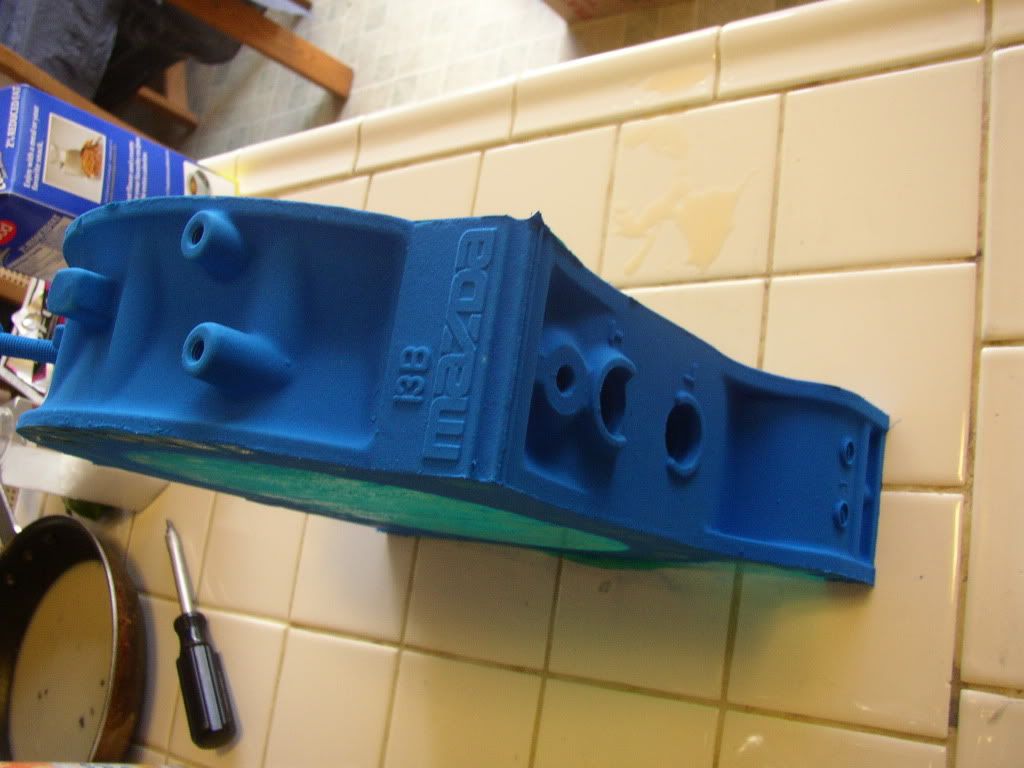

at this stage, i was very hesitant. i have never used a candy powder, just normal colors.
boy was i surprised when i pulled them out of the oven
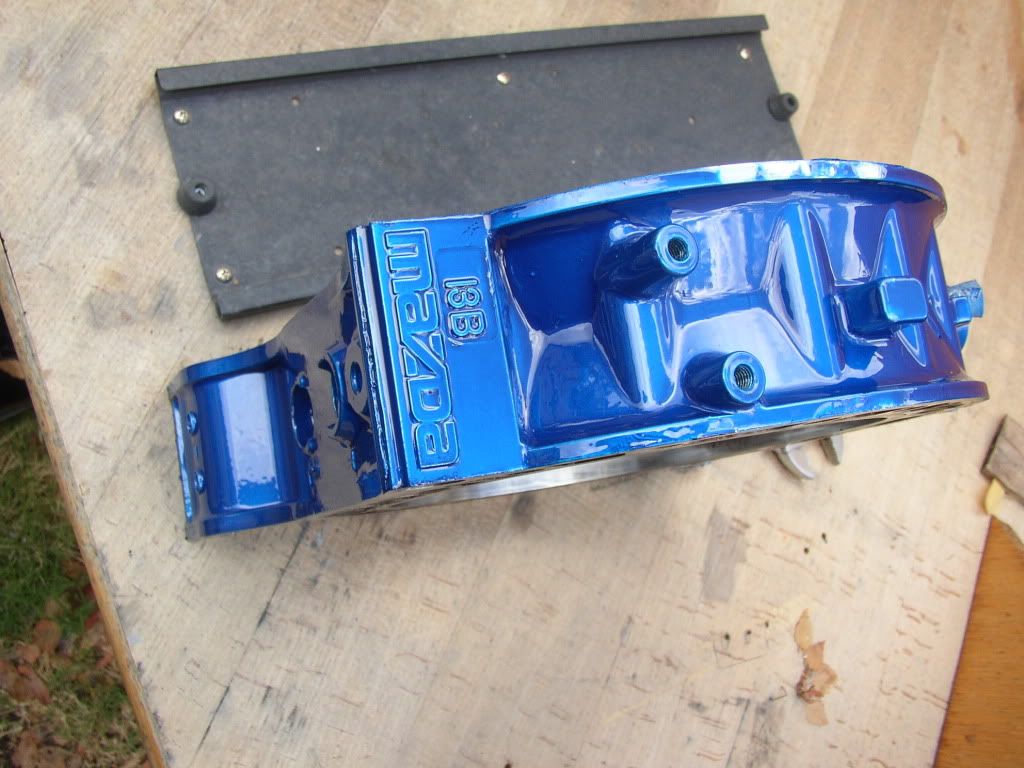
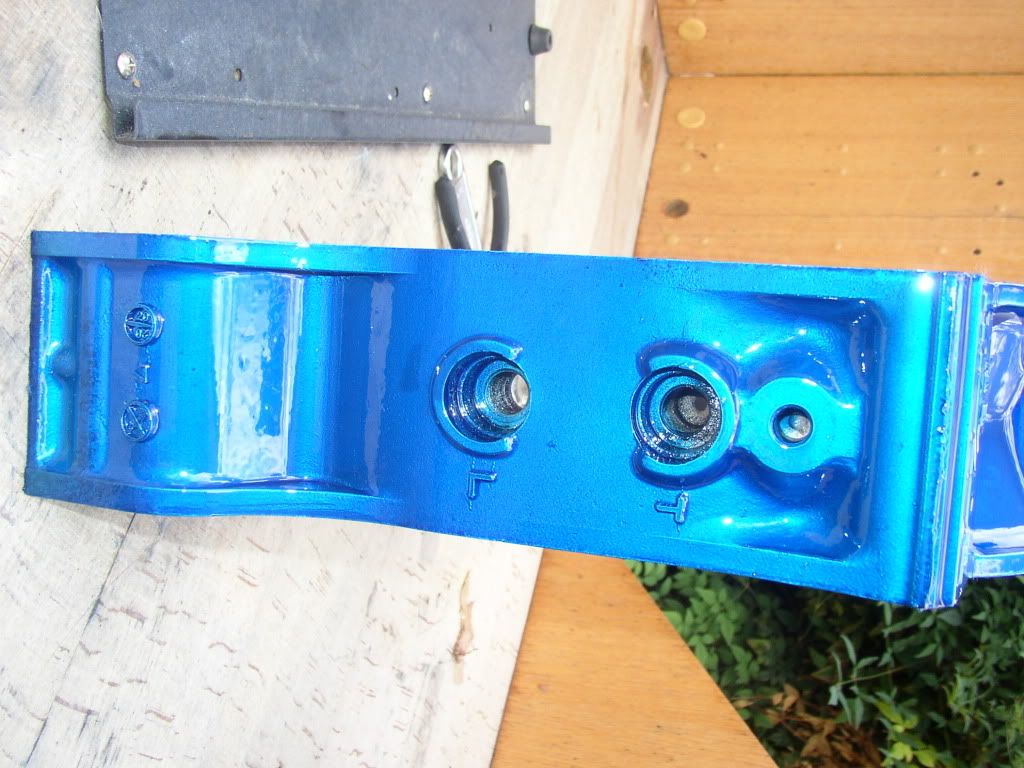
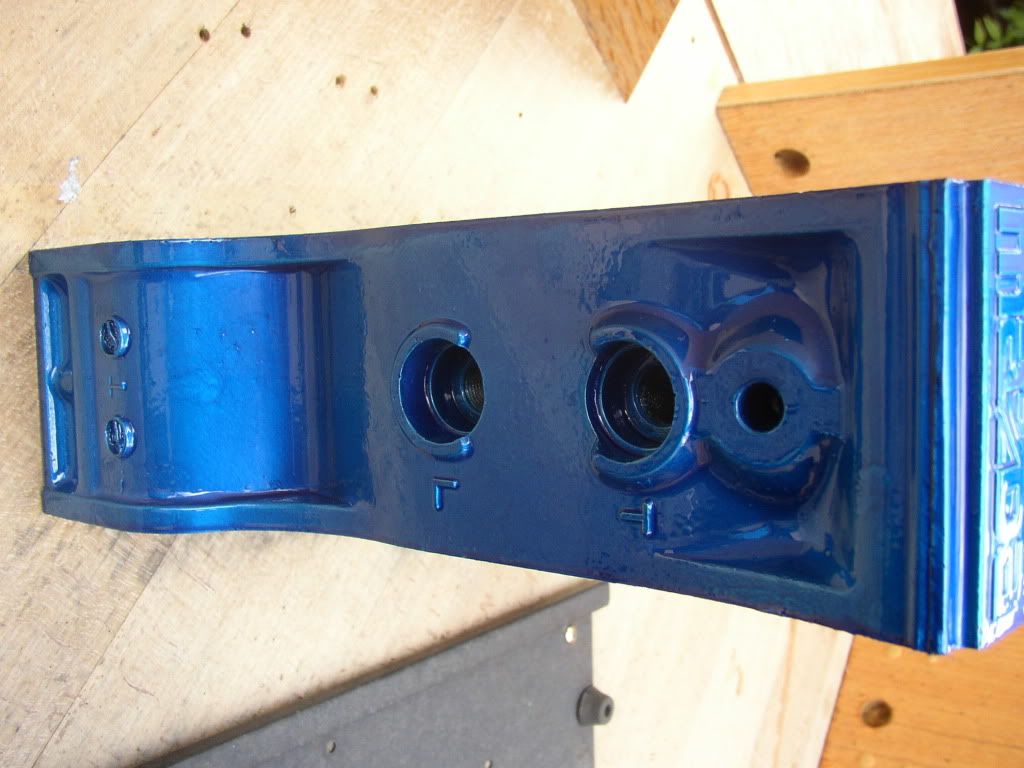
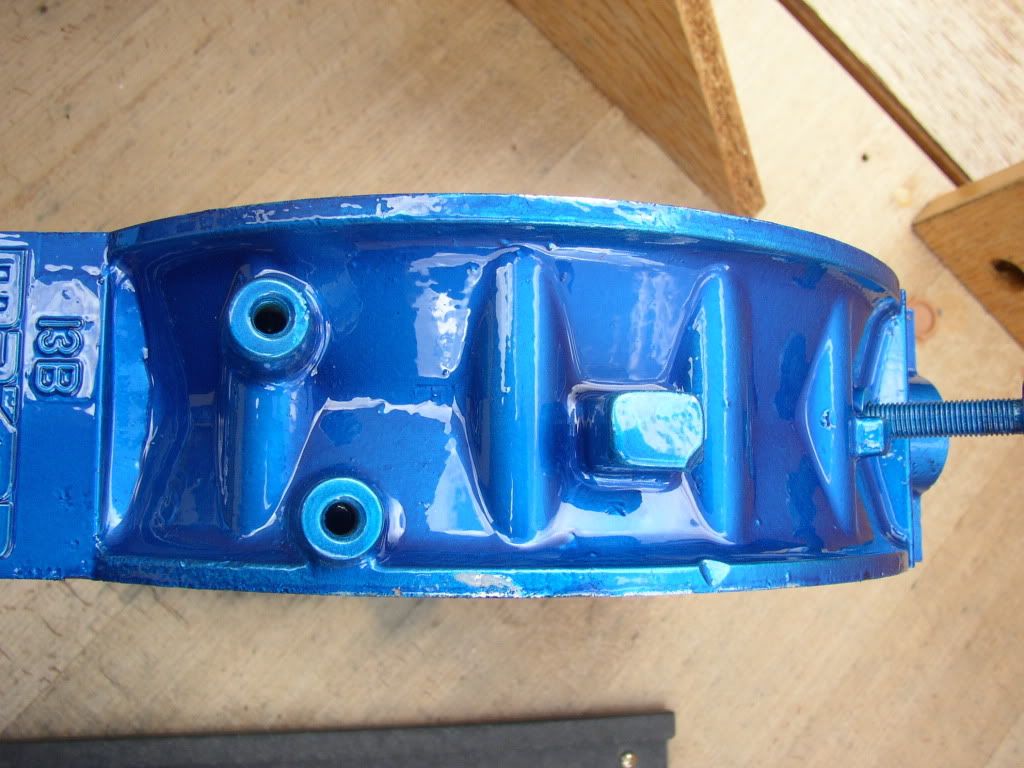
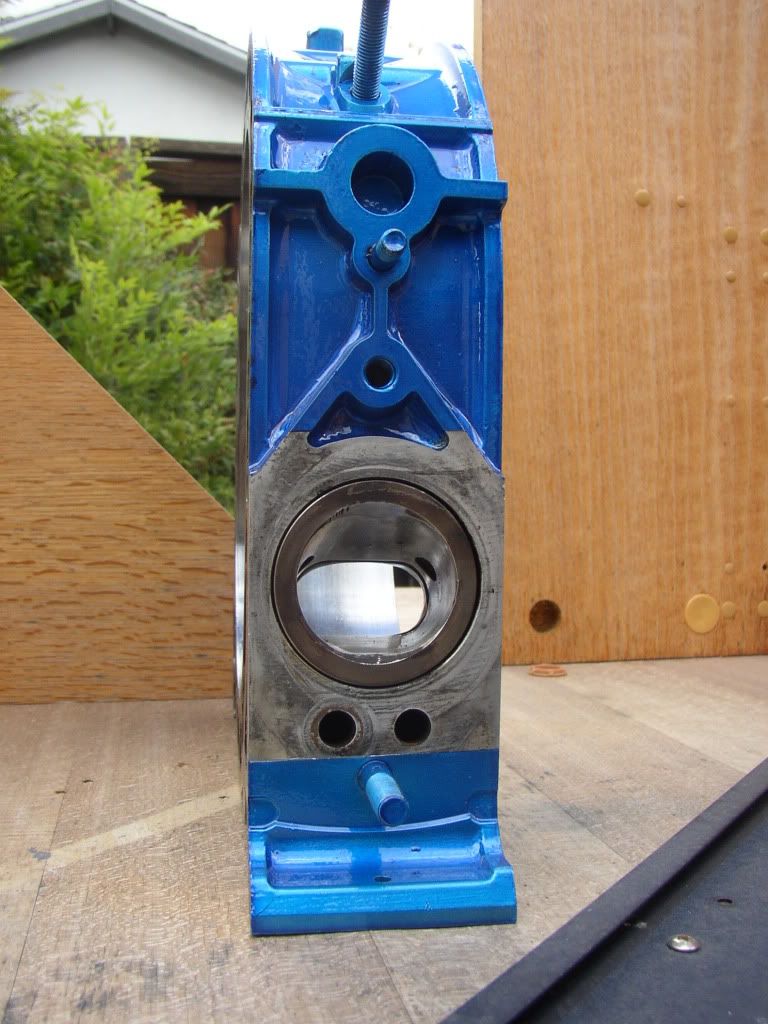
this is where i ran out of room on my camera, right after i put the front plate in the oven. oh well, ill finish taking pictures, but my friend is VERY happy to say the least, hes stoked and im pleased the way everything came out.
now, i realize that i should have masked off the bolts and such, but i dont care seeing as i have a tap and die set, being a technician and all allows me to do pretty much whatever i want.
the rest will be posted shortly, this whole thing so far has taken us about 6 total days of work, just the housings and front plate took me 6 hours of work today, not including the blasting and previous prep work.
i have never done this level of work, but no i realize why rebuilds and custom engine work is expensive and takes as long as it does. my hats off to all the engine builders out there, i enjoy doing this whole process and learning and experiencing and expanding my knowledge and getting to do some seriously cool ****
Lloyd
here is the candy blue on the chrome
powder form before baking


at this stage, i was very hesitant. i have never used a candy powder, just normal colors.
boy was i surprised when i pulled them out of the oven


this is where i ran out of room on my camera, right after i put the front plate in the oven. oh well, ill finish taking pictures, but my friend is VERY happy to say the least, hes stoked and im pleased the way everything came out.
now, i realize that i should have masked off the bolts and such, but i dont care seeing as i have a tap and die set, being a technician and all allows me to do pretty much whatever i want.
the rest will be posted shortly, this whole thing so far has taken us about 6 total days of work, just the housings and front plate took me 6 hours of work today, not including the blasting and previous prep work.
i have never done this level of work, but no i realize why rebuilds and custom engine work is expensive and takes as long as it does. my hats off to all the engine builders out there, i enjoy doing this whole process and learning and experiencing and expanding my knowledge and getting to do some seriously cool ****
Lloyd
Trending Topics
#10
#13
medium exhaust port- pineapple racing port ep3a
#15
Thread Starter
On the fasttrack!
iTrader: (22)
Joined: Oct 2006
Posts: 2,494
Likes: 2
From: virginia beach, virginia
that is not a "medium" exhaust port IMO. I have it on my engine. It ports the exhaust significantly below the sleeve. It definitely affected the amount of overlap. I had my exhaust ports matched to the sleeve before, then I bought the EP3A template which ported it down significantly. Even with brand new seals etc the engine made significantly less vacuum. It pulls about 12" now, but my intake porting is pretty aggressive. It makes idle trickier to tune among other things. If you are concerned about emissions testing I'm not sure if it's a good idea. But maybe with that level of intake porting it won't be too bad.
we ported the intake and exhaust, we are also going to port match the intake manifolds, and we were going to port the oil galley on the rear iron, but decided to just move forward with the build and that its not that big of a deal.
btw, i used my house oven for the baking. dont even start giving me the "you cant do that" crap, i have done it countless times, there is just a procedure for making sure all is ok after the baking. obviously dont cook anything when youre baking parts, but as long as it gets cleaned out, who cares. also, if youre not using the oven 24/7 for parts, and doing coating in mass quanity, its ok, i promise.
i mean ****, i cooked italian dressing chicken over penne last night after cleaning the oven, i feel perfectly ok.
Lloyd
#16
Thread Starter
On the fasttrack!
iTrader: (22)
Joined: Oct 2006
Posts: 2,494
Likes: 2
From: virginia beach, virginia
btw, that blue is a little deeper in color than the pictures show, the pic was taken in direct sunlight.
anyways, im going to start on the irons on friday. i wasnt able to get anything done today, seeing as my gf wanted to take me hostage today until my graduation.
ill have more pictures up asap
just a teaser of how the powdercoat should look on the irons

Lloyd
anyways, im going to start on the irons on friday. i wasnt able to get anything done today, seeing as my gf wanted to take me hostage today until my graduation.
ill have more pictures up asap
just a teaser of how the powdercoat should look on the irons

Lloyd
#17
that is not a "medium" exhaust port IMO. I have it on my engine. It ports the exhaust significantly below the sleeve. It definitely affected the amount of overlap. I had my exhaust ports matched to the sleeve before, then I bought the EP3A template which ported it down significantly. Even with brand new seals etc the engine made significantly less vacuum. It pulls about 12" now, but my intake porting is pretty aggressive. It makes idle trickier to tune among other things. If you are concerned about emissions testing I'm not sure if it's a good idea. But maybe with that level of intake porting it won't be too bad.
#18
#21
I used a reworked (for max flow) stock cat. The stock FD uses 3 bricks in its factory cat. I removed the first one and only the 2nd and 3rd bricks are present in this cat. Please note that the DP (not shown) and the inlet pipe to the cat have been heat wrapped to maximize cat performance, among other things. Everything must be fully warmed up to pass.
Oh yea, one more thing: this cat outflows every other cat I have ever tested. >530 cfm @ 20.3", IIRC. That's almost a 100% improvement over many HF cats and greater than 50% improvement over the best metallic substrate cats. Who said stock parts can't be made to perform?.... lol.
Oh yea, one more thing: this cat outflows every other cat I have ever tested. >530 cfm @ 20.3", IIRC. That's almost a 100% improvement over many HF cats and greater than 50% improvement over the best metallic substrate cats. Who said stock parts can't be made to perform?.... lol.
#22
BTW, on the front pulley bolt, Mazda does say to use RTV on it in the shop manual. The FC's use a copper crush washer on the front pulley to prevent an oil leak, on the FD you use RTV instead. The RTV doesn't make the bolt harder to remove, but the FD's front pulley bolt is torqued tighter than the FC and, of course, you have a good 2" bolt slathered in "don't remove me" Loctite.
The front pulley bolt is always a chore to remove. You pretty much have to have the engine secure (like on an engine stand) and the engine locked to keep it from moving. You can either use the flywheel lock tool or do what I do, bolt a chain to the rear iron then to the flywheel, works great and is quite simple to do. Then get a BIG damn breaker bar and put all your weight on it.
To do it with an impact gun you'd need some sort of he-man gun, like a 1" drive gun or something absurd. I've yet to see an impact gun that can EASILY get the front pulley bolt. Instead of dorking around with heating it and working the gun for an hour, get a breaker bar and be done in 2 minutes.
Anyhow, good luck with the motor!
Dale
#23
BTW, on the front pulley bolt, Mazda does say to use RTV on it in the shop manual. The FC's use a copper crush washer on the front pulley to prevent an oil leak, on the FD you use RTV instead. The RTV doesn't make the bolt harder to remove, but the FD's front pulley bolt is torqued tighter than the FC and, of course, you have a good 2" bolt slathered in "don't remove me" Loctite.
The front pulley bolt is always a chore to remove. You pretty much have to have the engine secure (like on an engine stand) and the engine locked to keep it from moving. You can either use the flywheel lock tool or do what I do, bolt a chain to the rear iron then to the flywheel, works great and is quite simple to do. Then get a BIG damn breaker bar and put all your weight on it.
To do it with an impact gun you'd need some sort of he-man gun, like a 1" drive gun or something absurd. I've yet to see an impact gun that can EASILY get the front pulley bolt. Instead of dorking around with heating it and working the gun for an hour, get a breaker bar and be done in 2 minutes.
Anyhow, good luck with the motor!
Dale
The front pulley bolt is always a chore to remove. You pretty much have to have the engine secure (like on an engine stand) and the engine locked to keep it from moving. You can either use the flywheel lock tool or do what I do, bolt a chain to the rear iron then to the flywheel, works great and is quite simple to do. Then get a BIG damn breaker bar and put all your weight on it.
To do it with an impact gun you'd need some sort of he-man gun, like a 1" drive gun or something absurd. I've yet to see an impact gun that can EASILY get the front pulley bolt. Instead of dorking around with heating it and working the gun for an hour, get a breaker bar and be done in 2 minutes.
Anyhow, good luck with the motor!
Dale
#24
Thread Starter
On the fasttrack!
iTrader: (22)
Joined: Oct 2006
Posts: 2,494
Likes: 2
From: virginia beach, virginia
i wish i had taken a picture of it. see, like i said, my first brew rebuild, im used to s5 n/a and t2 engines.
anyways, he must have used like 1/2 the damned tube of rtv red to secure that bitch.
see, loctite i can understand, but so much red rtv that it takes 4 hours to get off? i dont think so
Lloyd
anyways, he must have used like 1/2 the damned tube of rtv red to secure that bitch.
see, loctite i can understand, but so much red rtv that it takes 4 hours to get off? i dont think so
Lloyd
#25
i wish i had taken a picture of it. see, like i said, my first brew rebuild, im used to s5 n/a and t2 engines.
anyways, he must have used like 1/2 the damned tube of rtv red to secure that bitch.
see, loctite i can understand, but so much red rtv that it takes 4 hours to get off? i dont think so
Lloyd
anyways, he must have used like 1/2 the damned tube of rtv red to secure that bitch.
see, loctite i can understand, but so much red rtv that it takes 4 hours to get off? i dont think so
Lloyd


