A Different Way to Install the Fast Reacting Intake Temp Sensor (No harness cutting)
#1
Thread Starter
Joined: Feb 2008
Posts: 2,979
Likes: 9
From: Long Island NY 11746
A Different Way to Install the Fast Reacting Intake Temp Sensor (No harness cutting)
This is not ment to be a how to, but if you have any questions please ask.
When installing the FRIATS I read the instructions and was dissappointed; I "had" to cut my factory plug off of the harness. Ummm...NO.
I was also dissappointed with the new plug that is attached to the pigtail of the sensor. That metal clip was a pain to take off while the sensor was on my work bench. I definately did not want to be clipping and un-clipping that connector while under the UIM. Plus knowing myself I would loose it immeadtely. (I was right).
So I decided I wanted to use the factory plug and solder the pigtails to it and therefore no need to cut the factory harness. I came up with the idea to Melt the factory Intake Air temp sensor exposing the leads inside the sensor and soldering the pigtails to that.
To melt the sensor I first used a small blow torch but quickly realized it lacked the precision I needed inorder to melt the plastic close enough to the connector without melting it. Insead I switched to using the plain old soldering iron. That melted the plastic easily and had great accuracy and precission.
Unfortunately I did not take step by step pics but here are a few showing what I did. Should be able to get the general idea.
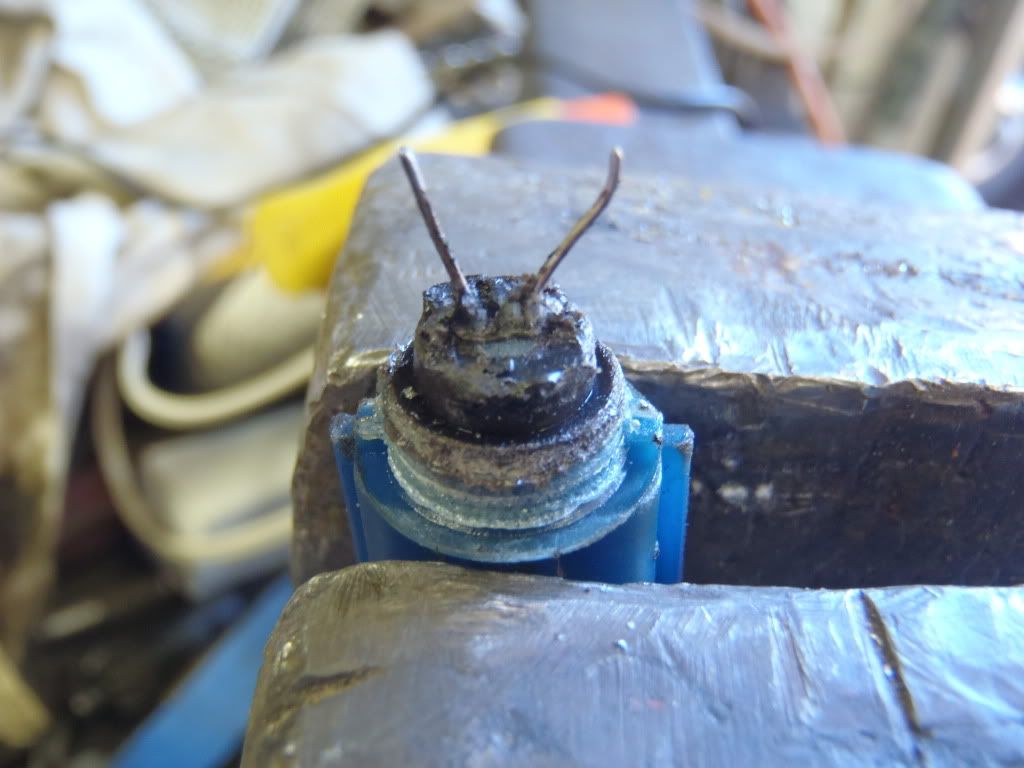
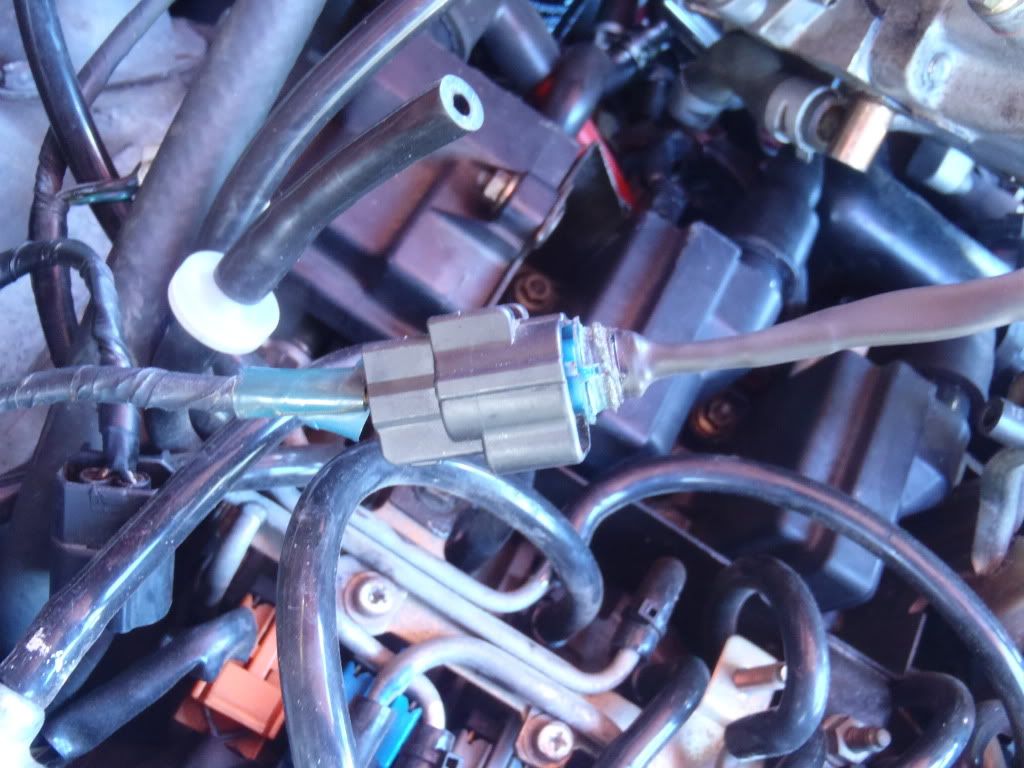
This pic shows the factory sensor after I melted the sensor element off of it; exposing the two wires underneath. The most difficult part for me was making shure I did not break the wires off of the plug. The pic makes it look very dirty and crude, but that was the best I could do. I do not see how it can be done much cleaner.
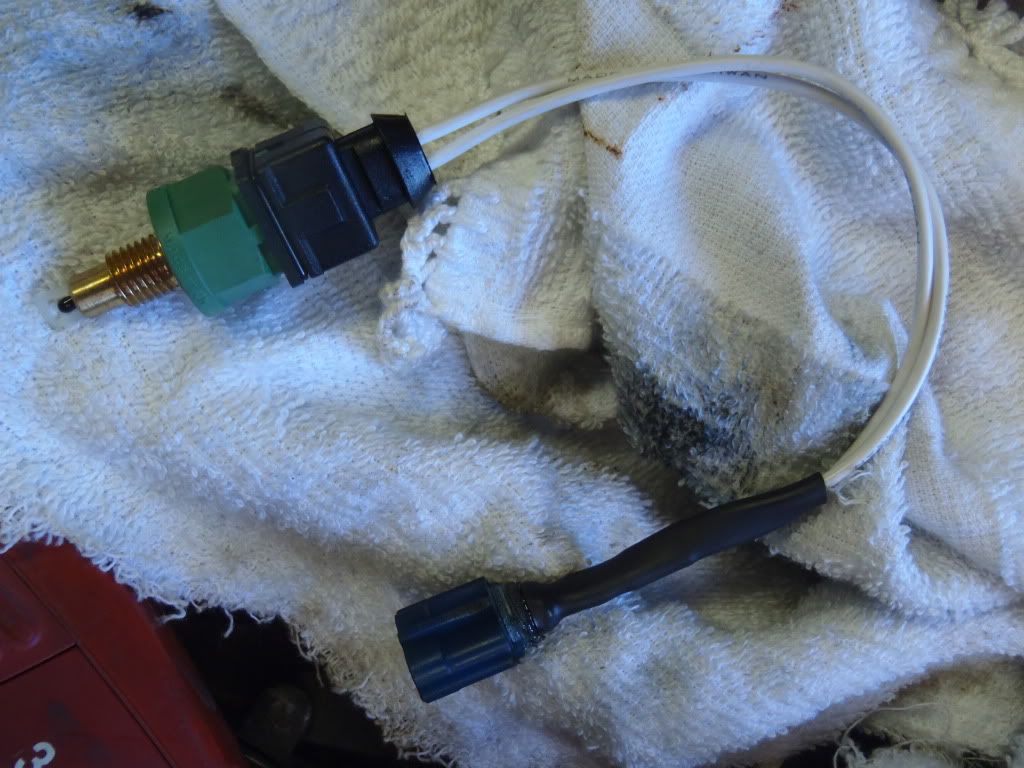
What I did after was strip the pigtails and use three pieces of heat shrink. Two to wrap the indivdual wires keeping them seperated, and a larger diameter over both wires to add stiffness to the connection to remove some flexibilty at the solder joint (to keep the little wires from breaking). Then solderd the connections and heat shrunk the heat shrink and ended up with this.
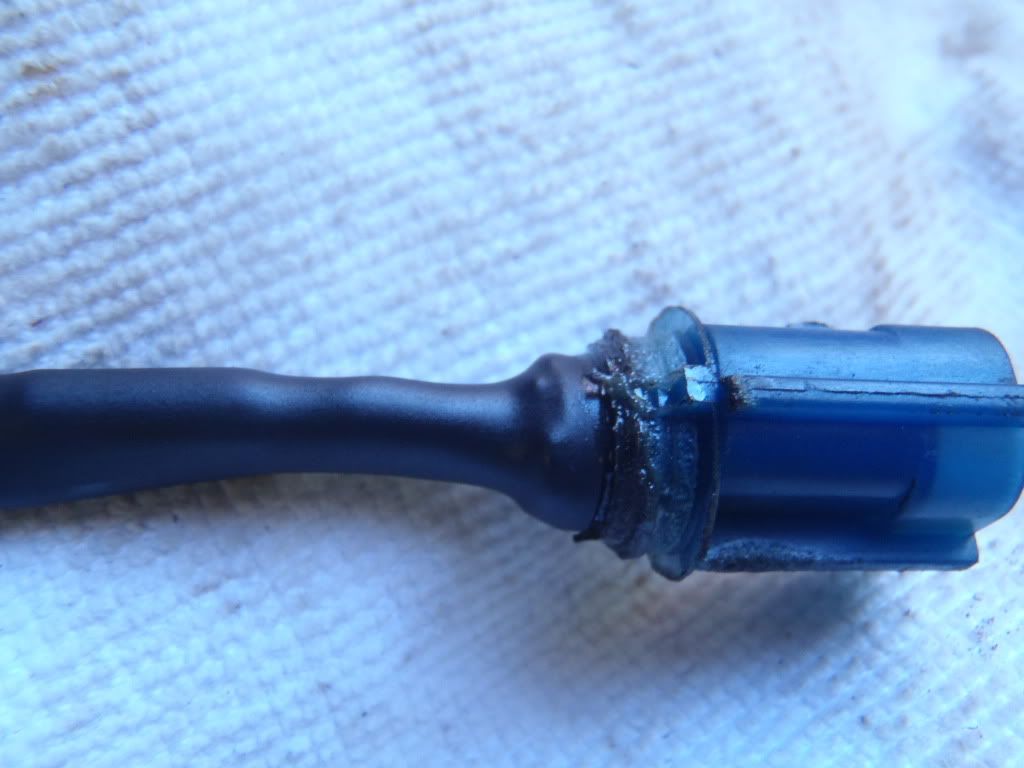
And this.
Remember that metal clip I said I would lose...well guess what..I lost it. So I had to use a piece of stainless tie wire. Good thing I never have to take that off until I relocate the sensor.
Before I trimmed off the excess.
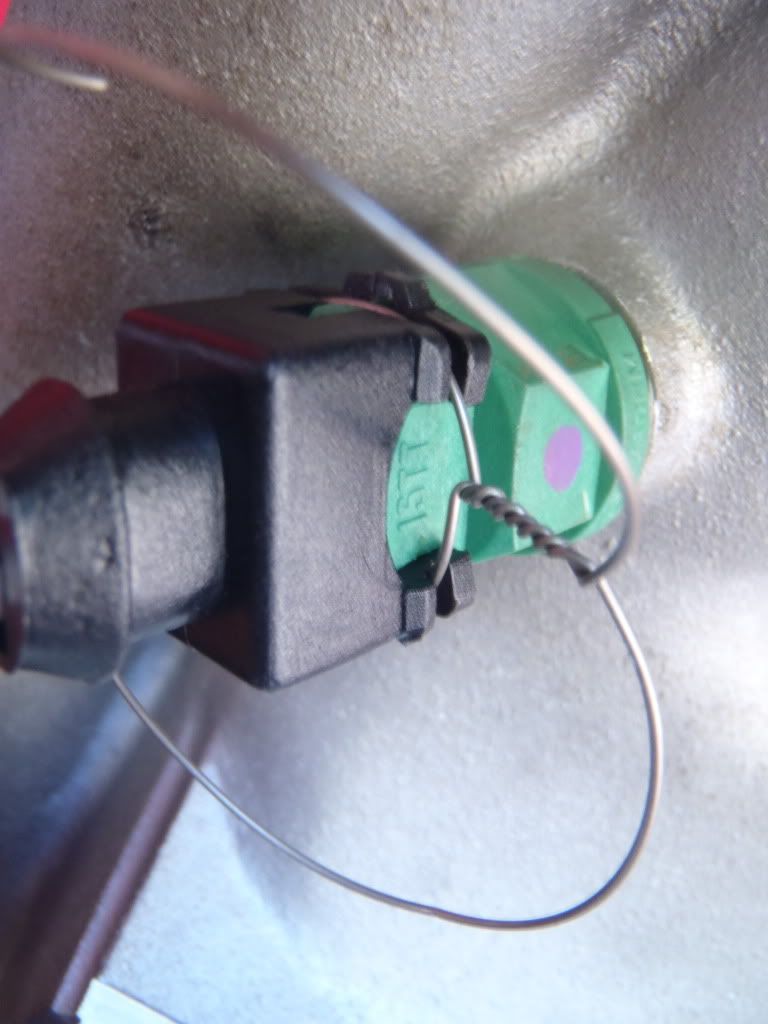
And BAM!! No cutting of the harness needed
Hope this helpes someone.
John
When installing the FRIATS I read the instructions and was dissappointed; I "had" to cut my factory plug off of the harness. Ummm...NO.
I was also dissappointed with the new plug that is attached to the pigtail of the sensor. That metal clip was a pain to take off while the sensor was on my work bench. I definately did not want to be clipping and un-clipping that connector while under the UIM. Plus knowing myself I would loose it immeadtely. (I was right).
So I decided I wanted to use the factory plug and solder the pigtails to it and therefore no need to cut the factory harness. I came up with the idea to Melt the factory Intake Air temp sensor exposing the leads inside the sensor and soldering the pigtails to that.
To melt the sensor I first used a small blow torch but quickly realized it lacked the precision I needed inorder to melt the plastic close enough to the connector without melting it. Insead I switched to using the plain old soldering iron. That melted the plastic easily and had great accuracy and precission.
Unfortunately I did not take step by step pics but here are a few showing what I did. Should be able to get the general idea.
This pic shows the factory sensor after I melted the sensor element off of it; exposing the two wires underneath. The most difficult part for me was making shure I did not break the wires off of the plug. The pic makes it look very dirty and crude, but that was the best I could do. I do not see how it can be done much cleaner.

What I did after was strip the pigtails and use three pieces of heat shrink. Two to wrap the indivdual wires keeping them seperated, and a larger diameter over both wires to add stiffness to the connection to remove some flexibilty at the solder joint (to keep the little wires from breaking). Then solderd the connections and heat shrunk the heat shrink and ended up with this.

And this.

Remember that metal clip I said I would lose...well guess what..I lost it. So I had to use a piece of stainless tie wire. Good thing I never have to take that off until I relocate the sensor.
Before I trimmed off the excess.

And BAM!! No cutting of the harness needed

Hope this helpes someone.
John
#5
It's an AMP/Tyco Econoseal 2 connector, same connector that is found on the precontrol and wastegate solenoids. besides the wannaspeed adapter, the pigtail is available here:
http://www.bmotorsports.com/shop/pro...oducts_id/1674

The MAP sensor uses the same connector except it is 3 pin.
http://www.bmotorsports.com/shop/pro...oducts_id/1674

The MAP sensor uses the same connector except it is 3 pin.
Trending Topics
#9
Thread Starter
Joined: Feb 2008
Posts: 2,979
Likes: 9
From: Long Island NY 11746
It was really only about 30 min to do the splicing from start to finish. That is including the time it took for the soldering iron to heat up . I guess the way I described the process it sounds like a lot of work but it isnt. I installed it on a sunday afternoon and had nothing better to do anyway
 . I am happy with the way it turned out.
Sometimes I just need the self gratification that I made something work. I just get tired of buying parts for the car that I can do myself even if it is only $8 dollars. Plus more money for parts I "need". Maybe someone can relate.
John
 . I guess the way I described the process it sounds like a lot of work but it isnt. I installed it on a sunday afternoon and had nothing better to do anyway
Sometimes I just need the self gratification that I made something work. I just get tired of buying parts for the car that I can do myself even if it is only $8 dollars. Plus more money for parts I "need". Maybe someone can relate.
John
#10
#11
LOL ^....
I really don't see the big deal on cutting the harness.... I enjoyed hacking mine to bits while doing the single conversion. The OEM connectors get fried & brittle after a long time anyway.
Either way, good write-up. Here is your pat on the back

I really don't see the big deal on cutting the harness.... I enjoyed hacking mine to bits while doing the single conversion. The OEM connectors get fried & brittle after a long time anyway.
Either way, good write-up. Here is your pat on the back


#12
#16
Thread Starter
Joined: Feb 2008
Posts: 2,979
Likes: 9
From: Long Island NY 11746
 . I will just modify the length of the pigtail.
LOL ^....
I really don't see the big deal on cutting the harness.... I enjoyed hacking mine to bits while doing the single conversion. The OEM connectors get fried & brittle after a long time anyway.
Either way, good write-up. Here is your pat on the back
[img]http://olympics.scmp.com/Images/UploadImages/20080810/20080810111455.jpg[/im]
I really don't see the big deal on cutting the harness.... I enjoyed hacking mine to bits while doing the single conversion. The OEM connectors get fried & brittle after a long time anyway.
Either way, good write-up. Here is your pat on the back

[img]http://olympics.scmp.com/Images/UploadImages/20080810/20080810111455.jpg[/im]
Thanks for the pat on the back
MOBEONER thanks for the compliment
John
Thread
Thread Starter
Forum
Replies
Last Post
immanuel__7
2nd Generation Specific (1986-1992)
89
09-05-15 11:23 AM
befarrer
Microtech
3
08-22-15 06:52 PM


