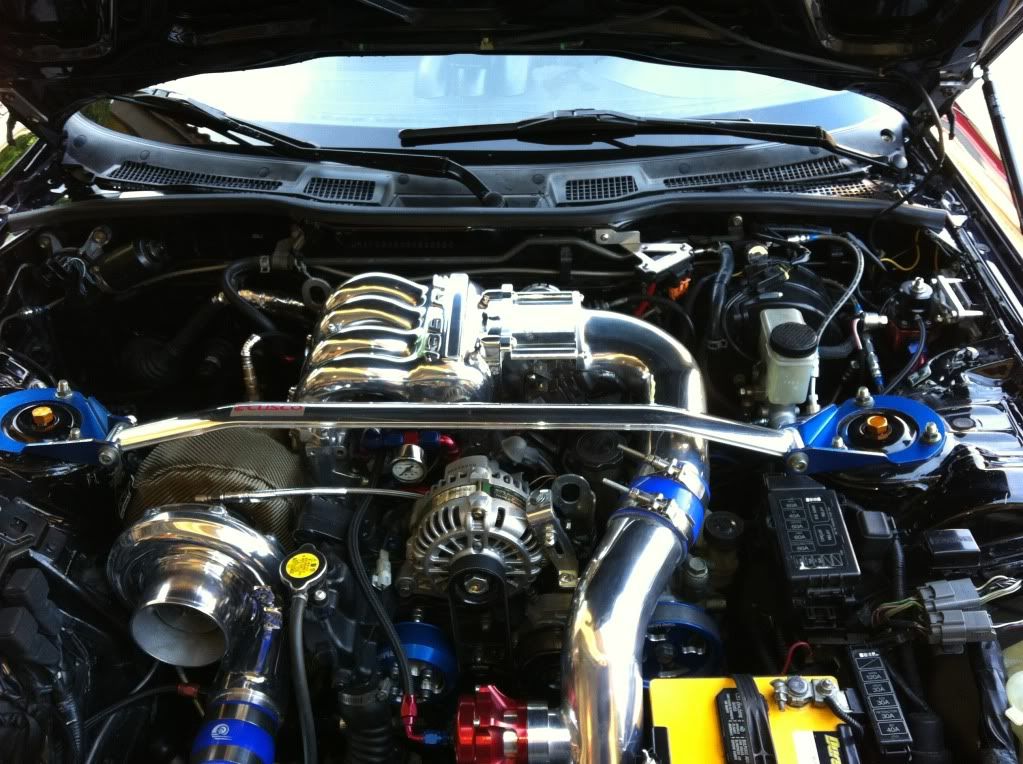
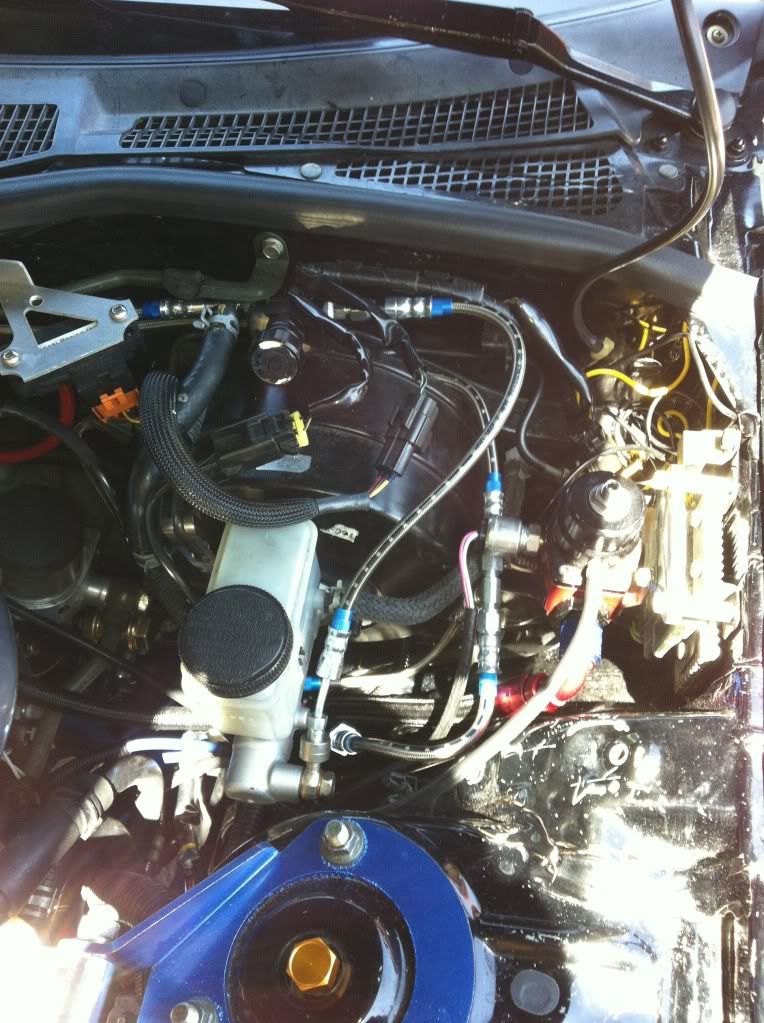
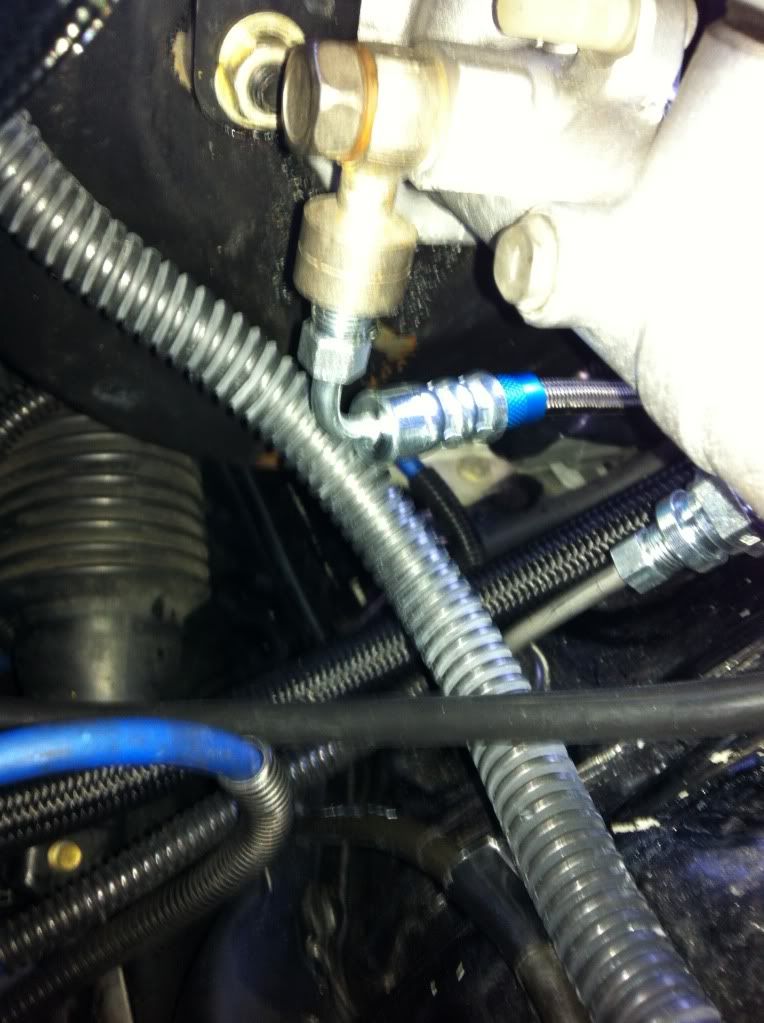
D.O.T street legal A.B.S delete brake lines
#1
First off, I want to thank Jorge (a.k.a jm93rx7) here in the forum for sending me the video on how to do the install for the ABS delete kit.
While I was searching for options and pricing for my ABS delete kit, I came to the realization that most kits offered were overpriced so I decide I wanted to build a kit that was economical and easy avaliable to all FD owners, as well as making sure that it would be D.O.T street legal.
After looking at all the kits available and checking their price point, it dawned on me that they were NOT D.O.T approved. The part thatseem to attract everyone t first is PRICING, while spending only $184.00 for 3a/n stainless braided brake lines, fittings, adapters and Rusell/SSBC proportioning valve is a great deal, the simple fact that their brake lines arent D.O.T compliant had me concerned. I am ONLY speaking for myself, but I wouldnt take the chance off installing brake lines that arent D.O.T approved on my car. I wouldnt want to be involved in an accident only to find out that one of the cheap NON D.O.T lines that I i nstalled on my car was the reason I got into the accident. The last thing I would want is for my insurance company to tell me that I wasnt covered because of faulty/non approved equipment.
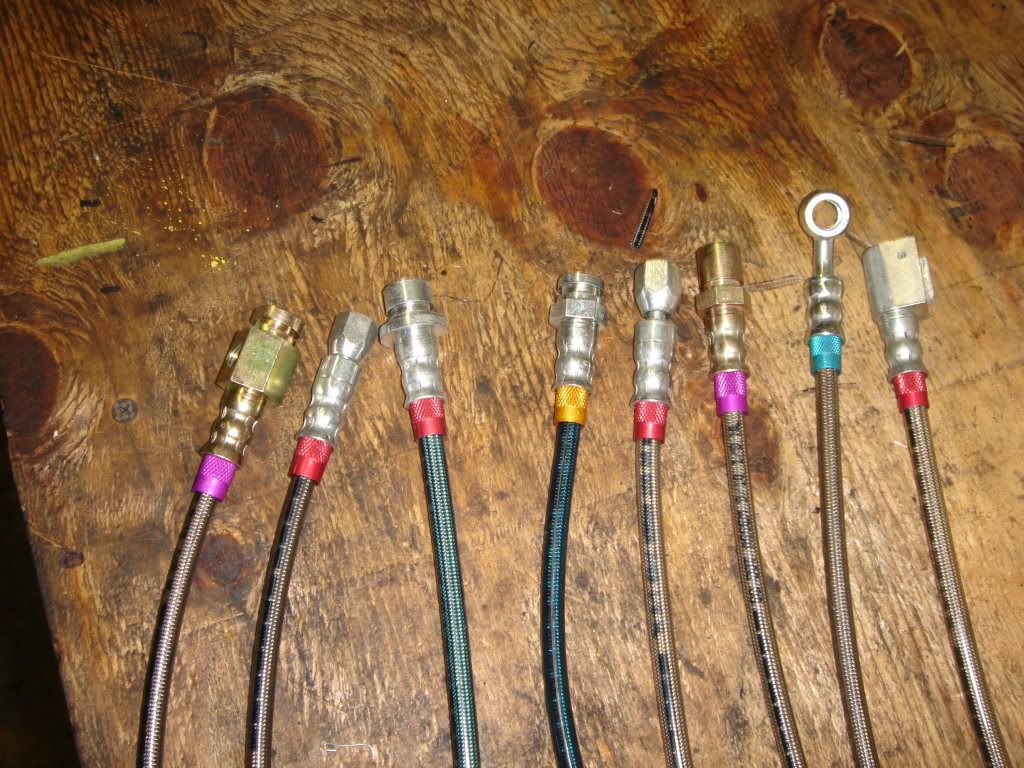
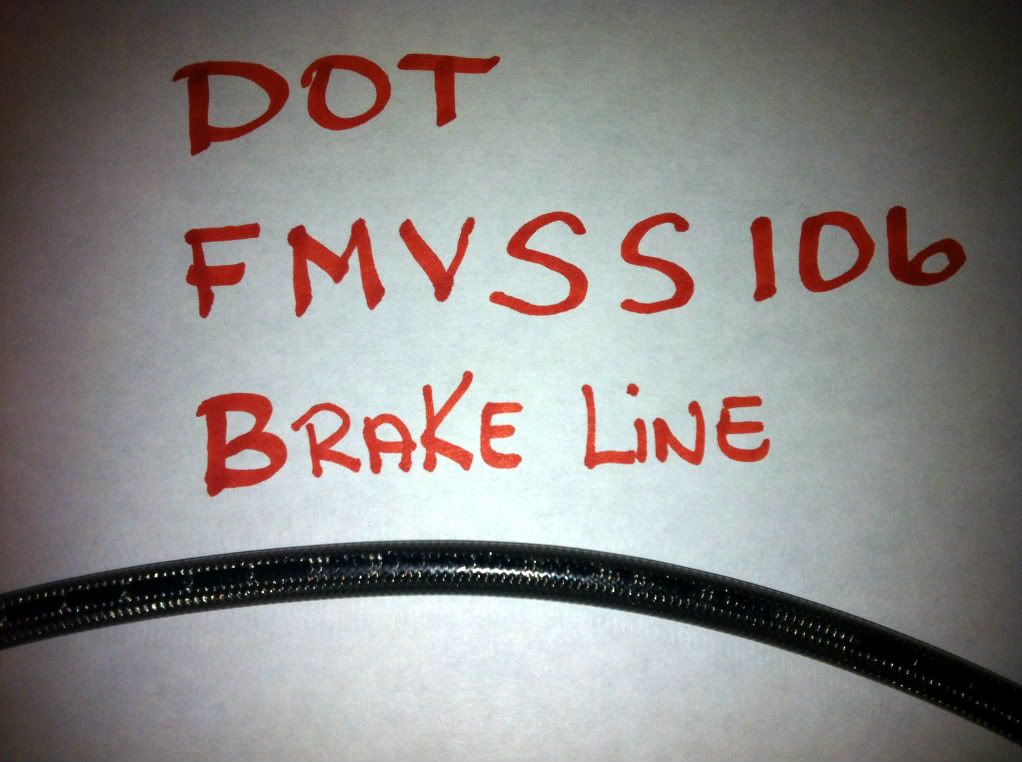
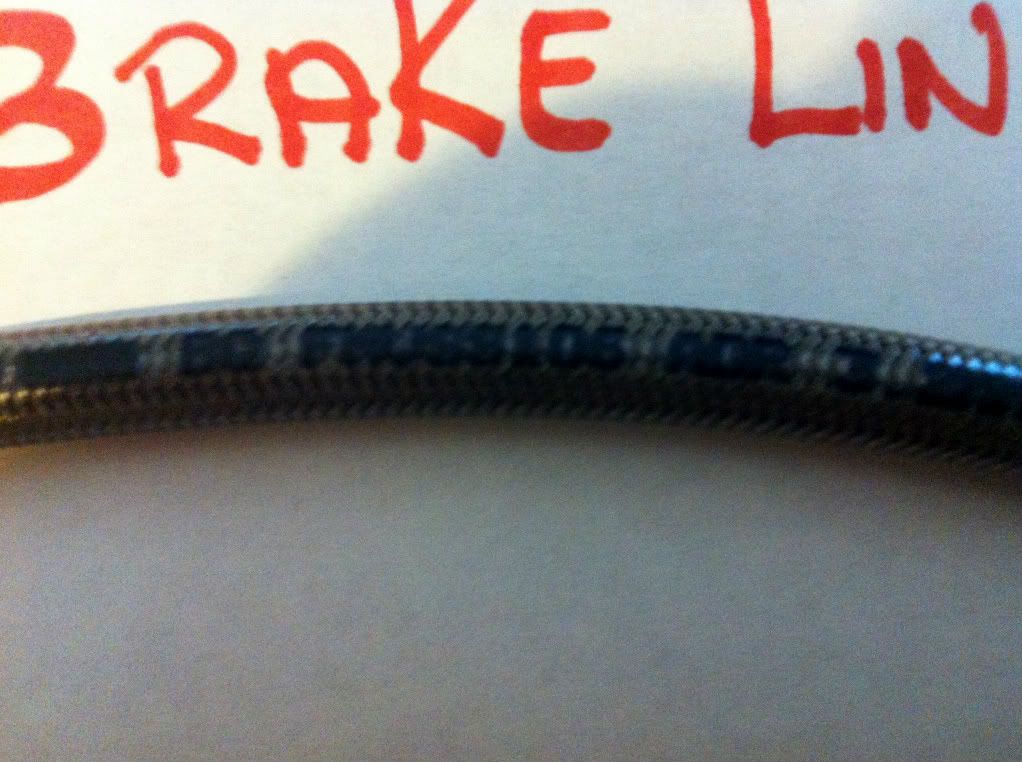
With that in mind, I decide to do the research and find a good quality D.O.T approved street legal brake line kit. During my research, I came acroos BrakeQuip, they custom make D.O.T approved stainless steel braided hoses that have an outer coating to prevent any particles to lodge in between the braided sleeve and the inner teflon line and prevent posible damage to it. This coating also prevents the stainless steel braided sleeve from chaffing against the body or wiring of your engine bay wich can lead tro future issues. As a bonus the outer coating is available in Clear, Black, Blue and Red as well as having the hose end slip fitting in Purple, Gold, Green, Silver, Black, Red, Blue, Yellow.
Another good thing about BrakeQuip lines is that unlike other kits that use A/N to Metric adapters, with BrakeQuip you can get OEM Metric ends. Thats right .... that removes (5) A?N fitting from installation, now you ONLY have two 1/8 to NPT fittings for the proportioning valve and a 3-A/N tee to split the front brake lines.
Here is the brakedown for the of the shelf XRP/Earls hoses, fittings, and Russell/SSBC proportioning valve.
If going the inexpensive way you will need the following parts to make the kit. This is NOT a D.O.T legal kit and is at YOUR OWN RISK.
2- XRP/Earls 12” long
1- XRP/Earls 10” long
1- XRP/ Earls 16” long
1- XRP/ Earls 50” long
2- Female brake adapter fittings -3 AN to 10mm x 1.0
3- Male adapter fittings -3AN to 10mmx1.0
1- Male adapter -3AN tee
1- SSBC/Rusell brake proportioning valve
2- 1/8 NPT to -3 AN fittings
Here are the part numbers/prices for off the shelf parts from XRP/Earls, SSBC/Russell.
XRP Hoses
2- XRP- 630012 @ $11.27ea.
1- XRP- 630010 @ $10.76 ea.
1- XRP- 630016 @ $12.24 ea
1- XRP- 630050 @ $20.53 ea
1-SSBC brake proportioning valve ( part # SSB-A0707-1) $47.95.
2- XRP 410003 -3AN to 10mm x1.0 female brake fitting adapter @ $9.56 ea.
3- XRP 420103 -3AN to 10mm x 1.0 male brake fittings adapter @ $9.40 ea. 2- XRP 481603 1/8 NPT to -3AN adapter @ $1.71 ea.
1- XRP 982403 -3AN tee @ $9.22 ea.
Total price for parts is 183.18
If going the XRP route you can get all the hoses and fittings from LPI Racing with FREE SHIPPING. They do not offer the SSBC Valve only Wilwood valves, but you can get the SSBC brake valve from Summit, Jegs, Amazon or EBay.
http://www.livermoreperformance.com
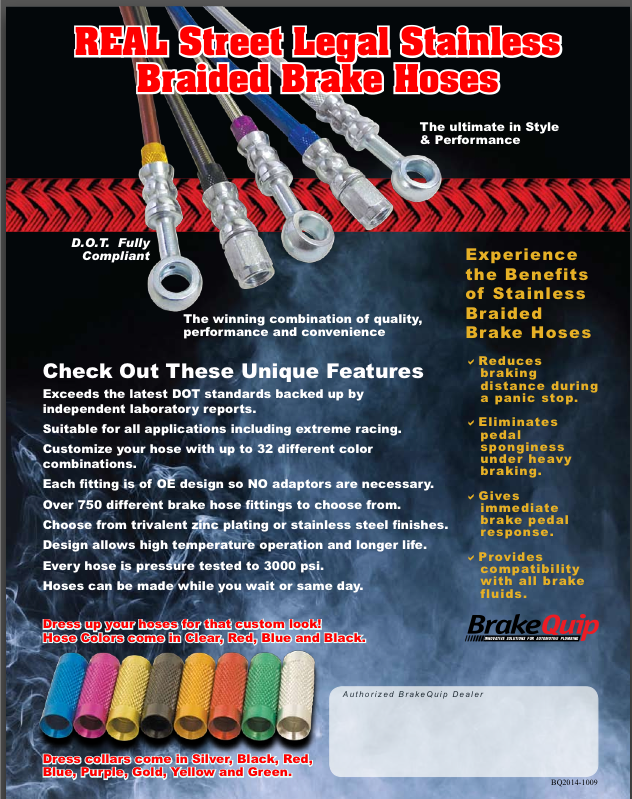
Here is the price breakdown for the BrakeQuip lines and fittings. These are D.O.T
Approved and the pricing is per part needed to assemble the lines.
Part# Description
2-HFMF01- M10 x 1.0 inverted female for stock front hard line @$8.04 ea
3- HF34 M10 x 1.0 dble flare for rear hard line and master cylinder @ $ 24.72
5- HF09 -3AN hose end @ $39.00 ea
10- BQ251 Hose insert fitting (different colors available) @$34.50 ea
100” BQ303 Clear Jacketed stainless steel braided hose @$42.00
2- MJ0302 1/8 to 3A/N fitting for proportioning valve @$6.24 ea 1- MJTEE03 -3A/N tee $6.13
1- SSB-A0707-1 SSBC proportioning valve $47.95
Total price for parts is $ 208.58
There is no charge to make the hoses , at least that’s the case with my local dealer. You only pay for the items needed for assembly. They will make the hoses and pressure test them at the shop FREE of charge.
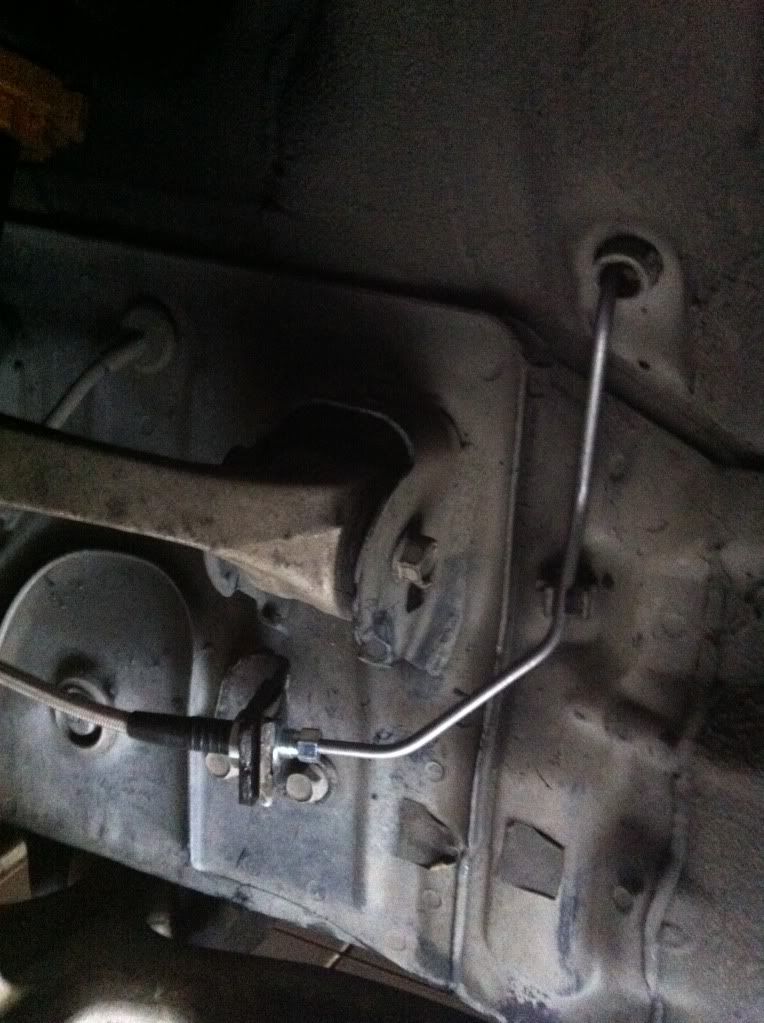
I will also post all my hoses lengths and each end fitting needed for anyone that wants to tackle this project. Please be aware that all my hose lengths are custom made for my setup as I decide to shorten the driver side hard line that goes to the caliper in order to get a cleaner install but you can use the standard hard line hose that’s on the car.
Again, I am posting this as a helpful guide. This project took about 5 or 6 trips to my local BrakeQuip dealer to come up with a kit that is DOT approved. I wanted everything to fit like factory with most of the fittings being OEM metric to fit the stock hard lines and master cylinder. This was done to eliminate as many adapters as I could. The only adapters needed with this method are the two 1/8 NPT to -3A/N for proportioning valve and the -3A/N tee to split the front brake lines.
Here is the link to find your local BrakeQuip Dealer.
http://www.brakequip.com/maps.html
Tools needed to do the ABS removal
10mm socket
12mm socket
12” extension bar for sockets, you will need to remove the rear bolt that holds the ABS Unit
18mm open end wrench for new fittings
13mm open end wrench for A/N fittings
10mm open end wrench for stock lines
8mm open wrench for brake bleeding
How to Remove the lines and ABS
1. First thing I did was remove as much brake fluid from the master cylinder, make sure to have plenty of shop towels to catch any brake fluid drips.
2. Remove Clutch feed line from driver side of Master Cylinder and set it out off the way.
3.Now remove all the brake hard line fitting from the ABS unit and Master Cylinder with a 10mm open end wrench, don’t forget to also remove the rear brake line that’s on the firewall right next to where the speedometer cable come out.
4.Now is time to start removing all the hardlines that run across the firewall, from ABS Unit to Master Cylinder and rear brake line.
5.To remove the ABS unit you will need a 12mm open end wrench for the front bolts and a ratchet with a12”extension and 12mm socket for the rear bolts and it should come out pretty easy.
Now for the Installation
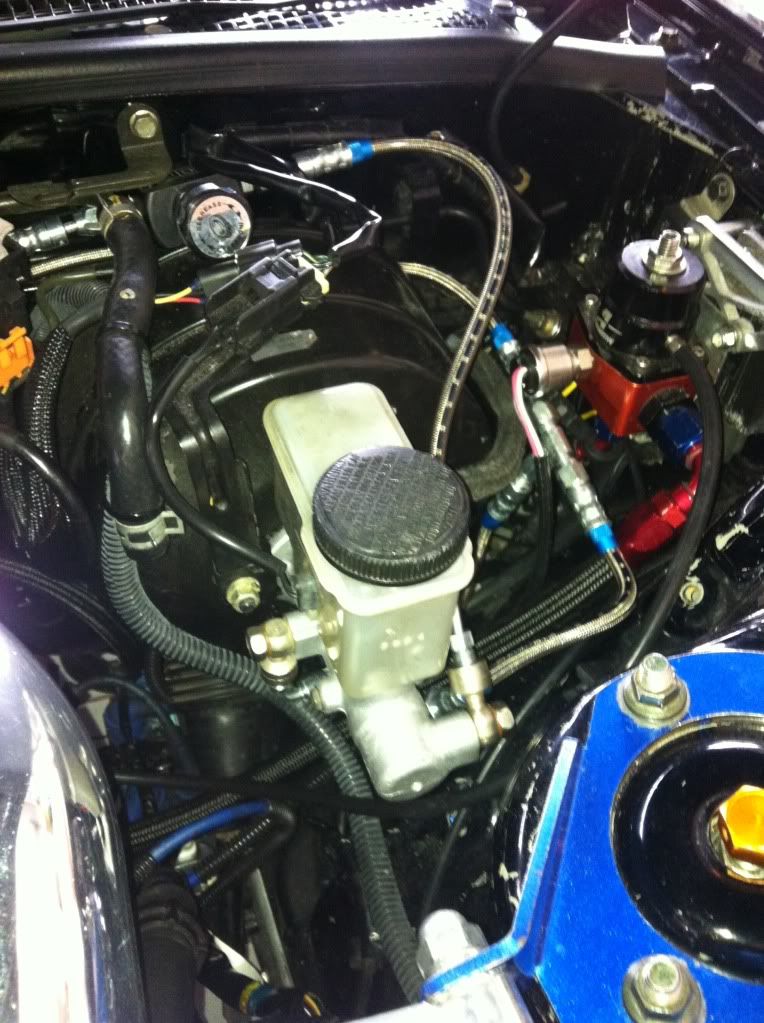
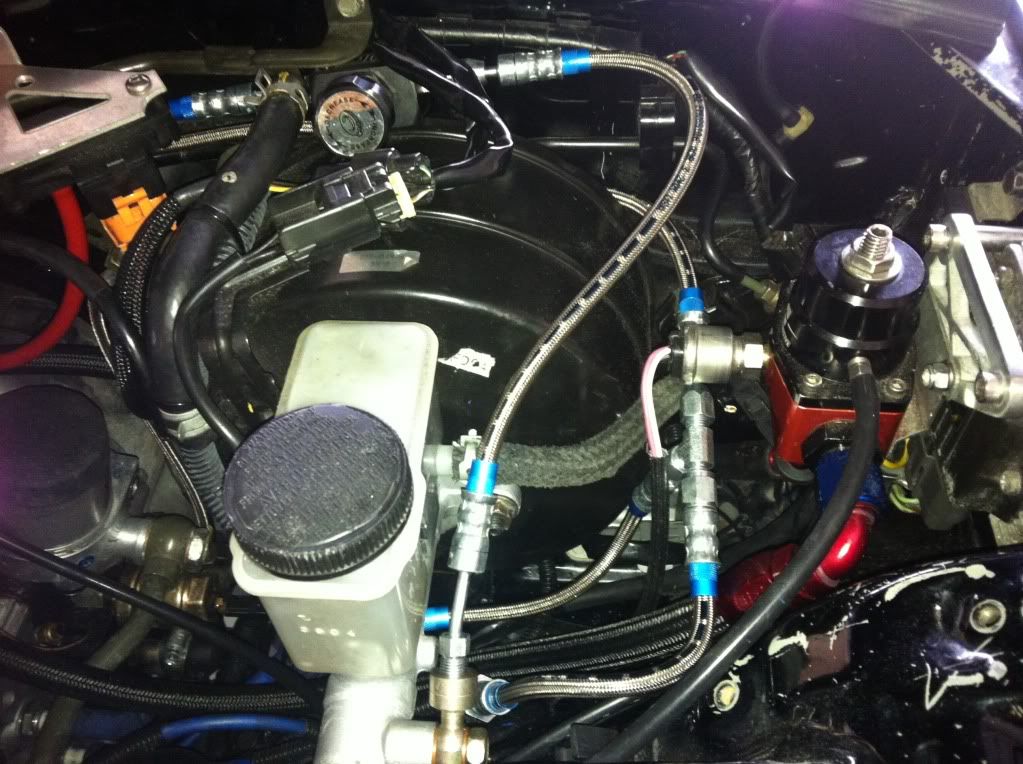
Here are the hoses that you will need.
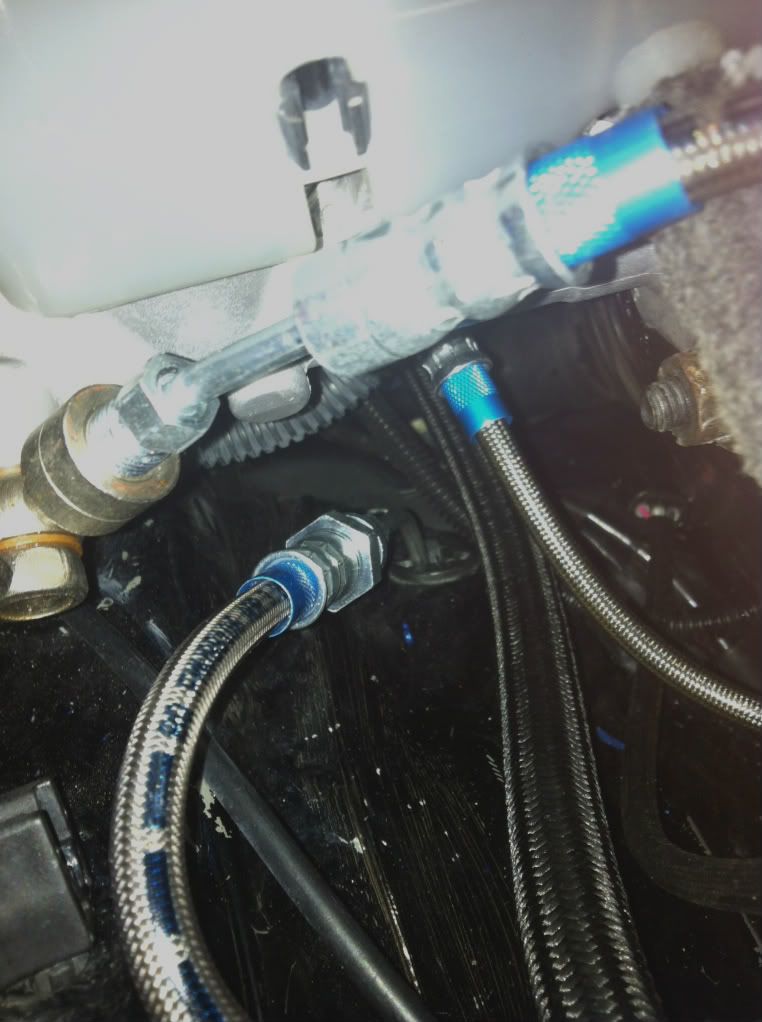
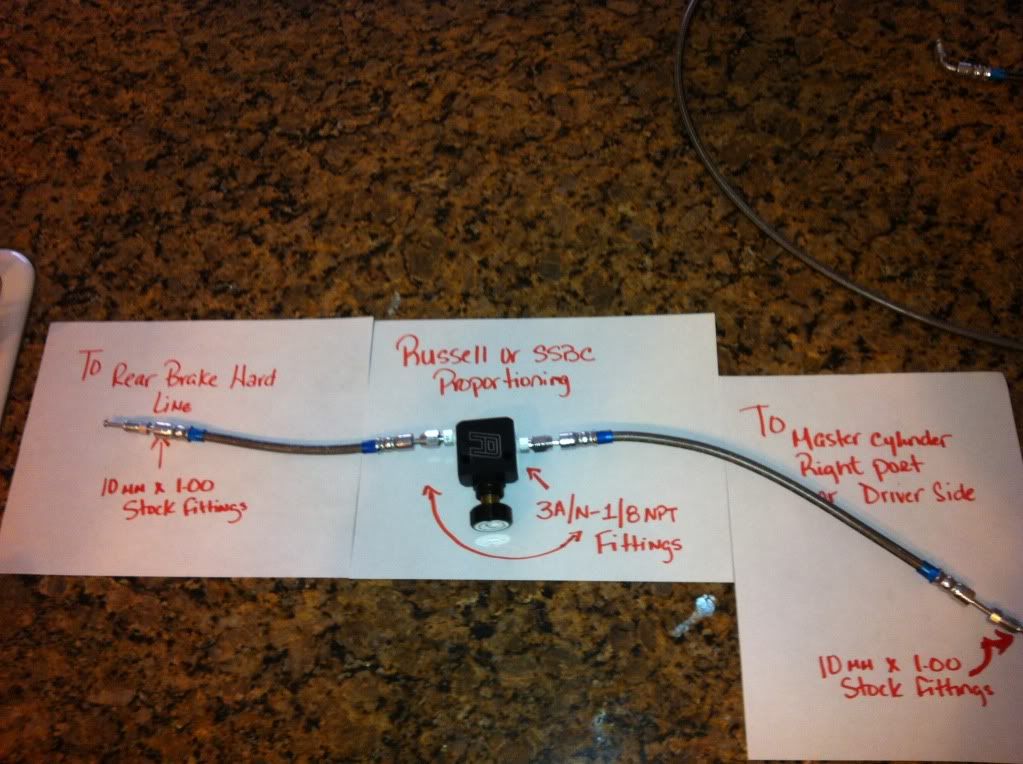
1 hose 16” long end to end with a 3AN fitting on one end and 10M x1.0 male fitting on the other end, this hose will feed the proportioning valve inlet port and it will mate with the stock OEM banjo fitting on the driver side of the Master Cylinder
1 hose 12 inches long end to end with a 3an fitting on one end and 10Mx1.0 male fitting on the other end, this line will run from proportioning valve outlet port and will mate with the stock OEM rear brake line
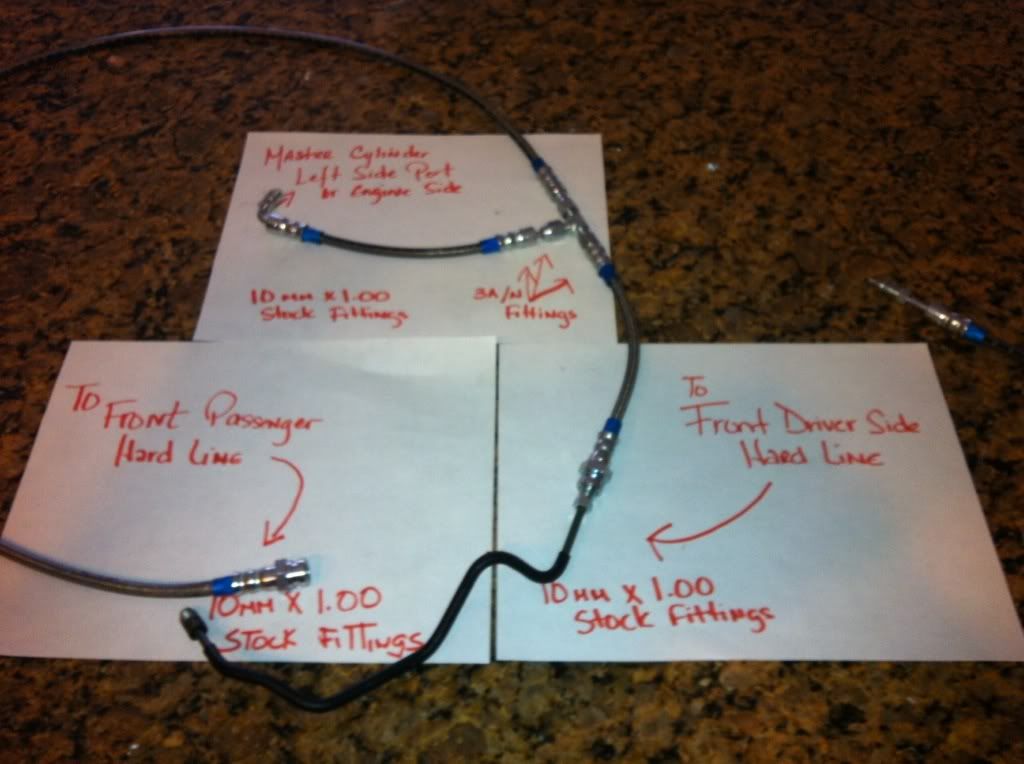
1 hose 11” long end to end with 3an fitting on one end and 10Mx1.0 female inverted flare fitting on the other end, this line will come of the 3an tee to feed the front driver side brake hardline.
1 hose 12” long end to end with 3an fitting on one end and 10Mx1.0 90degree male fitting, this line will feed the tee that split’s the front brakes, and will mate to the engine side of the Master Cylinder OEM banjo fitting.
1 hoses 50” long end to end with a 3an fitting on one end and 10Mx1.0 female inverted flare fitting on the other end, this line will run from the 3an tee across fire wall to feed the passenger side brake hardline
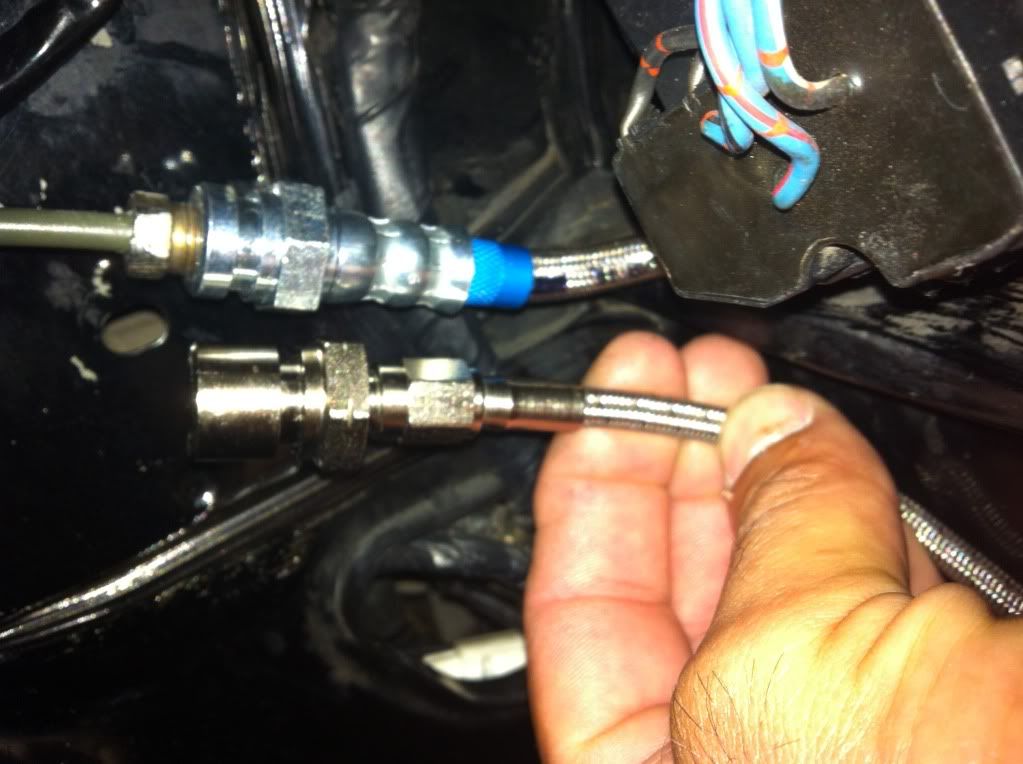
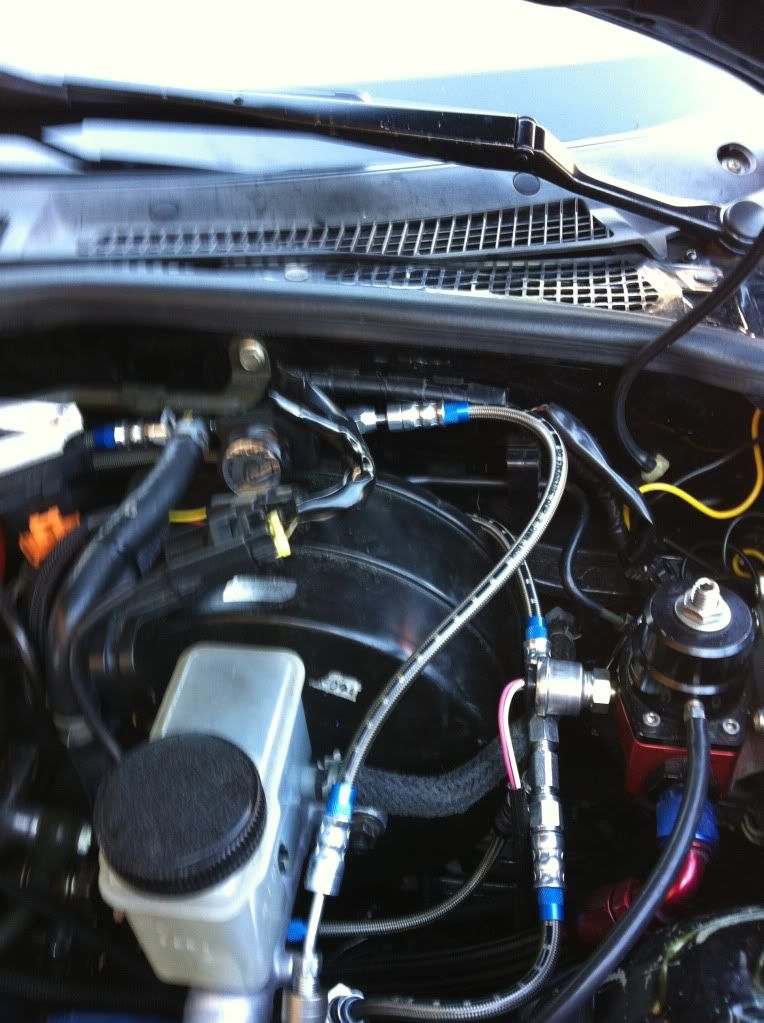
Installation is pretty straight forward, just use the pics that I will be posting.
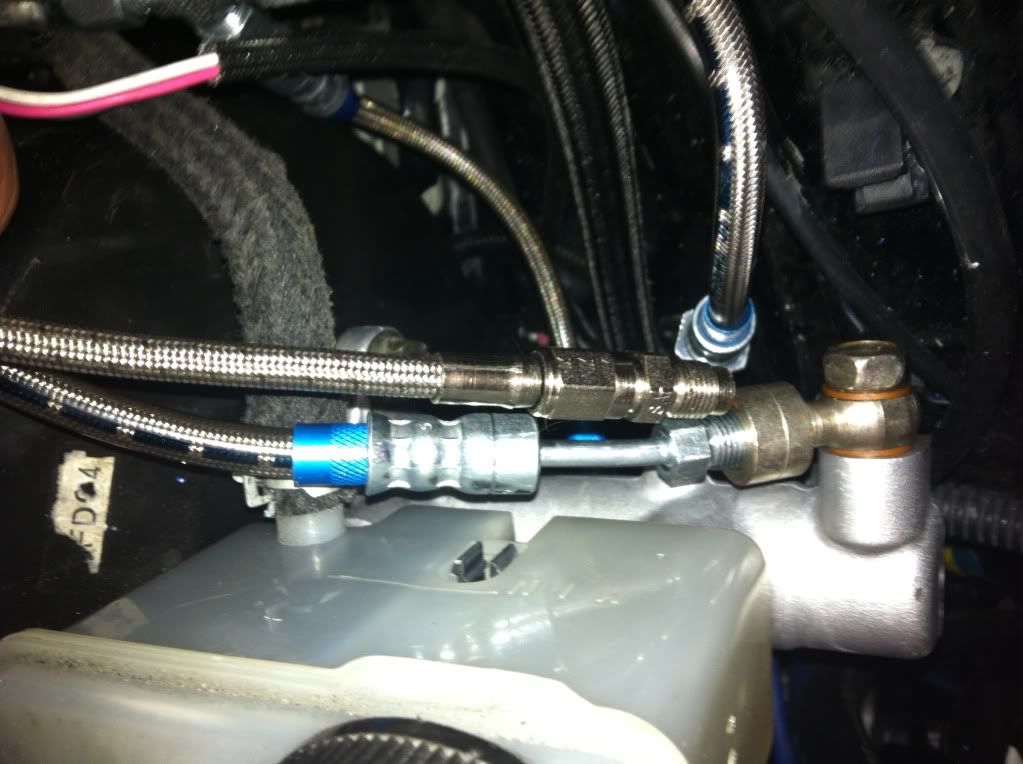
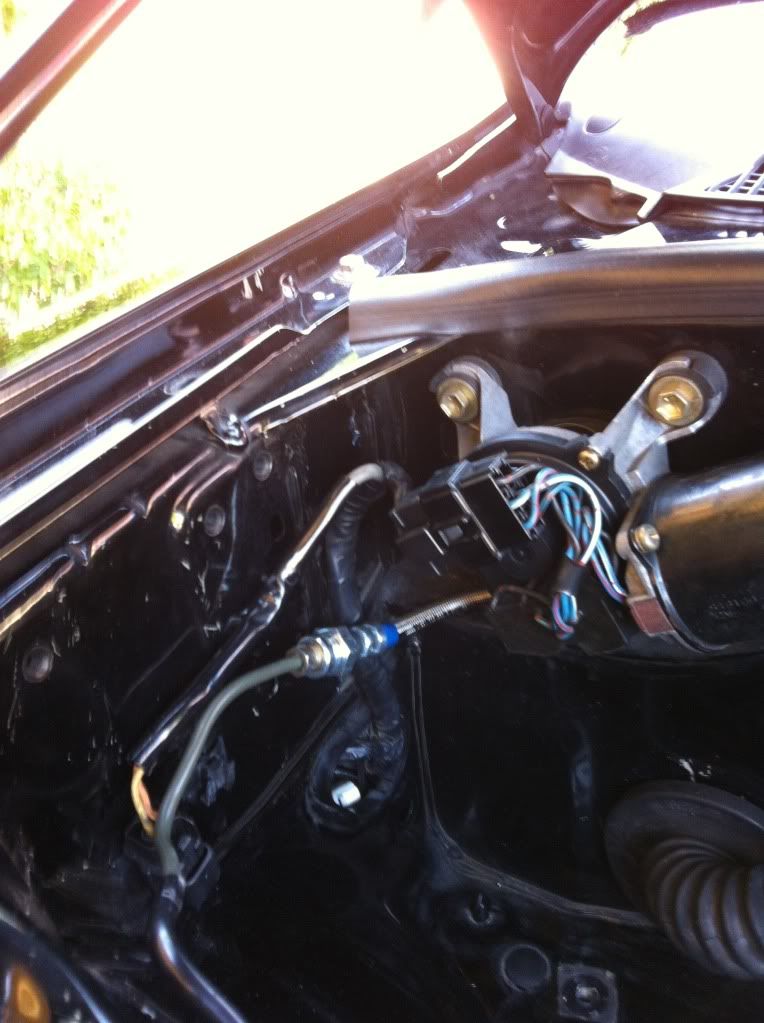
i have more pics that i will be posting up.
Thanks
Luis.
#5
and if anyone need a specific picture please let me know, ill be more than glad to post more pics.
Trending Topics
#8
now you guys remember that i took my front driver side and had it shorten to make a cleaner install, if you look at the picture where the kit is layout you will se my shorter front brake line.


#13
#14
Awesome job!
While I don't think the non-DOT kits are necessarily immediately dangerous, doing it this way is a FAR better way to do it. I do like the proper metric crimp-on fittings.
Glad you put in the homework, I'm sure this will help out many guys!
Dale
While I don't think the non-DOT kits are necessarily immediately dangerous, doing it this way is a FAR better way to do it. I do like the proper metric crimp-on fittings.
Glad you put in the homework, I'm sure this will help out many guys!
Dale
#16
Thanks guys for your comments.
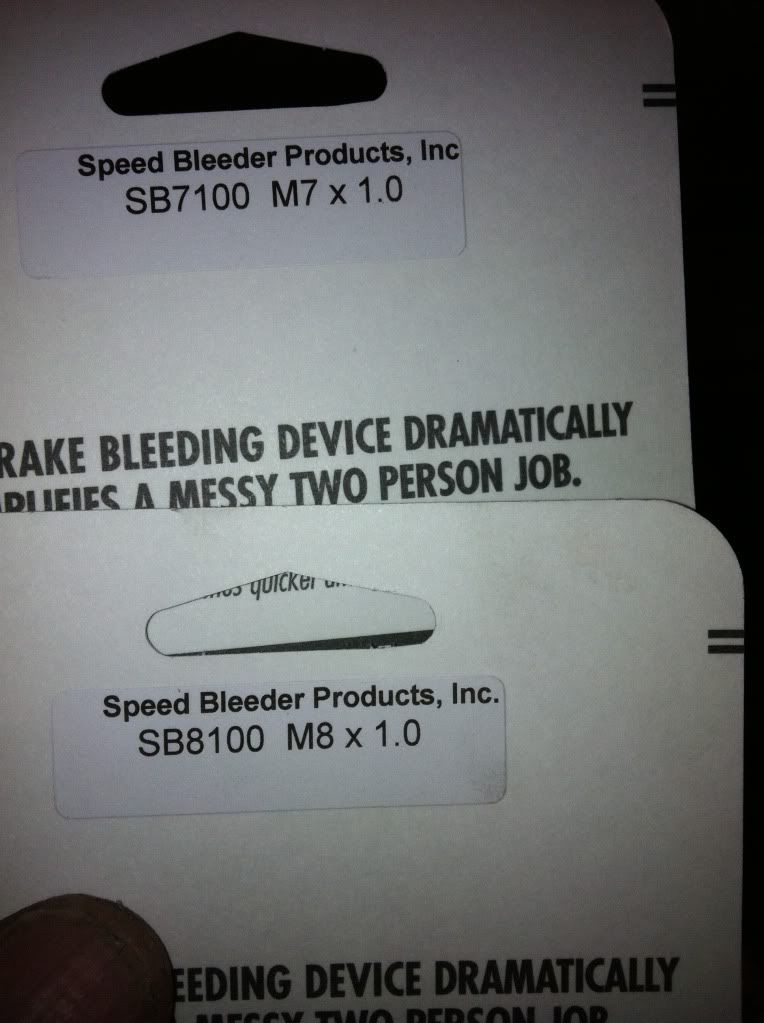
Also wanted to add, if your planning to do this mostly on your own i will recommend getting Speed Bleeders installed to bleed your calipers when your done installing the new lines, with that in mind here are the part numbers needed to replace the stock calipers bleed valves with Speed Bleeders, that will help if you don't have someone to help you bleed the brakes.
Front Caliper Speed Bleeder # SB8100 M8x1.0
Rear Caliper Speed Bleeder # SB7100 M7x1.0
also if anyone knows which spped bleeded will fit on the clutch slave please let me know, ill think one of the ones p[osted above will fit, but i didnt test fitted them

#17
1. Make sure to protect all areas where you will be working while removing the brake lines, ABS unit and fittings, you don't want to get brake fluid all over your paint. Also make sure to remove as much brake fluid from master cylinder before you begin to remove the brake lines.
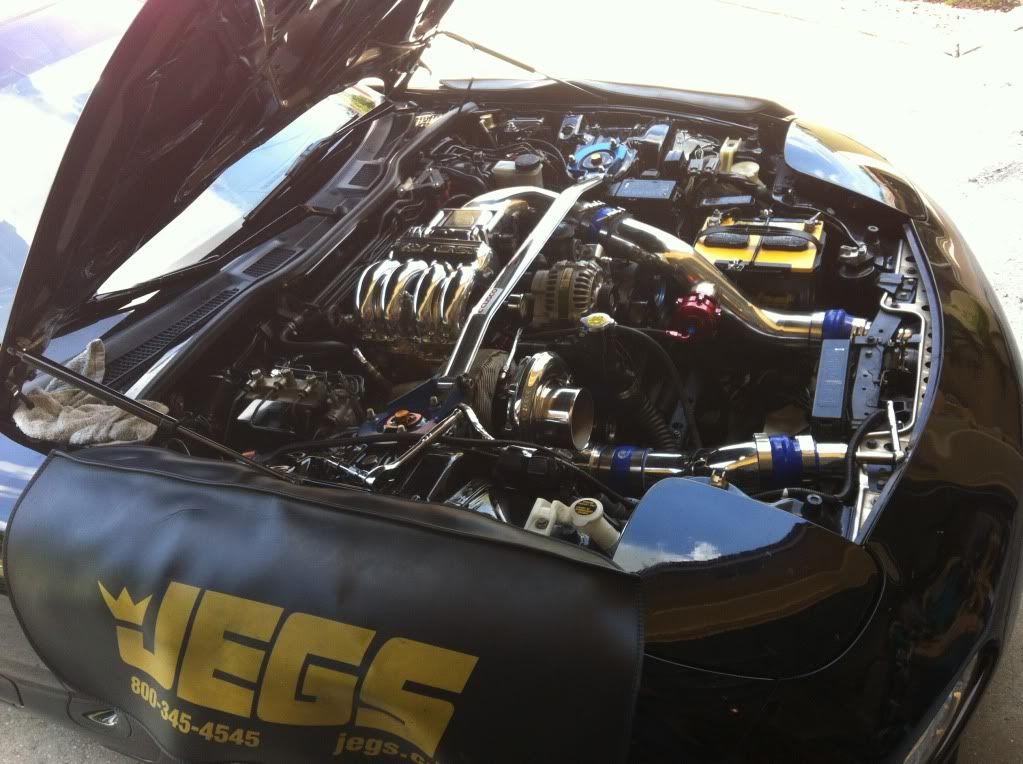

2. Remove this 2 fittings from the master cylinder using 10mm open end wrench.


3. Remove this fitting on the engine side of master cylinder using same 10mm wrench, do not remove the banjo bolt and fitting as you will use it for the new line.

4. Now remove this 5 fittings from the ABS unit using same 10mm wrench.
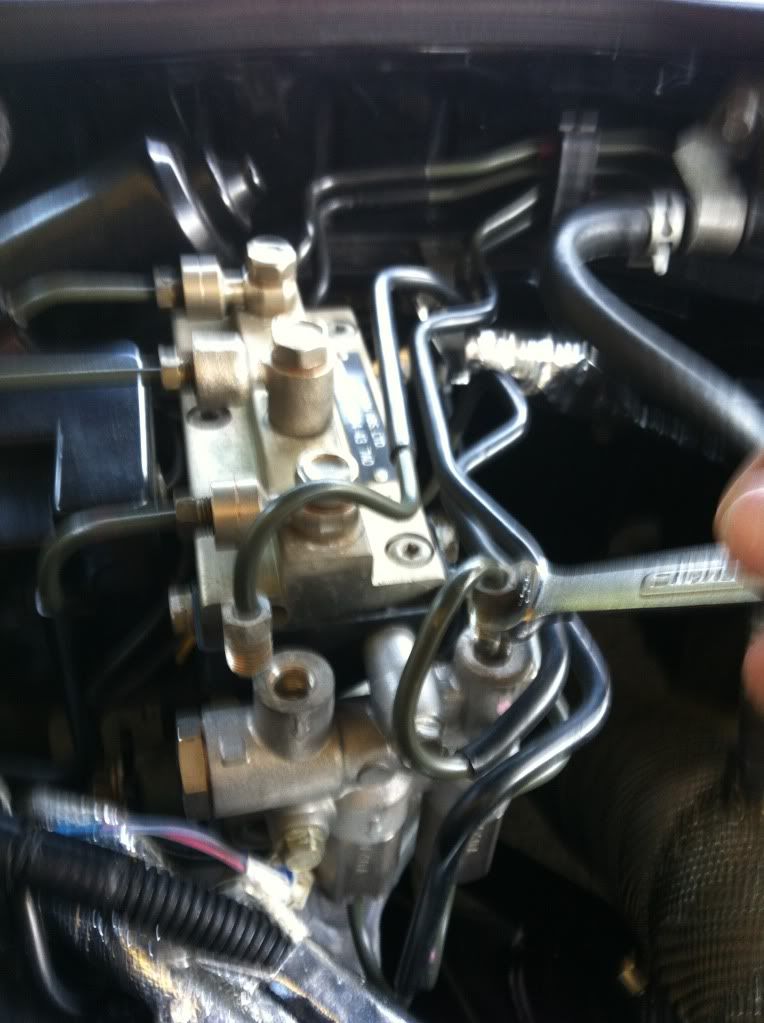
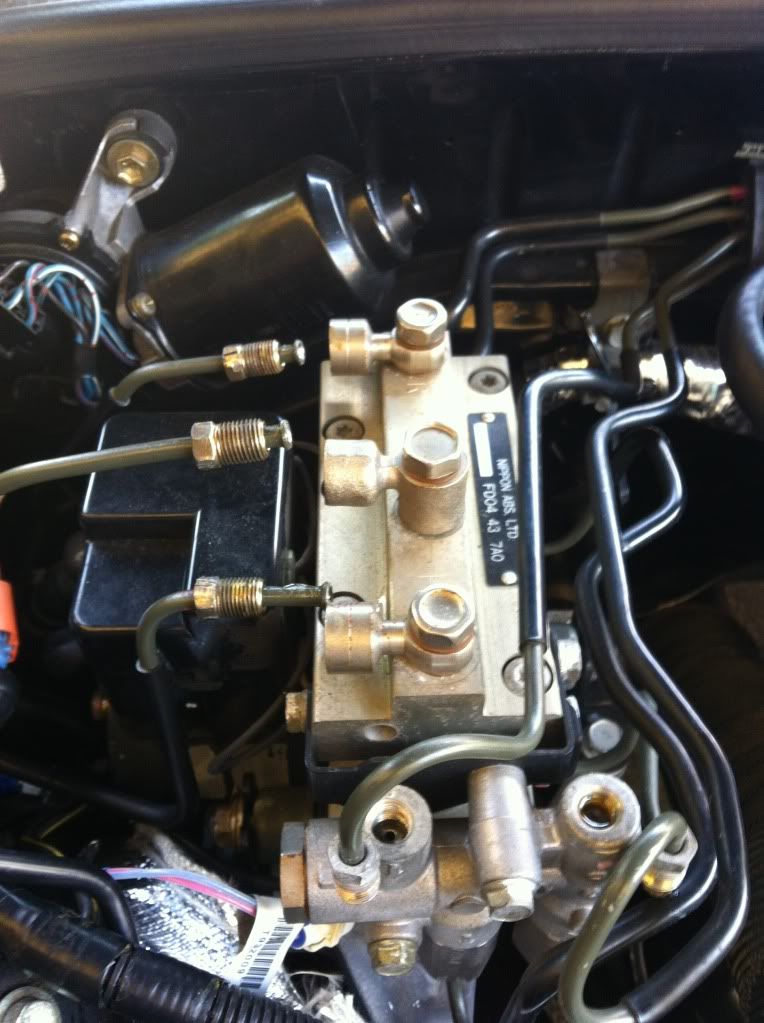
5. Now you should be ready to remove the all the ABS brake lines.
6. Using 12 mm open wrench or socket remove the 2 front bolts that hold ABS unit to the frame, there are 2 more 12mm bolts on the back side of the unit, you will need a long minimum 12' extension to reach the bolt, after all 4 bolts are out you can easily remove the ABS Unit, don't forget to disconnect the 2 connector before pulling the unit out.
This is what you should have out of the engine bay.


Now all you have to do is install the new lines.


2. Remove this 2 fittings from the master cylinder using 10mm open end wrench.


3. Remove this fitting on the engine side of master cylinder using same 10mm wrench, do not remove the banjo bolt and fitting as you will use it for the new line.

4. Now remove this 5 fittings from the ABS unit using same 10mm wrench.


5. Now you should be ready to remove the all the ABS brake lines.
6. Using 12 mm open wrench or socket remove the 2 front bolts that hold ABS unit to the frame, there are 2 more 12mm bolts on the back side of the unit, you will need a long minimum 12' extension to reach the bolt, after all 4 bolts are out you can easily remove the ABS Unit, don't forget to disconnect the 2 connector before pulling the unit out.
This is what you should have out of the engine bay.


Now all you have to do is install the new lines.
#25
Lines that are D.O.T certified have to pass certain test and criteria's. In order to do that, a company must invest in certain equipment and follow all D.O.T testing procedures.
L8R


