When you click on links to various merchants on this site and make a purchase, this can result in this site earning a commission. Affiliate programs and affiliations include, but are not limited to, the eBay Partner Network.
I have the Sakebomb setup on my car, got it back when they VERY FIRST did a group buy on them. My projectors are a little goofy, the projector tip is touching the lens and it has a small crack there. I think that's due to them being super early production versions.
I'd love to compare to your setup. I wonder how this would compare. The Sakebomb kit is just CRAZY amount of good light. I'm with you, I also like the plug-and-play nature here and how you can put this together without a giant fab effort.
Dale
Thanks Dale! As far as light output goes, I think the Sakebomb or any quality HID projectors will probably out-perform these in terms of total light output/lumens measurement. While I was bench testing in the garage, I compared them to the HID retrofits I built for my FC (Morimoto mini H1 projectors, 35W HID bulbs), and the HIDs did look noticeably brighter, but the clarity of the beam patterns were about the same, and both were much brighter than the Sylvania silver-star halogen bulbs currently in my FD. For on-the-road utility, I think these Bi-LEDs will be orders of magnitude better than the OEM halogens.
After going thru retrofit hell cramming those Morimoto HIDs to fit within a housing for my FC (sealed beam 5x7 size halogen replacement housing), the simple plug & play zero fabrication nature of these Bi-LEDs was really appealing! Much less expensive and easier to wire than HIDs too, as there's no bulky ballast boxes to deal with.
This progress looks pretty sweet. I had the version 1 Sakebomb kit on my FC and it mostly fit. If I recall they even had to send some different spacers for all of us early adopters. I'd like a fully reversible plug and play setup for the FD to replace the dull factory lamps. This requires minimal fab work. Good job!
This setup should reduce load on the electrical system as well leaving valuable amperage for fuel and ignition systems that most of us have installed.
Pete- any updates? Have you received the new connectors?
I had to drive the rx7 in the dark last week and the lighting was abysmal at best. Mine has an old school retrofit of sorts that I am looking to update. Like the idea of a PnP without housing modifications.
Pete- any updates? Have you received the new connectors?
I had to drive the rx7 in the dark last week and the lighting was abysmal at best. Mine has an old school retrofit of sorts that I am looking to update. Like the idea of a PnP without housing modifications.
Eric
Yup, they are installed & working in my FD now. Haven't driven it much at night, but in testing and aiming them at night I found these LED projectors are orders of magnitude better than properly aimed standard halogen bulbs. Here's the update link to my build thread post: https://www.rx7club.com/build-thread.../#post12546210
These look awesome. Random question though. Has anyone thought about finding a more generic type of headlight housing which comes with HID or LED and then making a modified shroud to make it look nice once mounted?
Seems like the focus is always on modifying the light itself and not the shroud.
I find this picture hilarious. Photoshopped onto an FD, unless they made a shroud, and then say it doesn�t fit the FD.
Last edited by TwinCharged RX7; 02-25-23 at 11:26 AM.
These look awesome. Random question though. Has anyone thought about finding a more generic type of headlight housing which comes with HID or LED and then making a modified shroud to make it look nice once mounted?
Seems like the focus is always on modifying the light itself and not the shroud.
I find this picture hilarious. Photoshopped onto an FD, unless they made a shroud, and then say it doesn�t fit the FD.
^I think the answer to that question for the FD is simply that it's too difficult to end up with headlights that can be aimed properly using the existing OEM adjustment screw setup. The OEM FD headlight housings (and all aftermarket replacements for it, like Spyder, etc.) are designed to drop right in and maintain the same 3D optical geometry as the OEM headlights, so you retain the FD's aiming adjustment screws as-is. Now if you were to somehow substitute a generic LED/HID sealed beam headlight (in rectangular or round format) for the OEM headlight housing, you would have to figure out how to get the 3D optical geometry to be exactly like the OEM housings (i.e., location of the new point light source(s) relative to the car), otherwise aiming them properly will be an exercise in futility.
For my FC, I almost purchased a set of LED low/high beam sealed beam replacement units (FCs came stock with 5"x7" sealed beam halogens), which would have been a plug & play improvement. But back in 2018 when I did it, the only sealed beam LEDs available on the market that seemed to have good reviews and decent reliability track record were very expensive - like $600 for the pair of sealed beam LED units. So I ended up doing an HID retrofit into a set of 5x7 halogen bulb clear lens housings (meant to replace the sealed beam headlights) using Morimoto Mini H1 projectors & associated hardware. Fabrication was a PITA, but end result was worth it and cost me around $400 all in. But the replacement cost of the HID bulbs is pretty reasonable if/when they fail down the road.
This thread is extremely helpful in performing this retrofit as a winter storage project. Everything went together basically as already described.
I wanted to try designing and 3D printing the correct 20 degree offset washer in ABS to cheaply and easily align the lights once installed in the housings. I figured if it's listed deformation temp is 100 degrees C (212F) and it did not deform at the oven temp I used for gluing the housings together (200), it *should* be able to handle being in the car. At 100% infill they look to be extremely rigid and even bend under force less than the plastic that the HID shells are made of, but if they do start to fail I may have to resort to the documented glued washer method or make one out of metal as described above.
Just waiting for the snow around here to go away and it can finally get a proper road test.
Saw this the other day. Have no idea if output would be good enough though. Cheap enough I might try. Not sure how the FD spyder lights are set up until my set comes in, but these bulbs are designed to fit into housings without cutting.
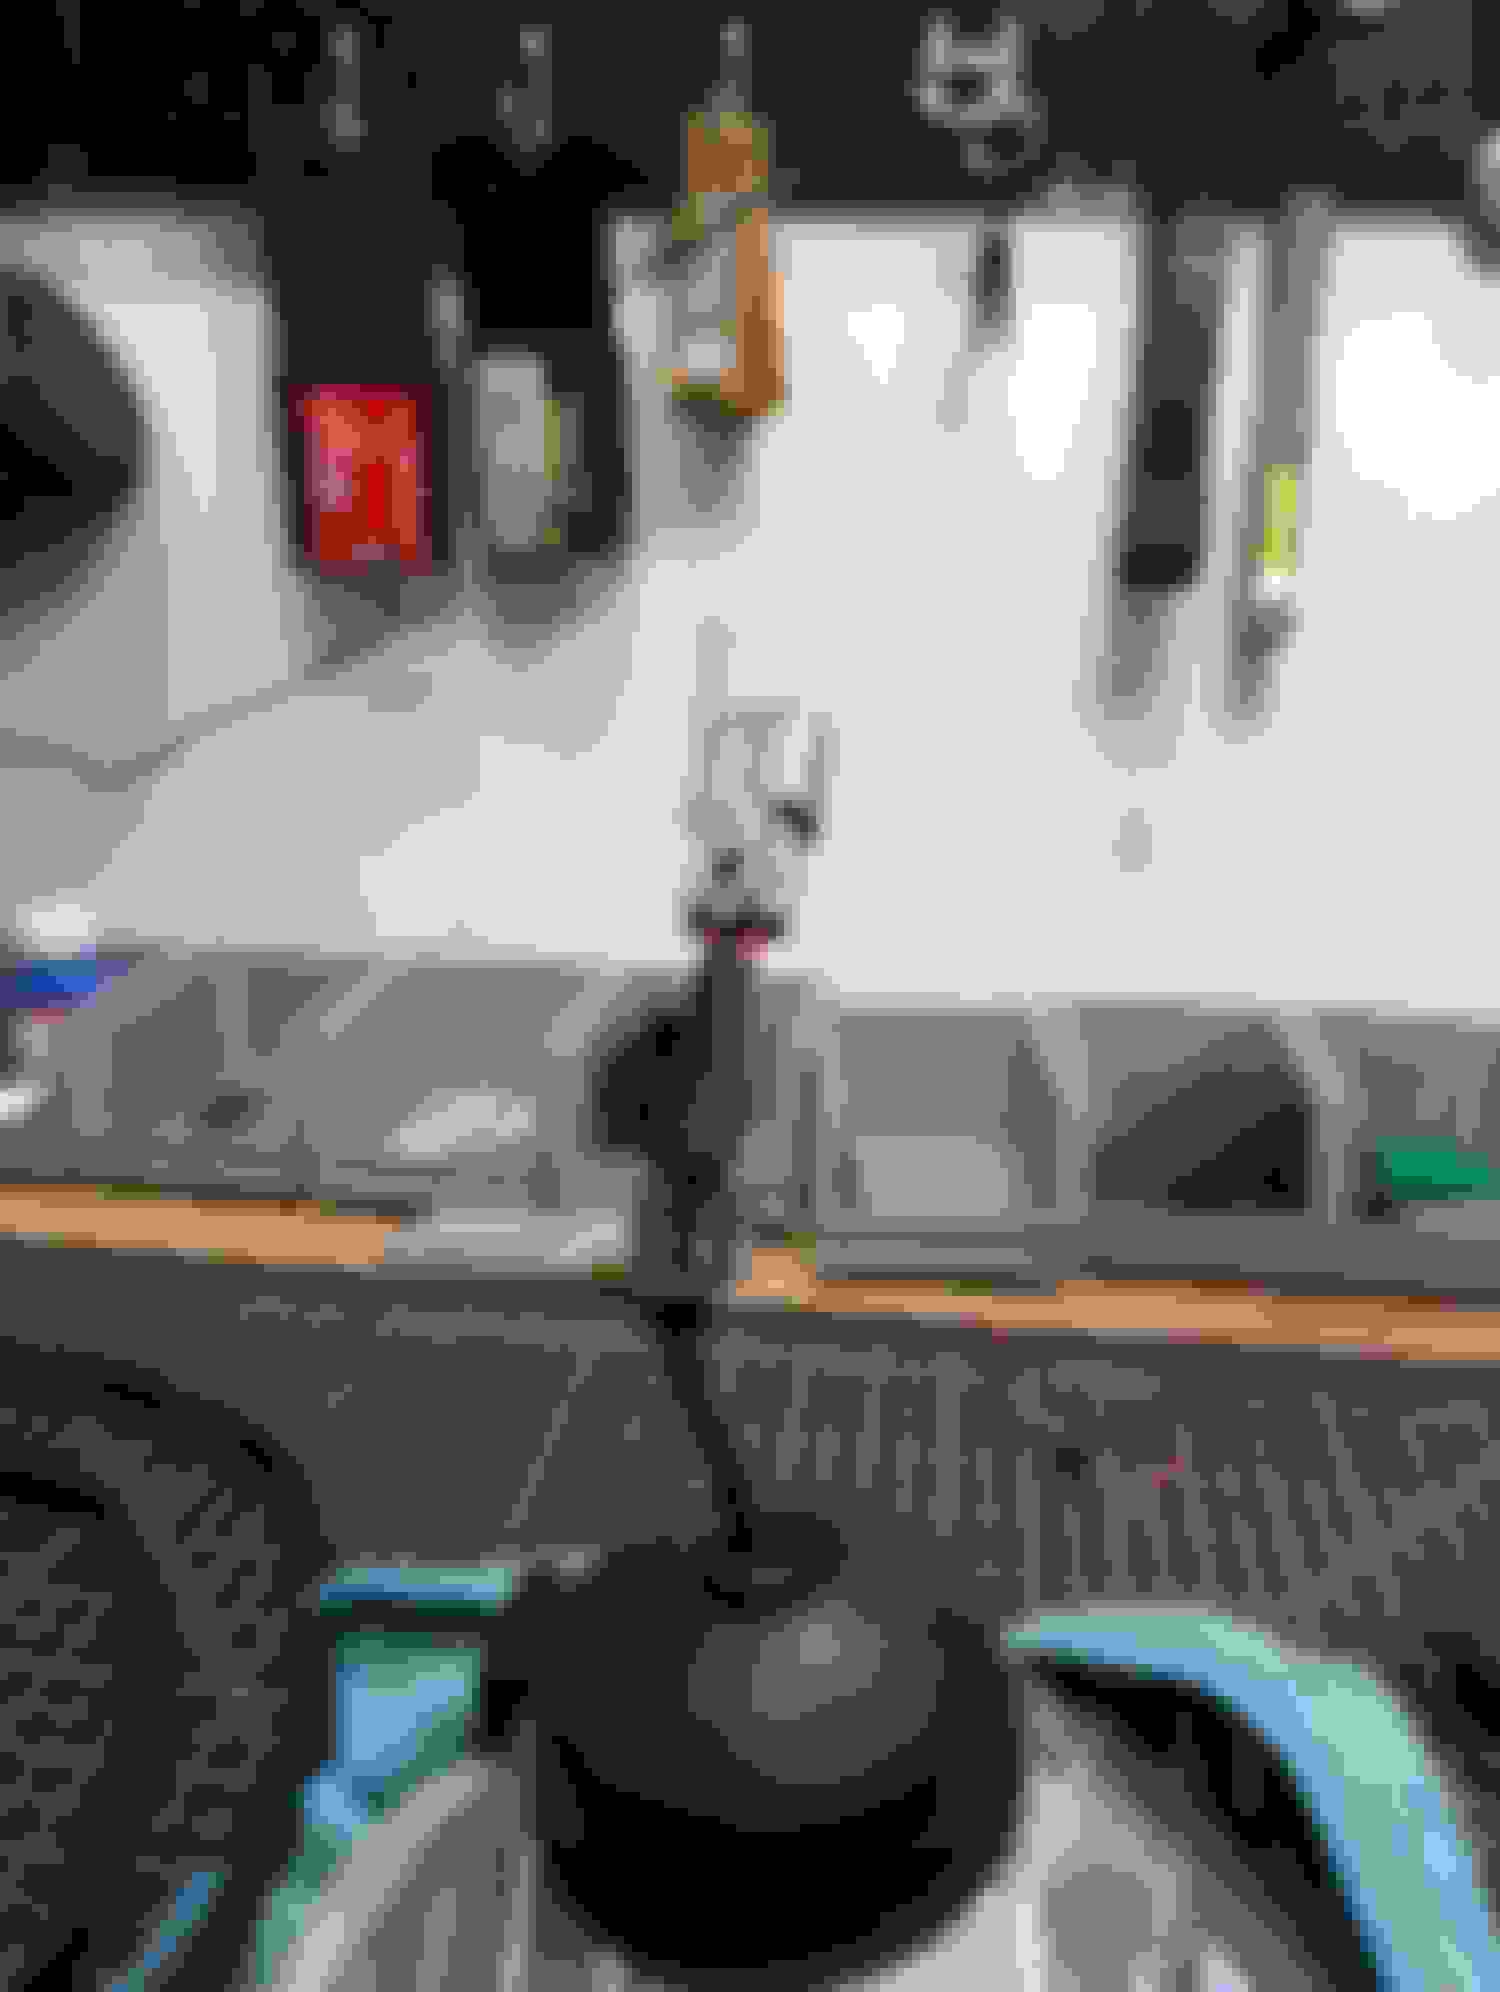
Just wanted to update y'all on my installation of the Bi-LED projectors. Finally had an opportunity to try to aim my installed projectors against a garage door exactly 25 feet away from the headlights on flat & level ground (back of a Walmart by me at night). My install retained all the OEM adjustment hardware, which consists of 2 adjustment screws (for horizontal & vertical alignment), a fixed screw that locates the headlight housing in the bucket, and a tension spring. As it turns out, I had no problem getting the horizontal alignment right with the OEM screws, but I had to back out the adjust screws for the vertical almost all the way out, and it still wasn't aligned - lights were pointing too far downward so they needed to come up some more, but I was out of adjustment screw range.
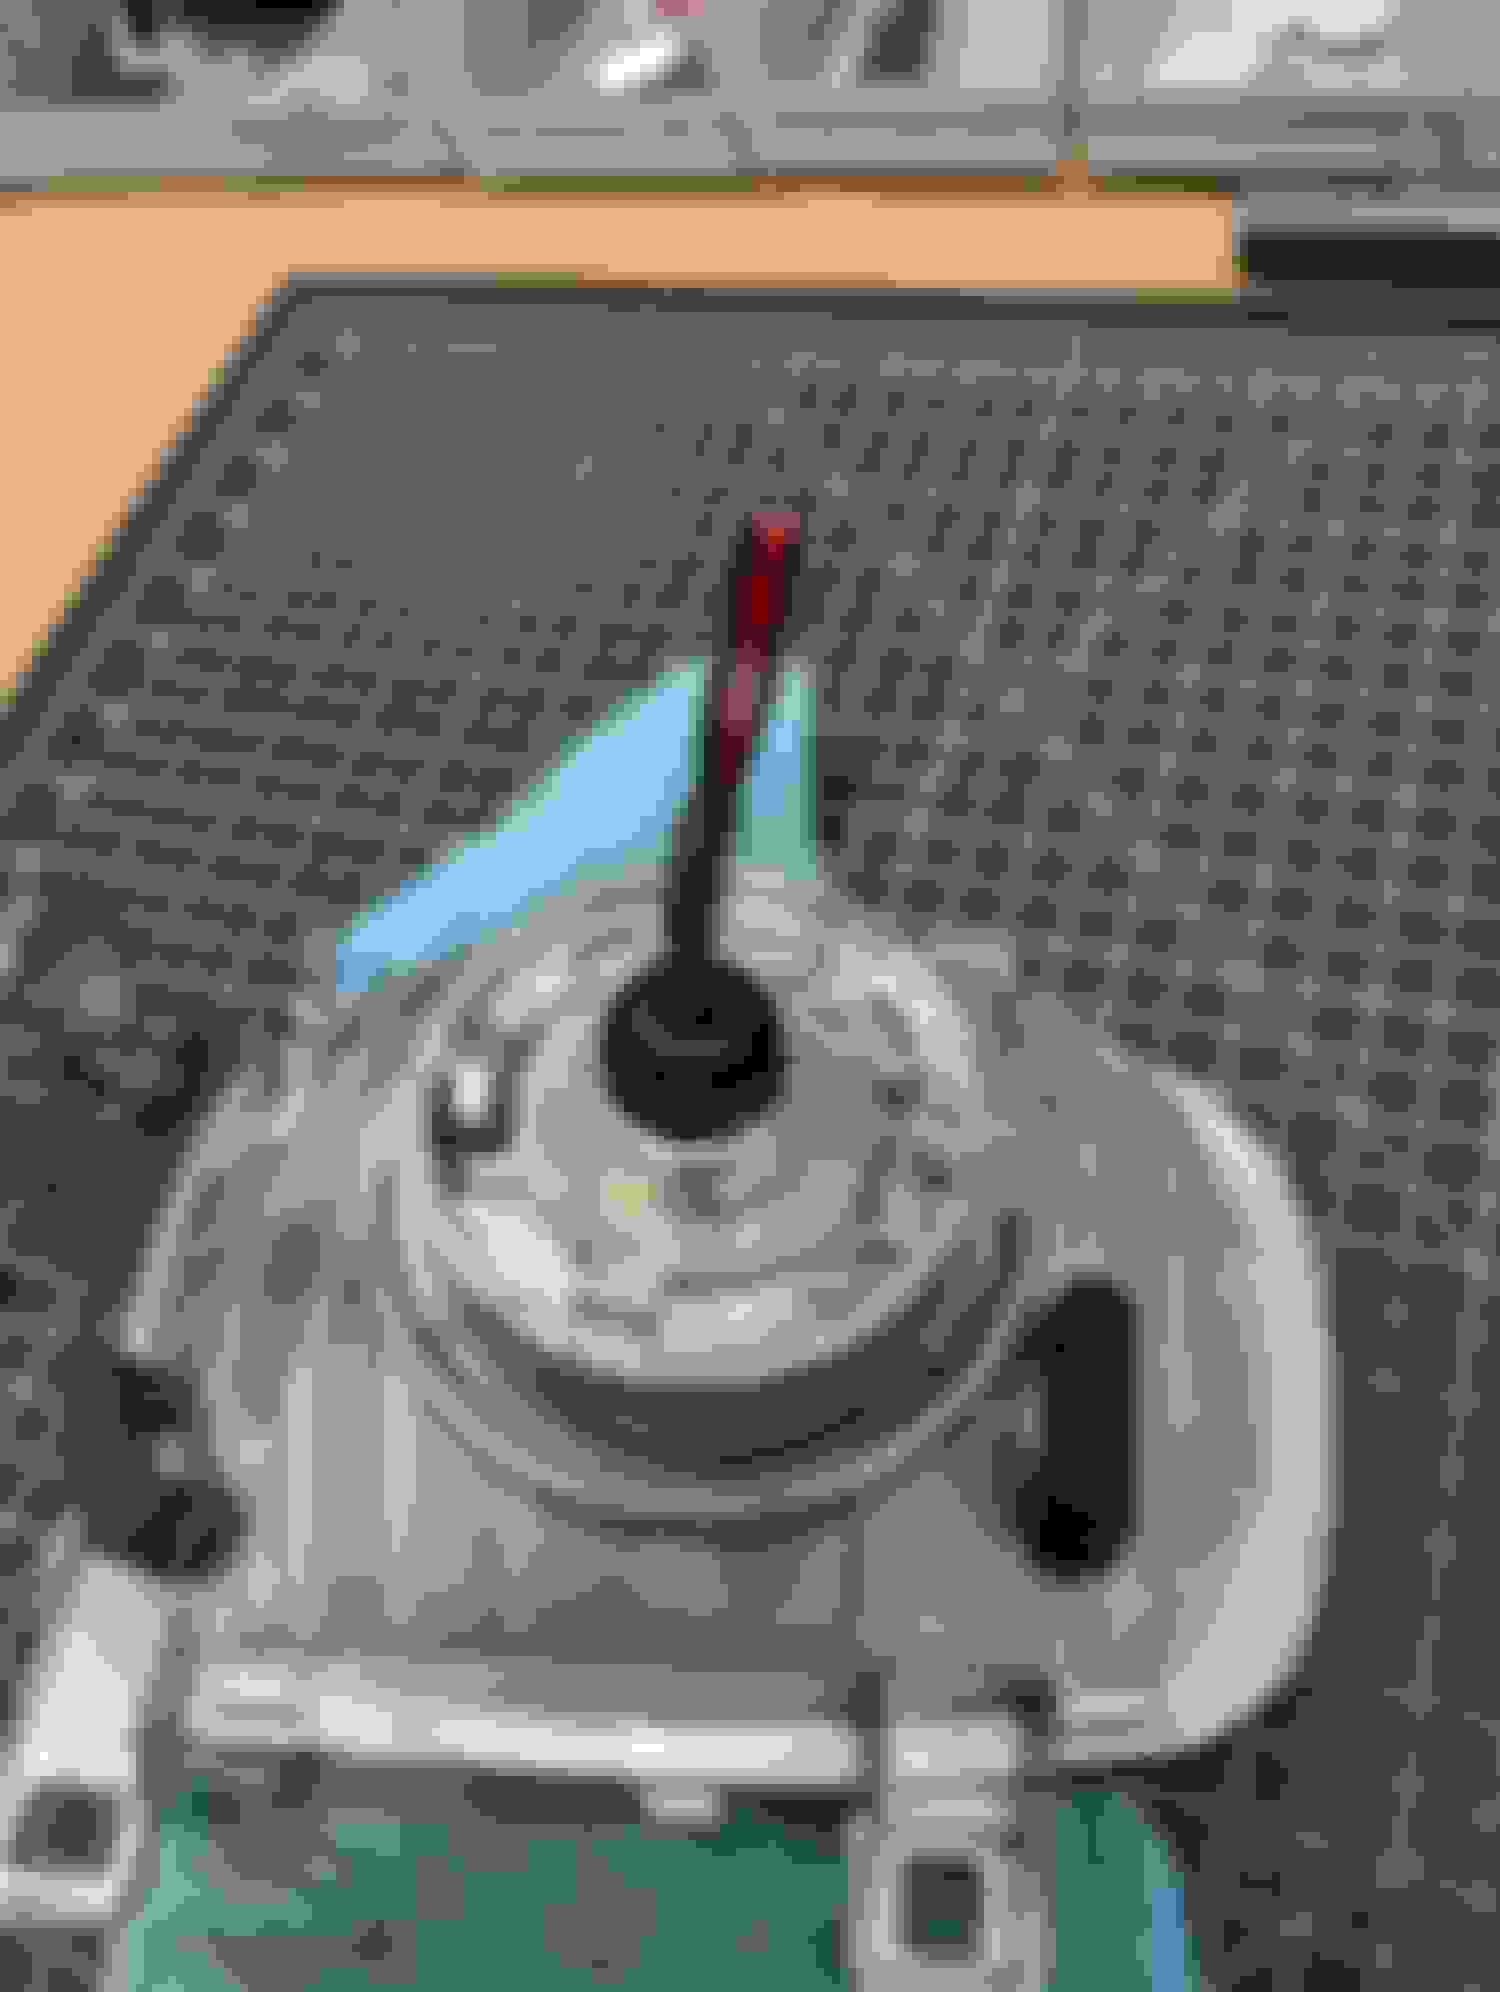
So my initial solution was to just try a longer screw for the vertical adjustment to increase the adjustment range. Since the OEM screw has this weird round head to fit into the plastic retainer piece, what I did was buy an M6x1.0 x 60mm long Allen head screw, and grind off most of the head. It fit inside the plastic clip, and it fixed the vertical light beam alignment problem, but it created a new problem - now because the headlight housing stuck out further on the lower edge, I was unable to re-install the plastic bezel trim. Picture of the adjustment screw attempt:
Here's a before & after grinding shot of the Allen head adjustment screw And this shows the length difference between the OEM & longer replacement adjust screw. Note that this picture shows the plastic retainer installed BACKWARDS (Doh!), and I had to undo that little F-up, but you get the idea.
Then it occurred to me that if I could replace the "fixed" screw with one that didn't have the captive washer and was threaded all the way, I could bring the top edge of the light housing inboard slightly, which would have the effect of letting you aim the lights higher using the existing OEM adjustment screws. So off to the hardware store again, this time to replace the fixed screw. This one was just an M5x0.8 x 60mm long Phillips head screw. Now that the headlight housing is sitting in the bucket pretty much like it did originally, I was able to re-install the plastic bezel without interference. Some pictures of the "fixed" screw solution:
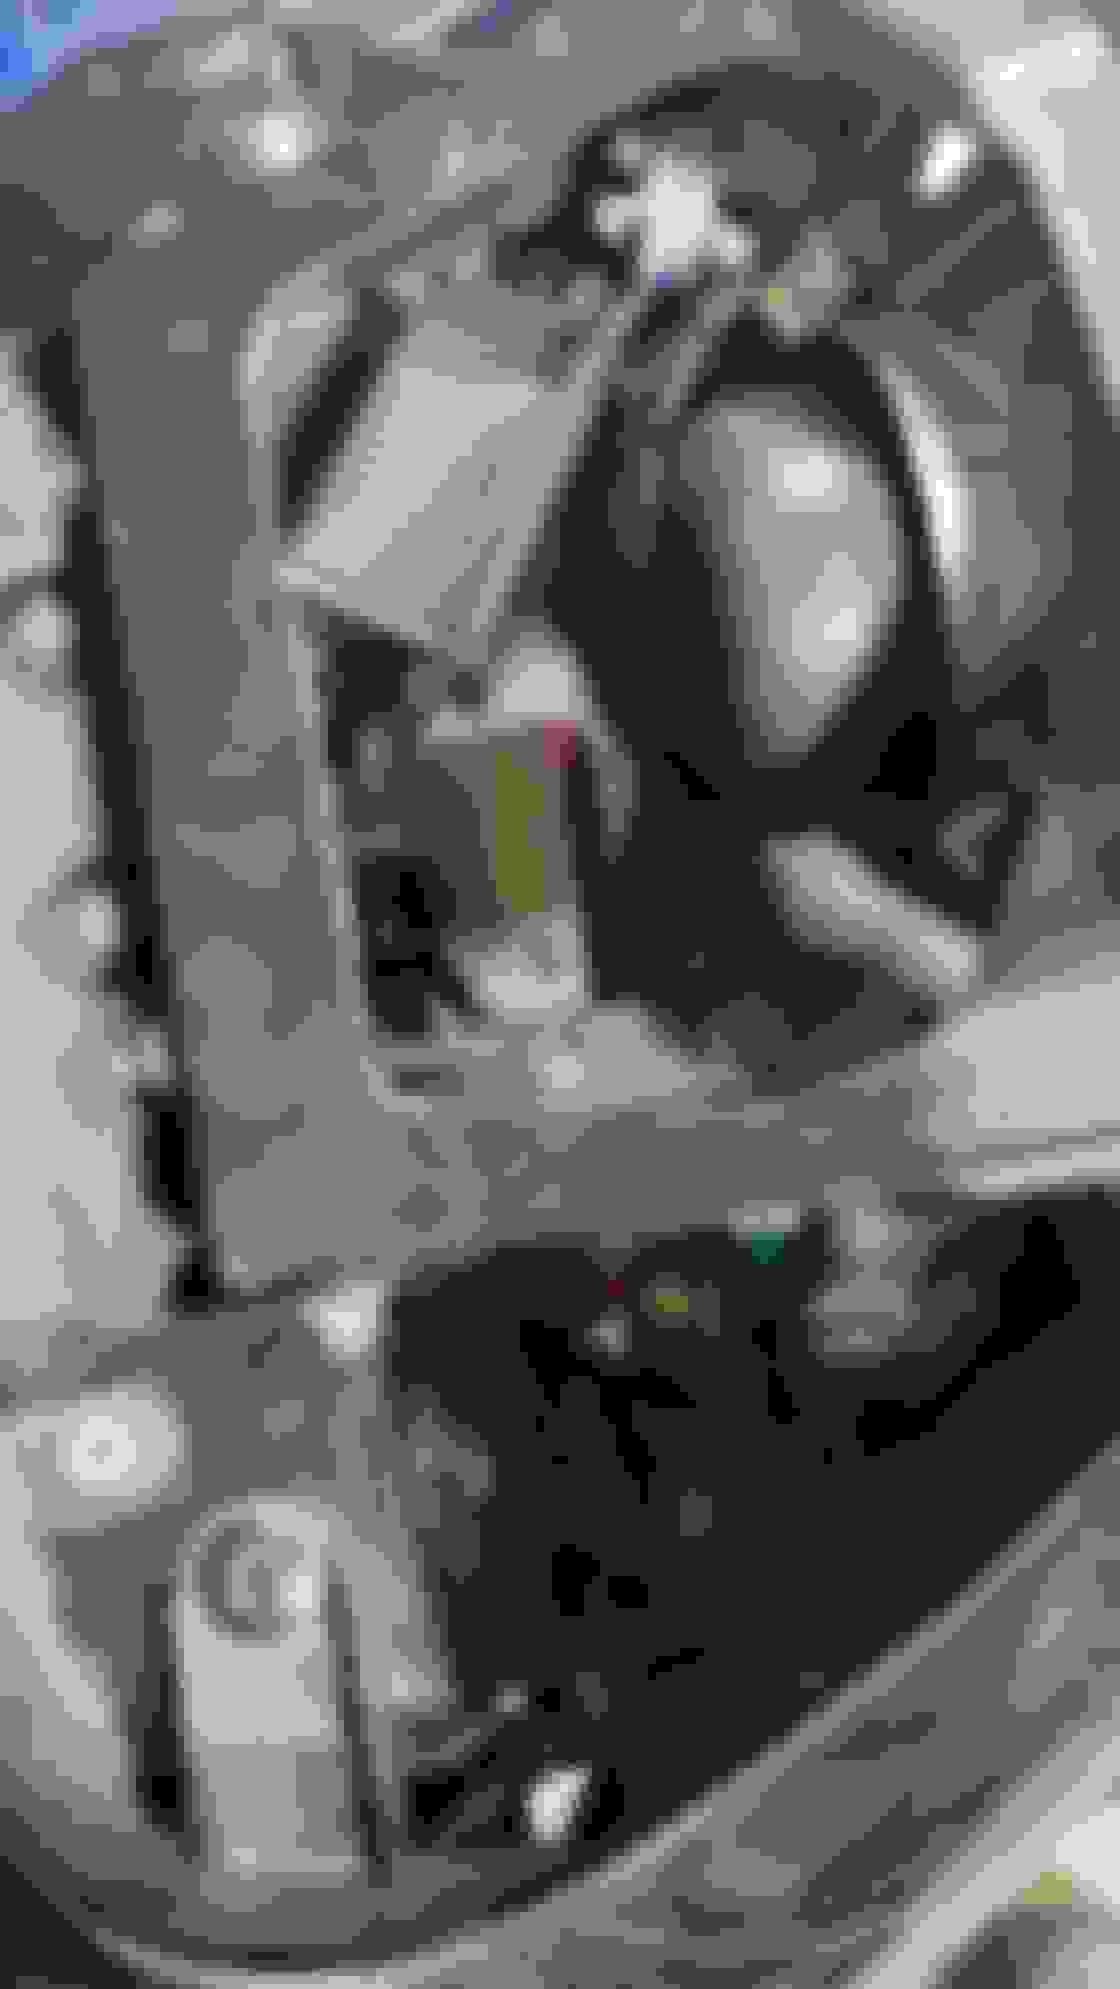
These are the OEM "fixed" screws; they bottom out in the bucket against the captive washer. So I replaced these with fully threaded pan head M5x0.8 Phillips screws that were slightly longer (60mm vs 50) The new "fixed" screw just goes right thru the plastic retainer, so I didn't need to grind it. The spring tension is what keeps the retainer against the threaded screw.
Unfortunately I didn't take any pictures while I was doing the alignment the other night in the Walmart lot. Used the lot in back where they have the auto shop, so I could use their garage door (shop was closed) as my alignment target, after sticking some painter's tape on it at the correct height.
Where I went different was with this harness. My buddy had used this on his swap but he bought different projectors. I combined these with the wiring that came with the projectors instead of just wiring in a rectifier diode, making it needlessly long lol.
I goofed when I was building the wiring, soldering all the connections instead of using connectors. Then I realized the bigger box that came with the projectors wouldn't fit through the hole in the housing, so I put a Deutsch connector there. I thought it was all good at that point, then realized the smaller box that came on the other harness wouldn't fit through the washer holes lol. So I found some small Molex connectors I had on hand, luckily. The lights don't look so bright when the street is lit up, but on a dark street they're pretty good. For just over $200 all in, this is a great swap.
I had a buddy tack the washers together. I was planning on taking them to the waterjet guy but I was impatient and trying to get them done this weekend. I screwed the box down to the bucket. I routed the excess wiring down under the bucket and secured it. I moved the lights up and down several times to make sure there was no binding or crushing. Low beam. It took me a bit to remember how to aim lights. Looks like the right one might need to go further right, but it was lined up High beam.
I goofed when I was building the wiring, soldering all the connections instead of using connectors. Then I realized the bigger box that came with the projectors wouldn't fit through the hole in the housing, so I put a Deutsch connector there. I thought it was all good at that point, then realized the smaller box that came on the other harness wouldn't fit through the washer holes lol. So I found some small Molex connectors I had on hand, luckily. The lights don't look so bright when the street is lit up, but on a dark street they're pretty good. For just over $200 all in, this is a great swap.
Nice job!
Just to compare installation experiences, were you able to use the silicone cushioning washers that came with your 2-1/2" projectors? I recall the OP said he had to omit those washers with his install, which is why I opted for the slightly shorter length 2" diameter projectors. Since you used the exact same headlight housings I did, I'd like to confirm that those 2-1/2" projectors can fit in my housings with with the washers.
Also, did you have any issues aiming your projectors with the OEM aiming screws? I did, and I now suspect the length difference between the 2" and 2-1/2" projectors might be why I had issues getting my headlights aimed correctly -- I had to modify the OEM adjustment screws to make it work (ref. post #85)
My 2" projectors work well enough, but with the Black Friday sales on Amazon, I was thinking of switching to the 2-1/2" projectors for hopefully better light output and so I can bring my aiming screws back to the original OEM configuration (my aiming mods are fully reversible).
Sorry, I just now noticed you responded.
I'm not sure if I could have used the washers. I didn't try to close them up with those washers installed because they looked like they stuck out too far with the washers (but I didn't verify), and mostly because Alex already said they didn't work. I would have preferred using some kind of damping washer, and I got some from my buddy that had done a similar swap but they were too small diameter and didn't even contact the inner part of the housing, they just fell right through the opening in the back. If we could find a thinner silicone or rubber washer with the correct diameter, I think it would work. The washers that come with the lights are about 1/4" thick.
I didn't have any issues aiming though. I didn't use the FSM, just instructions I found online since I didn't have the FSM with me at the time and I really needed to get them aimed. But I followed the instructions; drove up to a wall about 5' away, put tape where the beams were, then backed up to 25ft and adjusted them to the tape. I might move the passenger side a little further out so a little more light gets to just off the road, but it's set up correctly right now according to the instructions. I did read about your issues before I did mine, but I was happy to see I didn't have the same problem. That's a good point though, I hadn't considered the issue possibly being due to the different size. I would think it wouldn't be an issue as long as they're pointing straight forward, but size is the only difference between our setups.
Maybe pick up some lights and see if you can find some thinner silicone washers. I looked on McMaster-Carr, I don't remember if I found what I needed. I gave up since I already had the lights together at that point lol. But I'll probably either build another set at some point and do the etches lenses and all that, so I'll add some washers then if possible or maybe open mine back up and add the washers. How much of a discount are they offering right now on Amazon?
I'm not sure if I could have used the washers. I didn't try to close them up with those washers installed because they looked like they stuck out too far with the washers (but I didn't verify), and mostly because Alex already said they didn't work. I would have preferred using some kind of damping washer, and I got some from my buddy that had done a similar swap but they were too small diameter and didn't even contact the inner part of the housing, they just fell right through the opening in the back. If we could find a thinner silicone or rubber washer with the correct diameter, I think it would work. The washers that come with the lights are about 1/4" thick.
I didn't have any issues aiming though. I didn't use the FSM, just instructions I found online since I didn't have the FSM with me at the time and I really needed to get them aimed. But I followed the instructions; drove up to a wall about 5' away, put tape where the beams were, then backed up to 25ft and adjusted them to the tape. I might move the passenger side a little further out so a little more light gets to just off the road, but it's set up correctly right now according to the instructions. I did read about your issues before I did mine, but I was happy to see I didn't have the same problem. That's a good point though, I hadn't considered the issue possibly being due to the different size. I would think it wouldn't be an issue as long as they're pointing straight forward, but size is the only difference between our setups.
Thanks for the info! I don't think the cushioning washers that came with my 2" projectors were that thick, mine were maybe 1/8"~3/16" at the most? Now I'm thinking I could reuse those with a set of 2-1/2" projectors, or get washers from McMaster-Carr and that should fit, since the stem size is the same to fit the housings.
Originally Posted by speedjunkie
Maybe pick up some lights and see if you can find some thinner silicone washers. I looked on McMaster-Carr, I don't remember if I found what I needed. I gave up since I already had the lights together at that point lol. But I'll probably either build another set at some point and do the etches lenses and all that, so I'll add some washers then if possible or maybe open mine back up and add the washers. How much of a discount are they offering right now on Amazon?
Amazon is supposedly offering 30% off on the 2-1/2" projectors you linked above, currently about $84. These are essentially the same Sanvi S8 2-1/2" Bi-LED projectors that Ali Express sells, re-boxed for Amazon. I might just buy a 2-1/2" set and try this again. Funny story - last year after I got my 2" projectors via Ali Express, I complained to them about the ****-eyed ~20* angle aiming issues we all experienced with the mounting washers, and the fact that my package was missing the screws to mount the shrouds. Somewhere in the translation from English to Chinese, they thought I wanted a refund, so about a month later my credit card was refunded for the full amount charged - free projectors! So I don't really mind buying another set for version 2.0
Thanks for the info! I don't think the cushioning washers that came with my 2" projectors were that thick, mine were maybe 1/8"~3/16" at the most? Now I'm thinking I could reuse those with a set of 2-1/2" projectors, or get washers from McMaster-Carr and that should fit, since the stem size is the same to fit the housings.
I measured them and on the outer edge it ranges from 1/4" to 3/16" and it tapers down on the ID and ranges from 11/64" to 3/32". ID is 3/4" and OD is 1 7/8".
Originally Posted by Pete_89T2
Amazon is supposedly offering 30% off on the 2-1/2" projectors you linked above, currently about $84. These are essentially the same Sanvi S8 2-1/2" Bi-LED projectors that Ali Express sells, re-boxed for Amazon. I might just buy a 2-1/2" set and try this again. Funny story - last year after I got my 2" projectors via Ali Express, I complained to them about the ****-eyed ~20* angle aiming issues we all experienced with the mounting washers, and the fact that my package was missing the screws to mount the shrouds. Somewhere in the translation from English to Chinese, they thought I wanted a refund, so about a month later my credit card was refunded for the full amount charged - free projectors! So I don't really mind buying another set for version 2.0
That's what I paid for them a couple months ago too.
That's hilarious lol. That makes it really easy to buy another set.
Thanks everyone for all of your really good information that's been posted here. I decided to give it a go myself, so I figured I'd try to contribute with my experiences.
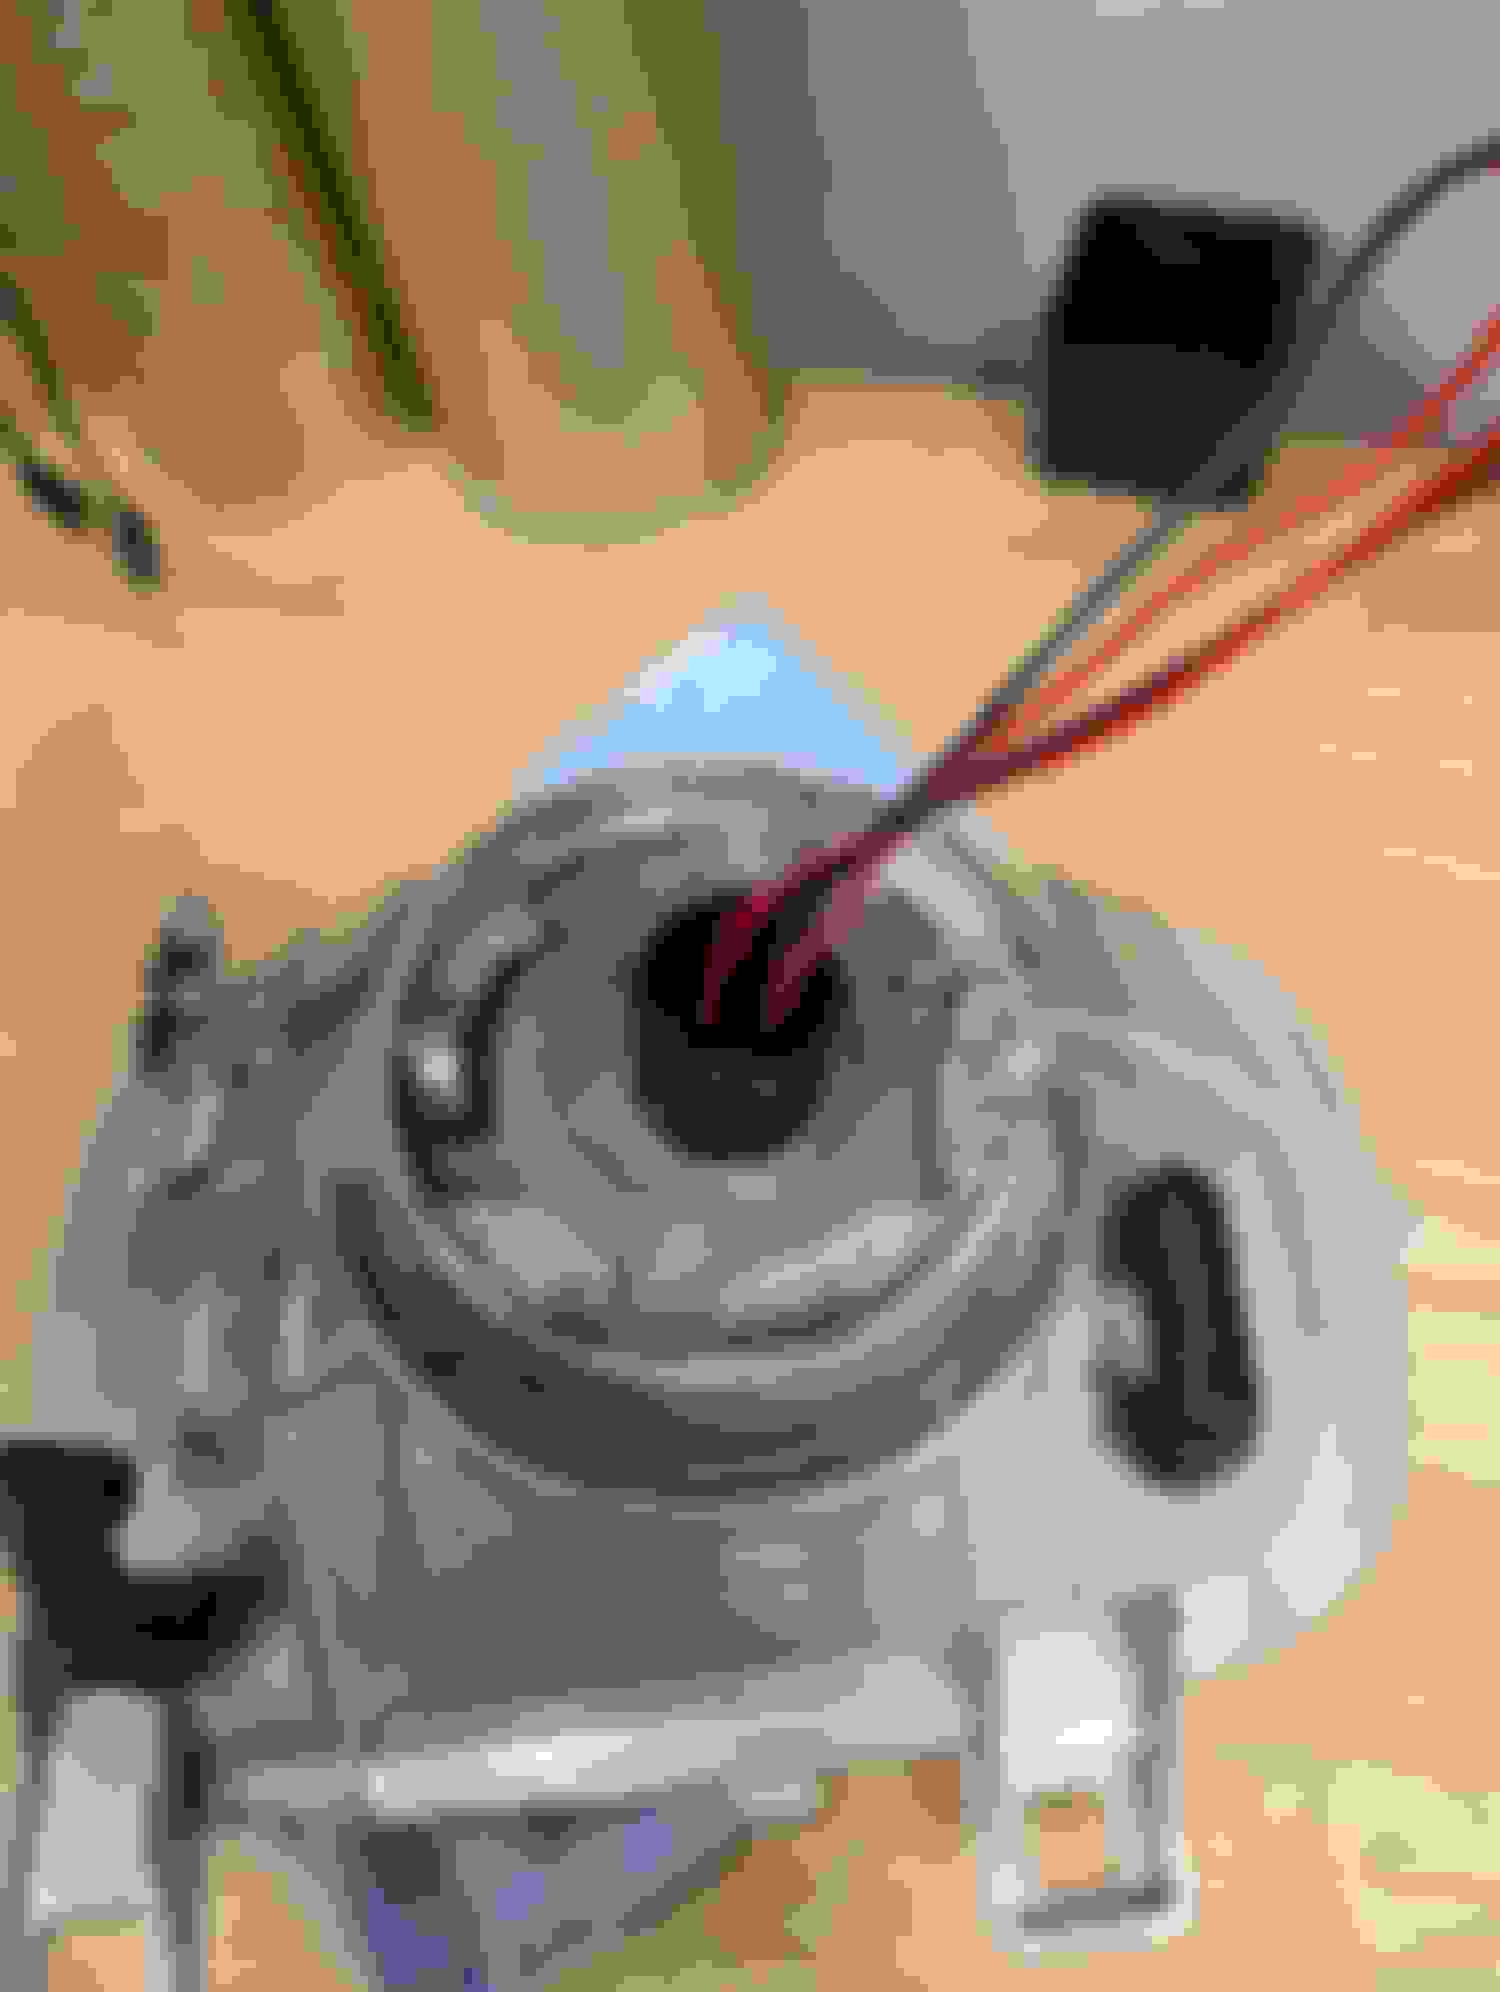
I opted to route the solenoid wiring through the opening in the rear of the projector. I sleeved it in black heat shrink so the red isn't visible when viewed from the front.
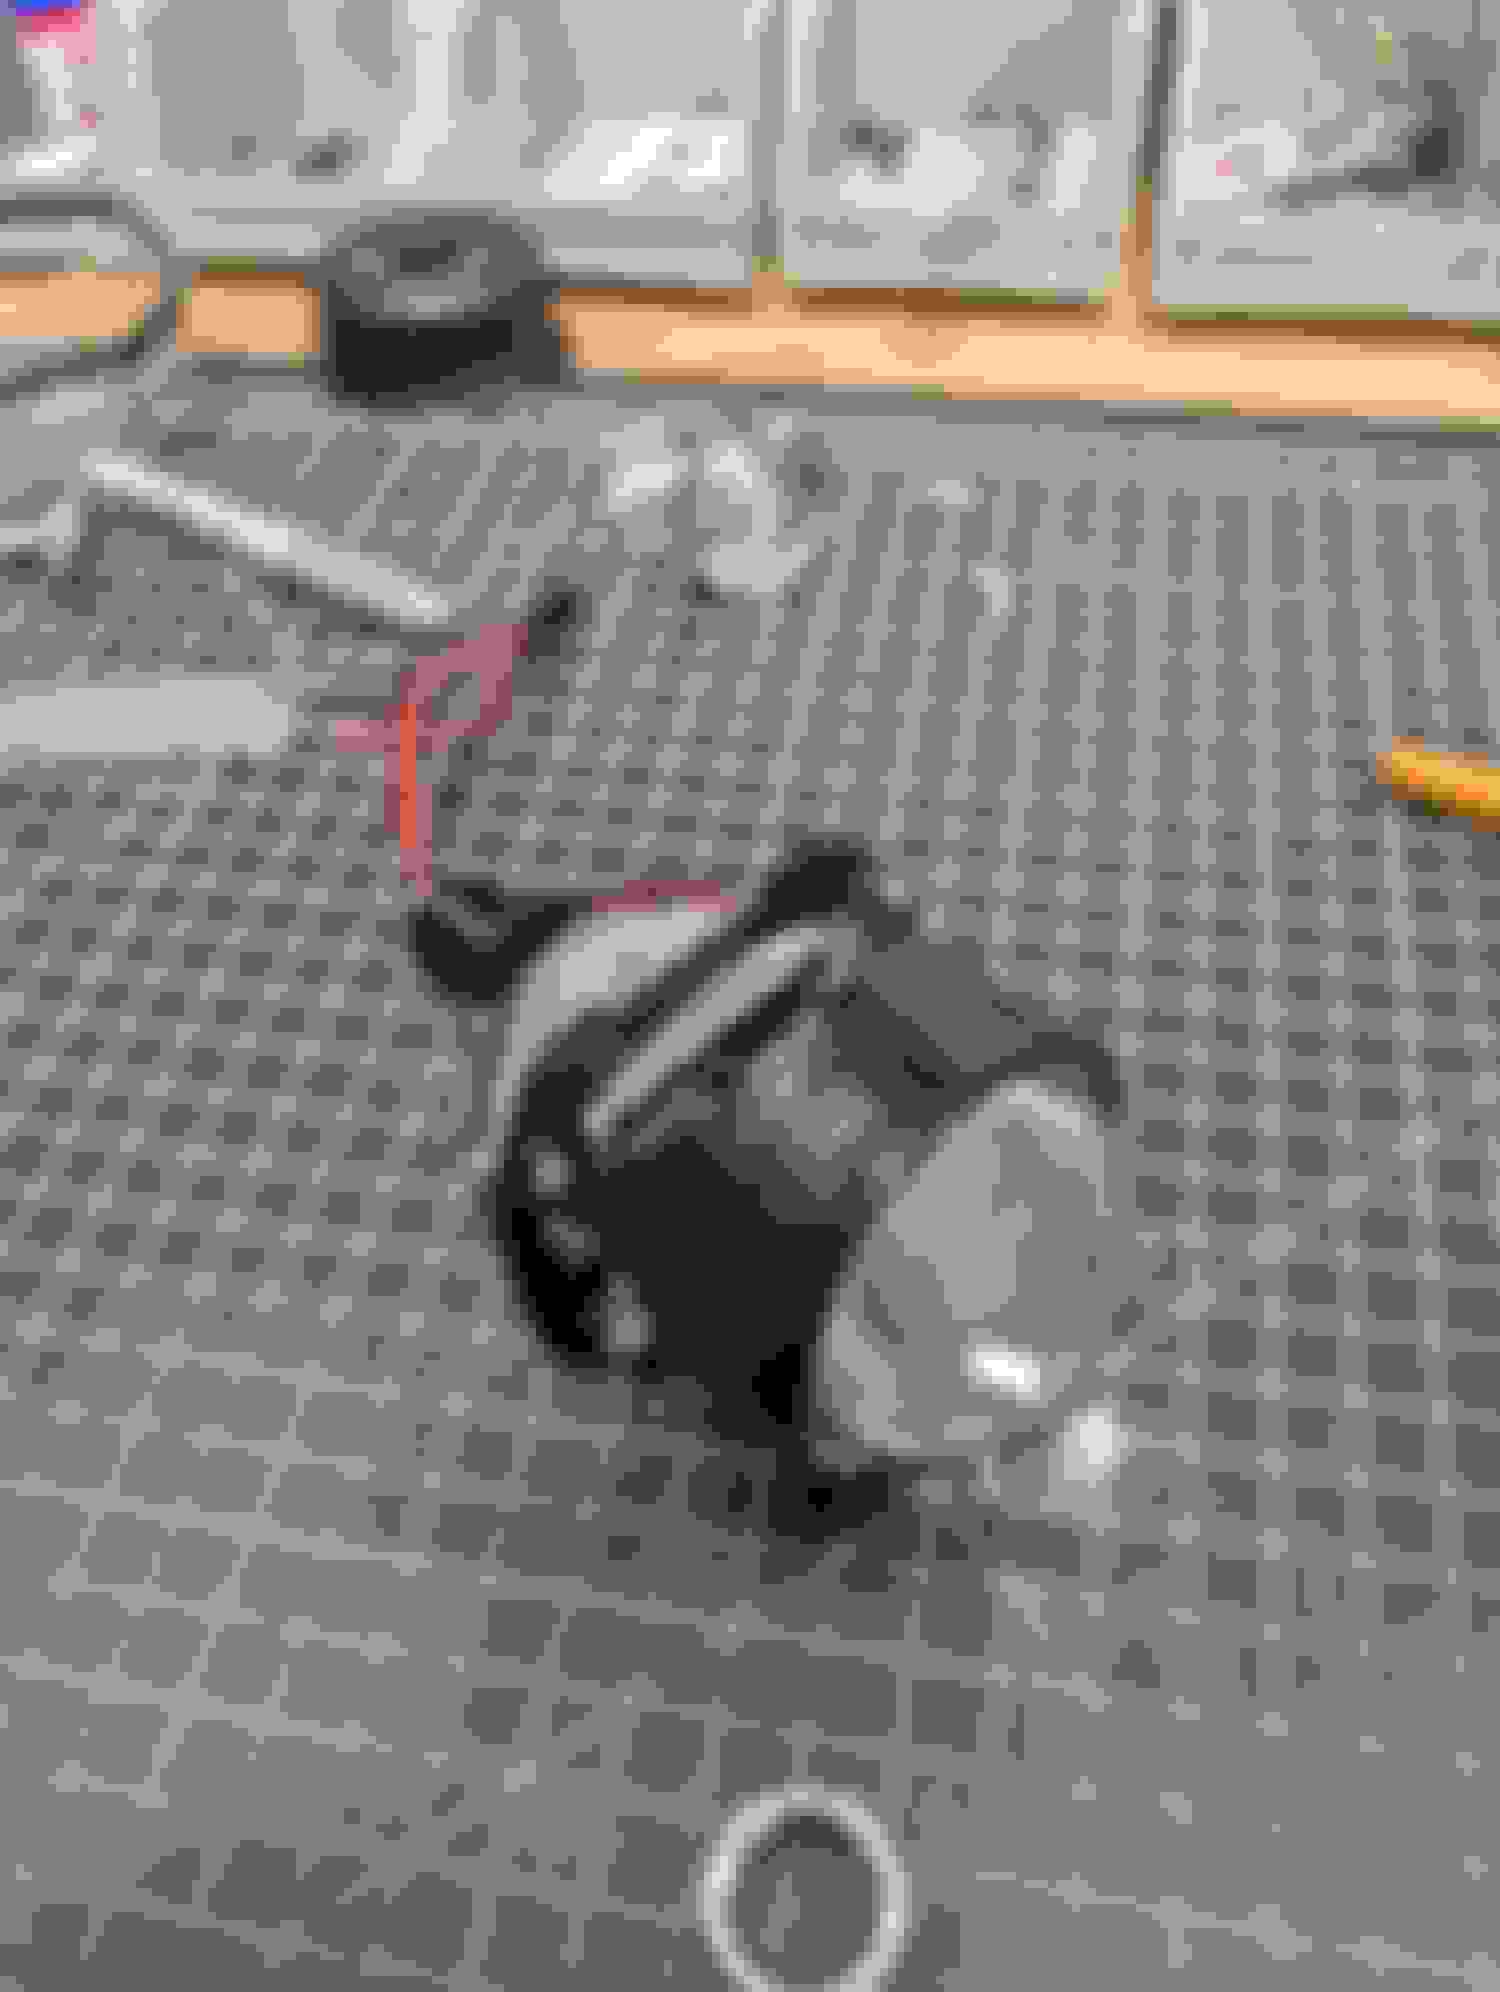
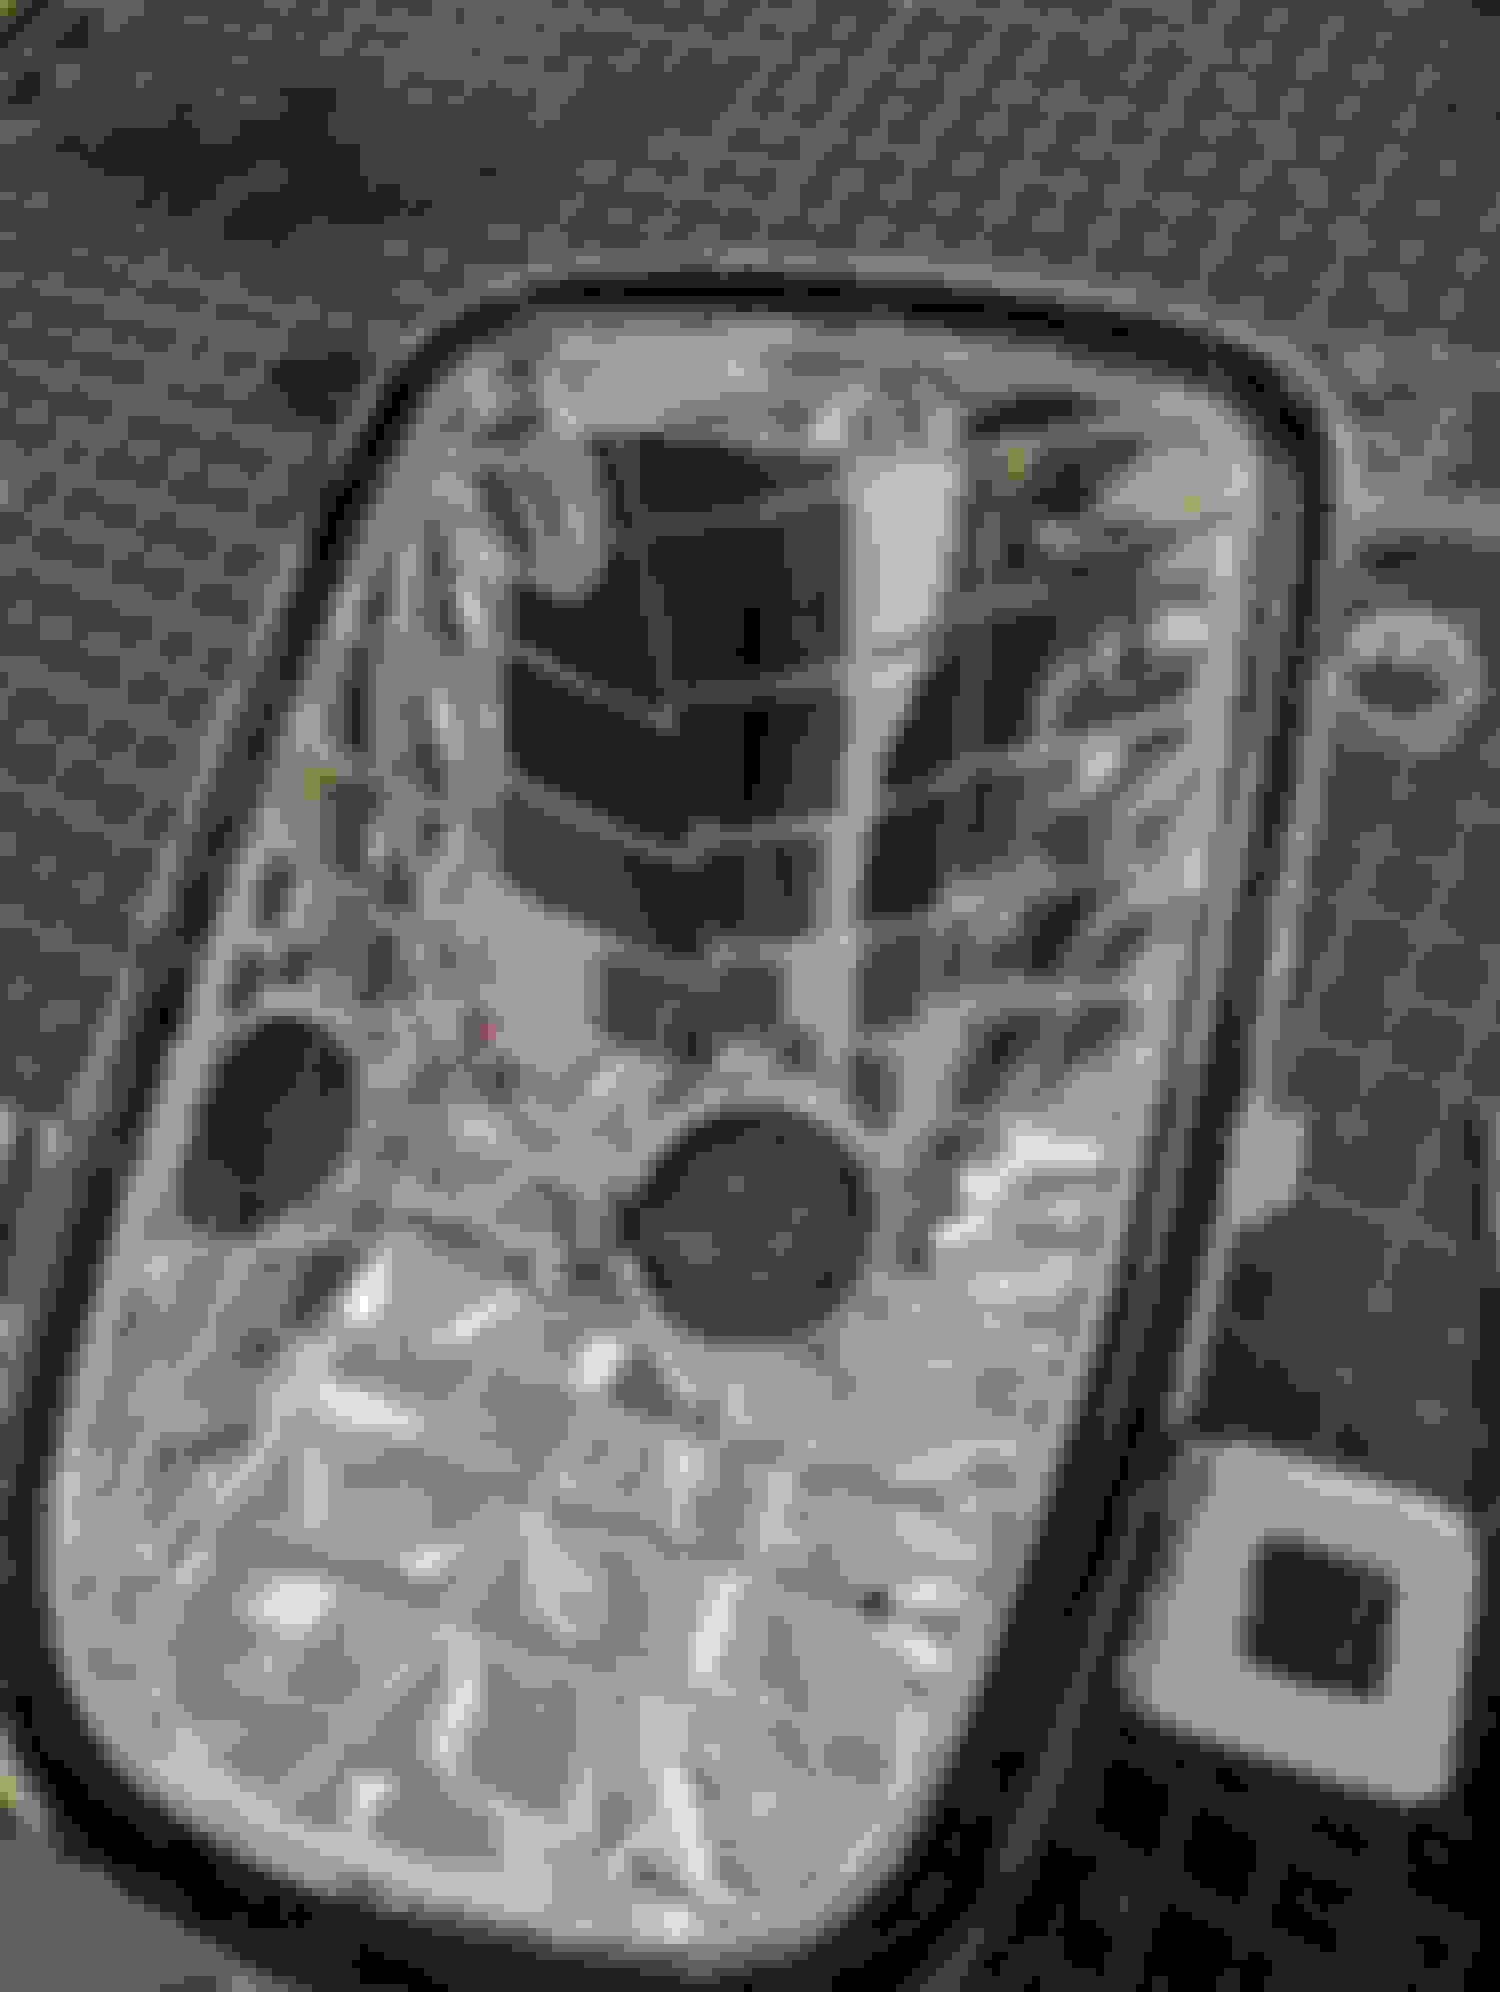
I pulled the headlights apart with a heat gun and plastic bone tool. I found these particular projectors are a bit long so I mounted the headlight housing in a rotary table and cut approx. 3/16"-1/4" downward and also cut a small relief for the cooling fan. Be careful around the cooling fan as there isn't much material thickness in that area.
I wanted to note that if you use sharpie to mark out your cuts, DO NOT use rubbing alcohol as it will remove the reflective coating (luckily the damage is not visible with the projector installed). Instead mark over the areas with sharpie again and wipe with a microfiber towel.
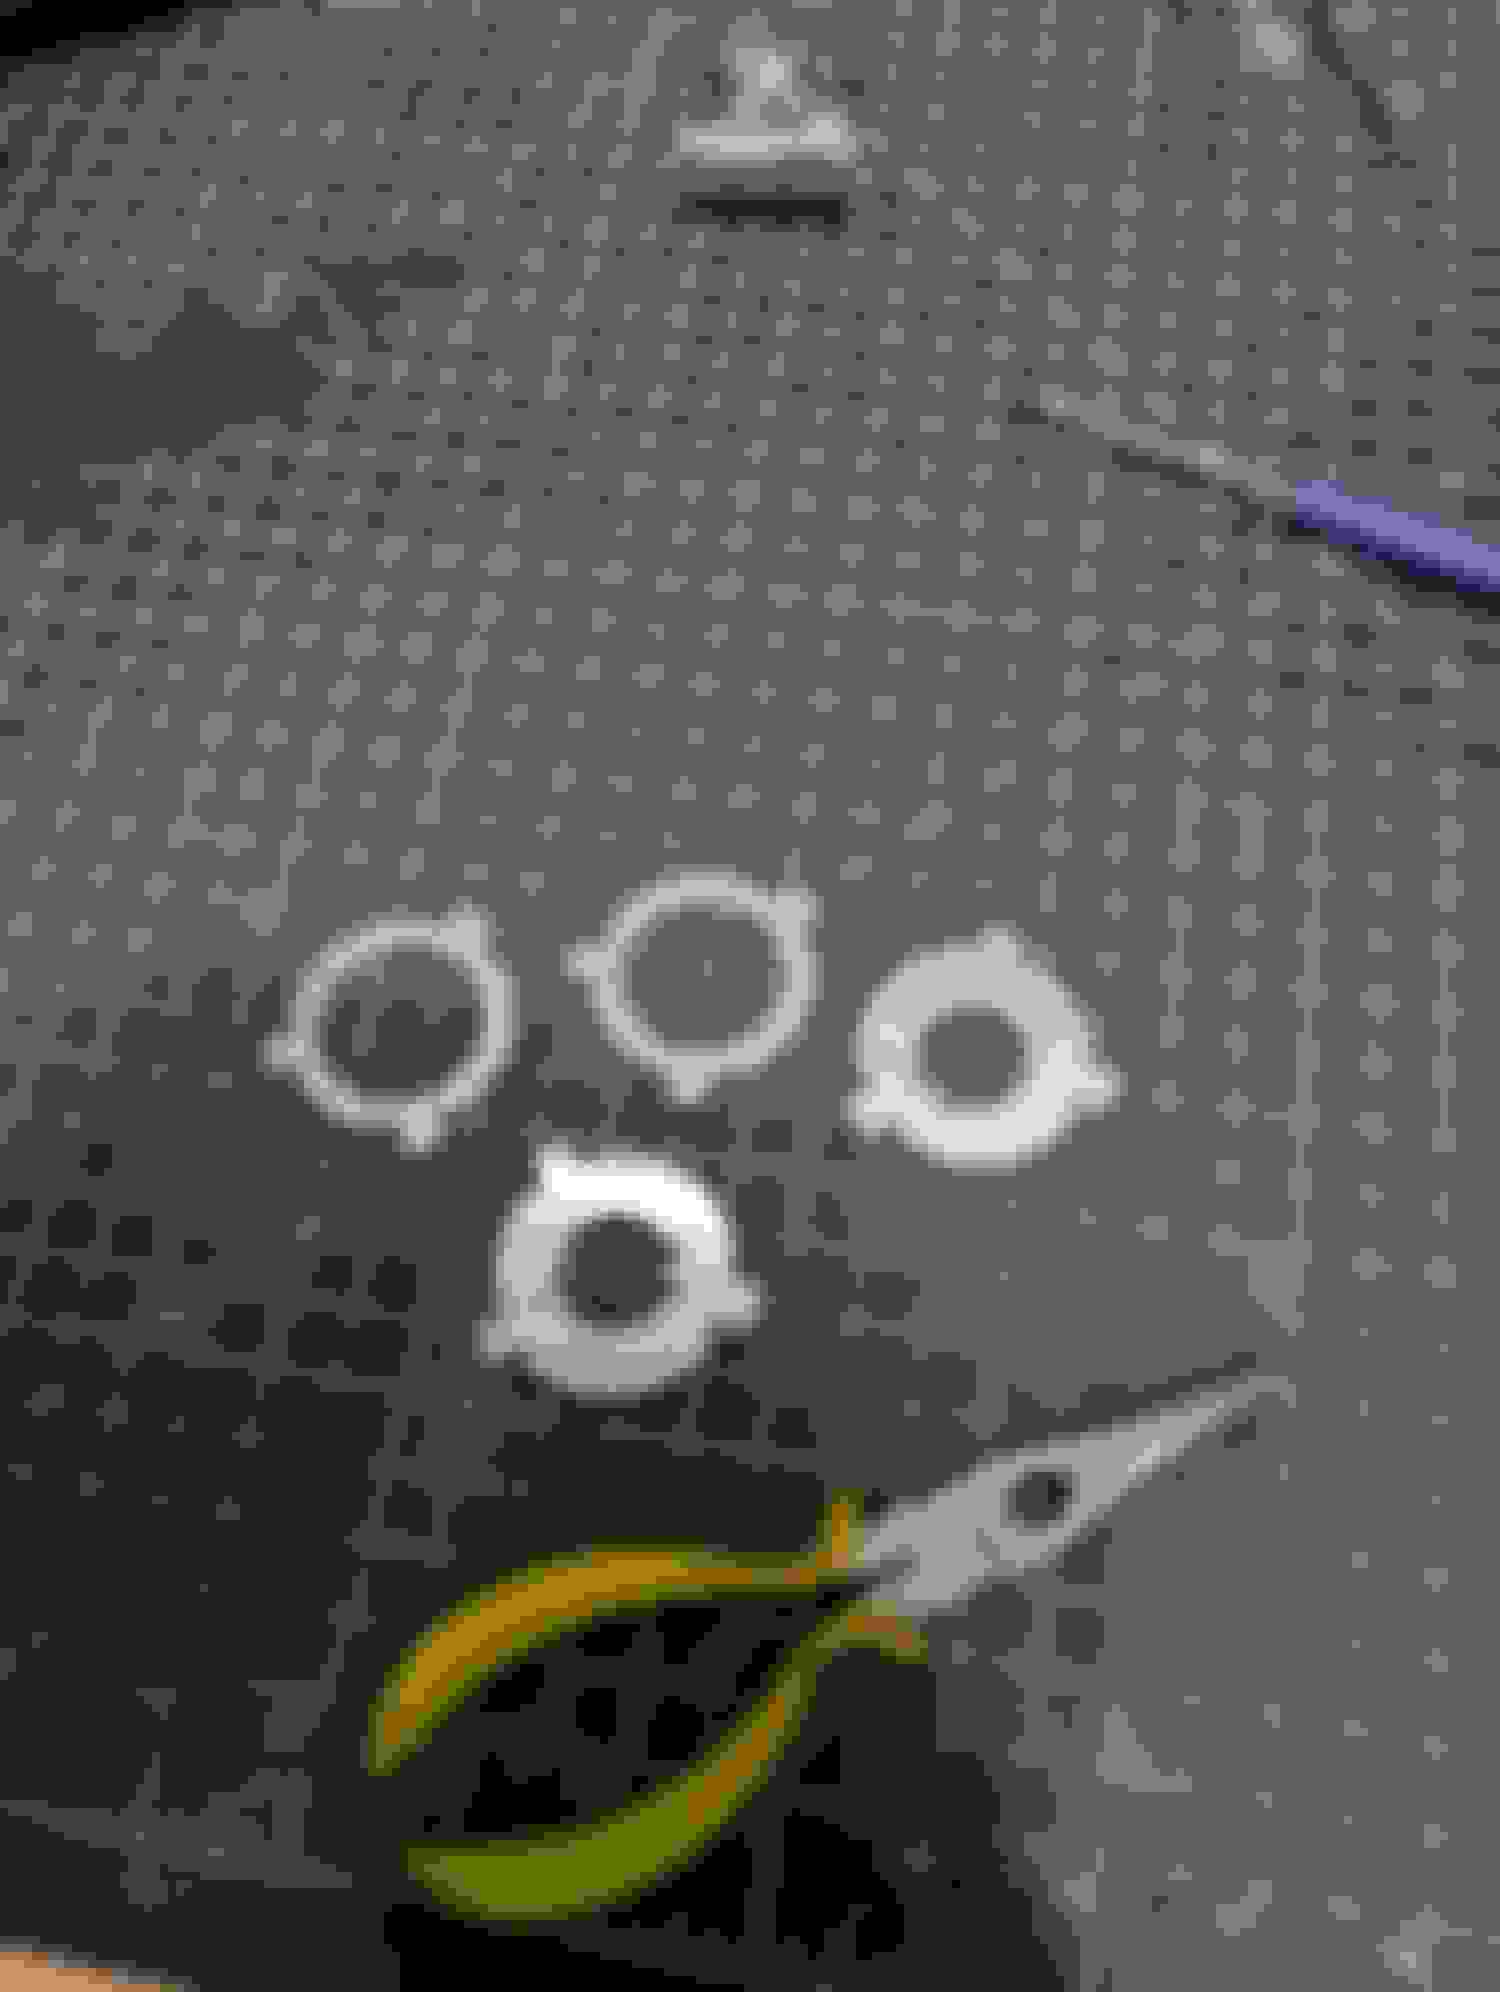
I used the thin washer included in the kit and had to machine a spacer plate. Since the projector now sits lower in the housing, the spacer plate is needed so the alignment plate makes full contact with the headlight housing, otherwise you cannot tighten the projector as you will run out of threads. I also created the alignment plates. It took probably 10 iterations of 3d printed parts before I was happy with the angle and fitment. I will attach CAD files for these plates, but please keep in mind that I currently cannot 100% verify the beam pattern is correct. I cut these on my Shapeoko CNC router, so the parts needed a relief for a 1/8" end mill. I also noticed that the right and left headlights seemed to need a slightly different angle for the alignment plates, so there will be a L and R file. The spacers are the same for both sides.
Next I did the wiring. I used the same diodes that OP had used. I'm not totally positive if TE open barrel splices are the best option here, but I wanted to avoid using solder to maintain flexibility in the harness. I also opted to leave the diode leads long as they seem to carry away a lot of the heat when the high beams are on. I then terminated the harness with a DTM 3 position connector with 18AWG solid pins. The max current rating for a DTM connector is 7.5A and these headlights seem to have a max draw of around 3.4A at 14.8V with the high beams on.
That's it! Again, thanks a lot for everyone that inspired me to take this on. It was a fun project and I can't wait to see how they perform.
With my DIY HID retrofit, I believe the projectors are aimed lower than what the headlights are designed for. This makes me have to go to the extreme ends of the headlight adjustment screws to get proper aim, and it causes the plastic covers to fit poorly.
I believe others have had a similar issue with this LED retrofit, so I was thinking about maybe making an adapter plate with an angle built into it to bring the projector aimed higher and be more in the range of where the headlight adjustment range is.
Having just done the install, do you think this would work to bring the aim up? I�m curious to see where your aim ends up after you have the car on the ground and need to aim the beams.
Thanks!! I'll have to get back to you on the aiming. I'm still working on some wiring that requires me to have the wheels off. Once I'm done I can roll the car back and actually take some reference measurements and compare it with my M2 or something. I've got a big whiteboard panel that would probably be great for headlight aiming since the car doesn't run yet.

 11-23-22, 12:57 PM


 Picture of the adjustment screw attempt:


 So I don't really mind buying another set for version 2.0