When you click on links to various merchants on this site and make a purchase, this can result in this site earning a commission. Affiliate programs and affiliations include, but are not limited to, the eBay Partner Network.
I have been disappointed with all the halogen bulbs I tried in this car for one reason or another. I know halogens can work well with a proper reflector/lens and a good electrical system. Driving at night in my old 1987 E28 was like daytime, but that had dedicated fuses and large gauge wires for each headlight bulb.
The FD doesn't have great wiring to the lights (probably a good voltage drop) and the clear RHD housings have the wrong beam pattern. Even if I got more voltage to the Philips racingvision bulbs I would be blinding people.
I already had the clear housings and a backup pair of OEM lights so I figured I should try a little project before going with the higher end / high $ HID setup that is out there. At this point let me just say this is not a comparison to that product. I would bet that a high end HID setup is all around better.
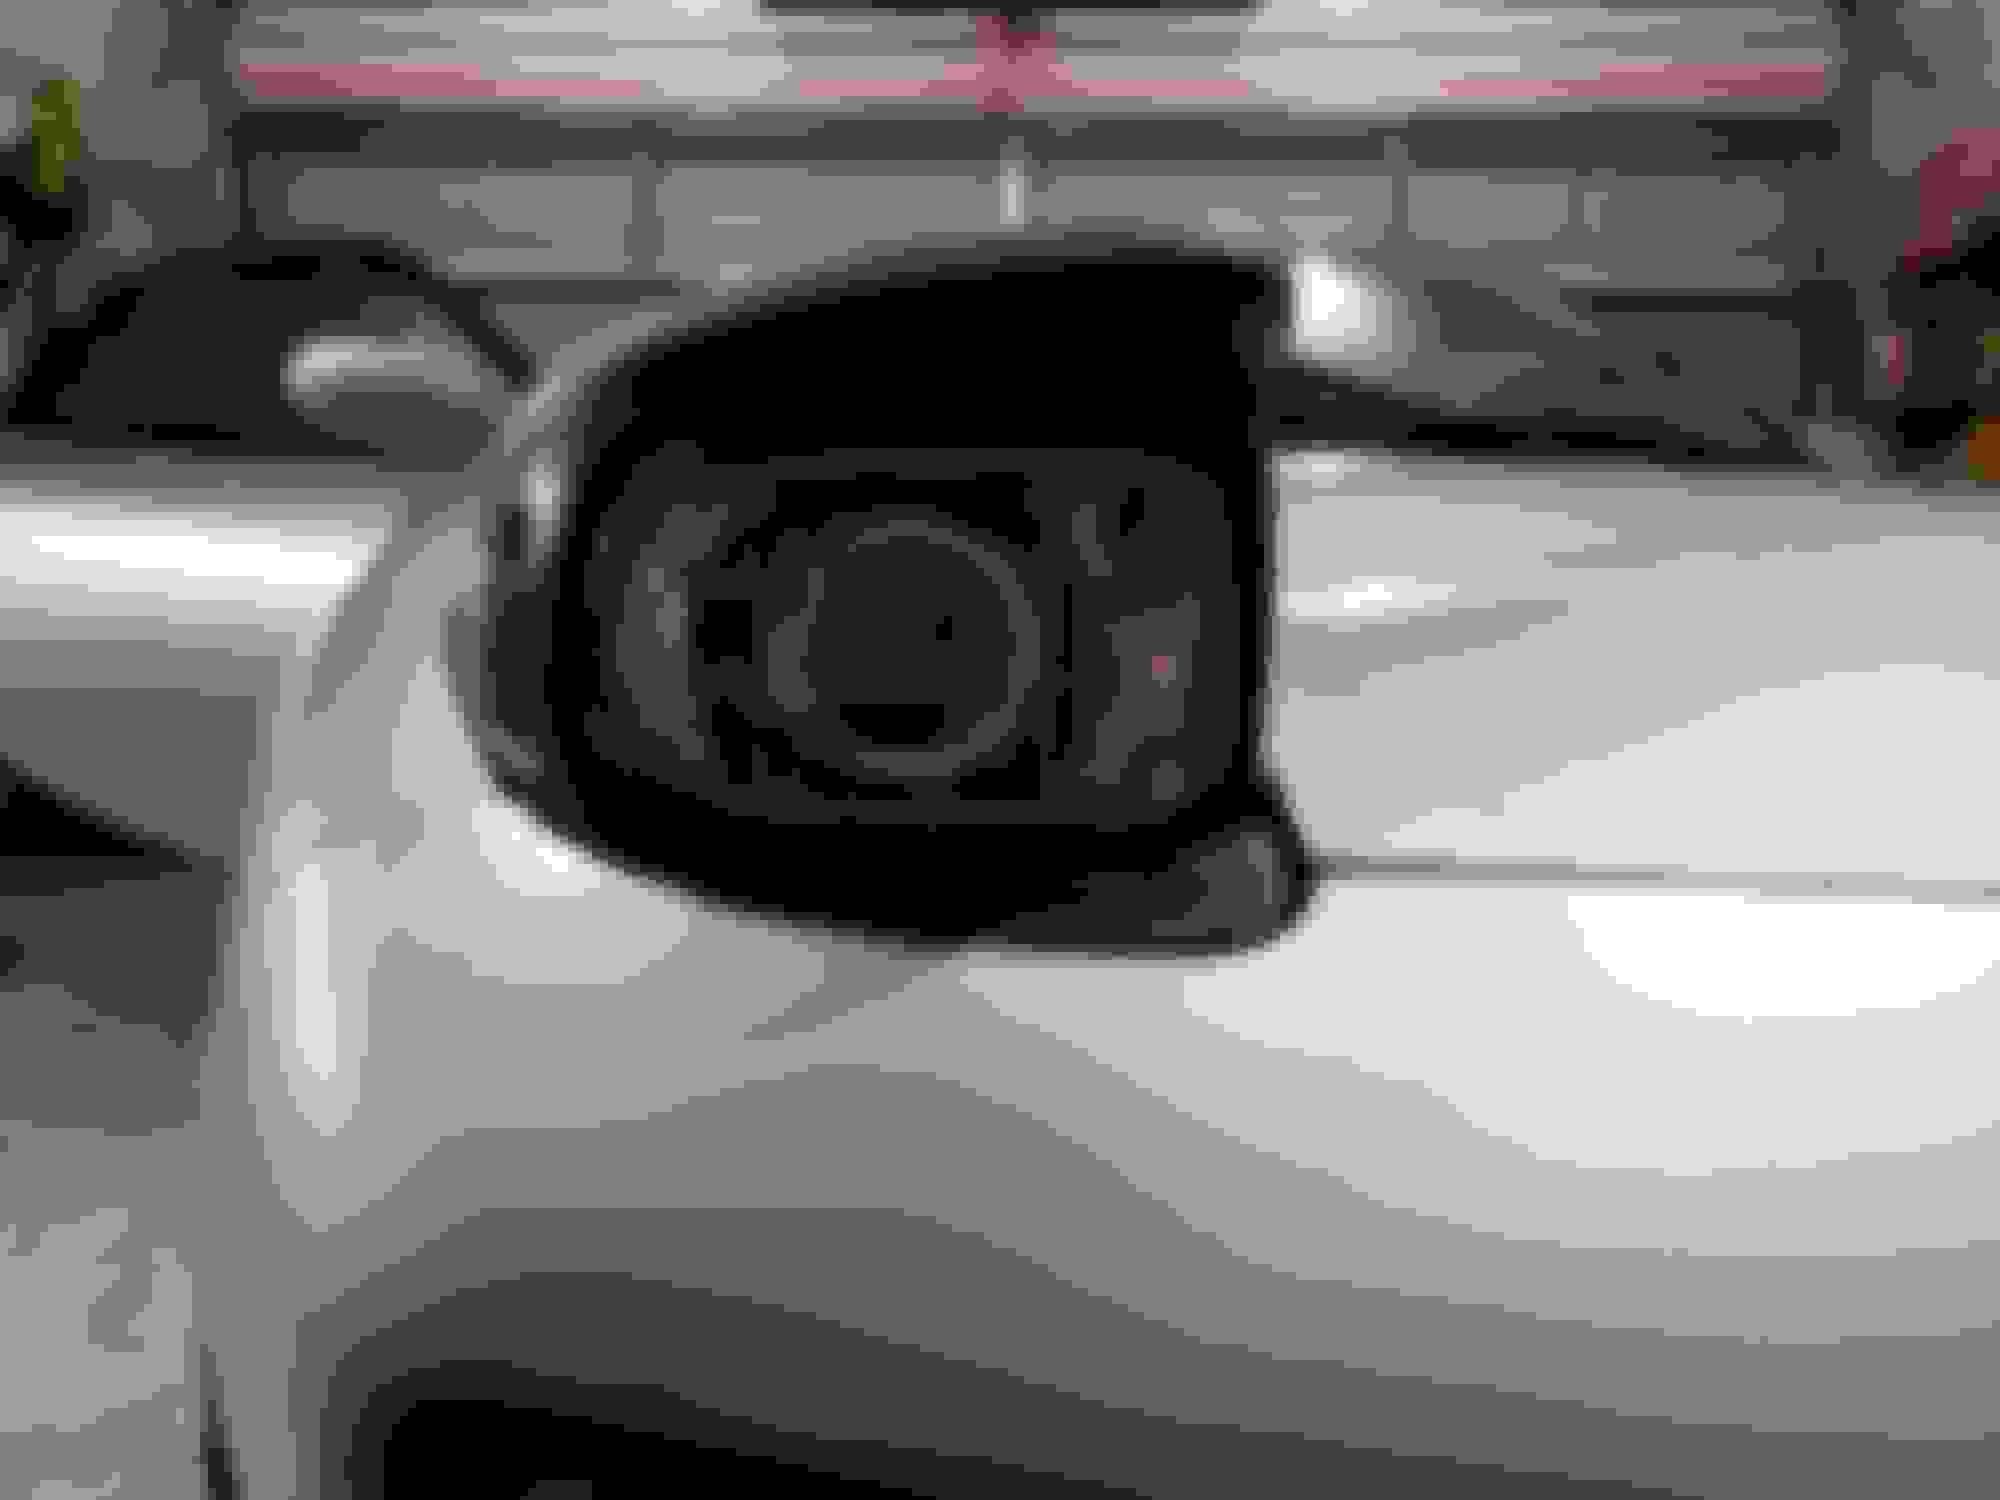
The projectors are SANVI Bi-LED projectors from Ali-Express. I found them on eBay too. At 115mm from lens tip to mounting stem they are the only projector kit I found that will fit in the SONAR housings without mods. Even so I had to ditch the silicone mounting washer and just hard mount them.
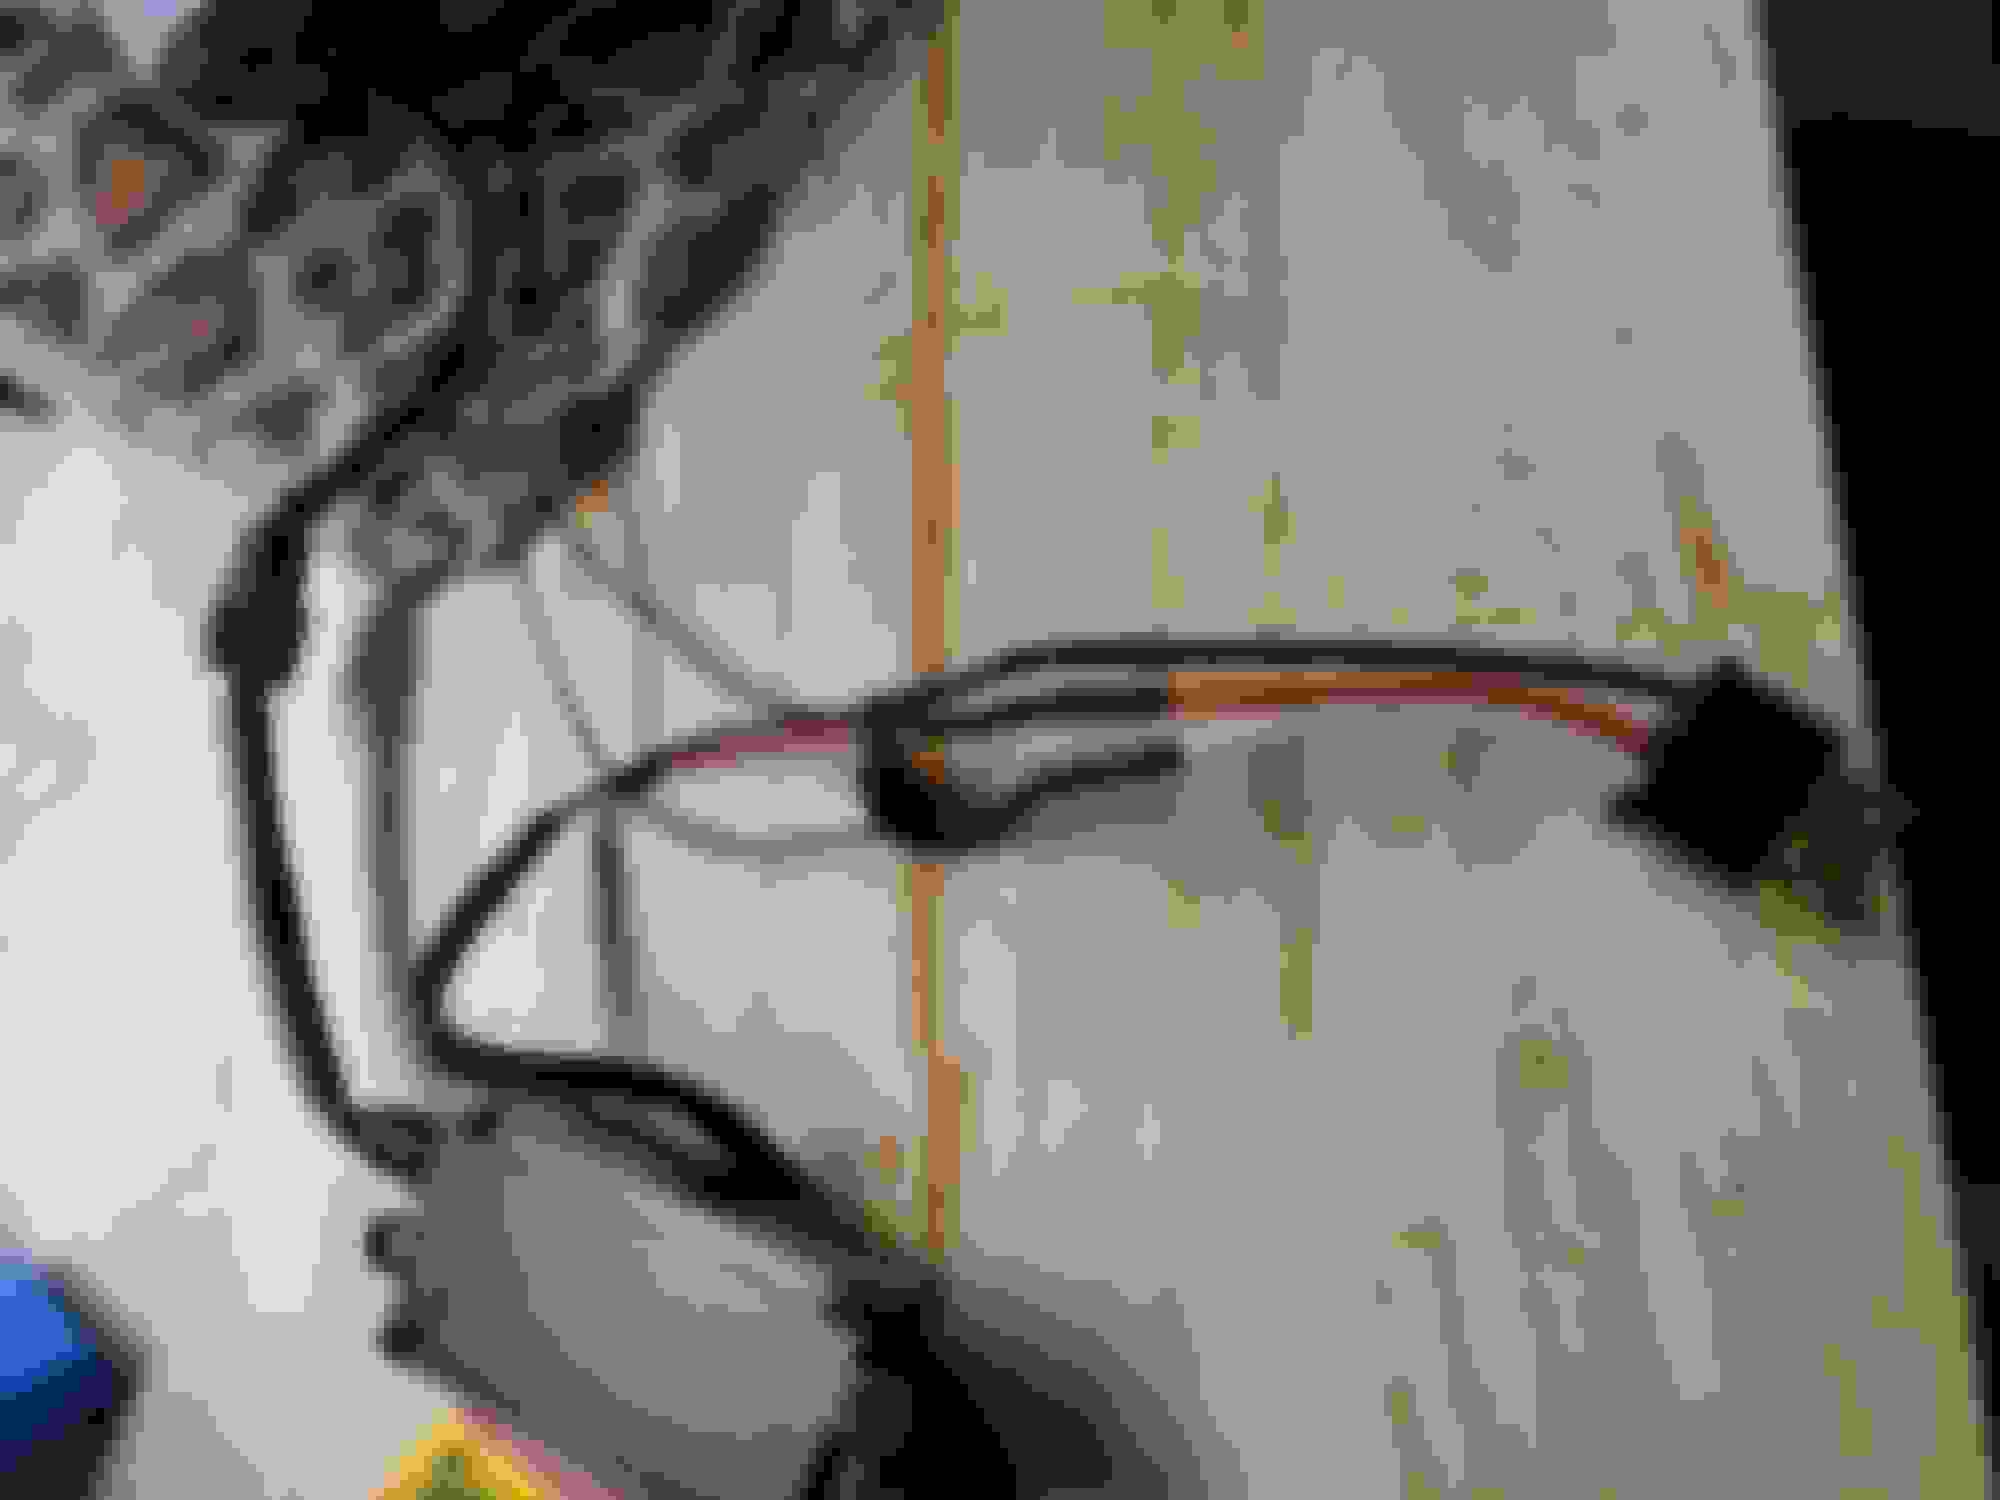
As far as quality goes I am honestly impressed. Longevity is unknown, but the cooling fans do work. There is a little control module that powers the LED and fan. The high beam switch is just a 12V solenoid that drops the cutoff plate. Wiring the high beam solenoid up was the trickiest part, but it can be done using a 15A rectifier diode and a standard H4 pigtail. The diode doesn't allow current to flow to the solenoid during low beam operation. The whole thing draws half the current of a 60W halogen bulb and fits inside the headlight bucket.
Aiming required some minor tweaks. The black headlight covers needed some extra plastic trimmed on the back and I had to space out the lower adjuster nut on one side to raise the cutoff.
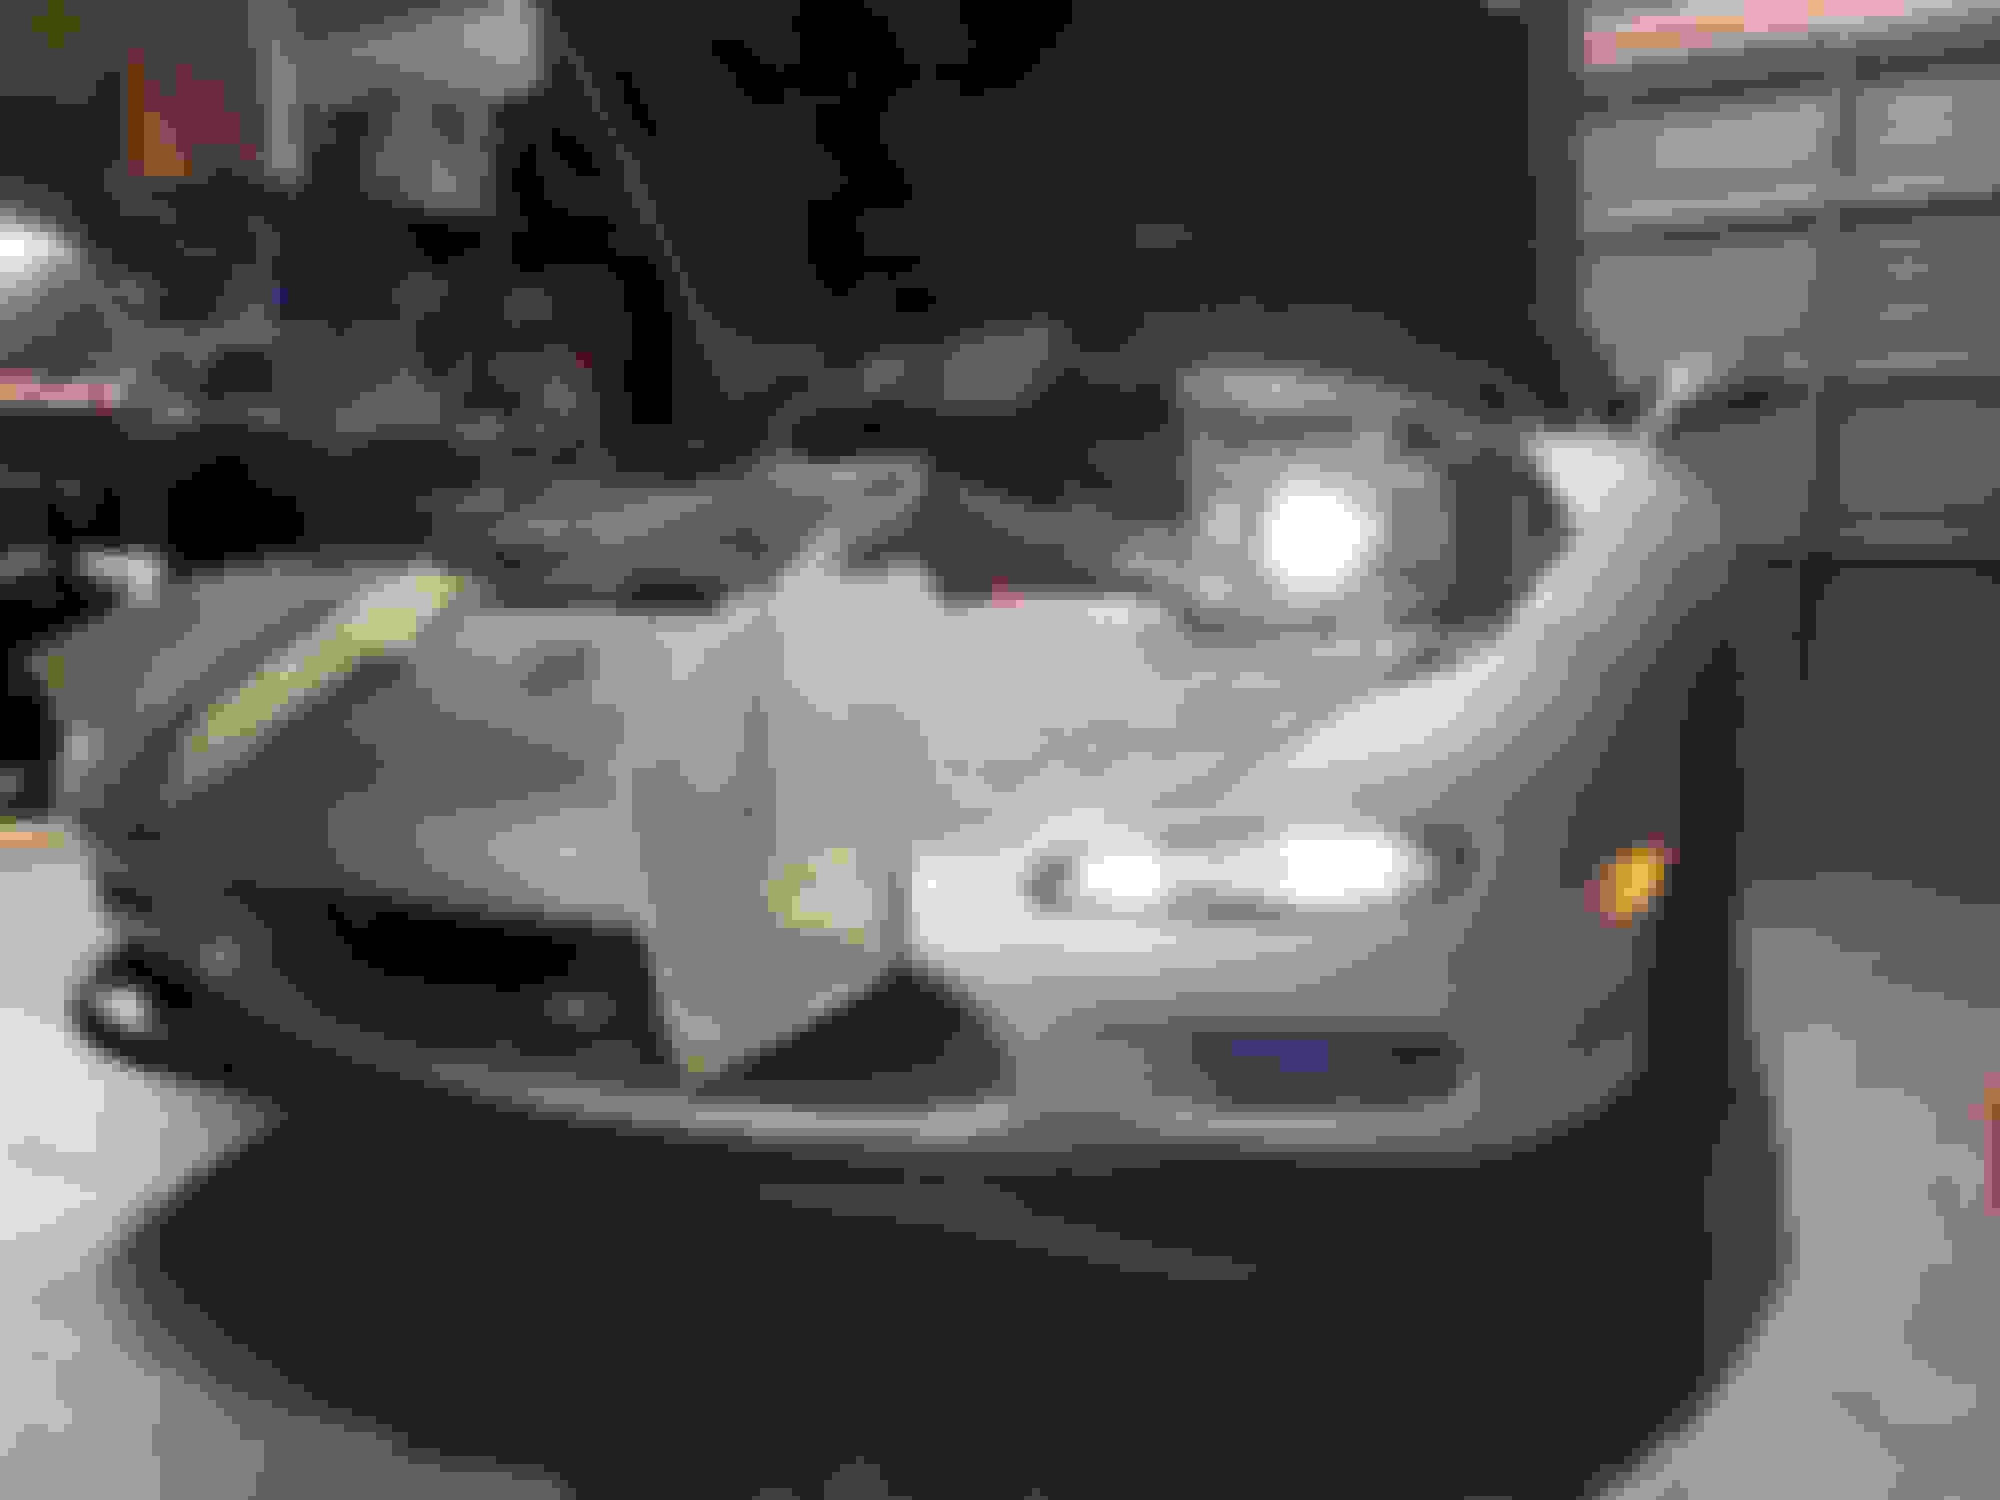
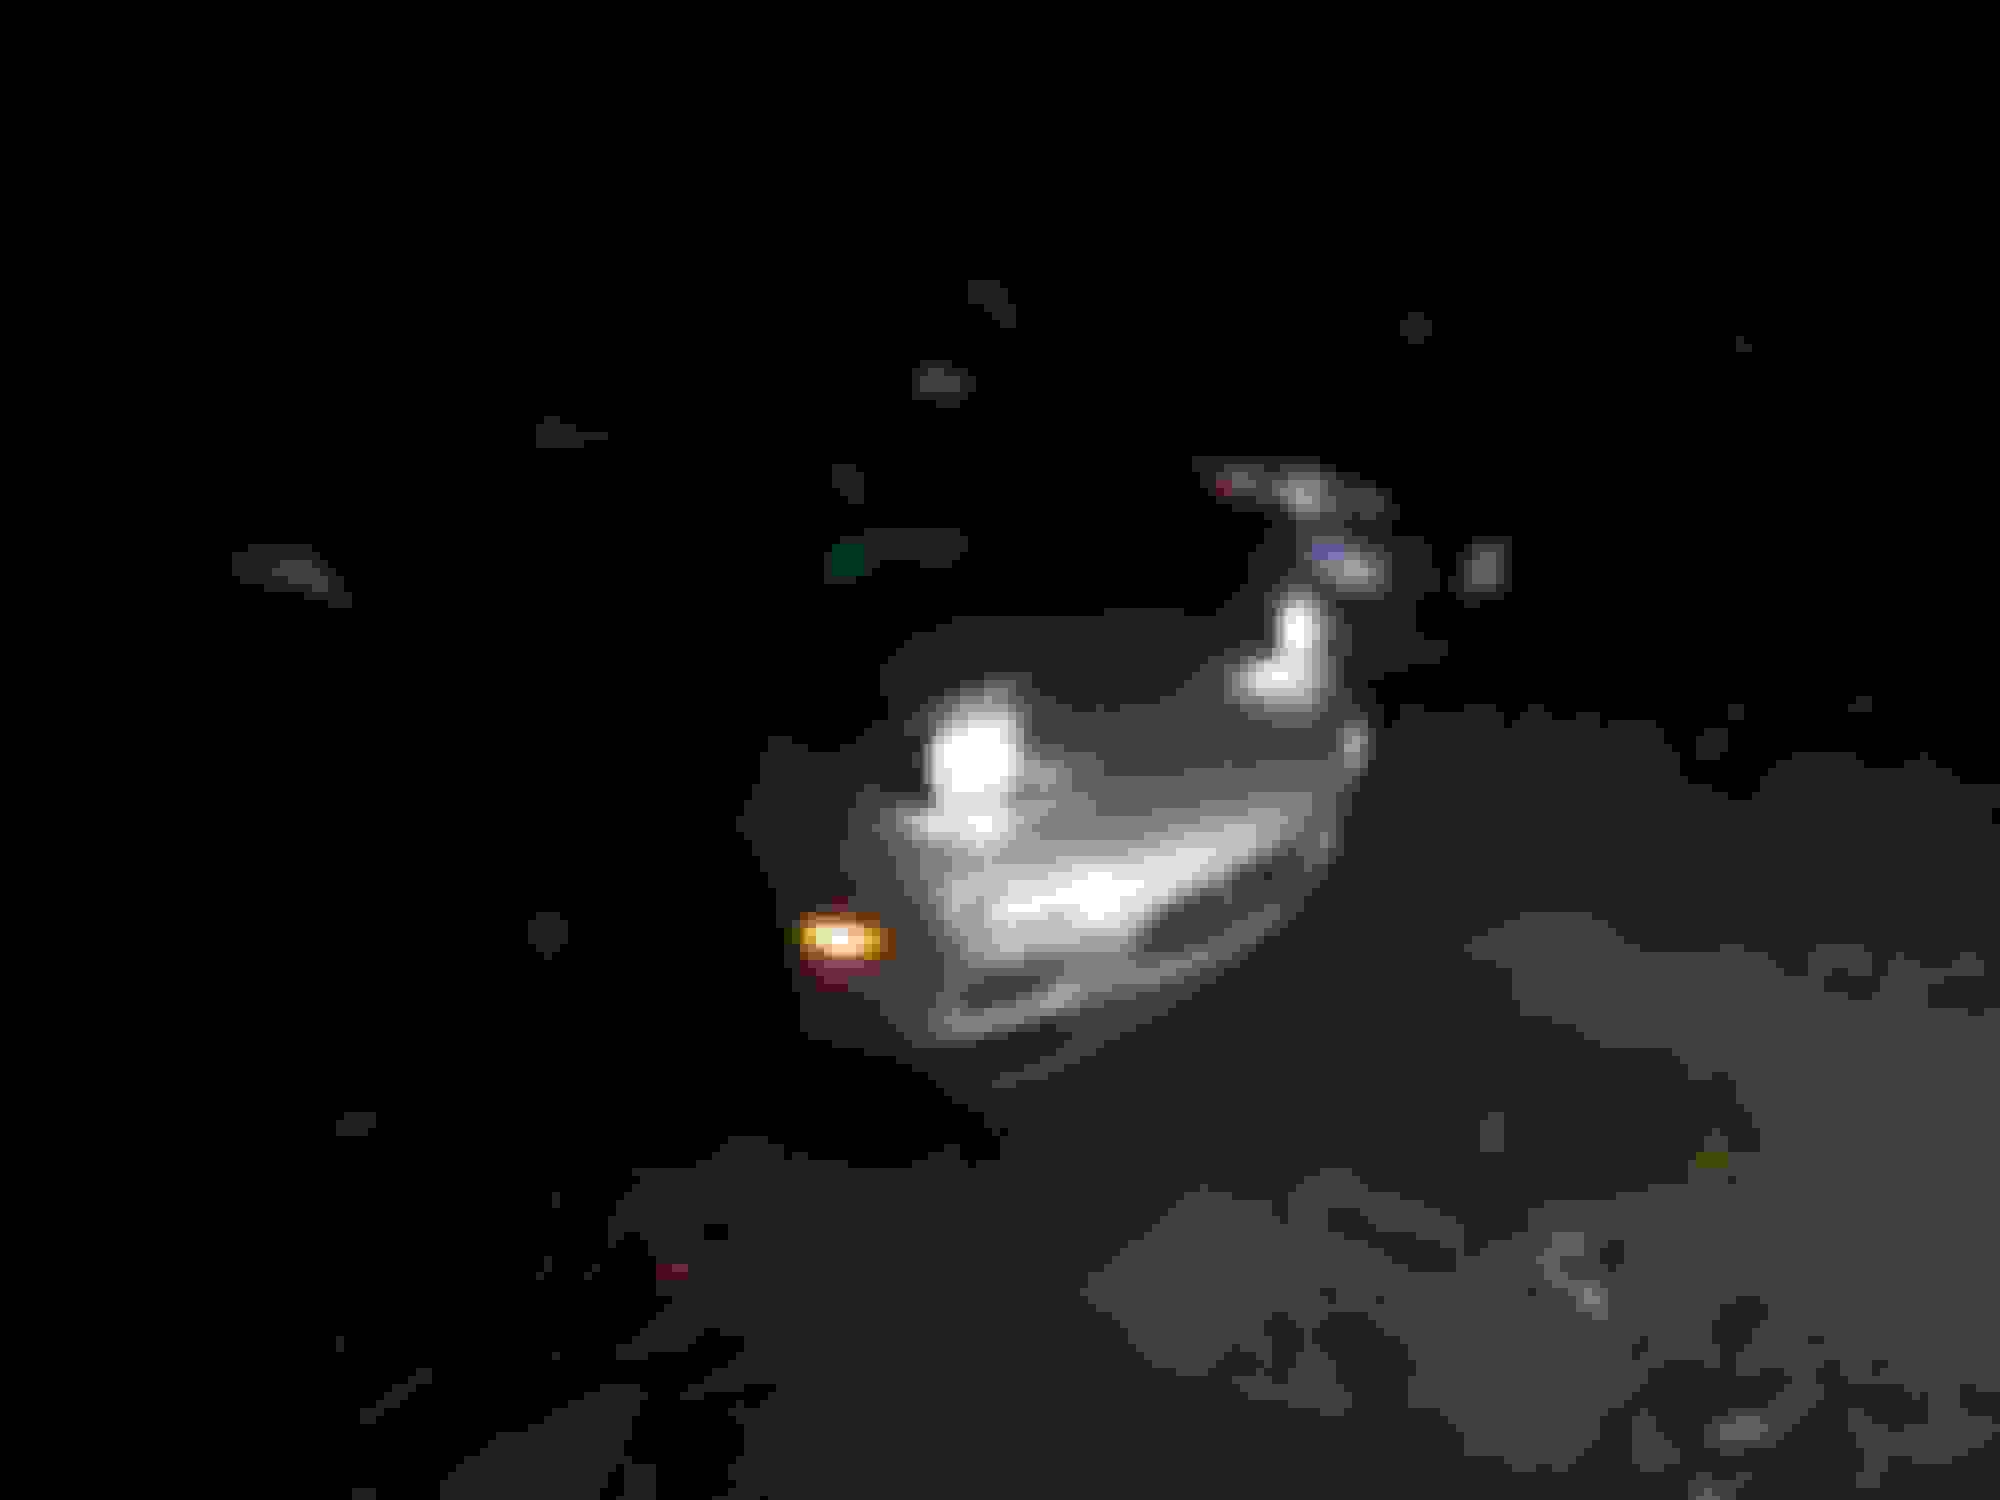
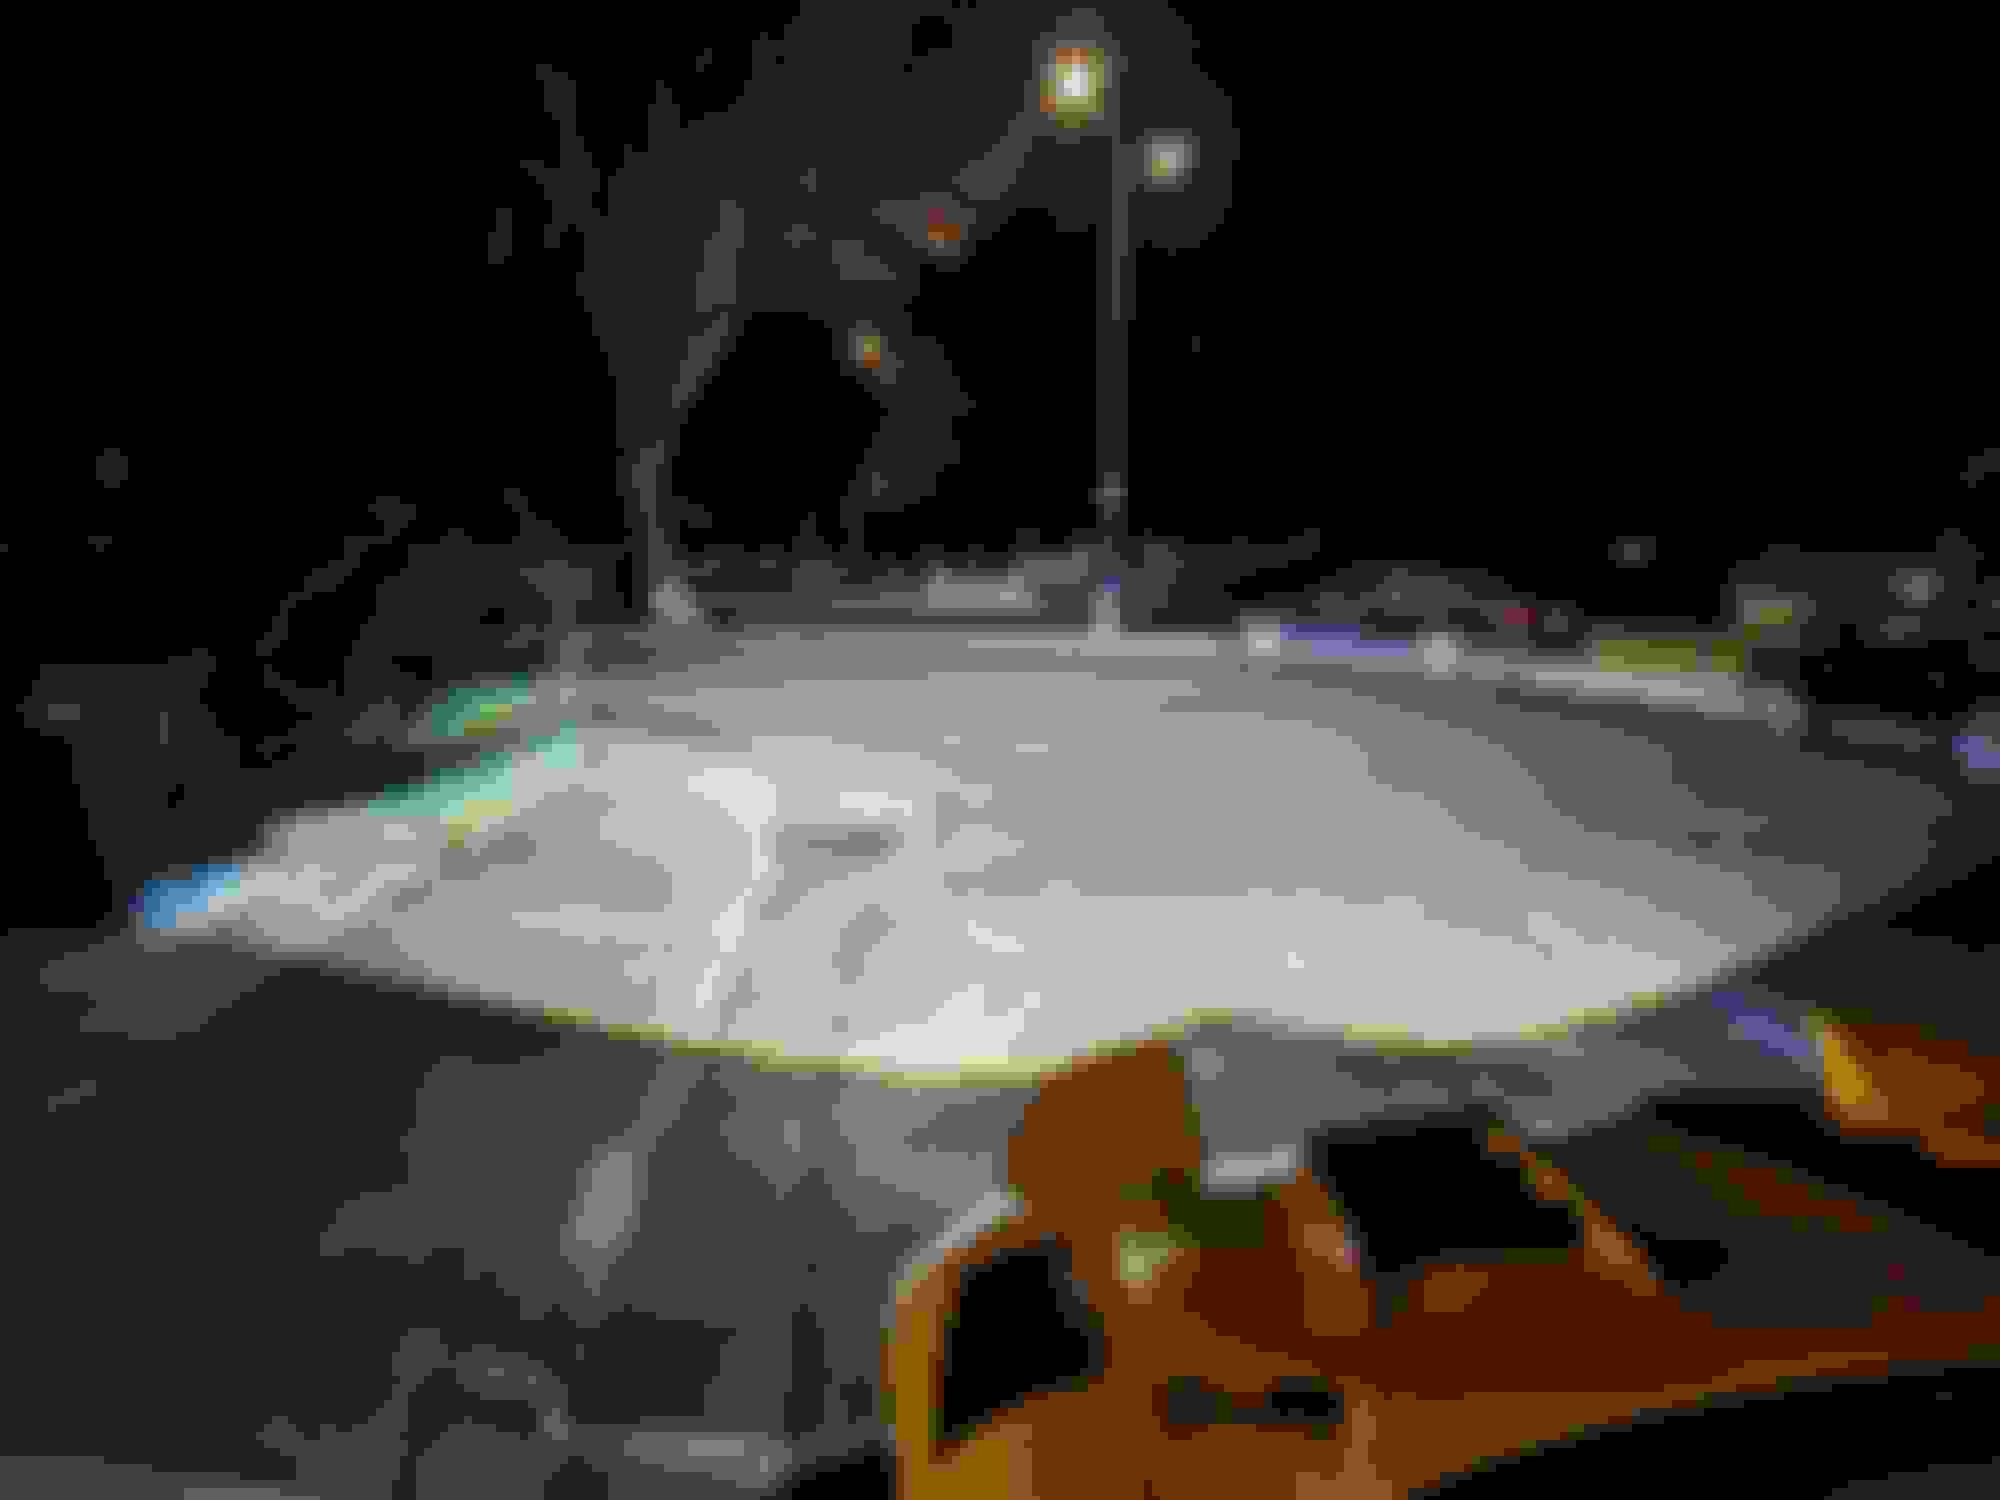
The light output is really insane and borders on too intense. There is also a cool prismatic rainbow effect at the cutoff. The cutoff is sharp, but functional - no high beams from others and could see the light stayed out of their eyes. A good bit of light is cast out to the sides so ramps and turns feel safer as long as I don't focus on the ultra bright area before the cutoff too much. With high beams on / shutter down it is like driving at daytime and I can see the tops of the trees.
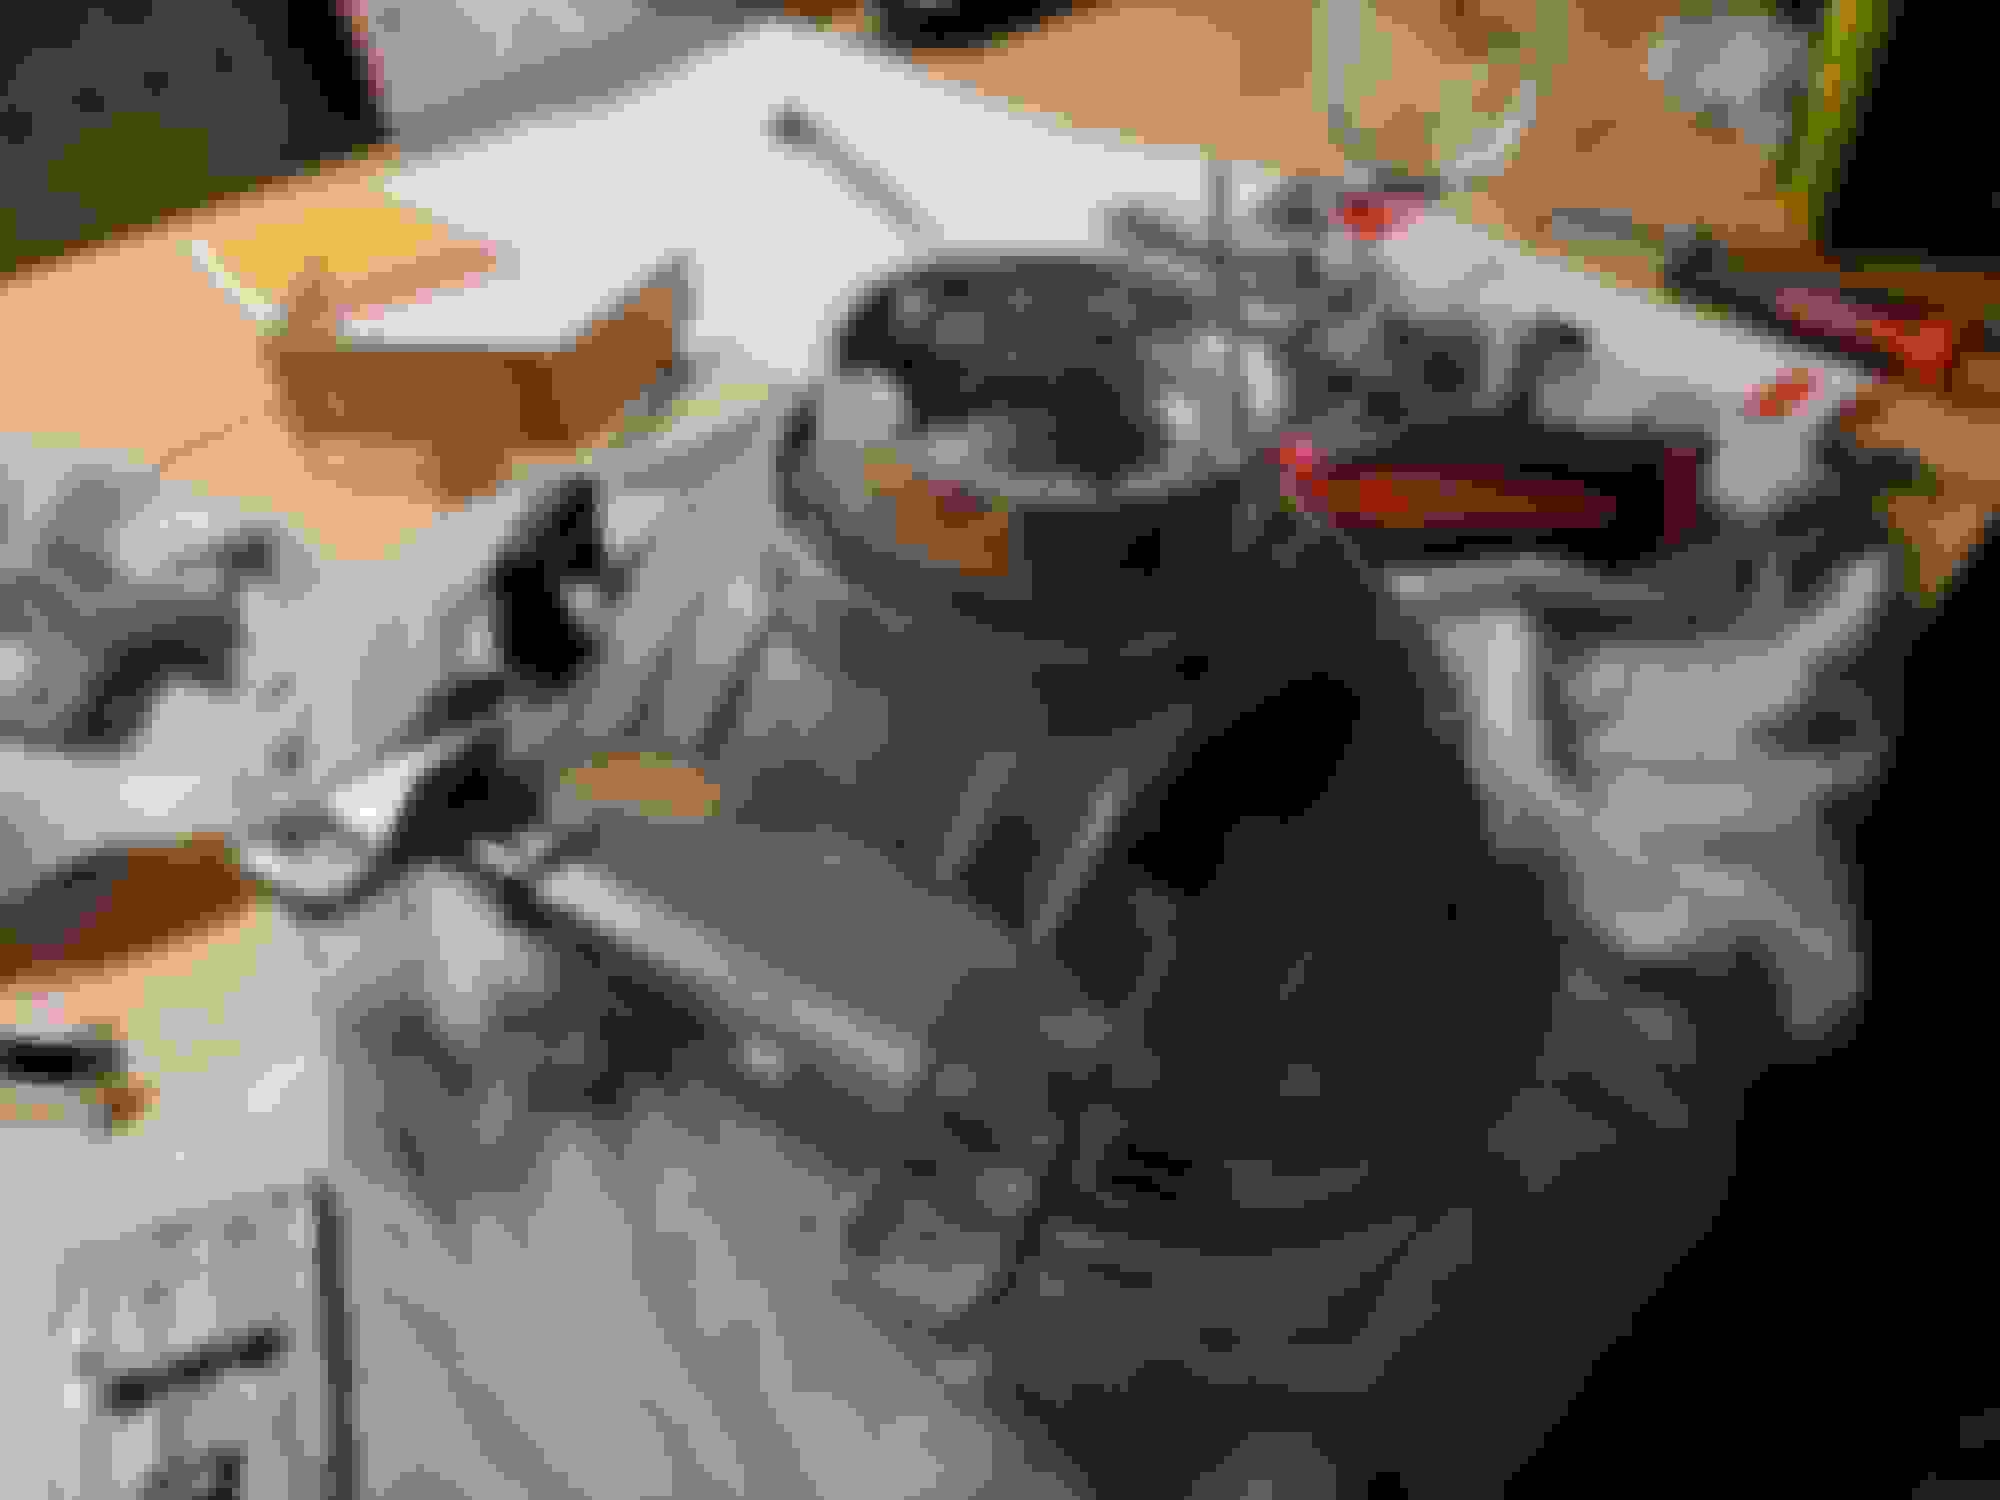
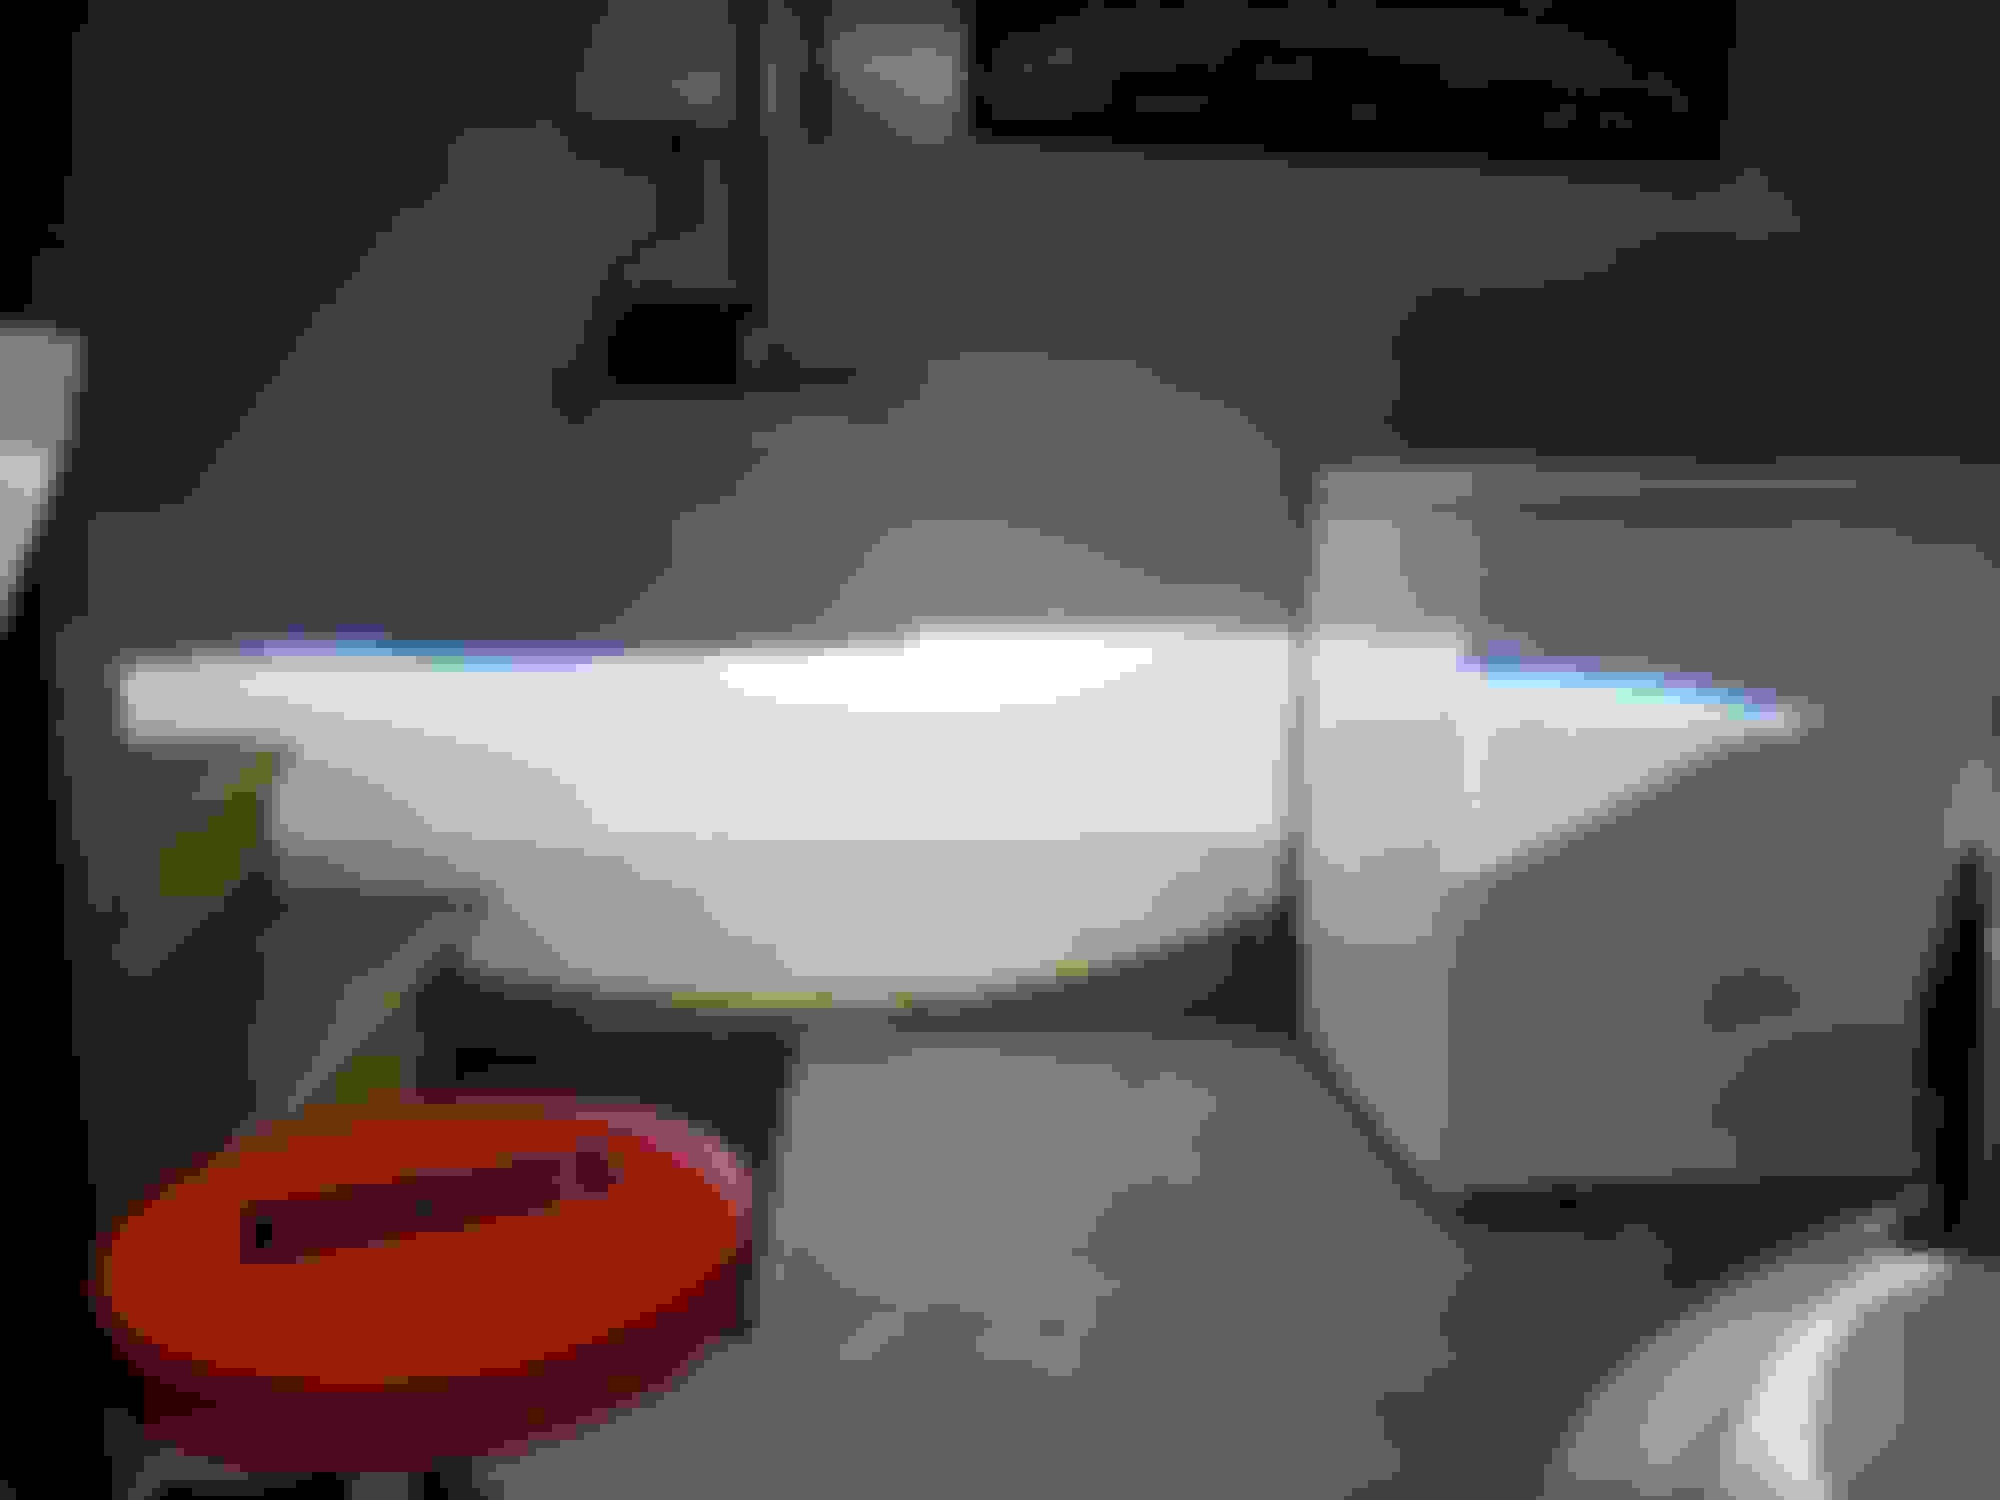
Measuring SONAR housing Testing LED and wiring Wiring Single low beam pattern Finished product
First night drive (still needed some aiming):VIDEO
Thanks for sharing - this is one of those things that are on my to do list. I converted a set of clear housings on my FC into HID projectors - they came out really nice, but finding space for the HID ballasts and the ignitor box pigtails was a challenge with the pop-up lights. Bi-LEDs projectors would simplify that project immensely. The pop-up mechanism on the FD is also much simpler to deal with, unlike the articulated FC pop-ups that keep the lights pointing at the same angle up or down so the FTP lenses work.
I was reading up on these Morimoto Bi-LED projectors at The Retrofit Source - https://www.theretrofitsource.com/bi...LED?quantity=1 They're not cheap, but they make good stuff - I've been happy with their HID projector kit that I used for my FC retrofit project. Interested to hear how your Ali-Express sourced Bi-LED projectors hold up over time
Where did you get your clear housings from? Searching around for those on Google recently, and I'm not finding many vendors that make them for the FD.
I originally considered using the Morimoto MLED, but it would not fit without modifications. I measured the headlight housing depth at something like 112-115mm. The product dimensions on ebay show it as 110mm from lens tip to mount base and it just fits in there without the silicone washer.
There are a ton of positive reviews for these on ali-express. I'll post back here if they fail, but there isn't so much to go wrong. You've got the COB LED chip, fan, voltage transformer/controller, and a solenoid. It's all pretty basic stuff that China already does a decent job of making at this point. I would guess if they fail it will be due to heat in the warmer months.
Attached spreadsheet shows how I ended up with these projectors. I wasn't above spending some money, but the determining factor was if I had to hack up my housings or not. I figured if I had to do all that the whole deal wouldn't be worth it and I would just go with the SBG kit or not drive at night.
The "JDM" headlight housings were an ebay item as well. I bought them last year and put Philips racingvision bulbs in them, which were decent.
So you got the Sonar housings, then got these bulbs. Did the bulbs basically go in like regular bulbs with some minor trimming? Or did you have to cut open the Sonar housings and glue in projectors?
I didn't think the Sonar housings were projector housings?
Regardless, great output!
BTW, I have one of the very first Sakebomb kits on my car. I've had ZERO problems with it and the light is fantastic. DIY is also a great way to go, but there's something to be said for bolt on and go too.
They aren't just bulbs. They are a self contained unit with an LED attached to a bracket/heatsink, reflector, projector lens, and solenoid controlled cutoff. They come with nuts and H4 adapter washers that allows you to mount them using only the original hole for the bulb.
You have to open the housings to mount. I used a heat gun to take the lenses off the sonar housings.
They aren't just bulbs. They are a self contained unit with an LED attached to a bracket/heatsink, reflector, projector lens, and solenoid controlled cutoff. They come with nuts and H4 adapter washers that allows you to mount them using only the original hole for the bulb.
^That IS a game changer for a projector assembly! Now I get why you selected these; normally there's a significant amount of cutting & fabrication needed on the housings to get an HID or LED projector assembly to fit inside of one - usually the projector is too long, so you have to cut a larger diameter hole at the bottom, and fab up a new backside for the projector assembly to mount to (usually PCV plumbing caps or aluminum pipe/cap), then hope your now bulkier housings still fit in the pop-up light buckets without interfering with anything. I'll have to check the specs on those Morimoto ones I linked and see how they compare size-wise to yours
Originally Posted by alexdimen
You have to open the housings to mount. I used a heat gun to take the lenses off the sonar housings.
That's the easy part - I prefer just popping them in the oven. Pre-heat oven to 200*F, and pop in the housings and check them in about 5 minutes to see if the lenses separate. If not, give them a little more time to cook & try again.
no cutting at all? do you have pics of the rear of the housings and how it fits in the car?
No cutting at all. The back of the housing did end up coming close to the headlight bucket, but that's only because I had to modify the adjusting screws so I could adjust the headlight alignment further up than the normal range.
BUT I forgot to mention a crucial step to aiming:
I snipped off the stop washer on the top stationary headlight mount so it could thread in further.
Then I shimmed out the lower adjusting screw with an M6 nut stacked on top of the nylon nut so it could come out further. I was running out of threads on the stock nylon nut.
Before all that the cutoff was a bit too low. All that puts the back of the sonar housing very close to the bucket. In hindsight I could have chamfered the edge of the sonar housing that was getting close to the bucket to get a bit more clearance but it worked out modifying the screws.
Originally Posted by Pete_89T2
^That IS a game changer for a projector assembly! Now I get why you selected these; normally there's a significant amount of cutting & fabrication needed on the housings to get an HID or LED projector assembly to fit inside of one - usually the projector is too long, so you have to cut a larger diameter hole at the bottom, and fab up a new backside for the projector assembly to mount to (usually PCV plumbing caps or aluminum pipe/cap), then hope your now bulkier housings still fit in the pop-up light buckets without interfering with anything. I'll have to check the specs on those Morimoto ones I linked and see how they compare size-wise to yours
That's the easy part - I prefer just popping them in the oven. Pre-heat oven to 200*F, and pop in the housings and check them in about 5 minutes to see if the lenses separate. If not, give them a little more time to cook & try again.
The Morimoto LED units are all too long last I checked. I figured anything with amounting depth longer than 110mm won't just fit.
Originally Posted by Project88Turbo
Man that looks great. Do you have to order quantity of 1 or 2 to actually get a pair?
2nd question: Where did you get the diode for the high beam?
Vince
They come as a pair. The diode is a 15A rectifier diode. They sell them for DIY solar. Can be had on fleabay as well.
thanks for this! just finished my light last week and it is a bit low just like you mentioned. when you mentioned that you stacked a nylon m6 for the bottom screw? you just put a nut at the very bottom part of the adjustment screw? so basicly the adjustment screw is sitting on the shim only? kinda confused... i need to adjust mine higher as well.
The top stationary post needs the captured washer snipped off so it can thread in the nylon nut a little further. This effectively makes it adjustable and helps bring the housing angle up a bit. But not too much or you will start hitting the headlight bucket with the back of the light housing.
When you are backing out the bottom adjusting screw to bring the beam up the screw runs out of threads in the nylon nut. But the screw is still held in place by the unthreaded portion of the nylon nut even without being threaded in. I just put a regular M6 nut on to of the nylon nut and threaded the adjusting screw through that and the nylon nut. The steel M6 nut gives you threads to push against and unthreaded portion of the nylon nut still retains the adjusting screw.
Clear?
perfect! was able to aim mine this way! thank you so much for this. now if i can just get my lense to stop shaking... during idle...
i ended up having to minor trim the shroud cover for the bottom bolt a lil because of how much adjustment i had to make. my passenger side also need more horizontal adjustment. but man.. best $100 i spent in awhile... took me 3 hour to finish
Are those low or high beams? If the former, I think they�re too high.
Many moons ago I did the FD Newbie HID retro. I had no complaints to light output. I�d like to see a proper comparison (manual exposure settings, etc) of the two in the same environment.
I do have LEDs on my current vehicle, and their features are great. But as simple light output, in particular those that have already moved on from halogen, a comparo is required.
Are those low or high beams? If the former, I think they’re too high.
Many moons ago I did the FD Newbie HID retro. I had no complaints to light output. I’d like to see a proper comparison (manual exposure settings, etc) of the two in the same environment.
I do have LEDs on my current vehicle, and their features are great. But as simple light output, in particular those that have already moved on from halogen, a comparo is required.
these were low beam, i did adjust it lower afterward. i'm not trying to compare to an $800 light nor am i trying to justify that $100 is better than 800. i paid $100 for mine and i'm happy with the result and how much i paid that's all.
I�m curious about that hood in the lighting pic. Those vents looks raised slightly more than the typical RE hood of similar style. What hood is that it on the car?
light output looks great, more visibility at night and looks like a modern car.
these were low beam, i did adjust it lower afterward. i'm not trying to compare to an $800 light nor am i trying to justify that $100 is better than 800. i paid $100 for mine and i'm happy with the result and how much i paid that's all.
I'd meant a comparison between LED and HID. LEDs in the aftermarket has been notoriously crap. I wasn't taking, nor want to take cost into account, only the light output.
I�m curious about that hood in the lighting pic. Those vents looks raised slightly more than the typical RE hood of similar style. What hood is that it on the car?
light output looks great, more visibility at night and looks like a modern car.
its the re hood with the grouny flap , it looks very aggressive from this point due to the way i had the vents painted.
Originally Posted by Railgun
I'd meant a comparison between LED and HID. LEDs in the aftermarket has been notoriously crap. I wasn't taking, nor want to take cost into account, only the light output.
my apologies , ill try to get some comparison picture of friends hid vs the led in the projector housing soon.
Forgive my ignorance. I'm a novice when it comes to wiring. Is the diode necessary? Can you connect the 12v wire on the high beam solenoid to the 12v on the H4 harness only without crossing over to the 12v low beam wire?
I think you would need to wire as stated. From what I can figure out, there's 12v input to turn on the light, and a 12v input to pull back the shutter to make the bulb hi-beam. Basically the light is full high-beam light all the time, the shutter is just blocking it. The stock wiring has 2 12v inputs to the bulbs, the low beam gets 12v when the headlights are on, then if you go high beam, the 12v for low beam is cut off and the high beam gets 12v.
If you didn't wire the diodes with these LED's you would get the shutter pulling back but the light would turn off since with the stock headlights the low beam doesn't get 12v when the high beam does. Wiring this diode keeps 12v going to the bulb and then the shutter gets 12v to go high beam.

 12-09-20, 12:20 PM