93 touring going under the knife
#28
Nice find, how much did you pay if you don't mind me asking? I picked up a MB touring edition myself and am undergoing a similar process but I'm repainting the car since the motor is fine. I'm around woodlake area.
#29
Originally Posted by GSXRATED
Nice find, how much did you pay if you don't mind me asking? I picked up a MB touring edition myself and am undergoing a similar process but I'm repainting the car since the motor is fine. I'm around woodlake area.

Sounds like our cars are polar opposites at the moment.
#30
This ******* sucks...
What do you want first? The bad news or the good news? ...you probably don't care since it isn't your money 
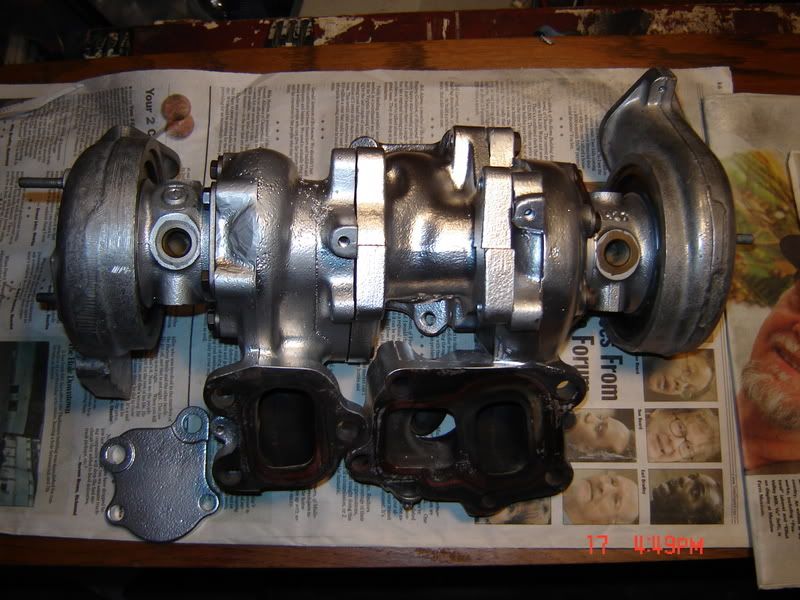
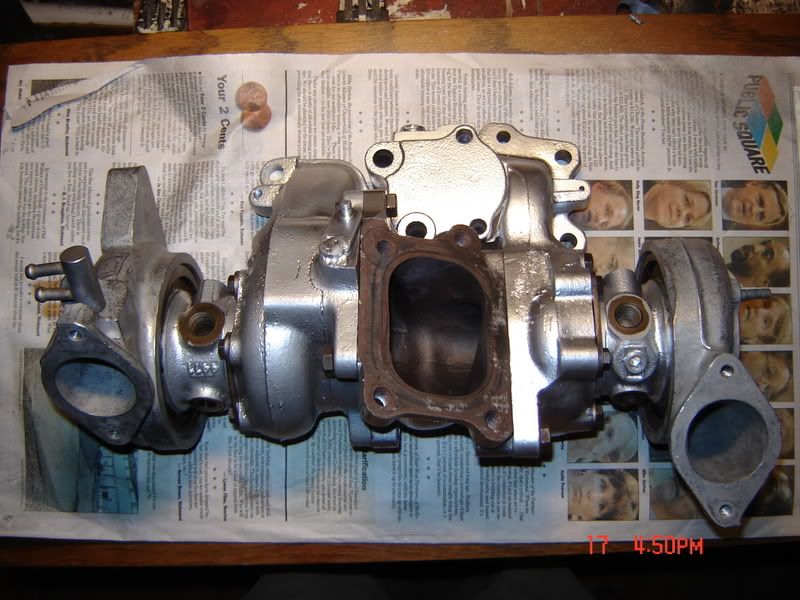
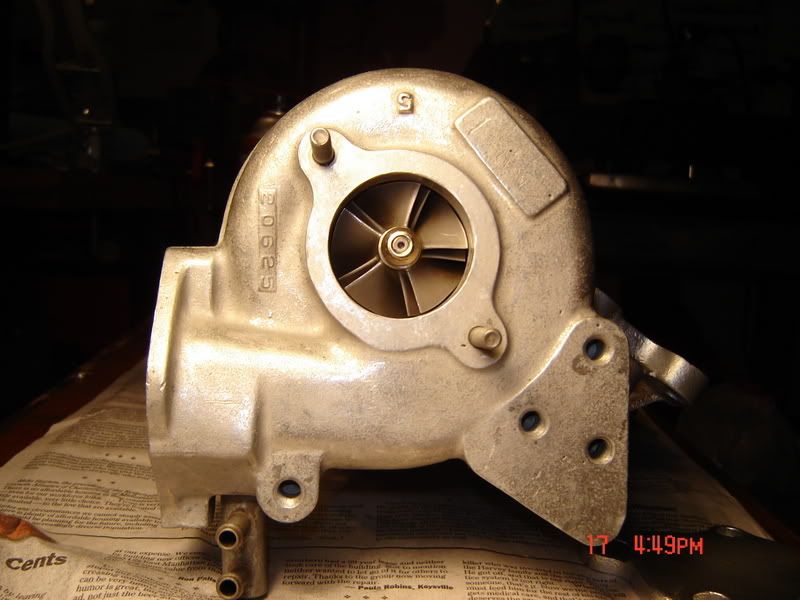
Bad news! I've been waiting since November for these housings to get resurfaced and this is what I received in the mail today. Where the **** is quality control?!? The cores I sent in were ******* PRISTINE and I get these back...


Yeah, someone disassembled the engine with a goddamned jackhammer!!! The one pictured look much worse in person and this is not the only damage. I calmly called them up and explained my concerns.
The company and I are working out a solution and they are trying to find my original cores for resurfacing. I have to say, the work is outstanding, but they should be a little more picky in what they allow as a good core!
Good news! I started porting. I'm not enlarging the ports, just smoothing the surfaces, making transitions between cast areas smooth, and putting radiuses on sharp angles. Progress:
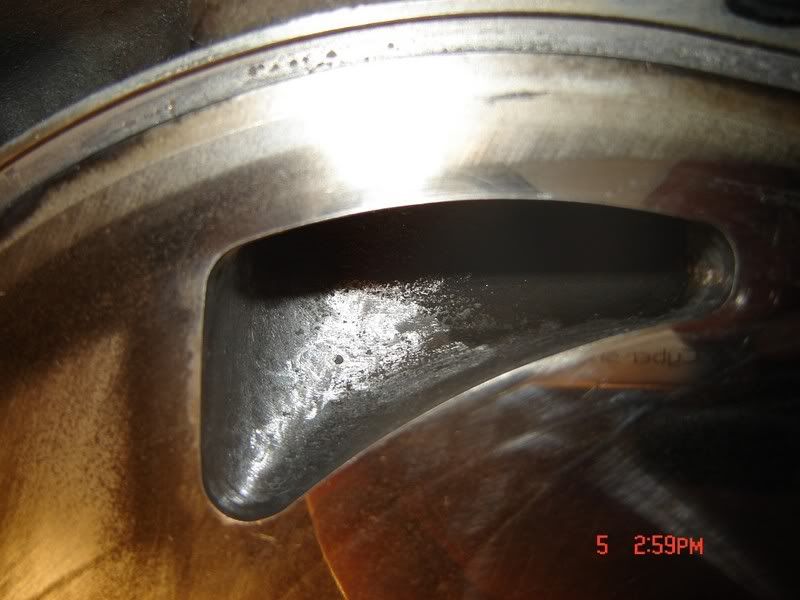
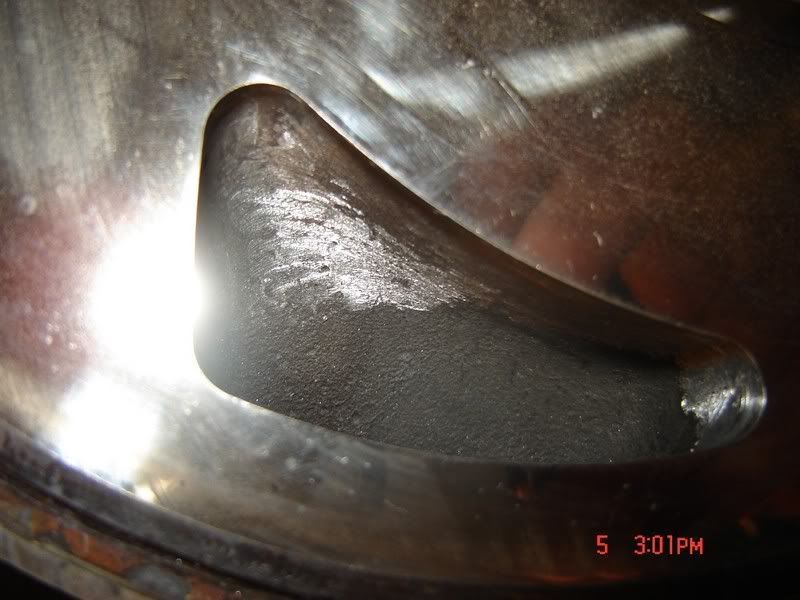
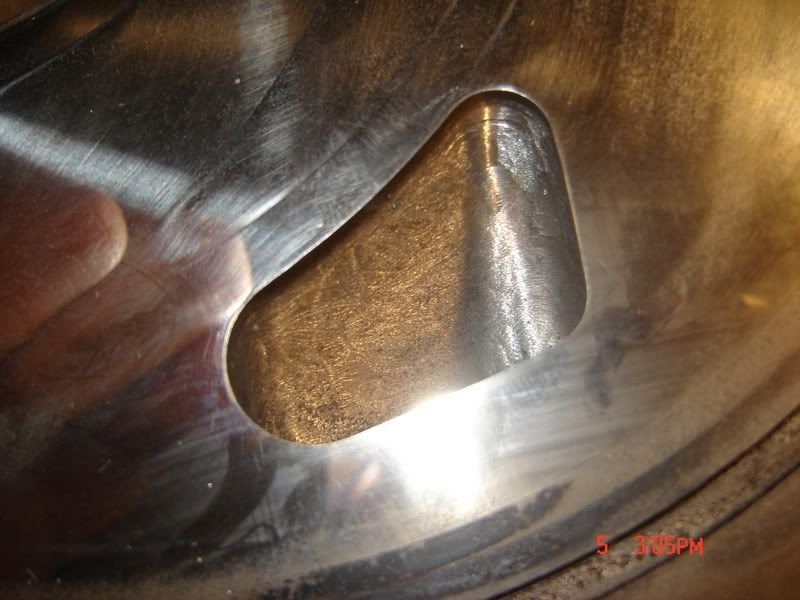
I need some long-shanked bits to get in deeper and am hurting on funds at the moment. But no worries... as you can see above, I have plenty of time...

Bad news! I've been waiting since November for these housings to get resurfaced and this is what I received in the mail today. Where the **** is quality control?!? The cores I sent in were ******* PRISTINE and I get these back...


Yeah, someone disassembled the engine with a goddamned jackhammer!!! The one pictured look much worse in person and this is not the only damage. I calmly called them up and explained my concerns.
The company and I are working out a solution and they are trying to find my original cores for resurfacing. I have to say, the work is outstanding, but they should be a little more picky in what they allow as a good core!
Good news! I started porting. I'm not enlarging the ports, just smoothing the surfaces, making transitions between cast areas smooth, and putting radiuses on sharp angles. Progress:


I need some long-shanked bits to get in deeper and am hurting on funds at the moment. But no worries... as you can see above, I have plenty of time...
#31
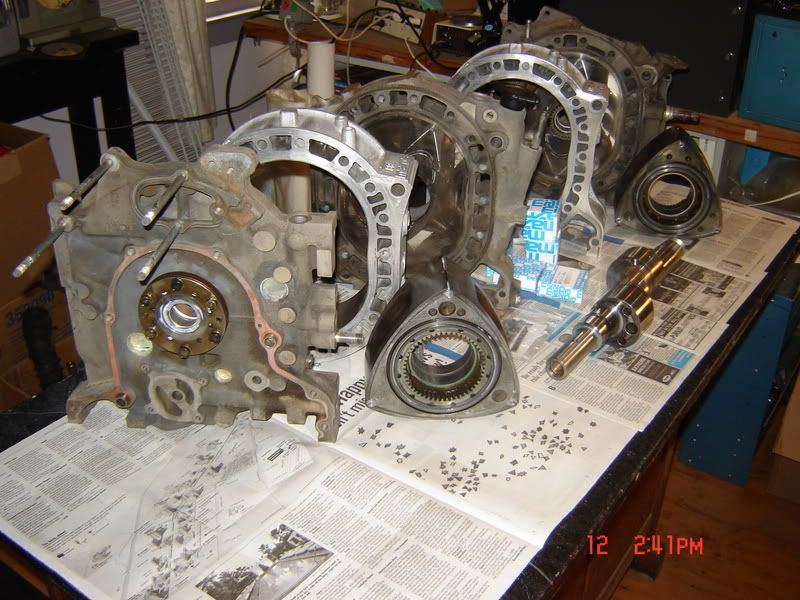
Naked 13B
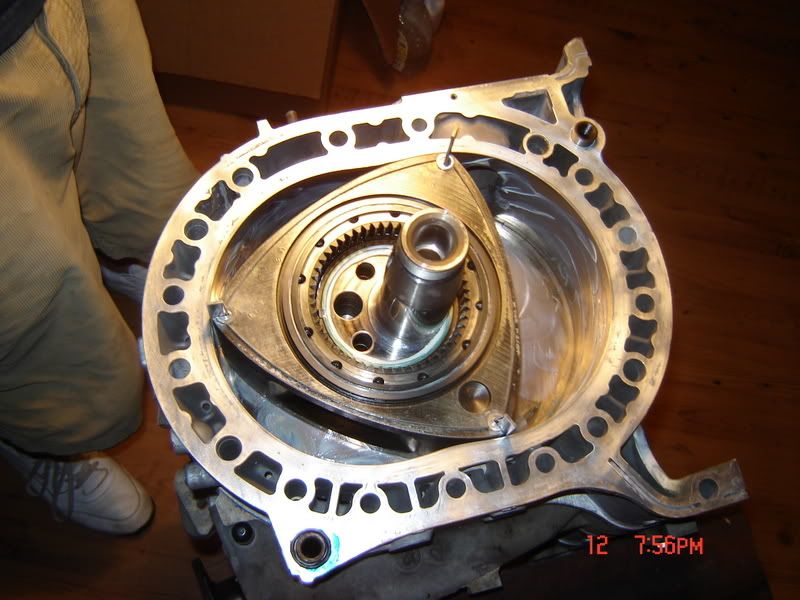
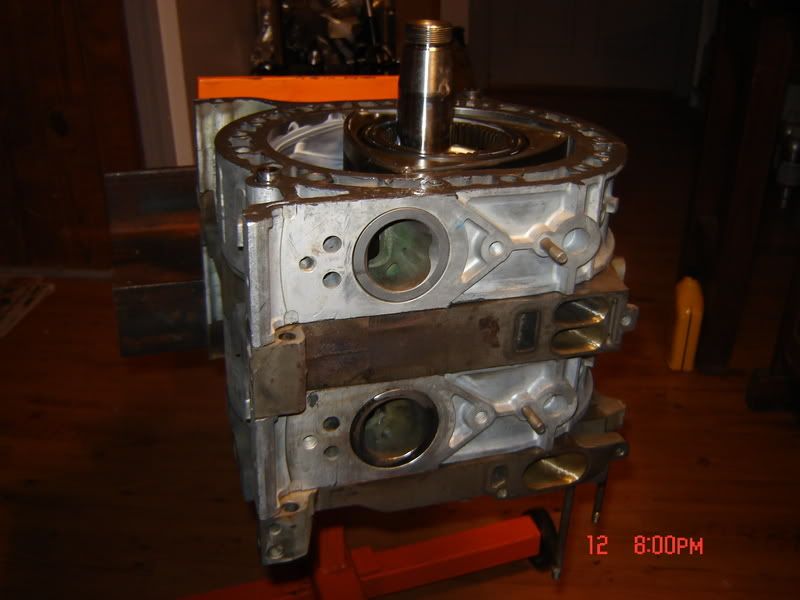
^ The housing situation was taken care of, as you will see in the pics. A little whining goes a long way and I now have 2 excellent rotor housings.
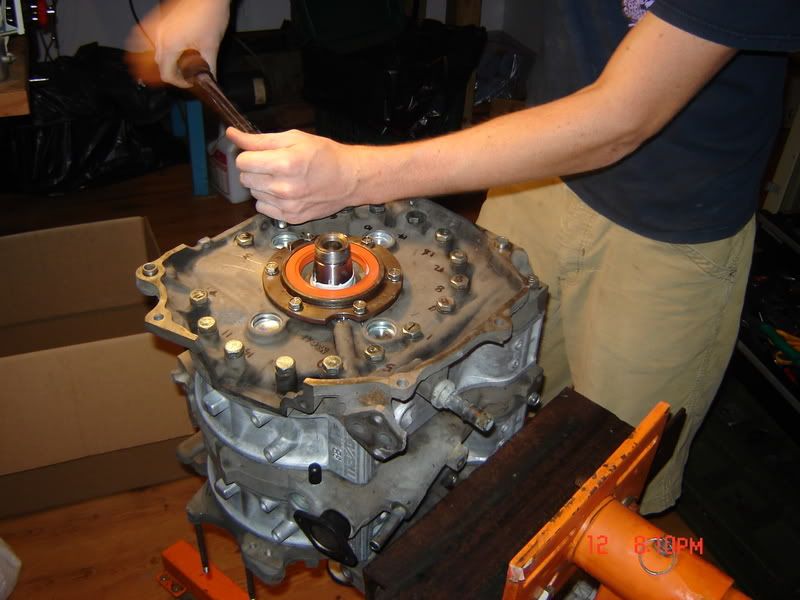
The engine has finally been put together. It was a horrible day to build the engine... I almost took my **** off with a pressure washer and then realized that the gasket kit I received only had 17 of 18 tension bolt washers in it. After freaking out I realized I could just re-use an old one for the bolt that goes on the outside of the engine.
I decided not to paint the block parts, but everything was still scrupulously cleaned and prepped. A little hylomar and ultra-black silicone and this is what I came up with:


#36
#37
Hopefully in a couple of weeks. I'm going out there today to put on the front cover and oil pan and then get some other things in line.
There are alot of little things I'm taking care of too:
touch up paint in engine bay
finish refurbing wiring harnesses
coolant hoses
fuel hoses
port match intake
clean peripherals
front seal in transmission (may as well while engine is out)
fabricate urethane sadwich engine mounts
There are alot of little things I'm taking care of too:
touch up paint in engine bay
finish refurbing wiring harnesses
coolant hoses
fuel hoses
port match intake
clean peripherals
front seal in transmission (may as well while engine is out)
fabricate urethane sadwich engine mounts
#38

Oh well, it won't hurt anything and you won't even be able to see it.
#40
#41

^I know there is no heat shield in the pic, that was just for fitment...
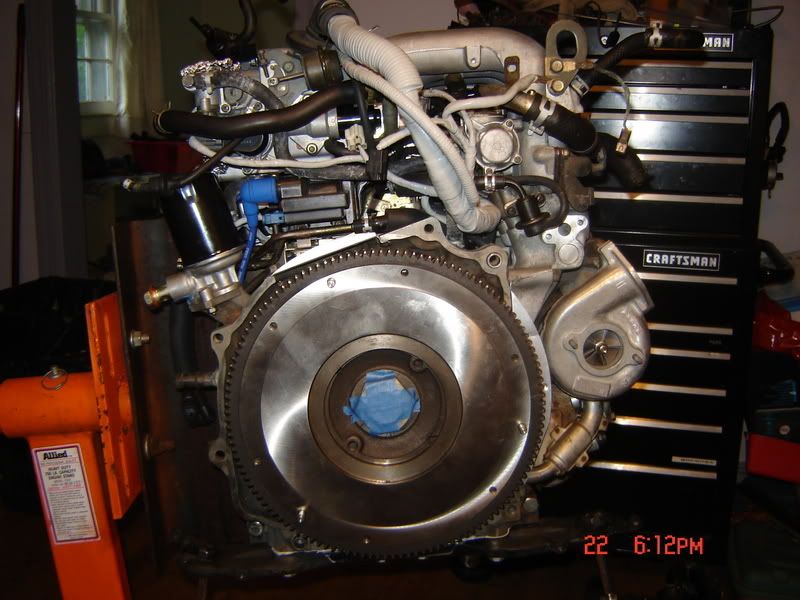

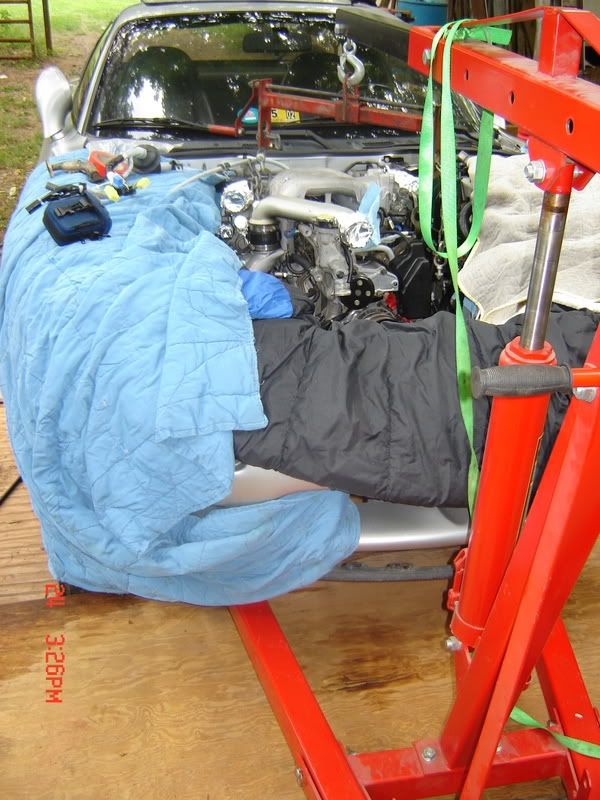
That was a couple weeks ago. DP is on, accessories are on, wiring is routed/connected, etc.
More progress this weekend.
#42
Sweet...
Excellent vacuum, smooth idle, and no smoke at all!
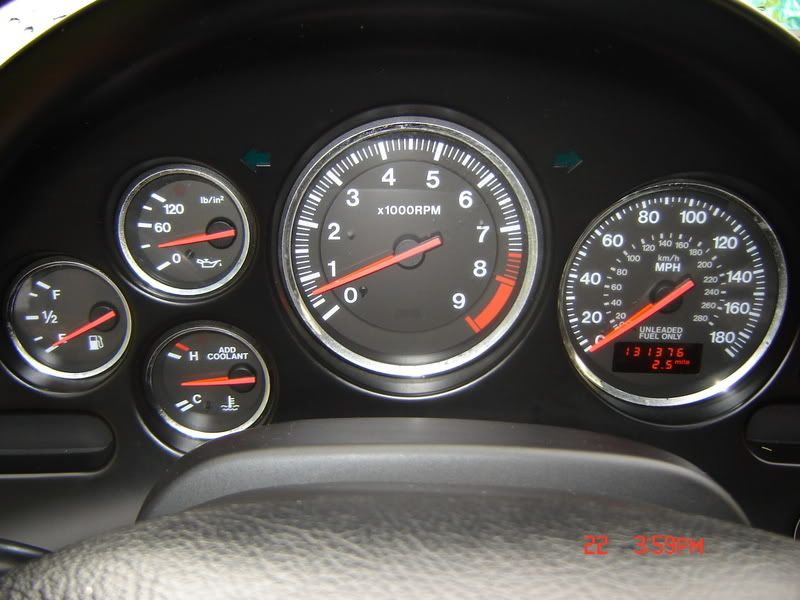
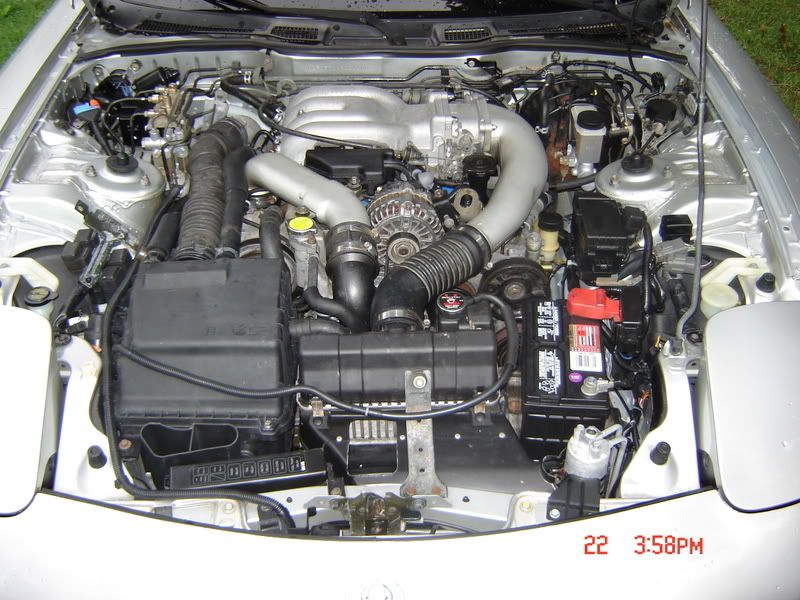
Started it up last saturday. After sorting a few things out, there are a couple major things left to do...
- Re-seal oil pan (gasket squeezed out/seeping at driver's motor mount)
The mazda manual has you putting on the engine mounts well after the silicone has cured, plus I used the gasket. Two major no-no's = oil pan leak. I'm going to re-seal with no gasket and dimple the pan with a center punch as many experts have suggested. No biggie.
- Put in an all-metal radiator before it hits the street
I didn't realize that the upper hose attachment was so rotten. I'm just using the original to test the engine out.
Oh, and you guys were so right about that "1200 degree" paint. It smoked off immediately. Measured the DP temperature with IR at a mere 400 degrees right at the turbos.
#45
Thanks guys
~17 in/hg. Sucks about your bucking... but you shouldn't be jealous. At least you don't have to drop the subframe to fix it... 

#49
Got the car ~March of '06 and it's not even on the road yet, haha. I've also kept every receipt and will tally up the total once I'm finished... of course there will be other additions later like suspension, R1 lip, bolt-ons, pfc, etc.
#50
I finally got insurance and tags and have begun the break-in process. I don't know how you can expect me to stay off the boost, but I can easily keep it under 4k.
This car is amazing... out of the box this thing runs circles around my FC in every way. I mean... I can get power at 2500 rpm and whipping it around corners is like having a personal roller coaster. The thing is on rails.
This car is amazing... out of the box this thing runs circles around my FC in every way. I mean... I can get power at 2500 rpm and whipping it around corners is like having a personal roller coaster. The thing is on rails.



 Keep up the good work alexdimen.