When you click on links to various merchants on this site and make a purchase, this can result in this site earning a commission. Affiliate programs and affiliations include, but are not limited to, the eBay Partner Network.
I've built all the filters needed to adjust the cd player. Im just waiting for the radio guy to come back from vacation because he has the other tools needed to try to adjust the thing. Not all the filter schematics are in the main manual. They did the horrible act of requiring you to find an older manual for a different machine to get the diagram to make a filter. I've got a decent collection of manuals now and will try to get a list together when this is all said and done.
My antenna mast is stuck together, so it only goes halfway up. Any unsticking ideas are welcome. I may just replace the mast if its too much hassle.
I also did some checking on why the radio lights did not dim with the dash and panel lights. Since Jerry's radio did not dim either, I didn't think it was a coincidence. The radio receives illumination 12v signal directly from the rotary switch in the headlight cluster. The panel lights receive a pwm signal from the dimmer circuit that also takes the 12v from the rotary switch. The two run in parallel. I don't know why they didn't intend for the radio lights to dim even though everything else does.
I haven't tested switching the voltage source for the radio, i would expect the button lights to dim accordingly, but I'm willing to bet that th lcd backlight works the opposite way. I'll let you know if I get to that point or if I just leave it.
I did take apart my dash shroud and switch clusters to clean them. They have been sticky with generations of crud, had some dead spots, and I want them smoothly operating and not crusty. I also want to do some 3d printer repair of the shroud. If you want pictures of how those come apart, let me know and I'll post them in a new thread.
are you adept at modeling? i removed my cruise switch assembly and cant find the blank to fill the space. any chance you could fab up a rough file for me to print?
I could probably come up with something. Still an apprentice with 3d modeling. Mostly 2d drafting for me, but I have the shroud off and could probably put something together. Shoot me a sketch of what you're looking for and I'll give it a shot.
here's an update on the radio situation. I haven't gotten any further on the head unit as I've been busy with other things. However, I did find a couple more manuals for the collection. I got ahold of a manual for the DEH-K4741 head unit, which seems to just be an updated version of the 4141 convertible version, but I haven't found any differences between the two other than a change in the names of assemblies. No component differences found yet. Might just be a newer firmware or something on the chips. I am also waiting for the manual that goes to the door woofer amp that sits under the dash. Mine works, so I don't need it, but I figured it would be good to add to the pile of things that need digitized. I have not found a manual for the headrest speaker amp, although I would suspect one would exist. If one of you vert guys can get ahold of one, it would be good to add to the pool of knowledge.
On the head unit side, I am thinking that the volume, tone, and balance potentiometers might need cleaned. They crackle on the radio whenever they are turned. I also for some reason don't have much of any bass output to the door woofers. I do know that the door woofer amp and speakers can put out significant sound when driven by my aftermarket unit, but I gotta figure out what's impeding stuff with this old unit.
Also, under the buttons on both my mostly working unit, and my spare parts unit, the urethane foam pads that keep the buttons from clacking are worn out. I have some rubberized filament for my 3d printer, and was gonna try fiddling around with different button pads and see if I can make a suitable replacement. I have some other 3d modeling stuff that I have modeled and hope to get out to you guys in the next couple weeks. Let me know your thoughts
I am most definitely interested in any pdfs of those manuals you have. Of course, I would understand compensating you for your work buying and hunting them down. Otherwise, I follow this thread with gathering interest.
On the head unit side, I am thinking that the volume, tone, and balance potentiometers might need cleaned. They crackle on the radio whenever they are turned. I also for some reason don't have much of any bass output to the door woofers. I do know that the door woofer amp and speakers can put out significant sound when driven by my aftermarket unit, but I gotta figure out what's impeding stuff with this old unit.
Yes, Deoxit works wonders. I sprayed some in my potentiometers after I pulled the head unit out and took the front face off. They were never seeming to settle and the middle **** position would still but the balance way off to one side. All good after some Deoxit.
Awesome. I'll get some. Did you guys remove and disassemble the potentiometer stacks to clean them, or did you just try to get spray in through the little gaps in the side?
Awesome. I'll get some. Did you guys remove and disassemble the potentiometer stacks to clean them, or did you just try to get spray in through the little gaps in the side?
you can just spray it in the cracks, twist a few times to clean the wipers.
make sure you get the "precision tip" and know it will continue to dribble.out a bit after you stop spraying, so let off before you normally would or it gets wasteful.
Got some good news on the radio front. I used the Deoxit on the potentiometers and it seems to have fixed my volume and bass issue. I flushed them about 3 times with the stuff. The first flush on the volume pot flushed out a whole bunch of black nastiness. I gave them all a couple more flushes for good measure after that. Front speakers sound great, and the door speakers are functioning as subs correctly. I get plenty of volume now too. The rear speakers sound much clearer, but I'm still going to try to convert one of the amp units and see if it makes a difference. I have noticed that the amp rear mute button doesn't fully mute my speakers. This is likely due to the additional transistor arrangement in the coupe version. This will be part of the conversion. I don't think that there is really much that differentiates the actual power output between coup and convertible models other than a resistor or two... Again, I'm still researching this and am at a novice hobbyist level with electronics.
I did finally get ahold of the door woofer amp manual and skimmed through it. At first readthrough, I can't find any electronic differences between coup and convertible models. Only differences I can find are: Vert has an inch or two longer wire connector, an additional external grounding wire, and a different bracket than the coup version. Coup version has stubby wire connector, no extra ground wire, and a different bracket. I see no indication that the electronics are different between models as no differences are specified like they are in the radio manual.
I got my printer with the nice scanner back up and working so I can scan stacks of 8.5" x 11" at a time. I need to get a good PDF editor so I can move the pages around as needed. I found that Office Depot might scan the big pages, but they want a bunch of money for color copies (which will be needed in this case). They also might not touch it for DMCA reasons since it isn't 70 years old yet. I saw another copy shop that advertised blueprint scanning, so I'm gonna check there too and see if there is a better rate.
Sorry for the delay guys, updates are going to be kinda spaced out for a while. Its peak pyro season and I've picked up more clients this summer than the last one. I also have to prepare to teach my university class for the fall semester. It'll settle down quite a bit once we get into September.
Updates on the radio: I got all the filters built to adjust the cd player. I got to adjusting but couldn't ever get the thing to focus. Lo and behold, the suspension wires for the focus lens were busted. I tried to do a basic repair, but I don't think it was sufficiently accurate. These wires are only a couple thousandths thick, and less than a quarter inch long. They are stinking tiny. I took pictures and I'll show them at some point. I couldn't find any spare laser units here in the states, as these things have long been discontinued (who'd have thought), but I managed to order one from overseas, and am waiting for it. I will take some observations and measurements of the new unit and maybe I can 3d print some sort of apparatus to orient the focus assembly. Maybe I can come up with a way to refurbish these things, because the diodes and prisms are probably fine. I'm willing to bet that the suspension wires just wear out or rust away.
I also fixed a couple of faceplate buttons and cleaned them all with contact cleaner. I do not recommend this unless you remove the LCD screen. The contact cleaner got on the LCD rubber strip and caused it to swell, damaging the LCD. I also tried to make new button foam pads to keep them from clacking. I used craft foam with a sticky back that was 2mm thick like the original. I could not find any open-cell foam like the original. The craft foam was too stiff, and you couldn't push the buttons. I do plan to revisit this though once I find the correct foam.
Updates on the AE unit: I managed to go through and switch everything over to the coupe version on the main board. The tricky part is trying to figure out the right combination for the faceplate. The circuit board is the same, but trying to figure out what needs change to give the functions indicated is pretty tricky. I got it sounding pretty good this morning, good full-bodied sound, and appropriate volume to the rear speakers, but the mute button didn't work. So I went back and tried some different combinations, but didn't get back to the good power level I had. I'll still keep fiddling with it.
Upgrade plans: I am wanting to get the CD player working so I can figure out its communications with the main board. It would be easy to just put a sound input on the cd player audio wires, but then you would have to use a dummy cd with just silence burned on it, and that isn't what I would consider quality work. What I am wanting to do is to create a bluetooth module that intercepts I/O from the CD player, use the face buttons for some basic pause/play/ff/rw controls, and pass through to the cd player if it is functioning. If not, this module could stand in for broken cd players, or allow them to be deleted and a USB placed in the CD slot. I have bookmarked a build blog where some guy in Europe did this with a pioneer based BMW radio and deleted his CD player. A little bit different of an application, but he seemed pretty sharp, and listed on his website that he can be contacted for more info. I'll try to go this route once I get to that point. I am not planning to do USB or aux myself, because the phone I would connect with either of those also has bluetooth.
Its gonna be a while on the manuals, and everything. I also have to rebuild the diff in this car and do some other finish work before I can begin driving it again, and there just isn't enough time to do everything quickly. I'll get around to it, I promise. It'll be bugging me until I do.
Last edited by professionalpyroman; 07-11-21 at 11:24 PM.
Great stuff!
As always, thanks for keeping us posted. One final thought re: the USB: when I have stored music hooked up directly (hardwired) to the radio, the sound is louder and much more clear (not that BT is bad). I am in touch with a company who is recommending I ship my radio to them and, if they are able, will give me an estimate on how much it would be to install an aux/usb.
Anyway, I know you will be busy, but I look forward to reading about your progress.
Upgrade plans: I am wanting to get the CD player working so I can figure out its communications with the main board. It would be easy to just put a sound input on the cd player audio wires, but then you would have to use a dummy cd with just silence burned on it, and that isn't what I would consider quality work. What I am wanting to do is to create a bluetooth module that intercepts I/O from the CD player, use the face buttons for some basic pause/play/ff/rw controls, and pass through to the cd player if it is functioning. If not, this module could stand in for broken cd players, or allow them to be deleted and a USB placed in the CD slot. I have bookmarked a build blog where some guy in Europe did this with a pioneer based BMW radio and deleted his CD player. A little bit different of an application, but he seemed pretty sharp, and listed on his website that he can be contacted for more info. I'll try to go this route once I get to that point. I am not planning to do USB or aux myself, because the phone I would connect with either of those also has bluetooth.
This would definitely be the ideal. As I have discovered, intercepting the audio is super easy, but the fact the CD player skips more than a child playing hop-scotch makes this not as great as a solution as what you propose.
Further information I have found is that the cd portion of the radio was built by Sony. That explains why it is almost an entirely separate module from the rest of the radio functions. Sony used magnet coils to adjust focus for the laser, while Phillips used a fixed focus and adjusted for error a different way.
I have been unable to find a manual for the headrest amplifier unit. Those were made by matsushiba, a subsidiary of Panasonic. I can't find anything about those circuits.
I know its been a while, but I had some time to tinker yesterday evening and I figured I'd give you an update.
I have a question for Jerry. What happens when you push the passenger select buttons on the AE unit? What changes in the sound?
The reason I ask is because I have swapped over the parts on the main board of the AE unit to those of the coupe spec (DEH-K4041). However, I still only have the convertible front panel (DEH-K4141) and also a later vert model (DEH-K4741) although the later radio is a hodgepodge between the two manuals (Pioneer getting rid of old stock I guess...) The circuit board for both coupe and vert versions is the same, just populated with different components on the opposite side of the board. It appears that the configuration of the front board has some effect on how the AE unit controls the bass/gain (I'm not an electronics guy) of the amplifier. I tried to configure it like the front panel of the coupe version as best I could, although with one button instead of two. When I did so, the AE unit didn't put out any bass. The lowest frequency it could put out was about Alanis Morissette. However, when I switched the thing back to the original convertible layout, the thing puts out more than enough bass. However, the button doesn't do anything. Needless to say I didn't find this ironic, but mildly infuriating. Again, not an electronics guy, but not a dull crayon either.
The concern I have is this. If I can affect the output of the AE unit by modifying a couple components on the faceplate, how do I know that I have the setting correct so I don't melt my AE unit? What are the buttons supposed to do? I don't have the headrest amp, speakers, etc, so I couldn't confirm what the button did with either unit. All I heard was a faint bump in the speakers when I cycled the button.
In either case, the difference in the faceplates by way of the circuit diagrams are 2 capacitors @.33uf (coupe) vs 1 capacitor @10uf (vert) and 1 resistor 10k (vert). There are other resistors to control voltage to the button LEDs, but that's about it. I can post pictures of the faceplate circuits for those interested. If you guys have ideas, let me know. I've tried a bunch of configurations but just the stock setup seems best.
Let me know your thoughts. Gonna be out for a couple weeks. Got a bunch of work coming up and gonna be swamped. I'll try to get to you when I can.
I've messed with the buttons every now and then and it is supposed to center the sound based on which passengers are selected. In practice, I don't really think anything happens other than a slight volume change. If both buttons are selected, the stereo puts out full volume, if neither button is selected, it's a little quieter. If one and not the other is selected, the balance gets tweaked a little bit. I don't remember any sound quality changes. I can't verify at the moment, I'll have to get the battery back in the car to verify. The car is currently out of service for an engine rebuild. However, I believe I'm not so far taken apart that I can't get the stereo operational for a test.
I finally got around to fiddling with this thing again. I've been having a lot of work, but also some health problems at the same time, so those have taken up all of my time recently.
Here's the updates on the radio.
I pretty much have the bulk of the AE circuitry squared away. The main circuit board is set up identical to that of the coupe unit, but with no buttons hooked up to it so it is in the default, engaged state. The button has been removed from the circuit because it just makes it sound weird for some reason that I can't figure out. I plan on using it for a Bluetooth enable button when we get to that point anyway. The radio sounds really good and full now. The LEDs behind the AE logo are burnt out, so I am going to attempt to replace them tonight.
As far as the CD unit goes, today I almost had it working. I was so stinking close... It read track 01 for a fraction of a second...
I managed to get ahold of a replacement laser assembly from overseas. It was on England's Ebay, but I managed to get the seller to ship it over here. It should be a correct replacement, but the model number is slightly different. I swapped it into the mechanism. It has an intact focus suspension. Anyways, I got a new oscilloscope to try to observe what these things are doing when they are talking to one another. Tuning the new assembly was going perfectly until I got to the tracking portion. I cannot get this unit to track whatsoever. There was no tracking signal to be found. DED... So I am going to have to do the poke-it-with-a-stick until I can figure out where my voltage went. Hopefully that is the last thing keeping the restoration portion of this project from concluding.
Moving forward, I was asked by the guy who is kinda mentoring me through my lab equipment, what the end goal for this is. I suppose the end project is to produce a replacement for the CD drive that can function in place of it with the functionality of bluetooth, and maybe some type of media storage. I say "IF" I get this cd player working, I want to keep it as a trophy for the work I put into it, but were we as a community to want to have something in place, would a replacement be just as viable? Without the CD mechanism, there is a ton of room in that head unit. It could easily fit a bluetooth module and the slot could be filled with a 3d printed drive for sd or microsd storage. USB is a little on the thick side and in my opinion wouldn't look as nice, but we could probably play around with it to see what fits. What do you guys think?
Any of you guys handy with, or wanna help me figure out how to build the new part of the radio? Might help things go quicker.
Here's the link to the thread for the BMW radio the guy did:https://maakbaas.com/bluetooth-cd-ch...-to-prototype/
I am nowhere near enough handy to help on the programming side of things, but will gladly help fund any R&D necessary to get some Bluetooth unit functioning flawlessly and with an OEM look. My CD thing works fairly well, on a smooth road, and when the CD doesn't skip. But obviously control is through the phone.
Short update folks, I haven't been able to do a whole lot of work on this thing. Hope to get into it more this winter. I did take some pictures of the "cables" or suspension of the cd lens. I wanted to see how small the cables were. I put the "cables" under my usb microscope and it turned out that they were not cables at all. As shown in the pictures, you will find that these suspension wires are not actual cables or wires, but thin square-section stamped brass sheet (could be laser cut too, I have no idea how they were made). Each of these pieces have two wide sections at each end which are soldered to the ribbon cable and the lens tracking coils respectively. The laser tracking armature receives both support in the vertical axis and voltage for the coils. In both laser assemblies I got in my radios, the suspension wires were broken and could not conduct power or hold up the lens. I plan on drawing these brass pieces in cad and seeing if there is a way we can make them. That might help get some of these lasers back online. The condition of the old brass suspension is black with corrosion/tarnish, so its no surprise that they work until they yield. These flat pieces flex to each side when each side coil is activated for tracking to pull the lens to either side. When I get a basic drawing, I'll post it, and we can think about whether it would be possible to make some.
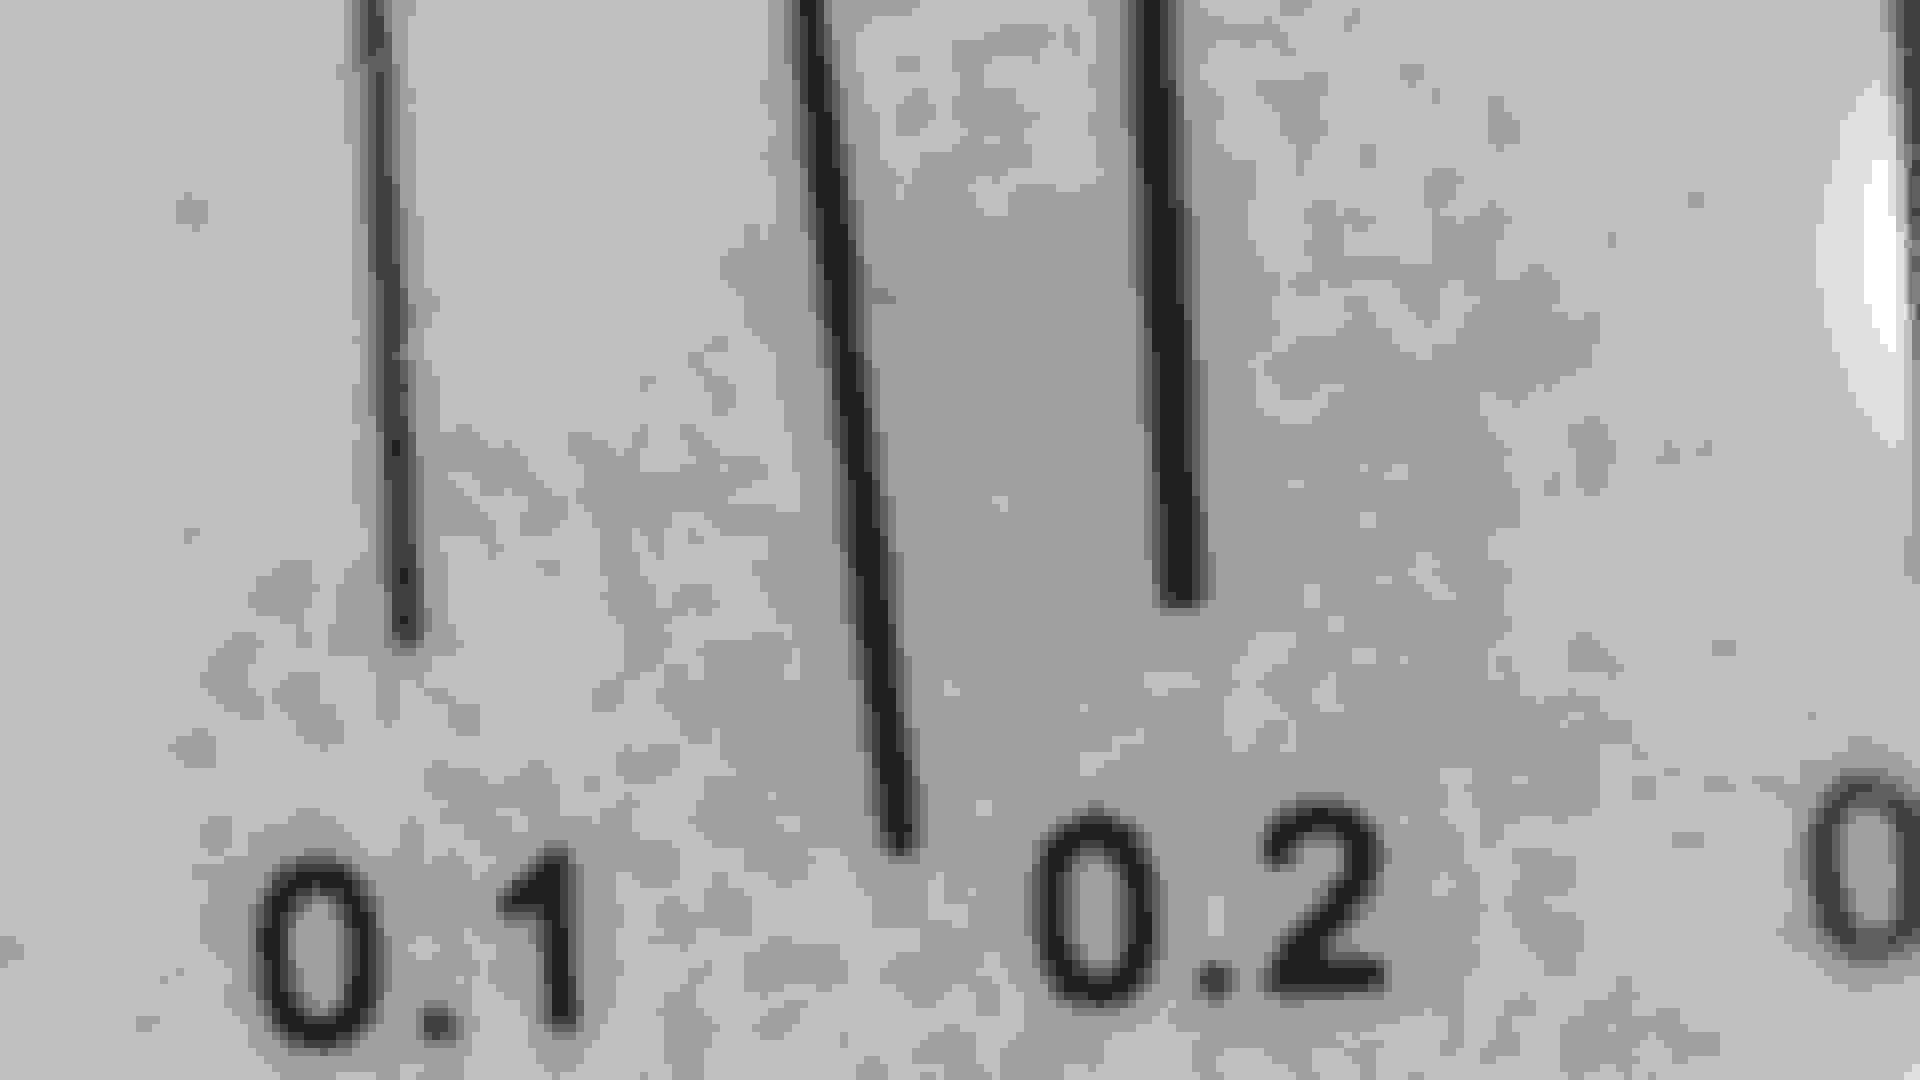
Coil end of the suspension. I'm not sure what the silver tabs are for, or what they're made of. Pretty sure they're there to spread out the stresses or reduce vibration. Ribbon end of the tabs tab glued to lens assembly. It looks like they can be located fairly easily. Thickness of the suspension portion of brass. This one is oxidized. Looks to be about .15mm square profile.
Also, another thing I'm working on is to try to replace some of the burnt out bulbs in the radio/amp. I noticed that under the AE logo in both of my amps is an illumination setup but the lights were burnt out. I tried replacing them with some 3mm leds, and those burnt out within a couple seconds of being turned on. I had saved the bulbs I pulled out, and looked at them closely. They weren't leds, but actual rediculously tiny incandescent lamps. I found a listing on amazon for 100 of them for $2. I'll give them a try when they get in and you guys can let me know if you need extras. There's no way I would need 100 of the things.
Alright guys,
now that things are starting to settle down for the winter, I'm hoping to get back on this. There are a few things I want to work on right now, not necessarily in order.
1. Get a laser working well enough to document commands to and from the CD unit.
a. Make replacement suspension parts from a CAD drawing. I have no idea how to cut these small brass pieces other than a punch and die set. I figured a laser cutter might put too much heat into the parts with that .005" square section. I need to get a drawing up so we can put our heads together.
2. Figure out audio output levels from CD unit. These feed into the same pre-amp as the tape deck, so I think I can use a tape to measure the appropriate audio feed levels if I can't get the CD unit working.
3. Start prototyping a bluetooth stand-in module. I am thinking of using an arduino base, but I know nothing about programming or any of that, so I'm having to study as I go. It looks like the necessary voltage sources are outboard from the CD unit and on the power distro board with the adjustment *****. Audio feeds back to the power distro board, is then sent to the amp for processing. Power and audio are bundled from the power board. The signal wires are all sent from the main board to the CD unit. In some cases, there is a direct path from main chip to CD chip, but in other cases, it splits if it is an analog enable line or something to that nature.
4. Digitize these manuals. I know you guys are waiting on me. Sorry for the delay. The fold-outs will be the hardest part. I have tried photostich and other programs like that, but I just can't get the quality necessary for all the fine print and details.
That's quite a lot to get done here. I'll probably try to tackle some of these manuals this weekend, so you guys can get some eyes on what I'm talking about. No promises, but that's my plan.
P.S. These units have a beeper that is supposed to chirp whenever you push the keys on the radio. Does anybody's beeper work?

 05-17-21 | 10:07 AM