Project: Sleepin 88 (aka Spade)
#26
Thread Starter
Joined: Sep 2005
Posts: 2,777
Likes: 1
From: Dandridge, Tennessee
Oh and heres a shameless plug for my brothers new car, the damage to teh left side was incurred during its transit from Maryland. And yes that is a black magic e-fan and an unknown intake filter.
http://photobucket.com/albums/b287/RX-7-88/87%20Sport/
http://photobucket.com/albums/b287/RX-7-88/87%20Sport/
#27
Originally Posted by FirstRotaryExp
Update: Got Spade back from Kevin. OMG its soooo much better now. he calle dit a "e "Miracle Engine" "e. He said that phrase because the OMP was not runnign at full capacity, the last person to pull the front apart of the motor forgot to put the key back in for the pump wheel. Also, the counterbalance had not caused major damage, only minor rouching of the e-shaft and he used emory paper to get the grooves inot a better position. He also replaced teh damaged key for the eshaft and put everything back together for me. I now have a perfectly running engine and I salute you Kevin Landers of Rotary Ressurection.
So now with all that out of the way, the vibreation now gone and the opil leak and fuel leaks as well no more, I am now able to pursue the other upgrades and modifications without worry about the engine for a while.
So now with all that out of the way, the vibreation now gone and the opil leak and fuel leaks as well no more, I am now able to pursue the other upgrades and modifications without worry about the engine for a while.

#28
Also seeking some form of flush mount headlight kits. If anyone has any examples of them, preferably ones that do not intrude upon the bumper cover, I would be most appreciative, since finding a set using the search feature isnt helping me any and I would like to find a nice kit....weight reductino and a cold air intake need priorities.
these are pretty nice
http://rx7pro.com/catalog.0.html1.0.html
Last edited by rx7b13; 01-11-06 at 10:14 PM.
#29
Thread Starter
Joined: Sep 2005
Posts: 2,777
Likes: 1
From: Dandridge, Tennessee
::UPDATE::
Over the course of last week I managed to get my hubs and front calipers off the parts car, also bought new rotors and pads from O'rielly's to I had new stuff to put on.
Price of new rotors and pads set me back $300 plus cost of parts car $200 still put me $100 better than what mazda wanted for a singe new right front wheel hub.
The front was pretty straight forward, pull the hubs and the 4 pot calipers from the parts car, using the hard line and the rubber line for now. The calpers were rusted to hell from sitting for 2 years prior and having a foot of ice on them from delivery. The rims were no better bust still usable, along with all 4 brand new tires.
After using a gear puller on the old rotors i managed to separate the hub from rotor rather easily while still on the car, other wise this could have been hard to do without using a nice torch. Repacked the bearings as they looked good and set hub and new rotor on the spindles. The calipers however required some force to get the pistons to move but they work fine, save teh passenger side where 2 of teh inside pistons didnt want to move. Ive nto rechecked them but I will be putting remans on later anyway.
The rear hubs were easier as all I was doing was swapping the hubs and reusing teh old caliper, though I do have the heavy duty rears on the parts car for future use. The screws holdign the rotor to hub were a pita as they were rusted on rather well, a bit of force and tehy came right out. However once teh rotor was off the car the hubs were another matter, beign set on ball bearings and the spindle nuts being harder to remove than I had thought. A lot of force and breakign of screwdrivers later teh nuts were off and the hubs separated from the axle's and carriers.
Install went much smoother as I read up on the manual, everythign workds fairly well though I will be purchasing reman calipers for the front as well as SS lines for all for corners, as well as painting the calipers blue as well as the dust shields.
Heres pics of before and after shots, note the snow on teh car now....not driven her all weekend because of it.
Before:


After:


signature removed for being radically oversized
Over the course of last week I managed to get my hubs and front calipers off the parts car, also bought new rotors and pads from O'rielly's to I had new stuff to put on.
Price of new rotors and pads set me back $300 plus cost of parts car $200 still put me $100 better than what mazda wanted for a singe new right front wheel hub.
The front was pretty straight forward, pull the hubs and the 4 pot calipers from the parts car, using the hard line and the rubber line for now. The calpers were rusted to hell from sitting for 2 years prior and having a foot of ice on them from delivery. The rims were no better bust still usable, along with all 4 brand new tires.
After using a gear puller on the old rotors i managed to separate the hub from rotor rather easily while still on the car, other wise this could have been hard to do without using a nice torch. Repacked the bearings as they looked good and set hub and new rotor on the spindles. The calipers however required some force to get the pistons to move but they work fine, save teh passenger side where 2 of teh inside pistons didnt want to move. Ive nto rechecked them but I will be putting remans on later anyway.
The rear hubs were easier as all I was doing was swapping the hubs and reusing teh old caliper, though I do have the heavy duty rears on the parts car for future use. The screws holdign the rotor to hub were a pita as they were rusted on rather well, a bit of force and tehy came right out. However once teh rotor was off the car the hubs were another matter, beign set on ball bearings and the spindle nuts being harder to remove than I had thought. A lot of force and breakign of screwdrivers later teh nuts were off and the hubs separated from the axle's and carriers.
Install went much smoother as I read up on the manual, everythign workds fairly well though I will be purchasing reman calipers for the front as well as SS lines for all for corners, as well as painting the calipers blue as well as the dust shields.
Heres pics of before and after shots, note the snow on teh car now....not driven her all weekend because of it.
Before:


After:


signature removed for being radically oversized
Last edited by Icemark; 07-13-06 at 02:04 AM.
#30
Thread Starter
Joined: Sep 2005
Posts: 2,777
Likes: 1
From: Dandridge, Tennessee
**update**
Wow....its been a while since ive made any real progress on her.
Well to get to the nitty gritty here goes:
Finally got a new presilencer from Racing beat in last week, install was rather quick, though painful as it smashed my thumb between teh flanges. My leak is most fixed, just have to retighten the header back down and a few other nuts. So far I like the MUCH much quieter tone the exhaust has, its a bit like a chainsaw but im still running stock catback. Note: Paint on new RB products bites ***.....I didnt have the new silencer in for a whole day and i already managed to blow a good chunk of it off from teh heat.
I also ordered a very nice FD alternator kit from silverrotor. I must say I am impressed with it. Its a tight fit if you still have all the emissions and the rats nest, but worth it. I have yet to get two belts on it that match roughly, going to use an older belt and the longer of my pair to try and get better fitment. Since adding the FD alt. ive noticed that the heater blower runs much better, and works faster than it used to. I have to reground the systems since im still experiencing teh dim lights when stopped at a sign at night. After this was performed the ACV was removed and blocked off when the air pump was pulled, Dual pulleys rock.
Brake update: So far the upgrade using the unrebuilt parts from the parts car is workign out fine. Discovered that I will be requiring a new master cylinder sometime down the road, but I can deal with it for the time being.
I have also purchased a S-AFCII fuel controller a month ago as well as the first of 5 guages for install in the near future. Location of said gauges will hopefully all be in one pod that will be in a location I can easily see (Pillar pods be damned).
I have yet to get any new pics of my baby since its been raining for the past month, no good days to get her cleaned up and showable, though I intend to.
I am currently amassing parts for a rebuild in the future. So if anyone has any S5 NA rotors of the same weight catagory to sell, drop me a pm, will also need the counterweights.
If you guys that are local to me feel like lending a hand or need a hand lemme know, always willing to help a rotorhead for knowledge and EXP.
signature removed for being radically oversized
Last edited by Icemark; 07-13-06 at 02:04 AM.
#31
Thread Starter
Joined: Sep 2005
Posts: 2,777
Likes: 1
From: Dandridge, Tennessee
Installed my Apexi SAFCII tonight, just using it foor diagnostics at the moment. As ive also been putting this off...I shall be taking extensive pictures this weekend, going through the entire car and other items, hopefully able to get a better grasp of things as well.
#32
Thread Starter
Joined: Sep 2005
Posts: 2,777
Likes: 1
From: Dandridge, Tennessee
!!picture Time!!
Ok, i finally got the first roll of film developed. Ill be posting these in before and after form, along with a brief description of what happened to get to that point.
First up, interior pics.
Before: When I first picked up the car and had it a month. I had just cleaned her out and was proud of my find.


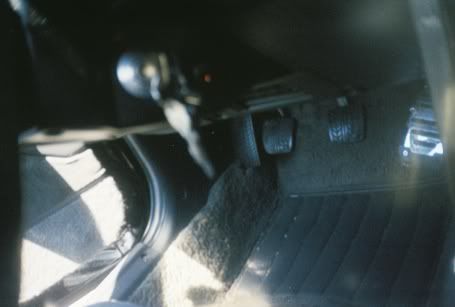
After: In the first picture you can very faintly make out the lil red led that makes up my fuel cut switch, very handy some days. It used to be a large toggle switch that was easily visibly in plain sight, I then removed the old switch and installed a flatter round rocker with the led so i could tell when it was on.
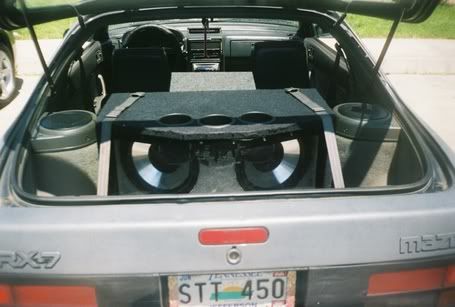
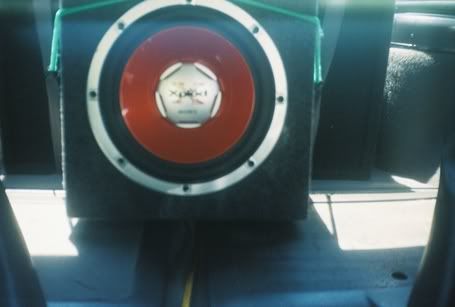
The second and third image both entail the 12" sub box facing the rear hatch, its strapped in via the stock straps. The 10" sub hits fairly well for its position. Both subs and the 600 watt amp not pictured were not installed by myself, they were done by my brother for his graduation weekend so he could enjoy my seven his way.
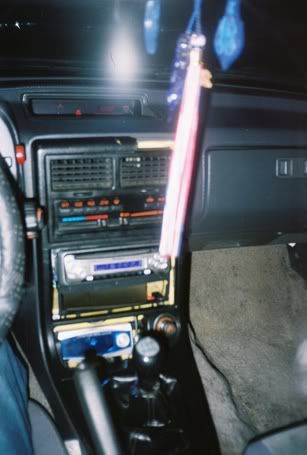
The last image shows my pioneer head unti, broken stereo surround(though better than the one i first had), my installed SAFCII in teh ashtray location, and my unknown shift **** on stock shifter. Sits just right for my hand, also the stuff hanging was again my brothers idea...
First up, interior pics.
Before: When I first picked up the car and had it a month. I had just cleaned her out and was proud of my find.


After: In the first picture you can very faintly make out the lil red led that makes up my fuel cut switch, very handy some days. It used to be a large toggle switch that was easily visibly in plain sight, I then removed the old switch and installed a flatter round rocker with the led so i could tell when it was on.
The second and third image both entail the 12" sub box facing the rear hatch, its strapped in via the stock straps. The 10" sub hits fairly well for its position. Both subs and the 600 watt amp not pictured were not installed by myself, they were done by my brother for his graduation weekend so he could enjoy my seven his way.
The last image shows my pioneer head unti, broken stereo surround(though better than the one i first had), my installed SAFCII in teh ashtray location, and my unknown shift **** on stock shifter. Sits just right for my hand, also the stuff hanging was again my brothers idea...


#33
Thread Starter
Joined: Sep 2005
Posts: 2,777
Likes: 1
From: Dandridge, Tennessee
Exterior
Before: Again a month after her purchase, and a wash and shine.


After hub swap: Just had the swap done in time for it to snow all over her for the weekend.


After: How she currently is appearing to the general populace.
The wheels are Elite Del Ray's a 16x7 wheel sporting 205/55 R16 Goodyear Eagle's. I dont know the offset, but they are a discontinued series and fit very very well, no rubbing except by my busted inner wheel wells, not even under hard cornering. The fog lights are just walmart crap, going to be putting a better set in when teh body kit is ready to go on.
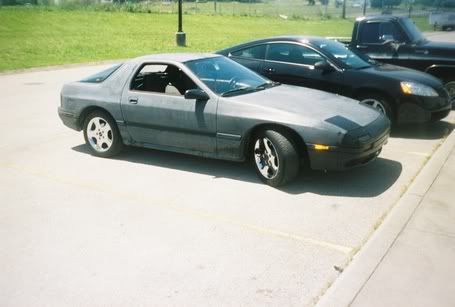
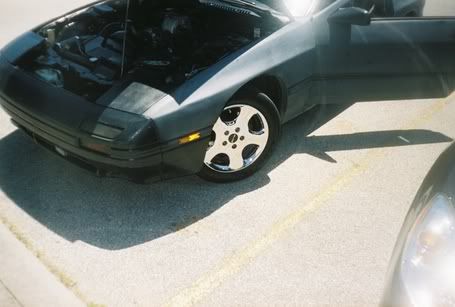
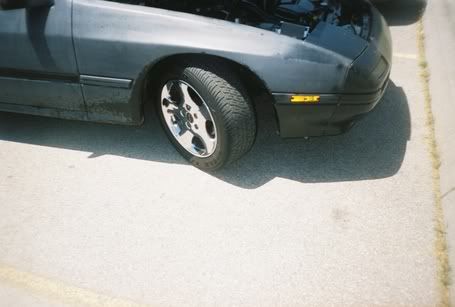
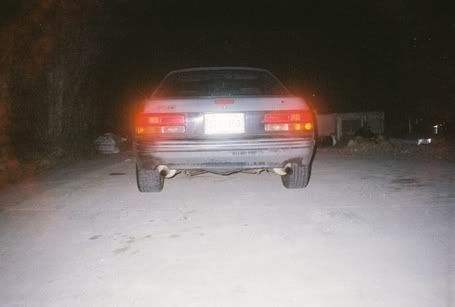
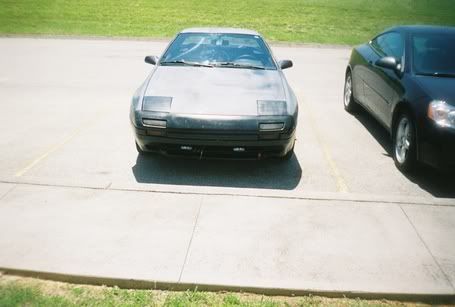
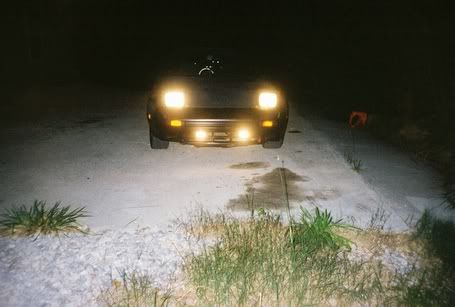
Before: Again a month after her purchase, and a wash and shine.


After hub swap: Just had the swap done in time for it to snow all over her for the weekend.


After: How she currently is appearing to the general populace.
The wheels are Elite Del Ray's a 16x7 wheel sporting 205/55 R16 Goodyear Eagle's. I dont know the offset, but they are a discontinued series and fit very very well, no rubbing except by my busted inner wheel wells, not even under hard cornering. The fog lights are just walmart crap, going to be putting a better set in when teh body kit is ready to go on.


#34
Thread Starter
Joined: Sep 2005
Posts: 2,777
Likes: 1
From: Dandridge, Tennessee
Last shots from this roll.
::ENGINE BAY::
Before: all factory, not a single upgrade yet.


After a bit of emissions removal and removal of ac and ps:
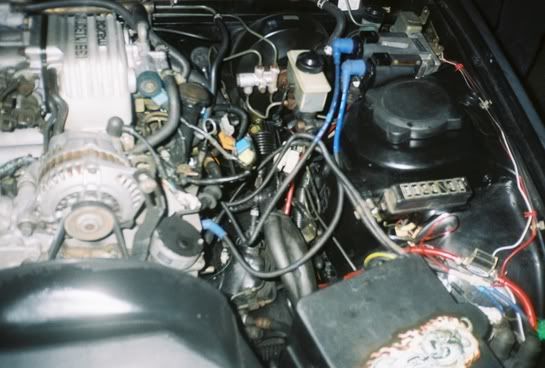
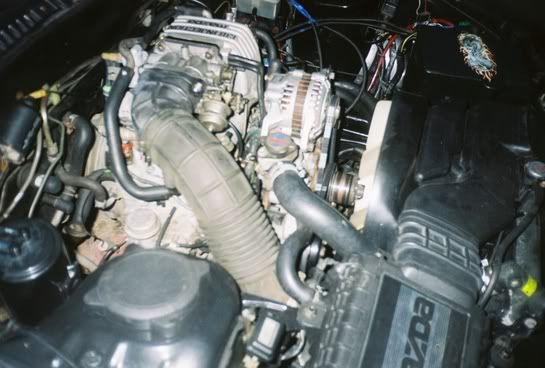
After: One swap later and my FD alternator, RB header and presilencer, and emissios removal.
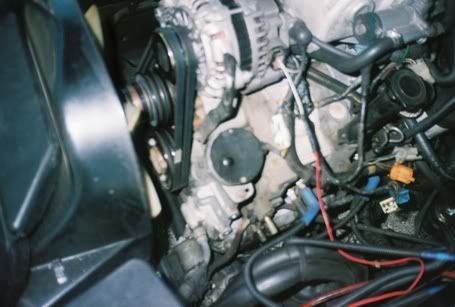
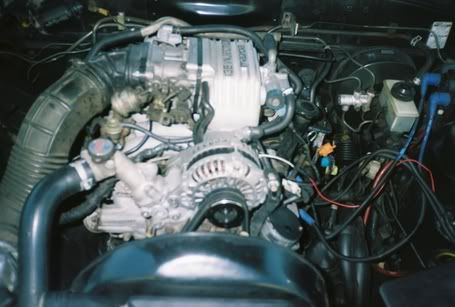
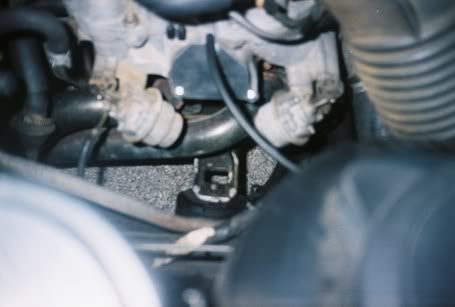
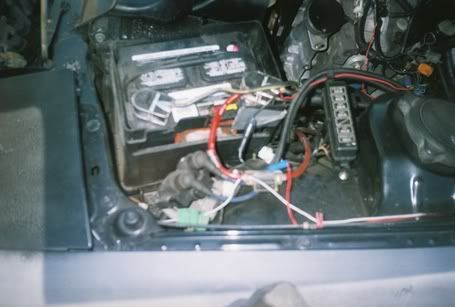
Oh, and the RB presilencer, paint never lasted a day....
::ENGINE BAY::
Before: all factory, not a single upgrade yet.


After a bit of emissions removal and removal of ac and ps:


After: One swap later and my FD alternator, RB header and presilencer, and emissios removal.


Oh, and the RB presilencer, paint never lasted a day....


Last edited by FirstRotaryExp; 05-25-06 at 09:10 PM.
#35
Thread Starter
Joined: Sep 2005
Posts: 2,777
Likes: 1
From: Dandridge, Tennessee
Feel free to leave a comment or two, shes put on about 8ooo-9ooo miles since the engine swap, and so far the oil seals seem to loose full seal at redline....
I also apologize for the crappy quality, its what happens when you have a pos camera.
I also apologize for the crappy quality, its what happens when you have a pos camera.
Last edited by FirstRotaryExp; 05-25-06 at 09:11 PM.
#37
Thread Starter
Joined: Sep 2005
Posts: 2,777
Likes: 1
From: Dandridge, Tennessee
Originally Posted by sintri
does the presilencer pass emissions?
#38
Good job, just ot give you a little heads up. you want th edarkest tint possible I'll tell you what my friend did. He went to an eye doctor and said that his eyes are really sensetive an dhe has to do alot of driving and requested very dark window tinnting for his car. Well there is no test for eye sensetivity so the eye doctor took his word for it and gave him a permit. This is the story my friend told me so if anyone wants to post BS after this post don't get mad at misinformation, I'm saying what i've heard but it's one of those trhings you can try without any loss if it doesn't work.
#39
Thread Starter
Joined: Sep 2005
Posts: 2,777
Likes: 1
From: Dandridge, Tennessee
Lol, yeah, tinting is on the list of stuff to do, but not till the very end, ive got a rebuild and body work to do before my stereo and interior go together.
#40
Thread Starter
Joined: Sep 2005
Posts: 2,777
Likes: 1
From: Dandridge, Tennessee
Finally got the new shoes in for the NA. A full set of rims from a mitsubishi starion. Its a pair of 16x8's for the back and 16x7's for the front.

Only one of the 16x7's are not pictured, I hope to have them on the car soon....cant afford to since i got the first ticket inthe new TII....(Points to sig)
signature removed for being radically oversized

Only one of the 16x7's are not pictured, I hope to have them on the car soon....cant afford to since i got the first ticket inthe new TII....(Points to sig)
signature removed for being radically oversized
Last edited by Icemark; 07-13-06 at 02:01 AM.
#41
Thread Starter
Joined: Sep 2005
Posts: 2,777
Likes: 1
From: Dandridge, Tennessee
Ouch, 2 years without an update....
Decided to take a different route with my project. She's still daily driven, now getting 20-23mpg avg between city/highway/dragon driving.
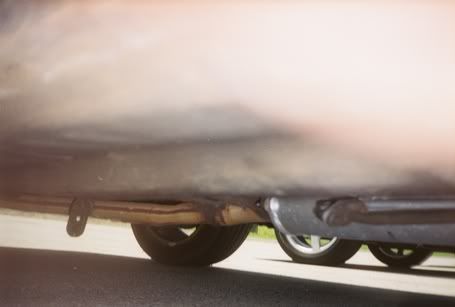
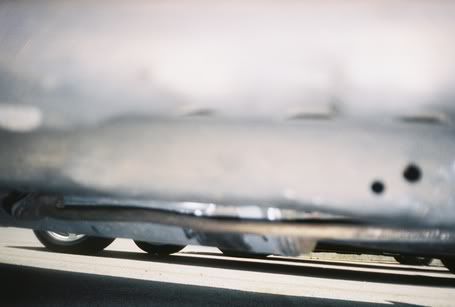
Exhaust setup: Currently the car is equipped with Racing Beat header/Presilencer combo finished off with a custom straight pipe to an ebay purchased muffler. Its not as quite as the stock ypipe/muffler setup I used to have, but it is a great deal quieter than an open header as well.
(only picture of my muffler right now)
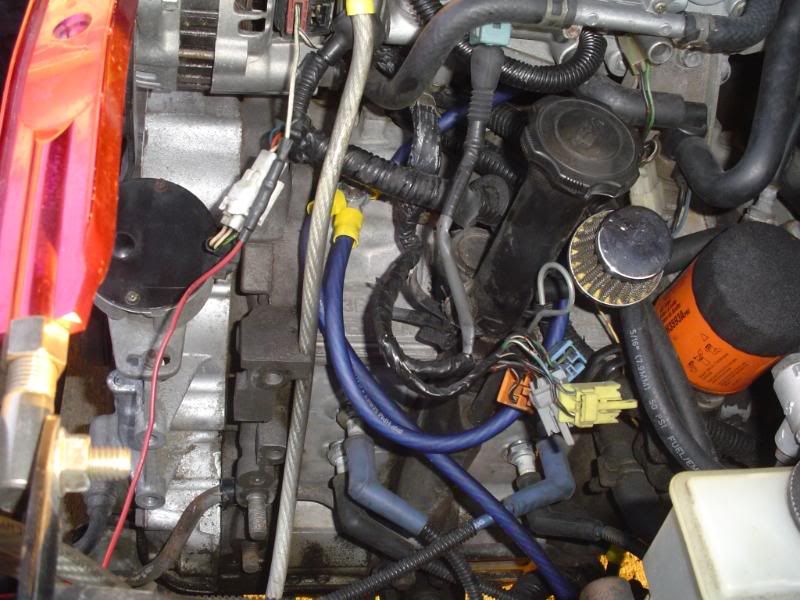
Engine setup: Currently im on my third engine. Bought this one from someone who was doing a turbovert. Engine is a 55k mile Mazda reman, stock internals, still without emissions. FPD has been removed and a banjo bolt from the secondary fuel rail is in place (works fine to me). Power steering 100% removed and a manual rack installed, AC compressor removed as well as all underhood related components. Alternator is still a S6 (FD) Unit with a double sheave V-belt pulley. Oil pedestal also removed and one from ReSpeed installed, this 'upgrade' allowed me to run two new electrical gauges without drilling and tapping into the block or using any other adapters. Clutch is from my first engine, a centerforce PP with organic clutch. Stock clutch fan trashed in favor of a 2speed electric fan out of a 1994 Ford Taurus (similar fan can also be found on Ford Escort and Escort GT's of the same years). Fan is currently wired to the low setting only and cools just fine, even under hard driving conditions. And finally, added new ground wires as well as two new power wires for the starting and charging system.
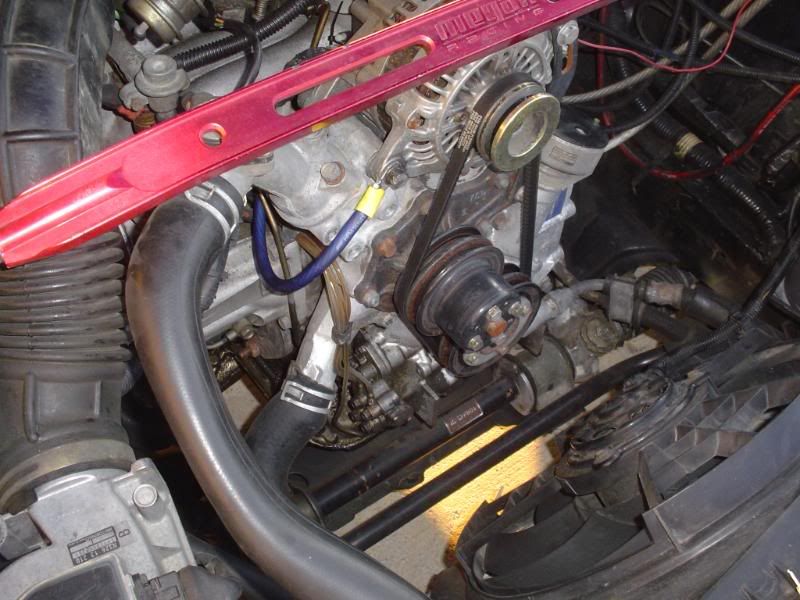
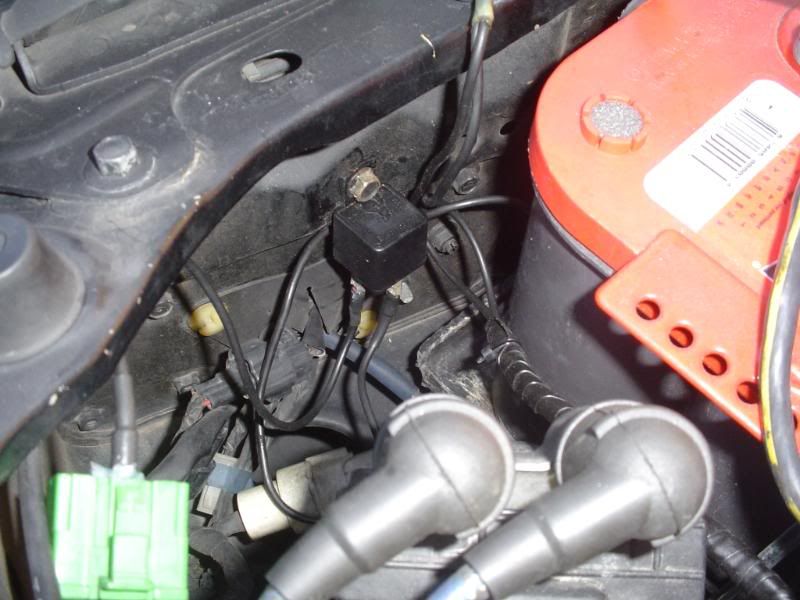
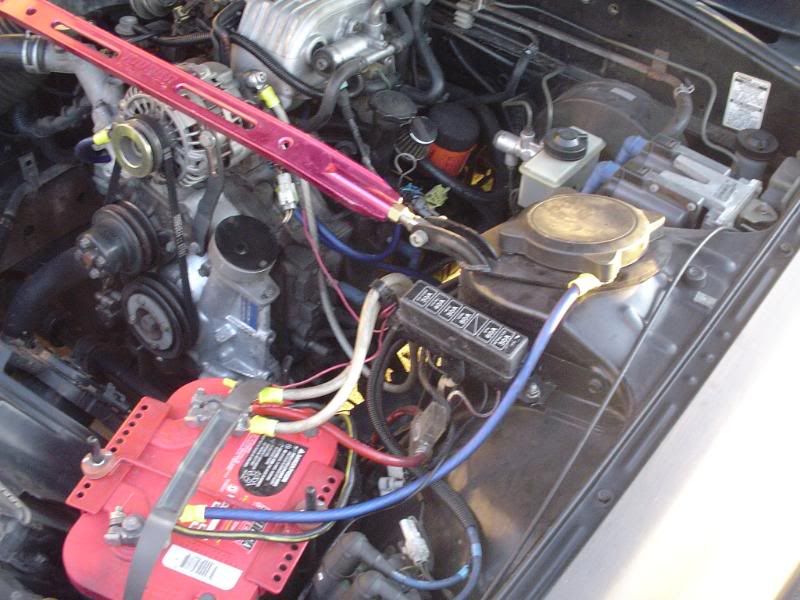
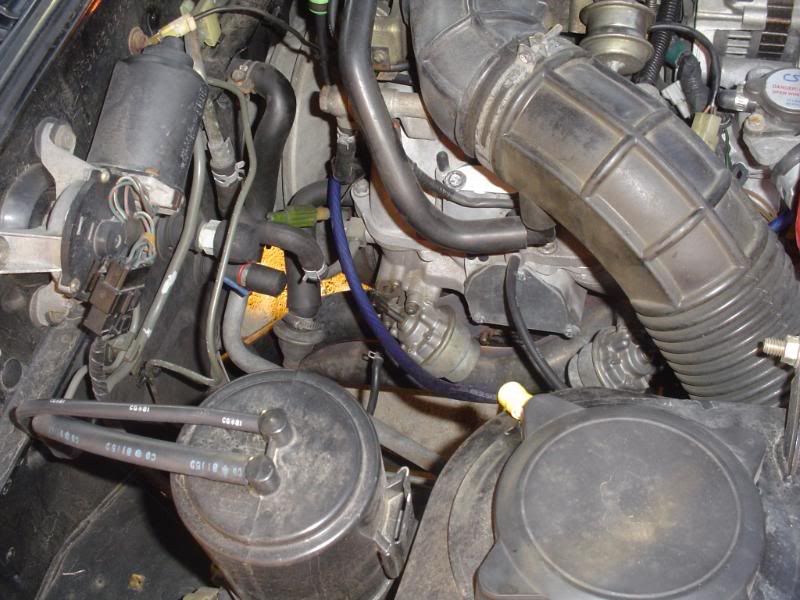
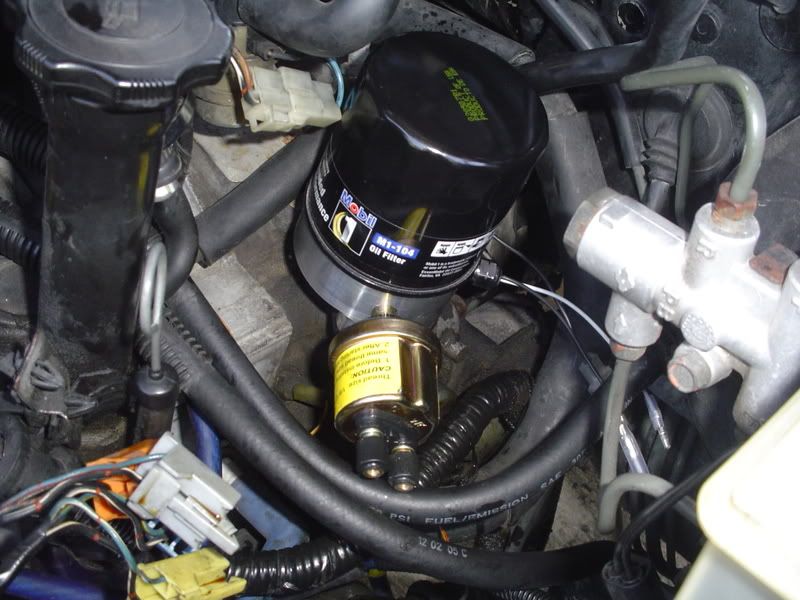
Decided to take a different route with my project. She's still daily driven, now getting 20-23mpg avg between city/highway/dragon driving.
Exhaust setup: Currently the car is equipped with Racing Beat header/Presilencer combo finished off with a custom straight pipe to an ebay purchased muffler. Its not as quite as the stock ypipe/muffler setup I used to have, but it is a great deal quieter than an open header as well.
(only picture of my muffler right now)

Engine setup: Currently im on my third engine. Bought this one from someone who was doing a turbovert. Engine is a 55k mile Mazda reman, stock internals, still without emissions. FPD has been removed and a banjo bolt from the secondary fuel rail is in place (works fine to me). Power steering 100% removed and a manual rack installed, AC compressor removed as well as all underhood related components. Alternator is still a S6 (FD) Unit with a double sheave V-belt pulley. Oil pedestal also removed and one from ReSpeed installed, this 'upgrade' allowed me to run two new electrical gauges without drilling and tapping into the block or using any other adapters. Clutch is from my first engine, a centerforce PP with organic clutch. Stock clutch fan trashed in favor of a 2speed electric fan out of a 1994 Ford Taurus (similar fan can also be found on Ford Escort and Escort GT's of the same years). Fan is currently wired to the low setting only and cools just fine, even under hard driving conditions. And finally, added new ground wires as well as two new power wires for the starting and charging system.


#43
Thread Starter
Joined: Sep 2005
Posts: 2,777
Likes: 1
From: Dandridge, Tennessee
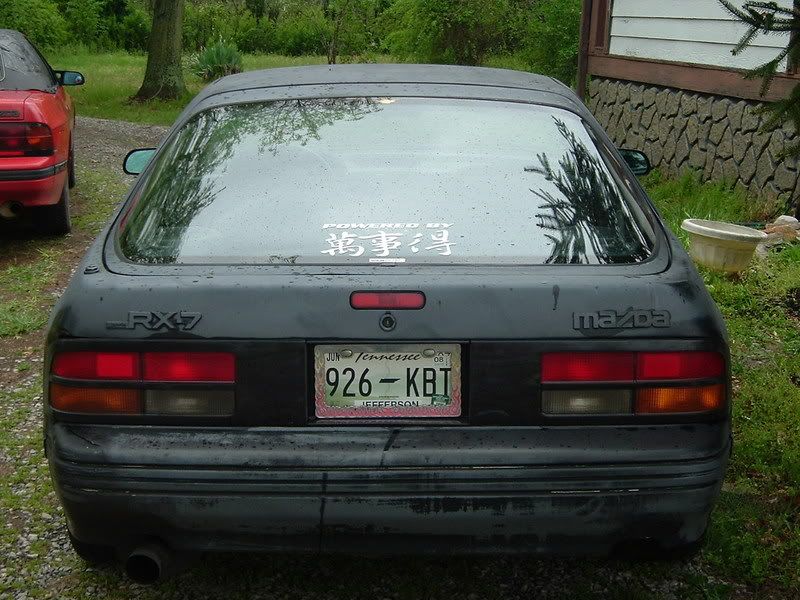
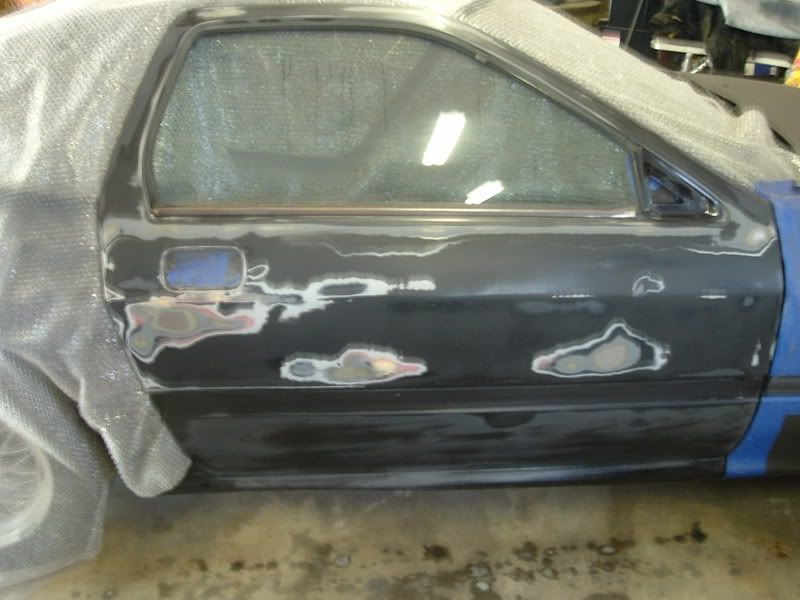
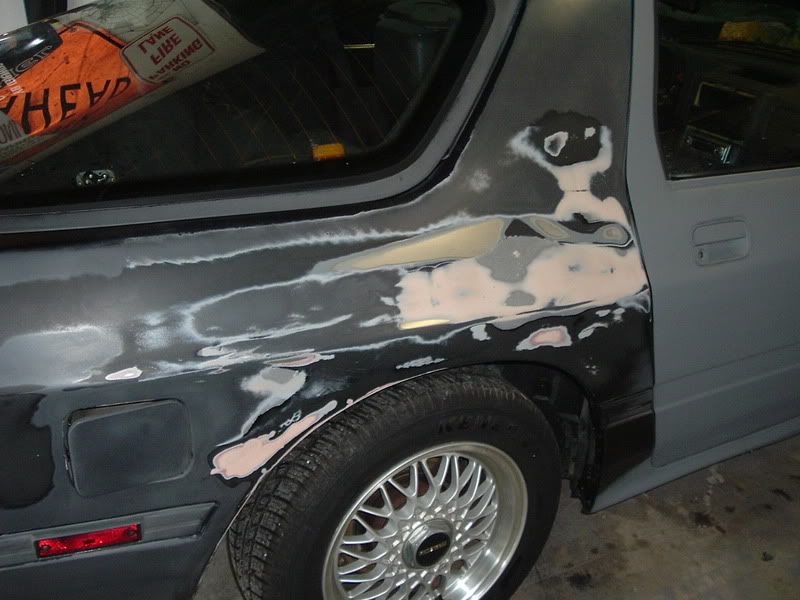
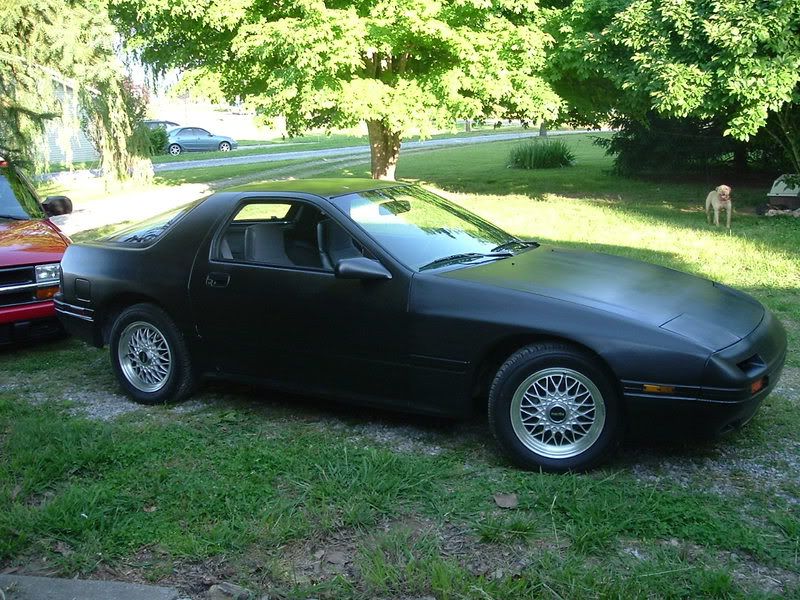
Body: Currently I have resprayed the entire car in Krylon satin black just to look cleaner than the old shitty primer that was once covering the car. Beneath the two coats of black are two coats of krylon primer, no body work other than sanding of some area's was done. Partial S5 body conversion performed as well, I have most of the mouldings installed on the rear, an the front mouldings installed on separate fenders, missing door mouldings and both bumpers (Seller hasnt made an effort to contact me since being refunded some of my shipping cost, an its been nearly 8 months), also have S5 tails (slightly modernized) installed.
(passenger side has been in an accident, not during my ownership, and all old bodywork is currently cracking.)
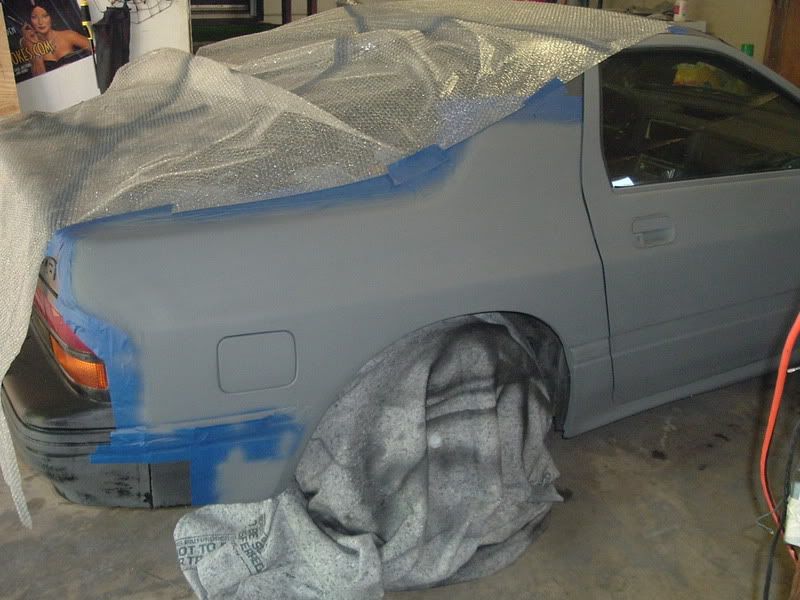
(current look)
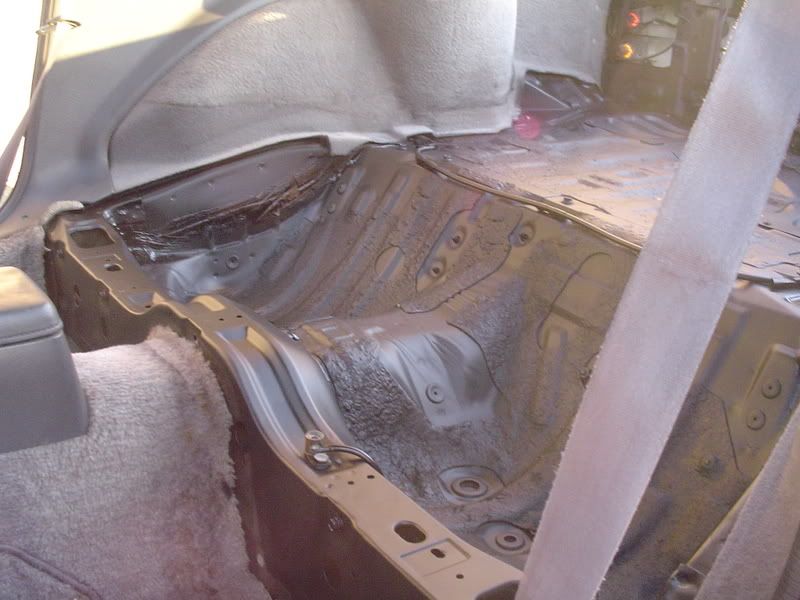
Interior: Ive decided to go the route of weekend/track car, so the entire rear compartment is now removed aside from some of the side carpeting. No more bins, nor my old subwoofers, no rear carpet, and after I get my Conquest running properly, there wont be anything left of the stereo system.
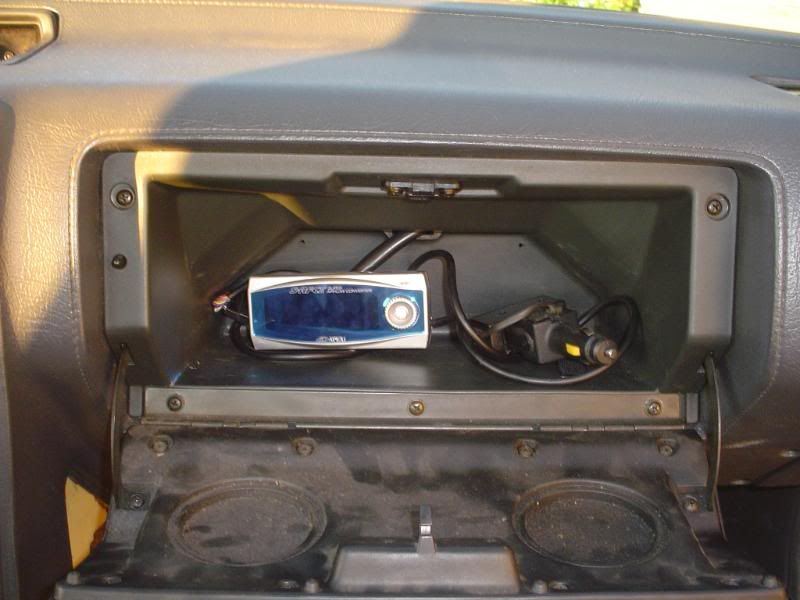
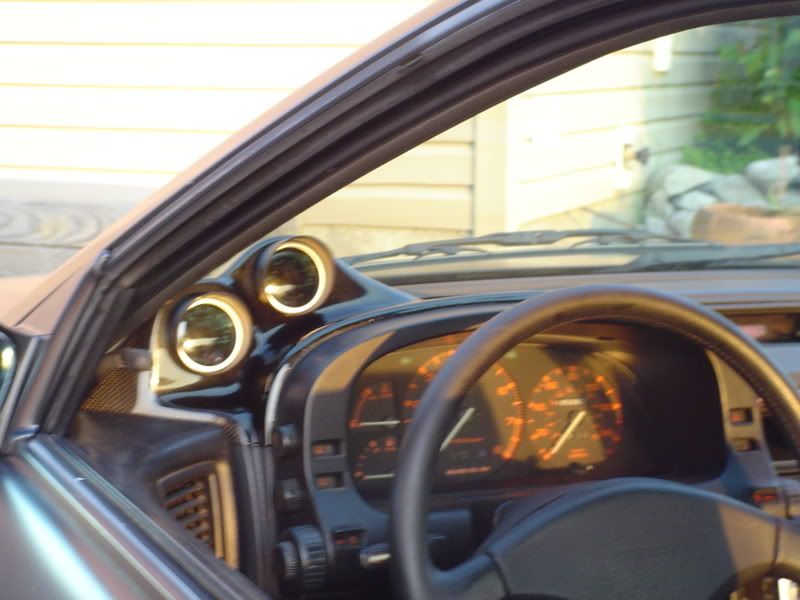
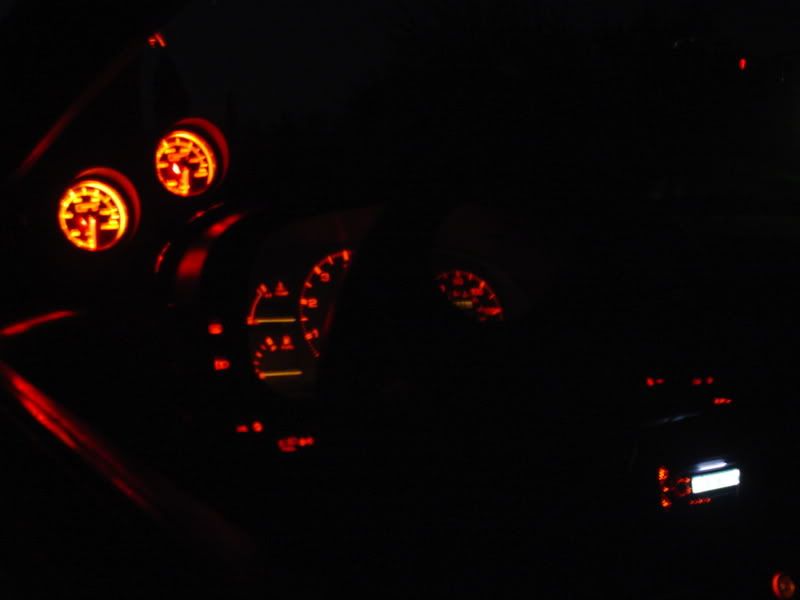
Moved my SAFC-II from the ashtray area into the glovebox, installed a carbon fiber gauge pod over the stock gauge area. This allowed two things, first to hide my bubbling dash top in that area, and to give some much needed gauge pods without being up on the pillar.
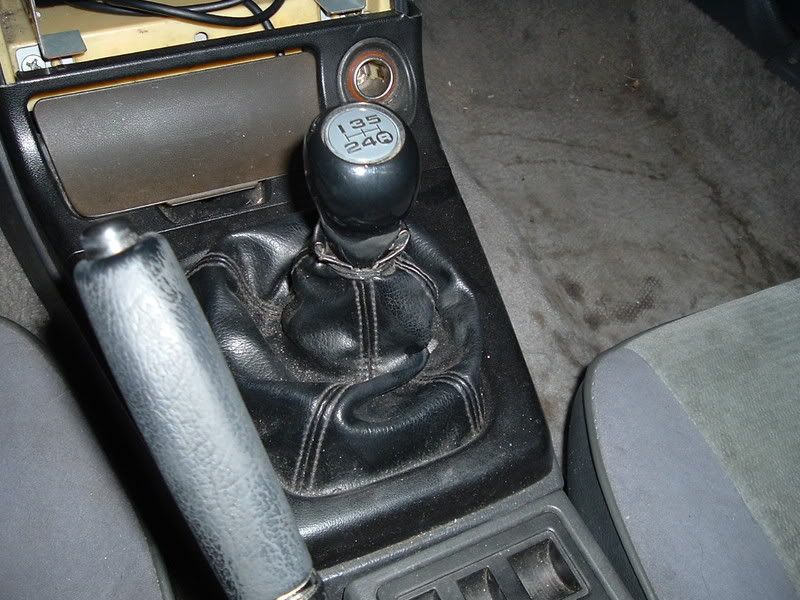
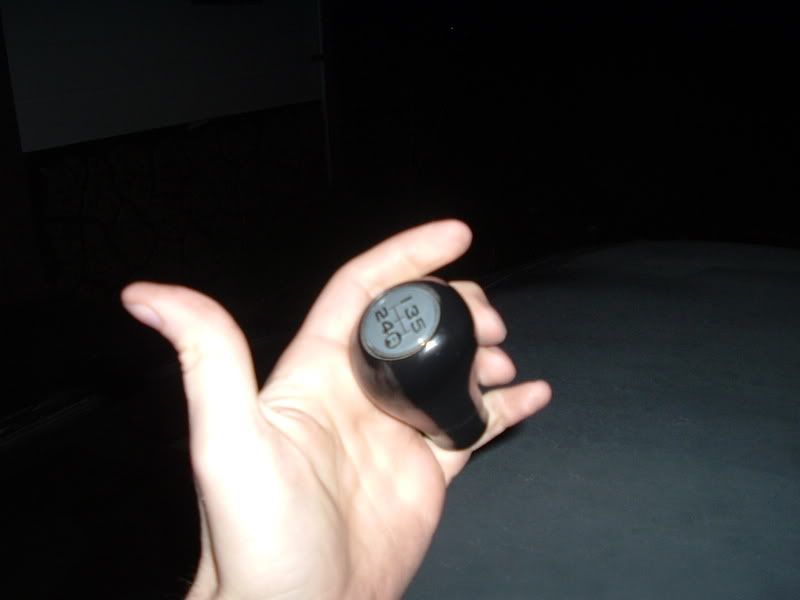
And after much searching, the shift **** is out of a Toyoto Celica All-Trac, it is NOT a short shifter but rather the **** sits much lower on the post than stock, all celica shifters (notably the Supra Celica's) will fit S4 threading and sit as low.
Door panels are now also black S5 NA manual(no picture to date).
(passenger side has been in an accident, not during my ownership, and all old bodywork is currently cracking.)


(current look)

Interior: Ive decided to go the route of weekend/track car, so the entire rear compartment is now removed aside from some of the side carpeting. No more bins, nor my old subwoofers, no rear carpet, and after I get my Conquest running properly, there wont be anything left of the stereo system.
Moved my SAFC-II from the ashtray area into the glovebox, installed a carbon fiber gauge pod over the stock gauge area. This allowed two things, first to hide my bubbling dash top in that area, and to give some much needed gauge pods without being up on the pillar.
And after much searching, the shift **** is out of a Toyoto Celica All-Trac, it is NOT a short shifter but rather the **** sits much lower on the post than stock, all celica shifters (notably the Supra Celica's) will fit S4 threading and sit as low.
Door panels are now also black S5 NA manual(no picture to date).


#44
Thread Starter
Joined: Sep 2005
Posts: 2,777
Likes: 1
From: Dandridge, Tennessee
Suspension/wheels/brakes: Currently still installed are factory Mazda 4-piston front calipers with cheap O'reilly Auto Parts vented rotors and pads, rear is still factory base model calipers with the 5 lug rotor and the same cheap (non vented)rotors and pads.
Wheels are factory vert BBS meshies mounted on cheap 195/60 tires (tires were free off a vert i had bought) ive chosen to also not run the centercaps, which I also have a spare set of BBS meshies mounted with 204/50 hoosiers for autocross.
Suspension is also factory, and well on its way to 200k miles old and showing every bit its age. Ive only replaced the front swaybar since I had bent the original in a freak accident which also destroyed the original radiator. All bushings/mounts/springs/shocks/struts need replaced/upgraded in the near future. Front hubs need new bearings, which they will get once another set of hubs are sourced and worked on to install the new bearings/seals. Also installed is a front sway bar of unknown manufacture.
(pictures of wheels/tires are above)
Transmission has unknown miles on it, though during hard shifts from 2nd to 3rd the gears grind a bit and down shifting 3rd to 2nd it grinds, needs replaced for a lower mileage unit or 100% rebuilt depending on funds.
#45
Thread Starter
Joined: Sep 2005
Posts: 2,777
Likes: 1
From: Dandridge, Tennessee
NEW GOALS!
-Replace cheap rotors and pads with vented slotted front and rear, and hawk HPS pads all around.
-Replace tires with a larger 205/55 or 205/60 tire on the BBS mesh for now. Down the road hope to acquire a larger set of 16x8 or 17x8 BBS RK or RM mesh with a set of 225/40 Nitto 555 tires.
-upgrade suspension and lower it at least 1-2 inches, coilovers not a nesessity(sp?)
-remove all wiring that no longer has a purpose, as well as all remnants of the stereo and grind out the rear speaker towers, install a rear strut tower bar.
-remove the last of the ac components inside the car, eliminate logicon, wire up the heater assemblies to only blow full hot, full power, and defrost/floor only.
-remove stock base seats in favor of a single Infini III seat for the drivers side, add 4pt cage for my safety.
-mild streetport with S5 rotors and a lightened flywheel.
-replace steel hood in favor of a GT300 (I think El Nene 7 has a prime example) in either fiberglass or CF.
-possibly run wider front fenders and pull the rear if I ever need/want a larger wheel combo.
-upgrade ecu from stock w/piggyback to a standalone such as the Rtek 2.0
-get a front undertray fabricated out aluminum, get an RE-Amemiya rear diffuser, source and install T2 sideskirts and a front lip for S5 bumpers.
-have body work fixed 100% and car repainted in a satin/flat black, add one or two tasteful decals (my tastes that is)
#46
Thread Starter
Joined: Sep 2005
Posts: 2,777
Likes: 1
From: Dandridge, Tennessee
Did some work to the ongoing project over the weekend.
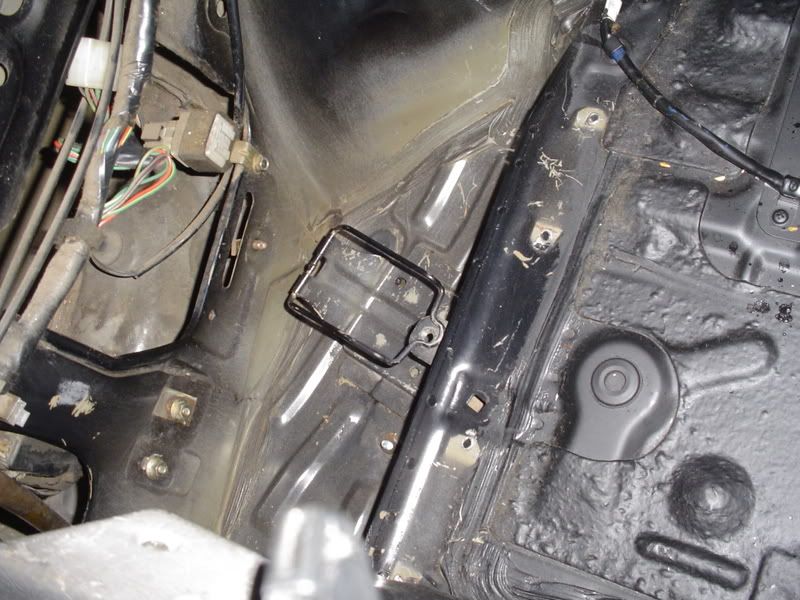
Removed stereo head unit, majority of my old amp wiring, rear speakers, rewired the V1 to use the stereo harness's power wire, and thoroughly cleaned out the spare tire well and the left and right rear corners to get rid of the last of the old gear oil smell, and removed the last of the rear carpeting. So far everything removed minus the rear side carpet, rear hatch carpet, has totalled to 16lbs saved. Still have to go back and primer and then flat black the hatch area again to make it more uniform in color, and also remove the speaker towers in the back.
Pics:
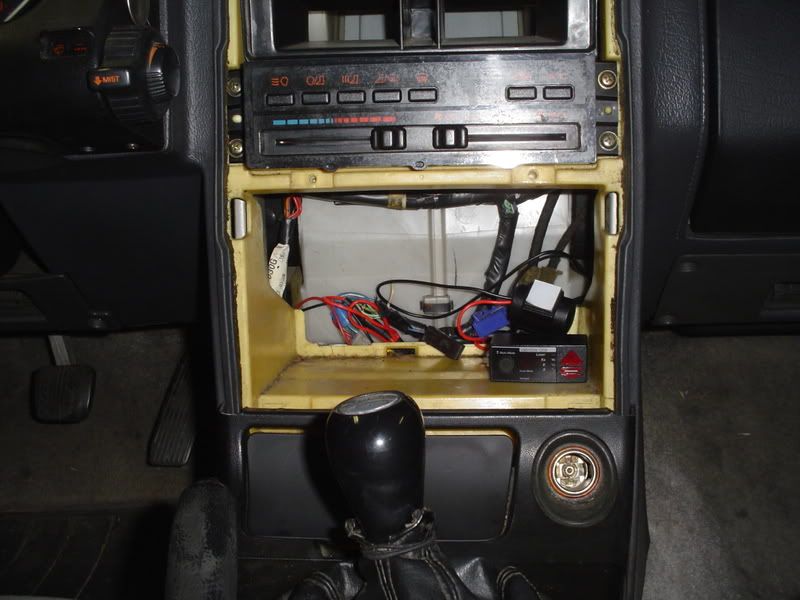
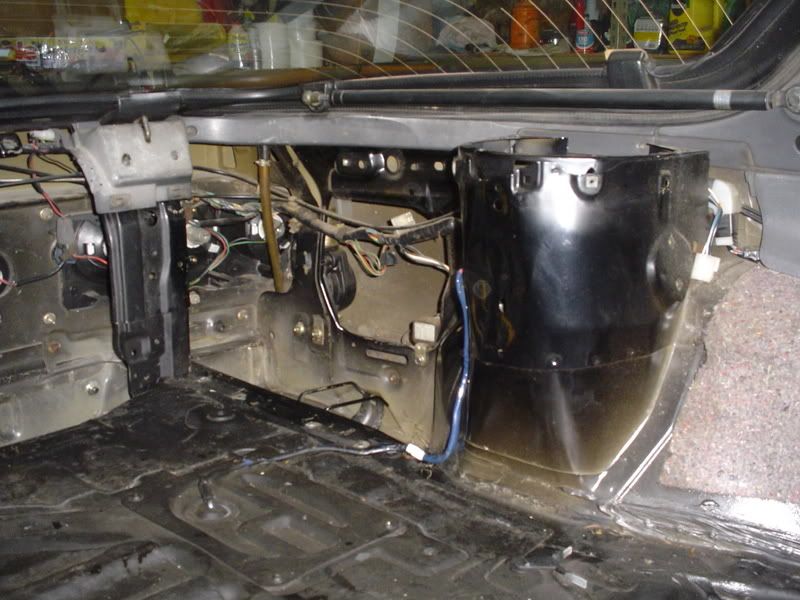
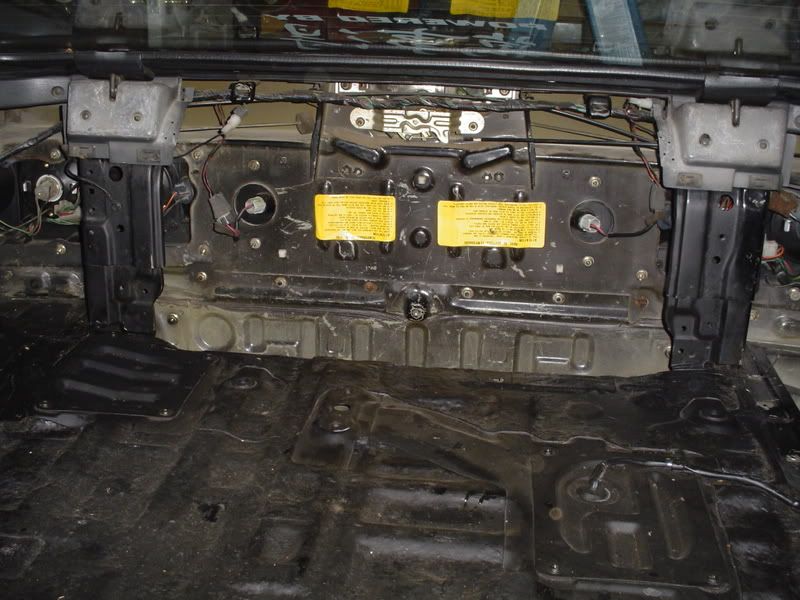
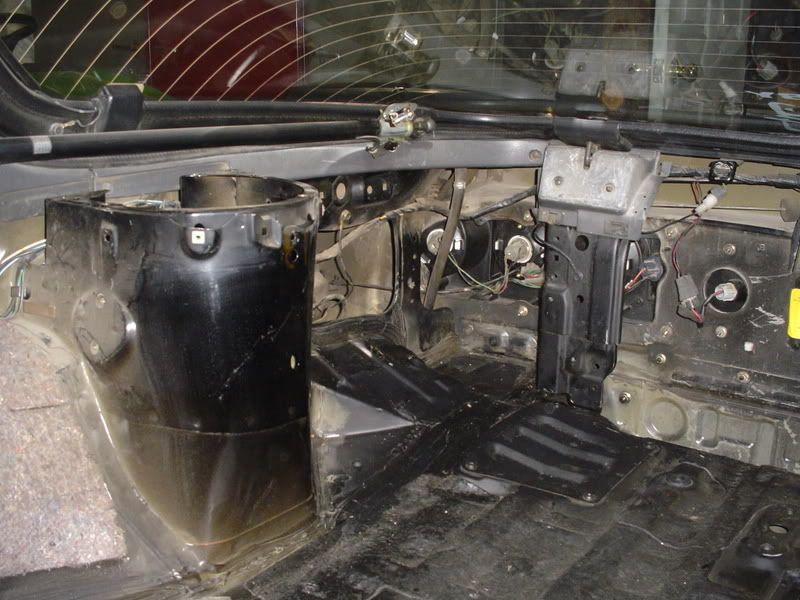
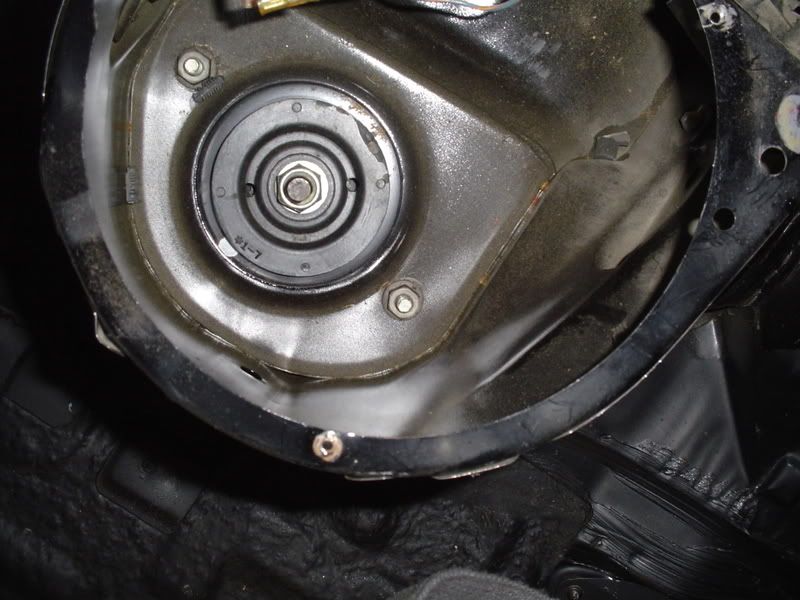
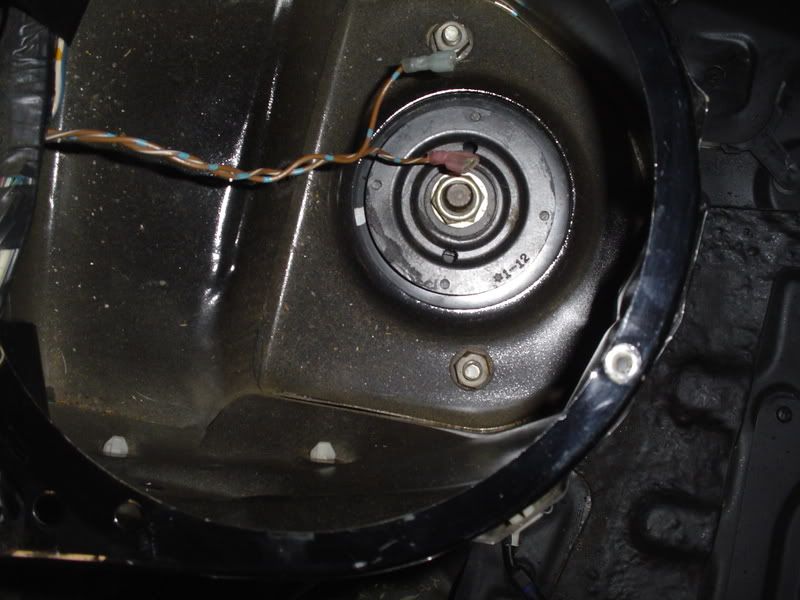
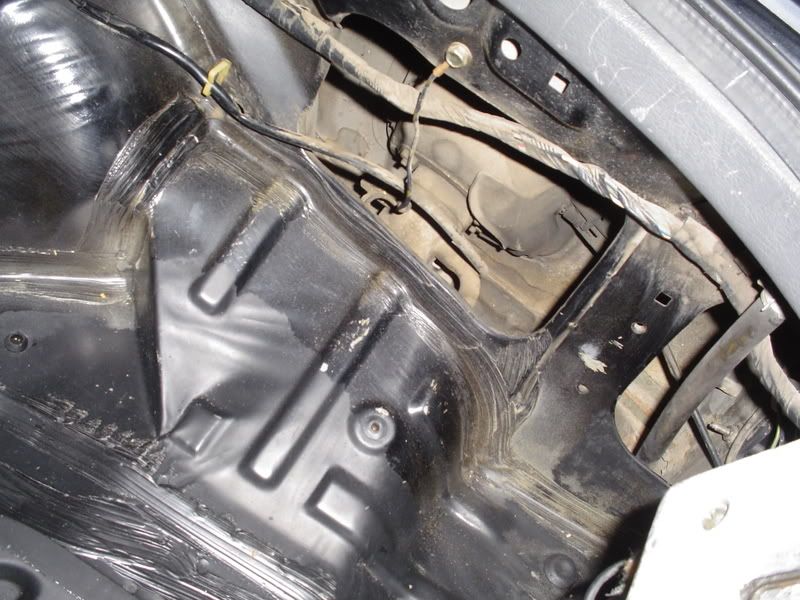
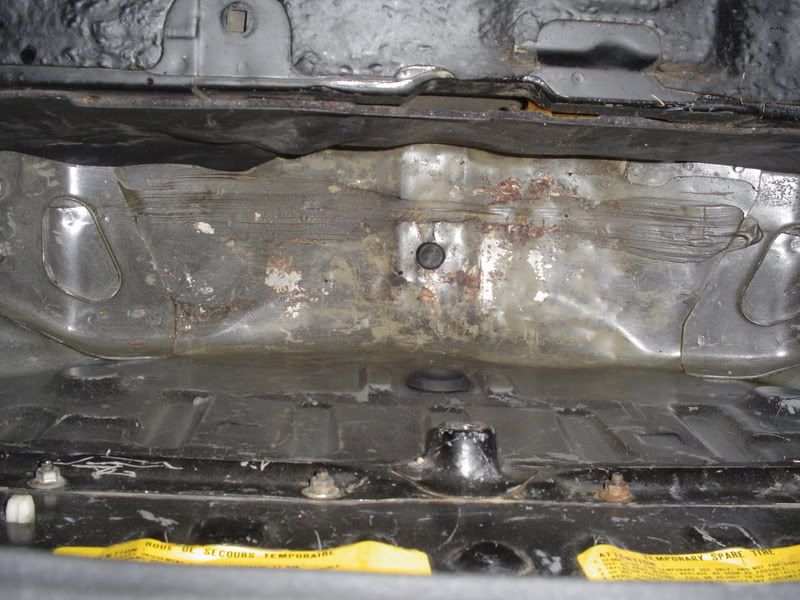


Thread
Thread Starter
Forum
Replies
Last Post
datfast1
Old School and Other Rotary
18
06-20-19 11:53 PM


