My $600T2 project.
 05-14-07, 04:30 PM
#51
On the prowl for an FB
Thread Starter
iTrader: (1)
Join Date: Sep 2002
Location: Surrounded by Sebey parts, Rhode Island
Posts: 2,932
Likes: 0
Received 6 Likes
on
4 Posts
Came with the kit I bought. Why? Is there a better choice?

 05-14-07, 07:17 PM
#55
05-16-07, 10:14 PM
#62
i would think a proper stand alone and bigger injectors with a better fuel pump would more than suffice for anything. plus you dont run the risc of destroying your injectors.
05-27-07, 05:23 PM
#63
On the prowl for an FB
Thread Starter
iTrader: (1)
Join Date: Sep 2002
Location: Surrounded by Sebey parts, Rhode Island
Posts: 2,932
Likes: 0
Received 6 Likes
on
4 Posts
well... some may argue about it saying that it works fine and what not, but its not an exact way to deliver fuel.
i would think a proper stand alone and bigger injectors with a better fuel pump would more than suffice for anything. plus you dont run the risc of destroying your injectors.
i would think a proper stand alone and bigger injectors with a better fuel pump would more than suffice for anything. plus you dont run the risc of destroying your injectors.
In the meantime, here's an update of progress:
The entire interior is out. Everything has been cleaned, vacuumed, shampooed, etc. I swapped in a functional, non-rusted sunroof, so that's handled. I put down an assload of sound deadening, just the basic stuff you get at Home Depot for $125 a roll. Started on the subwoofer enclosure.
Here's some pics:
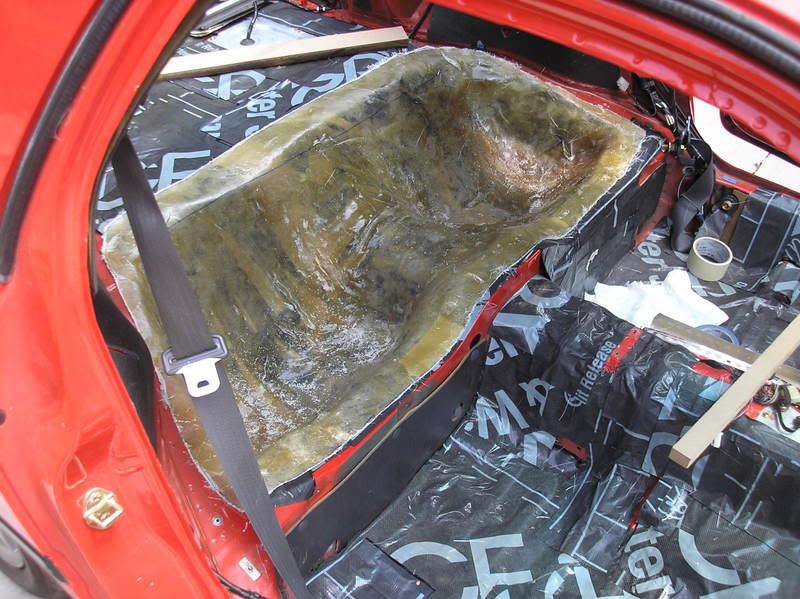
I put down the sound deadening material where the bins used to be, then put down aluminum foil over it, followed by painters tape, so that the fiberglass bottom of the enclosure will be able to be pulled out.
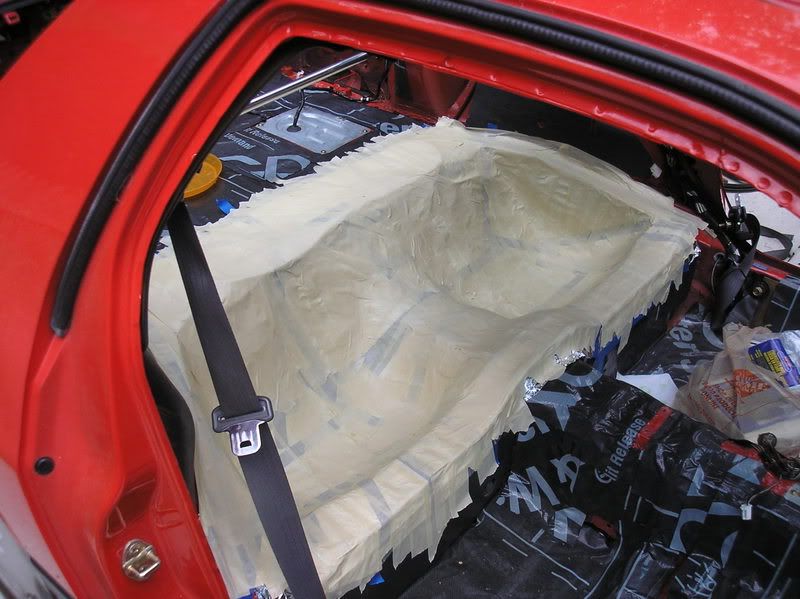
Then I sprayed the tape with spray adhesive and put the mat down.
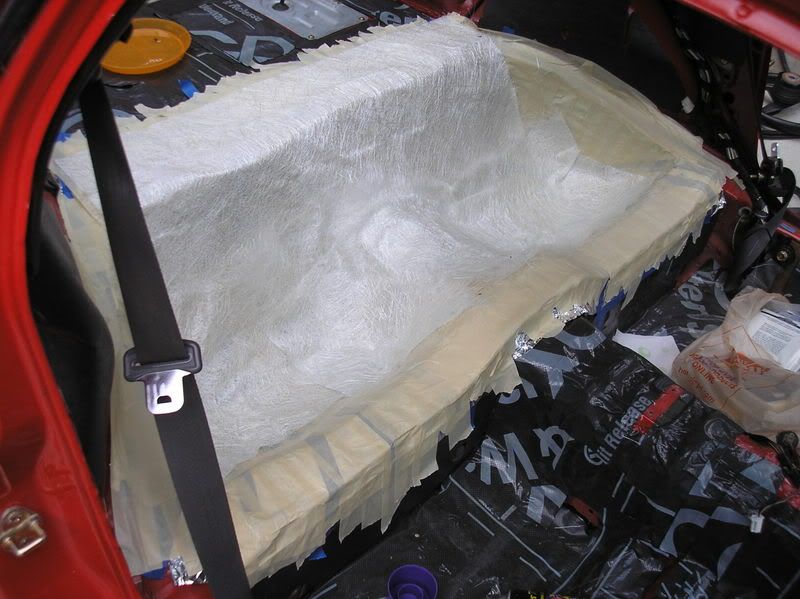
I put resin on the mat, then put a piece of fiberglass cloth over it, covered it with resin again, let it dry, then did another layer of mat and another layer of cloth. Probably overkill, but I had the material, so it was no big thing.
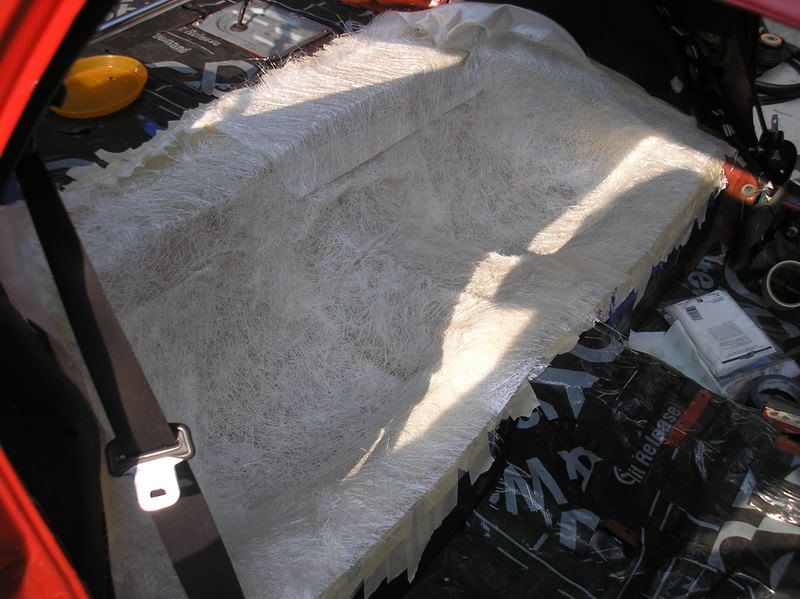
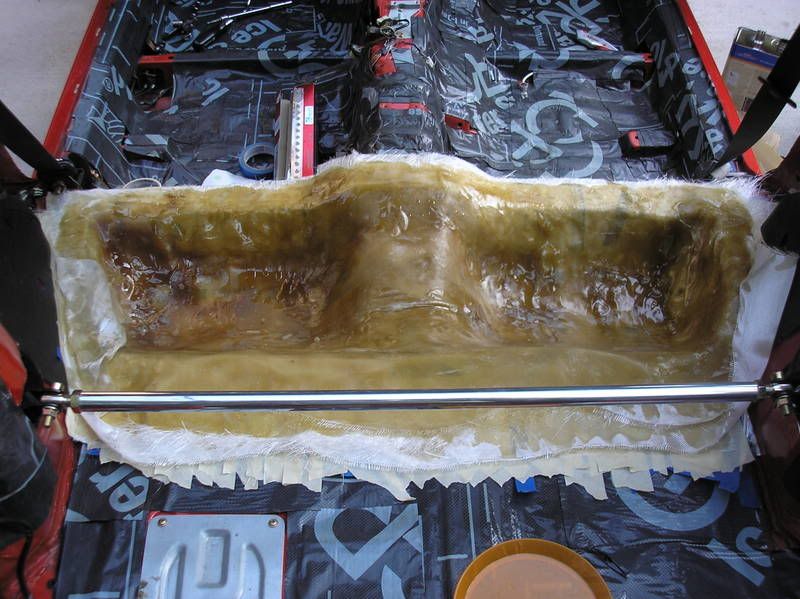
And here it is drying. I'm going to let it cure overnight, yank it in the morning, trim the edges, and start building the top half of the enclosure. It will be MDF, most likely. Each side of the enclosure will be 1.5 cu ft, and house a 12" Fosgate sub firing directly into the seat backs. Should be a nice massage if nothing else.

 05-27-07, 06:37 PM
#65
On the prowl for an FB
Thread Starter
iTrader: (1)
Join Date: Sep 2002
Location: Surrounded by Sebey parts, Rhode Island
Posts: 2,932
Likes: 0
Received 6 Likes
on
4 Posts
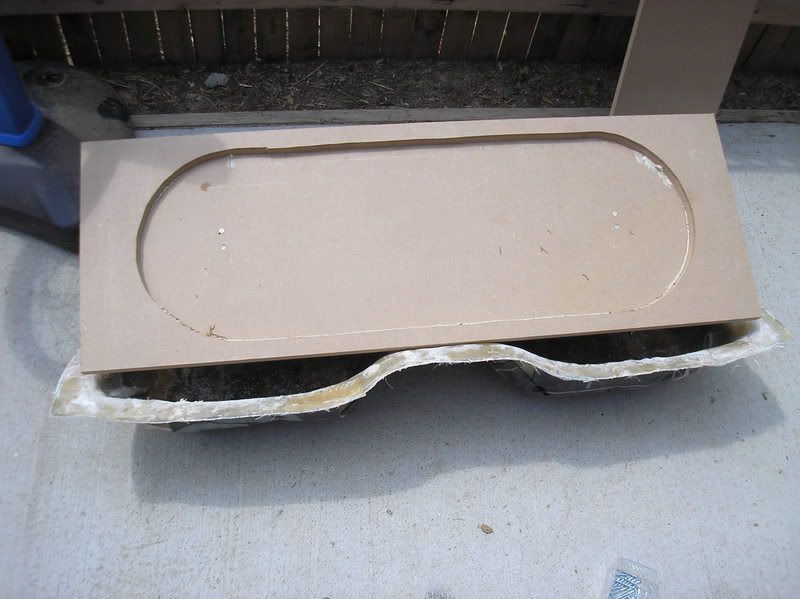
I checked the enclosure, it was dry enough to pull it out now. So, I yanked it, and uncovered the bottom to let it fully dry through. Once it's fully dry, I'm going to cover the bottom in the sound deadening stuff, too.
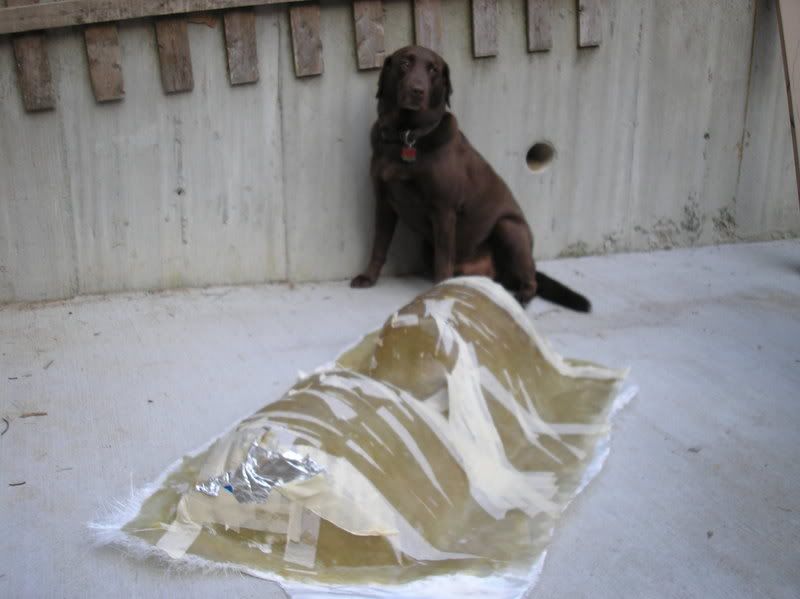
And since Mayhem has a fan, here's a pic. He turns 6 tomorrow, he is getting homemade peanut butter biscuits for his party.

And since Mayhem has a fan, here's a pic. He turns 6 tomorrow, he is getting homemade peanut butter biscuits for his party.
05-28-07, 01:39 PM
#66
On the prowl for an FB
Thread Starter
iTrader: (1)
Join Date: Sep 2002
Location: Surrounded by Sebey parts, Rhode Island
Posts: 2,932
Likes: 0
Received 6 Likes
on
4 Posts
Here's todays progress:
I trimmed the edges of the bottom of the enclosure.
Then, I decided that I wanted to recess mount the subs, so I cut two pieces of MDF. I cut out an opening in the larger piece, then glued the smaller piece to it with liquid nails.
I made a brace to mount it to the base of the enclosure out of MDF, too.
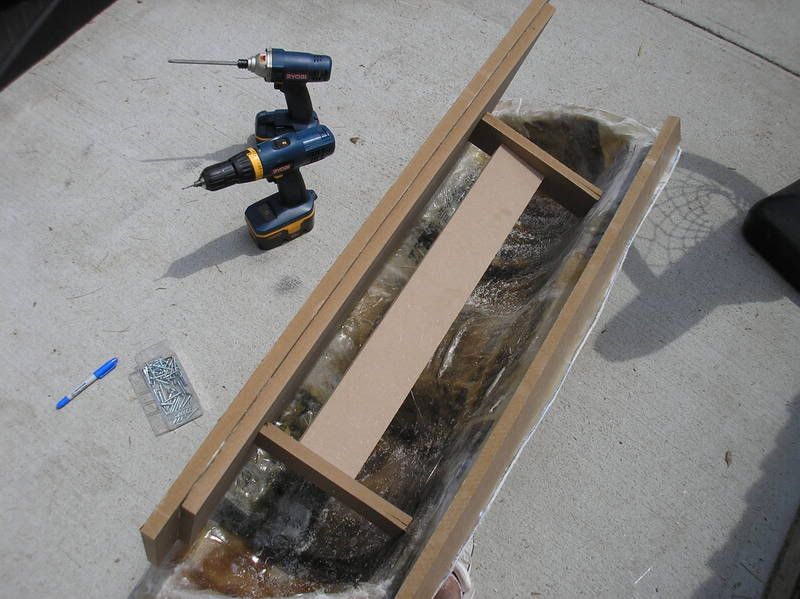
Once I mounted the front piece to it, I removed the bridge between the two uprights of the brace. I decided to just wrap the whole thing with fleece, and spray glued the fleece to the bottom of the enclosure. I got it as smooth as I felt like getting it, knowing that I will sand and bondo it once it's done.
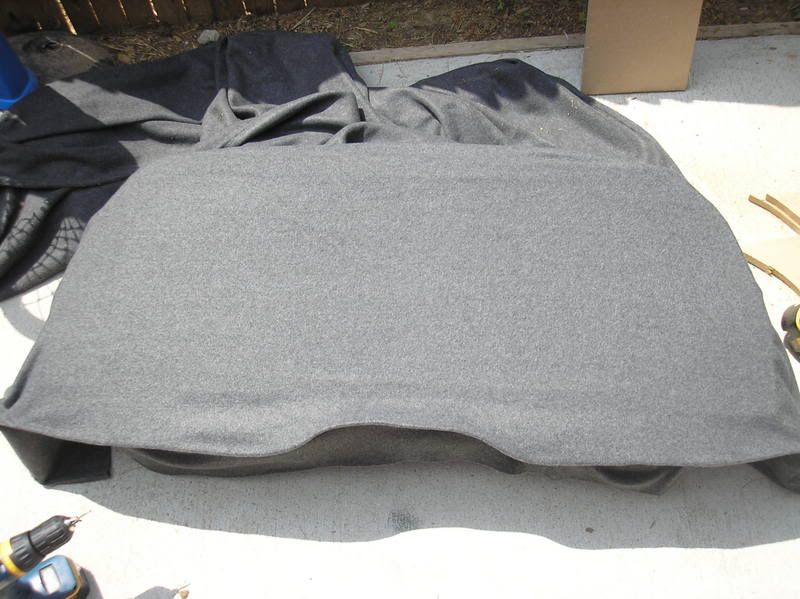
So, that's that thus far. I'm applying resin in stages, so right now is lunch break. After it dries on the front, I'll flip it and apply the resin to the back. Hopefully I will be able to test the enclosure tonight, but if not, that's ok.
I trimmed the edges of the bottom of the enclosure.
Then, I decided that I wanted to recess mount the subs, so I cut two pieces of MDF. I cut out an opening in the larger piece, then glued the smaller piece to it with liquid nails.
I made a brace to mount it to the base of the enclosure out of MDF, too.
Once I mounted the front piece to it, I removed the bridge between the two uprights of the brace. I decided to just wrap the whole thing with fleece, and spray glued the fleece to the bottom of the enclosure. I got it as smooth as I felt like getting it, knowing that I will sand and bondo it once it's done.
So, that's that thus far. I'm applying resin in stages, so right now is lunch break. After it dries on the front, I'll flip it and apply the resin to the back. Hopefully I will be able to test the enclosure tonight, but if not, that's ok.
05-28-07, 01:44 PM
#67
well... some may argue about it saying that it works fine and what not, but its not an exact way to deliver fuel.
i would think a proper stand alone and bigger injectors with a better fuel pump would more than suffice for anything. plus you dont run the risc of destroying your injectors.
i would think a proper stand alone and bigger injectors with a better fuel pump would more than suffice for anything. plus you dont run the risc of destroying your injectors.
__________________________
 Nice looking project! Keep it up!
05-29-07, 08:07 PM
Nice looking project! Keep it up!
05-29-07, 08:07 PM
#68

A couple of hints for your enclosure since you PM'd for help. Do not use spray clue as it will come loose when the resin is applied as it eats it. You can stretch it tight and use hot glue or CA glue (fast dry catalist spray for instant cure) Then soak it in resin (cut the bristles to about an inch in legnth as it will help you push it in. Allow it to dry and cut you sub holes to do the inside. Now sand the outside to make it a little smoother and you can either fiberglass from the inside (PIA but neater appearence outside or fiberglass from the outside) You will need at least 6 layers of mat for a strong enclosure. I do around 5 layers on the outside and then do a mixture of fiberglass resin and a silica additive to make a thick past and coat the inside of the box.
Hope this helps.
John
Hope this helps.
John
05-29-07, 08:13 PM
#69
PS, if you realy get stumped on this, maybe we can set up a time for you to come down to CT and we can hammer this out in a day. My friend Sean from Jersey would love to come up, mabe make a mini meet/teach out of it.

