When you click on links to various merchants on this site and make a purchase, this can result in this site earning a commission. Affiliate programs and affiliations include, but are not limited to, the eBay Partner Network.
Too bad the s4 radio surround is (probably) too big for most printers, as they essentially don't even exist anymore in unbroken form.
Yeah, I went to an S5 part because of how fragile S4 is. But, again, there are printers that have a big enough print area to make one. Of course, there's still the matter of finishing the part to match (or at least closely match) the original.
That said, printing it in sections in a way that they have joins that can chemically welded together is a possibility.
Subbed for some great info. Printed several parts myself, coincidentally including a snap/adhered sun-visor clip, and you have nearly the same design for the TPS! Funny how we have to design these things.. I will say, I ended up with a Toyota (Tacoma) 3pin TPS, and the shaft adapter I oped for a metal screw-on insert instead of the plastic.. but great job nonetheless.
Running an Ender 3 Pro, with microswiss hotend for nylon & abs.
The issue with the common printers is definitely the bed size, and material selection.. They have conveyor-style ones that are bad a**, and can print way longer pieces. New resin printers for a smoother finish.
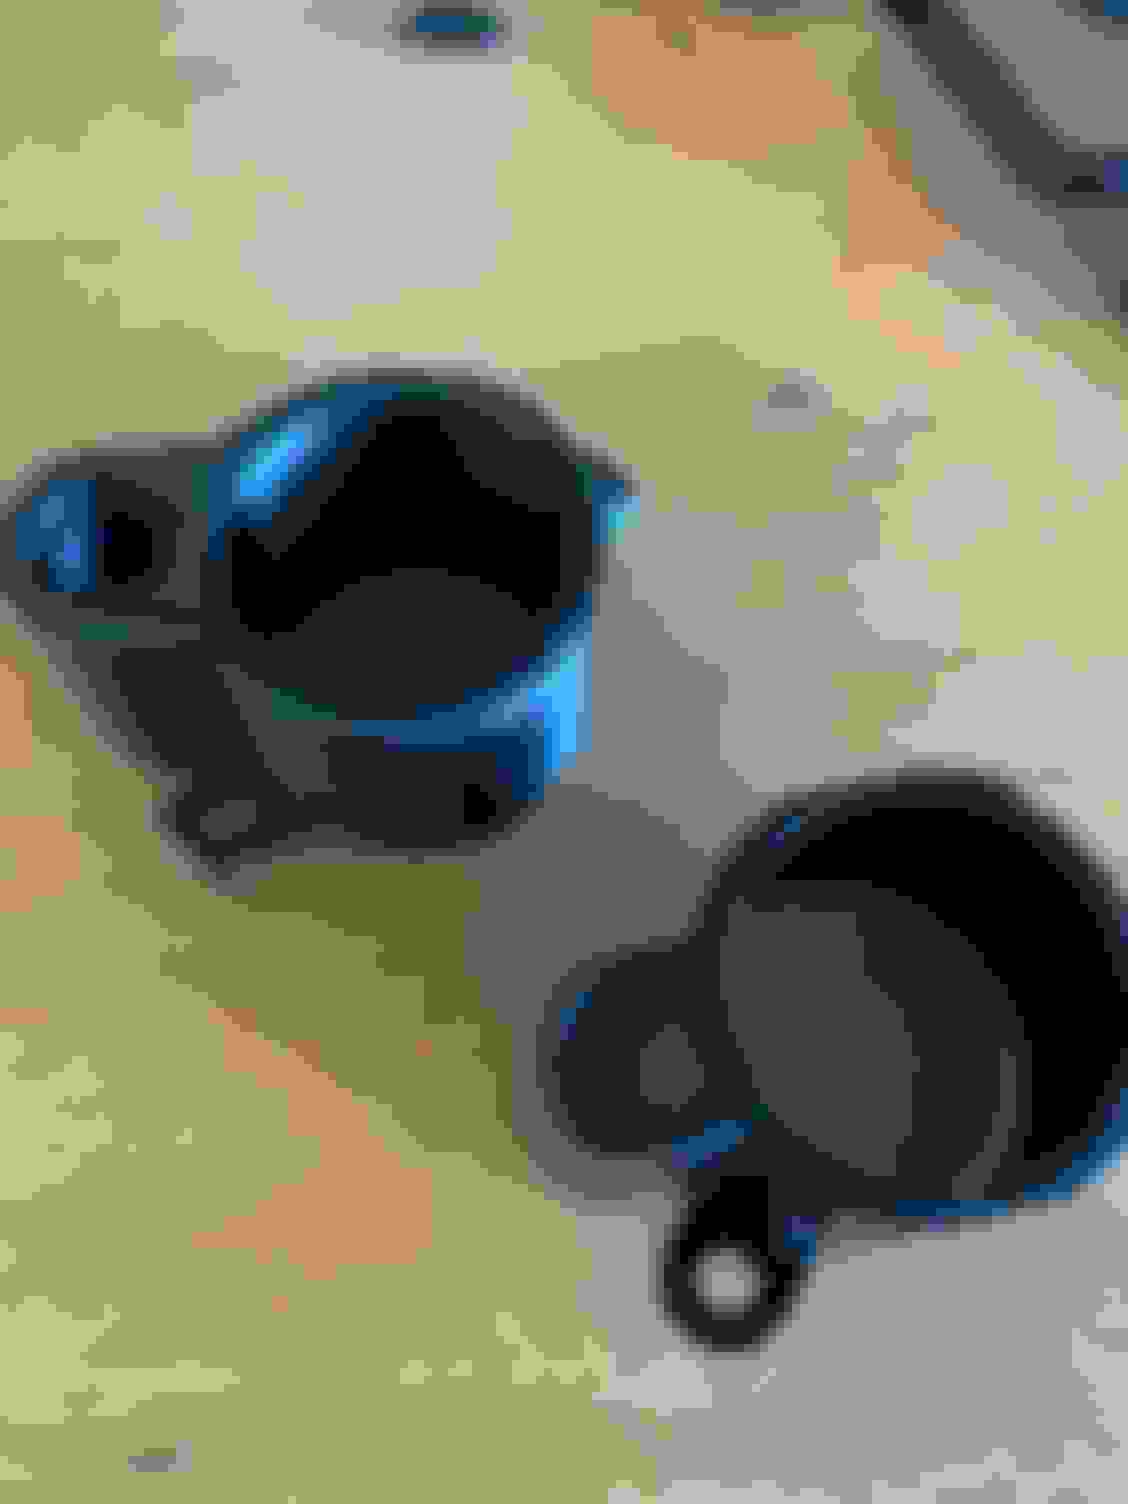
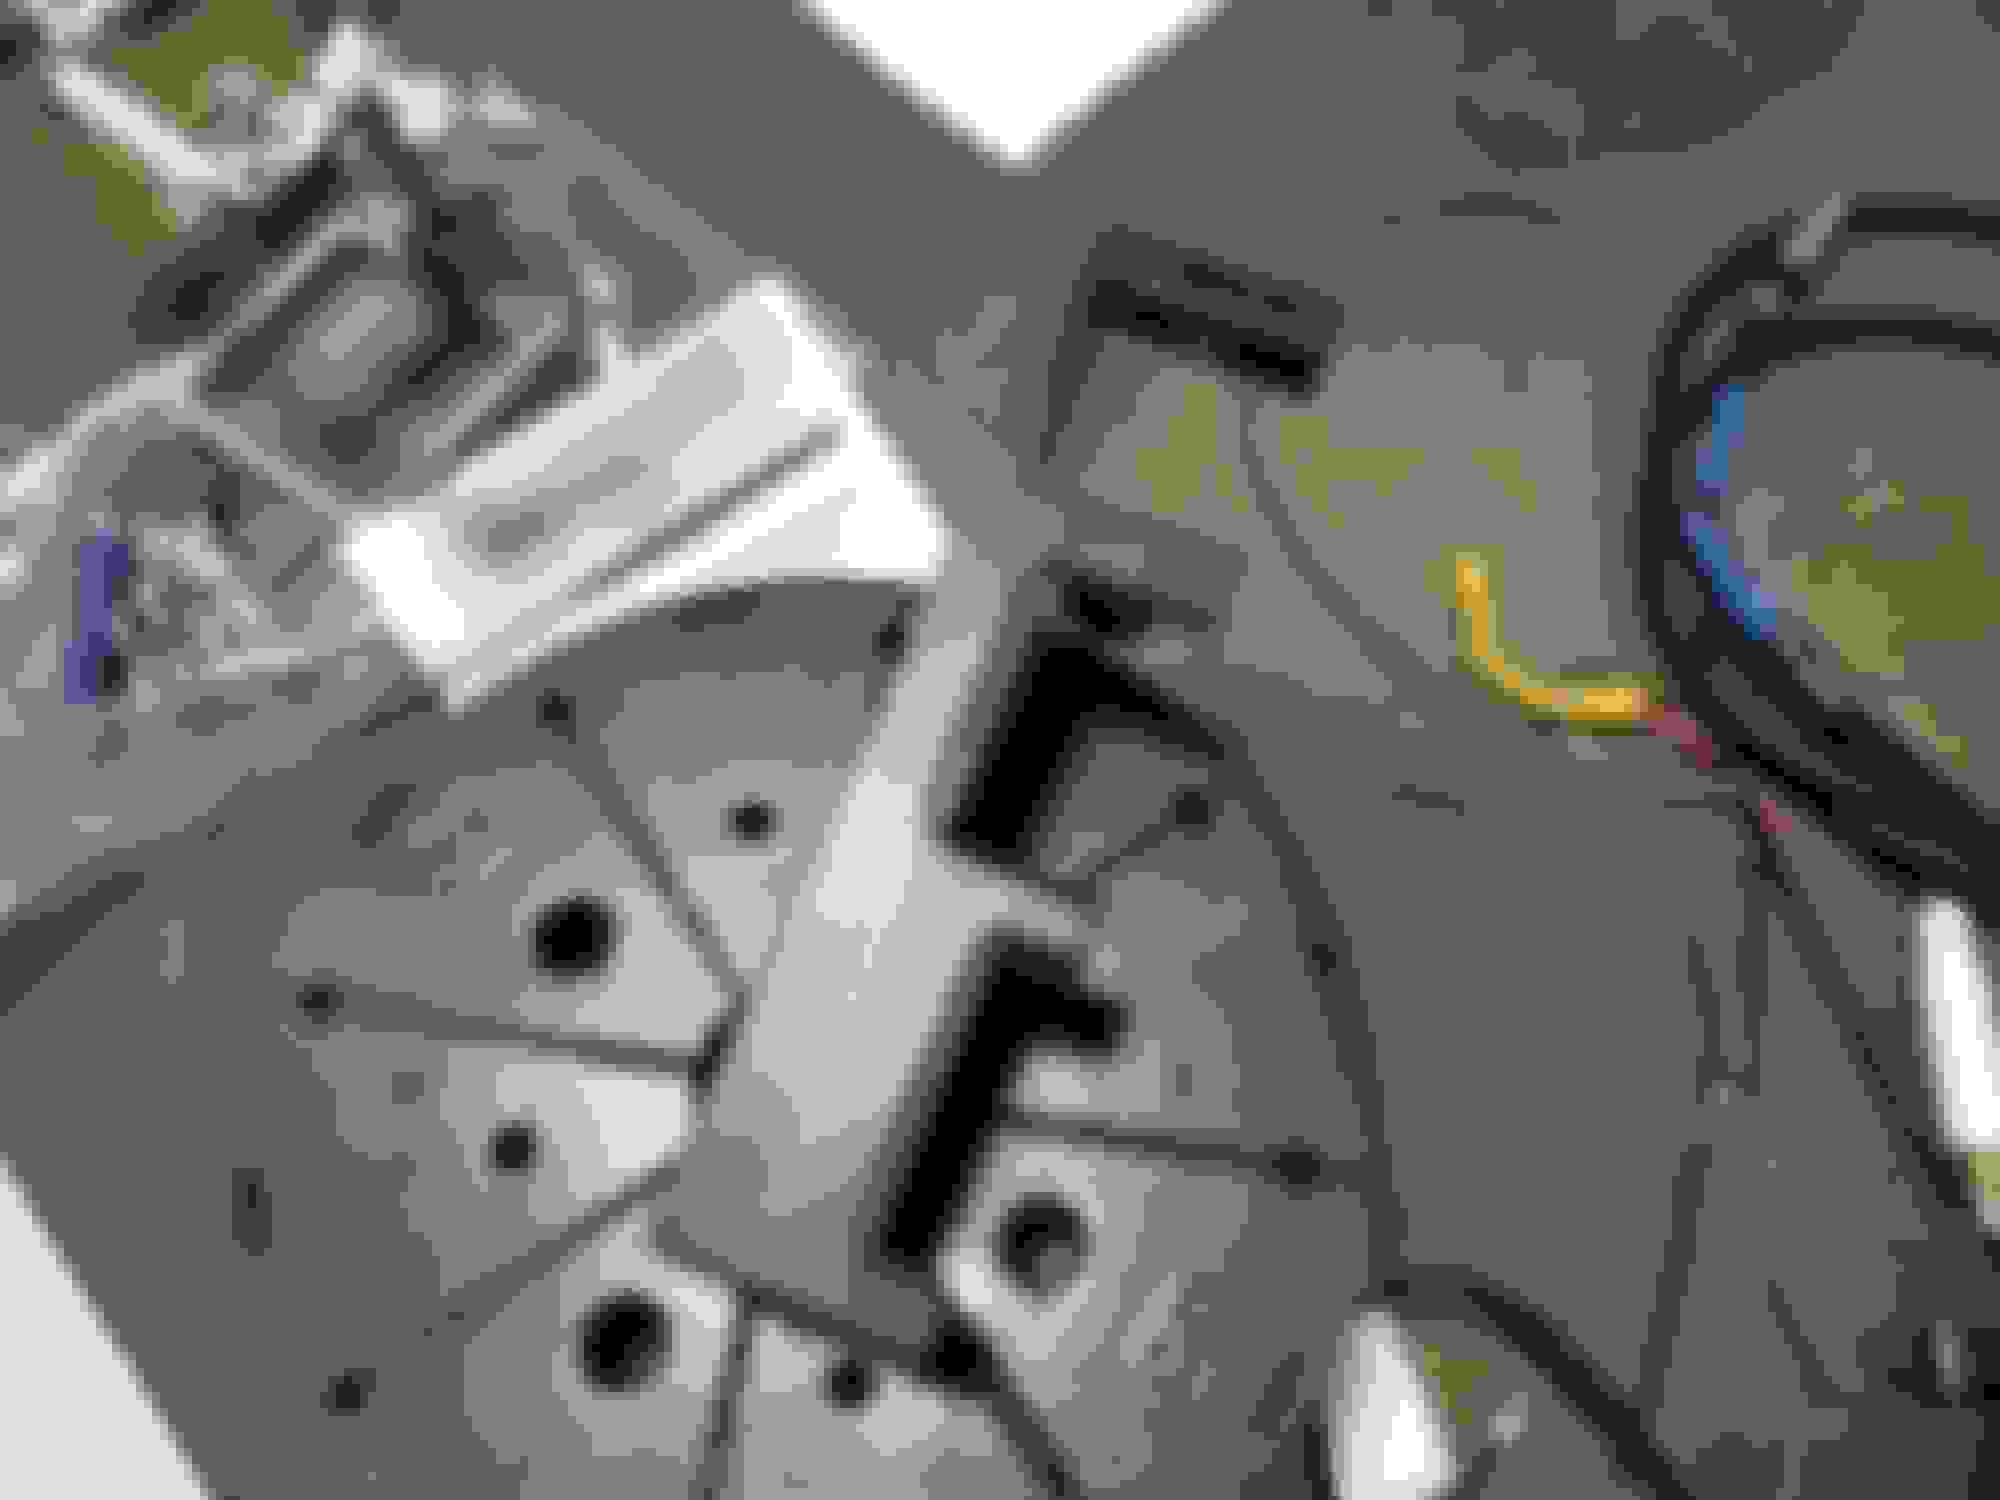
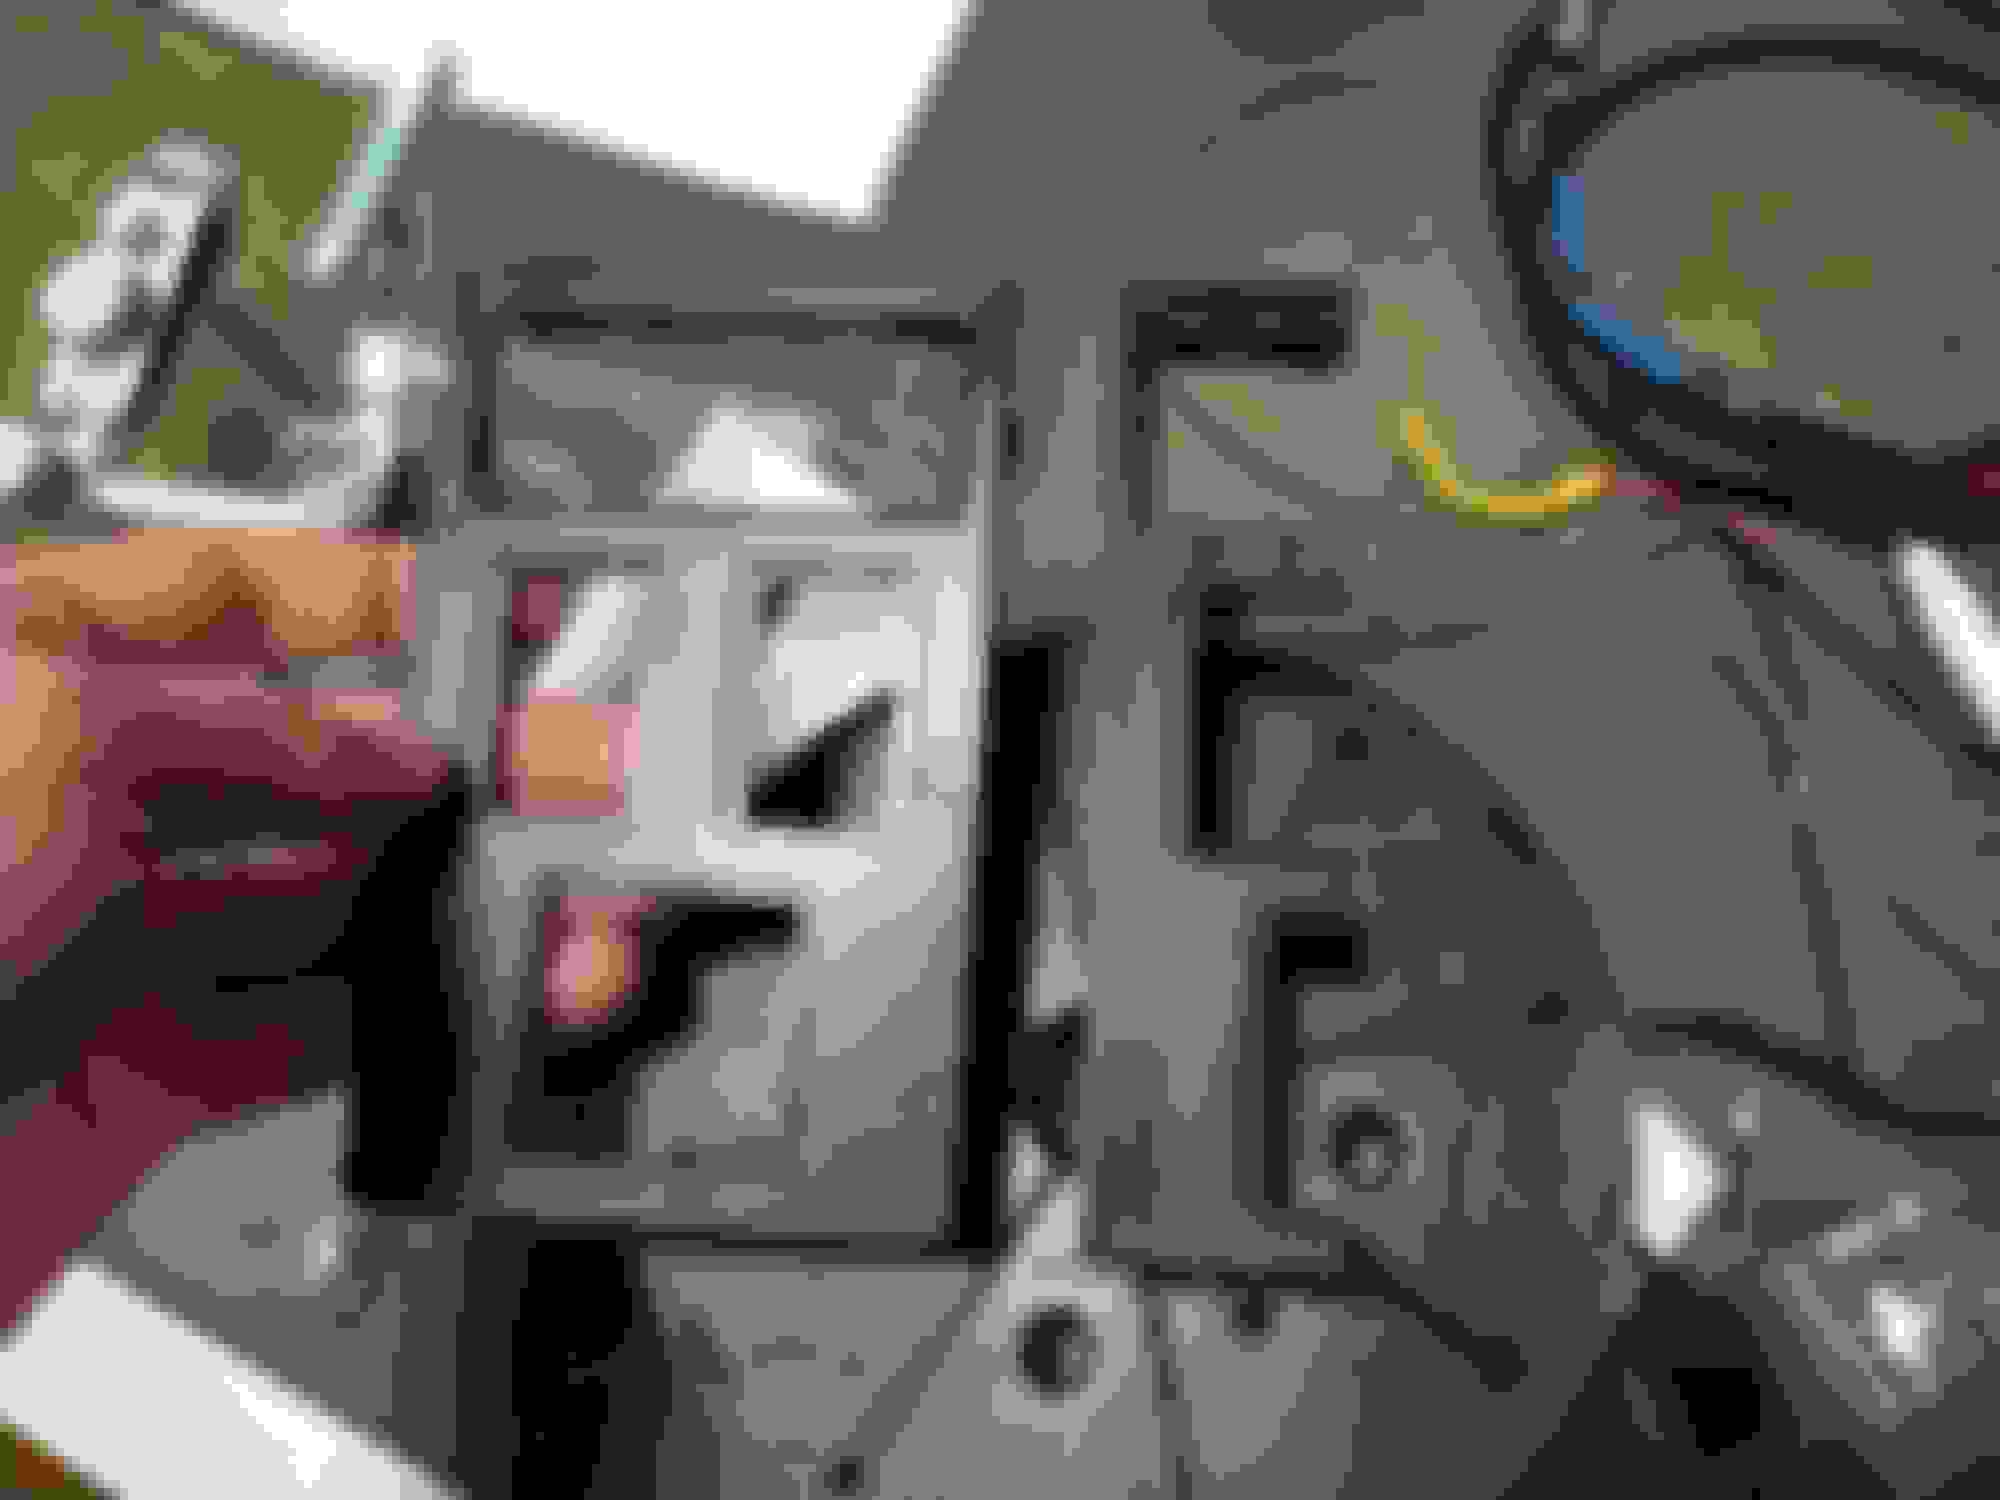
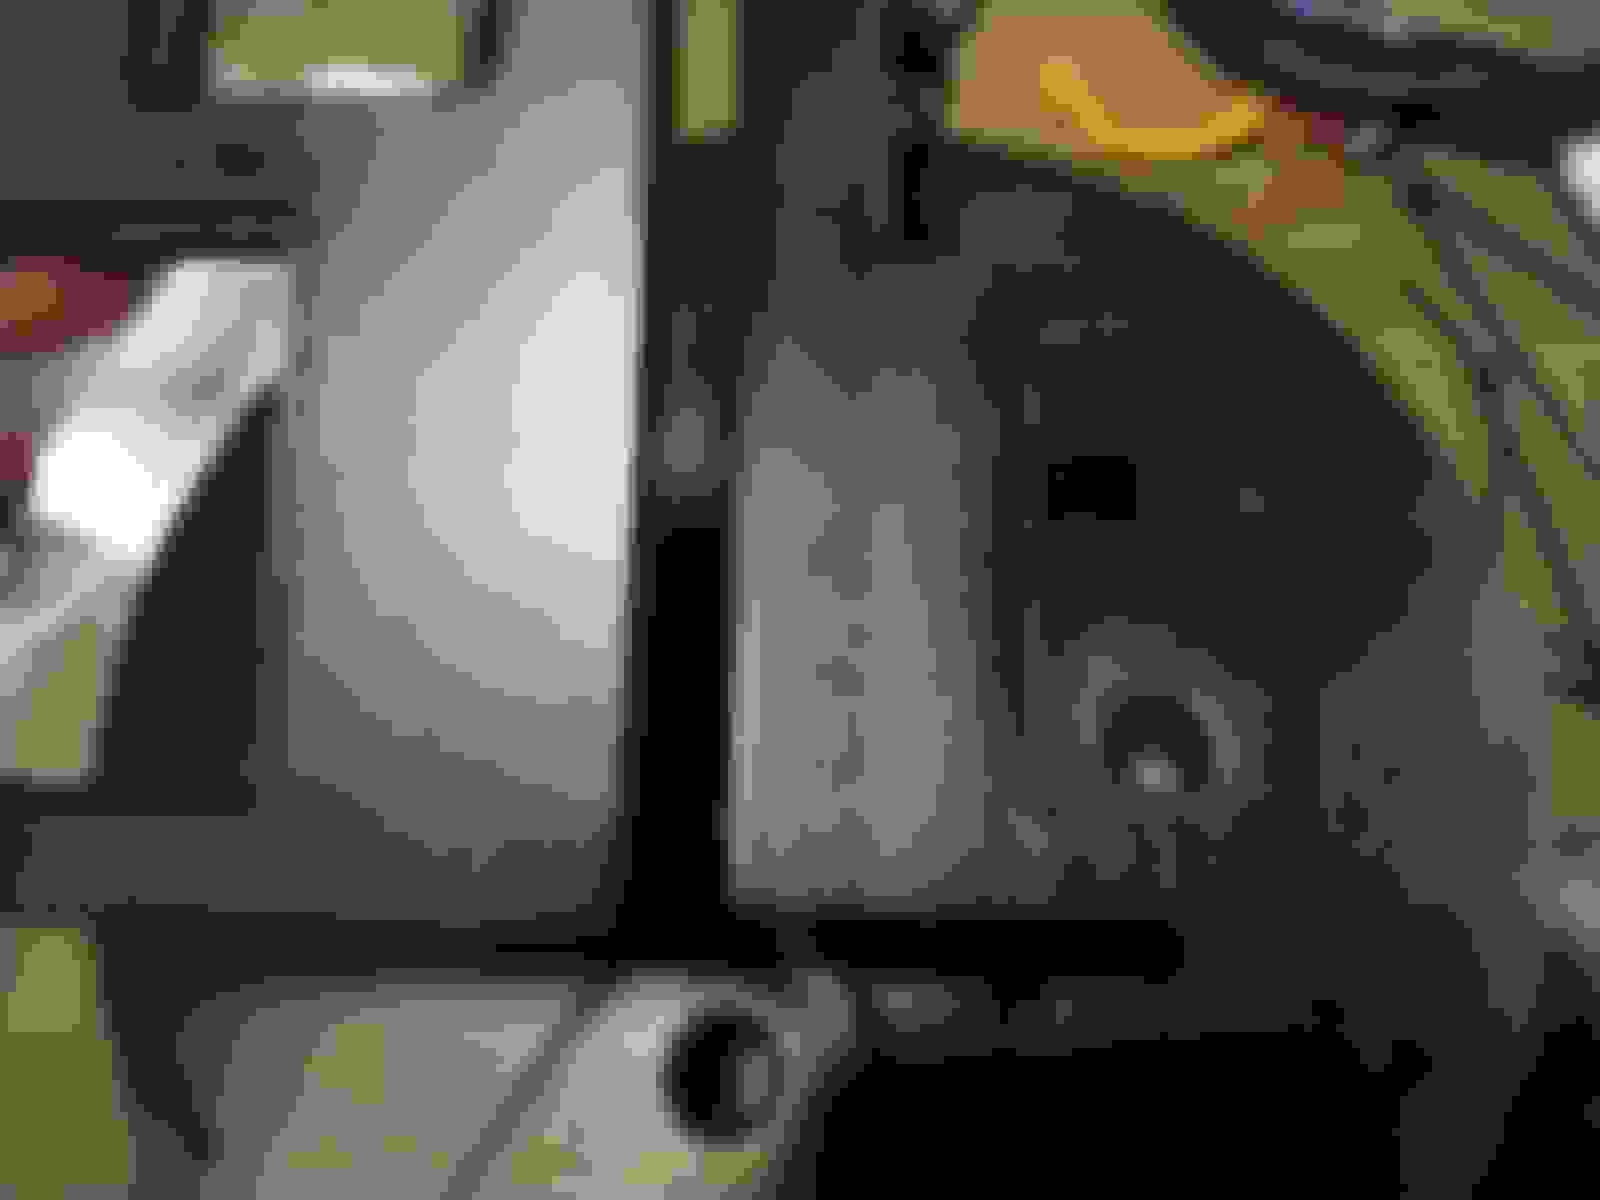
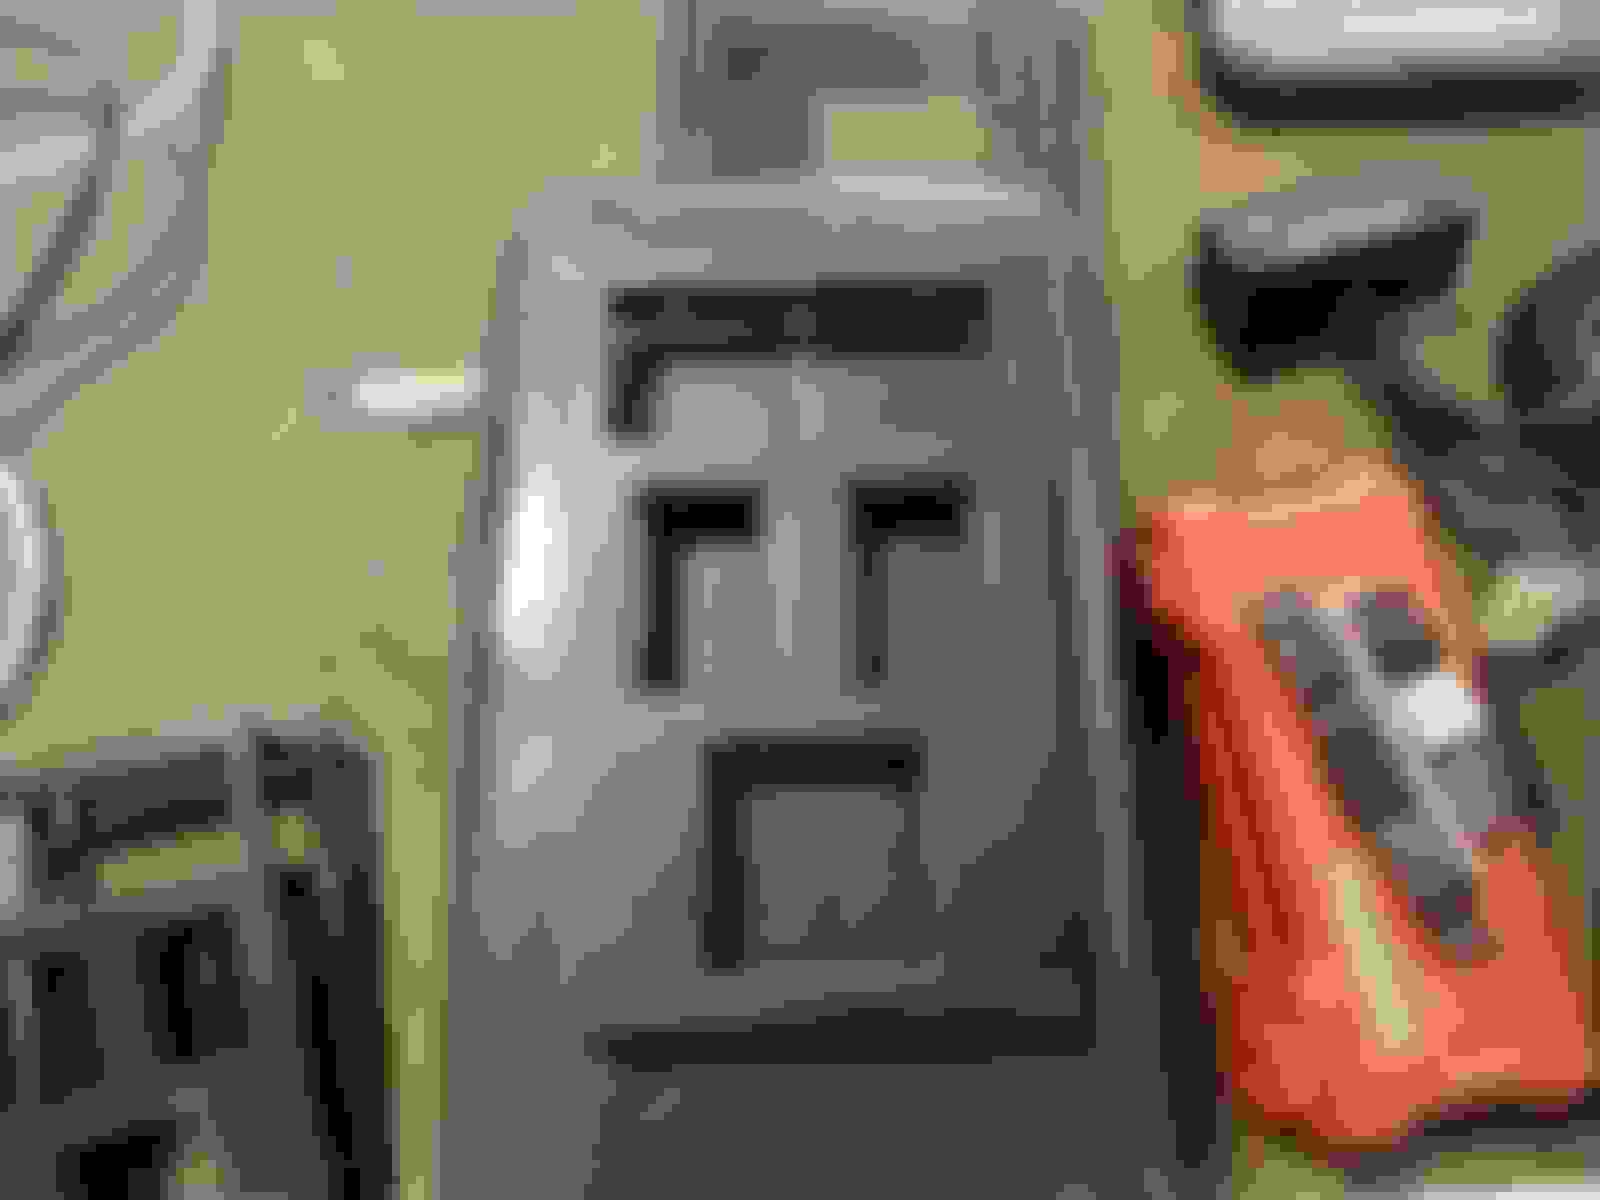
FD cigarette lighter bracket AC switch mount bracket
Is it nos? Because it's still likely 35+ yr old plastic and spending that much on something that's likely to break again would be pretty sad.
The printing in pieces and then assembling, welding, and finishing is an interesting idea though, might be worth the effort to save a few bucks as well as peace of mind that its not a big deal if it breaks.
I don't want to dive too far off topic, but since you brought it up....how do you like the microswiss updgrade? I've been thinking aobut making something similar for my Ender 5 Pro, as I'd really like to be able to print flexable TPU type materials. Have you ever tried printing flexable filaments with it?
Also, you could get much smoother curves on your parts if you change your STL export settings. Otherwise your prints look nice, well done.
Is it nos? Because it's still likely 35+ yr old plastic and spending that much on something that's likely to break again would be pretty sad.
The printing in pieces and then assembling, welding, and finishing is an interesting idea though, might be worth the effort to save a few bucks as well as peace of mind that its not a big deal if it breaks.
that's a good question that I don't have an answer too. I can say that even if it is NOS, it hasn't been stored out in the sun and heat which is what typically causes degridation of plastics. I bought a bunch of new interior parts for my FC, and the plastic is still flexible, didn't break any clips installing or removing them.
that's a good question that I don't have an answer too. I can say that even if it is NOS, it hasn't been stored out in the sun and heat which is what typically causes degridation of plastics. I bought a bunch of new interior parts for my FC, and the plastic is still flexible, didn't break any clips installing or removing them.
I don't want to dive too far off topic, but since you brought it up....how do you like the microswiss updgrade? I've been thinking aobut making something similar for my Ender 5 Pro, as I'd really like to be able to print flexable TPU type materials. Have you ever tried printing flexable filaments with it?
Also, you could get much smoother curves on your parts if you change your STL export settings. Otherwise your prints look nice, well done.
Works very well with the Ender! Have not done that type of filament cannot comment..
The particular ABS I was using will stick to the outer part on occasion, but I have so many variables and settings that I play with, I don�t want to say its the hotend.
The last few prints have been pretty basic settings, and I will say the upgrade was worth it 👍
And thanks for the tip! I didn�t bother with getting too crazy with the finish on these as they are not visible. But yeah I�ll try to change my settings on the next print
I just can't leave well enough alone, but I hope that will help with people who are printing parts that will be visible.
The following pictures show my little journey and comparison between two different black textured paints and shows what doing finishing work on a 3D part can give you. I ordered the SEM paint mentioned in this thread. When it arrived, I sanded down the printed part thinking that the paint will hide imperfections. No, it does not. What then followed can be seen in the pictures below.
It's my opinion that the SEM paint mentioned doesn't seem right for smaller trim parts. That could be due to the temperature of the paint and how well you shake it (I didn't give it much time to warm to room temperature). But the other thing that really makes (or breaks) a 3D-printed part is getting rid of the layer lines. Don't expect any textured paint to totally get rid of layer lines, even with a thick coat of paint.
To minimize or eliminate layer lines, you need do some sanding and filling. As an experiment, I tried what materials I had on hand.
At the end of the day, It's really up to you how you want your part to look. The layer lines can be a cool effect. But if you want the part to blend in, it may not.
NylonX with SEM Black textured paint. It lacks the sheen of the OEM part being too "flat". I did not do much sanding. On the center console. It's certainly passable. But the layer lines definitely can take away from how good it ultimately look. From left to right. NylonX part with coat of SEM black textured paint with a light coat of semi-gloss black. PETG part with Rustoleum fine textured black PRIOR to sanding and re-coating with a fresh can of Rustoleum textured black. Raw NylonX part. OEM part. Mockup of NylonX with SEM textured black and top coat of Rustoleum semi-gloss black. I found the texture was a bit too course. That could be due to the paint being cold. Not that when you see the OEM part up close, it has a very fine texture. Here I am trying to minimize the layer lines by using sandable primer. I just went with paint that I already had. I put on a couple of coats, let it dry, then sanded with 400-grit. I painted my test piece with two coats of Rustoleum textured black paint (look for fine texture on the can). One light coat, then one heavy coat. This is just after the second coat was applied and prior to drying. Rustoleum textured black paint after it dried. There are still layer lines visible but this seems to have just the right sheen. The lines are definitely less visible. OEM part on the left. Closeup. You can see the texture on the OEM (left) versus 3D-printed NylonX (right). The texture is obviously not the same but not bad. This is the same PETG-printed part with the (in my opinion) failed coat of textured black paint AFTER sanding and coating with a fresh can of paint. I sanded it down with 150-grit and applied one heavy coat of paint. The layer lines are even less visible than before. Mocked up with switches on a center console.
That looks fatastic. No one will ever notice the print lines without being super close anyways.
I found that the SEM is also extremely sensative to how heavy you apply it, and how close the nozzel is to the part. For my gauge surround, I did lots of very light coats holding the can probably 2 feet from the surface. This produed finer spots, and didn't tend to glob together too much.
That would explain my experience with SEM. I'm used to painting scale models and I'm using a portable paint booth indoors that relies on short distances. Therefore the paint nozzle would've been far closer.
mine had lots of cracks. I ground grooves in the part where the cracks were front and back, and plastic welded them. Then sand down smooth and texture and paint. Seems to be holing up good so far.
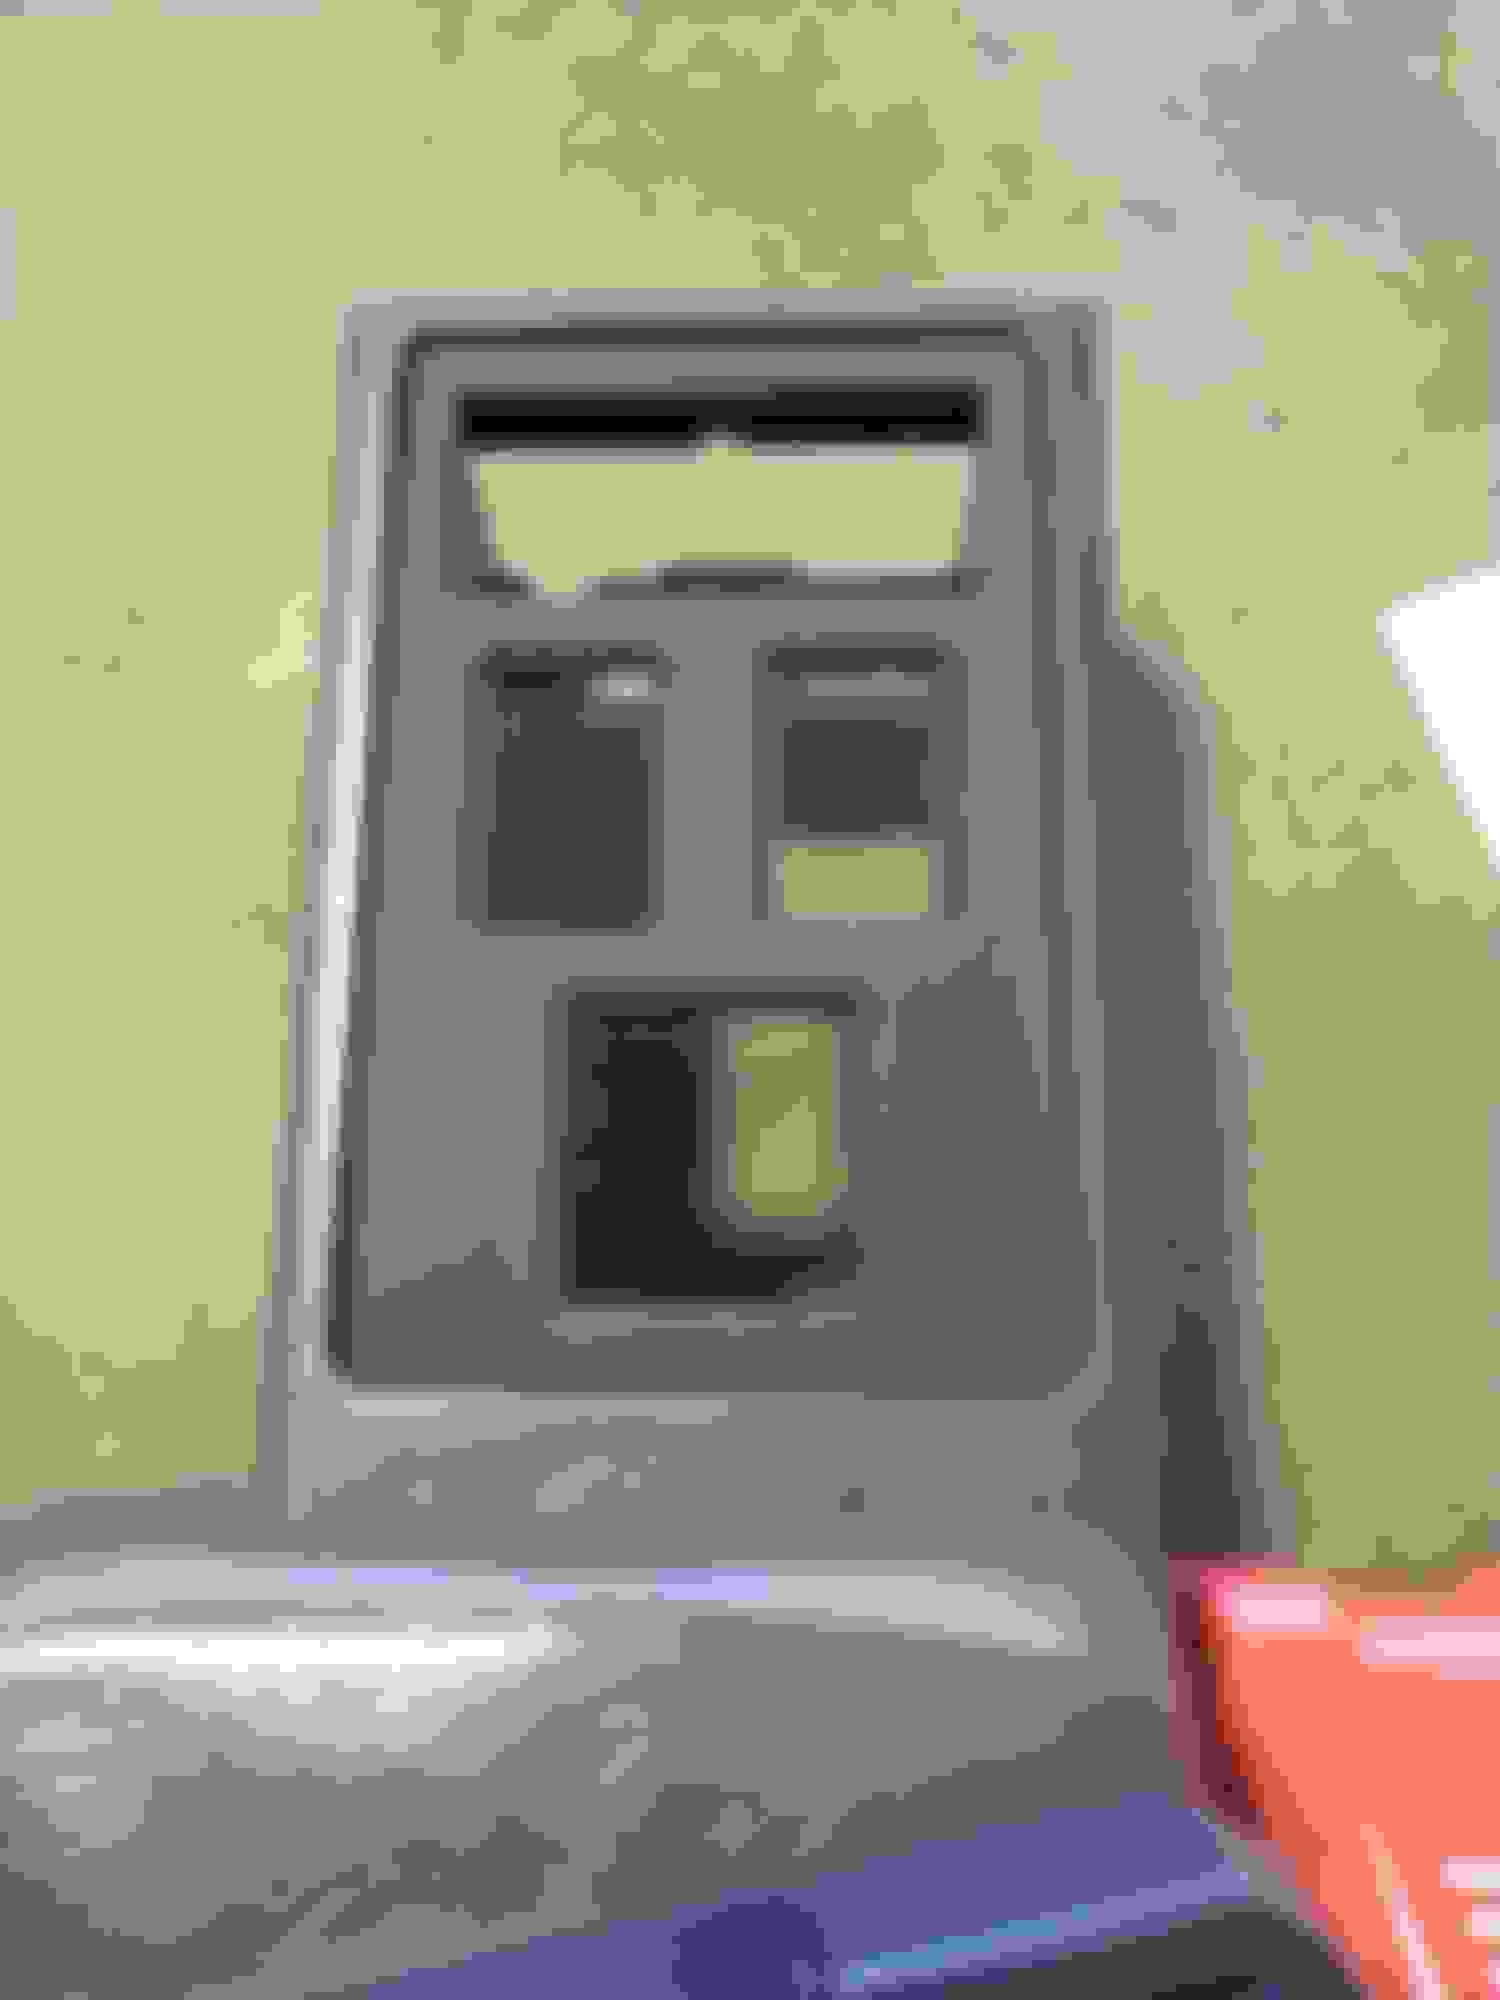
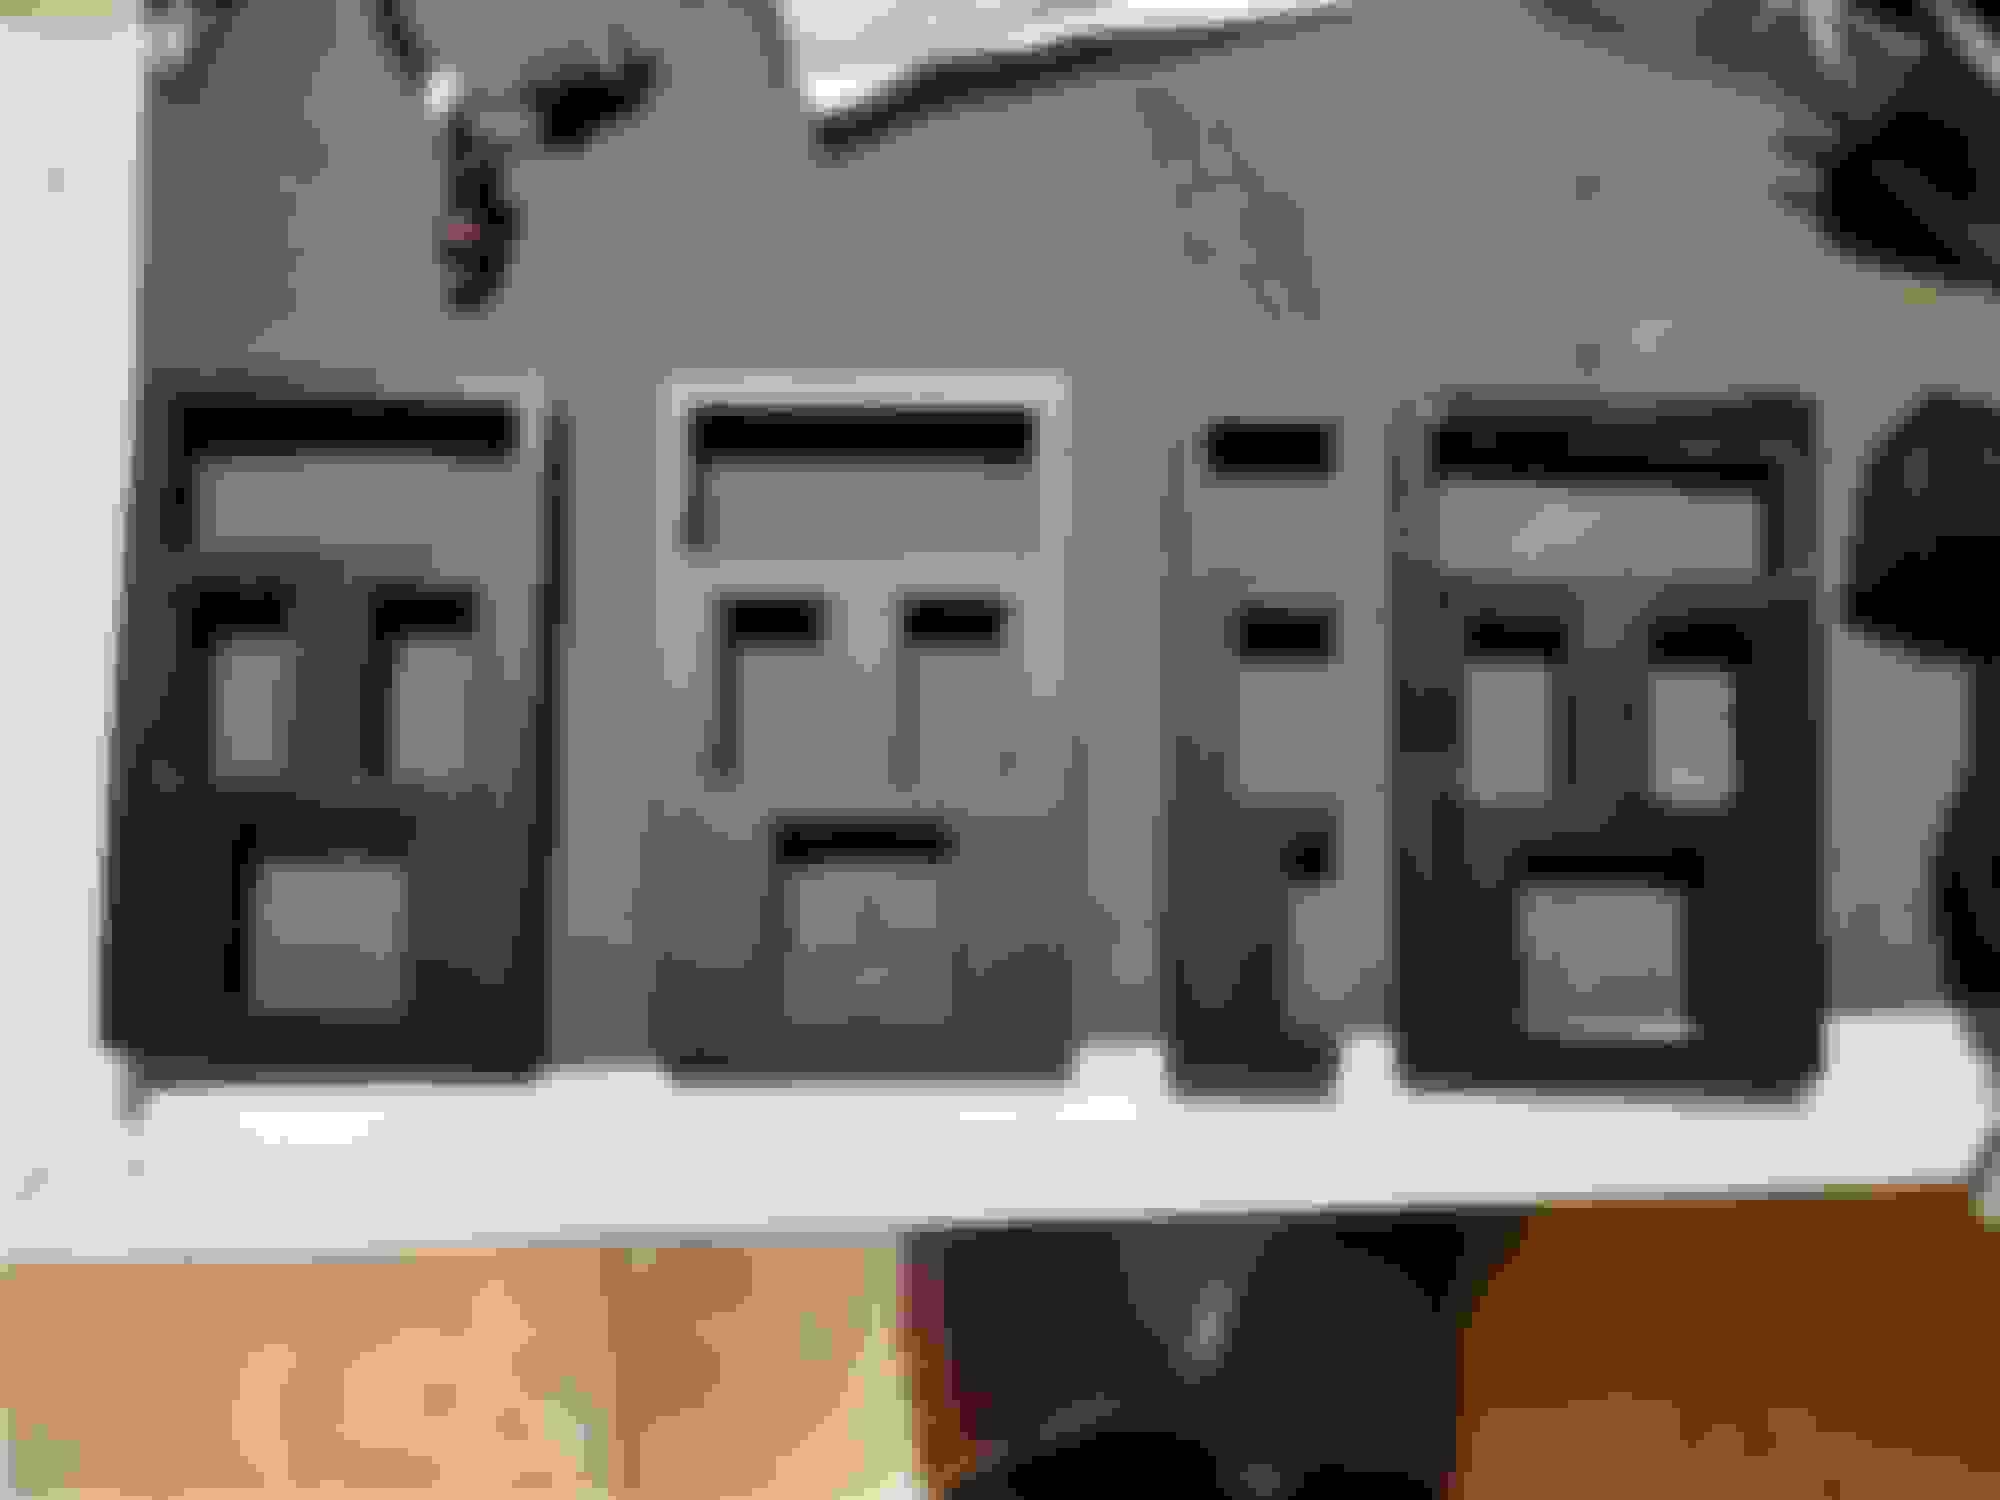
I made a tps mount for my S4 Tii. Have to make sure the tps rotates the right way, mainly the grey tps sensors.
I�ll post the file in a little bit here
Thank you. Be aware, the caption in the steering wheel picture in the quote was changed. I don't know if the board software added that or what, but that wasn't me.
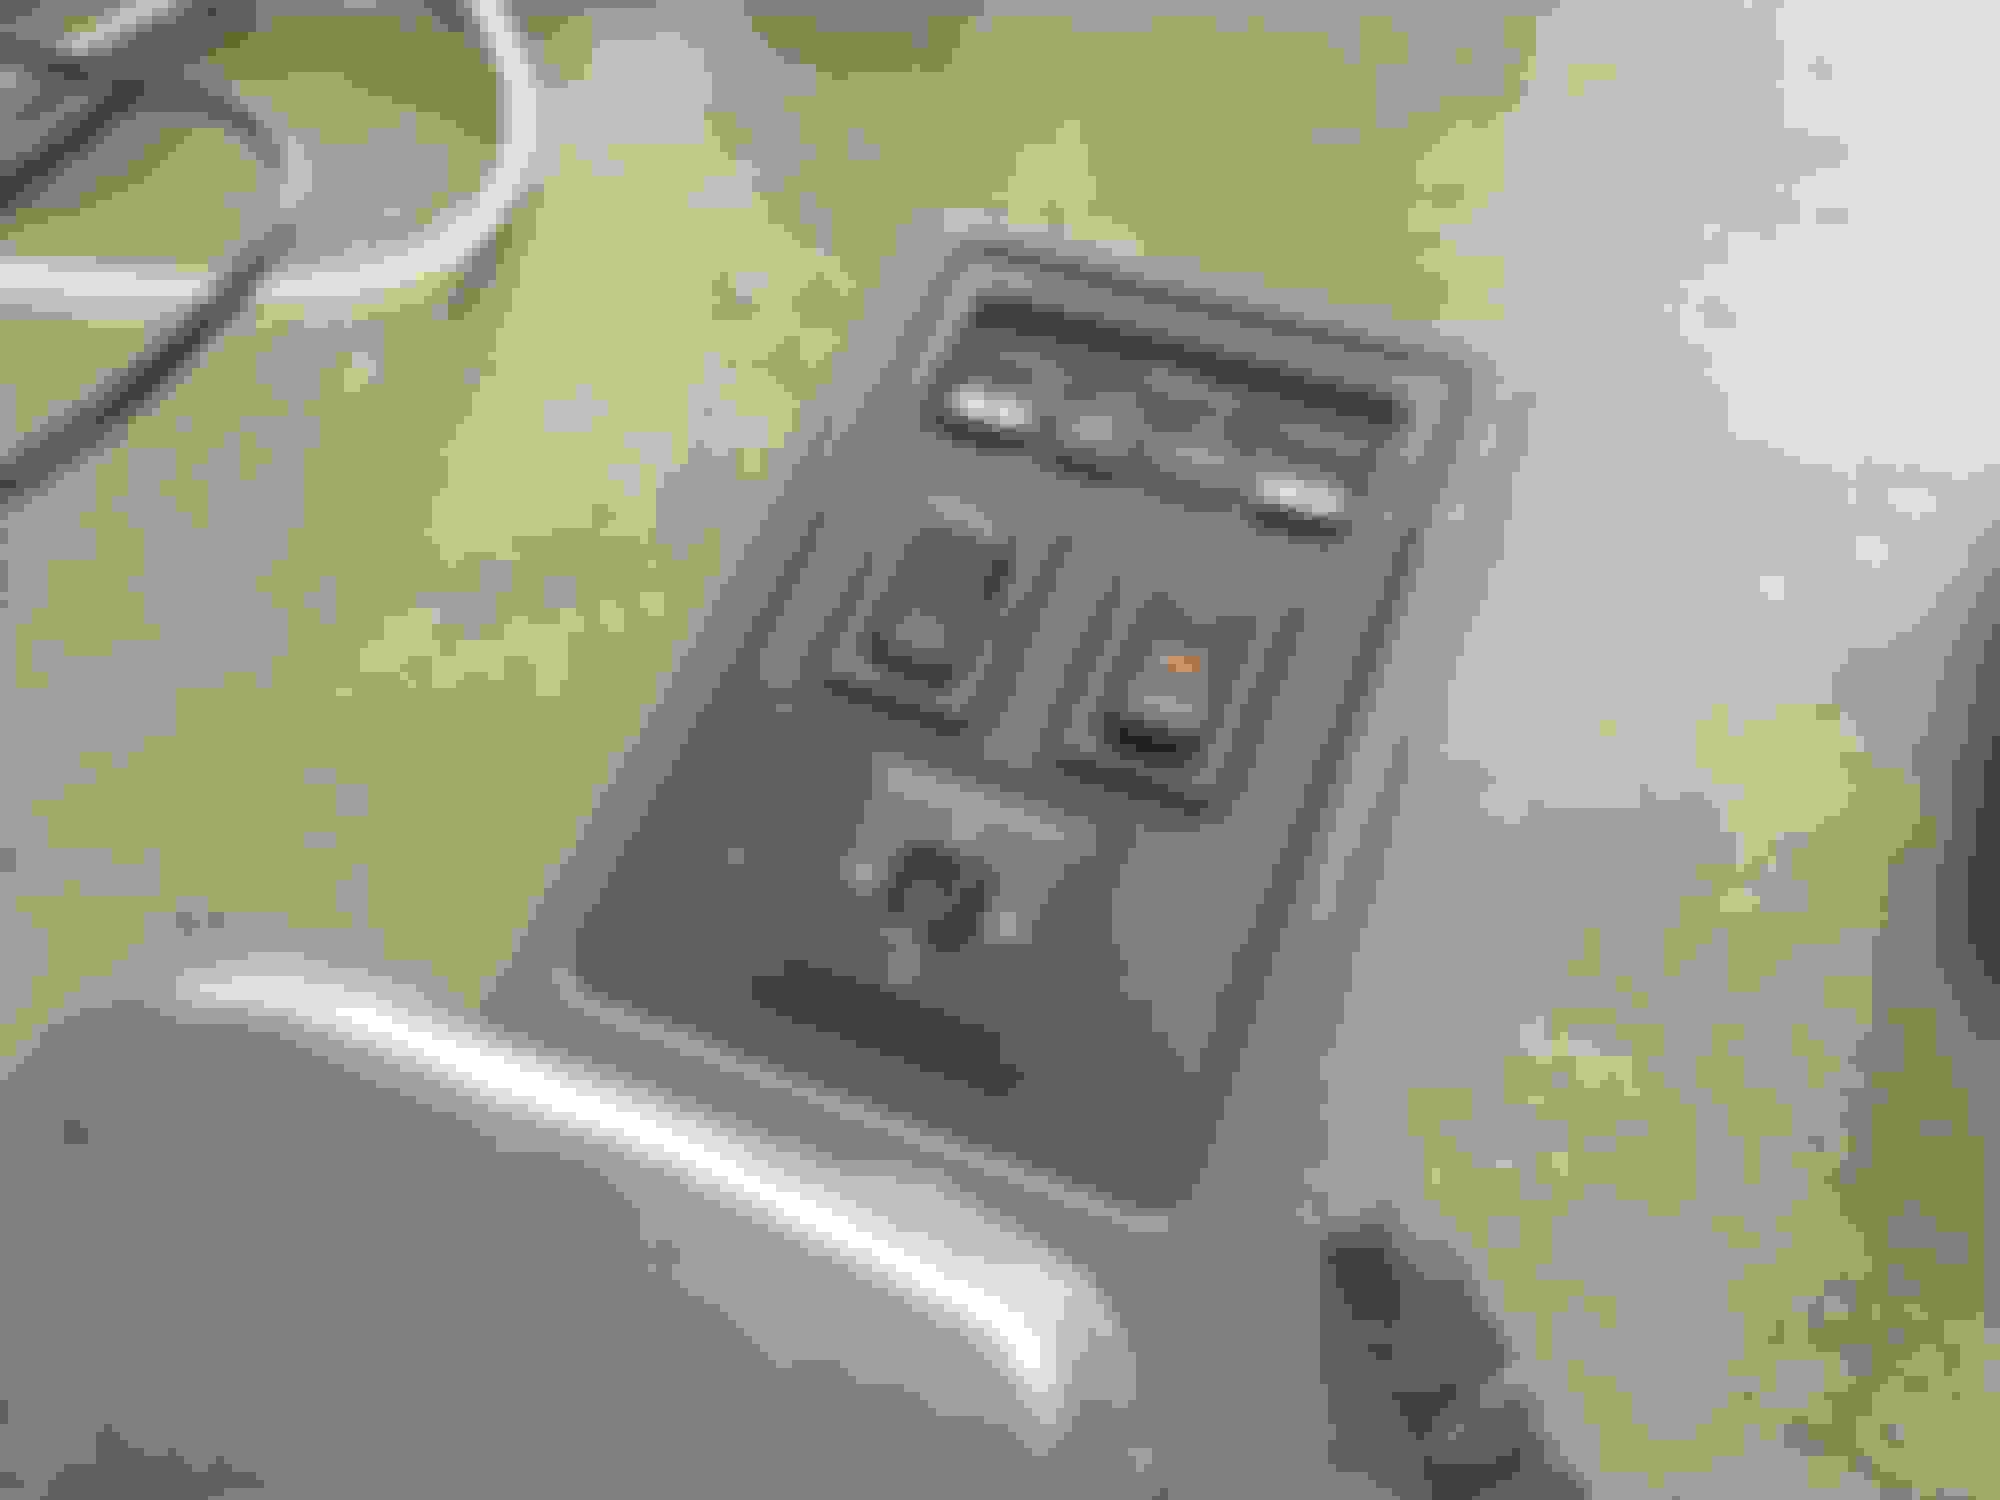
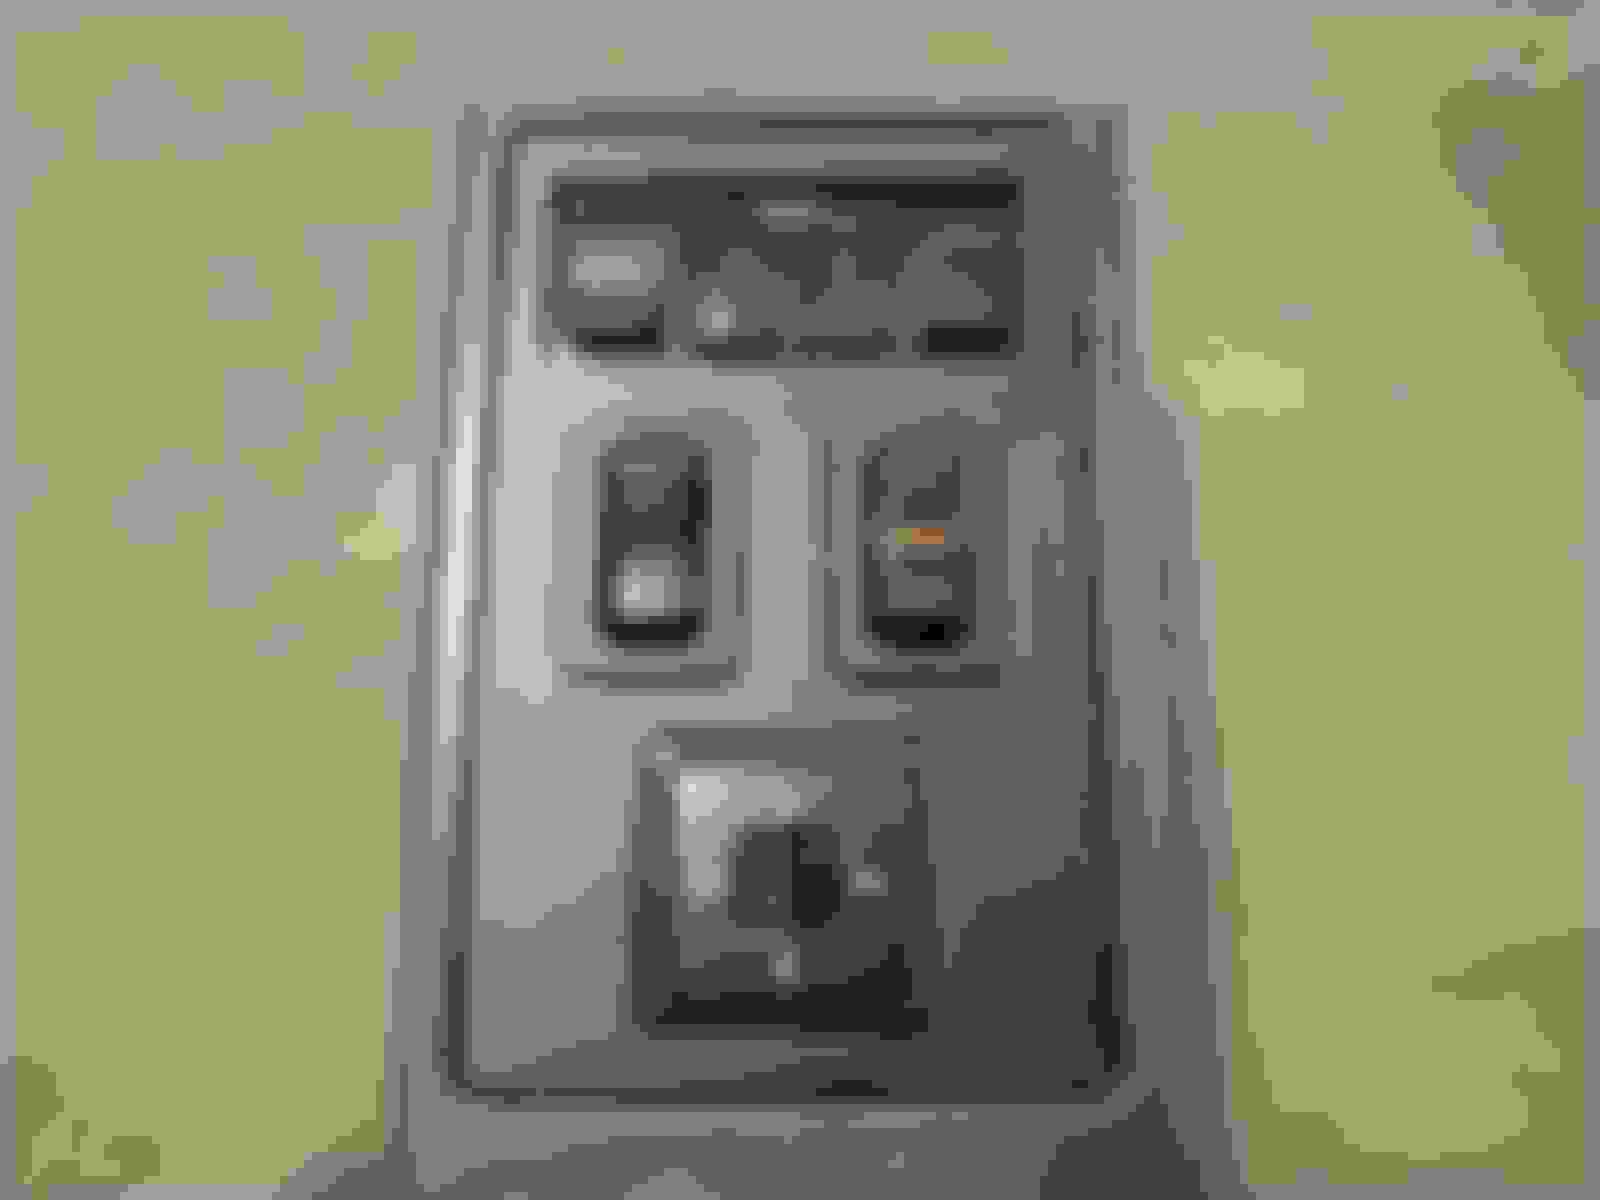
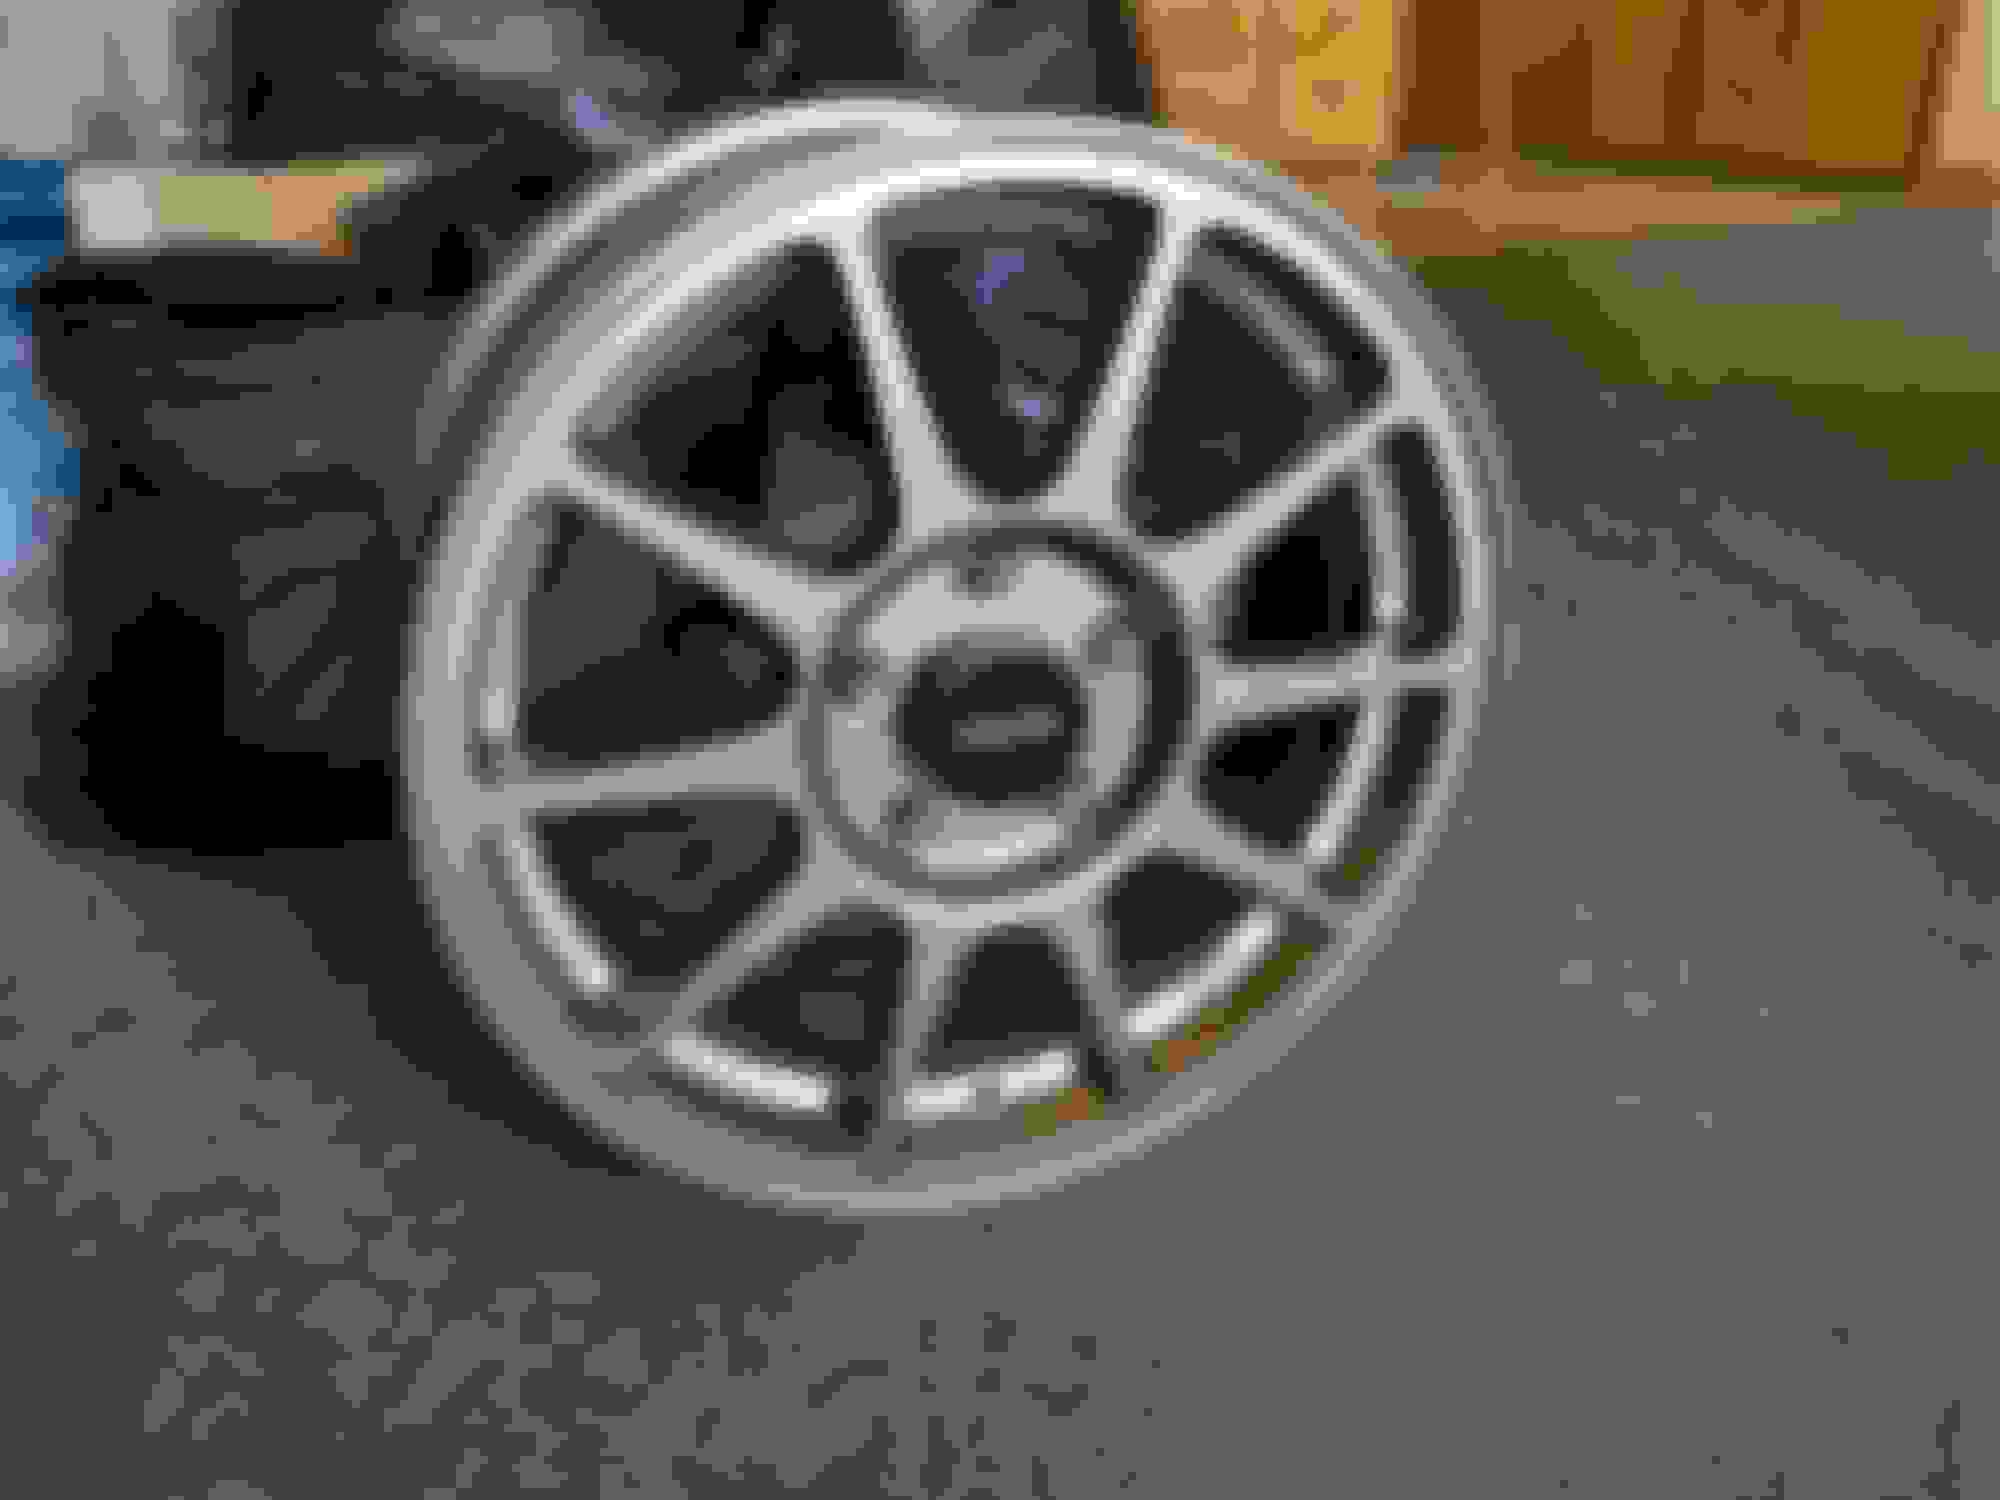
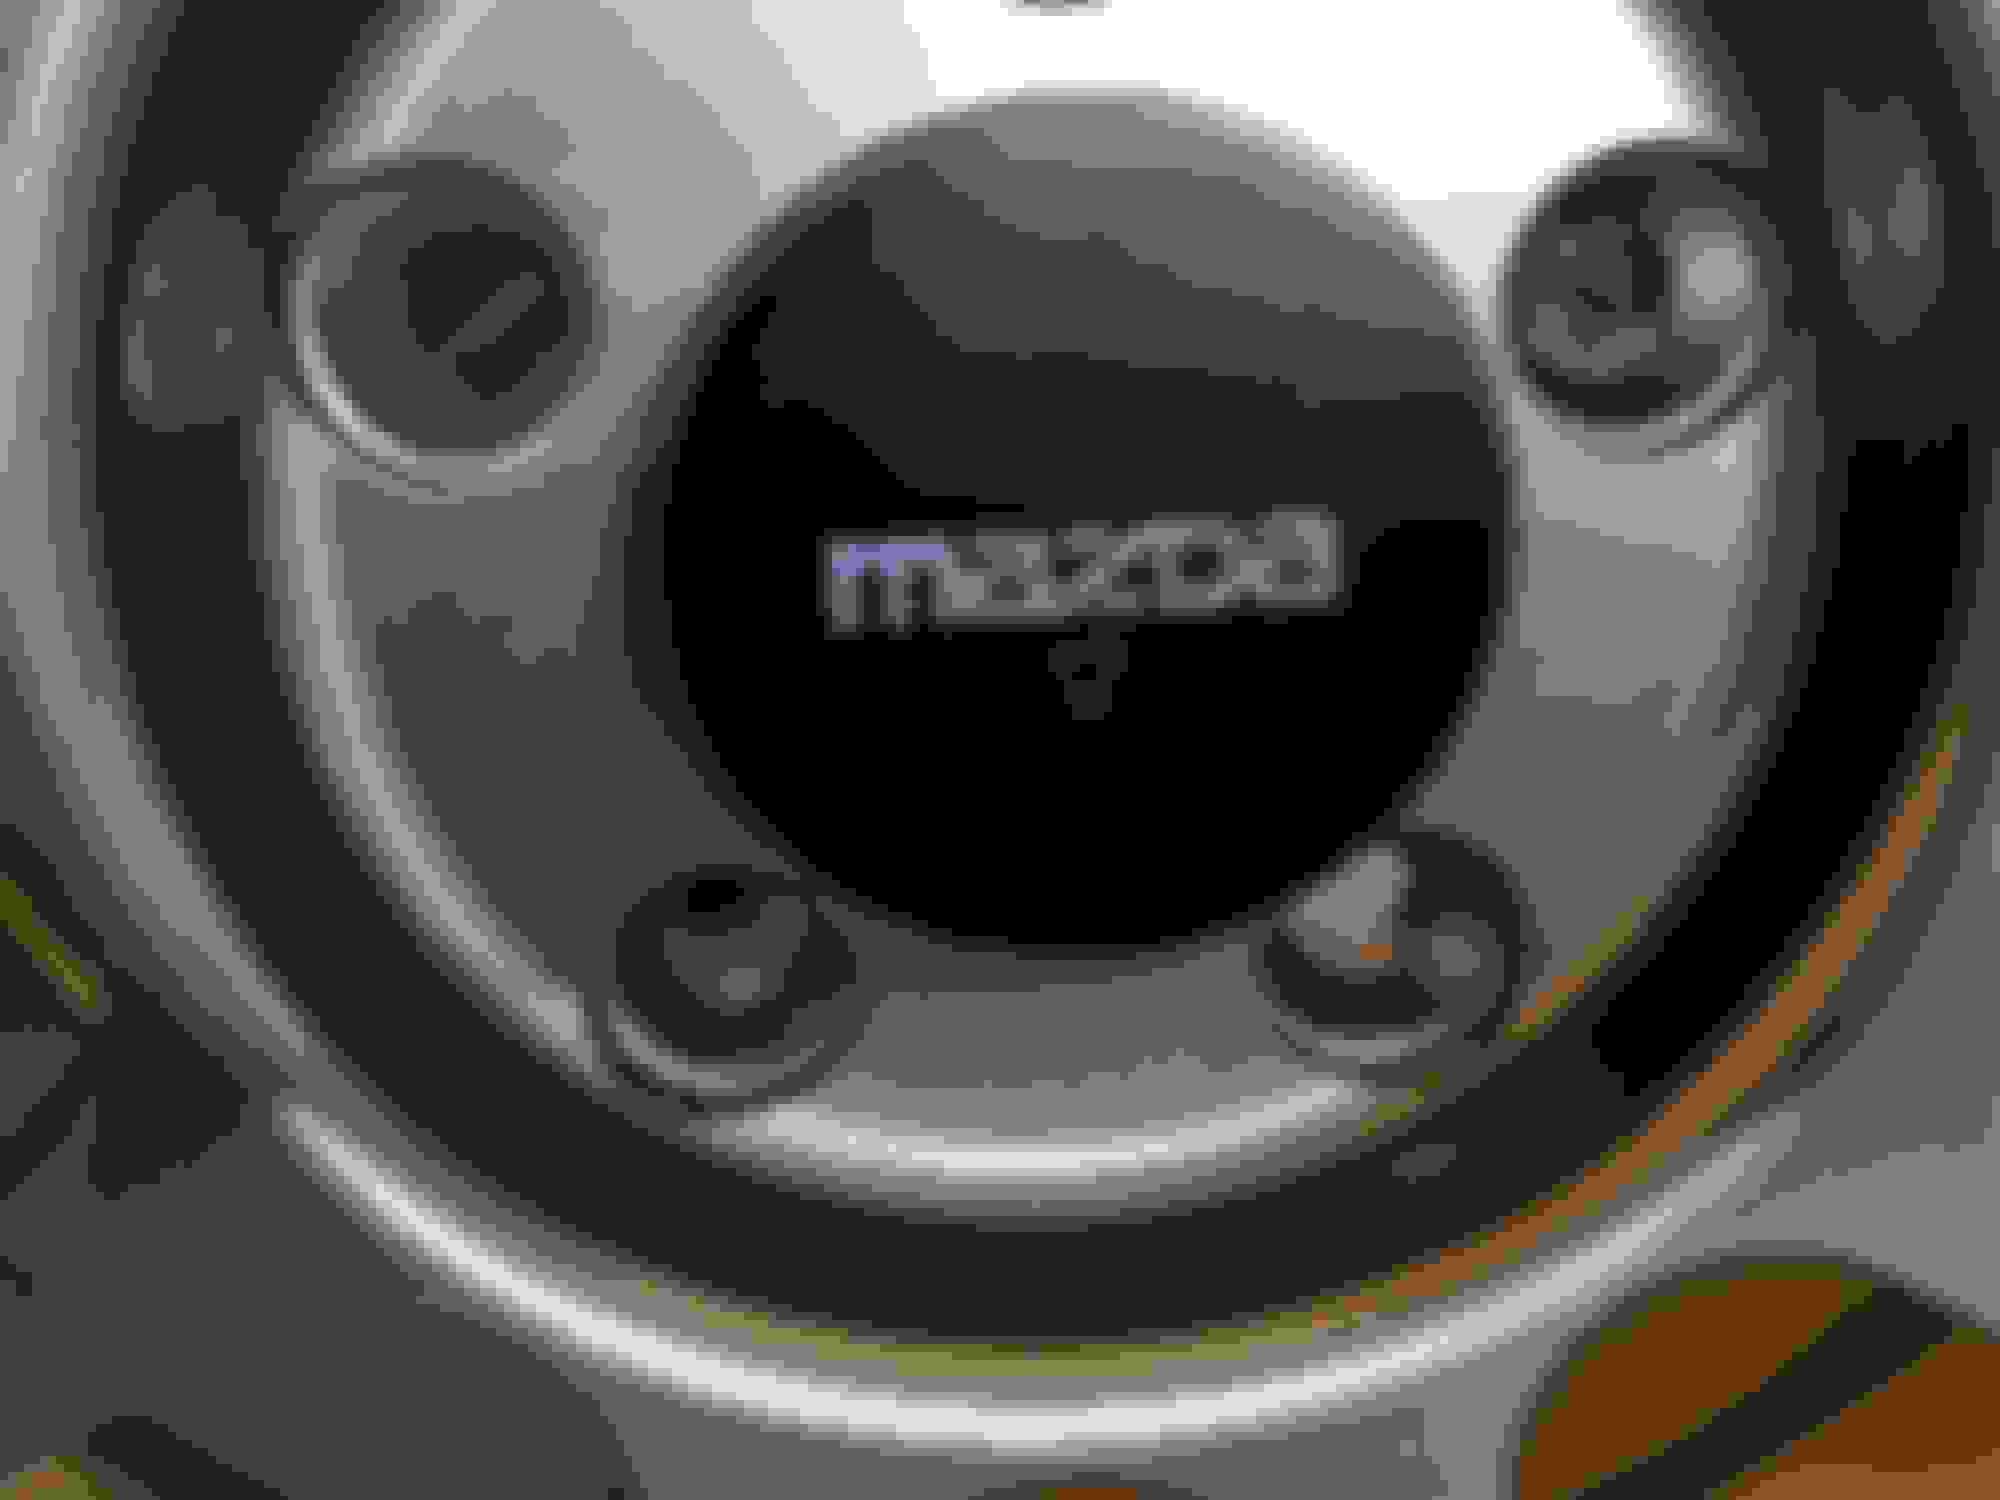
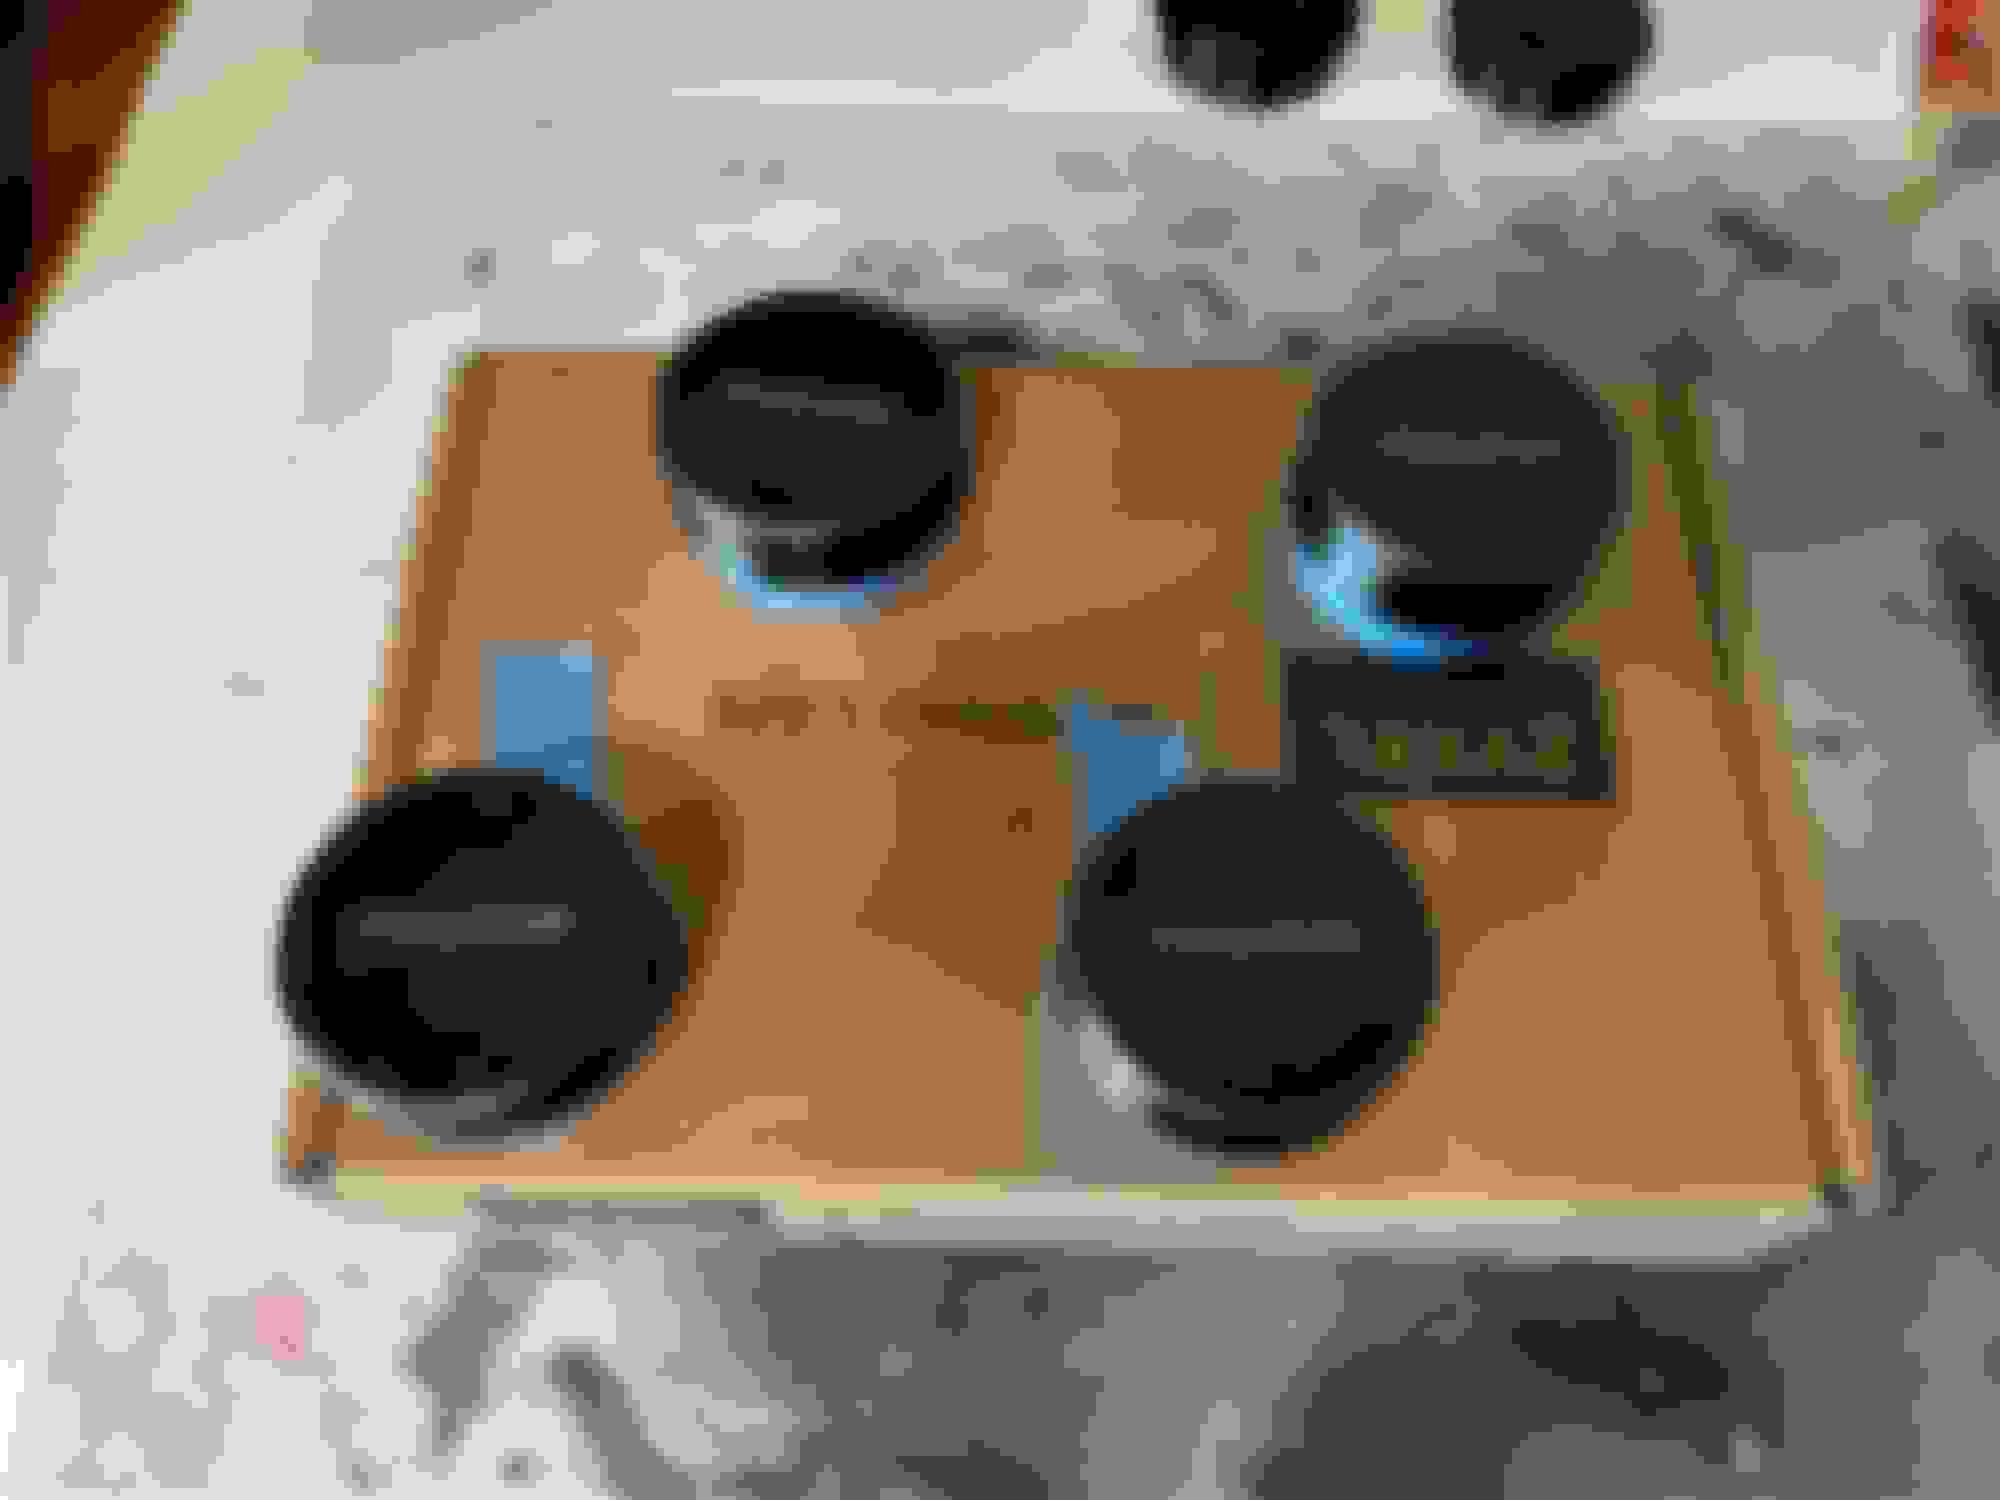
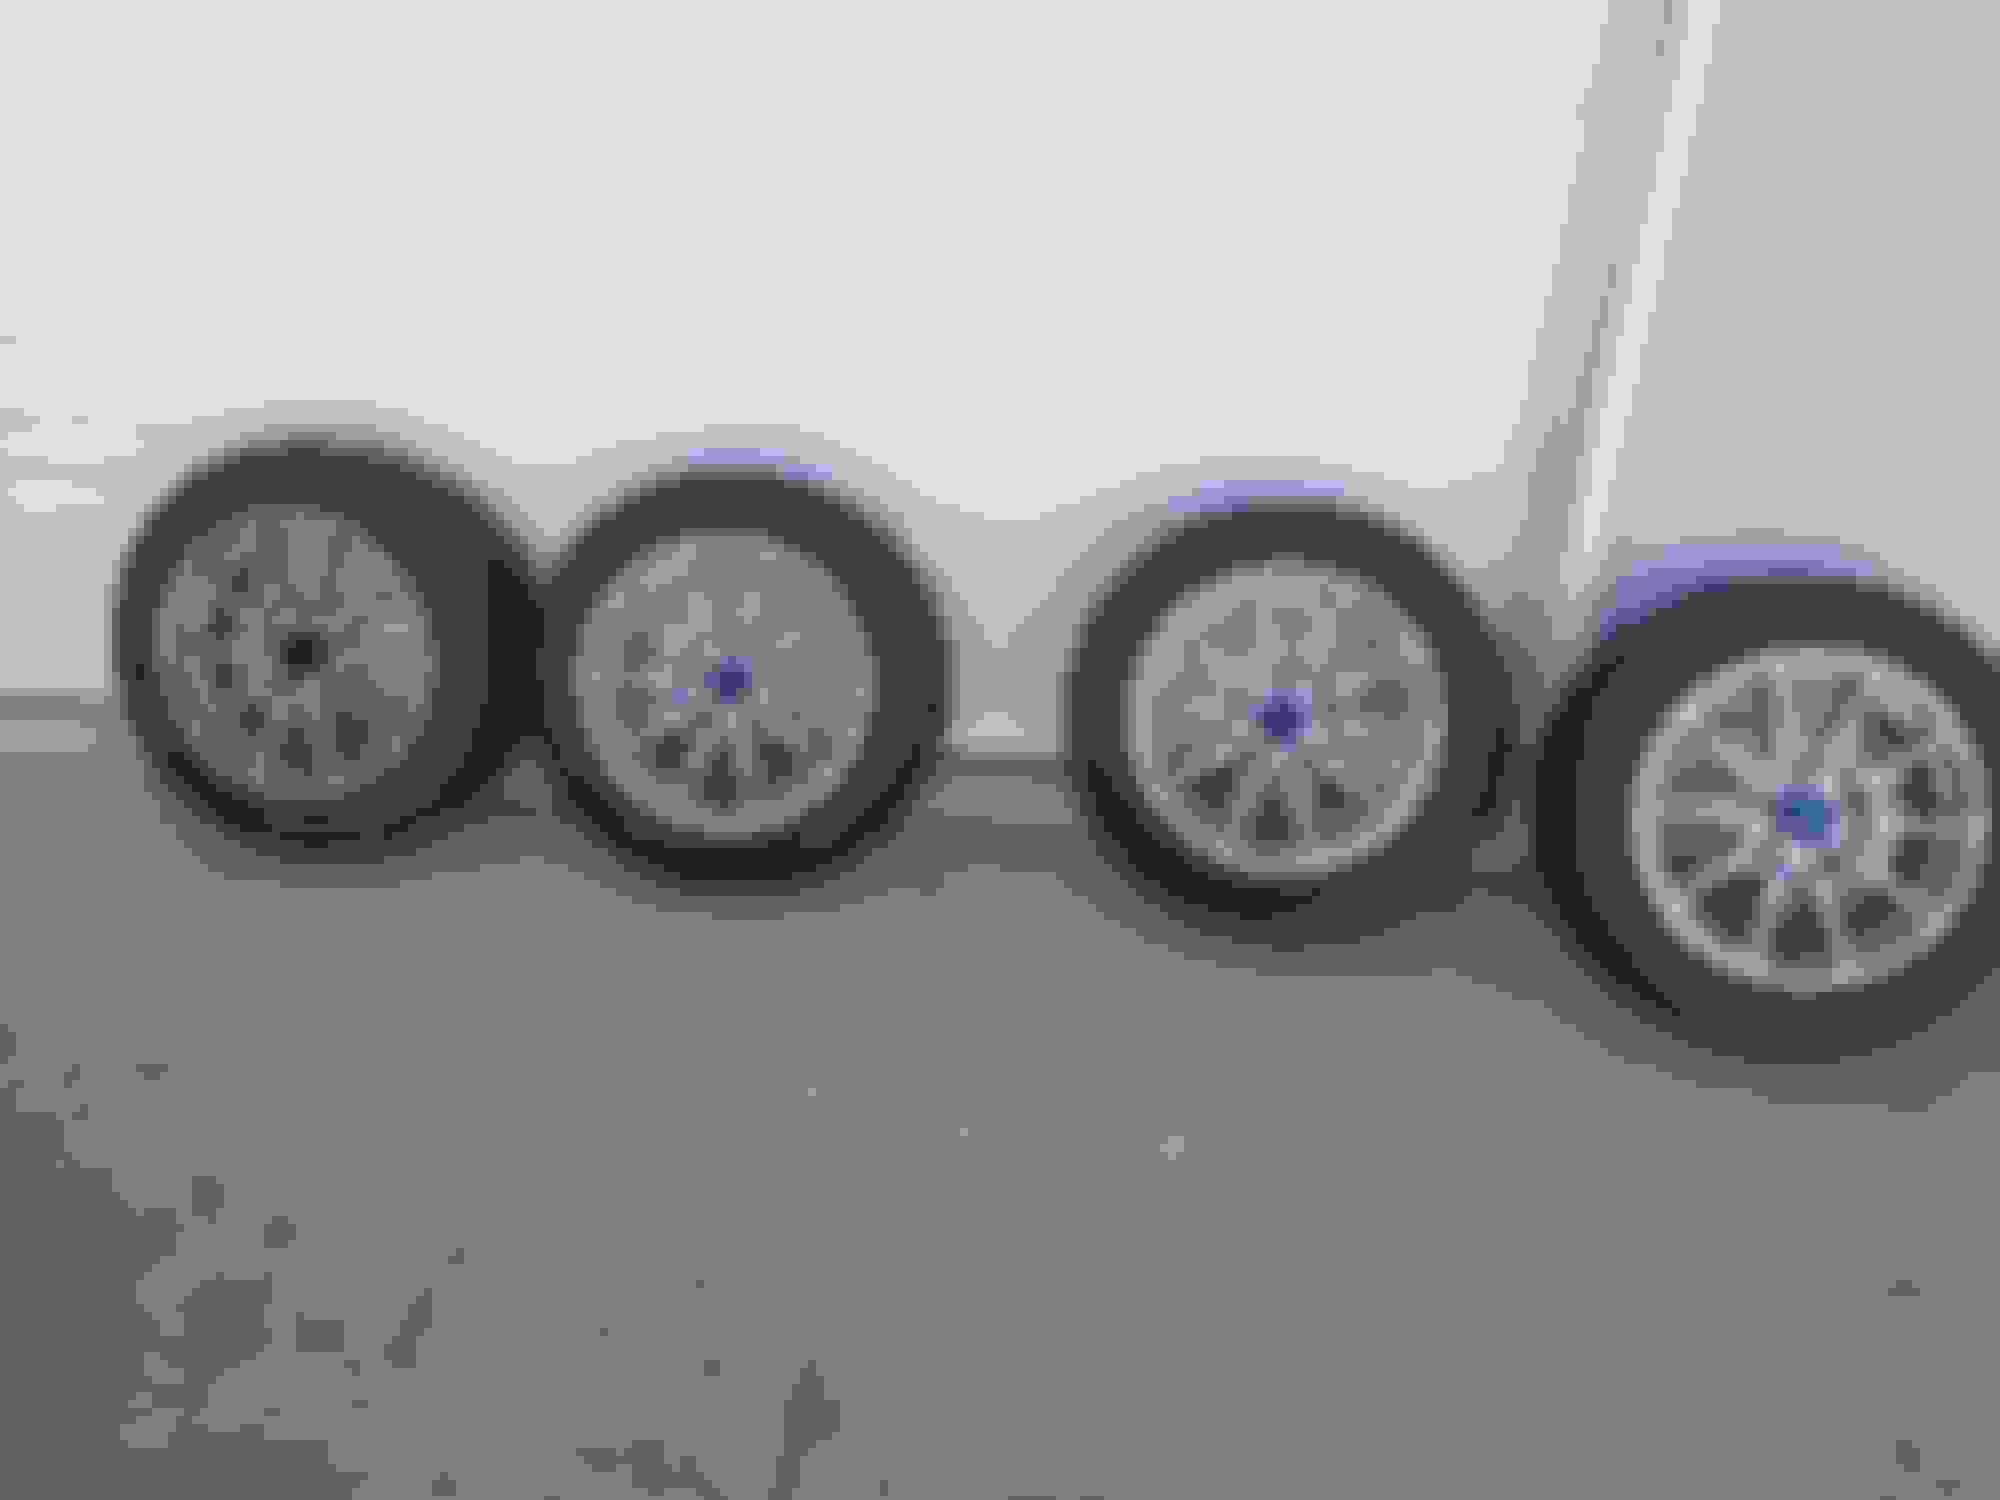
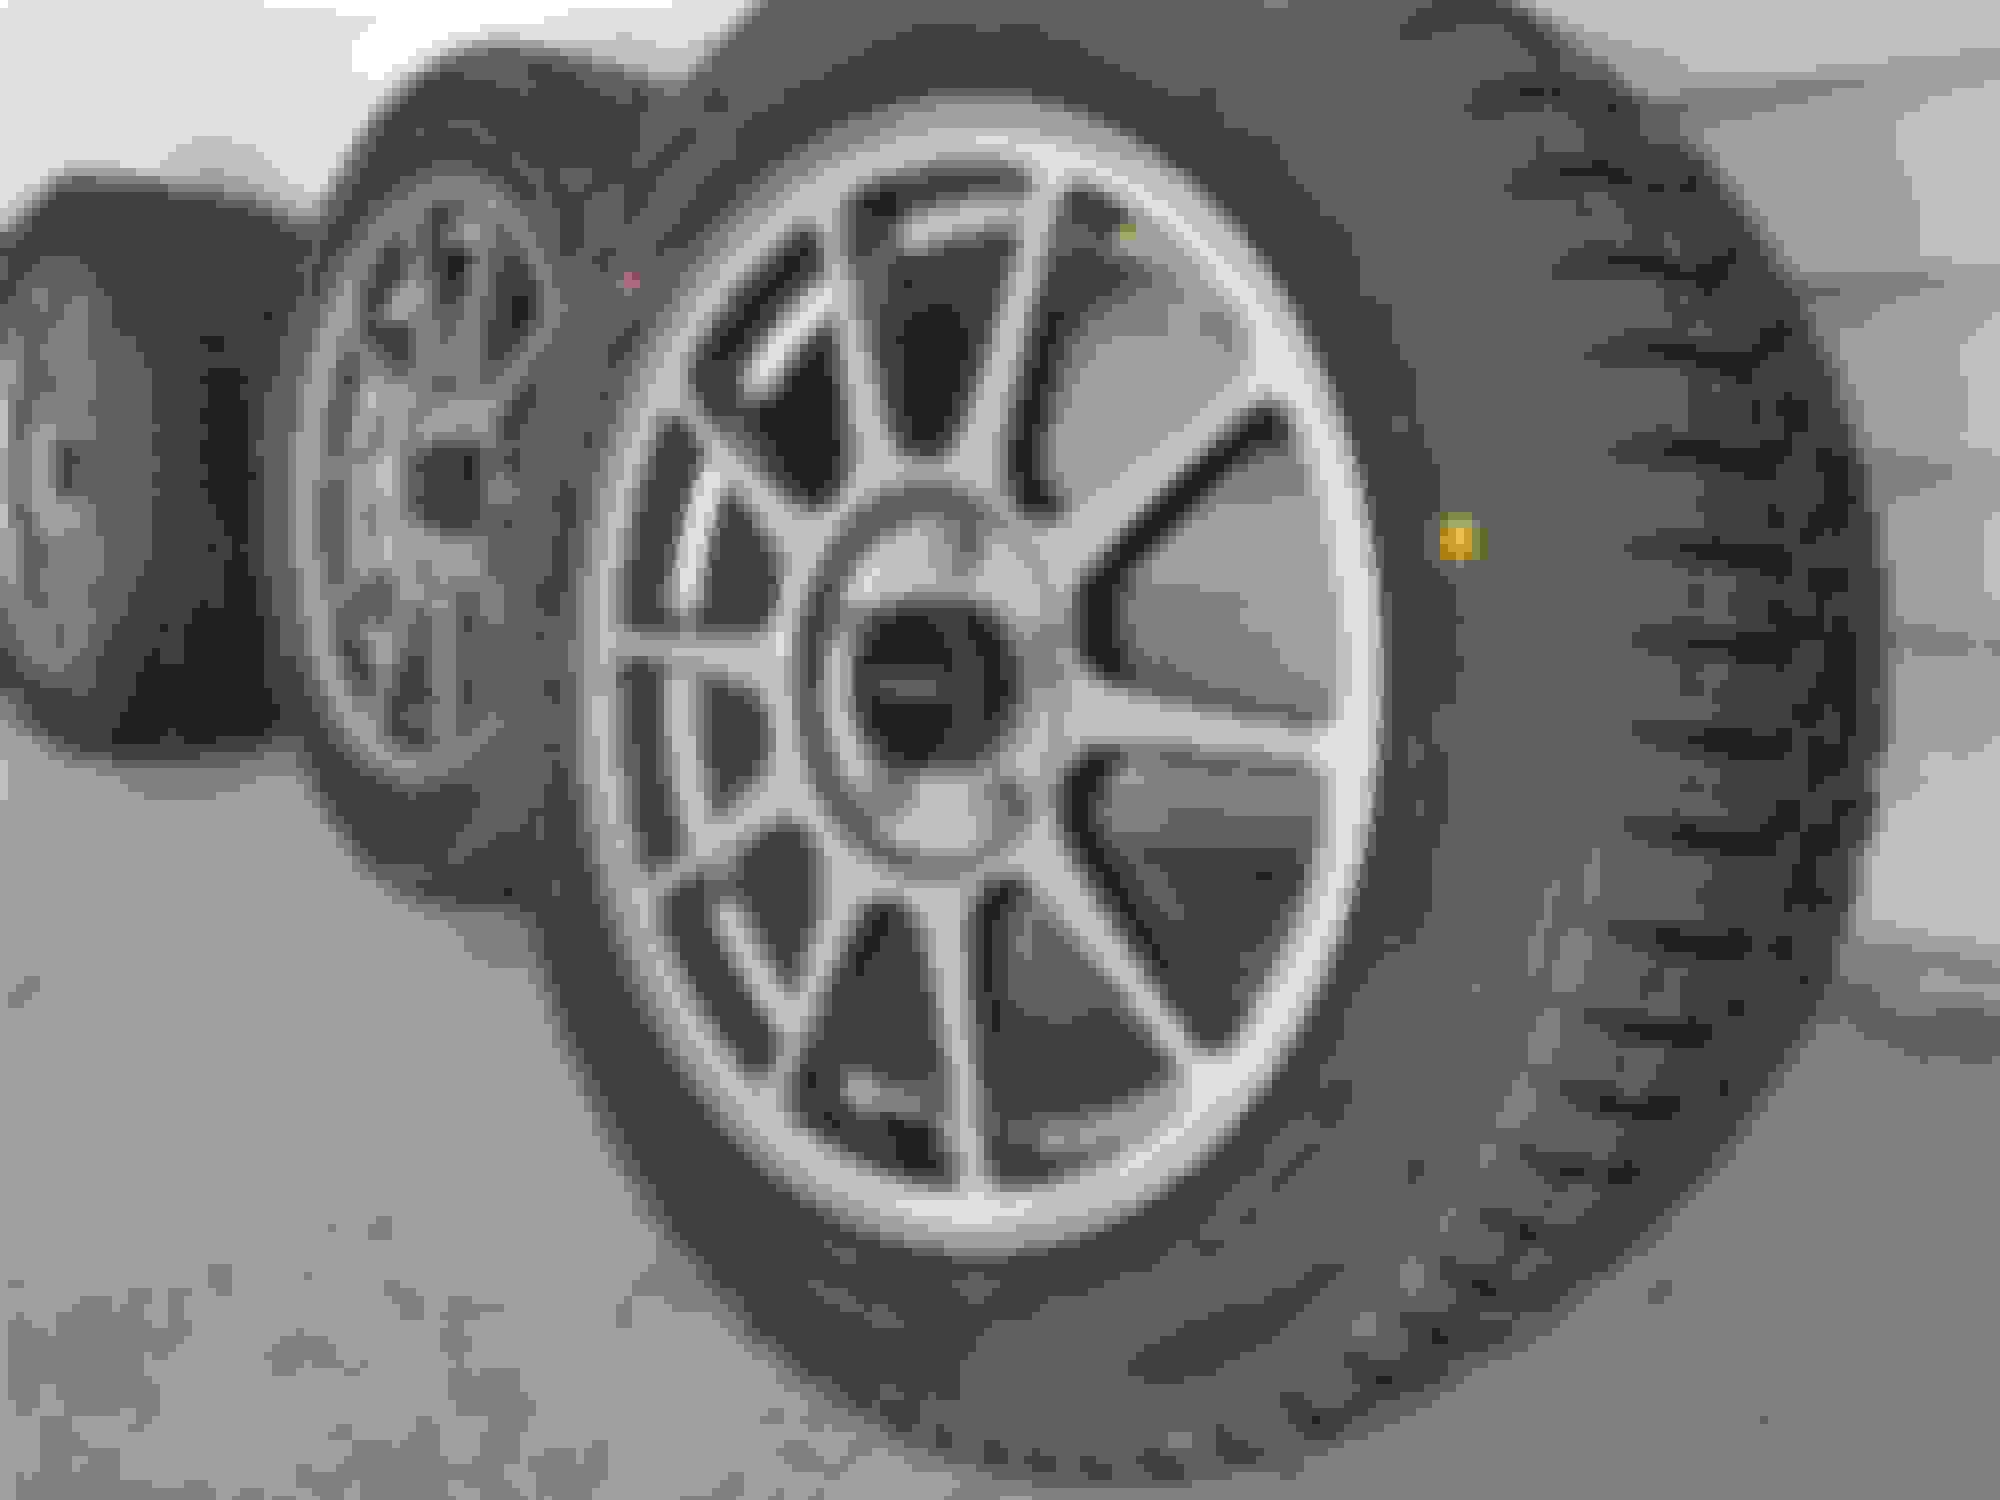
Thanks to 3D printing, I now have a better-integrated vintage stereo with modern bluetooth hands-free and remote controls along with new center caps. Integrated period-correct stereo components with a modern bluetooth hands-free kit and remote. A 3D-printed trim piece (two halves that were bonded together, sanded and painted) gives a clean look. The half-din unit at the bottom is a 3d-printed enclosure that has its own volume control and toggles for cut-in and auxiliary input for the portable CD player. Convertible audio controls are modified to work with a bluetooth remote hidden inside the center console. I've decided to get a lighter wheel-and-tire package with factory-size rubber to make the car fee a bit lighter on its feet (I hope). Rota R-Spec 16x7 45mm offset with 5mm Wilwood steel spacers for the correct factory offset and 3D printed center caps to clear the front hub centers. The included Rota center caps do not fit. PETG silver for the logos and ring accent, black for the main body. Filled in the logos with JB Weld Clear Weld to keep out debris and sealed with acrylic lacquer clear coat paint.
Yes, I have been using PETG filament from Atomic Filament. I chose PETG because it has a higher melting point than PLA, it's easy to print and can handle a car's hot interior without distorting. For underhood items, I'm using Nylon X which is a nylon filament infused with carbon fiber particles that has an even higher melting point. PLA is only used for prototyping and should not be used in hot environments as they'll easily distort and melt.
I've recently started playing around with TPU, which is a rubber-like filament.
For the wheel caps, they are PETG but I used clear epoxy and clearcoat paint to seal them and provide UV protection as I've done for the interior trim parts except for the screw caps and bushing which are out of direct sunlight.
The horn button isn't painted so we'll see; I haven't had the chance the drive the car much in the past few years.
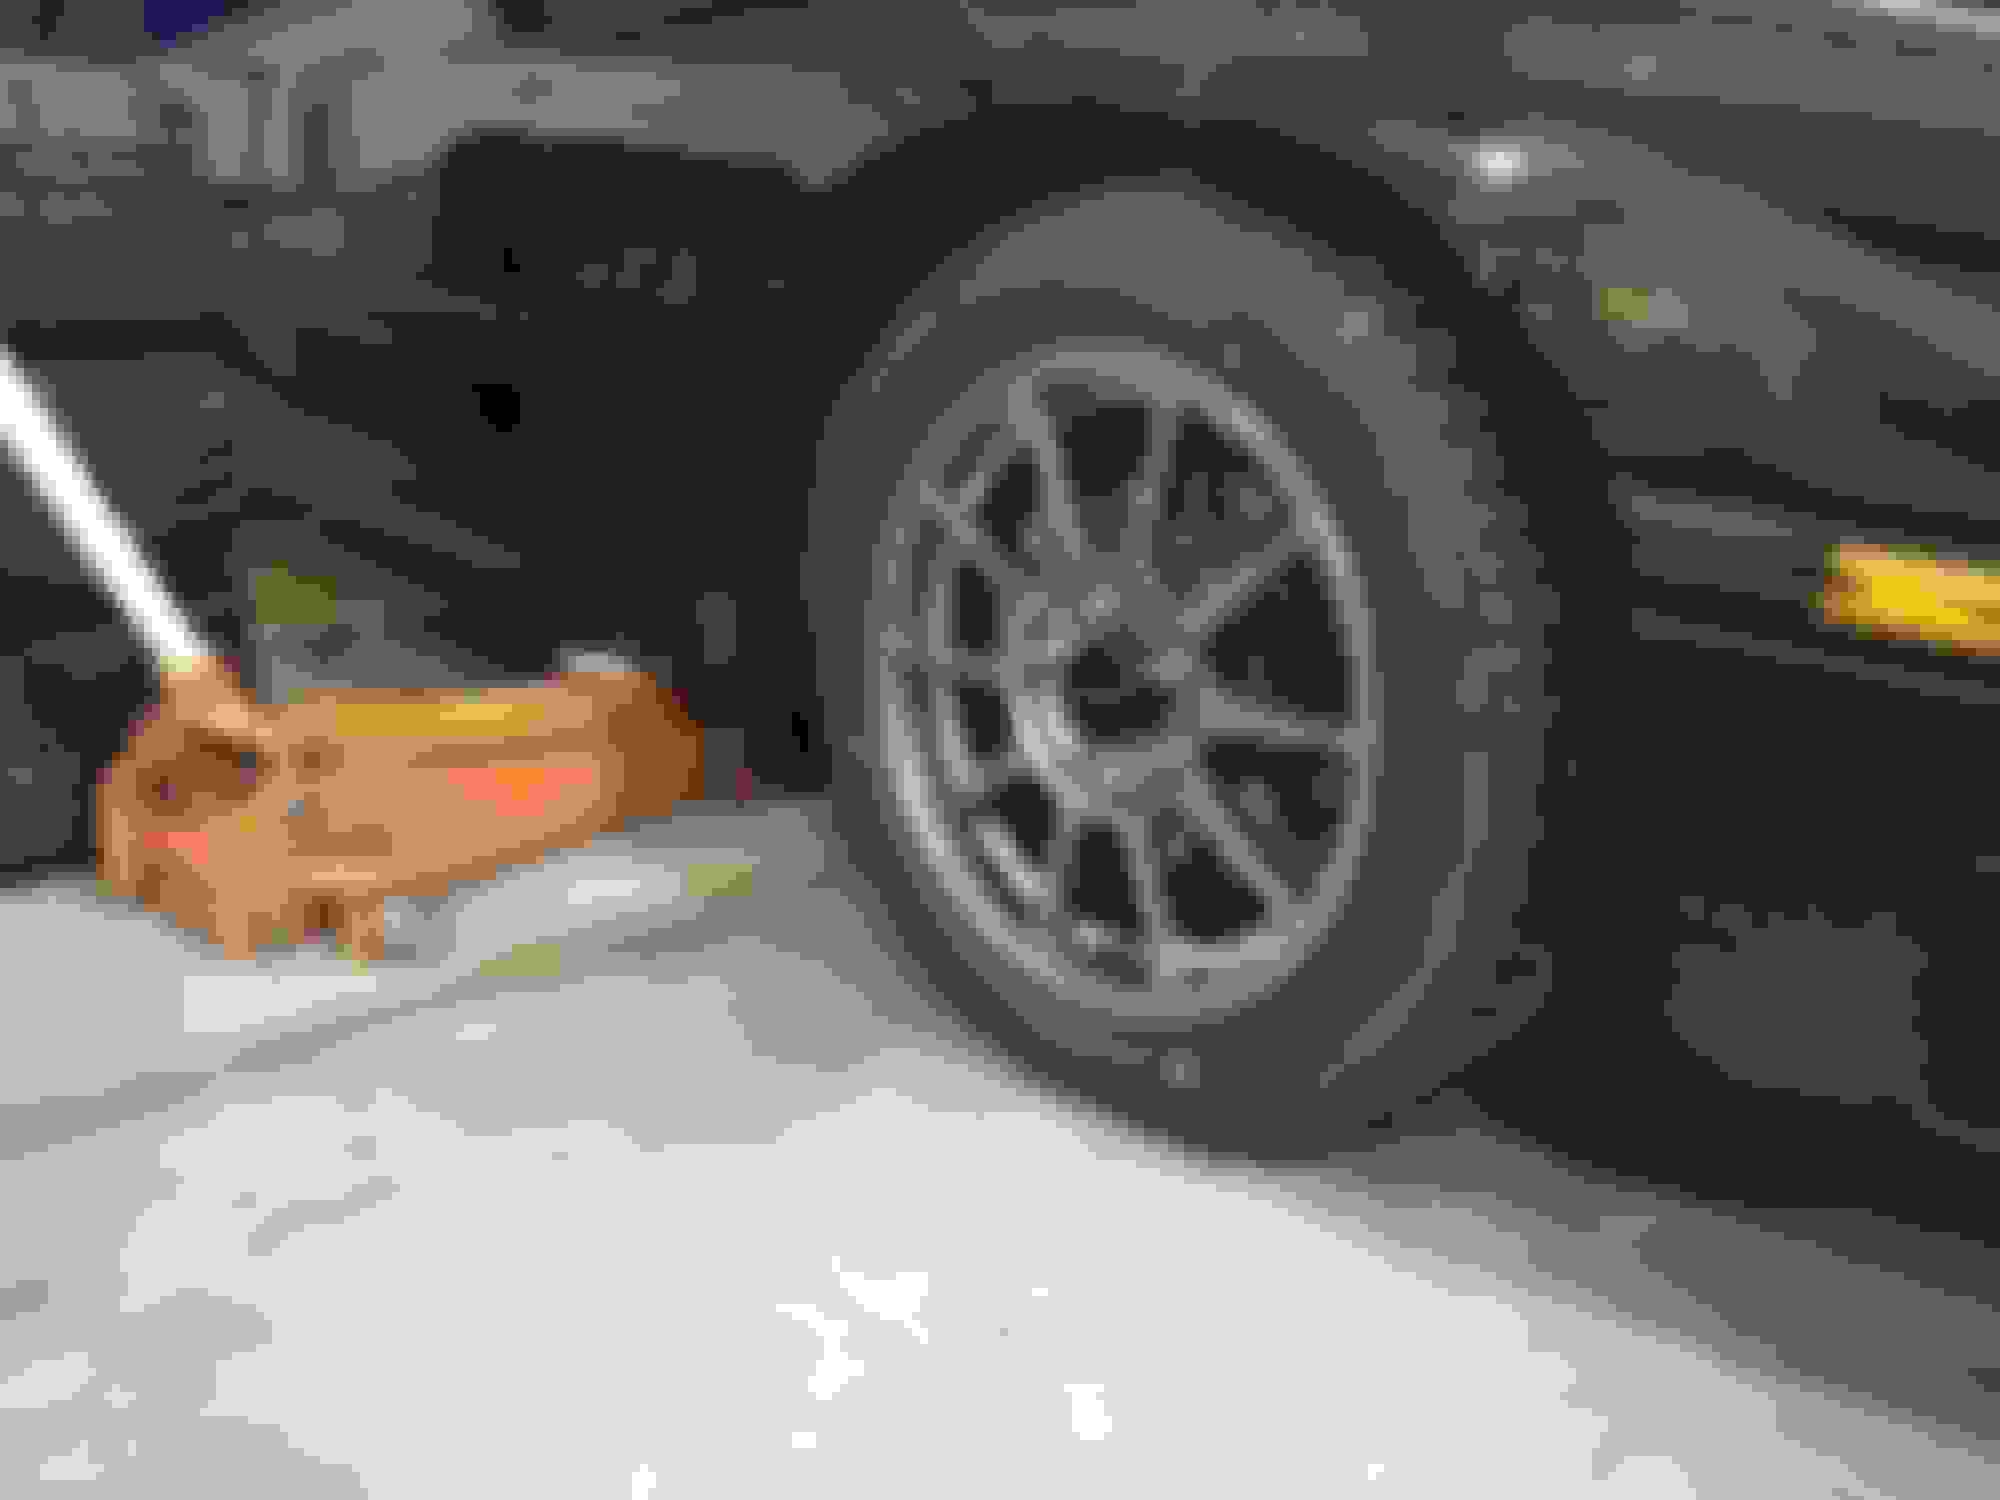
And the 3d-printed center caps installed on the new wheel-and-tire package.
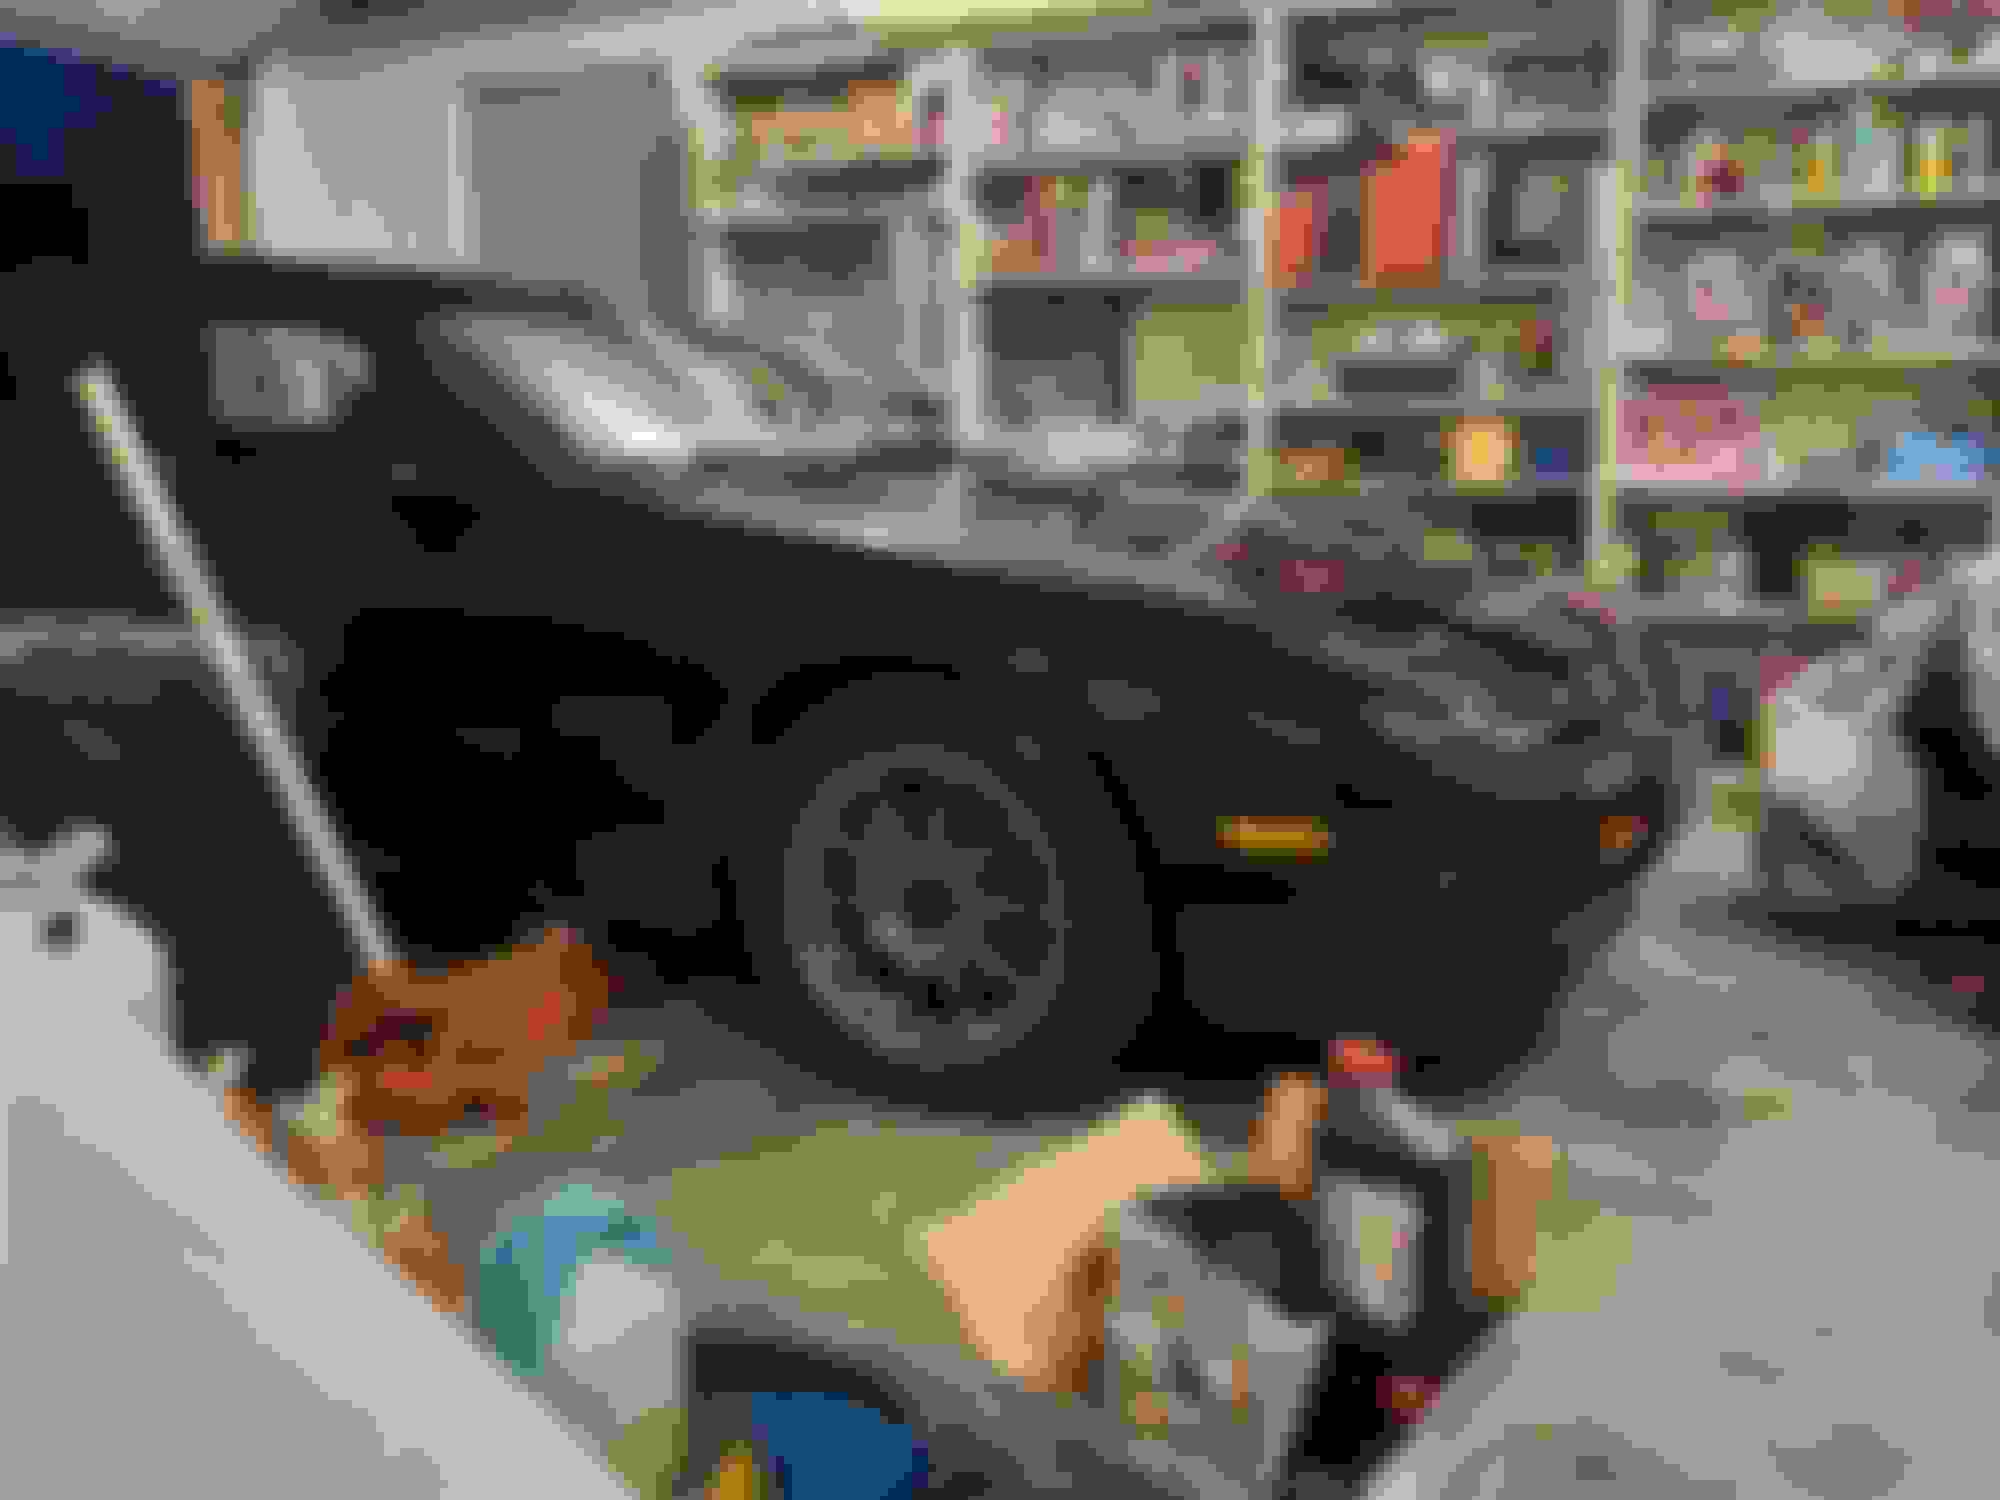
The new tires in the stock factory size of 205/55R16 with its new center caps. Closeup. Temporarily bolted to the car. There's some unrelated work to do this weekend before it goes back on the road. Another angle. And another.

 01-18-23, 03:21 PM