When you click on links to various merchants on this site and make a purchase, this can result in this site earning a commission. Affiliate programs and affiliations include, but are not limited to, the eBay Partner Network.
Sorry for the double post, here are the ones I made in zip files, I asked the original maker if they're alright with me putting them on thingiverse.
The one on there did not have the latches on it, so I added them idk how well they are going to work.
Well for some reason they won't attach, for now I can email to anybody who wants them.
Sorry for the triple post it won't let me edit, here's the thingiverse link. Im not sure how well you can see the rotor on it, I can change it to say RX-7 below the lock if anybody wants.
Please don't use STL file extension. The purpose of this format is no other than to be printed, so nobody would be able to modify or improve the design.
Thank you very much for the designs, some of them will be useful for me.
Please don't use STL file extension. The purpose of this format is no other than to be printed, so nobody would be able to modify or improve the design.
Thank you very much for the designs, some of them will be useful for me.
Well, I mean that kind of is the intent for these parts. I don't know what CAD program you use, but I know most of the "name brand" ones can open and edit STL files. It's not quite as convenient as editing a STEP or IGES, but it certainly can be done.
Well, I mean that kind of is the intent for these parts. I don't know what CAD program you use, but I know most of the "name brand" ones can open and edit STL files. It's not quite as convenient as editing a STEP or IGES, but it certainly can be done.
The OEM file extension from your software, as DWG for AutoCAD, SKP from SketchUp, STEP from SOLIDWORKS.
Originally Posted by Brrraaap
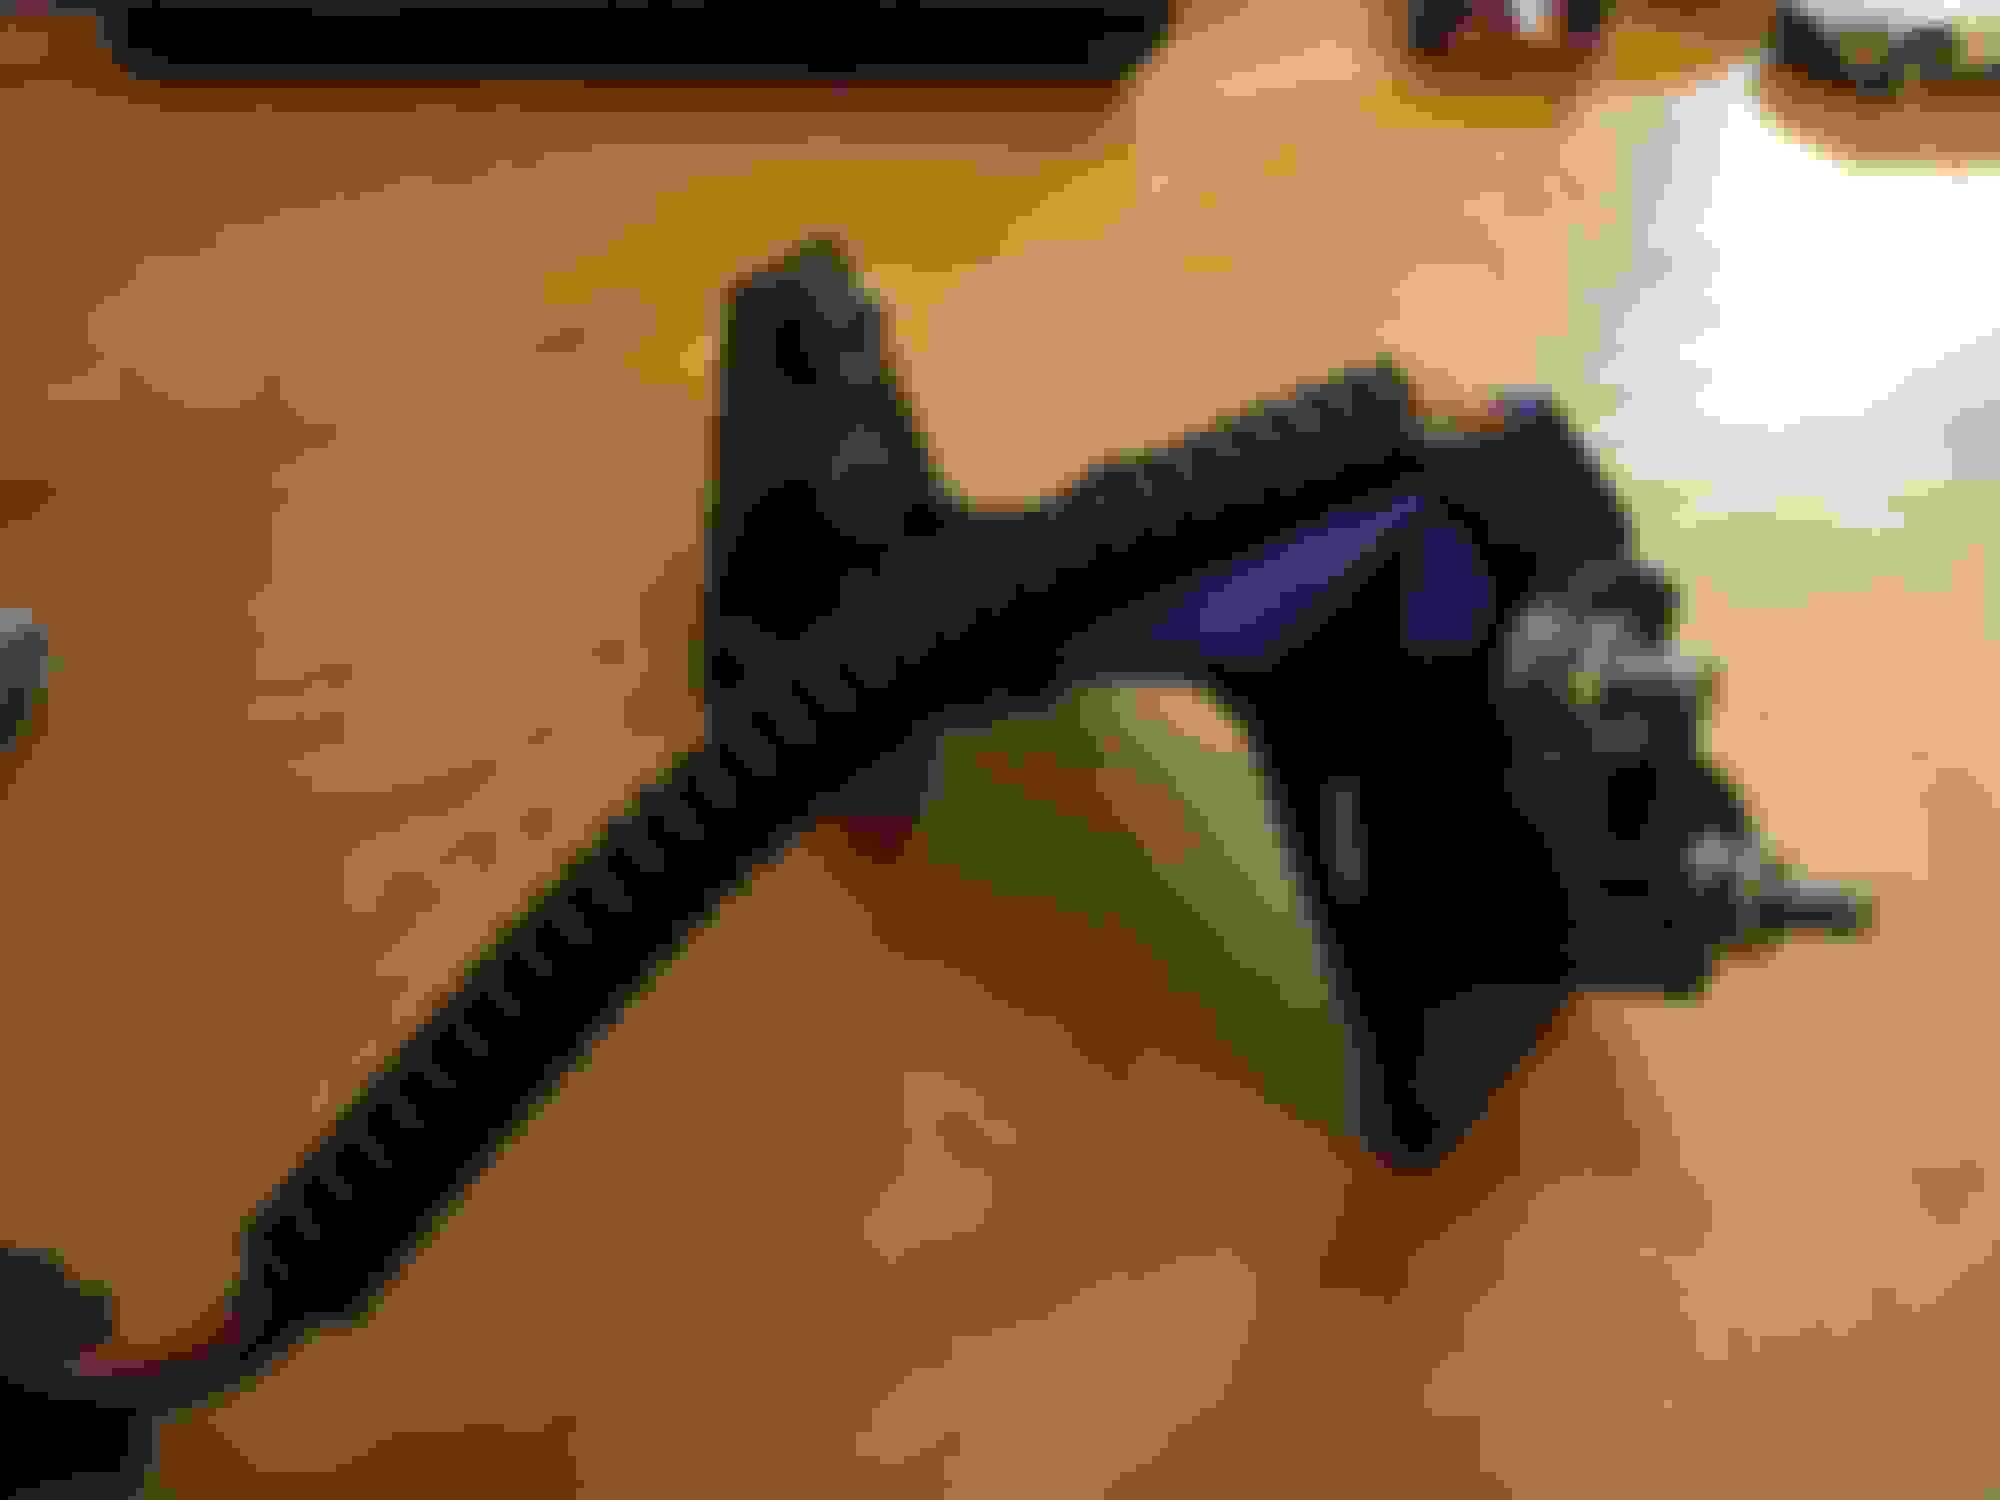
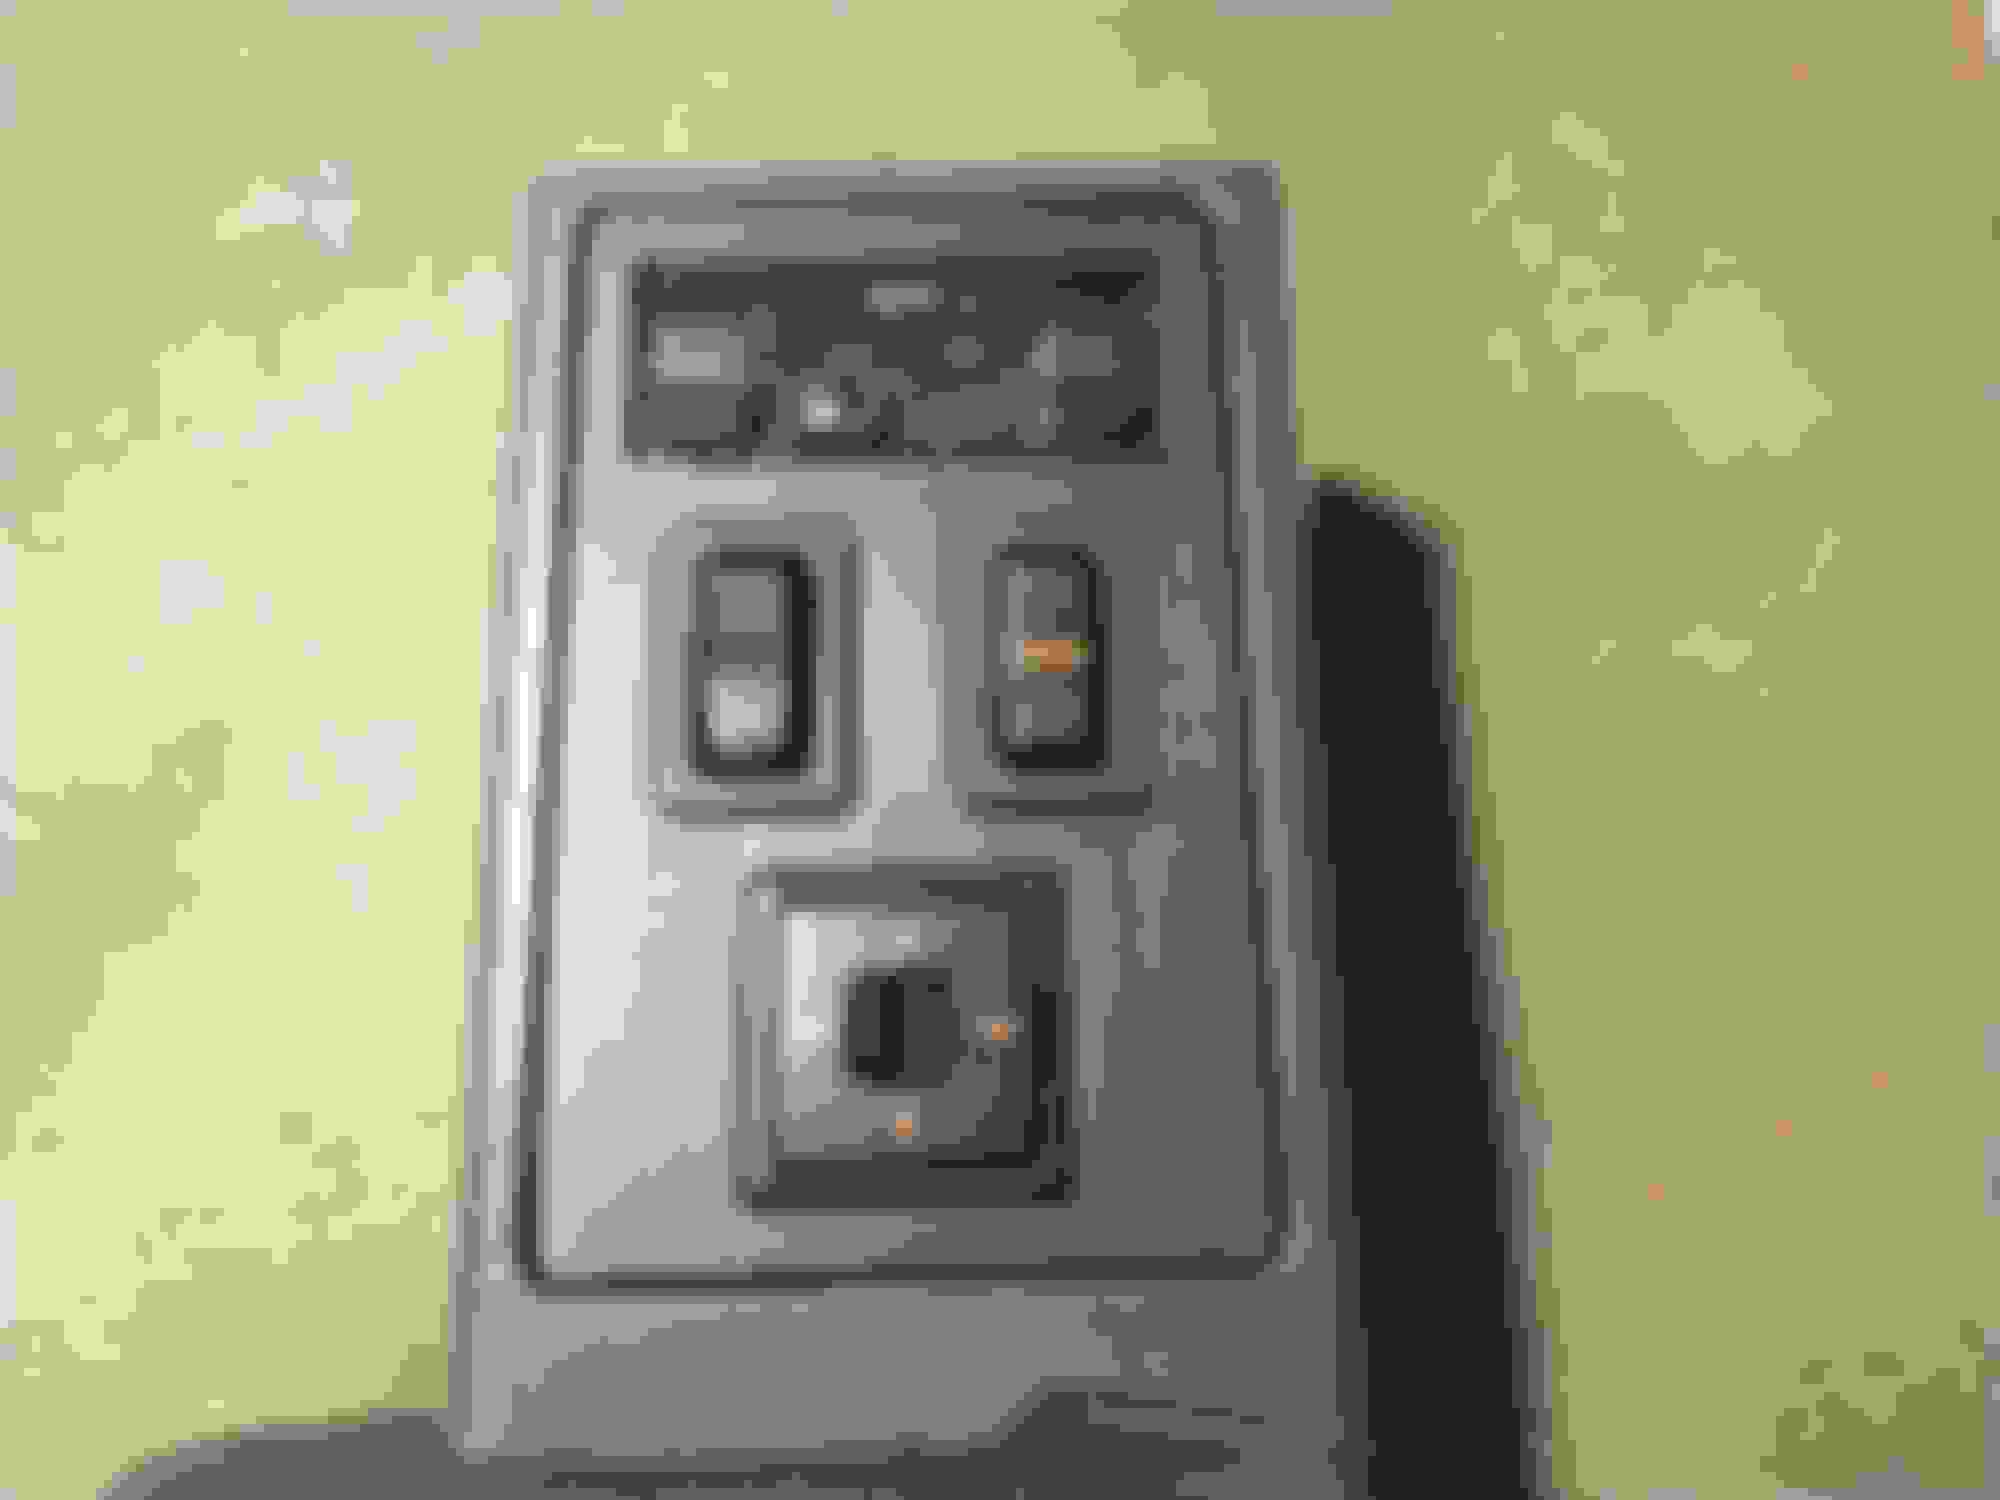
Here's a radio bracket, fits my Sony Mex-n4000BT radio, yea it's old but it came with the car. holds the radio on the bottom and is supposed to hold a piece of wood on the top so I can add and get rid of things easy. If someone has a 3d scanner and could scan those little trim pieces behind the door handles that would be really helpful.
Brrraaap your file would be amazing if it could be editable
By the way, I'm willing to give money for the files I use. If you share your PayPal maybe other do it too.
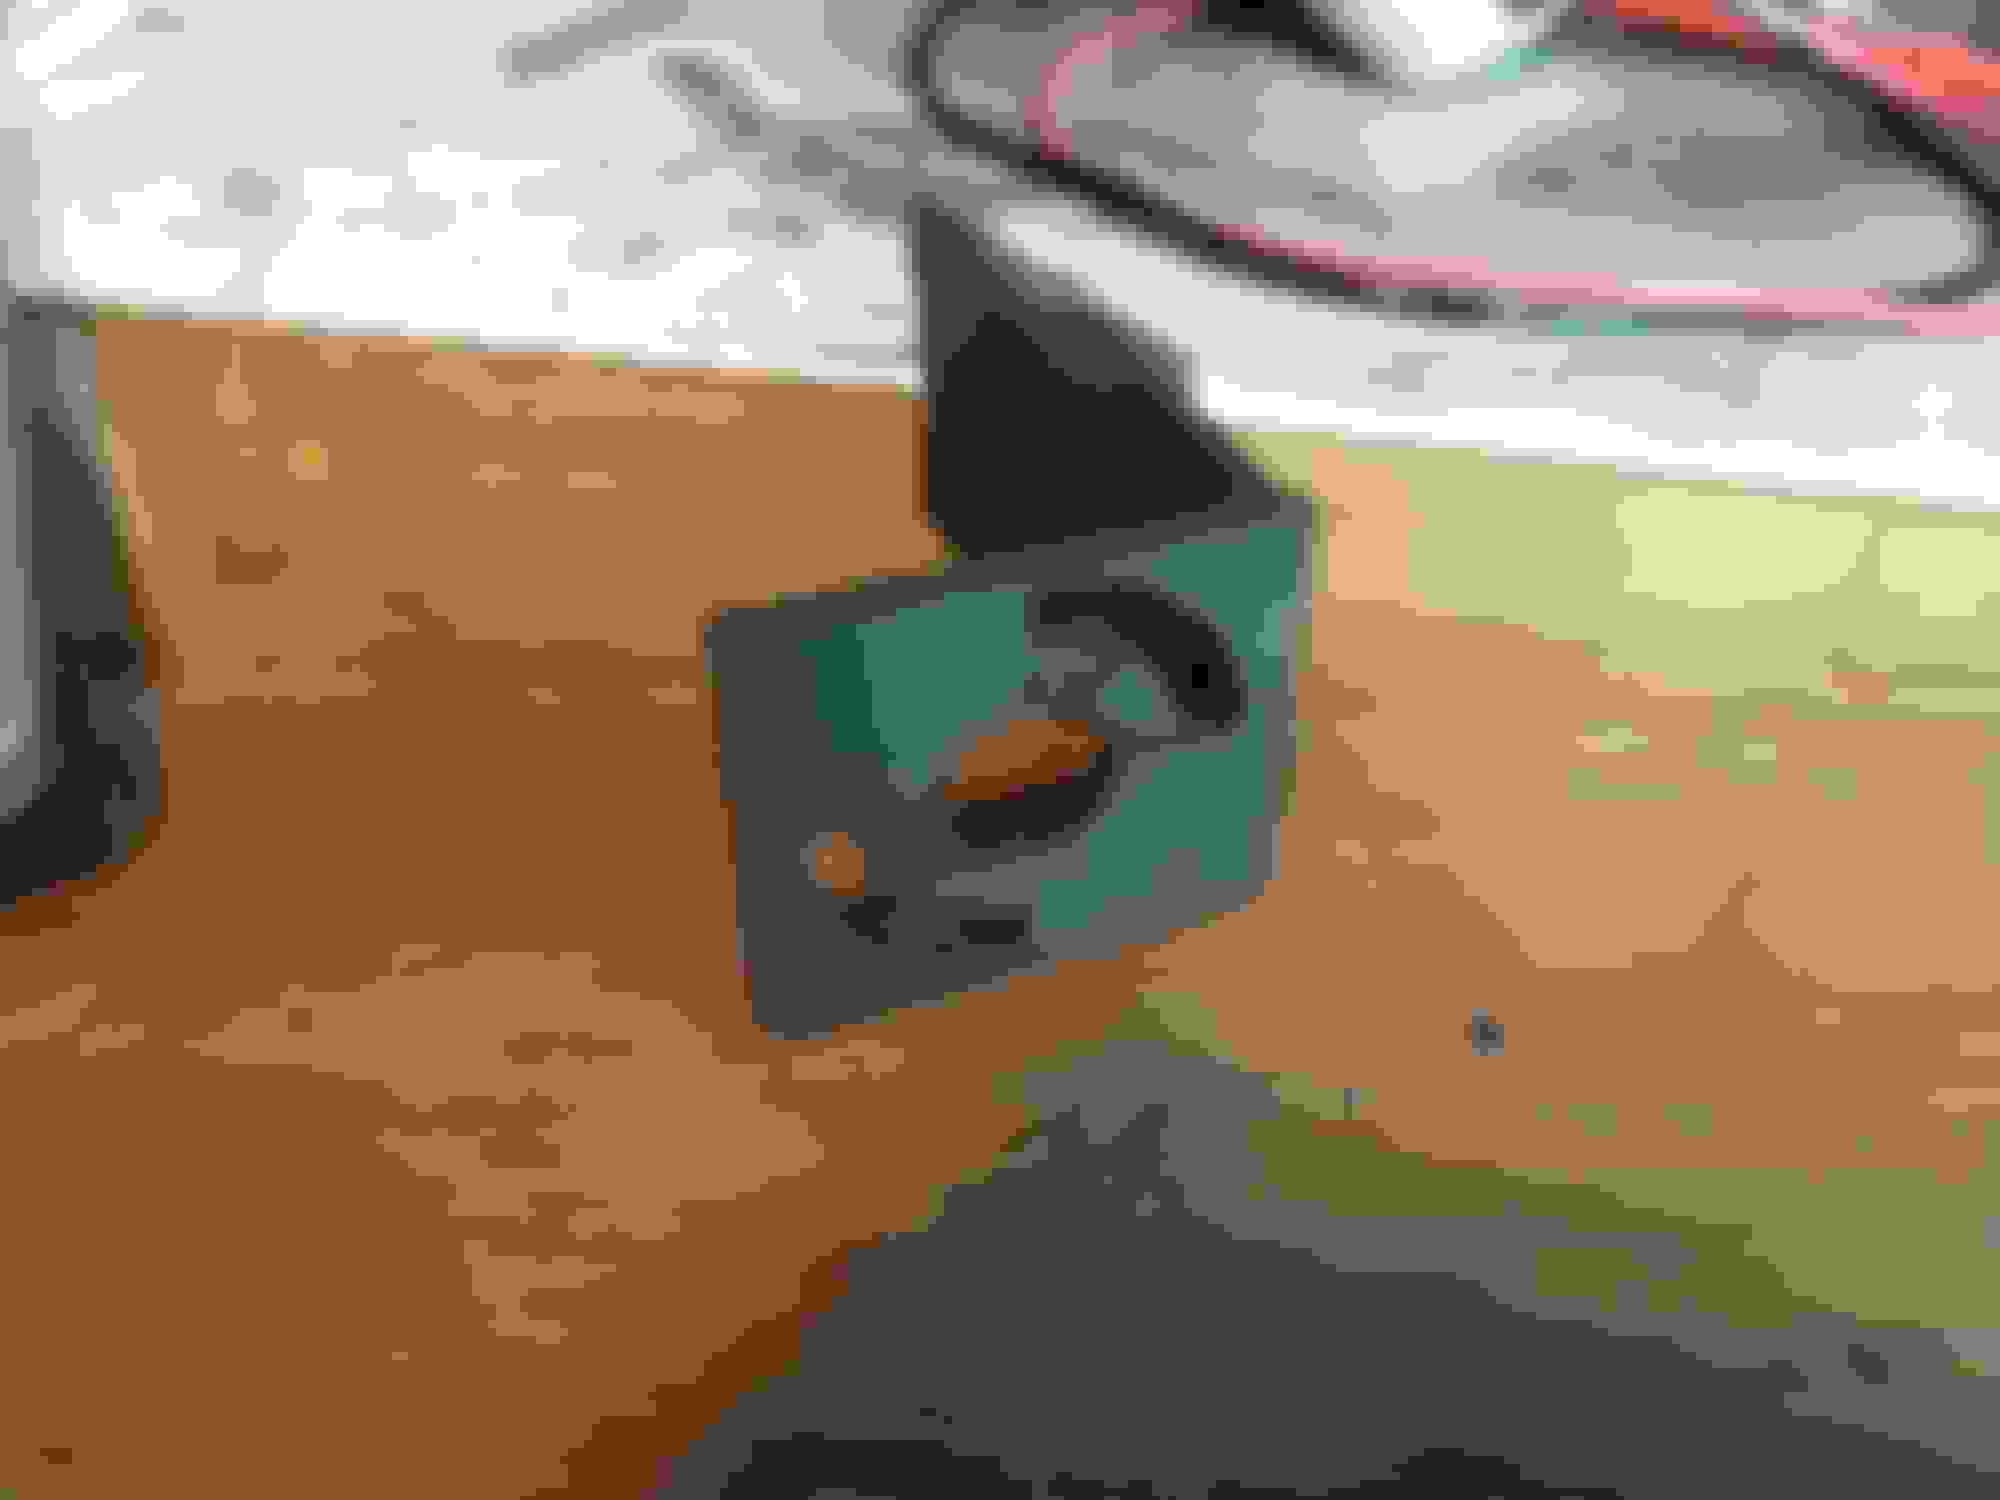
I have exported my work in FreeCad as STEP files and uploaded them in a zip. The one thing on the screw covers that would make them better is replicating the curved button style that the original factory ones have and finding some way to replicate the texture pattern.
I also included a couple of STEP files for fitting a Ford throttle position sensor (circa-1995 Ford Bronco/F-150 5.0L V8) to an S4 Non-Turbo throttlebody. I'll admit, the bracket is a bit clunky, but it does fit. I printed mine using NylonX Carbon Fiber Filament. https://www.matterhackers.com/store/...mm/sk/MD5LDGS7
The bracket and fitting that I originally ran for a decade was a crudely-bent and cut aluminum one with a steel fitting cut from threaded hex rod.
I have yet to drive the car with the new parts, but the sensor calibration in TunerStudioMS went well, readings were consistent and I don't expect things to break quickly. I did add several gussets on the bracket and printed with 100% in-fill. I do recommend printing the fitting on its side as the PLA prototype layers separated.
Prototype bracket in PLA. The fitting that attaches one end to the throttlebody shaft and slots into the Ford TPS sensor. Final bracket printed in NylonX Carbon Fiber filament. The sensor bracket includes slots that allow you to adjust the TPS sensor position. Be sure to use washers with your fasteners.
cura has a "fuzzy skin" mode, that would create a texture on the screw covers for you. Might be able to play around with the settings and get something pretty close.
I made a turn signal cam adapter to attach my NRG hub to the stock turn signal cam that you can find here. If you want one that is closer to stock try this link.
Well it does depend on the something, if you build a makeshift box around it (plywood) you might be able to print abs if your hotend can go hot enough. This might be helpful https://m.youtube.com/watch?v=vLrISrkg46g
should be in the thingiverse link now. I modified the legs so you can place the rear ones and hopefully rotate the panel down so it'll snap in. I also made the lead in for the "snapping leg" more gradual to reduce the strain in the leg.
Cool, I'm printing that out now. To give the tangs more strength, I'm printing it on its side with 100% infill and supports. It may result in some finishing work on the face, but that can be sanded and painted.
Again, I'm using PETG Atomic Filament black filament. Print time on my Mini+ is about 8.5 hours.
It just occurred to me that maybe another possibility is making "repair tangs" that could be chemically welded to OEM plastic panels. Anyhow, one print at a time.
Okay, printing the part on its side with support material at 100% in-fill is what you need to do to strengthen the tabs. This part does fit, and the hooks work as intended.
I think the only thing left to do is to tweak the snap-in tabs, maybe even go back to having two pairs of tabs instead of one each. It does snap in, but it's a bit too easy to pull out.
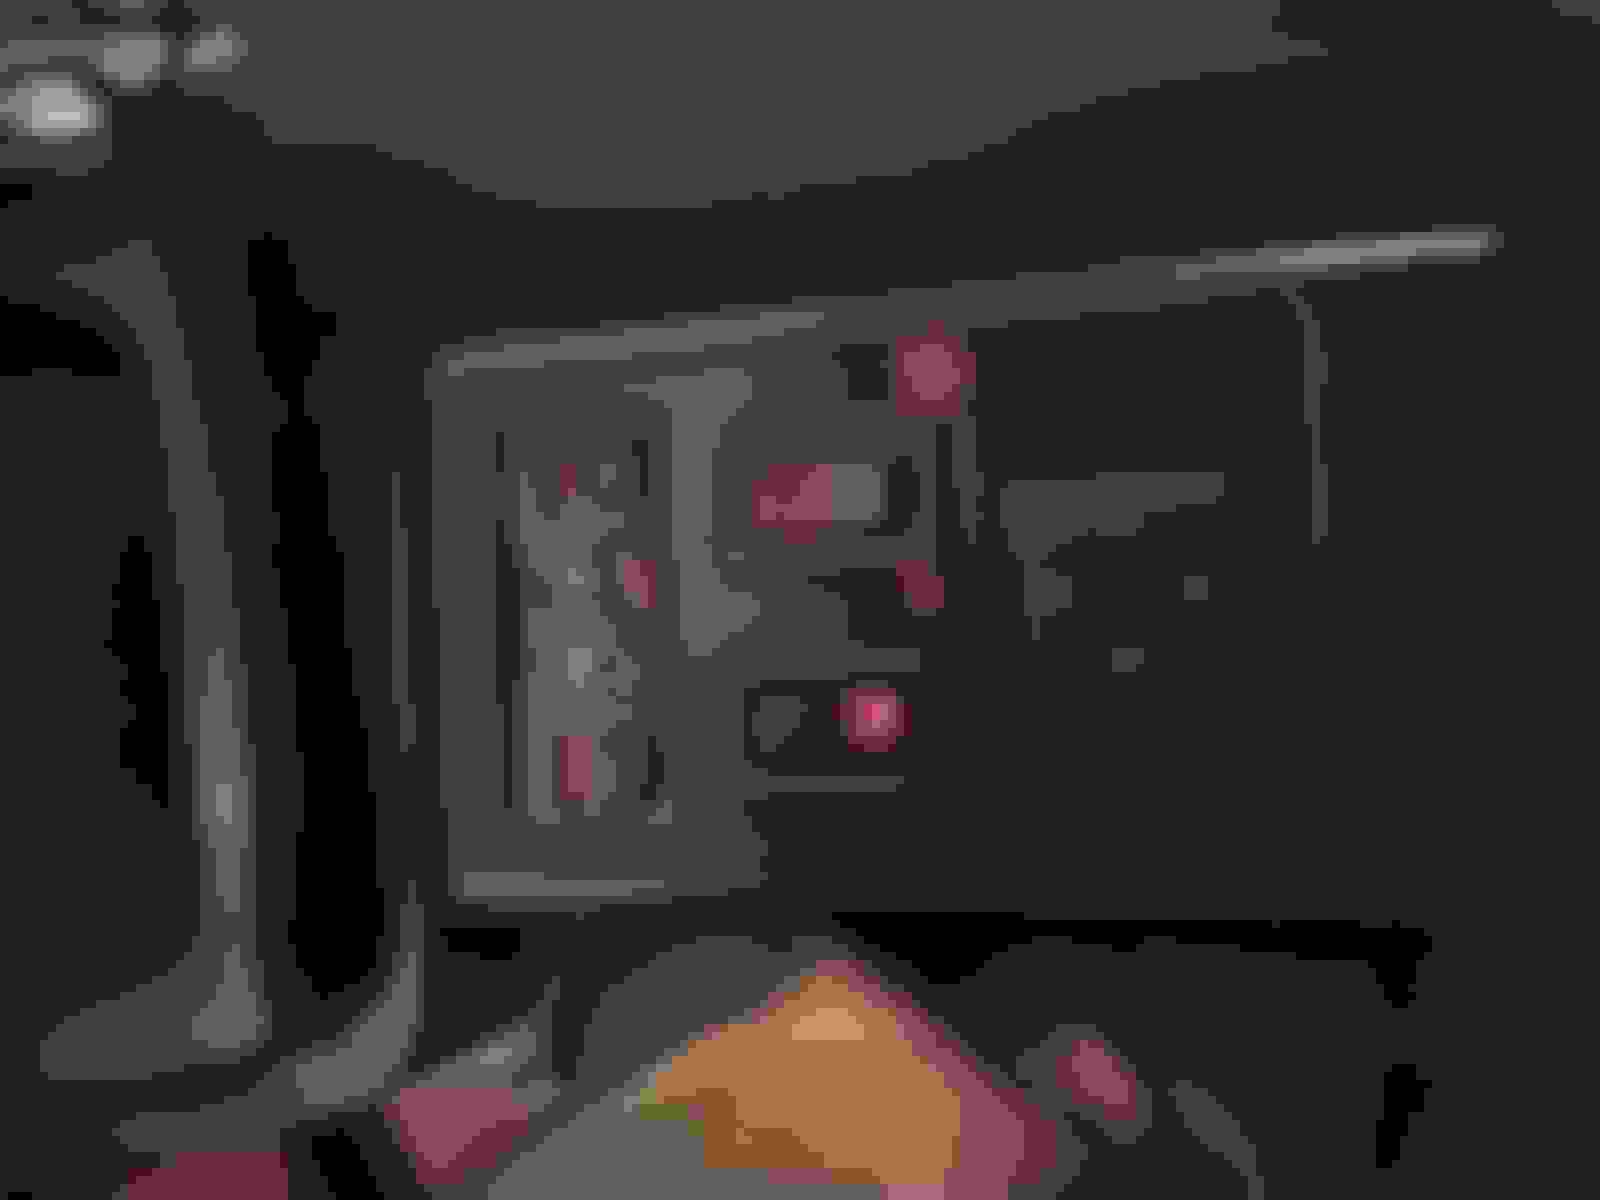
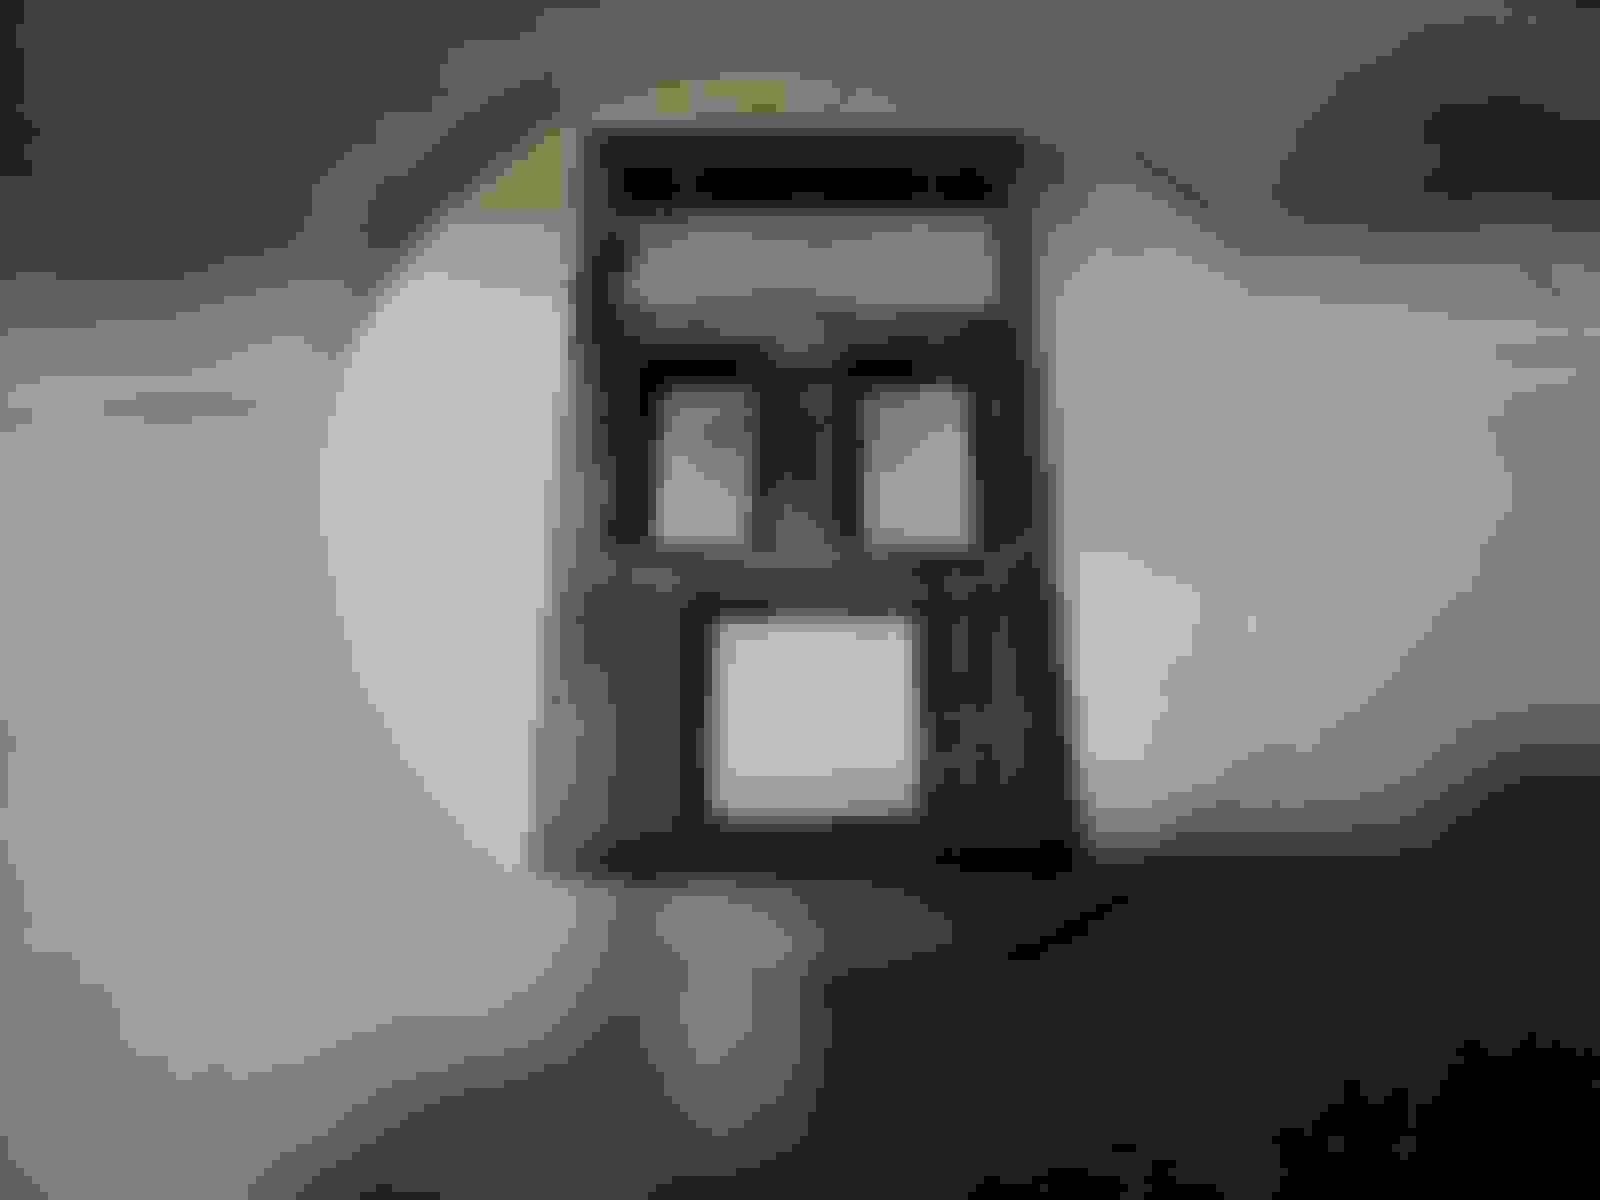
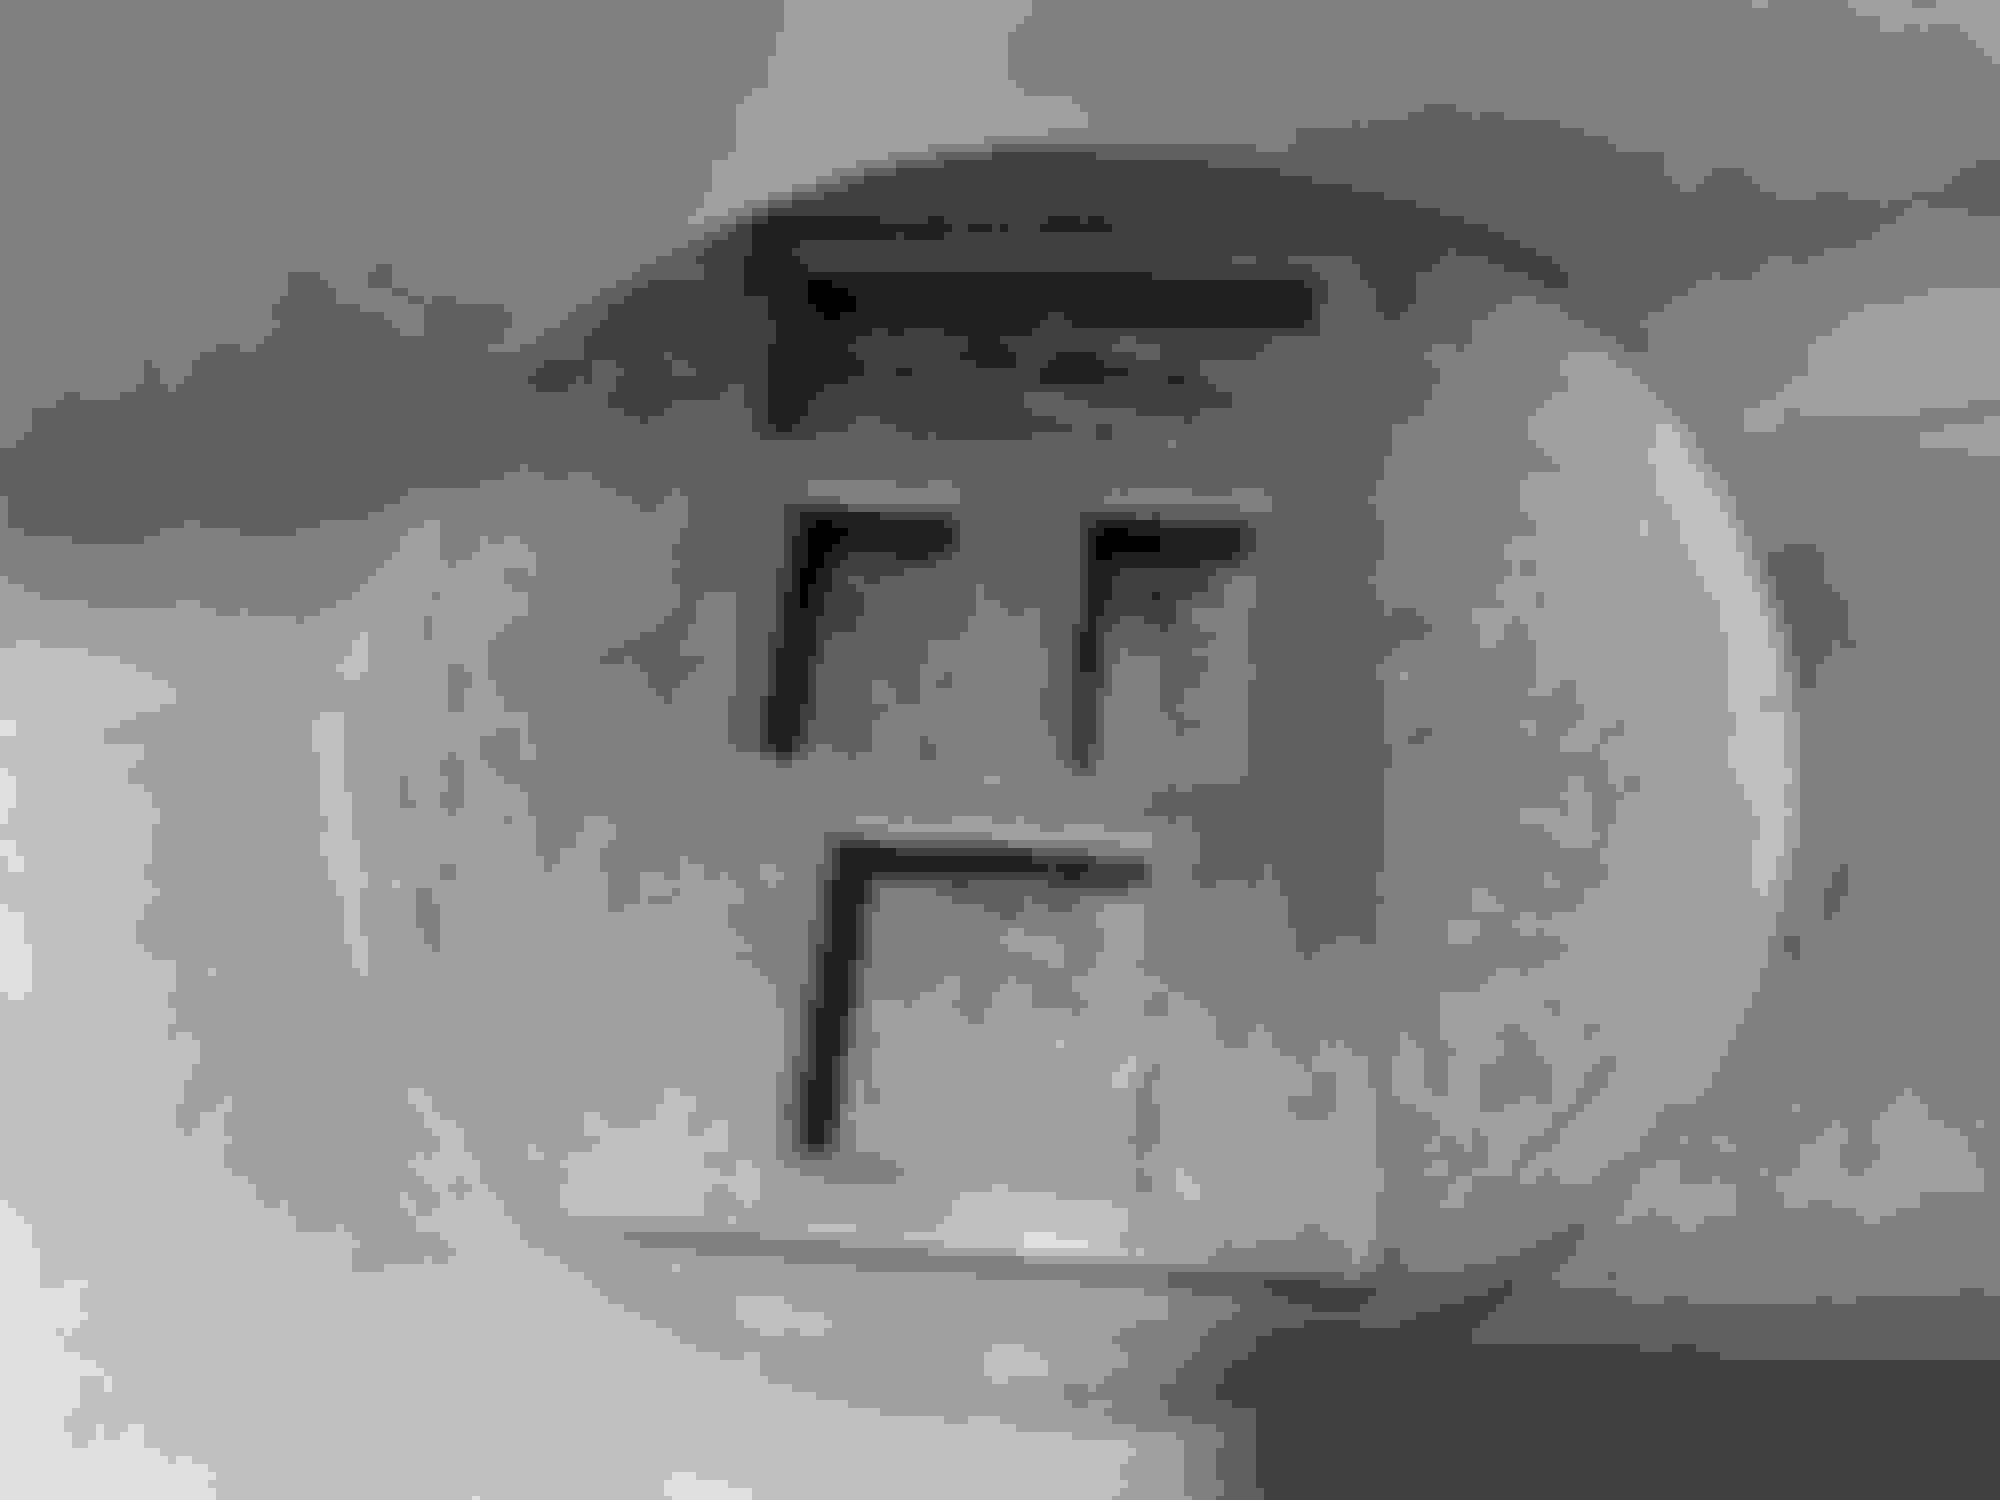
I've only tested this on an empty S4 console, but everything otherwise fit without issue. Revised panel printed on its side and fitted to an S4 center console. It fit without issue and nothing snapped off when installing and removing. Underside. The hooks hold the rear/bottom securely and it does hold the panel in place. But if you have a lot of stuff inside the center console, the front/top tabs may not be enough to hold the panel down.
I have not transferred the switch gear and test fit it in the car yet, but I've otherwise found it easy to install and remove.
Update: Fitted it in the car with its switch gear and it fit and stayed in place. So, don't tweak anything.
The only thing left to do, that is an option, is whether you want to paint yours or not. There might be a textured black paint or maybe a paint that'll replicate the finish of the OEM plastic part. Stay tuned.
The PETG black material I used is glossy with a bit of a greenish tinge to it and you can clearly see the layer lines. But otherwise turned out quite well.
I have few more pictures. I tried a textured black paint, but the paint I used didn't flow out of the can very well.
I sanded the face with 150 and 320-grit to key the surface. I didn't really have a sanding block so I didn't get rid of all the lines. The paint i used. The texture didn't match the factory finish, so I don't recommend this if you're looking to match things perfectly. This is after a few coats. The lighting makes it look worse than it is. After paint and fitting. A different angle. You can see the layer lines, but if you put in more work in finishing the part, those can be made to disappear.
It's not perfect, but it's pretty darn close if applied correctly. I redid my gauge surround, and while the paint i used after isn't as glossy as it should be, it matches fairly well. In this picture the radio surround is OEM texture for comparison
So can I just send the files to Shapeways and they will print them?
Yes. I personally have not dealt with any 3D printing service, so you need to do your homework first. But the general idea is that you submit an STL file, specify the material, orientation, in-fill and so forth and they then print and ship it for you.

 11-20-22, 04:59 PM