When you click on links to various merchants on this site and make a purchase, this can result in this site earning a commission. Affiliate programs and affiliations include, but are not limited to, the eBay Partner Network.
3D part designs - screw covers and sun visor bushings
Several months ago, I ordered a Prusa Research Mini+ kit (it comes as a kit of semi-assembled and what a great printer). I got in the kit a week ago and ended up designing and printing two parts fr the FC which I wanted to share.
Screw cover - those little textured covers that snap over the black headed screws on the front windshield inside trim, the rear hatch inside trim and the side A-pillar trim https://www.thingiverse.com/thing:5406518
These are not 100% correct as they lack the curved face and texture of the originals and you'll either need to paint them to match or print in a color that's close to the original. They also leave a slight gap when used on the front and rear trim strips that span the width of the inside hatch and windshield.
For years--decades actually--my driver side sun visor hasn't been cable to clip into place because the original plastic bushing had fallen apart and disappeared. These are printed in halves, fit together (you may need to use a small file to help them fit) and chemically weld the two pieces together. You'll also want to sand the layer lines as smooth as possible for them to rotate inside the clip but that's not required.
It is recommended to print these parts using PETG instead of PLA. PETG should handle the higher temperatures found in a car interior and not wrap and sag like PETG. Chemical welding is also recommended. I used IPS Weld-On 3 Acrylic Plastic Cement and clamped the two halves together for 24 hours.
All designed in FreeCAD and used Prusa Slicer and Atomic Filament PETG black.
I also did a custom Mazda horn button to replace the silver Momo one. Thanks to the Prusa's color change, I was able to do the logo in silver. I didn't post an STL since it's actually something I whipped up in the slicer by putting three models together, scaling and positioning them.
Honestly, I wasn't expecting it to be so easy. I originally bought the printer thinking that I'd just struggle to design a single elevator gear for a Technics car CD changer and use it to print already-built objects (which you can and I did). Instead I found myself designing and printing quite a few parts inside of a week. The most important tool to have is a digital caliper, a notepad and pen. After that it's just replicating what you want to build inside CAD.
No 3D printer? No problem. There are printing services out there that'll print the object for you.
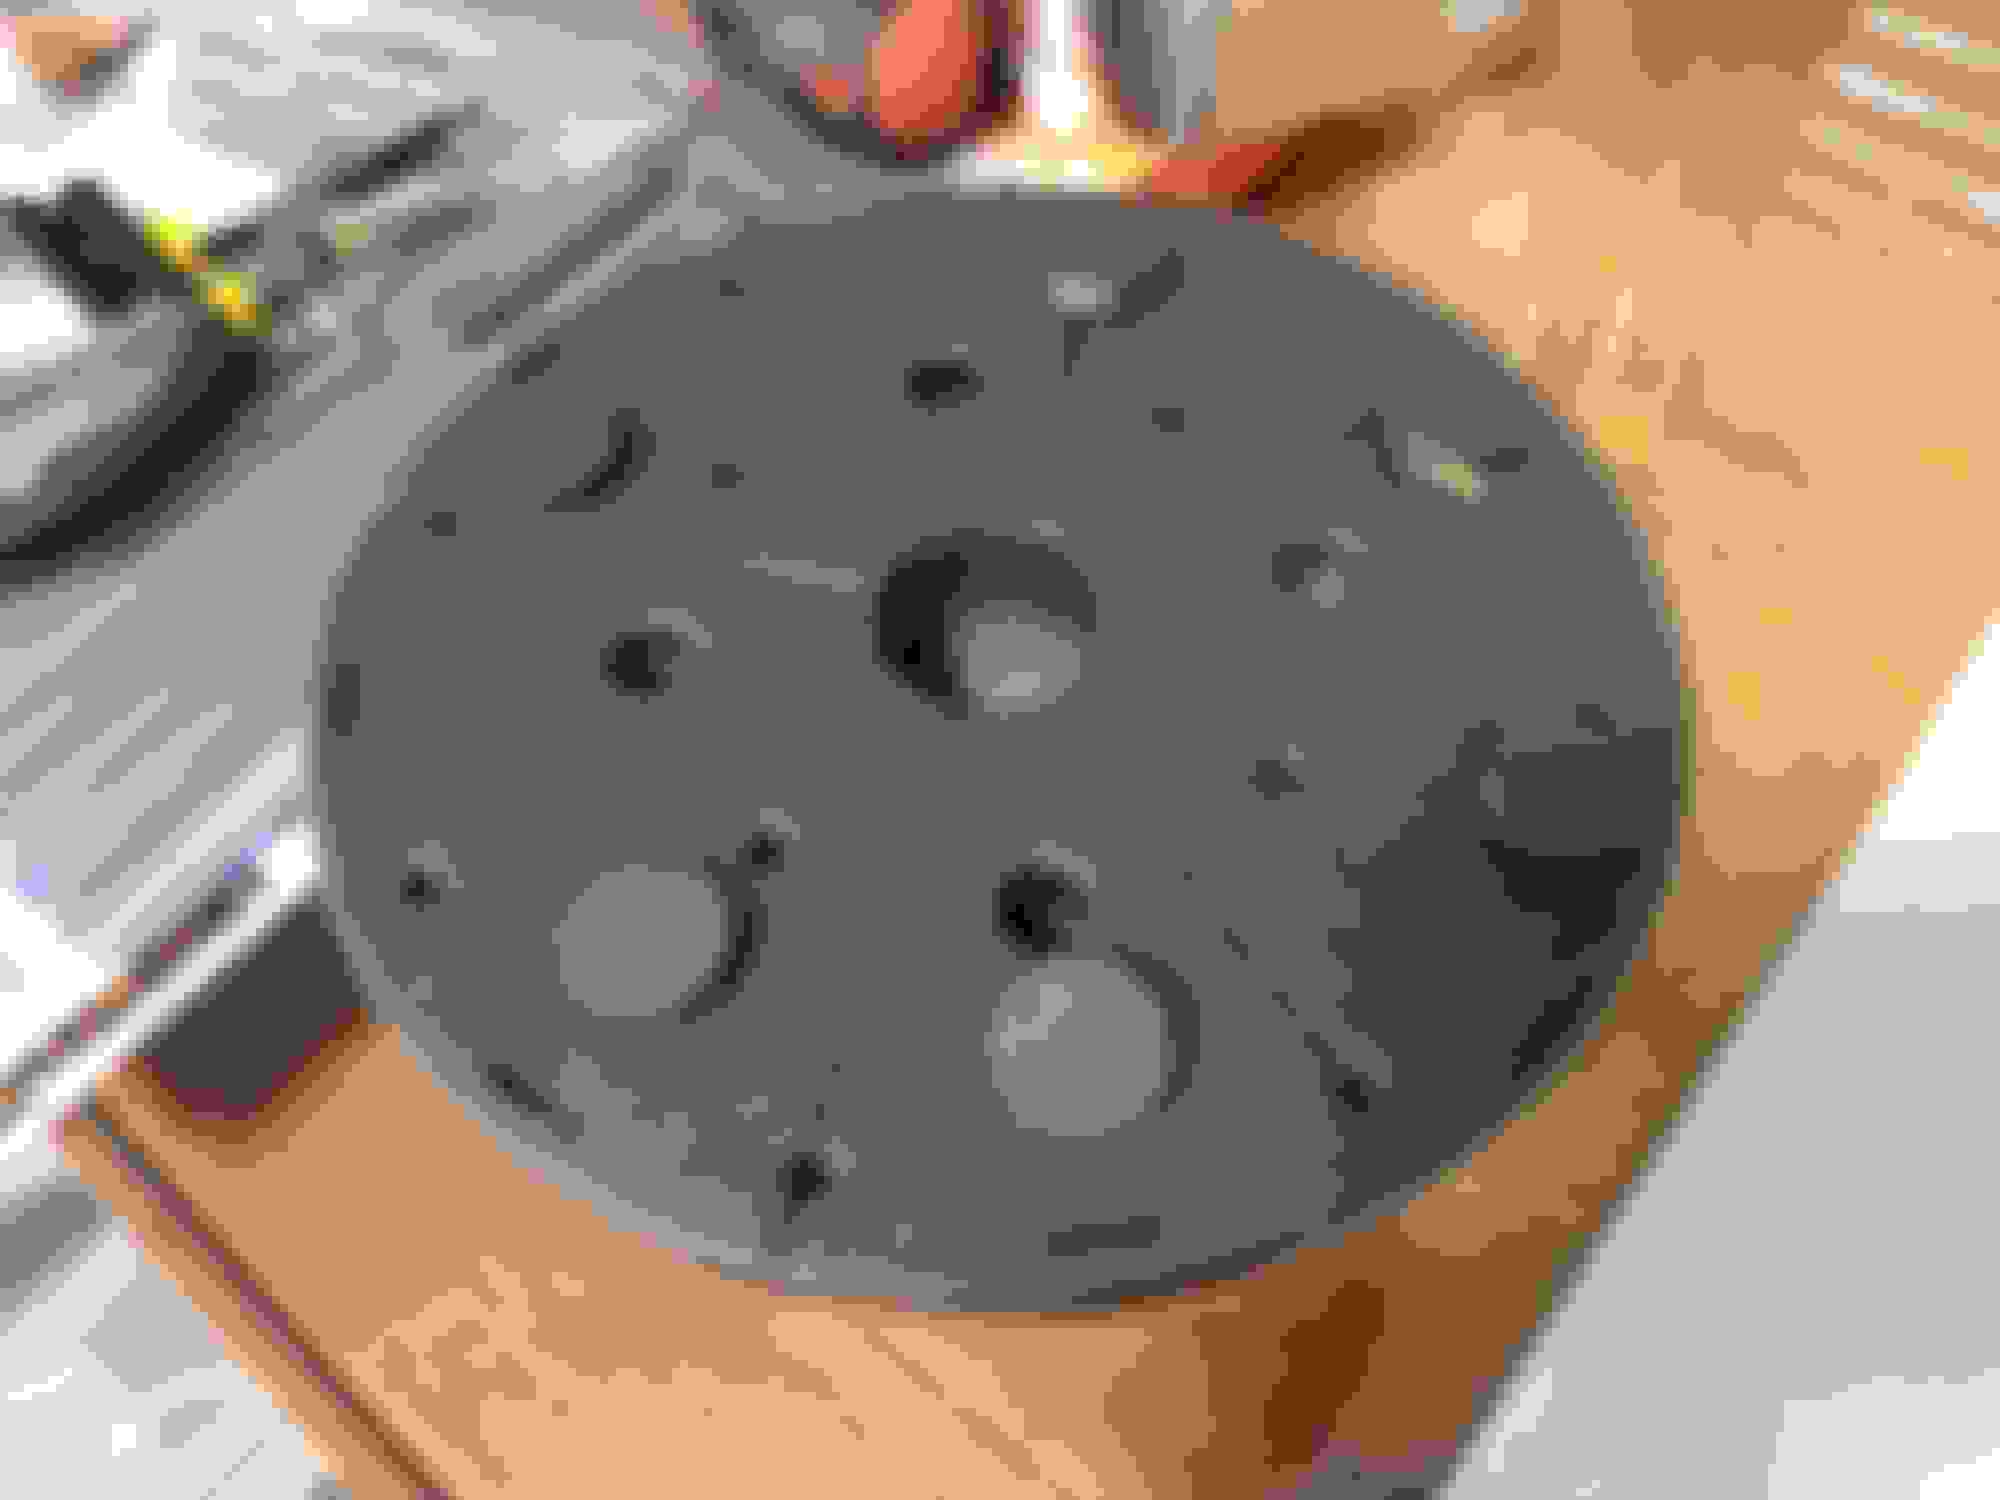
Believe it or not, I only ended up going through two prototypes. The third one fit on the screw head perfectly. You'll need six of them. I painted mine using some mist coats of black and grey. It's nowhere near a match for the originals but they don't stick out either. The sun visor bushing I made snaps in and out of the clip easily. The bushing on the sun visor. This is also a good time to wash the fabric while it's out. Soap, water and scrubbing is also you need. The horn button fitted in the car. For the horn button, you'll need to make the back conductive. I used a layer of aluminum tape and two M6 flat washers taped in place. The printed custom horn button. Using an existing Momo empty horn button, Mazda text and a little horn symbol converted from an SVG image. I suggest double-checking the diameter of the horn button against the original part. I checked mine with a digital caliper and had to scale it down in Prusa Slicer.
so a small tip for your sun visor bushing, if you turn the print orientation 90* so that its standing upright, the layer lines will match the direction of rotation and should alleviate it getting stuck.
https://www.thingiverse.com/thing:5413206
This replaces the button located inside the Momo horn button housing. You will need to make the backside of the new button electrically conductive. I used a layer of aluminum tape and also added two m6 flat washers in the center to give similar button travel as the original.
Make sure you measure the outer diameter of the button you are replacing as I had to re-size mine from 45mm to 42.8mm to fit and work properly.
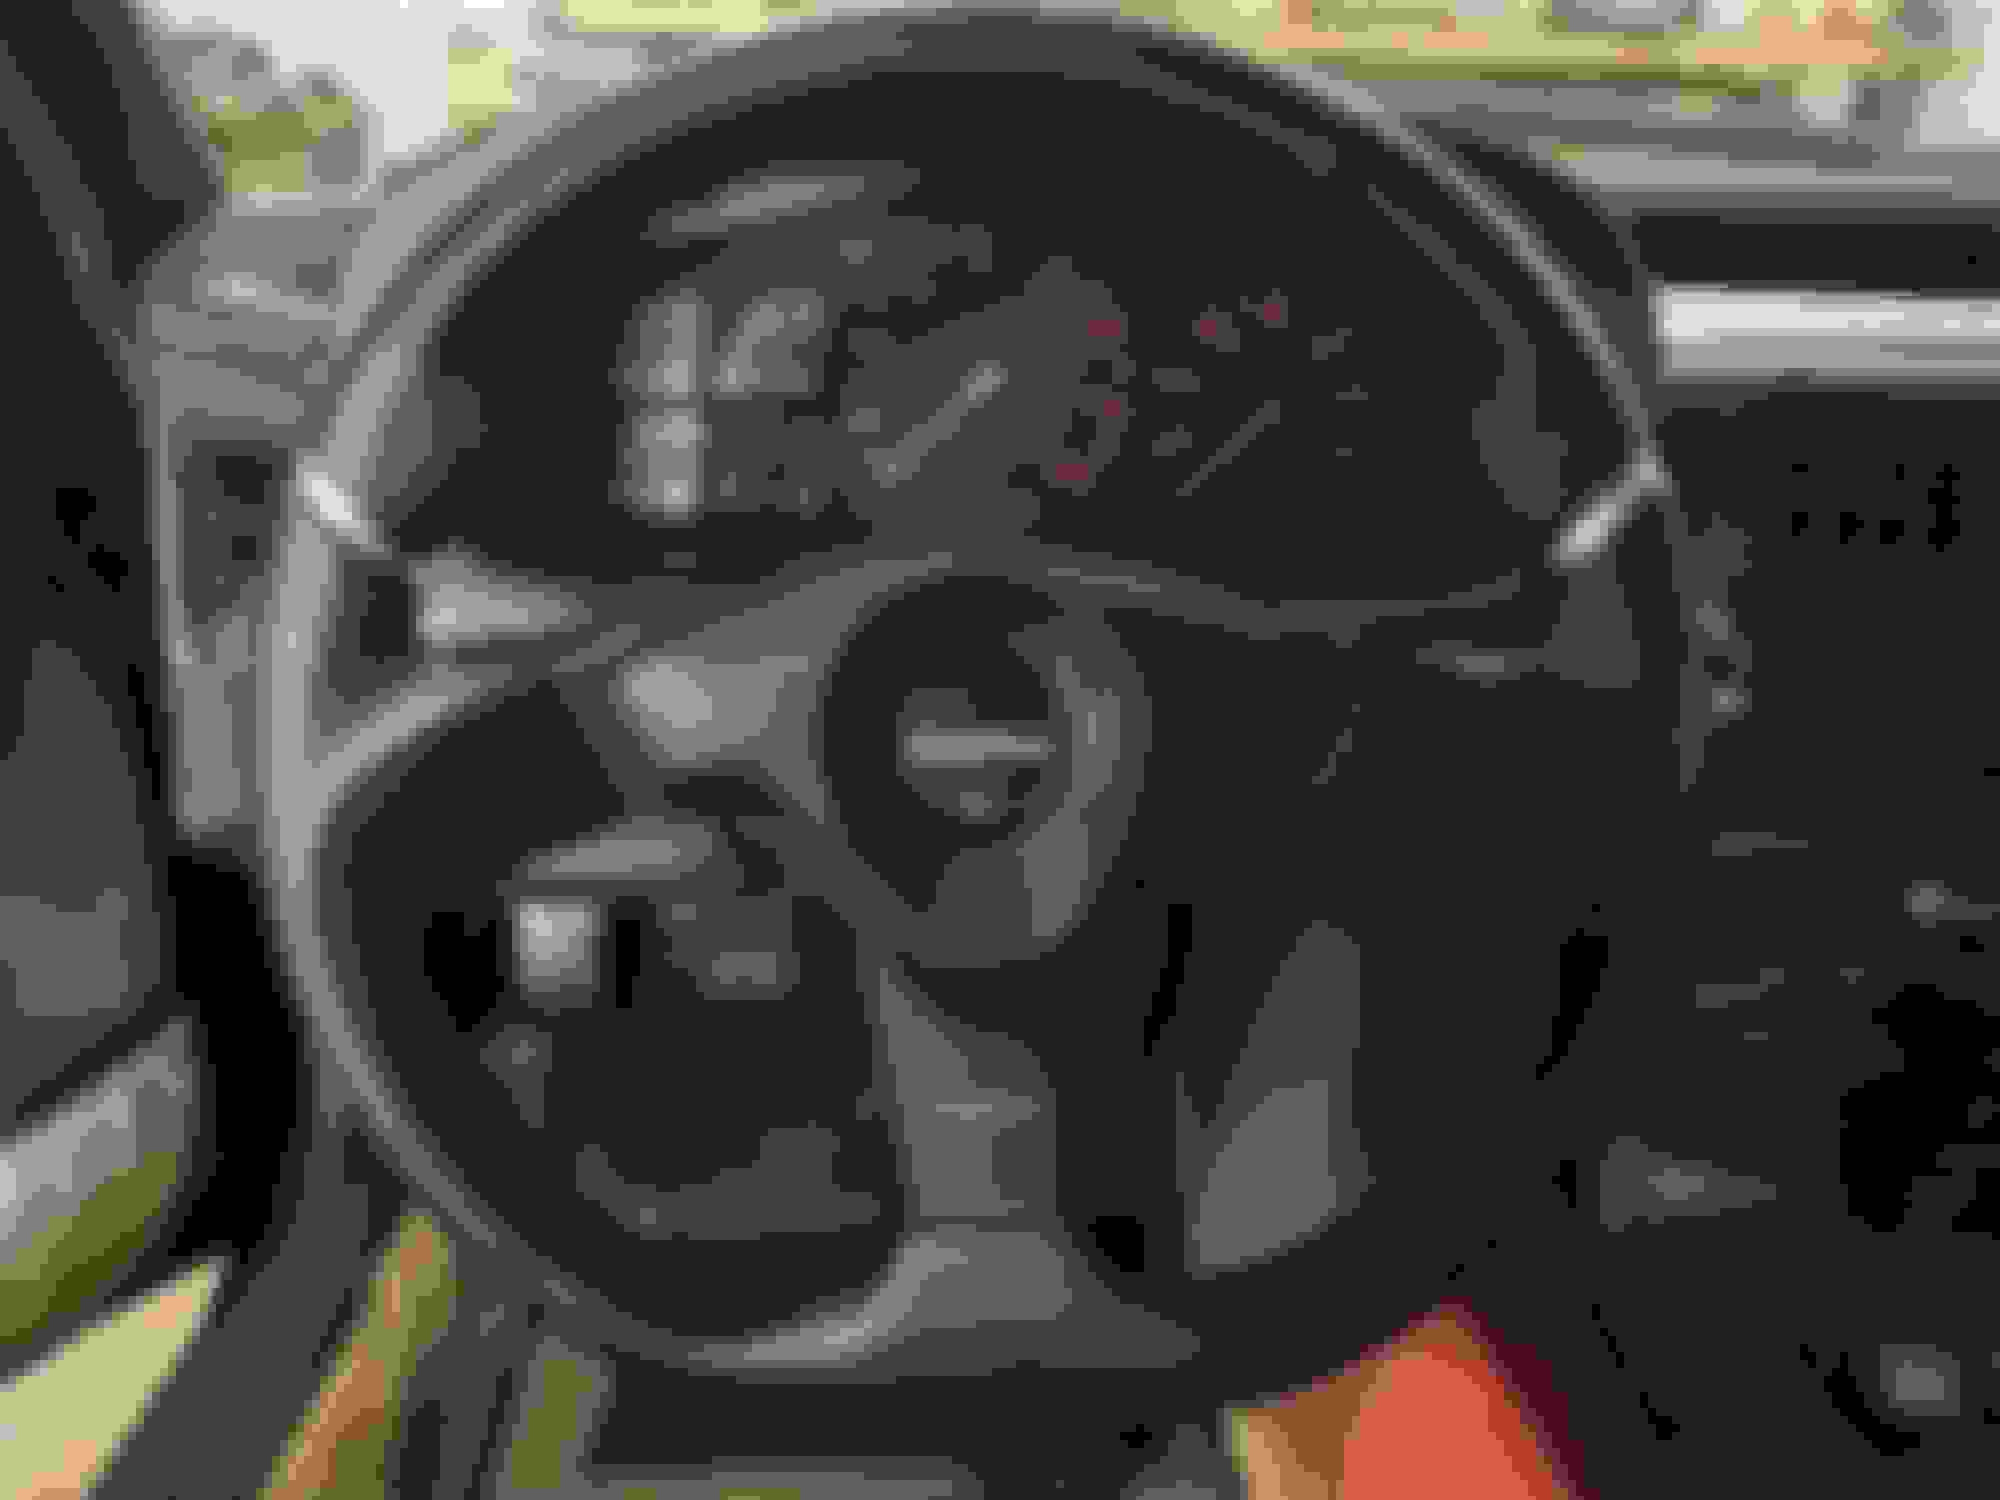
@cluosborne I'm just passing through while researching something else to say I really like your steering wheel. Never saw this model and will adding this one to the list of possible replacements. Thanks for the pic.
You're welcome. It's a Momo Nero 350MM black. That particular wheel includes a yellow Momo steering wheel button. I did paint the center section a less glossy black to tone it down a bit.
That's them. . . . .Make some and post them on the sales thread.. . .I'm in for two for sure.. . I've been searching for those little buggers for years.
I also also need the plastic vents that are inset into the carpet that let the spare tire area breathe.
BTW. . .That steering wheel looks very nice indeed !!!!!!
Do the fingers hit the turn signals correctly?
What adapter did you use. . I know the whole issue of wheel placement distance, out or in, makes a big difference in how you hit the turn signal with your finger.
Im'a gonna look for that wheel now. . . .Nice
Thanks. . . ..RL
I let a buddy borrow mt 3d scanner, but I might be able to get us a model when I get it back. Both of mine are still intact still.
Adding one of my designs here, this is the little hinged bracket for the sunroof wind deflector. I also have some other designs I can share, though I'll need to track down where I stored them all.
 06-16-22, 11:00 PM