Tubbed front arches?
#26
Pretty b/a, Stay classy from NZ
https://www.rx7club.com/attachment.p...1&d=1302799556
https://www.rx7club.com/attachment.p...1&d=1302799556
#28
#29
Thread Starter
Full Member
iTrader: (4)
Joined: May 2008
Posts: 179
Likes: 0
From: Othello washington
some more done here are some pics!

passenger tub

both not done but getting close


still need to clean them up i forgot to get pics of the underside ill make sure to get some but there coming together. once they are done comes prep and paint gonna paint the bay black.

passenger tub

both not done but getting close


still need to clean them up i forgot to get pics of the underside ill make sure to get some but there coming together. once they are done comes prep and paint gonna paint the bay black.
#30
looking good, I just picked up a 31x10 trailer fender from Northern for mine, It's surprisingly thick, and just the right width once one of the rolled edges is trimmed.
I'll post pics as soon as I get anything significant done, I still have to cut out the old fender, and trim the new one to fit.
I'll post pics as soon as I get anything significant done, I still have to cut out the old fender, and trim the new one to fit.
#32
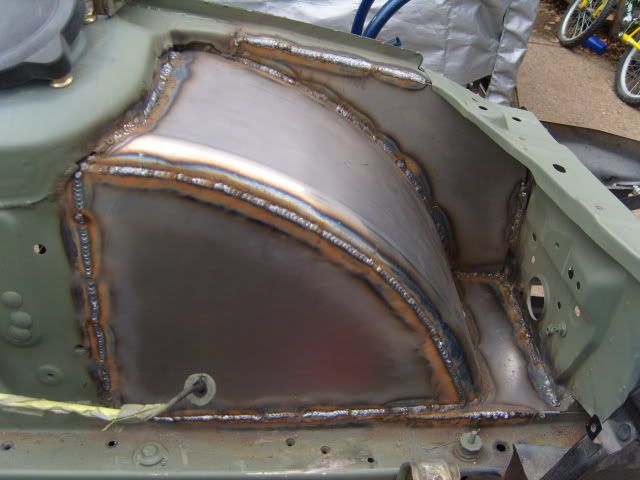
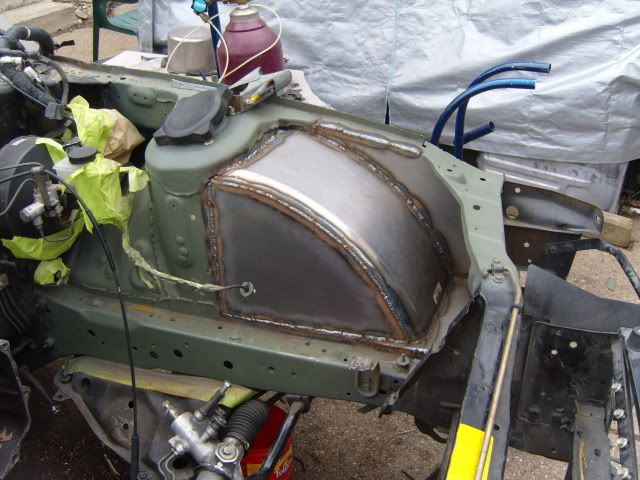
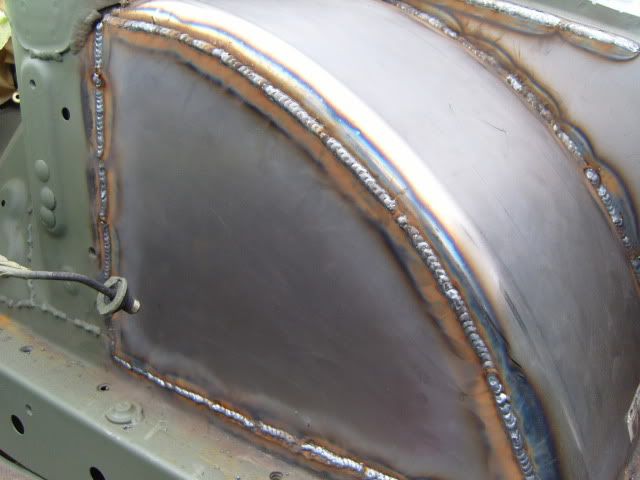
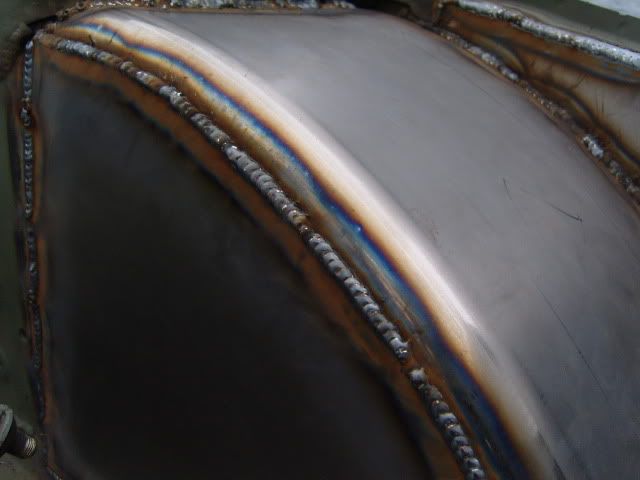
Well i said i would post pics when i got something done. One side is almost complete, I'm very happy how it is going. I still have to drill a hole and weld a mount for the brake line and hose, and in the future will have to drill a hole for the side marker lights, but i'm not to worried about that right now. Took about 6-8 hours on this side, mainly because I have never done anything like this. After I buy more 16ga sheet metal to do the other side I will have about $75 in supplies.
The only real problem i ran into is the front area where it's welded under the head light area. The oem metal is thin burns through very easily not to mention the limited space made it a pain in the *** to weld.
I'll admit, after I started cutting all that metal out I was having some serious regrets, but i'm happy now, and confident the other side will go much smoother.


#34
On the fasttrack!
iTrader: (22)
Joined: Oct 2006
Posts: 2,494
Likes: 2
From: virginia beach, virginia
the point of tubbed arches is to provide more space for bigger wheel and tire setups, or to provide more available room if doing drifting and the such.
on our cars, i dont see it being of much use, on SLA or double wishbone suspension types, its a huge help
Lloyd
on our cars, i dont see it being of much use, on SLA or double wishbone suspension types, its a huge help
Lloyd
#36
I realized before i did this that there would be a minimal benefit, but I've been dying to do more fabrication work. I eventually plan on doing my own cage, and various other things so every bit of practice fitting, grinding, welding, and general planning helps. I'm also going to be removing material from the inside. I plan on having the car very low with 18's and want to avoid rubbing during compression of the suspension. I learned a lot from it and don't regret it one bit however redundant it may be, but since we are on the topic could someone explain why one suspension type would benefit more from this?
P.S. chicks dig tubs.
P.S. chicks dig tubs.

#39
On the fasttrack!
iTrader: (22)
Joined: Oct 2006
Posts: 2,494
Likes: 2
From: virginia beach, virginia
my appologies if i was sounding critical.......i want to do it to my fc as well now. turned out dope, and will look crazy when/if you paint and detail the engine bay
keep up with the fabbing
Lloyd
keep up with the fabbing
Lloyd
#42
Damn that does look good! what did you use to paint it? I hope my paint looks that good.
I did some work on mine today. Haven't started the other side, but cleaned up the surface rust that built up over the past couple days and sprayed on some self etching primer for the bare metal. hopefully i'll get some time to get the other side done this week because as soon as I'm done with that the whole radiator support is getting cut out as well as some other things in front of it. Then I'm going to fab up a new Radiator support and oil cooler mount.
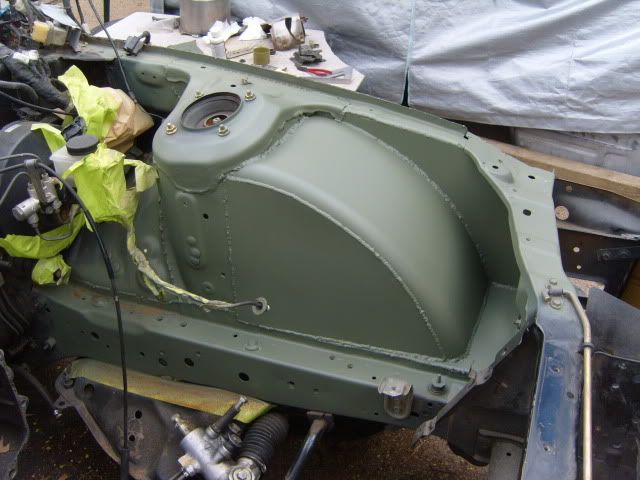
Here are some comparison pics of both sides before I chop the other one out.
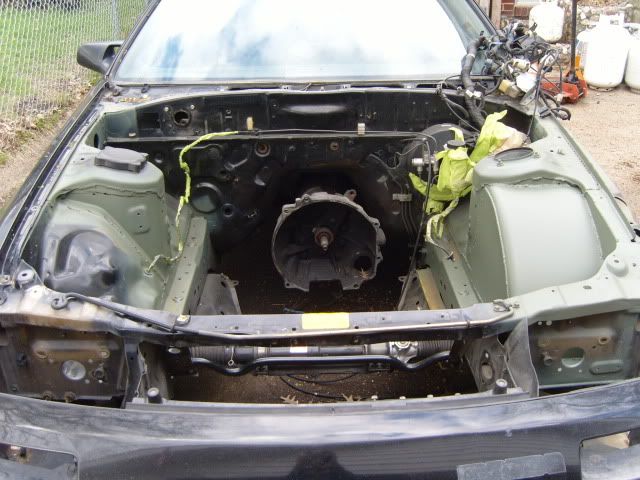
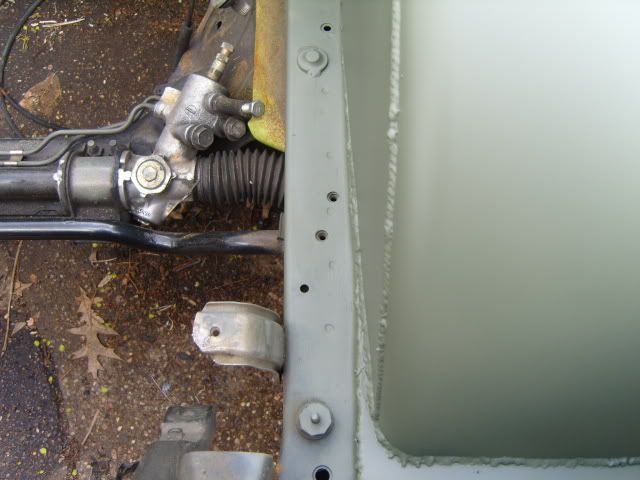
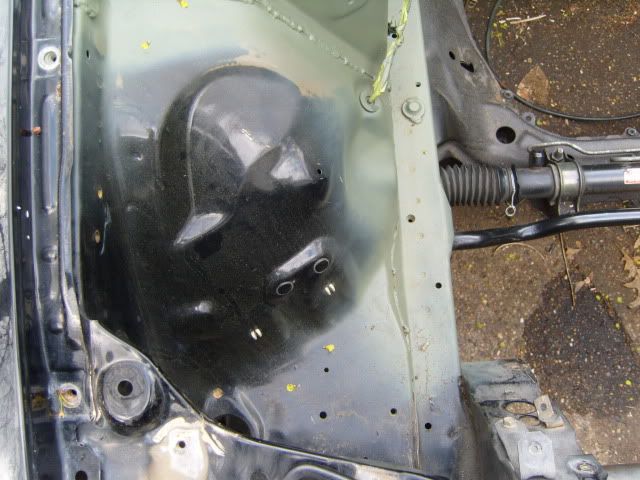
I did have time to rig up a bmc stopper though haha.
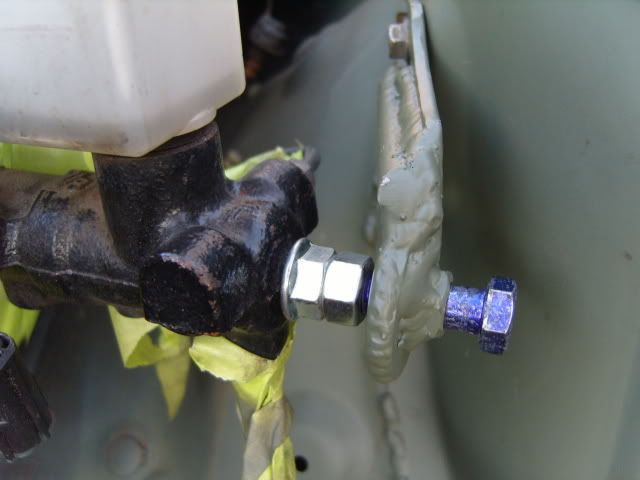
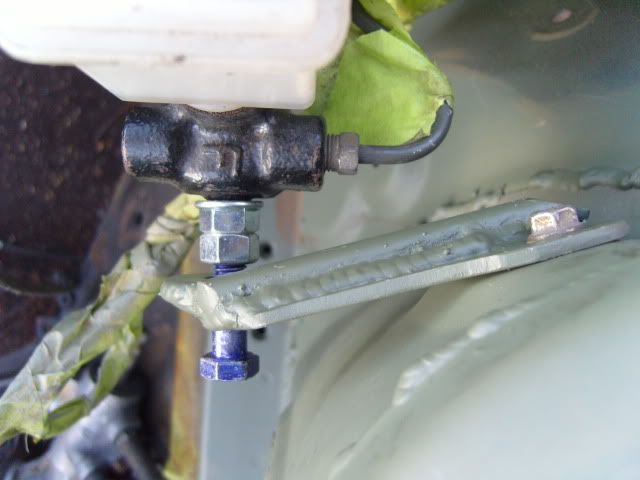
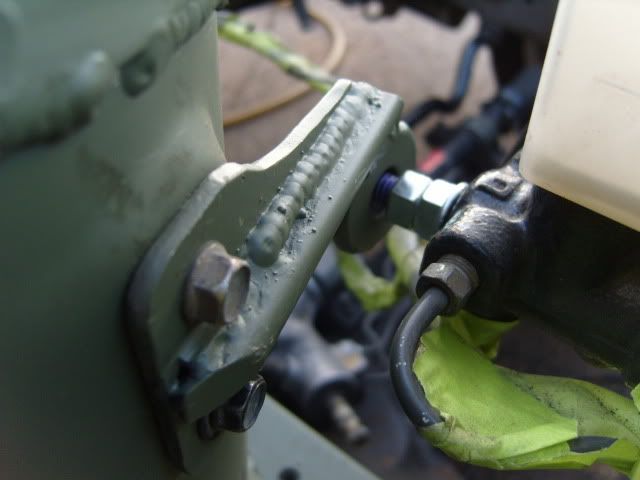
I did some work on mine today. Haven't started the other side, but cleaned up the surface rust that built up over the past couple days and sprayed on some self etching primer for the bare metal. hopefully i'll get some time to get the other side done this week because as soon as I'm done with that the whole radiator support is getting cut out as well as some other things in front of it. Then I'm going to fab up a new Radiator support and oil cooler mount.

Here are some comparison pics of both sides before I chop the other one out.


I did have time to rig up a bmc stopper though haha.


#44
I have a question. as you can see in my pics the brake line goes in through the front of the strut tower. In your pics it appears that yours go in through the back, is this true? If it is did you do it or was it factory? reason being i'm going to probably redo the lines while i'm at it, and am considering going in through the rear since there appears to be a factory location minus the whole drilled. Btw mine chassis is a 88 T2.
Thread
Thread Starter
Forum
Replies
Last Post


