
Project: "He doesn't know how to EFI..."
 10-05-09, 10:57 AM
#1
The Doctor
Thread Starter
iTrader: (1)
Join Date: Apr 2008
Location: Cedar Rapids, IA
Posts: 1,185
Likes: 0
Received 0 Likes
on
0 Posts
Project: "He doesn't know how to EFI..."
Today marks the beginning of my swap. After some long planning and the help of friends, I'm building my turbo car. It may not be done in a week, but I'll end up there. I've been planning several different builds over the past year or so trying to find out something that would be quick and not rob me blind (insert owning rx7 joke here).
A local friend ran into some issues ordering his motor. He unfortunately got screwed by tigerjapanese. I went to his house to check the motor, it spit water all over us that was rust colored and smelled of old sushi. So, in his current situation, not having extra cash to send the motor back and get another, I'm trading him my 91 NA block with carb accesories (carb, IM, coils, pump) for his blown 91 vert block with turbo accesories. This is fine for both our cases since he needs a car immediately to drive to and back from school. And I don't need a car any time soon because my license is suspended .
.
As I go through my build, I'm going to post why I did some of the stuff I did to help out others who are starting their own build and are looking for what direction to take it.
So far on my list of parts collected, I have:
Stock turbo
Stock downpipe
UIM
Throttle body
Stock charge pipe
S5 frankenmotor
-S5 N/A 9.7:1 rotors
-S5 TII streetported tapas
-S5 N/A housings ported to/bigger than stock turbo housings
-GSL-SE pacmans
-RA super hard seals (pending the specs of the ones currently inside the motor, this may go a different direction)
-"Superseal" reusable soft seals (my mechanic showed me these, I still need to do more research about them: who makes them, reviews of them, etc.)
-Dowel pinning where needed
The motor is not going to be started in the car until it is being pulled up onto a dyno to get tuned. Don't worry guys, no hi-comp screw ups here.
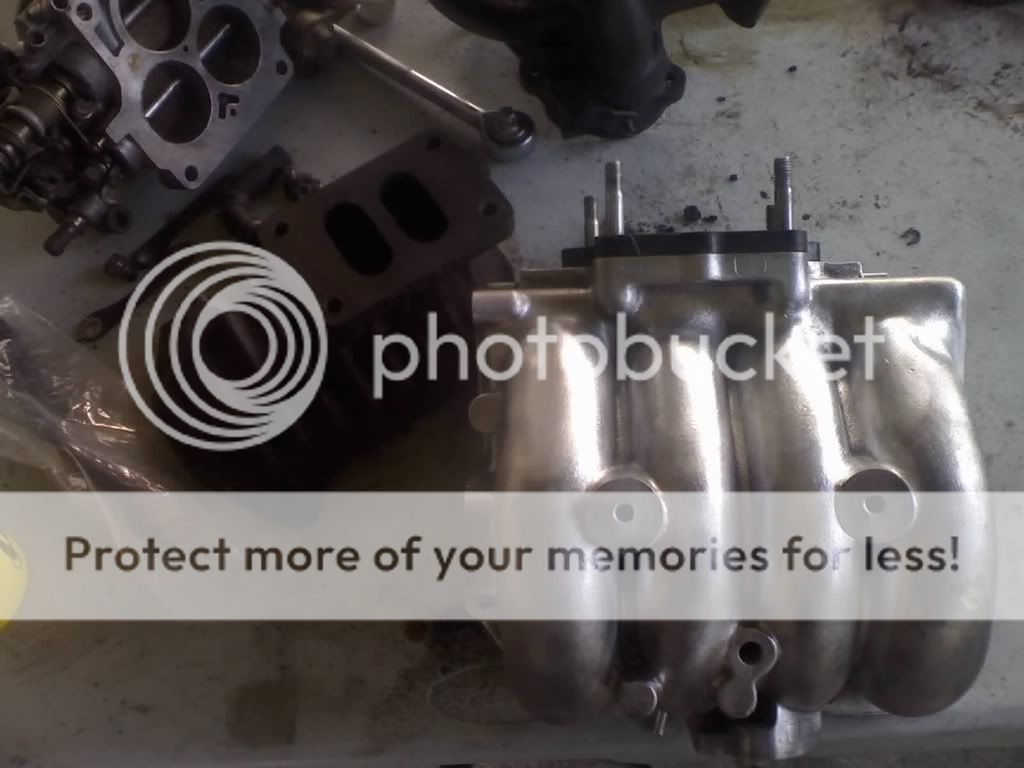
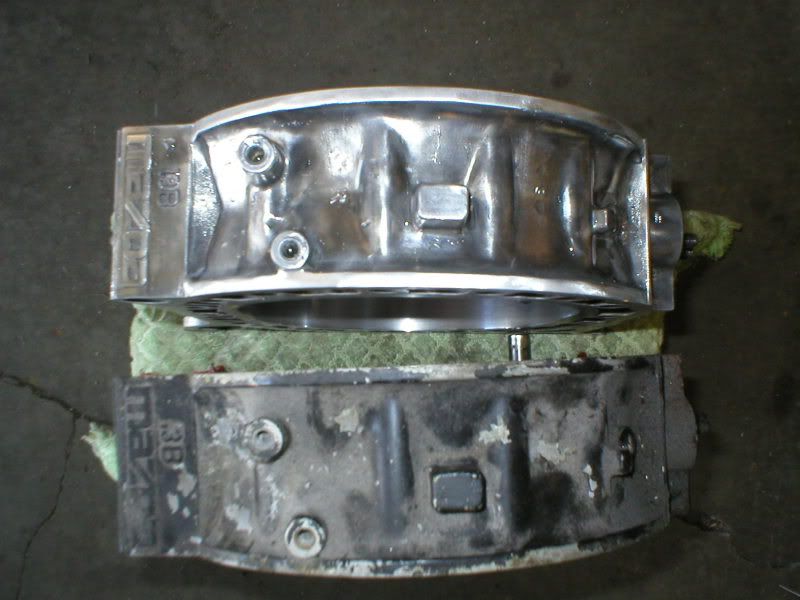
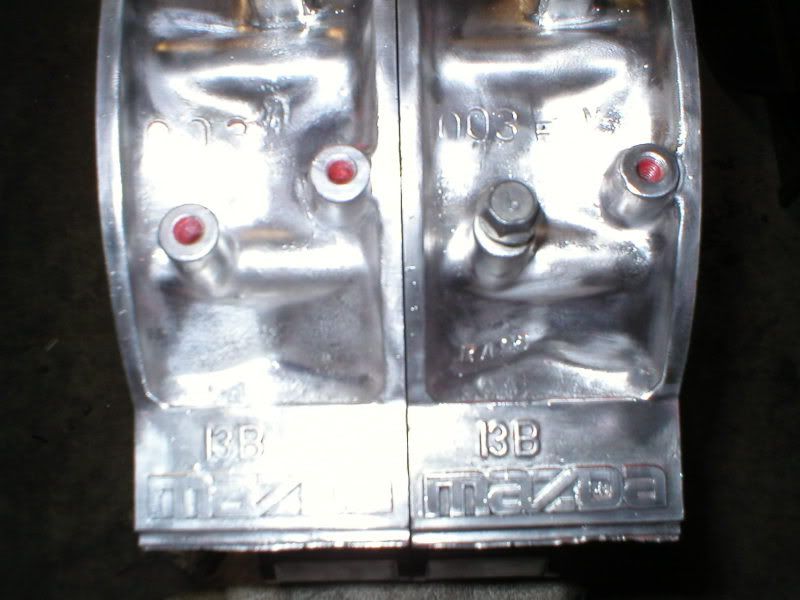
I've spent the past couple days polishing up parts.
UIM ~2 hours on the brush:

UIM ~4 hours on the brush:
Cleaning (not modding) the TB:
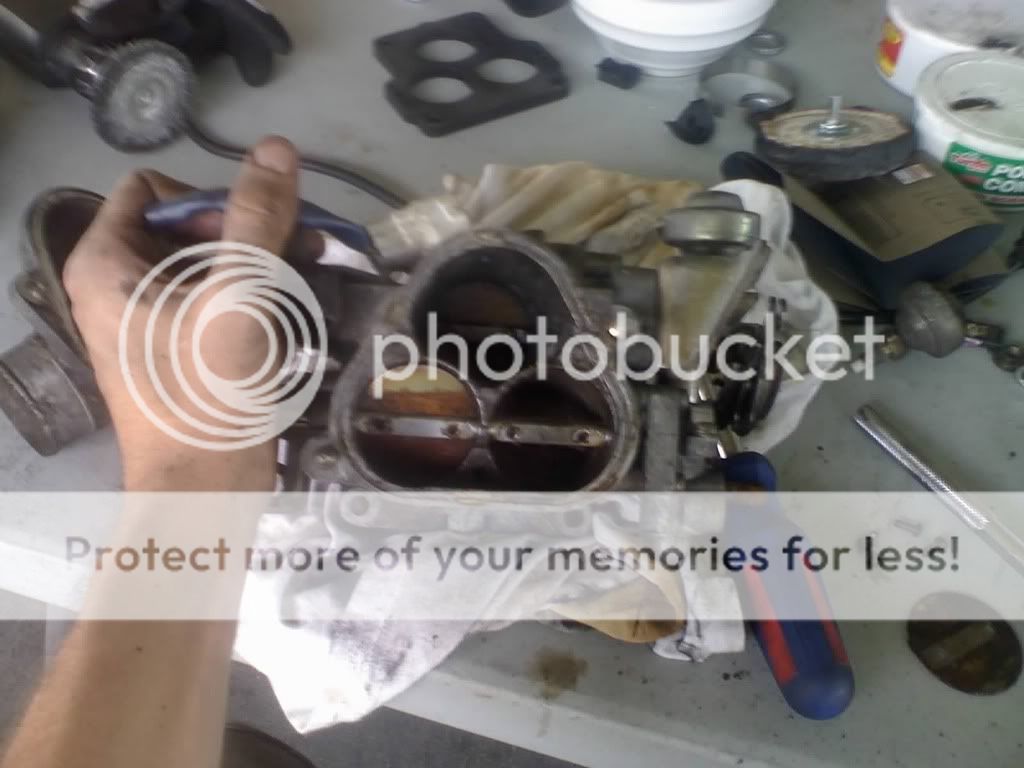
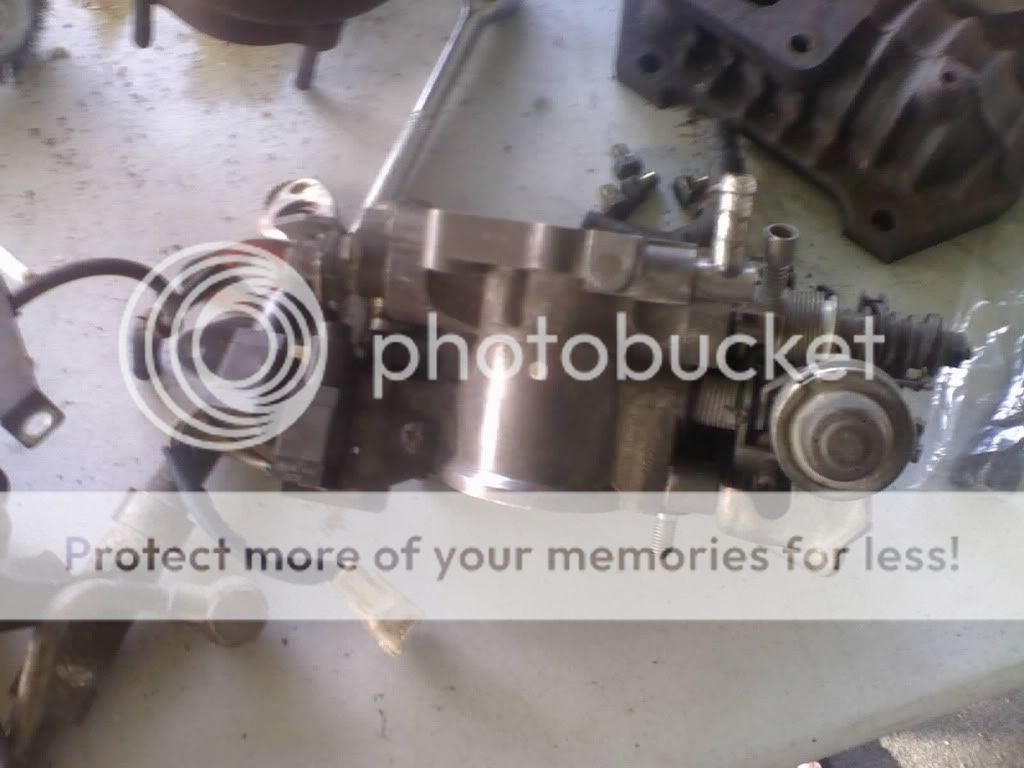
A lot of people choose not to clean their motors when they get them. I find this a huge problem. If I were to have just dropped in this JDM motor for my friend, it wouldn't have ran correctly. The secondaries in the TB were STUCK closed. They would not move. I let it sit overnight soaking in PB Blaster and hit it with a screw driver and hammer in the morning to get them undone. I know some people remove the secondaries completely when they do anything with the TB. I chose not to because I feel the smoother throttle control is better IMO. If I wanted faster throttle response, I would have stayed carb.
~2 hours on the brush
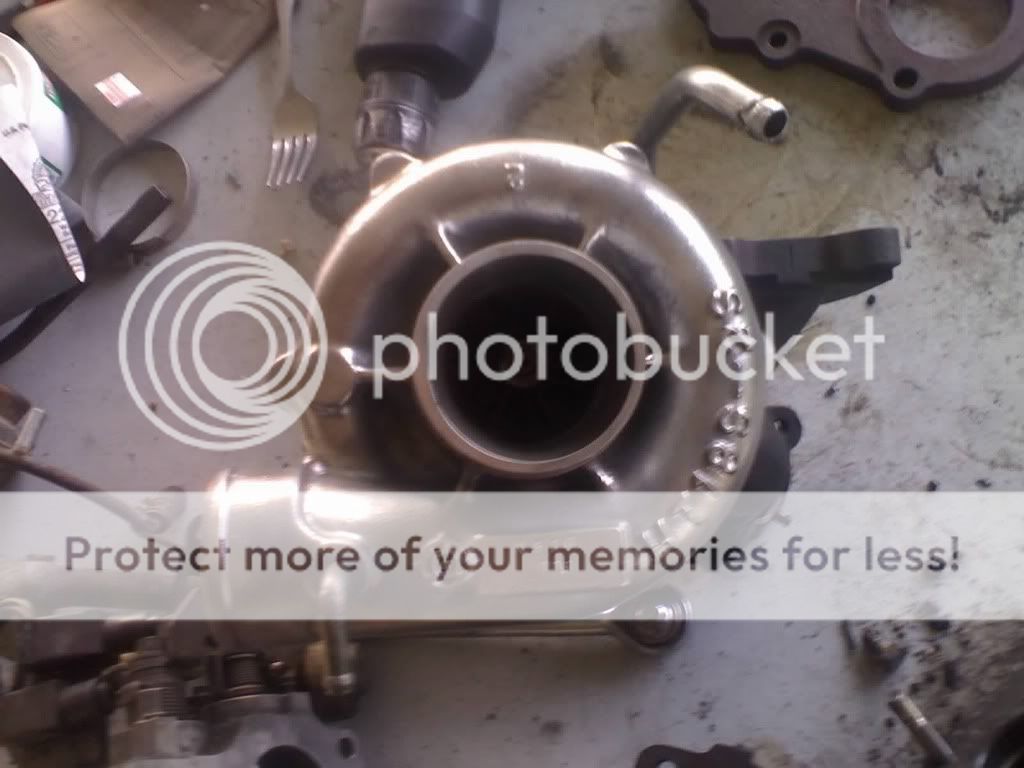
The shaft play in this turbo is fine. It barely wiggles around. But it doesn't spin very freely. I searched but didn't end up coming up with much on how to dissassemble/reassemble the turbo. It sounds like the bearings are bad. If this ends up being the situation, I'll ditch this turbo completely and go on further with my project. This turbo was mainly going to be used for the break in of the motor anyway.
I'll continue to post as I get further with the build including the teardown and rebuild of the block.
A local friend ran into some issues ordering his motor. He unfortunately got screwed by tigerjapanese. I went to his house to check the motor, it spit water all over us that was rust colored and smelled of old sushi. So, in his current situation, not having extra cash to send the motor back and get another, I'm trading him my 91 NA block with carb accesories (carb, IM, coils, pump) for his blown 91 vert block with turbo accesories. This is fine for both our cases since he needs a car immediately to drive to and back from school. And I don't need a car any time soon because my license is suspended
.As I go through my build, I'm going to post why I did some of the stuff I did to help out others who are starting their own build and are looking for what direction to take it.
So far on my list of parts collected, I have:
Stock turbo
Stock downpipe
UIM
Throttle body
Stock charge pipe
S5 frankenmotor
-S5 N/A 9.7:1 rotors
-S5 TII streetported tapas
-S5 N/A housings ported to/bigger than stock turbo housings
-GSL-SE pacmans
-RA super hard seals (pending the specs of the ones currently inside the motor, this may go a different direction)
-"Superseal" reusable soft seals (my mechanic showed me these, I still need to do more research about them: who makes them, reviews of them, etc.)
-Dowel pinning where needed
The motor is not going to be started in the car until it is being pulled up onto a dyno to get tuned. Don't worry guys, no hi-comp screw ups here.
I've spent the past couple days polishing up parts.
UIM ~2 hours on the brush:
UIM ~4 hours on the brush:
Cleaning (not modding) the TB:
A lot of people choose not to clean their motors when they get them. I find this a huge problem. If I were to have just dropped in this JDM motor for my friend, it wouldn't have ran correctly. The secondaries in the TB were STUCK closed. They would not move. I let it sit overnight soaking in PB Blaster and hit it with a screw driver and hammer in the morning to get them undone. I know some people remove the secondaries completely when they do anything with the TB. I chose not to because I feel the smoother throttle control is better IMO. If I wanted faster throttle response, I would have stayed carb.
~2 hours on the brush
The shaft play in this turbo is fine. It barely wiggles around. But it doesn't spin very freely. I searched but didn't end up coming up with much on how to dissassemble/reassemble the turbo. It sounds like the bearings are bad. If this ends up being the situation, I'll ditch this turbo completely and go on further with my project. This turbo was mainly going to be used for the break in of the motor anyway.
I'll continue to post as I get further with the build including the teardown and rebuild of the block.
 10-05-09, 11:51 AM
#2
The Doctor
Thread Starter
iTrader: (1)
Join Date: Apr 2008
Location: Cedar Rapids, IA
Posts: 1,185
Likes: 0
Received 0 Likes
on
0 Posts
A important note to mention in this build is that when completed, I want the car to run like stock. Boost like stock (with more psi of course), blow a/c and have p/s like stock, but with more power. Enough to blow by LSx cars with the a/c on and windows up.
The current turbo of choice is the GT3076R on a Haltech E6K ECU (which was very thankfully found by a local friend for a very good price). Keep in mind, all parts are subject to change if they do not meet my goals listed below.
Car is not going to go past 93 pump gas. A AI water mist kit from RICE RACING will be installed for safety reasons.
Whops. Forgot to post the goals.
Final goals for the completed car:
-12.0 in the 1/4 without having to change/remove anything on the car
-P/S with no play in the steering
-***A/C***
-Full interior
-All the major body wiring/computer fixes (i.e. the horn, blinkers, and wipers)
 10-05-09, 01:20 PM
#6
The Doctor
Thread Starter
iTrader: (1)
Join Date: Apr 2008
Location: Cedar Rapids, IA
Posts: 1,185
Likes: 0
Received 0 Likes
on
0 Posts
Well, with full interior and street tires trying to run a 12.0, I'd imagine that puts me somewhere between 400 and 500.
But as I stated earlier, I'm aiming more for a time than a HP number. A car can be making 800WHP but if it doesn't go down the track in under 10 seconds, its a big hunk of wasted money.
Like I said earlier, parts can change, but the goals are pretty solid. 12.0 at the track.
But as I stated earlier, I'm aiming more for a time than a HP number. A car can be making 800WHP but if it doesn't go down the track in under 10 seconds, its a big hunk of wasted money.
Like I said earlier, parts can change, but the goals are pretty solid. 12.0 at the track.
Trending Topics
10-05-09, 01:48 PM
#8
The Doctor
Thread Starter
iTrader: (1)
Join Date: Apr 2008
Location: Cedar Rapids, IA
Posts: 1,185
Likes: 0
Received 0 Likes
on
0 Posts
And thank you. I got tired of looking at swaps where the motor people put in looked dirtier than the one they pulled out. Plus, keeping things clean means you don't get dirty when you have to take it back apart **AND** you can find leaks easier. It's a all around win-win situation.
10-05-09, 02:06 PM
#9
Rotary Enthusiast
iTrader: (6)
Join Date: Oct 2005
Location: Southern California
Posts: 1,275
Likes: 0
Received 0 Likes
on
0 Posts
man, i've been sanding that gritty texture and polishing the manifolds, and i've gotta say that it takes forever. I didn't know what a big investment it was to actually clean/polish all the components and replace all the according gaskets.
But I agree completely, I'm all about performance, but I'll say that appearance also has its place and would like to knock some socks off when I pop my hood.
Great work - keep it up.
But I agree completely, I'm all about performance, but I'll say that appearance also has its place and would like to knock some socks off when I pop my hood.
Great work - keep it up.
 10-05-09, 03:13 PM
#11
The Doctor
Thread Starter
iTrader: (1)
Join Date: Apr 2008
Location: Cedar Rapids, IA
Posts: 1,185
Likes: 0
Received 0 Likes
on
0 Posts
What about the 3071? If not that, I'll try and end up with the 3582. I just want something that spools as fast as/faster than stock.
I'll look more into it as I get closer to that step of the project, but for now, I still need to install and reinforce a drivetrain.
Step by step till its done!
EDIT: keep in mind, if I reach my time goal on the 3076, I'll stick with that turbo. I'm going for track #'s, not dyno.
I'll look more into it as I get closer to that step of the project, but for now, I still need to install and reinforce a drivetrain.
Step by step till its done!
EDIT: keep in mind, if I reach my time goal on the 3076, I'll stick with that turbo. I'm going for track #'s, not dyno.
10-05-09, 04:20 PM
#13
The Doctor
Thread Starter
iTrader: (1)
Join Date: Apr 2008
Location: Cedar Rapids, IA
Posts: 1,185
Likes: 0
Received 0 Likes
on
0 Posts
.I'm going back up there before the weekend to get some other stuff so I'll probably pick one up then.
And trust me, my POS drill is much better than what I started off with. I do a lot of lapping on computer parts so I'm use to it being easy to remove material with regular sandpaper. I got one of the the TB side intake tubes done with the regular sand paper (first pic, 2nd tube from the left) and decided it was time to quit being THAT cheap...
10-06-09, 04:12 PM
#15
A brass wire wheel makes for some durable shine without all the wire marks. I do all my aluminum that way. Looks descent so far. Get you a gallon can of carb cleaner to soak that throttle body in before your done with it. Some pics of my last engine build to maybe inspire you to do all your aluminum.

 10-07-09, 09:01 AM
#18
The Doctor
Thread Starter
iTrader: (1)
Join Date: Apr 2008
Location: Cedar Rapids, IA
Posts: 1,185
Likes: 0
Received 0 Likes
on
0 Posts
Really? I was under the impression that was the power range where the rear iron usually starts cracking. It's not going to cost me any money out of pocket since I have a couple extra blocks that I'm going to be pulling the pins out of.
Bad 83, that polishing looks good, your motor turned out pretty nice. But I'm not trying to end up with all polished parts. I'm just trying to clean a lot of the surface and make it smooth for paint to stick.
So upon pulling my old motor today, I noticed something. I removed my A/C condenser with a cut-off wheel about a year ago so the A/C idea just went out the window.
I've been doing some more cleaning with the wire brush but haven't taken any pics yet. I'll get some once I finish cleaning the stock charge pipe and turbo.
I have 2 questions so far:
-Is it possible on the T2 manifolds to pull the vacuum nipples out of the LIM and UIM, not just cap it? I don't want to start tugging on it and bend it all up if its not gonna come out.
-What size fuse do people usually use for their inline for the fuel pump?
And I picked up some more parts yesterday.
New total list:
Stock turbo
Stock downpipe
UIM
Throttle body
Stock charge pipe
S5 N/A harness (un-modified)
N374 S5 T2 JDM ecu
Walbro drop-in
T2 coils
10-07-09, 09:45 AM
#20
Very Hatefull.
iTrader: (4)
Join Date: Mar 2008
Location: Kitchener, ON
Posts: 361
Likes: 0
Received 0 Likes
on
0 Posts
Is it possible on the T2 manifolds to pull the vacuum nipples out of the LIM and UIM, not just cap it? I don't want to start tugging on it and bend it all up if its not gonna come out.
10-07-09, 12:14 PM
#22
Originally Posted by g14novak
I was under the impression that was the power range where the rear iron usually starts cracking.
I know the FD engines are good to 500-600 at least, hardly anyone dowels an REW unless they are making stupid power out of a 2 rotor.
10-07-09, 12:55 PM
#24
The Doctor
Thread Starter
iTrader: (1)
Join Date: Apr 2008
Location: Cedar Rapids, IA
Posts: 1,185
Likes: 0
Received 0 Likes
on
0 Posts
Like so many things in the realm of car modification, it depends which internet forum post you believe. Some say it is necessary on all the 2nd gen castings once you get to the 400-500whp level. Others say it is only necessary on the series 4. From my own experience my series 4 irons could take plenty of detonation and never broke, but I upgraded to series 5 anyway when I tore my engine down.
I know the FD engines are good to 500-600 at least, hardly anyone dowels an REW unless they are making stupid power out of a 2 rotor.
I know the FD engines are good to 500-600 at least, hardly anyone dowels an REW unless they are making stupid power out of a 2 rotor.
And it wasn't by this forum, it was a local pretty well known mechanic (Curian) that told me the dowels would make a difference in reliability terms. I still want to try and pull 100k of DD miles out of this block once I put it in and tune it.
I've heard from a different people locally and on here that AI (water inj. pre-compressor to be exact) helps prolong the life of the motor as well as lower the chance of knock.
10-09-09, 01:36 AM
#25
The Doctor
Thread Starter
iTrader: (1)
Join Date: Apr 2008
Location: Cedar Rapids, IA
Posts: 1,185
Likes: 0
Received 0 Likes
on
0 Posts
So I picked up some stuff today.
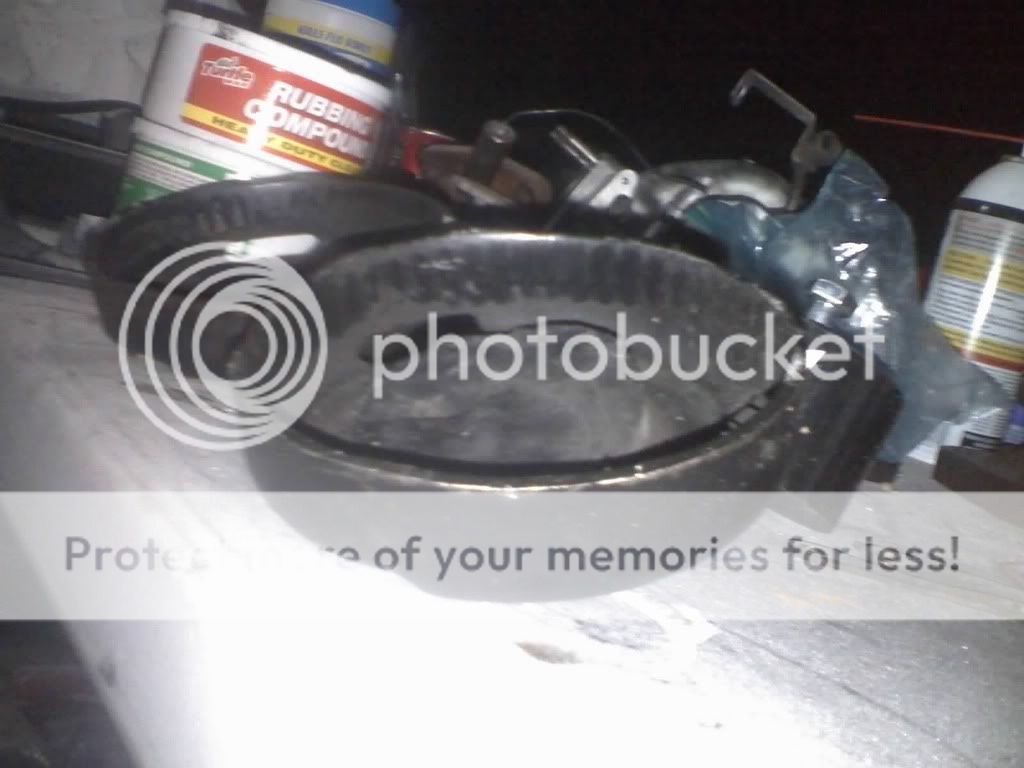
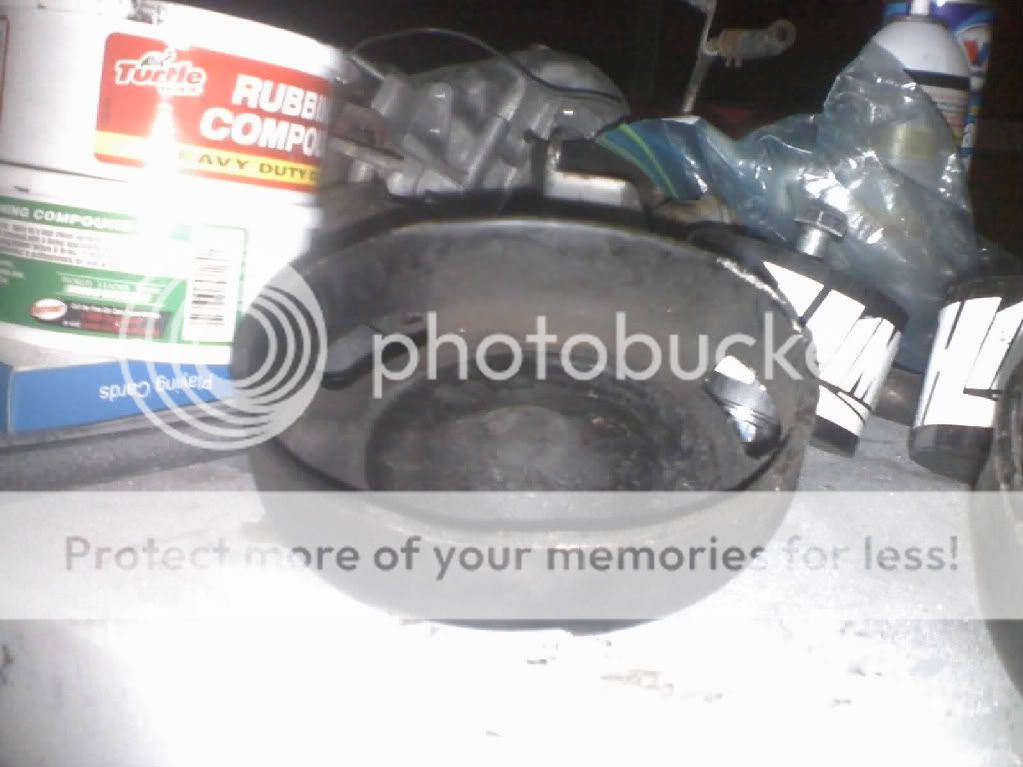
After countless hours trying to use wire brushes in this drill, I gave up on it. I went up to the local ACE Hardware and picked up a Dremel and some sanding and polishing bits. Off to the side in the pics below, you can see where I spent some time on the charge pipe practicing with the Dremel. It definitely cleans and takes material off ALOT faster than that drill. Probably one of the best investments I'll have made throughout this whole project.
Also, I decided it was time to change my motor mounts. These old ones still look usable, right?
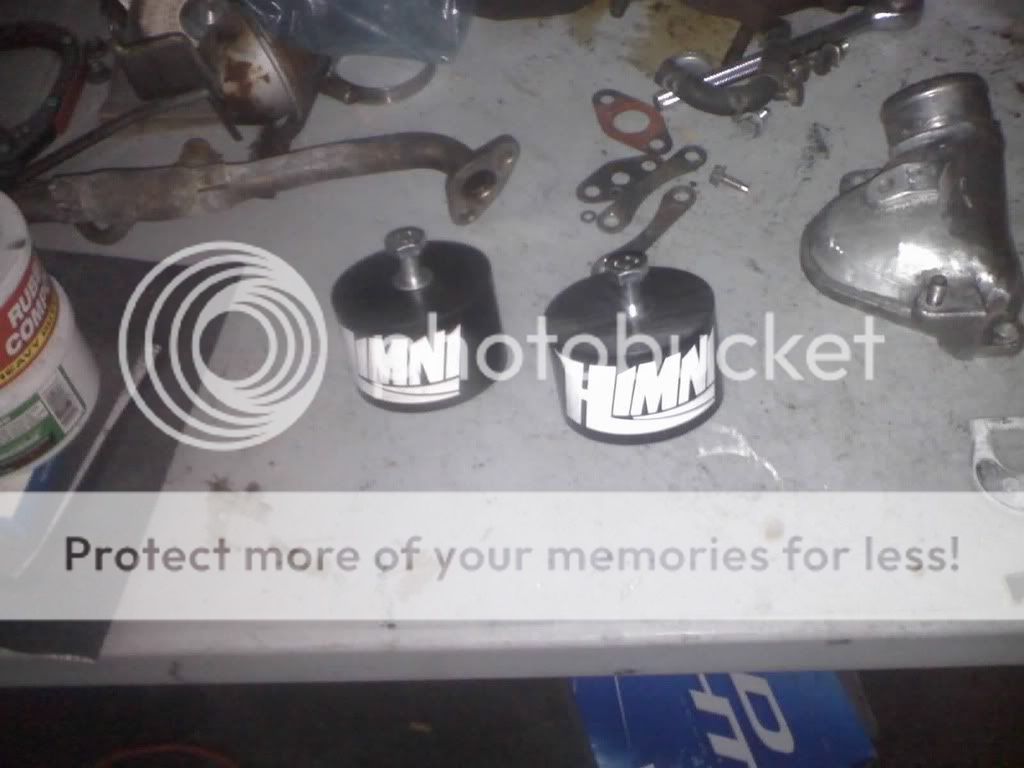
I went ahead and got some Himni solid mounts from a friend locally for a pretty good price.
So far, this brings the total spent on this build to:
Manifolds, ecu, harness, and turbo: 0$
Dremel & accesories: $50
Himni solid mounts: $70
Total: $120
After countless hours trying to use wire brushes in this drill, I gave up on it. I went up to the local ACE Hardware and picked up a Dremel and some sanding and polishing bits. Off to the side in the pics below, you can see where I spent some time on the charge pipe practicing with the Dremel. It definitely cleans and takes material off ALOT faster than that drill. Probably one of the best investments I'll have made throughout this whole project.
Also, I decided it was time to change my motor mounts. These old ones still look usable, right?
I went ahead and got some Himni solid mounts from a friend locally for a pretty good price.
So far, this brings the total spent on this build to:
Manifolds, ecu, harness, and turbo: 0$
Dremel & accesories: $50
Himni solid mounts: $70
Total: $120