When you click on links to various merchants on this site and make a purchase, this can result in this site earning a commission. Affiliate programs and affiliations include, but are not limited to, the eBay Partner Network.
Hi All. I had been posting project updates to social media, but it's difficult to update and track progress. I figured having a reference thread would help others looking for more detailed information on this kit.
Here's the back story:
Four years ago I started on a project. I had built 20B cars for two other people, but finally decided it was time to swap my personal 93 R1.
This car was my first FD, it was my "daily" driver for 6 years and nearly 60k miles. Years ago it was stolen, stripped of parts.
I pieced it back together over a few years, but hardly drove it. It was just never the same. I ended up using the motor/trans in my CW 94, otherwise
it sat at my shop collecting dust. It just wasn't fair to the car. After getting an unexpected work bonus I bought an early code 20b that
I tore down with Rob at Pineapple Racing. It was talking through the available mounting options at the time with him that started this project.
Here's what I wanted to solve for:
1) The engine should sit as low as possible, ideally behind the steering rack
2) The bumpsteer should be minimal or easy to correct with off the shelf parts
3) The body (tunnel) should not have to be cut if possible
4) The factory accessories, AC/PS should bolt on if possible
5) The oil pan should be fully baffled for track and road race events
6) The engine should fit under the factory strut bar.
Now these are pictures over the last 4 years, mostly in order - mainly to show the process it took to get to where we are today. The last posts have the most recent photos showing fitment.
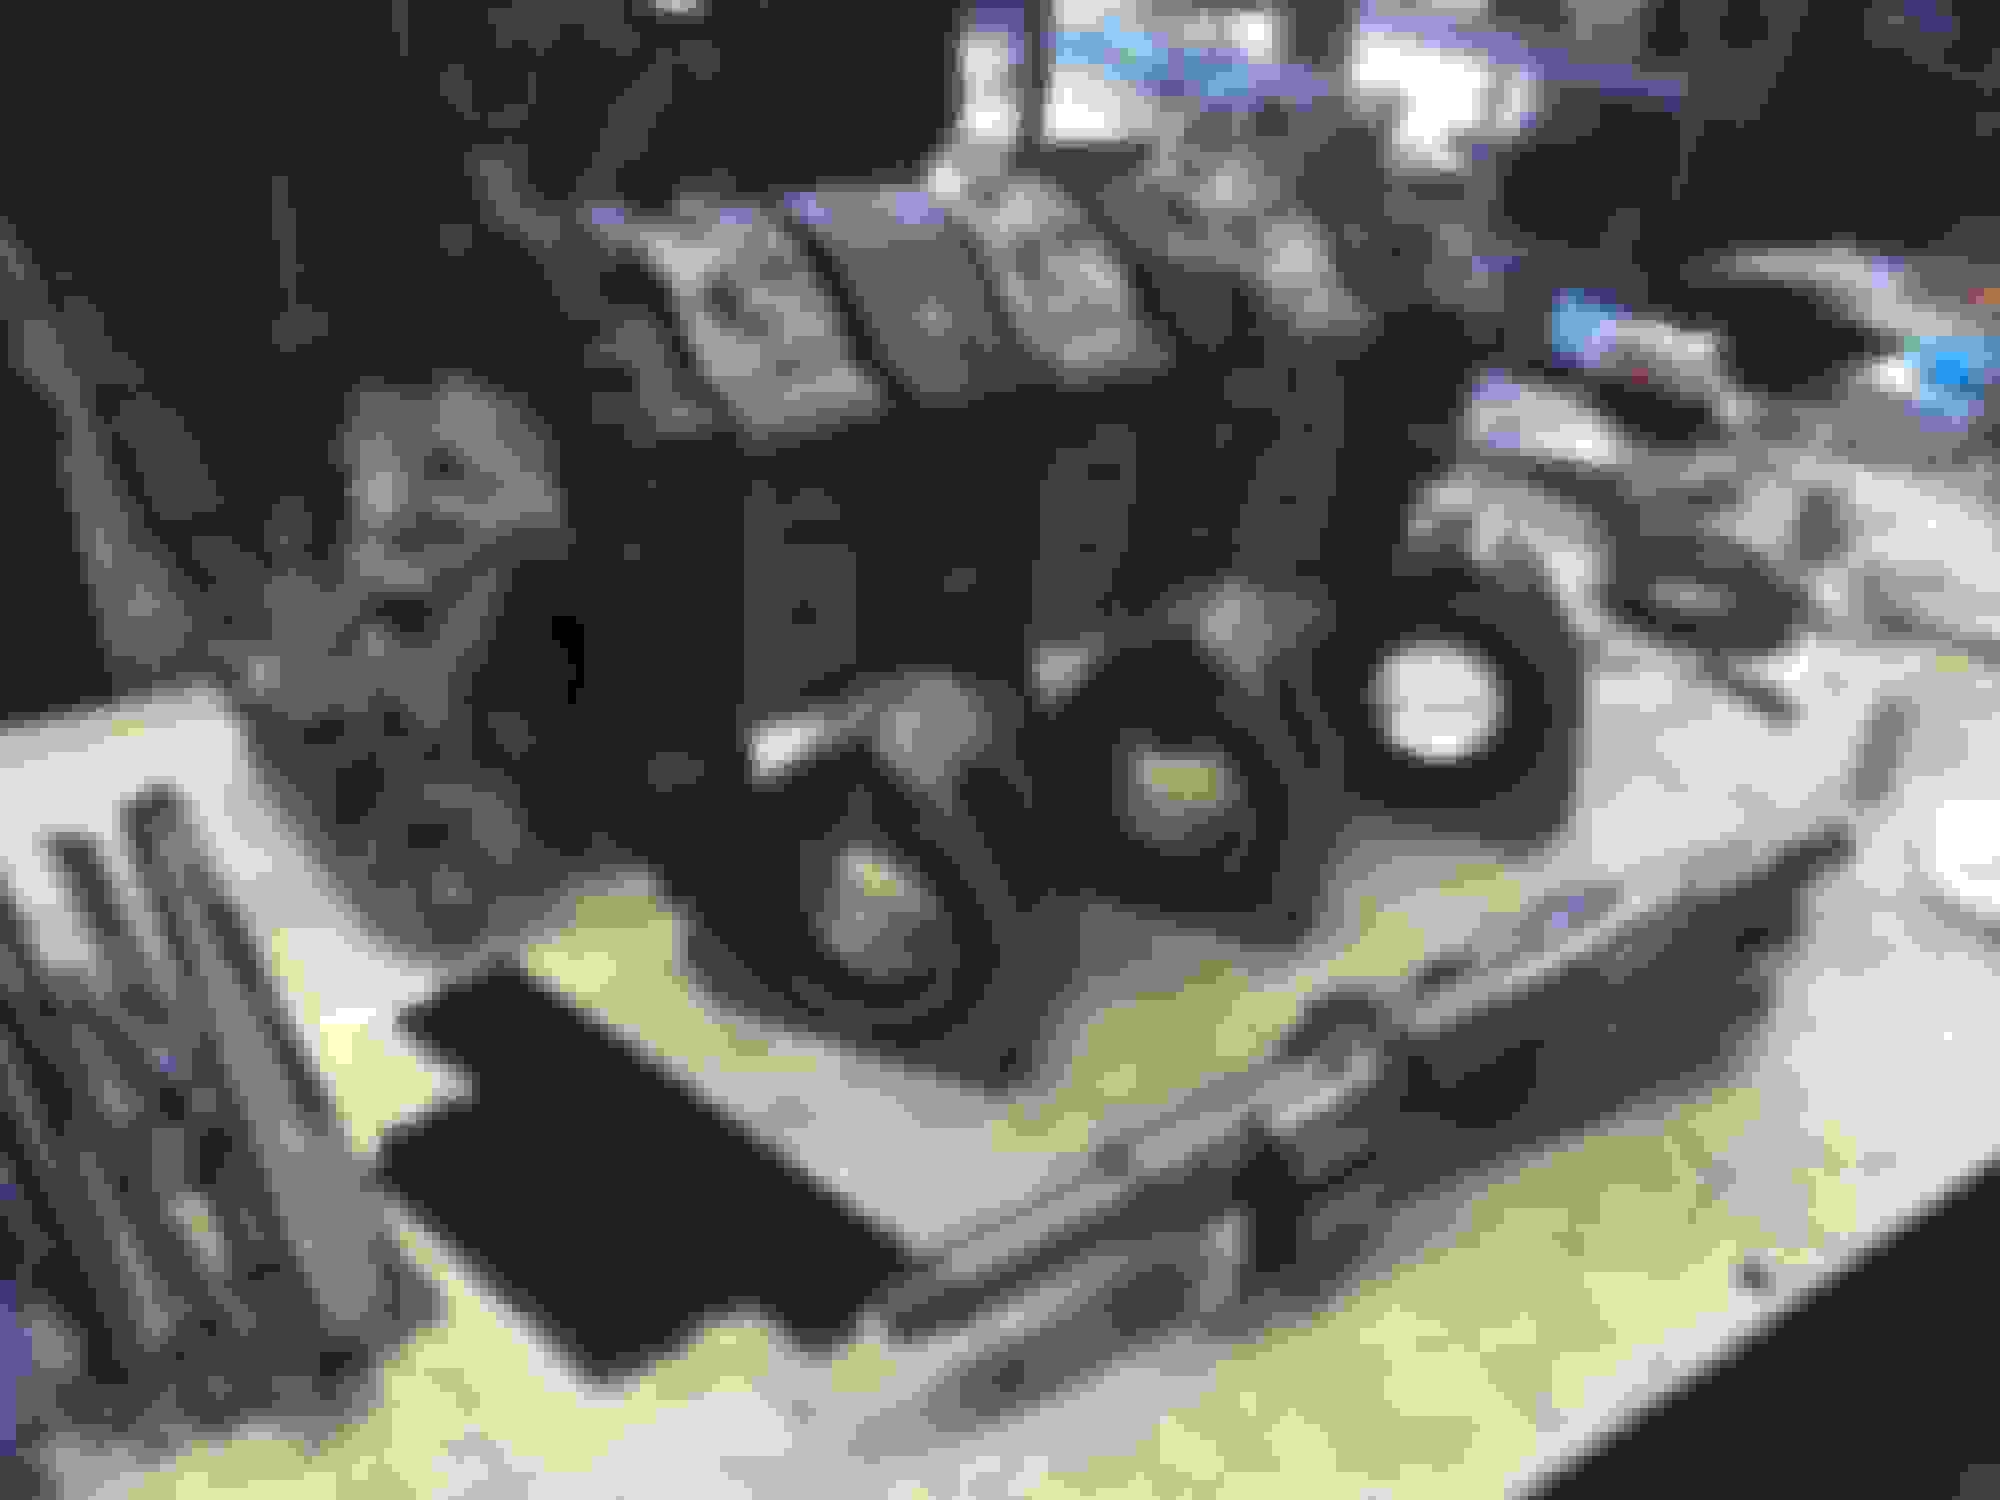
Picture dump:
Starting out I decided to cut the factory subframe to retain the lower a-arm mounts.
Just test fitting to get a rough idea.
This was revision 1.0 of the subframe. It was based on research here on the forums and experience with kits like Xcessive.
The engine fit and cleared everything I wanted it to. The big thing I did not like was the steering rack mounting. It moved it significantly and interfered with stock style sway bar mounts.
For my project, I wanted to keep a OEM plus look, hence the 99 bumper.
While fabricating the initial subframe, I discovered an issue with the chassis. The R (LHD Passenger) frame fail was tweaked. With a laser level and a few shims I was able to tell it was bent at least 10mm up. I paused here and sent the car to a highly recommended local body shop. Short story, after two years the original body shop had done nothing and I had it towed to a new shop that quickly repaired the issue. I used a bone stock 93 touring chassis that measured out to within 1mm to mock up the "production" V1 subframe seen in the next post.
With the subframe built, the next step was designing the pan. I initially made a wood template and took far too many measurements, transferring them to CAD. I knew starting out that I wanted to use a side mount, supporting the entire engine evenly. I decided on placing the mounting wings in line with the thick center iron. When talking to Rob about this, we agreed that this would help with the "twisting" of the irons and housings which leads to bearing misalignment and cracked irons. Solid dowels and larger tension bolts would still be required for high HP applications, but for the average build this pan will add significant rigidity alone.
The engine fit, with accessories at this point. To use the FD accessories, I measured a REW front cover. To get the bolt pattern, we used the CNC machine as a giant CMM. You would not believe how much a 1" piece of 6061 costs. These were the first 3 pans back from the original fab shop. This was the first production pan and subframe. It now lives in Hawaii. Here's one of the original subframes completed. While waiting on the chassis repair, I worked with Rob and our machinist to make the necessary 20b exhaust flange and a really neat shifter relocation for the FD3S. The new oil pan moved the transmission back nearly 3.5" and requires the OEM FD transmission shifter be moved. Our machinist made this great conversion piece, but it's only applicable to under 500hp builds. It requires significant modification to the tail housing and was not something Rob/Myself felt we could "produce" as a product. But I'm sure he would make a one off if you had to have a OEM trans.
Quite a bit of time passed as I waited on the original body shop. This didn't stop work, but definitely dragged it out.
While I waited for the body shop, quite a few things happened.
1) I was offered a brand new G42-1450 and sold the original S472-SXE.
2) Ronin released their new builders subframe. I ordered one of the first ones.
3) Our machinist upgraded CNC's.
4) I was offered a C-Series 20b I could not turn down.
One of the first projects for the new machine was to add studs to the block. These are from ARP and custom for this use - not quite an off the shelf solution sadly.
My original chassis FINALLY was repaired around this time. Here you can see it on the rack. With the rail being bent nearly 13mm in, 10mm back, and 3mm up we decided to buy a new OEM rail (yes, we actually were able to buy one) and replace the damaged rail. The shop did a fantastic job.
The damaged rail. I kept it to save the headlight bucket.
Here is the Ronin builders subframe. The quality is spot on.
This was my spare plate from the first batch - it looks promising in this photo.
I ordered the matching bump steer kit, pictured below.
After test fitting the Ronin subframe, I decided that moving forward with it was the best option. First, my design was untested and Ronin's offered several years of R+D. 2nd they offered a tested/proven bump steer correction kit. 3rd, I just don't have time. It's overall the best option for this kit.
Here you can see the motor mounts - two simple tabs are welded onto the subframe. I am using a set of inline 6 aftermarket mounts in the picture.
The motor fits perfectly. This is as-far-back as you can reasonably make it with minor correction to the firewall (little hammer work, nothing more). You can see in this picture how the front iron sits behind the steering rack.
This massive turbo just clears. For my build, I decided to go Air-2-Water for the intercooler. There's just no room.
I'm also modifying a billet boss alternator mount to work with the stock FD mounting location. This allows me to retain the accessories/pulleys.
Unlike my subframe design, the stock sway bar location in unaffected - I've also test fit a set of low profile billet mounts. Both work fine.
I was very happy with the fitment. We had to make two changes to the pans to clear the larger tube of the Ronin subframe. After several long discussions with Rob, I decided to pass the project over to him for completion of the V2 pans and sales/support/etc. Work and family take up far too much of my time now a days.
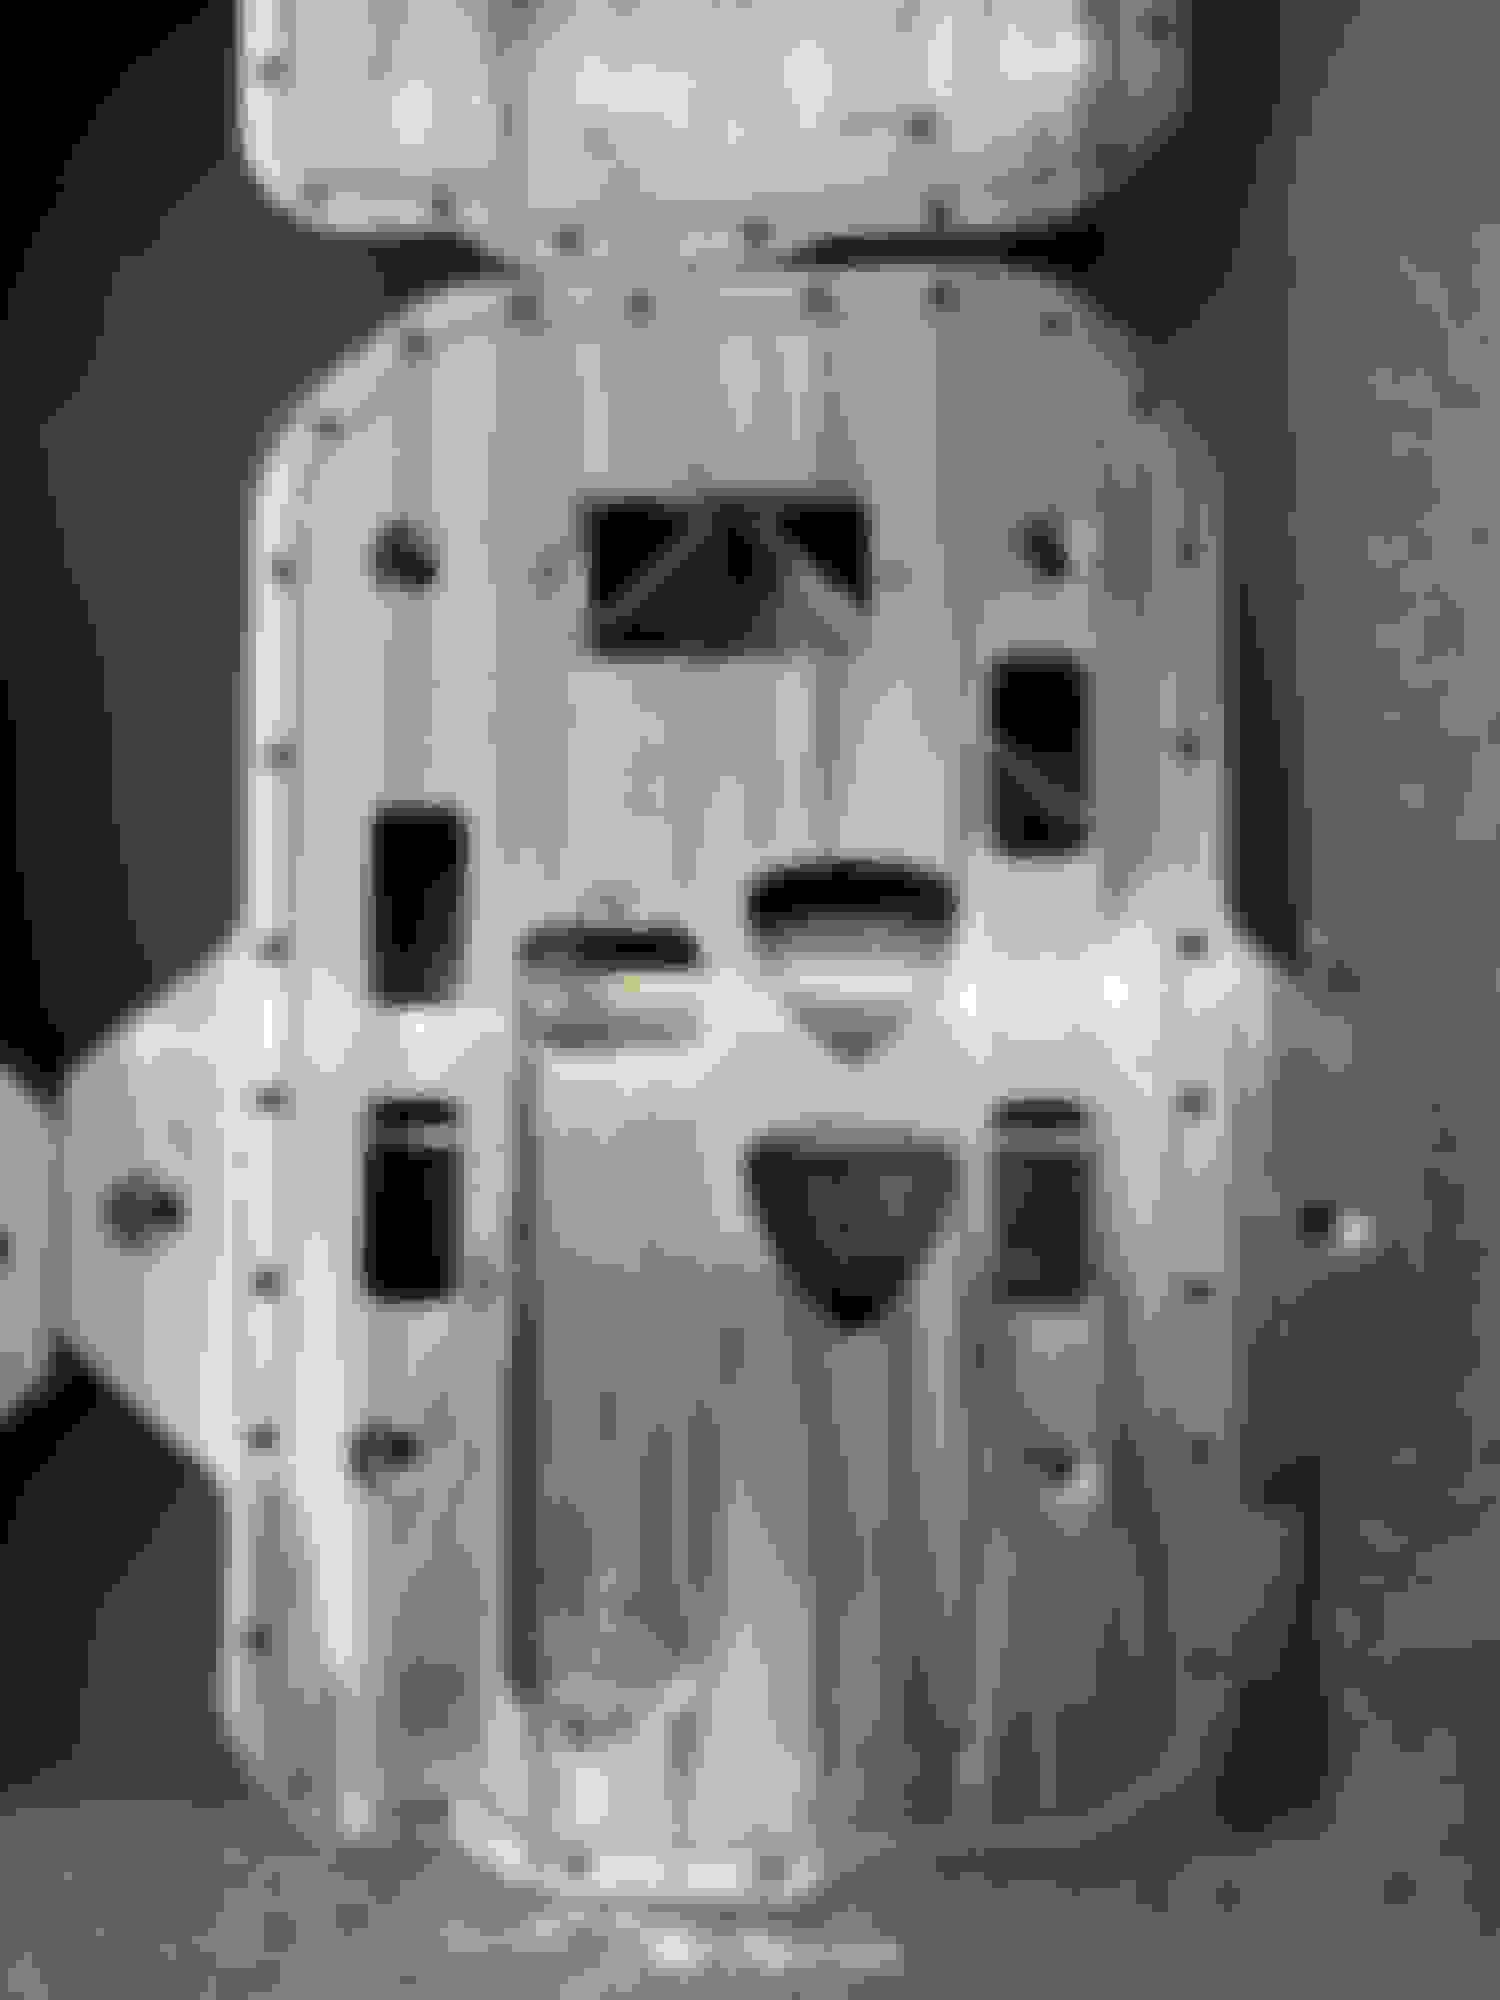
Here are the official V2 pans, fresh from machining. I am happy to say that these meet all of my original project requirements.
After seeing them above, I did ask why there was no clean out like we originally had discussed. Our machinist took care of it and now you can fully clean out one of these pans with a normal parts washer.
This was the real key to this project and I have to give a huge shout out to our machinist for coming up with it. This insert moves the oil pickup back, allowing the pan to be thin in the front, above the rack. A Rx-8 oil pickup then bolts to this assembly, allowing for a baffled pickup screen.
You can see the baffling in this photo. There is a trap door plate and V backing to control slosh.
Here's the completed pan.
The bungs are a standard M14-1.5 Mazda oil drain. I have a fumoto valve on mine.
As far as my 20B build goes, it's on hold as I repair Ice Storm damage to our property. We lost 5 trees, one through the roof of my office. Sadly several cars parked outside were damaged. What do you do, it's Mother Nature. Repair, rebuild, move on.
Originally I wanted to make this a bolt in complete kit - but I changed my mind half way through. After talking with four people, who all had different transmission options - I decided that this will be sold as a pan and hardware kit. Rob may change this at some point in the near future. There are some great benefits to this iMO- those with T56, CD009, DST, OEM can set the engine where it best fits, weld tabs on the Ronin subframe, and have the perfect fitment for their build. Those who want to cut/modify their tunnel can take it even further back. You will need to build a transmission mount, driveshaft, and look at using either a SIKKY diff mount or a Ford 8.8 swap. I guess my point here is, if enough people wanted a stock drop in - parts like the fancy shifter relocation and pre-built subframe would be worth it. But I'm trying to be realistic as to where the market is at. With 20B's fetching 10k for a block, these are being built for power - not OEM.
With all of that said, here's what Rob plans on including with the pan.
20B Oil Pan - REW Front Cover bolt pattern
Hardware Kit
O-Ring
OEM Rx-8 oil pickup
Drain plug
Here's what you would need:
1) Ronin builders subframe
2) Ronin bump steer kit
3) Low profile motor mounts - like IRP or Banzai. I'm trying these from Revshift. https://revshift.com/collections/maz...azda-miata-mx5
4) Differential mount - https://www.sikky.com/product/mazda-...rential-brace/
5) Transmission mount - depending on your use case
6) Drive shaft - depending on your use case
7) Xcessive LIM - Ensures the best fit/hood clearance.
Two things to note.
1) This pan could easily be adapted to another chassis - I'm using one in a engine swap right now. I'm trying to find a FC and FB/SA shell to test next. We know it fits several classic Toyota chassis.
2) Rob is discussing making a 13B-RE/20B-RE oem front cover version. Email him if you are interested.
I hope you guys find this helpful and if you have any questions, just let me know.
Thank you. It was definitely a labor of love, both for the sake of the project and helping make a cool product with good friends. I can't thank Rob and our Machinist enough for their help, guidance, and even the occasional nonsense. Two of my cars will get these pans, I can't wait to get them running and on the road.
ronin subframe is in, 7 speed DCT and engine mocked up. The problem I might have is the trans is girthy and therefore cannot be pushed far back into the tunnel. My rear iron sits exactly where the stock 13b iron sits, which means the front of my motor is about 2� farther forward than yours.
Will need to understand the dimensions of the 1st part of the step in the front sump. Can that be removed, or is the step needed for the pickup clearance? I�m worried that hill hit my steering rack because the front iron is farther forward in my setup.
The red lines show the front step in the sump. Need to understand the dimensions around this part relative to edge front cover and depth. Is the step needed for clearance of the oil pickup or could I simply cut it out and weld a flat plate there. This helps show mine sits about 2� further forward which is why I�m concerned about the step in the sump. It�s a big transmission.
They are all a bit different. Some use the Xcessive kit and oil pan, some hammer the tunnel to make more room, etc. most of the ones that are up and running already had 20b up and running, so they just made the trans fit wherever the 20b was. I'm starting from scratch so looking at various options. I'm already sold on the ronin subframe, so one decision down, 20 to go haha
if all the options are before you, then possibly you should consider the dividends of positioning mass as low and as far back as possible over a half-hearted effort.
I mean, you came this far making such an effort, so why not see it all the way through in the true spirit of intention doing whatever is required, no?
.
I hear myself just fine. Not sure what your post even means. Have you ever fit a 20B with a DCT into an FD? I've got options and I'm sorting through them. It's not like detailed measurements for every custom set up possible are available. You mock things up so you can understand the details, then you find your preferred solution. That's why every one of these builds are different. A plug and play 20B swap kit does not exist, regardless of transmission.
Once the motor is locked into place, then I'll move onto the diff and drive shaft. Which again, there are multiple options to consider. Ronin 8.8, Fisch mount, Sikky mount, custom mount, etc. then different options for the drive shaft too.
Sorry guys, I had to park this project due to work/life and supply chain issues. Originally I had planned to use the CD00A transmission - but both the factory and aftermarket bell housings were too large. I did not want to put something out there that only fit a stock transmission or required cutting the tunnel, so I ordered a T56/Quicktime bell housing.It finally arrived this week after months of delays. I am happy to say that this pan, combined with the Ronin subframe, fully supports a F-Body T56 (commonly sold by Grannas). I'll post photos this weekend when I have more time.
With that question answered, I'll finish the drawings to laser cut out the "fab" pieces needed for the Ronin subframe and work on the transmission mount. I know Rob@PineappleRacing has been selling these on a call/email only bases, mainly for custom chassis/race car apps until we had the FD transmission sorted. Hopefully this winter/spring I'll have everything ready and Rob can make these available for retail sales.
It's been a heck of a journey, but the end product should be worth it .
The F-Body style shifter location lines up better than I expected.
I have a question ? So all the engine /engine power is reliant on the m6 oil pan bolts to hold it to the oil pan and motor mounts ?
I was wondering the same thing... If that 1" thick aluminum base is being used for motor mounts, all the stress of the engine torque is going to the oil pan bolts. Would probably be better to fab some mounts between the subframe and the housings.
Then again, I'm not seeing any free holes on the housings to accommodate that so... It doesn't look too far off how the FD mounts the engine.
I’d imagine that the usual similar brace-brackets from the engine iron mounting points to the one on the sump plate could be added as well?
Just a 90� bent piece of plate really with the upward lip that bolts to the irons that then also lays flat on top of the sump plate-extension and is otherwise shaped accordingly, possibly some gussets for addition rigidity depending on how full-nancy somebody wants to go on it …
.

 08-23-21, 08:20 PM