When you click on links to various merchants on this site and make a purchase, this can result in this site earning a commission. Affiliate programs and affiliations include, but are not limited to, the eBay Partner Network.
So I was making some very good progress on my suspension this weekend, finished replacing springs and shocks in the rear, and got the struts off of the front this afternoon, only to find that the lock nut on the top of the shocks is impossible to remove. Trying to untighten it just spins the shock, I even tried clamping down on the shock with some pliers (since I'm replacing them anyways). Looks like from google, an impact wrench is the only way to get this off. Has anyone else found anything else that's worked?
If I get an impact wrench should I buy a battery one, or shell out the money for an air one, and an air compressor as well? Thanks!
Impact wrench is the way to do it and electric tools (both corded and cordless) have come a long way.
The corded Unimac 1050W ones are great. Has more power and is more practical than a cheap air one with cheap compressor. Delivers up to 350NM.
Cordless is more practical again, but is generally more costly to get a decent one. If you already have a cordless system like a Ryobi One+ and have a few batteries, then I would just buy a impact wrench skin. The impact drivers skins will also work well for smaller jobs and have the benefit of being useful around the house. You just need a square driver adapter bit for it.
EDIT: air does work great, but you really need to invest in a quality compressor for air tools otherwise you're just wasting your time. Nothing worse than die-grinding and having to stop every few minutes for the air to catch up. If you need air for other jobs, then it becomes highly worthwhile getting a proper compressor.
I prefer air (if you already have a compressor), but an electric plug-in one worked for me.
A strap wrench may work better to hold the strut rod, but an impact gun is a good investment anyway.
Normally you loosen that nut while the strut is still in the car. Makes it a lot easier. Sill requires
an impact wrench. You'll need to clamp it tight in a vise to hold it while the impact does its thang.
If all else fails, you can try what I did when I couldn't get the shock top nut off on my truck. I used a nut splitter, which essentially cuts the nut in half. Tighten it until the nut cracks, put it on again with the wedge on the other side, tighten again and the nut is split in half.
Normally you loosen that nut while the strut is still in the car. Makes it a lot easier. Sill requires
an impact wrench. You'll need to clamp it tight in a vise to hold it while the impact does its thang.
^This, put the strut back on the car and lower the car till there is a little weight on the wheel then use a wrench through the spring. Nut to take the tophat off probably requires an impact.
Okay, so I bought an electric impact wrench. Thanks for the input guys, I'll post back once I get the wrench to see if that works.
Originally Posted by Freeskier7791
^This, put the strut back on the car and lower the car till there is a little weight on the wheel then use a wrench through the spring. Nut to take the tophat off probably requires an impact.
Okay, well I'll try without the strut on the car, since I've already got it off. But if that doesn't work I'll put it back on the car, no harm in trying, right?
Originally Posted by j_tso
Dumb question: Are you using spring compressors?
Yes, why do you ask? I've tried both with and without the spring compressor on.
There's really not that much force behind the stock springs. You can just spin the nut off all the way and the age of the strut/spring assembly will still hold it all together. Just sit the strut mount up against a wall and tap it with a hammer til it pops off. There will be a strong "pop", but nothing should go flying across the garage or knock you unconscious or anything.
Also you don't HAVE to use an impact. I did it for years by clamping a strong pair of vice grips as far up the shaft as possible. Just dont vice grip down low on the shaft because you can groove up the sealing surface and your fluid will leak out.
The Tokico Illumina shocks I'm installing recommend putting some oil in the strut casing, has anyone done this before? Can I just use engine oil or transmission oil?
The Tokico Illumina shocks I'm installing recommend putting some oil in the strut casing, has anyone done this before? Can I just use engine oil or transmission oil?
Yes,i think every brand recommends doing that,it's for cooling. you can use motor oil,i even heard of people using antifreeze .
The Tokico Illumina shocks I'm installing recommend putting some oil in the strut casing, has anyone done this before? Can I just use engine oil or transmission oil?
Used to use antifreeze years ago,use oil these days 10-30wt,about2.5" from top of strut. A little goes a long way,you'll likely overfill the first one.
No,the replacement is a fully contained cartridge. Reason for oil is like a thermal bridge to conduct heat away from insert to strut body so it stays cooler.
Okay, so took the shock lock nut off with the impact wrench. Took a little bit of modulation, but it eventually came off. I was able to get everything apart. I'm trying to decide if anything needs replacing, or if I'm good to go. Some things I noticed:
- I took the shock out, and it felt very "tired", I can easily push the piston down, and pull it out. I've never done this before so I have no impressions.
- strut tops seem in good condition, although I don't really know what I'm looking for, they seem to spin fine at least. Do I need to regrease the bearing, if so can I just use the same grease from my wheel bearings? How do I pack it in there?
- both the strut tops were in different "positions" when I took them off. The driver's side of the car seemed to be set up for positive camber and less caster. Which position in the manual is the correct position for maximum negative camber and more caster? I'm assuming is position "A", or rather the inner position to the rear of the car.
- the manual mentions an "o-ring" on top of the shock underneath the shock cap, but when I took my shock out I did not find one. What is this? My shocks came with a new cap, lock nut and a metal ring, is the metal ring what I'm looking for?
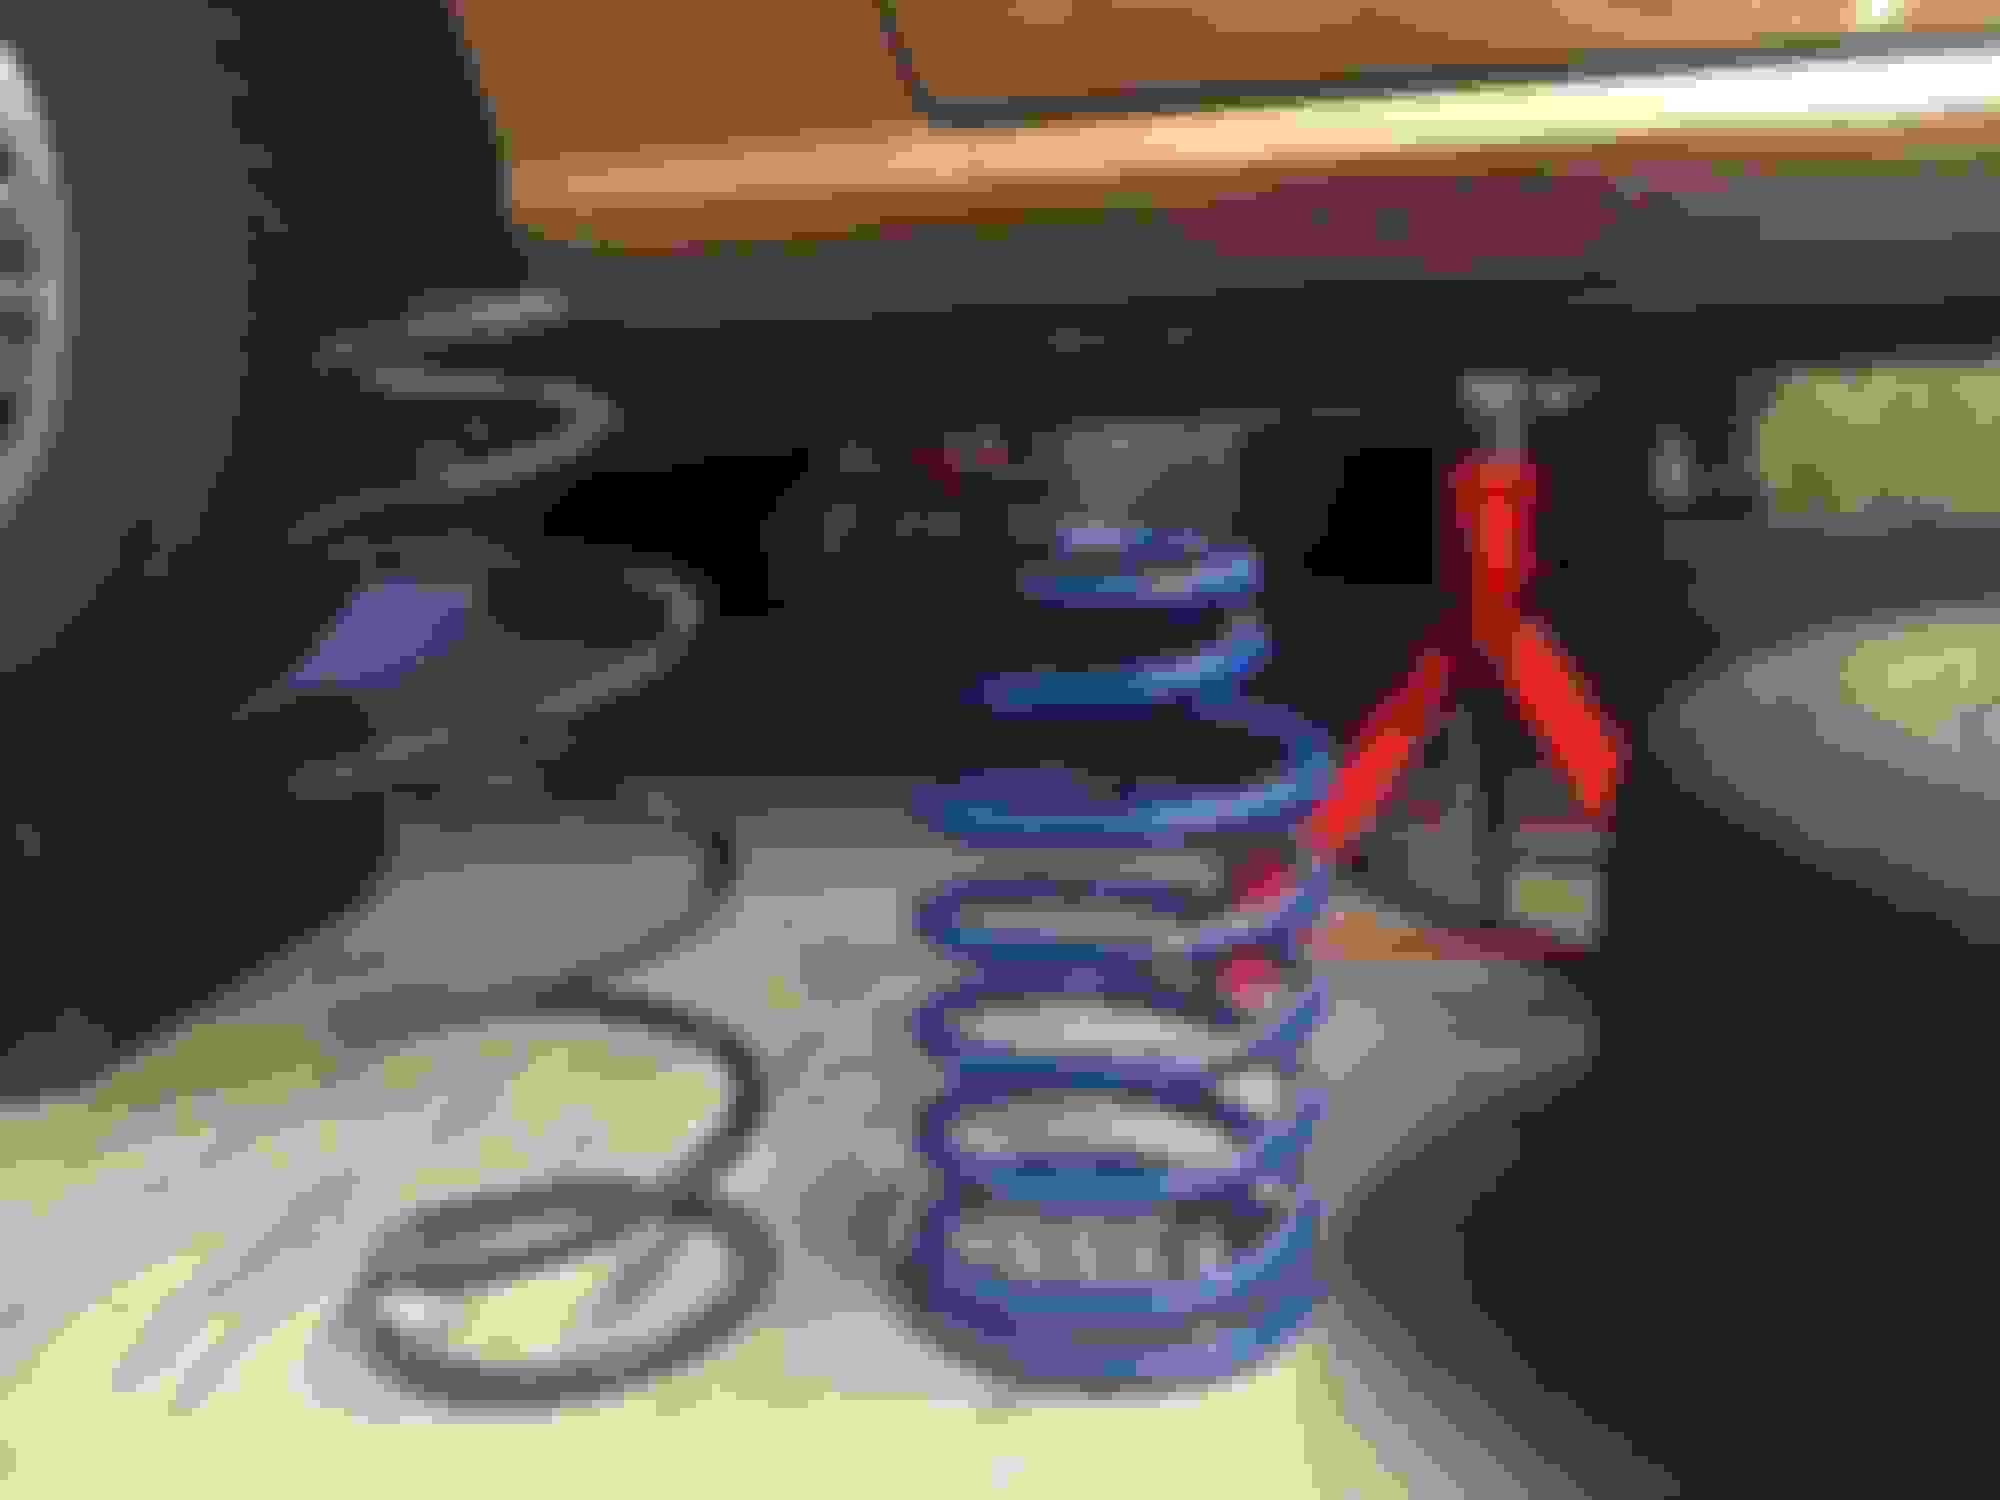
I only took one side apart, so that I could use the other side as reference if I need it. Pictures are below, thoughts?
Did you disassemble the struts yet? If original when you remove the hex nut at top there will be an o ring to seal the hydraulic fluid in the tube. If it's been replaced already there will be an insert that just pulls out. Remove whatevers' there and rinse tube out with brakleen and dry it. Put some oil in the tube like discussed previously and put new insert in tube,adjust oil level to where it needs to be,put metal ring on top of insert and install and tighten cap. Everything you took off,bumper,piston shield,spring insulator is serviceable and can be reused. Wipe out as much old grease as you can from strut mount bearing and pack in fresh wheel bearing grease. Take the strut mounts by them self and insert studs back into fenderwell and hold with one nut. Look at the strut mount from the top,notice mount is offset and can be positioned different ways. Position the mount to go furthest to center of engine compartment and back toward firewall-in and back. Mark the mount so the strut can be installed this way. Mark each for their respective side. This gives you maximum negative camber and most positive caster. Now put it all together,drive it and get it aligned after a few miles to allow springs to settle some.
Okay I took the other side apart, the shock feels in even worse shape than the passenger side. I started reassembling the strut until I hit a snag. The so called "gland" nut. My tokico instructions say I need 90 ft-lb of torque on that nut. I used a monkey wrench and was not satisfied with what I was able to get, and the height between the nut flange and strut wasn't even close to what tokico recommends. So I took it back apart (buggered up the gland nut a bit too) and ordered a gland nut socket. Is this the "correct" way to do it. I figured maybe it didn't matter, but I'd like to do it right.
Actually I don't think the tool will work for the gland nut, it doesn't have the holes that other ones have. I'm just going to have to use a pipe wrench I guess. No way I'll get it up to 90 ft-lb though.
Okay I took the other side apart, the shock feels in even worse shape than the passenger side. I started reassembling the strut until I hit a snag. The so called "gland" nut. My tokico instructions say I need 90 ft-lb of torque on that nut. I used a monkey wrench and was not satisfied with what I was able to get, and the height between the nut flange and strut wasn't even close to what tokico recommends. So I took it back apart (buggered up the gland nut a bit too) and ordered a gland nut socket. Is this the "correct" way to do it. I figured maybe it didn't matter, but I'd like to do it right.
What is the height dimension you came up with? Did mine last winter and as i recall the spec was from .050"-.180". As far as Tightening the gland nut torque,they say about 90 ft. lbs. You just need to make certain it's good and tight. i had my strut clamped in soft jaws in my bench vice and had no problem tightening the nut. It is important to observe that distance value so the strut is being firmly held in place versus gland nut bottoming in the threads. In my shock box there were a thin and a thick spacer which can be doubled up if necessary to achieve the proper dimension. Did you get two spacers per shock insert?
My shocks came with one spacer for each side. From doing a little bit of searching I think the spacer is for some of the cars, maybe the S1, or -SE cars. I ended up not using the spacer. What I did was wrapped a towel around the piston shaft so I would not harm it in case I slipped. Put the shock casing in a vice and tightened as tight as I could get it with a monkey wrench. Probably not 90 ft-lb, but it's pretty tight. The height I measured was like 2/16". Put everything back together. Getting the struts on the steering knuckle was very difficult. What I ended up doing was jacking them up a bit and then sliding them off the jack onto the steering knuckle. It still was pretty difficult. I dunno if there's a "proper" way to do that.
Question: how do you actually torque the nut on the top of shock. I tried with my torque wrench but it just spins. Using an impact wrench I can get the nut to go in, but how do I know how tight it needs to be? Even after tightening it with my impact wrench, the nut still just wants to spin when I get the torque wrench on it. It seems tight but what do I know? From searching seems some people wrap the piston shaft with something and put a wrench on it, but this seems like a bad idea, this was a time consuming task, and I'd prefer not to mess up my shocks (they were expensive!) How have you guys determined when it's torqued to spec?
Get the nut snug,put strut in car,put everything back together,put car on ground. Tighten nut with impact gun. Weight of car on strut & gas charged strut piston pushing up into strut mount will allow you to tighten nut sufficiently. Strut piston will spin a bit but you willhear/see nut tighten. Not really possible to torque nut to "spec". Go drive it....
I got everything together Sunday afternoon. I took the car for a drive, and it felt simply fantastic, the steering felt back to normal too (inexplicably). But, when I was putting the adjuster on the passenger side shock, I realized that I put it on incorrectly, and I used some pliers to get it off. After getting it off I noticed that there was some foam and liquid coming out of the top. I decided to take it for a drive, expecting it to go away. The ride degraded rapidly on my way to work this morning, with it becoming very bouncy on the passenger side. I hit a large bump and the shock was so great I bounced out of my seat in hit the roof (I'm very short too). I opened the hood when I got to work and their was liquid allover the passenger shock tower. Really disappointed that I'm going to have to replace it now. I won't buy adjustable shocks again, I didn't realize how fragile they are. Oh well, you live and you learn.
I haven't talked to Tokico, because I can't believe they'd replace it under warranty, since I broke it due to my own stupidity. I'm mostly irritated about the down-time, because I wanted to be driving. The car is not really fun to drive like this. Shame because it really was handling quite well and was a blast to drive. Oh well, something to look forward to. I ordered a new shock from Racing Beat.

 07-18-16, 12:13 AM