Proper way to clean the entire engine bay and not damage it
#27
Senior Member
Joined: Oct 2002
Posts: 596
Likes: 0
From: Hampton, VA
You can buy muriatic (sp?) acid at places like lowes/home depot IIRC. Just need something it won't eat through for soaking parts in. I'm pretty sure you dillute the acid quite a bit as well. I'm sure Kentetsu will have more incite on that when he gets back on.
That thread motivates me to clean my engine bay up.
That thread motivates me to clean my engine bay up.
#28
Ditto. Altho when I used the Purple Power on the rotor housings, I actually cleaned away a section where it says "13B" I found that to be pretty awesome. *L*  Mostly because there was a lot of gunk on there. Still is, actually.
#29
spray the **** out of the engine compartment with simple green (try to get the concentrate formula) then drive to a do-it-yourself car wash and take the pressure washer to it.
Don't aim straight at any electrical or the air intake and I think you'll be happy with the results
Don't aim straight at any electrical or the air intake and I think you'll be happy with the results
#30
You can purchase muriatic acid at any hardware store for about 5 bucks a gallon. I usually dilute it to about 25% strength, then let parts sit overnight. It will work faster at higher concentrations, but you have to keep a close eye on it sometimes...
I would stay away from simple green or any other type of cleaner unless you are certain that it won't react with the aluminum.
Start out by picking up a couple of cans of engine cleaner (I think I use EngineBrite mostly) and head for the power washer. I don't really take any precautions against getting stuff wet, but just try not to directly hose down the delicate stuff. I figure it should be ok if the stuff gets a little wet, and if it's not then that's something I need to fix anyway before it fails in a rain storm or something.
But anyway... I do this with the engine warm so that stuff will dry up quicker when I'm done (engine is off while cleaning). Hose it down and start scrubbing what you can reach with a longhandled brush (toilet scrub brushes work great). Rinse it all off when you're finished scrubbing so you can see where you missed, repeat all steps as necessary....
Very time consuming to go beyond that, but if you really want to go all the way this is where you break out the toothbrushes and start cleaning around all the fixtures etc. Removing what parts you can to gain access, hand cleaning all the way (I like the Mcguire's cleaner wax for this stuff).
I figure it's like this; you can sit around all week wishing you had the money for your next mod, or you can spend your time doing this kind of stuff. All it takes is time, and just a tiny bit of money. The "street value" of my car probably doubled when I finished cleaning the engine bay. It makes such a difference when you compare it to the standard dirty, grease covered, oil dripping, "I keep the hood closed for a reason" type of engine bay.
I swear, when people are looking over my car they'll typically be like "huh, nice car". But when I open the hood then they step back and look at the entire car again in a whole different light.
Anyways, the wife just got home and I need to tuck the kids in and get ready for work... Later guys, and thanks for the compliments...
#31
I wonder if this is saveable. This is an older picture but most of the stuff is still the same grungy look. I am mostly just concerned about the electrical connections. That is the ONLY thing I'm worried about. Altho, from what I'm reading, it's something I need not to worry about.

Last edited by 85 FB; 10-25-07 at 08:37 AM.
#32
That's a lot cleaner than what I started out with. Also, white always cleans up nicely. Grab some cleaner wax and clean off the inside of the hood to get an idea of what you'll get.
#34
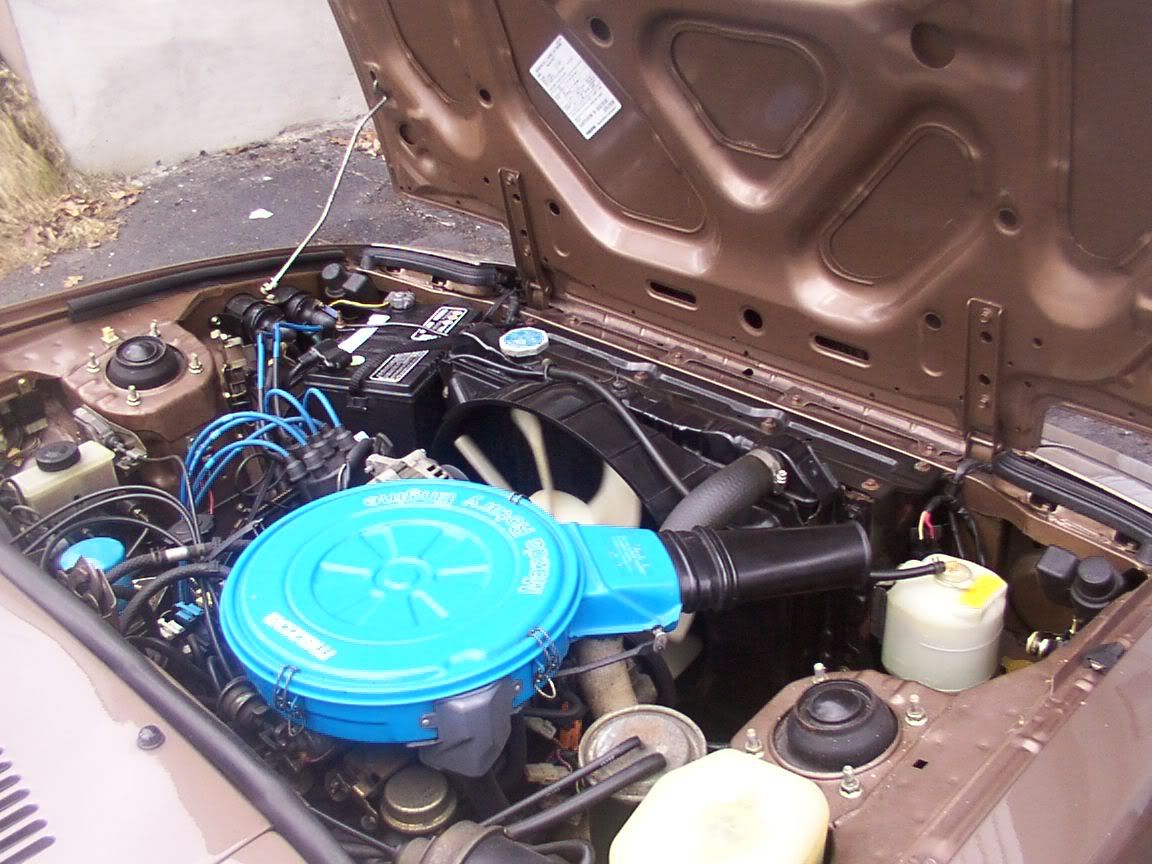
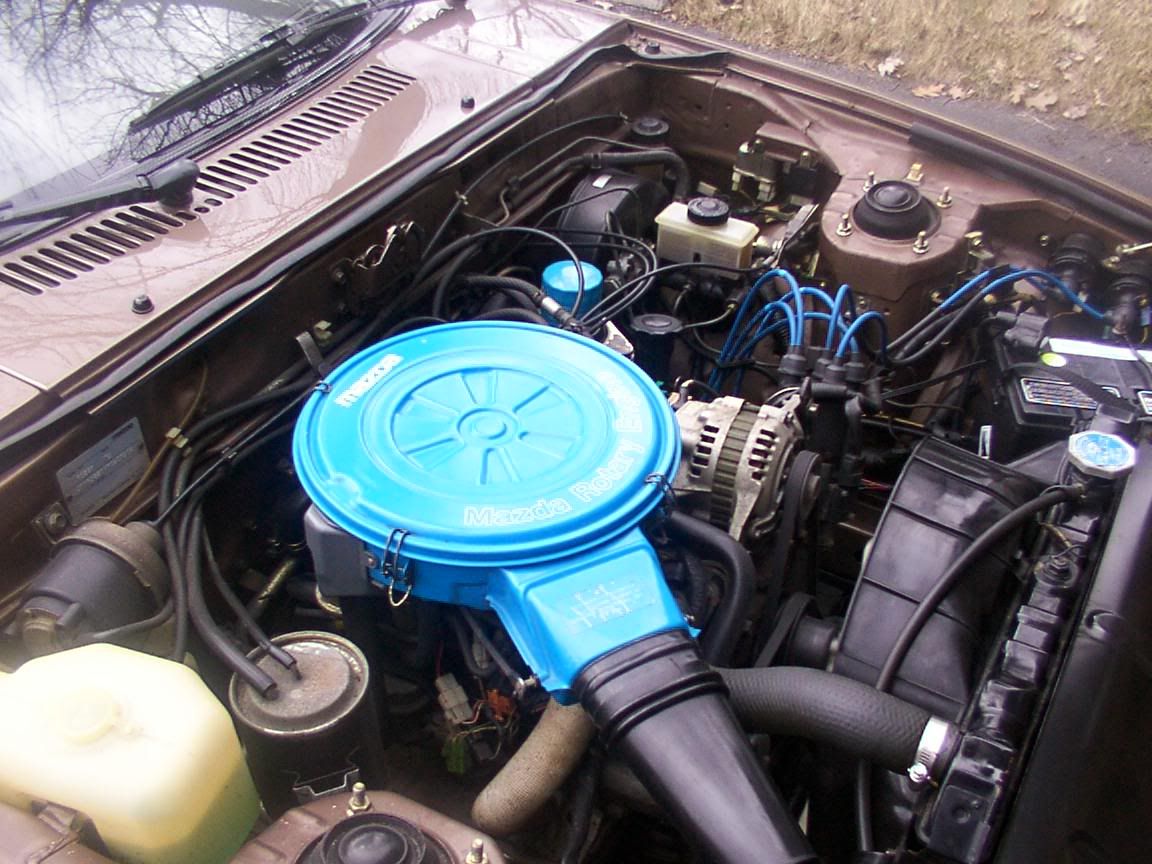
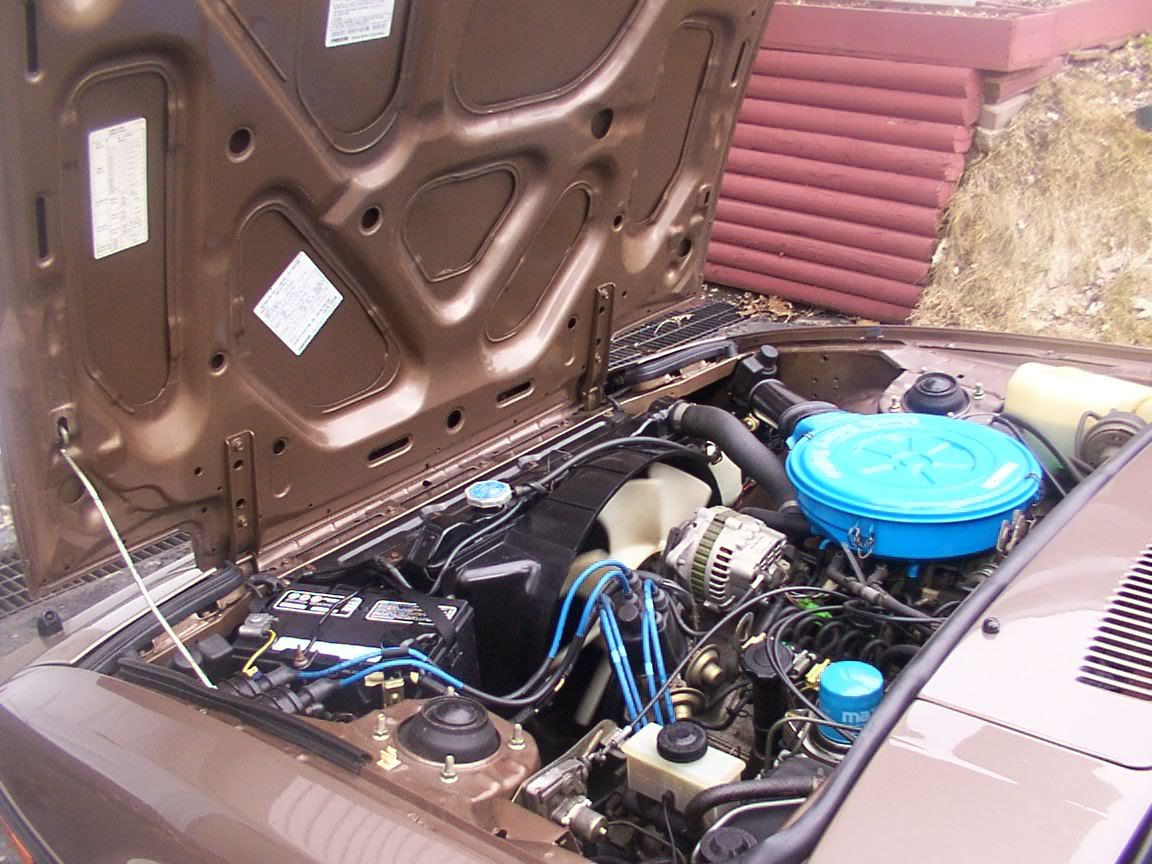
The guy who had my car had it rust proofed with a thick coating. I had to buy a 5 gallon pail of professional grade rust proofing remover, nasty stuff but it worked. I did 3 sessions with the rust proofing remover and a power washer. Then 2 sessions with a bucket of soapy water and a wash mitt.
To finish off, I used some tire dressing on the plastic and rubber bits and high quality plish and wax to end up with what you see.


BTW I did that cleaning 6 years ago and I took these pics this spring... Once its done its easy to keep up!
To finish off, I used some tire dressing on the plastic and rubber bits and high quality plish and wax to end up with what you see.


BTW I did that cleaning 6 years ago and I took these pics this spring... Once its done its easy to keep up!
Last edited by SevenHeaven; 05-31-06 at 11:16 PM.
#38
iv just started to clean the bey with just engine degreaser and elbow grease
heres pics of a late nght job


this side is yet to be done


heres pics of a late nght job


this side is yet to be done


Last edited by blwfly; 06-03-06 at 05:45 PM.
#42
Originally Posted by Hyper4mance2k
The way detailers do it gets it the cleanest in the quickest time. Start the car and let it run soak the engine bay with degreaser then pressure wash the engine with hot water. Then you have no risk of warpage. All this is done with the enine running that way if you do get anything in the filter it'll burn up instead of hydro locking the engine. I detailed at Lexus and Dodge for 3 years, so I know I'm right...
I just wanna remind you that this isnt lexus or dodge. This is a hole completely different engine. If you start the rotary engine up/ 5 seconds later the water is boiling on the header. its hotter, more vulnerable. so unless you have 500degree water coming out of that hose, I dont reccomend it one bit.
Park it over night, let the engine cool. next morning/ spray degresser on it like a counter. let it sit for 5 minutes, take a hose and wash it off in sections. the rubber electricals will mostly not get damaged, but there is a chance , always, it will. so be careful, make the hsoe as little pressure as possible, and get a scrub from the kitchen/ sponges always work.
-nick-
#43
Good job man, looks professional to me.
I bought 15 cans of pb blaster at lowes, I have them hidden from my family under my bed. lol, its like treasure to me.
You can have the engine boiled and it will look brand new. we did 3 engines for our racecars at my step dads. put them on a stand, degreesed them, sent them off and they came back brand spankin new.
Last edited by Nicholas P.; 06-04-06 at 02:22 PM.
#45
Use degreaser and a power washer. As long as you use HOT water, and the engine is RUNNING, nothing needs to be covered. If its off at LEAST cover the distributor... if moisture gets in that you wont be starting it for a while. 
Other than that, have at and it pressure wash the hell out of it.

Other than that, have at and it pressure wash the hell out of it.
Thread
Thread Starter
Forum
Replies
Last Post
immanuel__7
2nd Generation Specific (1986-1992)
89
09-05-15 11:23 AM


 ....
....

