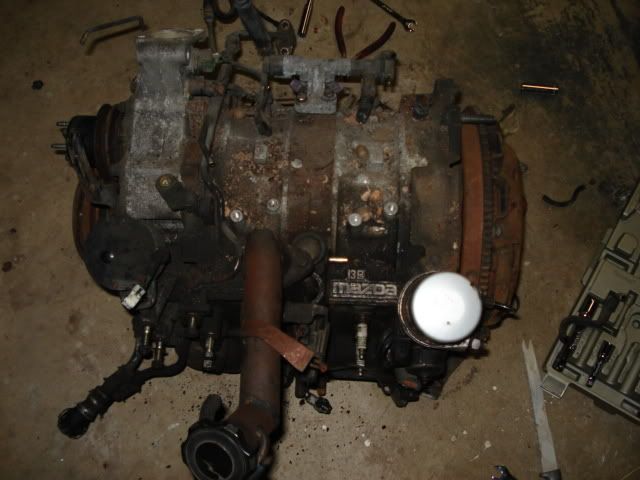
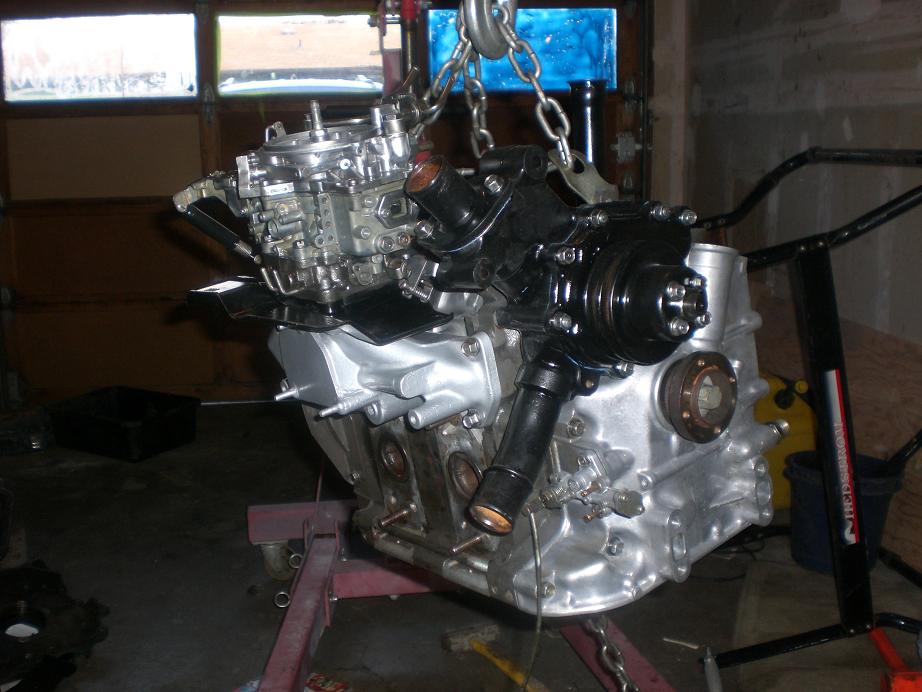
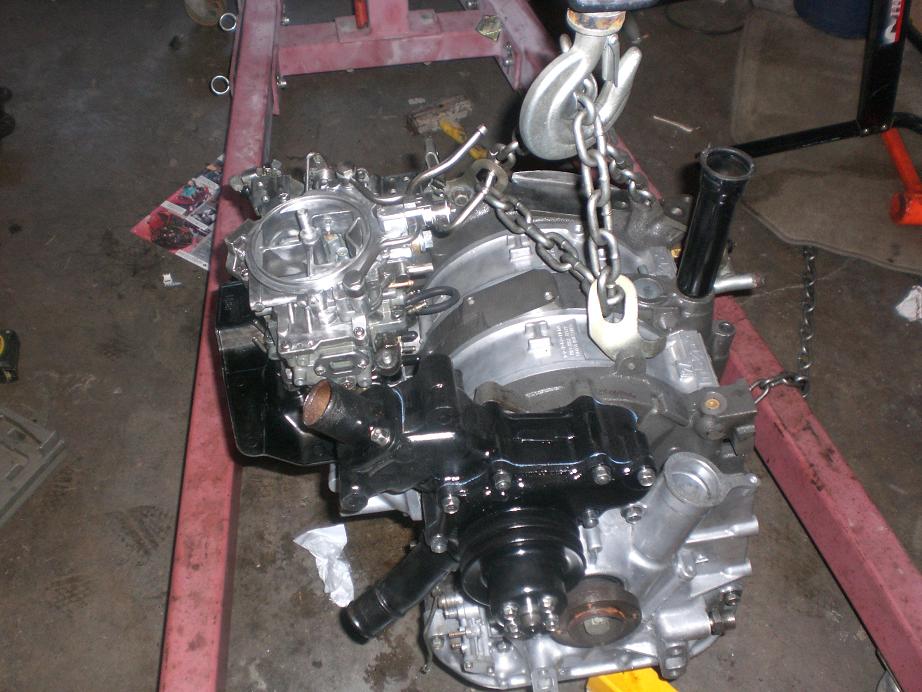
nice and clean engine

 Good work man!
 02-21-08, 11:20 PM
#32
orded up some gaskets for the water pump couple shims clutch aligment tool new polit bearing and seal manifold gasket
can i get away with just a silicone sealer on the oilpan?? or do i need a gasket.
need to get come more black paint and clear paint.
can i get away with just a silicone sealer on the oilpan?? or do i need a gasket.
need to get come more black paint and clear paint.

 02-24-08, 11:10 AM
#38
got my gaskets and piloet bearing etc.
need to sand up and paint my oil pan water pump/housing and couple other things..

my clutch and pressure plate had rust on them only sand paper i had is 400 will the clutch be fine and not glaze or should i take like a 100 grit to it.
dose anyone thing i can get away with just gasket sealer on the oil pan?
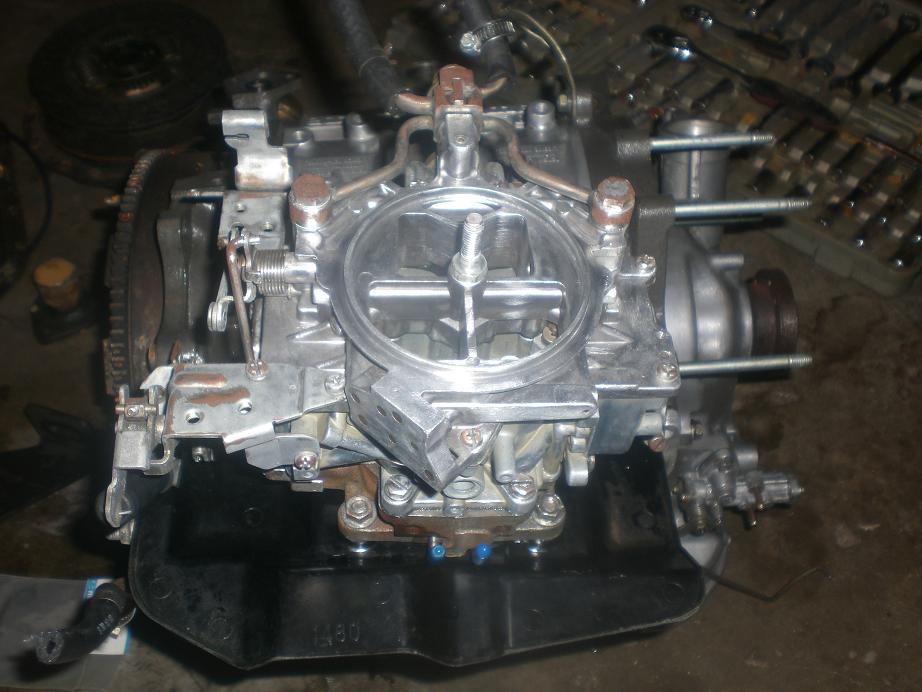
heres my carb i have moded i need to disasemble it and sand all the rust off and give it a clear coat.
need to sand up and paint my oil pan water pump/housing and couple other things..
my clutch and pressure plate had rust on them only sand paper i had is 400 will the clutch be fine and not glaze or should i take like a 100 grit to it.
dose anyone thing i can get away with just gasket sealer on the oil pan?
heres my carb i have moded i need to disasemble it and sand all the rust off and give it a clear coat.
03-02-08, 11:00 PM
#39
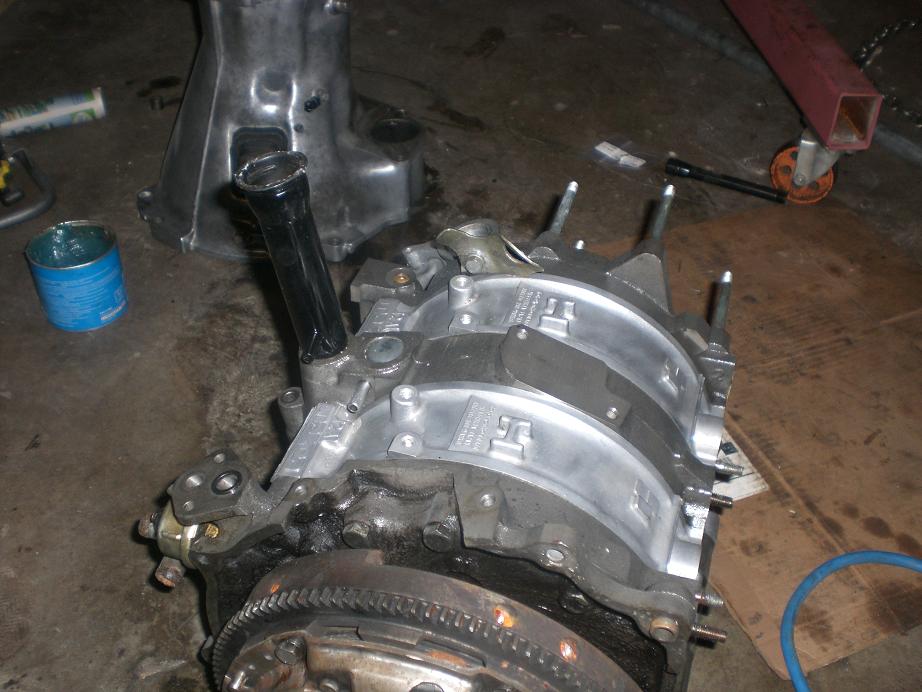
got the pilot bearing installed what a pain in the *** that was my puller broke the inside of the bearing i ended up using a stone bit and cut the peice of **** out..
clutch and pp is installed

i spent my time this weekend sanding and grinding rust off parts etc and painted them with engine paint and gave a couple of clear coats to help out.
i need advice on how to get the filler tube back in i tryed usin a sledge to pound it in but it just wont hold is there a trick to it?
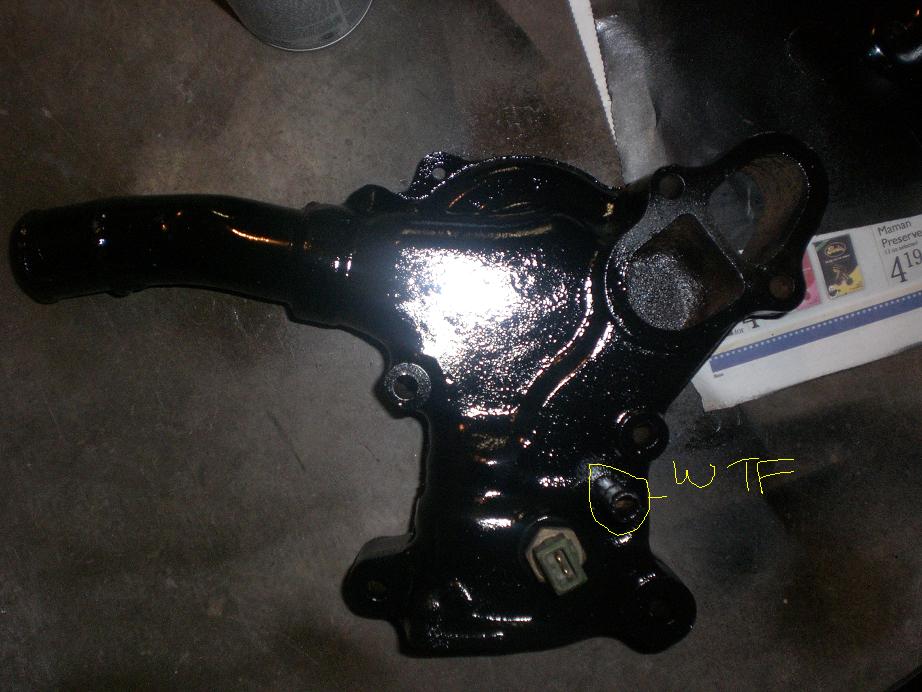
this isnt like other water housings iv had why is there and extra thingy there maybe this is off a gsl-se?? im just gonna cap it.
clutch and pp is installed
i spent my time this weekend sanding and grinding rust off parts etc and painted them with engine paint and gave a couple of clear coats to help out.
i need advice on how to get the filler tube back in i tryed usin a sledge to pound it in but it just wont hold is there a trick to it?
this isnt like other water housings iv had why is there and extra thingy there maybe this is off a gsl-se?? im just gonna cap it.
03-02-08, 11:26 PM
#40
Rotary Enthusiast

Join Date: Dec 2007
Location: Texas
Posts: 1,079
Likes: 0
Received 0 Likes
on
0 Posts
It's a spacer to even out the water port fit. There should be 2 of them. Was covered recently. You should sand that paint off too where the gasket is gonna go. Good luck.
03-03-08, 09:00 AM
#44
just dont want and oil leak and all my cleaning effort does to waste lol..
figured ild do it right this time.
no one know how to fix the fill tube back in..
03-04-08, 11:56 AM
#47
Chris, maybe try sanding it around the edge that fits into the motor. Then put a block of wood on it and pound it in with a sledge hammer. It should go in if not, keep sanding. You problably just got some paint on it. Also that thing on the water pump housing could be for a water temp sensor..?
When ya gonna get that back into your car?
When ya gonna get that back into your car?
03-05-08, 09:53 AM
#48
Chris, maybe try sanding it around the edge that fits into the motor. Then put a block of wood on it and pound it in with a sledge hammer. It should go in if not, keep sanding. You problably just got some paint on it. Also that thing on the water pump housing could be for a water temp sensor..?
When ya gonna get that back into your car?
When ya gonna get that back into your car?
i dunno when ill get it going dont get to spend alota time working on the seven maybe 2-3hrs a week
 03-19-08, 09:27 PM
#50

On the filler neck, take a piece of wood just a bit larger then the filler neck opening at the bottom. Place the filler neck in the iron then put the wood inside the filler neck and give it a wack. This will expand the filer neck. I then put a bead of silicon around the outside of the filler neck where it meets the iron. Do all of this before you put the oilpan back on.
