On my way to painting
#1
On my way to painting
Well i started tearing in to the 7 and prepping everything for paint. I'm prepping and doing all my own body work, and painting. i have built a 13'x 20' shop to do all this in so hopefully i can make it some what dust proof. Not sure how its going to turn out but hopefully it will look ok, cant look any worse. Well i found my worst rust is on the lower valance and fender seams, but thats all getting ground out and sandblasted and also sealed with POR 15 (my new best friend). I have a good head start on it right now. I'm trying to get everything done before the first of July, after that i have some family issues and the Mazda will be last on the list for a few months. Well i have sanded, grounded and seasoned everything under the hood and around the front, the valances, header panel, wiper cover panel, and bumpers. So far under the hood has one coat and the valances have 3 coats, and the front end has two coats. Once i get one more coat under the hood i plan on coating the bumpers inside and the bottom side of the hood. After that is completed, hopefully next week i can start my body work, welding the emblem holes, pulling the molding, bondoing, and block sanding everything. Well here are some before and between pics. I will continue to post pics and progress as i get more done. i know the pics are blurry but the camera doesn't work well in the evening. i know its not a 100 percent great job and no its not professional but i'm doing the best i can for the first attempt at body work robert
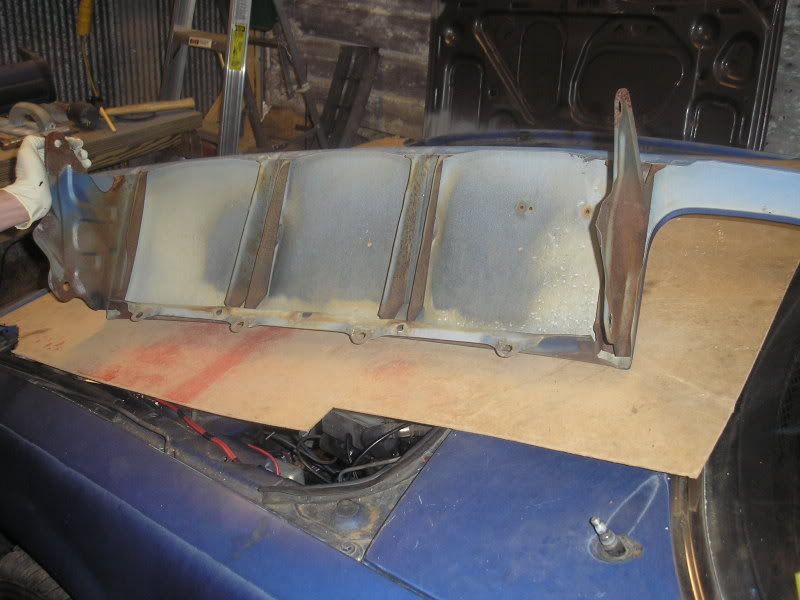
under side of the header panel before anything
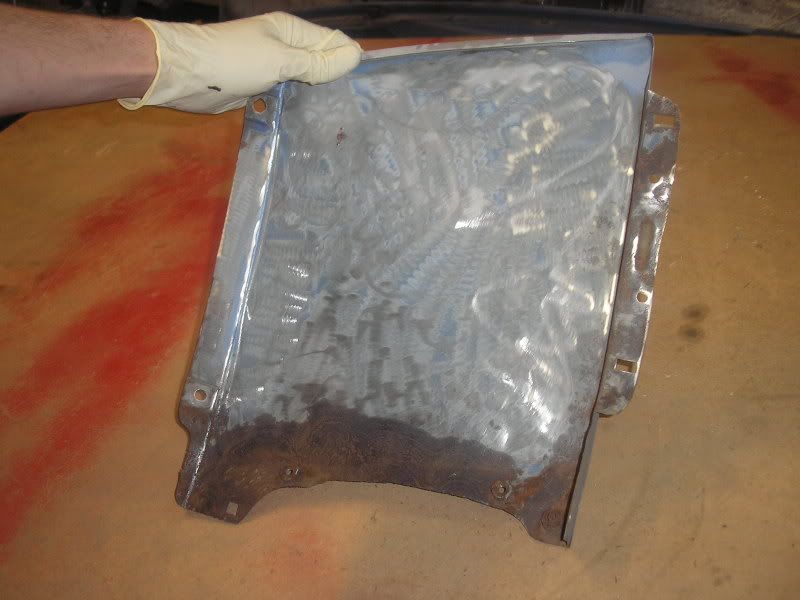
the front valance this one is the worst, the more i ground the more rust i found
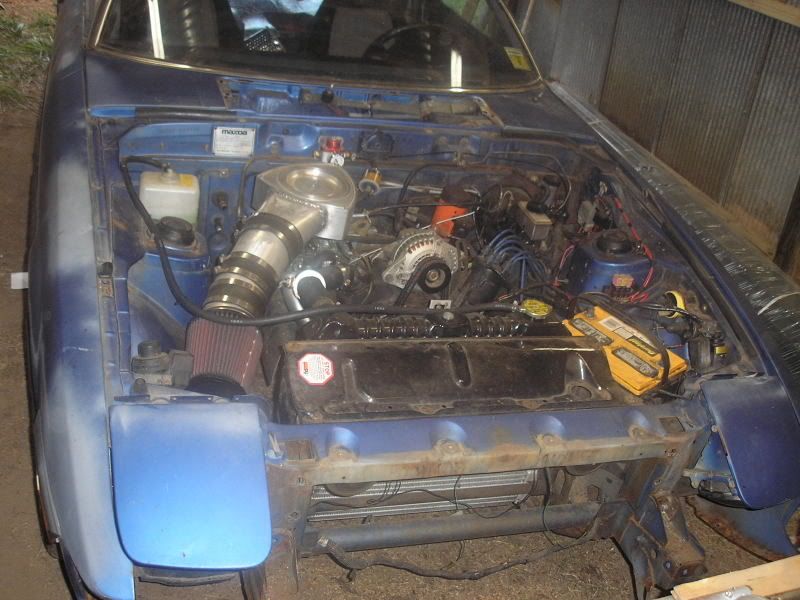
front end before any work
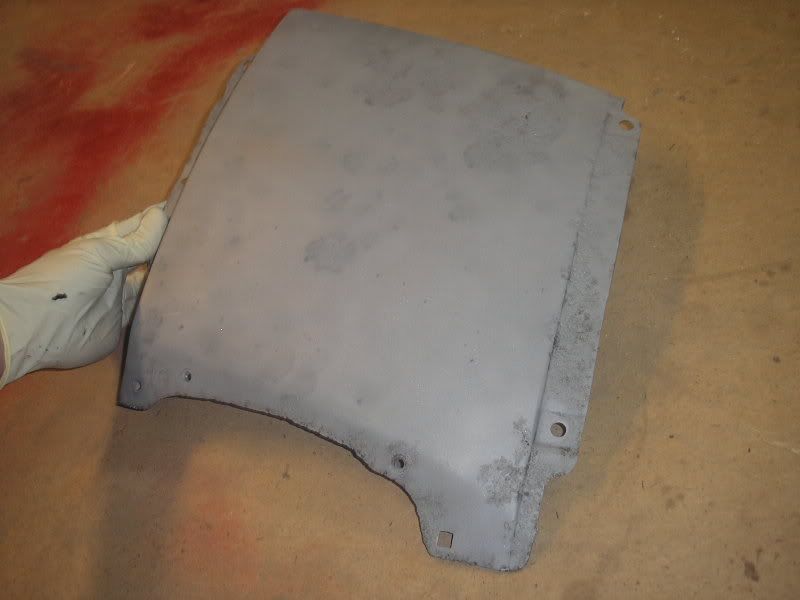
after being sand blasted
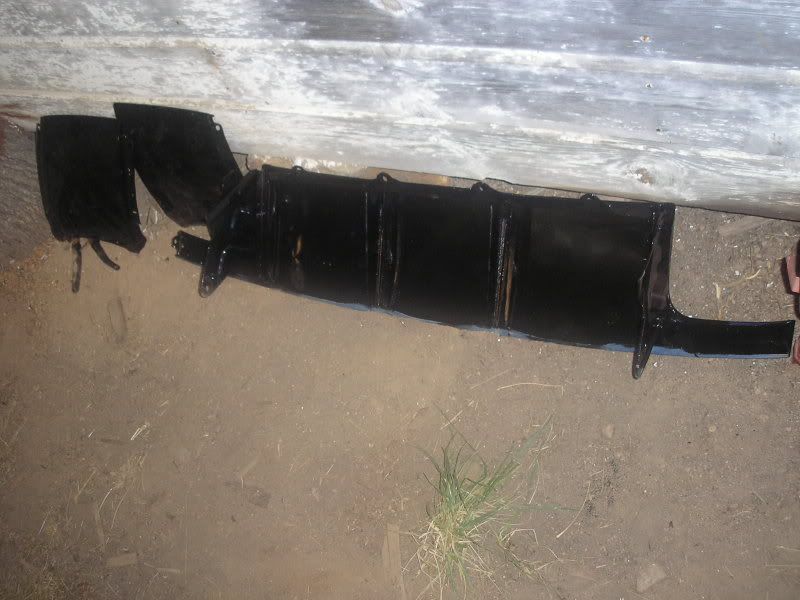
header panel and valances after POR 15 coating
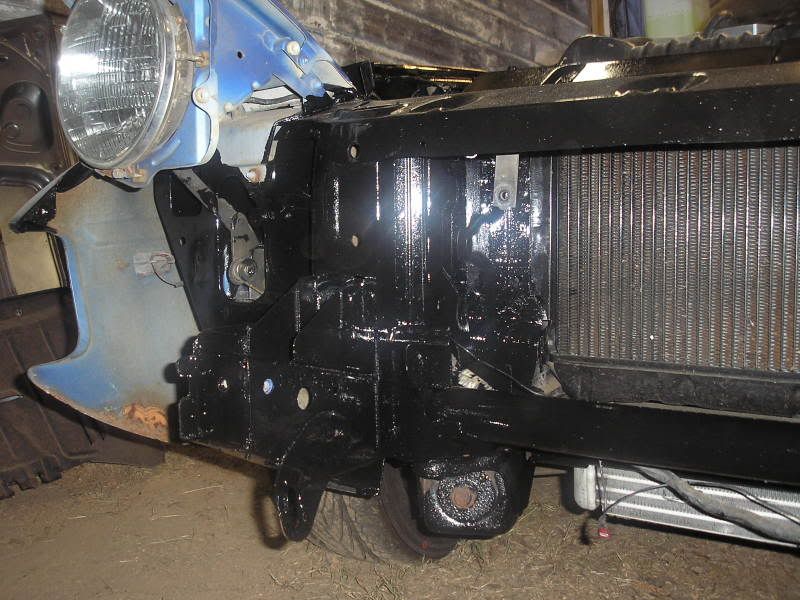
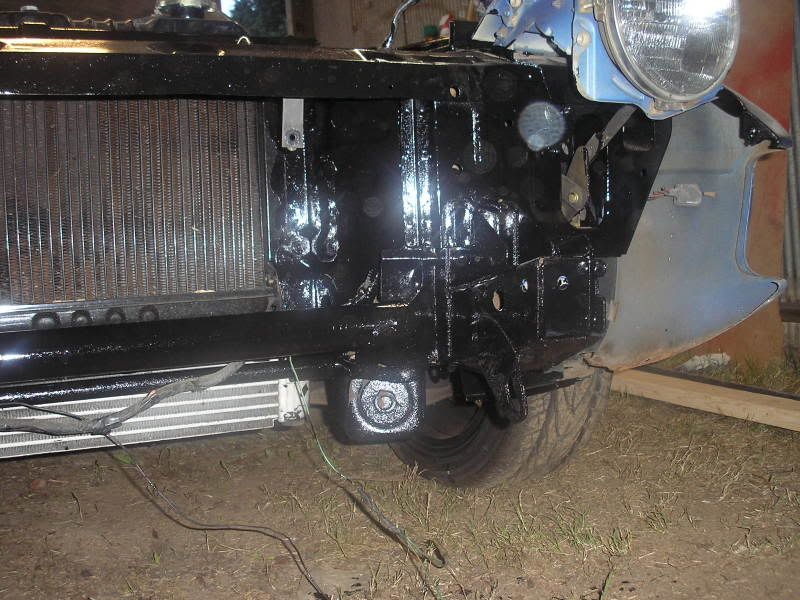
after second coat on the front end
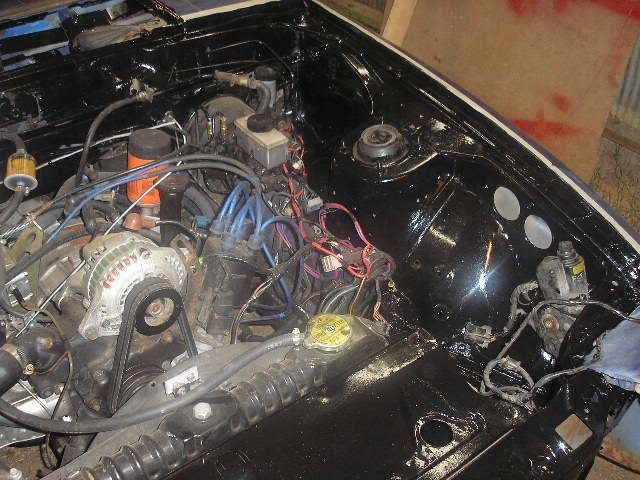
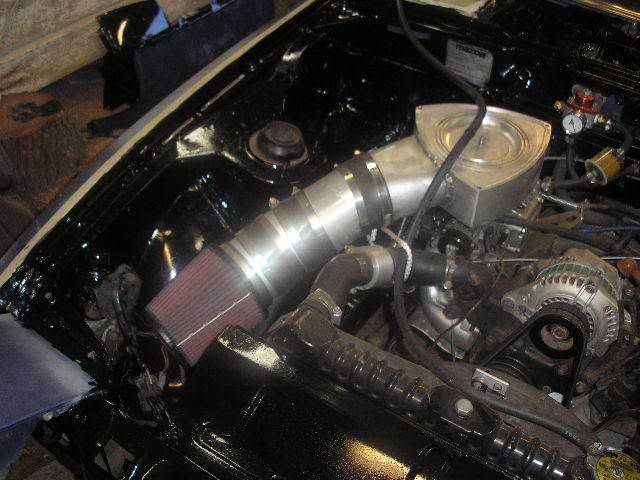
first coat under the hood
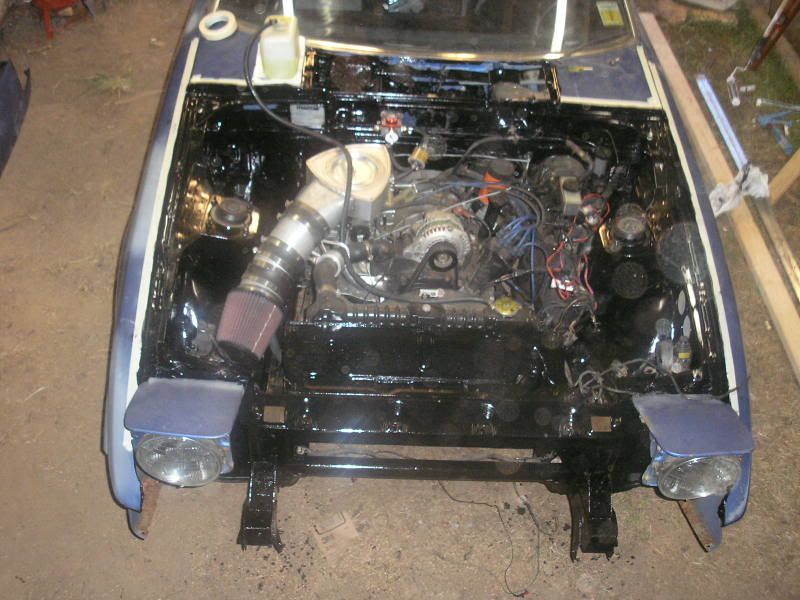
just a overview of the work done so far

under side of the header panel before anything

the front valance this one is the worst, the more i ground the more rust i found

front end before any work

after being sand blasted

header panel and valances after POR 15 coating


after second coat on the front end


first coat under the hood

just a overview of the work done so far
#4
I did the valances(3 coats), header panel(2coats), and wiper cover(1 coat) with the smallest can, 4ounces, it came in a starter kit($17 i think), the starter kit came with a marine clean and metal etch. the marine clean is a great cleaner but the metal etch made no difference for me. might be how i used it but it did not work, i just sanded everything by hand. I used a little less then half a quart on the engine bay (1coat) and front end (2 coats). I think a quart is $30-$40. I hope to get by with spending under $80 on the POR 15. I still plan on doing the first section from the outside to the beam under the car, the gas tank, rearend, and other components, but i think i will have enough. The POR15 its self is great, other then i have it in my ear, on my nose, and up and down my arms, it don't come off, i tried thinner while it was wet and it just smeared. I was really impressed in how it sealed with no pours and how HARD it is. I took a valance to work and put it under my welding microscope and you can not see any pours or pits like in primers or bondo. I will use it again and again. If you have major pits they make it in silver with aluminum flakes that will settle in the pits to reduce the amount of filler you have to use, but its more expensive.
Trending Topics
#8
I did my rust repair and painting in my garage. My compressor kit came with a gravity feed paint spray gun. I had to tough up a few spots and paint the entire drivers door and color match it to the 20 year old paint. Key is removing all dust and wetting the floor down as well. Next, get a couple old fans to blow the fumes out of the garage and spray with the door open on a calm day. This was my first attempt at such a project. I wish I had taken more and better pics including progress pics.
#9
Yeah as far as the paint both/garage area, i plan to use paint drape plastic and cover the walls, ceiling, and floor, then take outdoor carpet and lay over the floor, and spray it lightly with water to hold down the dust. I have a 8 foot roll up door, Im making a thing to fit tight under the door that will hold it 2 feet off the ground and im using 2 box fans blowing outward. should work nicly. once i get everything else POR15 coated i will take some photos, and hopfully by next weekend i have some photos of the body work finished.
#10
POR-15 absolutely rules... I did an entire rear end, suspension arms, etc with only half of a single little can. I still have like 5 more! It says to do a few coats but after I did 1 coat it was so hard and perfect I decided it was unnecessary. When doing the frontend like you did, probably better to do multiple coats just to be safe since it is all apart. Either way, a few small cans of that stuff goes a LONG way and it is absolutely amazing and looks great... just keep it out of the sun or it will go from black to like grey... UV isn't good for it.
#11
yeah i plan on just doing 2 coats on the front end, but im not going to paint it, i figure there will not be enough light hit it for it to matter, that goes for the engine bay and rearnd, gas tank and everything, it it starts to change color then i might doing something later but for now it looks good and thats enough.
#13
Dang Rob! You've gotton alot more done since I was over there Sunday. I wish the I had the time to do that to the track car. I've noticed the bottom rear insde edges of the doors have rust holes in them. O'well, you cant see it with the doors shut! Now I just need to come over and see how you are coming along now. That engine bay is looking pretty sweet!
#14
to do the engine bay, i just unbolted everything and layed it up on top the engine itself. I did what i could reach then i bolted everything back up and did down on the frame rail area.
#15
The only tips i have is take your time, do it right, and try to learn as much as you can along the way. if you research and try to do the best you can i will look fine. im not doing a true professional job but i hope it looks nice enough to take to a few shows, just to show people the old 7s are still around. Just when you are painting try to do it with the right temp, humidity and try to keep the dirt and dust down. good luck
#16
Well i think i found the color i am going to paint the first one on there, AY impluse blue. i finished the POR 15 adn i will take some pics tommorow then this week i will start the bondo and body work.
here is the link to the paint codes
http://pc.dupont.com/hcl/data/Data/F...980/007673.jpg
here is the link to the paint codes
http://pc.dupont.com/hcl/data/Data/F...980/007673.jpg
#17
Back from the dead
Well for the last month i have been working on building my wife a new taxidermy shop. We got it dried in and were now kind of on hold being my dad just had surgery. Since he cant help for 6-8weeks, and were waiting on the electrician, i'm back working on the 7. I have gotten some head way. I basically have the major body work done and major sanding finished. Right now the bondo and metal glaze is rough sanded with 60 grit. I just used a drywall sanding block and did it all by hand. This week i plan on getting it blocked down to 280-320 grit. And hopefully this weekend or next week while my wife is on a business trip to Canada i plan on painting. I'm using a Nason urethane primer with activator, and Nason sealer. Then once i get that done i'm spraying a Nason Fulcryl acrylic enamel. From what i have read Nason is a line of Dupont and Car Quest is a distributor. I priced everything and its right around 300 bucks for a gallon of everything plus thinner, and degreaser. I'm going to go with Dupont color code AY impulsive blue, i know it might not be the original sa color but close and its still a early Mazda color and looks nice.
Here are some pics from tonight, i know its dusty and crappy pics but it gets the idea across.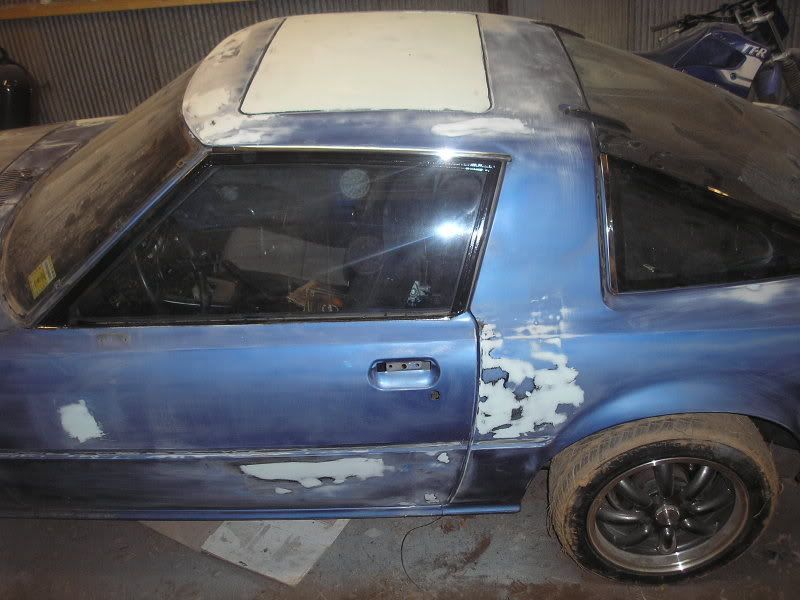
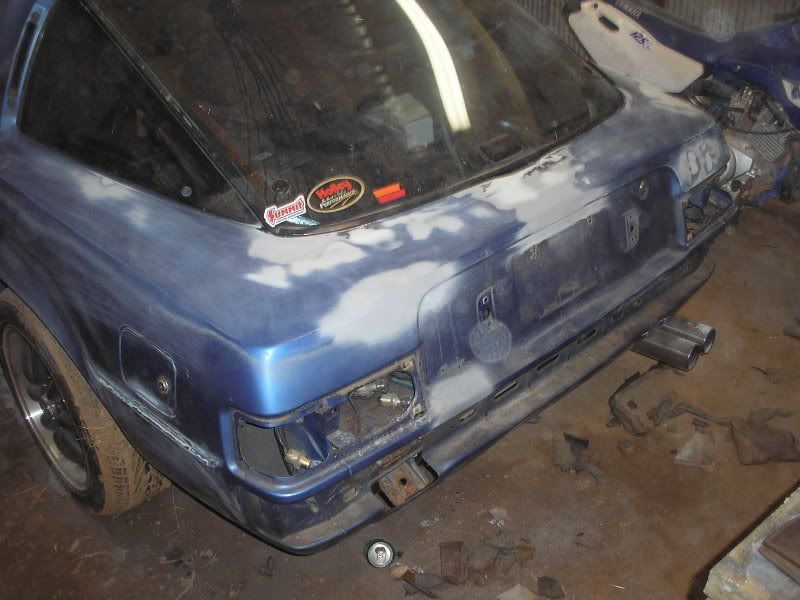
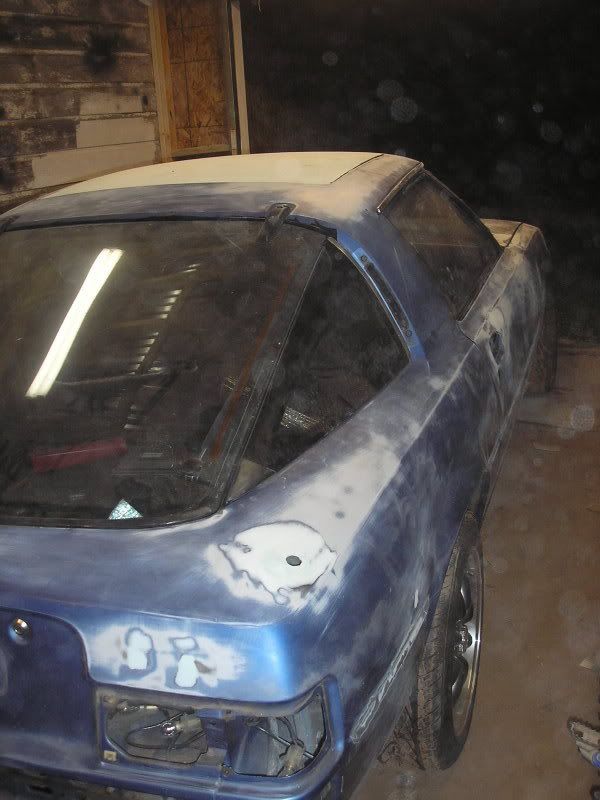
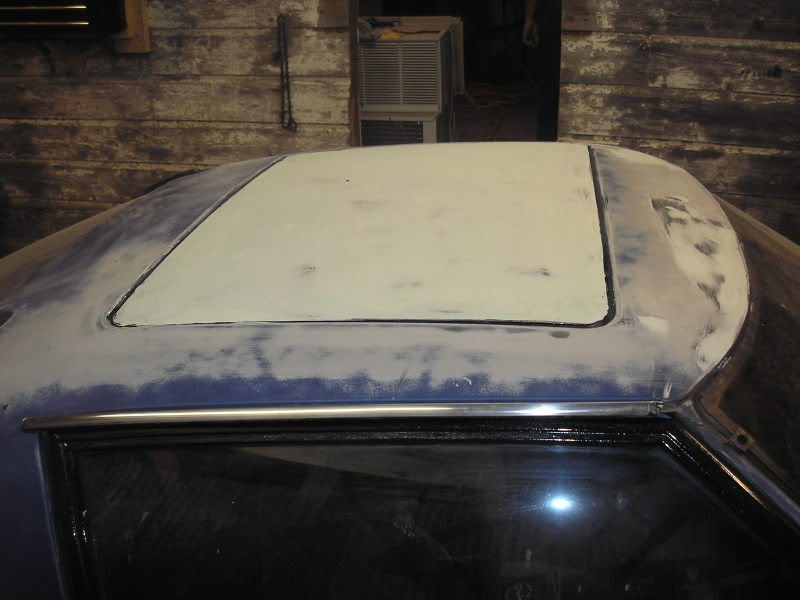
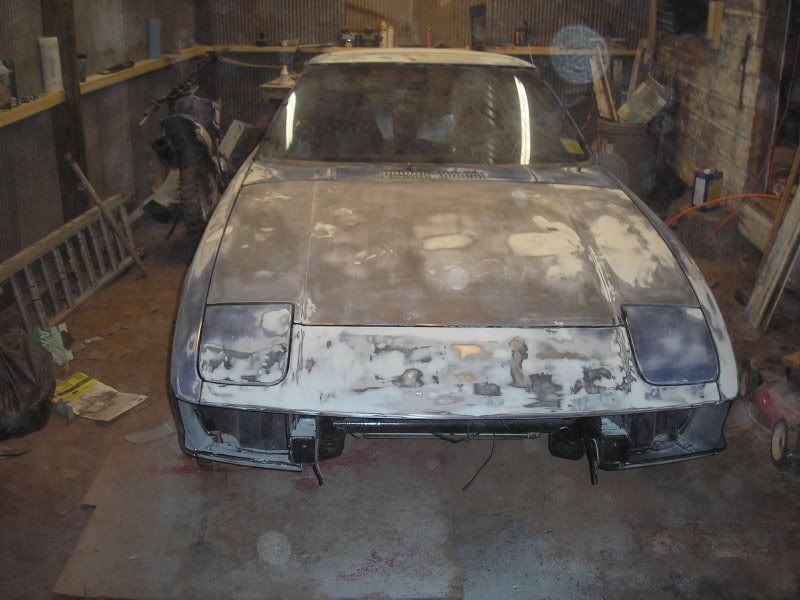
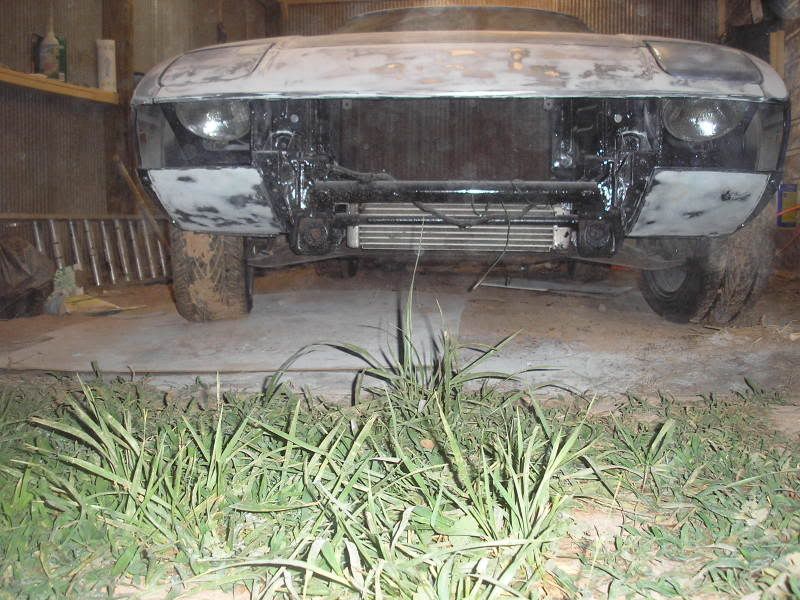
New color

Here are some pics from tonight, i know its dusty and crappy pics but it gets the idea across.


New color

#18
why did you paint the engine bay black with a blue exteior>? jm just wondering not trying to be rude just curious usually the engine bay is the same color as the outside of the car . your work looks good though
#19
I wanted to coat the under body, inner fenders, wheel wells, rearend, engine bay, and inside the back hatch, all the drip channel, and other misc with por15, a few things of stuff had ALOT of rust, i used por15 metal etch on everything and coated atleast 2-3 coats on stuff as a protector and to give it a cleaner look. I know the engine should have been pulled and everything painted the same color, but being this is just a week driver, and a fun project, i did not want to pull the engine out again, there for i used gloss black por15 and coated everything, yeah the easy way out but its not a hotrod show car, and it gives a good contrast.
#22
Thats my wife being sarcastic as soon as i read this and clicked on the profile i knew right off, being the car entry in her profile says honda, i asked her and she started laughing so i knew it was her. I cant believe she took the time to make a screen name and try to pull it off. Thanks any ways amy
#23
Hey dude that's cool that things are finally coming along. You should have told Amy to use the parts car for her ride . Anywho, I have to come by and see for myself. Man, those last pics remind me of the turbo FB before paint. I will give you props for taking this into your own hands. Paint is something I try to stay away from.
 . Anywho, I have to come by and see for myself. Man, those last pics remind me of the turbo FB before paint. I will give you props for taking this into your own hands. Paint is something I try to stay away from.
#24
Yeah if i had to do it again i might think twice. But hey it has given me somthing to keep busy, plus like everyone has told me it cant look any worse then it did, so what the heck ill give it a shot
#25
This is looking better and better! I cant wait to see this car in person, finished or not. I wish I could do the things you do to mine. Where did you get the POR-15 from?


