How To: Paint License Plates Lights (SA)
#1
How To: Paint License Plates Lights (SA)
Not sure if it's the correct term for them, but basically the lights in the back of the rx-7 that illuminates your license plates. Mine were scuffed up and fading so I decided to paint them. Sorry if this is a DIY that's a no-brainer for most of you but I thought I might as well document it if I'm going to be doing it, might help someone else =P.
I took pictures with my iphone so images are not the greatest, will update with other photos later. Btw this is for a '79 Rx-7.
Tools needed: P2 Screw Driver, 8mm socket, 14mm deep socket or open wrench, fairly small ratchet.
Materials needed: Spray can of your choice, clear coat of your choice, sand paper (300/800/1000), rubber gloves if you so choose, and in my case cheap wooden skewers.
1. There are six screws in the back (will add picture later, phone couldn't capture darkness etc) that will need to be removed.
2. You will now be able to see the two 8mm nuts holding up the rear lights. One of them has a ground wire attached to the nut (don't forget to re-attach this when you are done) .
3. Now pull the light out

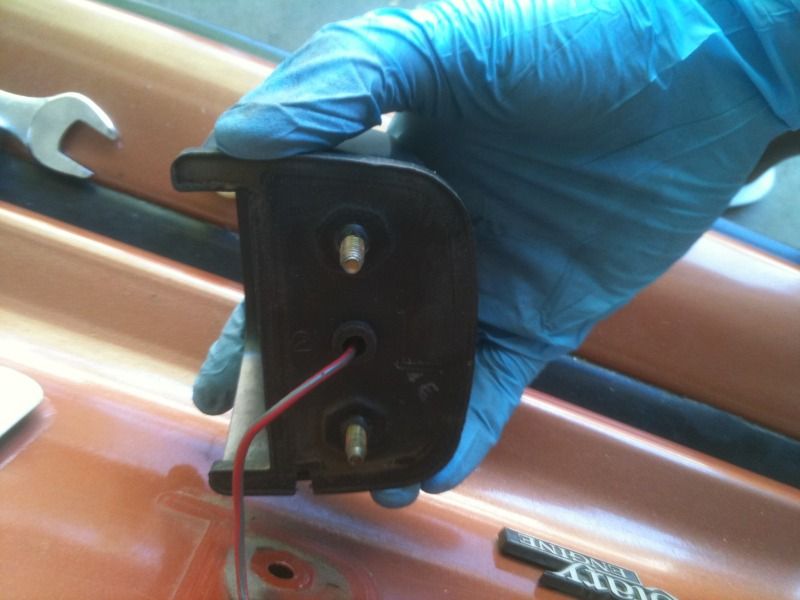
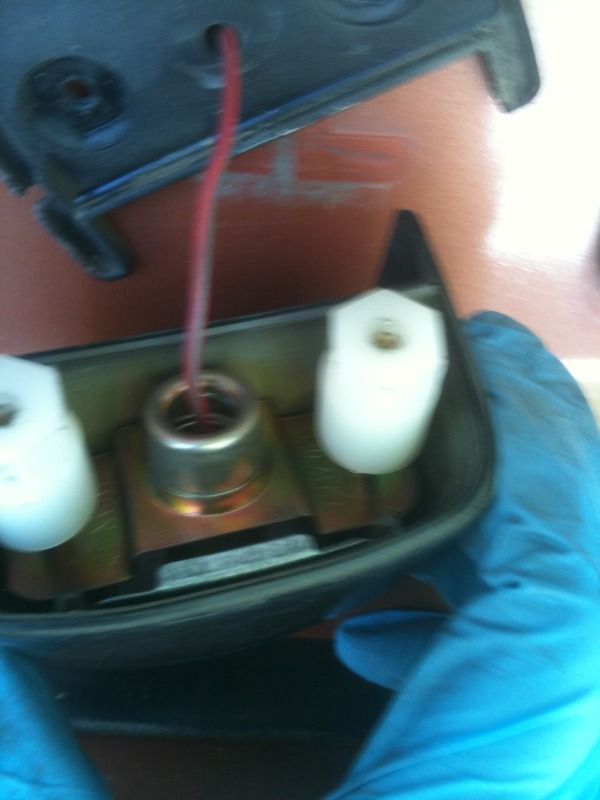
4. The rubber piece in the back of the lights pull right off. There are two plastic...things...lol...holding the light in place, use the 14mm (I found the open wrench was easiest) to loosen it (I then did the rest by hand).

5. Now you can pull the lights bulbs out and free the casing from the car.

6. Proceed to use sand paper! I started off with 300 grit then moved up to 1000, it's probably overkill but it was laying around so why not.

7. Then tape up the bottom portion of the lights so no paint gets in and tape up the plastic clear cover as well.

8. Then proceed to paint. I've read and experienced several light coats over one big coat. Remember the paint doesn't have to cover all surface areas on the first few run throughs, this tactic can help prevent "the runs." I stuck them on wooden skewers to make spraying easier for me.

9. Wait for it to dry and then put everything back
10. End product


Now onto the next part of my restoration. Hope this was helpful.
I took pictures with my iphone so images are not the greatest, will update with other photos later. Btw this is for a '79 Rx-7.
Tools needed: P2 Screw Driver, 8mm socket, 14mm deep socket or open wrench, fairly small ratchet.
Materials needed: Spray can of your choice, clear coat of your choice, sand paper (300/800/1000), rubber gloves if you so choose, and in my case cheap wooden skewers.
1. There are six screws in the back (will add picture later, phone couldn't capture darkness etc) that will need to be removed.
2. You will now be able to see the two 8mm nuts holding up the rear lights. One of them has a ground wire attached to the nut (don't forget to re-attach this when you are done) .
3. Now pull the light out

4. The rubber piece in the back of the lights pull right off. There are two plastic...things...lol...holding the light in place, use the 14mm (I found the open wrench was easiest) to loosen it (I then did the rest by hand).

5. Now you can pull the lights bulbs out and free the casing from the car.

6. Proceed to use sand paper! I started off with 300 grit then moved up to 1000, it's probably overkill but it was laying around so why not.

7. Then tape up the bottom portion of the lights so no paint gets in and tape up the plastic clear cover as well.

8. Then proceed to paint. I've read and experienced several light coats over one big coat. Remember the paint doesn't have to cover all surface areas on the first few run throughs, this tactic can help prevent "the runs." I stuck them on wooden skewers to make spraying easier for me.

9. Wait for it to dry and then put everything back

10. End product


Now onto the next part of my restoration. Hope this was helpful.
#4
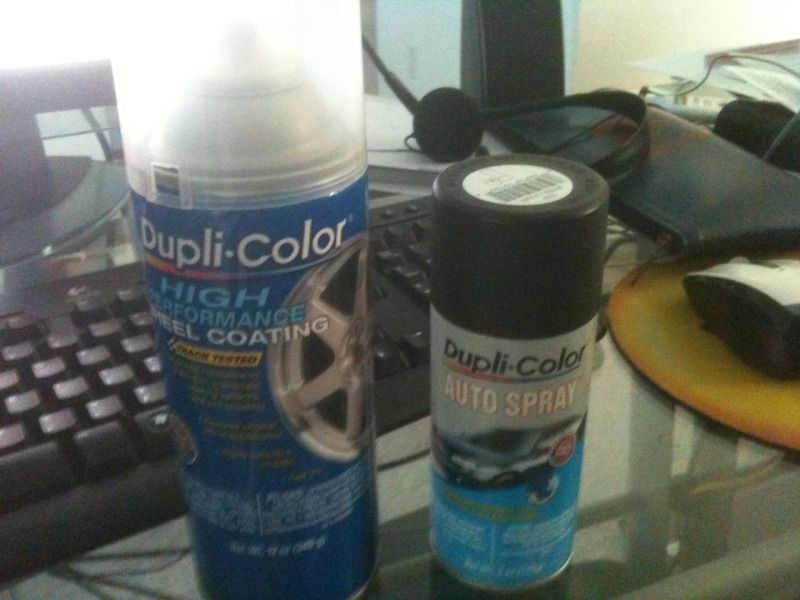
Ah to tell you the truth, I would have went with a Krylon Fusion : Flat Black and the Krylon Fusion Clear Coating but those are rather expensive =/ so I just went with a Dupli-color Universal Flat Black DS104 and Dupli-color High Performance Wheel Coating Clear. I got both for $1.50 at my local flea market and couldn't pass it up.
Thanks for the response guys XD

edit: sorry, didn't know the picture was this big.
Thanks for the response guys XD

edit: sorry, didn't know the picture was this big.
Trending Topics
#8
#9
LOLS sorry I didn't want to seem to nosy. But I will post today, I am ripping off the exterior trim today and using b2b from mothers. I only did one piece in case it didn't work or faded rather than helped.
Thread
Thread Starter
Forum
Replies
Last Post
gabescanlon
3rd Generation Specific (1993-2002)
9
08-22-15 08:31 PM
rx8volks
Canadian Forum
3
08-20-15 10:24 PM
rx8volks
Canadian Forum
0
08-11-15 10:30 PM


