When you click on links to various merchants on this site and make a purchase, this can result in this site earning a commission. Affiliate programs and affiliations include, but are not limited to, the eBay Partner Network.
Take pics of your strut mounts left and right and post here.
Strut rod adjustment/misadjustment would affect caster not camber. If extreme misadjustment could cause wheel/tire to not be centered in wheelwell. This also would cause some weird handling quirks,particularly on uneven or crowned roads.
Do you have a before/after printout from your alignment?
May have a fan clutch on way out causing excessive belt wear. Any black dust accumulating on front of alternator?
By strut mounts are you referring to up top where they attach to the shock tower, or at the bottom where the assembly bolts to the control arm? Suspension is not exactly my forte. For reference I didn't touch anything up where the struts mount to the body/tower.
Makes sense. I only thought they could affect something if I had somehow managed to tighten them when in the wrong position (vertical preload) and they were preventing the suspension from settling all the way. Not that it seems logical, but it was perhaps in the realm of possibilities. The struts rods are adjusted fore and aft as they were prior to any work, and the control arms are centered properly as far as I can tell.
Unfortunately I do not. I was going to ask for one but they decided to not charge me and told me to come back after/if I sorted out my camber issue and they'd redo things. Probably could have gotten a print out, but oh well. They did tell me that camber was right at the edge of spec, and that toe was way off (new tie rods so the latter didn't surprise me).
The clutch seems to be working correctly, although I do not know its specifications for it's operating conditions. I have, however, had a number of issues with the alternator - and yes, there has been some major belt dust. Kind of a long story, but it boils down to the alternator pulley wasn't straight and likely was causing the worn belts (the outside one would always end up longer and they would both wear quite fast). Right before the trip I had the pulley machined and fixed, so that should no longer be an issue. However, the alternator does still seem to make more bearing noise than it should, and of course if the belts are squeaking when the fan engages that would seem to indicate another issue as well.
Pretty soon here I'll have the car up in the air and I'll start some investigating.
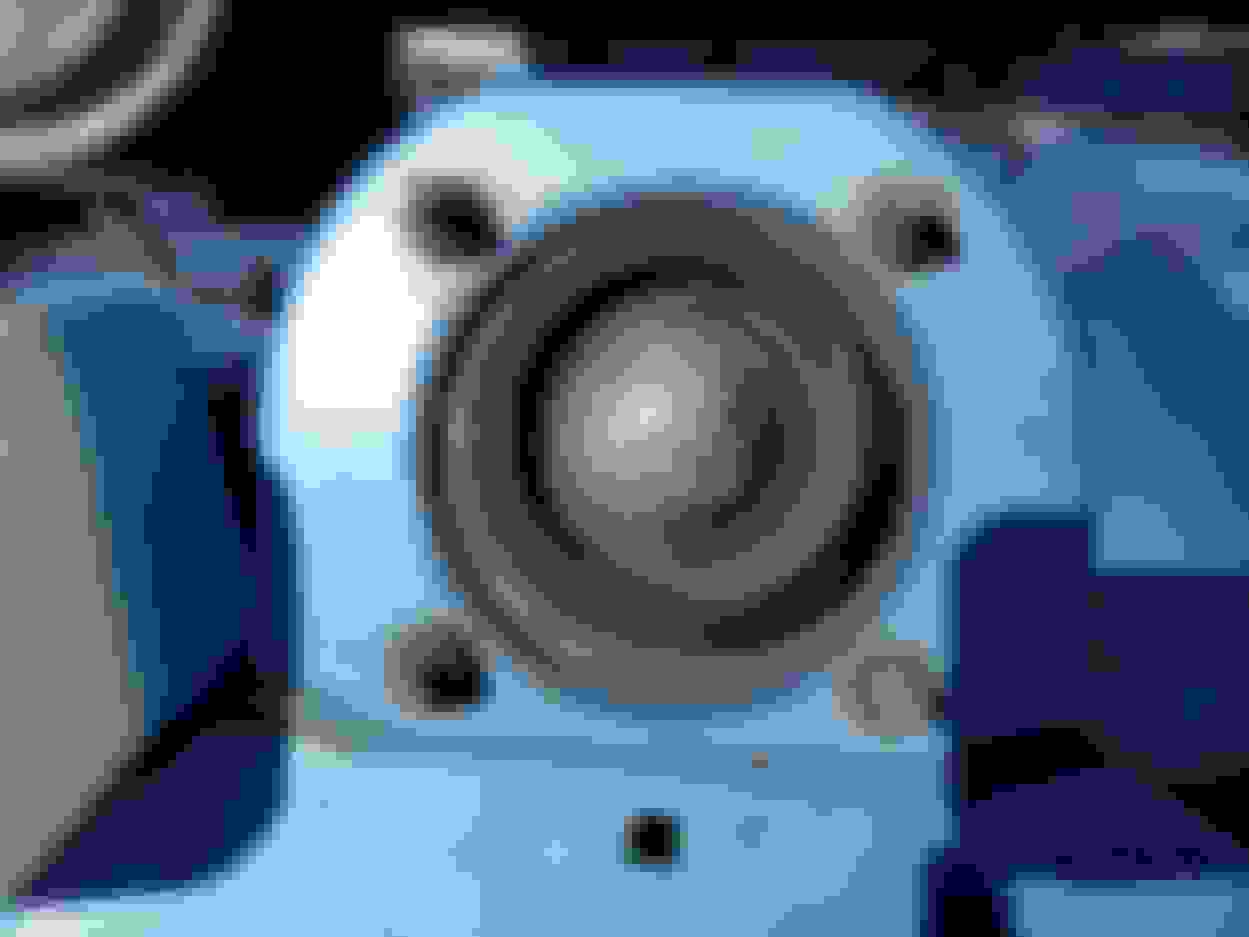
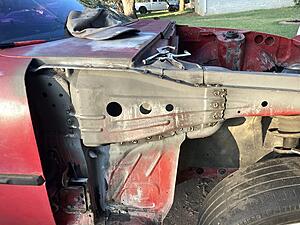
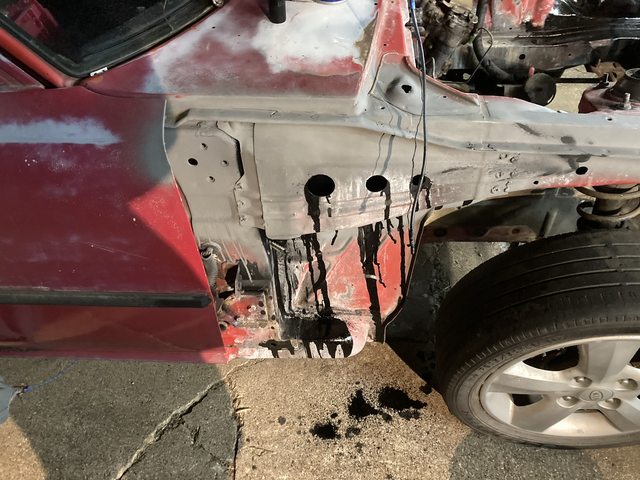
Did a little research and now I see what you mean by strut mounts - like I mentioned before, suspension is not something I've dealt with much. Below I'll attach a couple photos, and I do find them rather interesting.
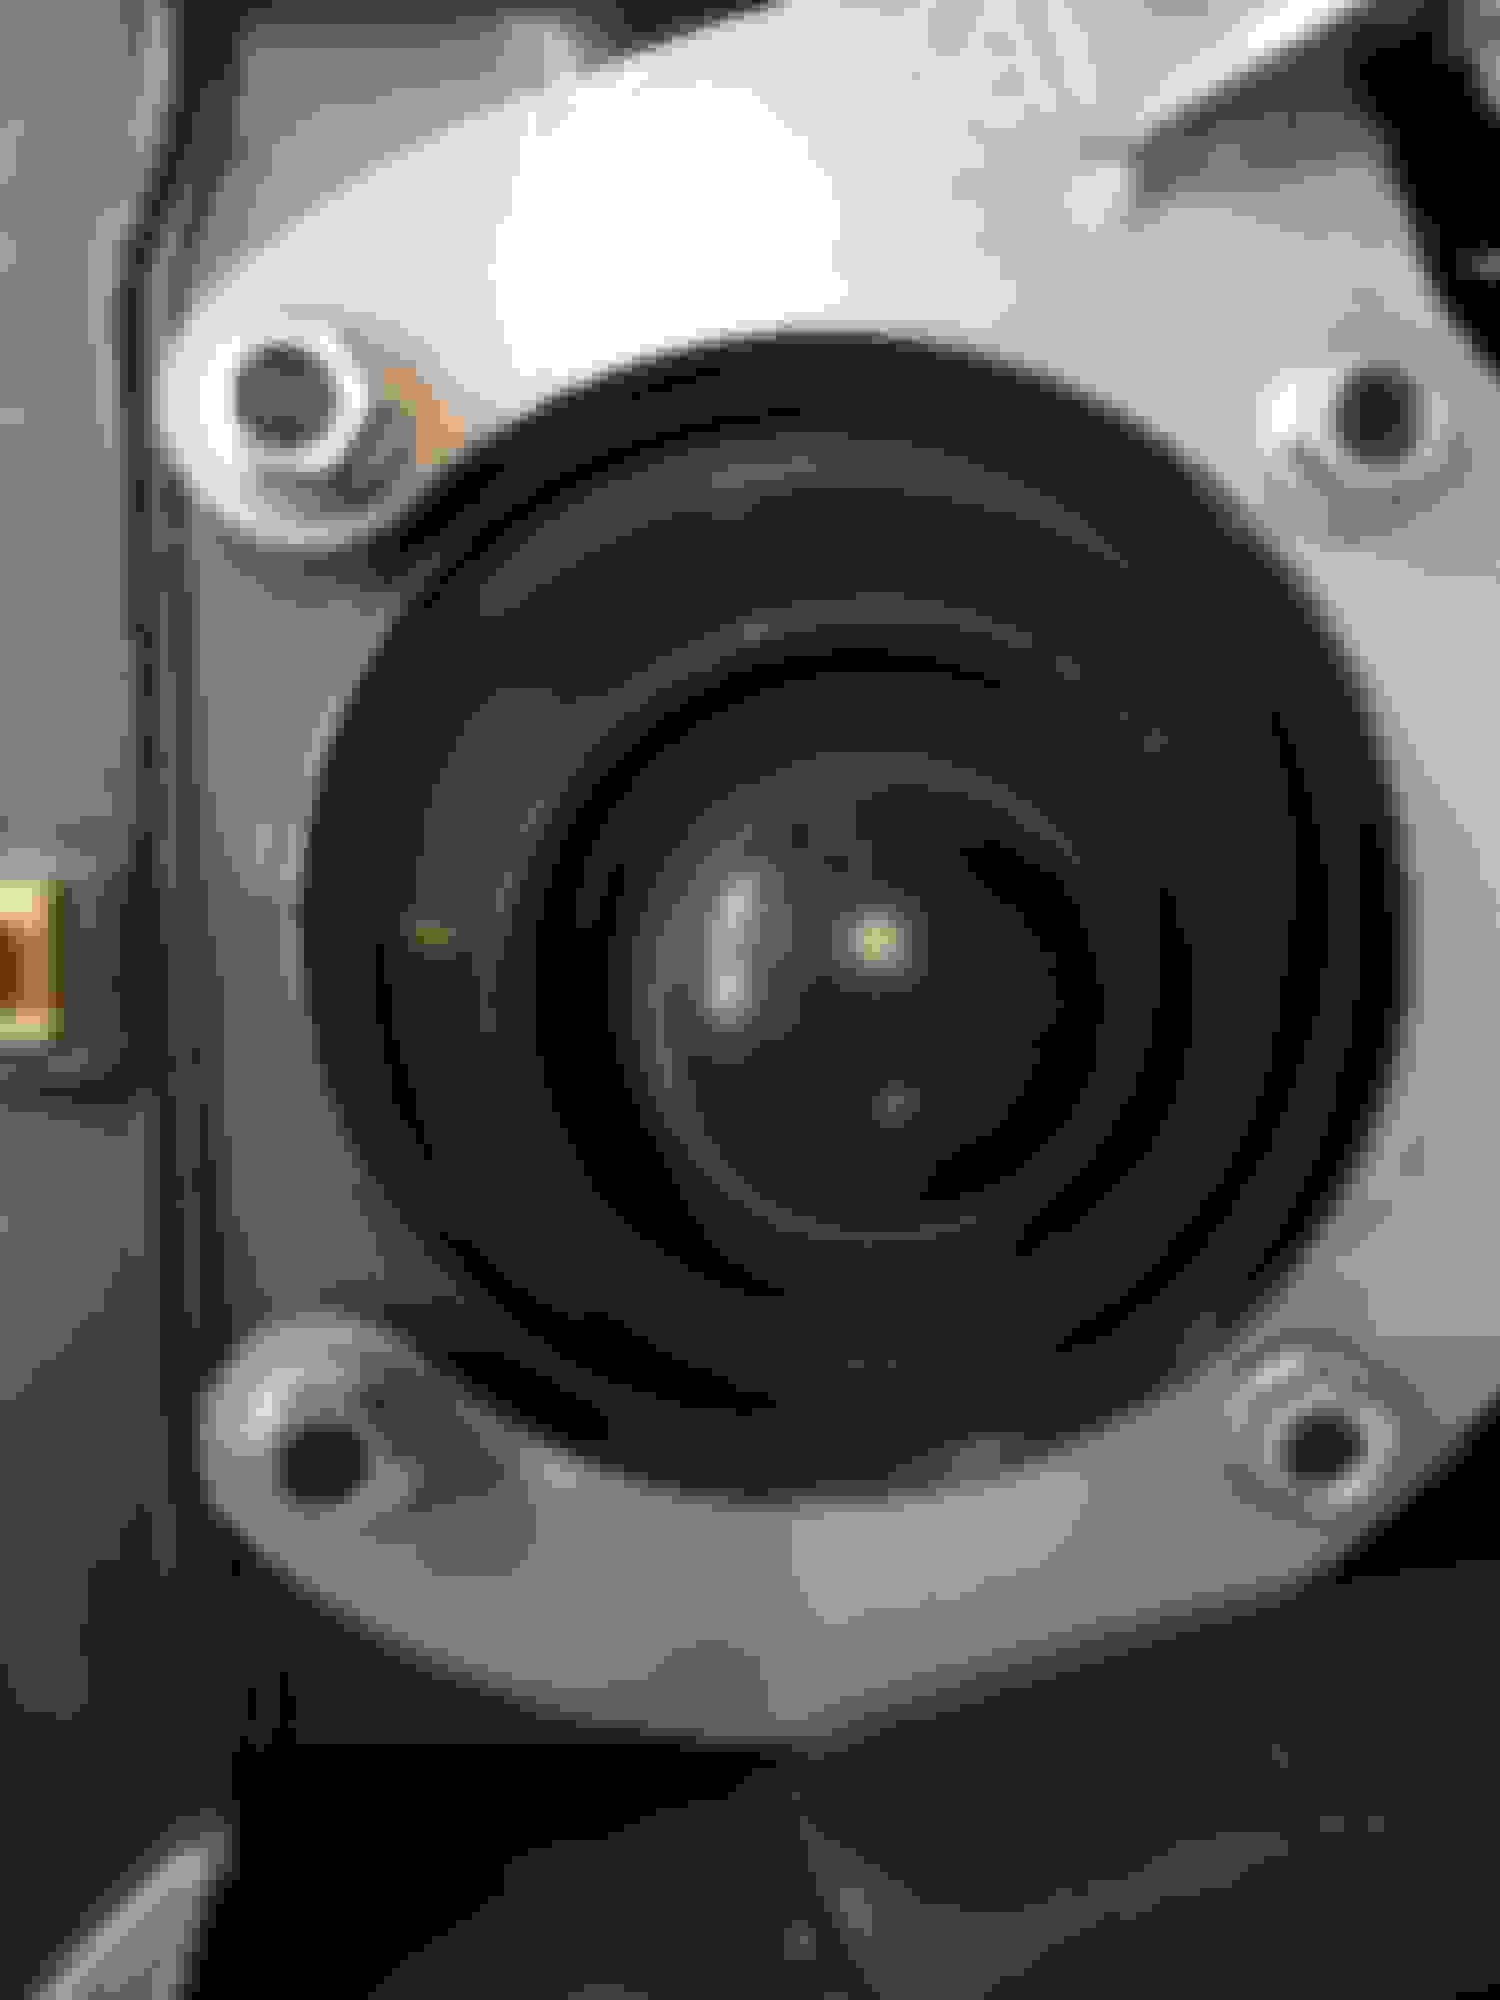
First off, I had never really noticed how the strut mounts are off center. I assume this is to allow you to spin them and adjust camber/caster slightly. Second, the drivers side and passenger side are not "spun" the same, which seems odd. The drivers side is adjusted out and forward, while the passenger side is adjusted in and forward. They are also cracked, so perhaps if I will be removing them I should just replace them (probably should replace them anyway, even with coilovers on the horizon). I've also noticed that, if anything, the passenger side has ever so slightly less camber (visually) than the drivers side. That's something I noted before seeing how the strut mounts were adjusted and now that I have perhaps that would explain why. However, I feel that spinning them won't completely get rid of the positive camber, although that's just a guess.
It's unfortunate that a lot of alignment shops treat these as old cars and don't want much to do with them. With this in mind,the most you get is a toe set. If THEY are doing an alignment,it's their job to sort out and adjust camber/caster issues. All modern alignment machines have correct alignment info contained in their database and computer graphics of adjustment/components. That leaves lazy/half *** for what you got,no call for that. If you paid for an alignment,you should get one...
Don't worry about cracking in strut mount,they actually do this early in their life. The mounts in pic were new 4 years ago and are KYB mounts. They might have 2k miles on them.. I have seen a few mount separation failures in 1st gens but the cracking was much more severe and there was ample warning',yours should be ok for the short term.
You can adjust your own camber/caster in about an hour. Put car on jack stands and remove both front tires. Refer to pics shown here,loosen and remove all four strut mount nuts. Use jack handle as a prybar on lower control arm/swaybar for leverage and pry strut down til studs clear fender apron and orient strut mount as you see in pics on both sides. Mount should be rotated in toward engine and back toward firewall on both sides. This gives you maximum negative camber and maximum positive caster from this adjustment,@1/2-3/4 degree of each is about average on 1st gen non SE platform..
Now take car back to alignment shop and have them align it again. Get a printout of before and after,it forces them to do a better job as you,the customer can see the results and it lets you know exactly where you stand with specs so you can address a specific part or setting to fix any issues.
Have alignment shop use strut rod adjustments at front of car to dial in 3 degrees more positive caster for BOTH sides,don't let them tell you different. Have toe in set to 1/8"-1/4". Tire pressures for stock size wheel/tire 32psi cold.
The additional caster helps steering wheel return with more authority after a turn and helps substantially with high speed tracking,car is much smoother/stable at speed. I have 5 degrees total caster dialed in to my own car,this further adds to stability at speed,however there are tradeoffs. Steering at slow speeds(parking lot) is noticeably heavier,particularly with sticky tires. I'm used to it and prefer the better road manners so it doesn't bother me. I can guide my car at speed with two fingers.
I suggest the 3 degrees as a starting point,you may or may not like more caster. In case you're wondering,no two cars are same and you'll have car off and on alignment rack several times to get dialed in to what you like.
I've been aligning cars for 45 years and have access to a late model rack to do my own alignments. The specs given above are what i use for all customers'1st gens. I do a steering box oil change and adjustment prior to alignment after checking for and replacing wear parts in suspension.
Replaced my coils with new ones. I know at least the old leading coil works so I'm going to set up direct fire with the new ones, one each rotor, with an old coil for shared trailing.
Did a little research and now I see what you mean by strut mounts - like I mentioned before, suspension is not something I've dealt with much. Below I'll attach a couple photos, and I do find them rather interesting.
First off, I had never really noticed how the strut mounts are off center. I assume this is to allow you to spin them and adjust camber/caster slightly. Second, the drivers side and passenger side are not "spun" the same, which seems odd. The drivers side is adjusted out and forward, while the passenger side is adjusted in and forward. They are also cracked, so perhaps if I will be removing them I should just replace them (probably should replace them anyway, even with coilovers on the horizon). I've also noticed that, if anything, the passenger side has ever so slightly less camber (visually) than the drivers side. That's something I noted before seeing how the strut mounts were adjusted and now that I have perhaps that would explain why. However, I feel that spinning them won't completely get rid of the positive camber, although that's just a guess.
drivers side
passenger side
I positioned my strut top mounts as described by GSLSE4ME (Green) when I did some suspension upgrades. Before that it was asymmetrical in a different way than yours:
Thank you GSLSEforme for that great info. So far I've only had time to fix the drivers side (car is still in the air) but hopefully I can get to the other side later today. Also thanks for the edit concerning the cracking. I had been hoping to not replace them when they'll be out of commision anyway with coilovers.
Neat graphic as well, Toruki. Really makes it clear how things can be set up/oriented.
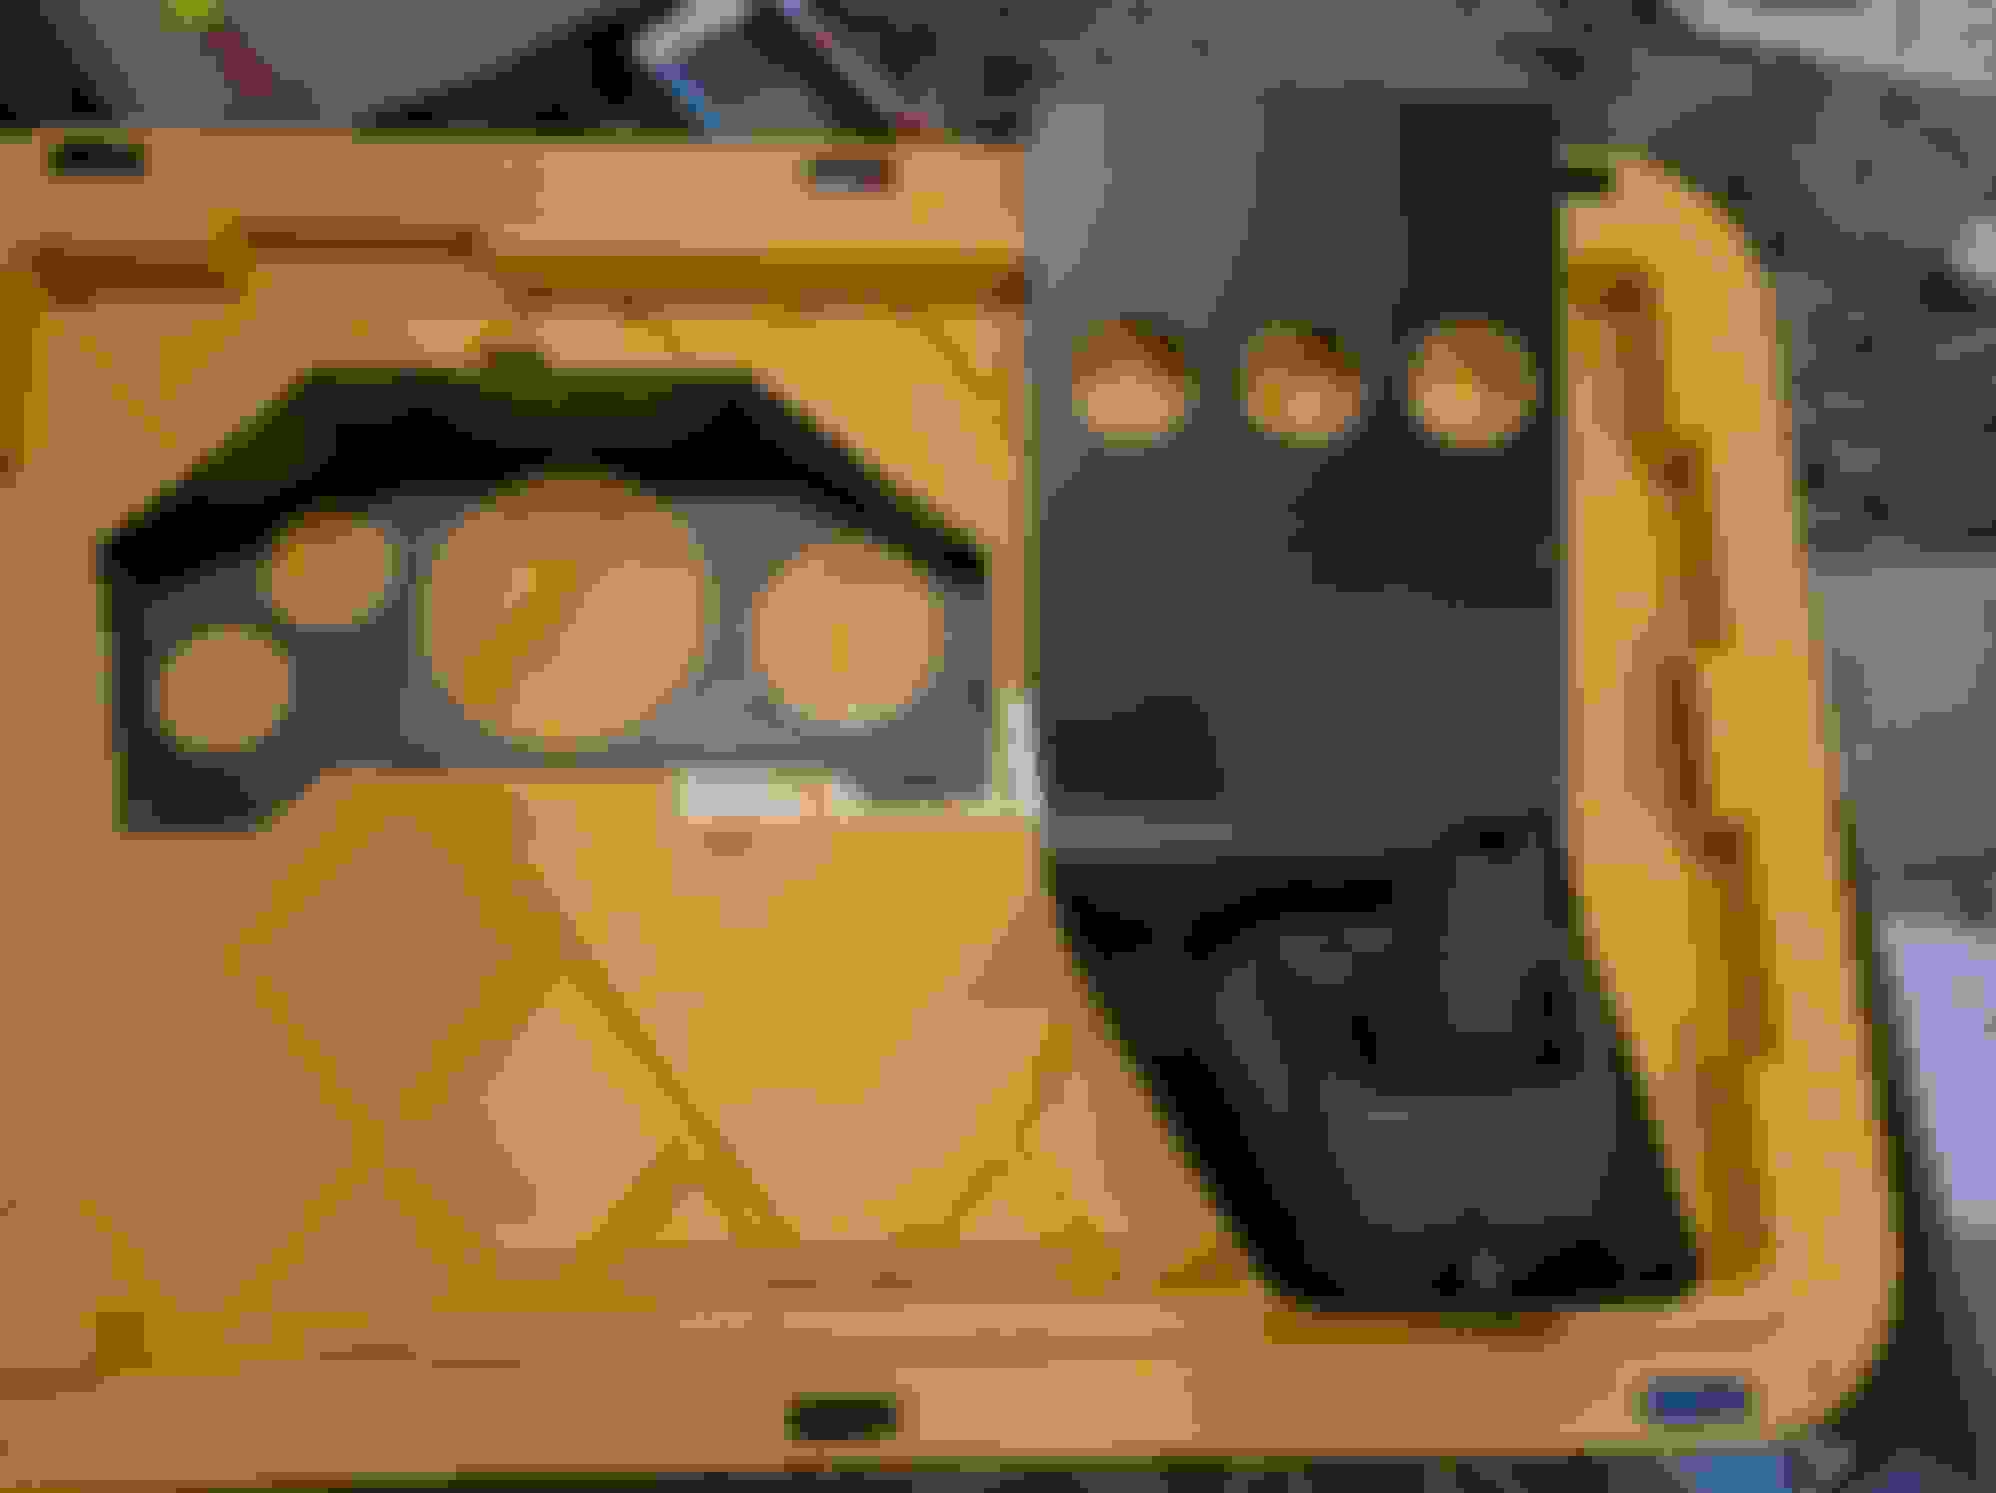
First draft prototype for the rear hatch hanging carpet. I'm going to do it again, but I have a better plan after playing around with this
. I also need a new rear hatch center plastic. I've run across a couple, but they're just as mangled as mine, so I'll hold out
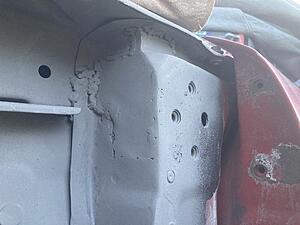
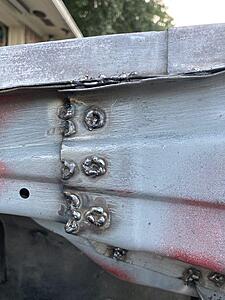
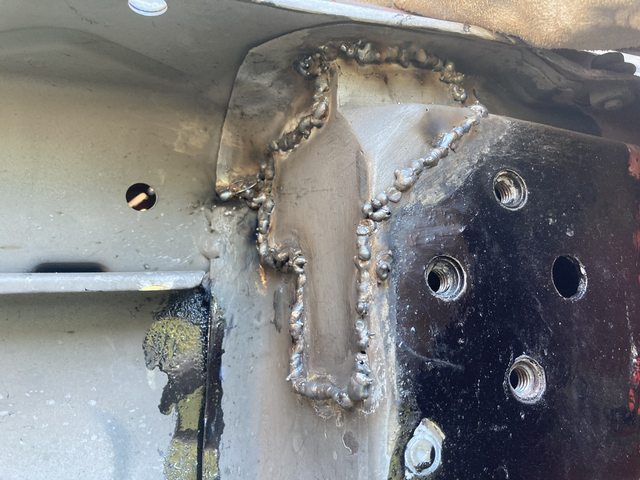
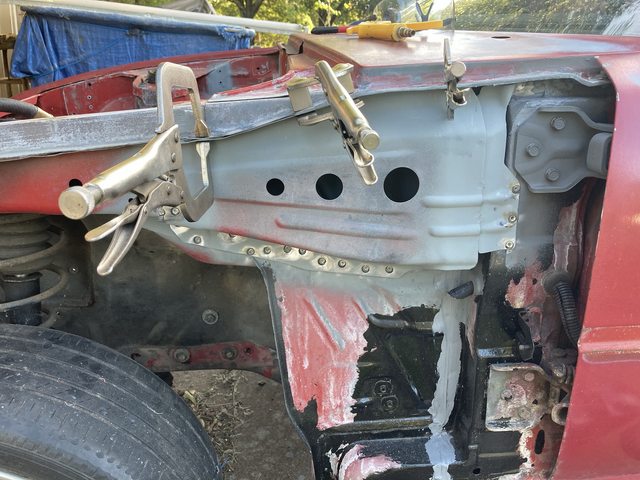
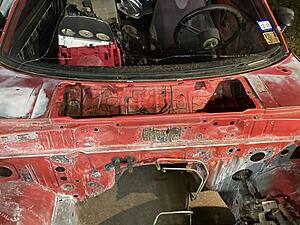
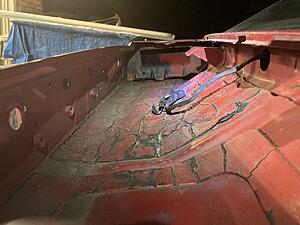
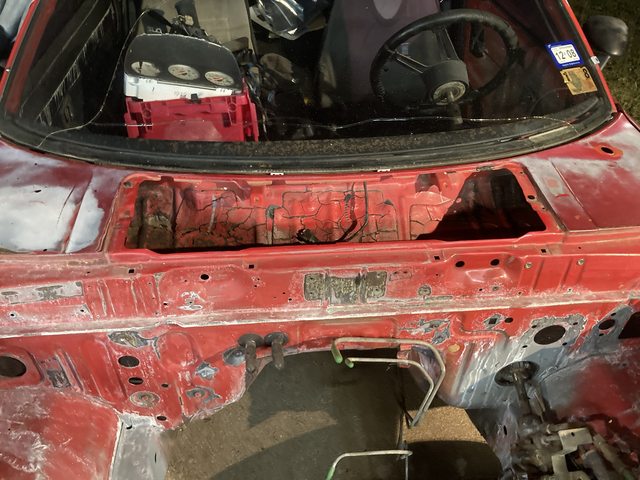
Finally got the rust patched on the driver's side over the weekend, and welded the unibody brace back in.
(my welder has been giving me.. difficulty. I mean, I'm out of practice, but ick.)
Seam sealer:
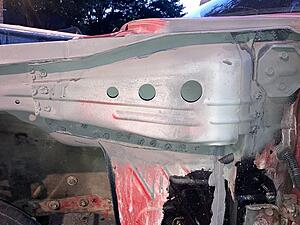
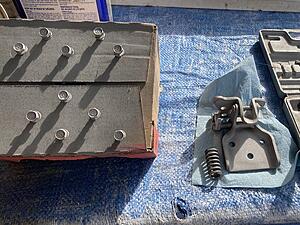
Media blasted the upper hinge and primered it, then reinstalled:
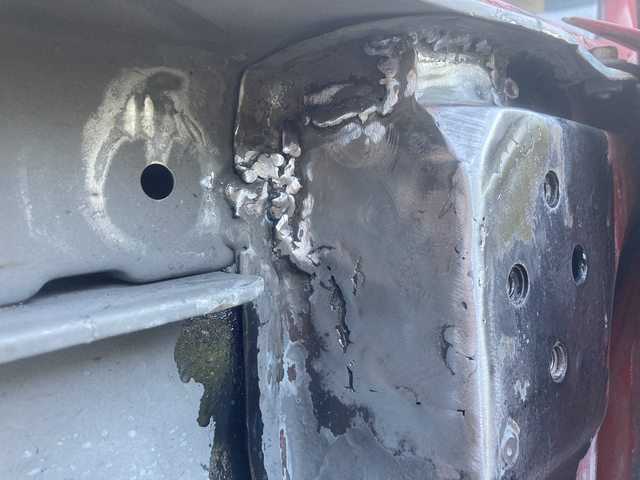
Brace going back in:
Finally figured out the welder issue about here:
The wire was binding in the tip, causing an inconsistent feed rate, even though both were supposed to be 0.025" (0.6mm.) I cleaned the tip up with a 0.6mm drill bit, but it was still a bit sticky, so I drilled it mostly through with a 0.8mm about 3/4 the way through. That seems to have fixed the issue.
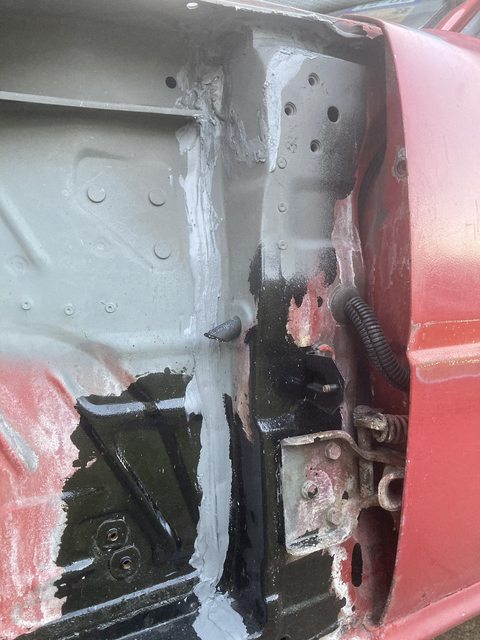
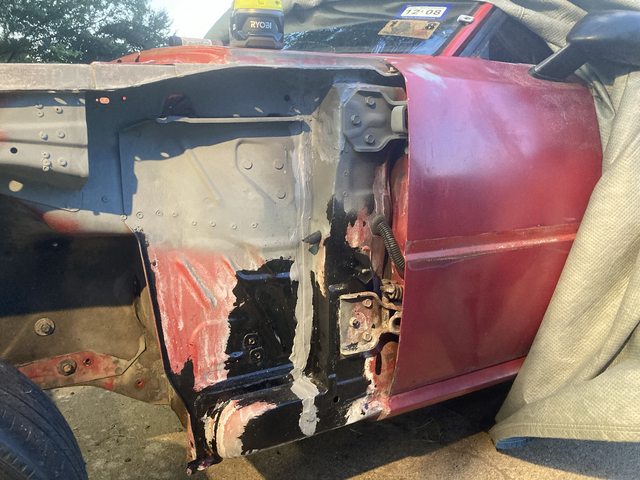
Primer:
Need to do the passenger side brace (rust repair was done last year), do the rest of the hinges, then sand everything in and around the engine bay for epoxy primer.
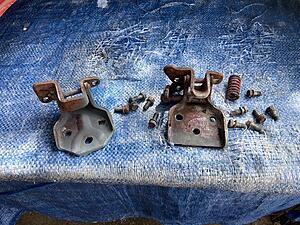
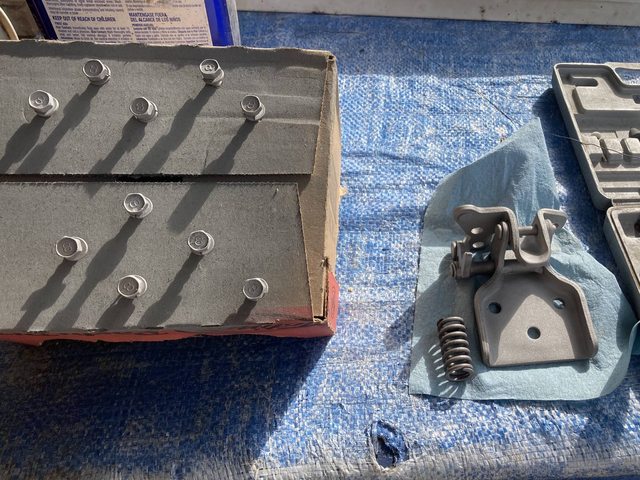
Removed two of the door hinges (lower left and upper right) and refinished them.
Hinges before:
Bolts and upper hinge after blasting. Driver's lower is still in the blaster.
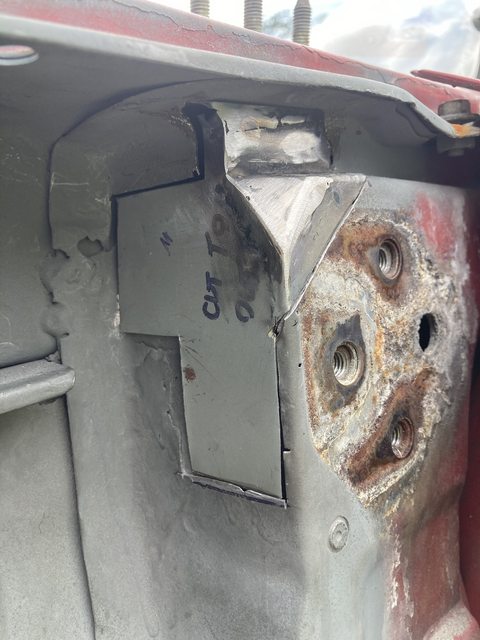
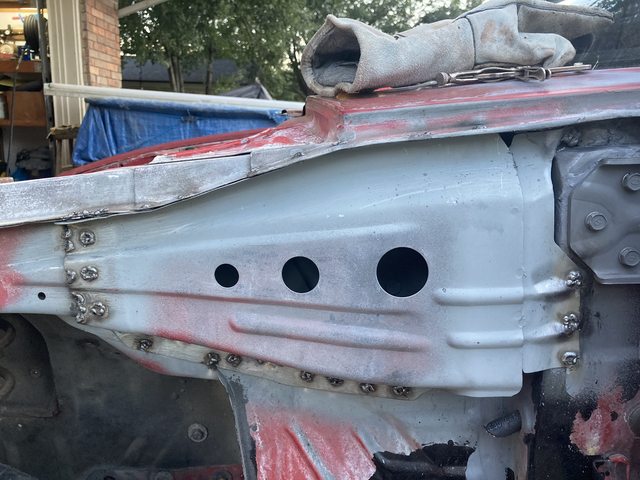
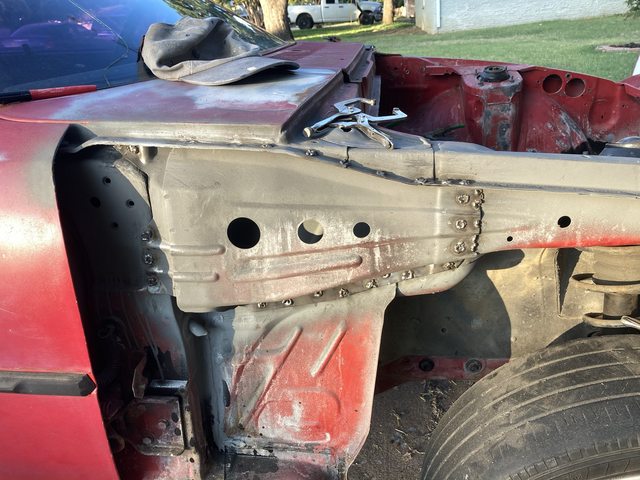
And welded in the passenger side chassis brace that was removed for rust repair.
Zinc painted that all, then got out the Eastwood inside chassis paint that showed up Sunday morning:
...I may have gone overboard in my zeal to have everything coated thoroughly:
Really should have put down some cardboard or paper. Thankfully, it cleans up with laquer thinner.
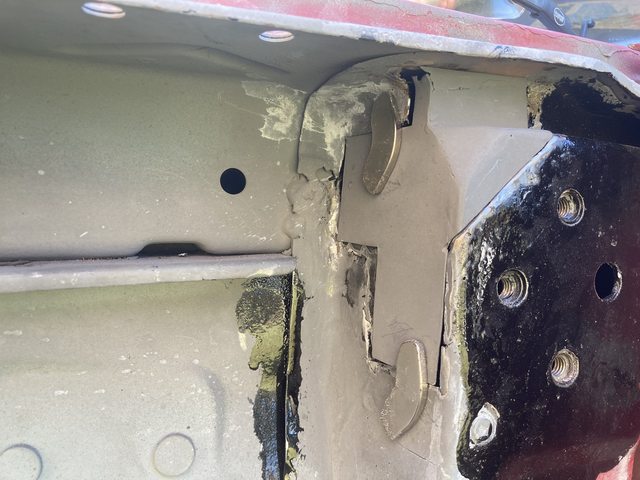
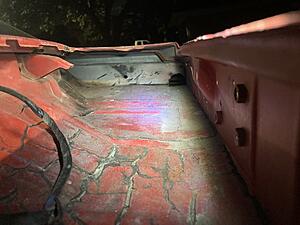
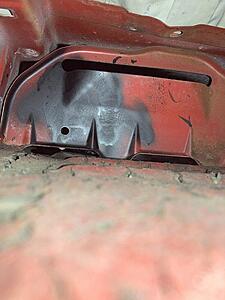
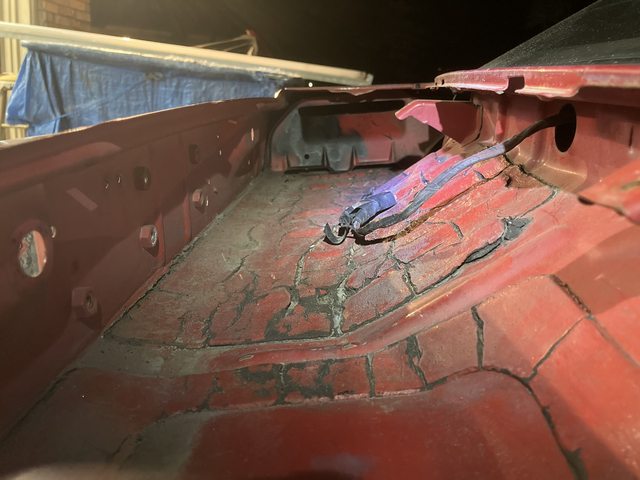
I also wanted to get that little area in the cowl, where I welded up the holes. It's isolated from the kick panel area, and only accessible from inside here:
Driver's side:
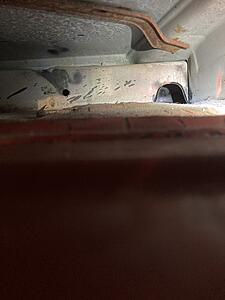
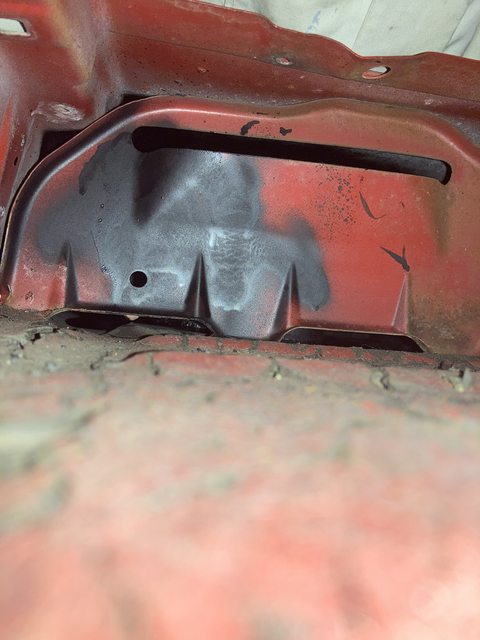
Passenger side is more difficult. There's a bulkhead and the stack for the HVAC intake over there between the opening and the other bulkhead that's like the driver's side:
It was a bit of a challenge to snake the tube through that opening at the top, then to the holes in the other wall, but possible with the wire attached to the tube.
One more hinge to clean up, but I should be able to get on with re-removing the front suspension, and sanding all the front end smooth for epoxy primer, then paint!
i LOVE the TII front brake upgrade i have on my '85 GS, but my 15" basset wheels were pretty beat up. the other day i scored some 2piece 14" wheels. i was a little hesitant on them fitting but i took a chance and with a 10mm spacer (and longer studs) i got them to fit! so for anyone wondering, you CAN fit 14" wheels over your TII brakes on your FB
i'll post a pic tonight
Wow the car looks clean. May I ask what it sold for?
you may ask but I�ll keep it to myself to be fair to the new owner. One clue.. if it was on BaT it wouldve been the third highest Auction for Any FB. I received a �high concourse� offer and accepted. It was worth every penny the new owner coughed up. Bittersweet though. It�s the prettiest FB I�ve ever seen but I am biased towards black/gray combination.
Changed the oil, oil filter, air filter, checked air pressure in tires all the way around, ordered new spark plugs and plug wires, and replaced the wiper blades after soaking the new ones in 303 Protectorant for about 30 mins. super cleaned the windshield (invisible glass, 0000 steel wool and another couple shots of Invisible glass) and then rain-X'd the windshield.

 07-17-20 | 11:40 PM