When you click on links to various merchants on this site and make a purchase, this can result in this site earning a commission. Affiliate programs and affiliations include, but are not limited to, the eBay Partner Network.
My Miata cupholder finally came in. The interior is one step closer to being complete! I just need a new shifter boot and the plastic surround for it as mine is damaged, then my interior will be flawless.
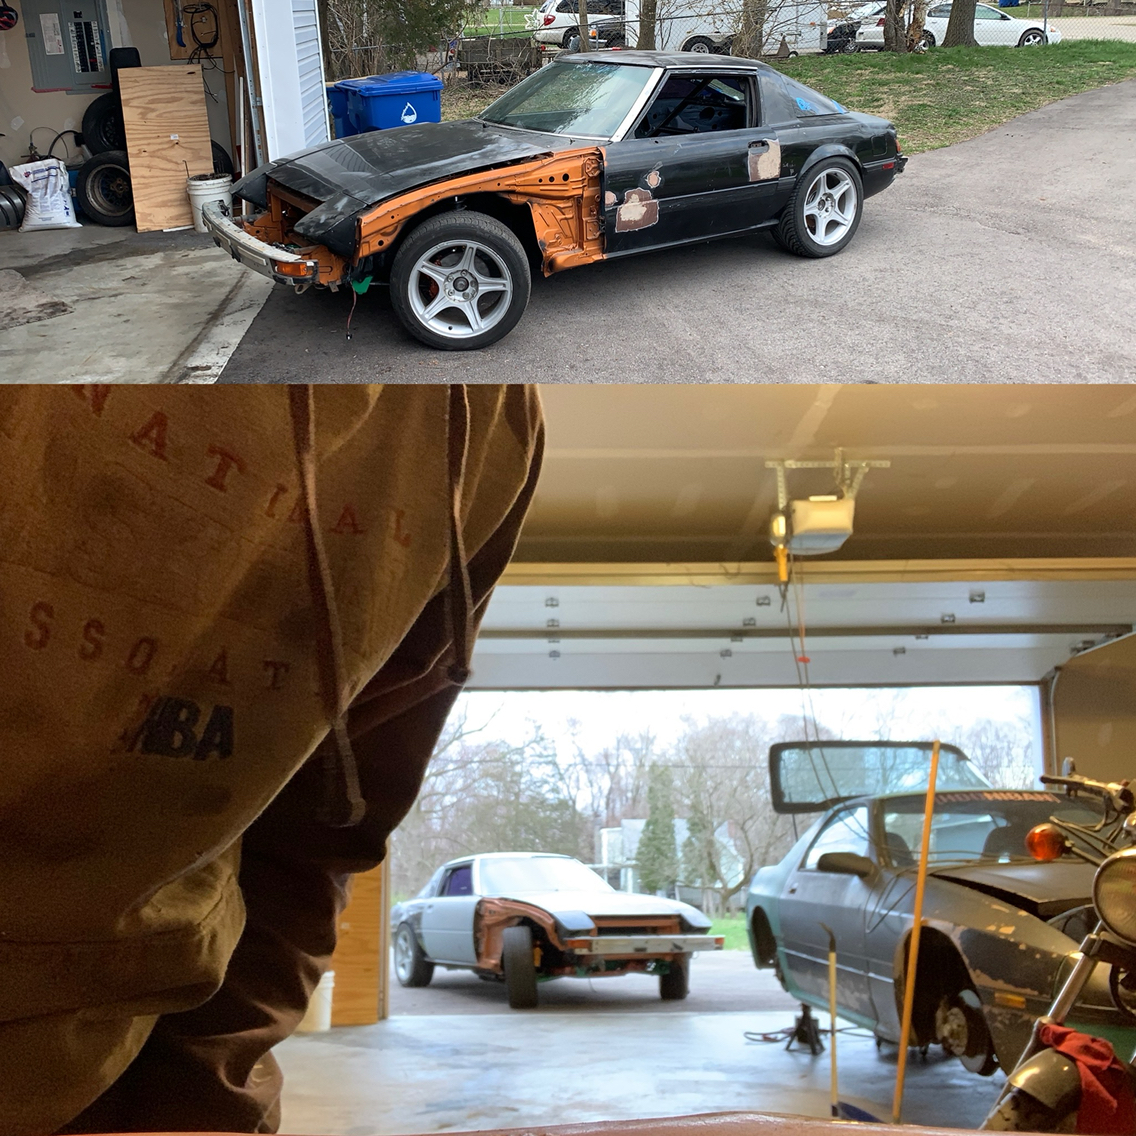
Finally got my ms2 fixed and the car started and idled great. It's only been 6 years since the engines been rebuilt. Getting closer to putting it back on the track.
Those are mustang wheels which I put on temp from my fc drift car just to roll them.
They are 17, but I am leaning towards 16 and they are not the right width and offset. I have an imsa style wide body for it. Thinking of running old school mesh style.
Originally Posted by Rx7fb spirit r
5 lug wheel as you can see. 16 " are built for the FC axle.
17s But yes I did a 5 lug fc spindle, hub and 4 pistons up front and moser 5 lug axles in the rear with fc rear calipers
Originally Posted by Ckforker
Those wheels really update the whole car, can't wait to see it all put back together.
Thanks.
I think it gives it an interesting look.
I would like to keep it looking more period correct so looking at 10 wide meshies hoping to find the right offset. I rather not have to run spacers.
Wait wait wait.. a rear engine dual turbo first gen rx7 just "happened"????
this is my 5th RX so i need to change it up. A 5.0 in the front, dual turbos in the rear, the car is really a test bed of massive modifications, i am to the point in my life to say, "wouldn't it be cool to do this". and do it!!
fuse links replaced by marine beakers located in glove box on the carbon fiber panel , brake bias valve located where the clock was, 240Z gauges, turbo boost and oil PSI gauges mounted on the roll bar. the rear will be air bagged, the center console is oxygen control out of a WW2 military plane to control the air.Trans Am steering wheel, the skull shift **** is the only chingadera i bought on my last trip to that **** hole Mexico.
you can see i stripped all the foam off the dash, kinda cool Toyota rear end with stock 4.10 gears and a locker, obviously slammed!! after the alignment is done i will install flares, notice the aircraft fuel cap on the b pillar feeding the rear fuel cell
you are seeing the finished color, no paint with clear coat
Today I tore out nearly half of everything in my engine bay...
I'm finally getting around to fixing my clutch issues (yes, this is related) and so appart comes the front of the engine. I'm also taking this opportunity to do some cleanup, leak searching, an omp rebuild, and some painting/rust removal. Unfortunately the exhaust parts are still backordered so that isn't happening yet, although if this finally solves my clutch issues I'll be content for the time being. Do keep in mind that this car sat in a field for 16 years so... it really isn't too bad all things considered; fixing things slowly but surely. Once the aforementioned is all sorted I'll be looking into a trans rebuild as well as some coilovers and new steering components - those couple things will finally wrap this car up mechanically.
Work on the modded carburetor has been slow, although I have one secondary venturi almost done and I have been plating some parts that I didn't get to the first time around. The radio project is also still underway but a ways out as well. I've got a prototype built now, but the weather has been too beautiful latey to sit inside and code all day.
Well I found what I expected to. Fortunately the damage was contained to just this area so it looks like the engine will be fine - this explains a lot of the issues I've been having... particularly the clutch and random idle changes. I definitely got lucky on this one, seeing as how I've been driving with this engine for nearly a year now. I'm also a little disappointed I didn't notice this sooner. Anyway, enough talk, below you'll find the carnage:
I also know exactly why and when this happened, although I won't go into the specifics as y'all can probably guess. Before taking it apart I checked end-float and found it was nearly 2.0mm - you know, just a bit out of spec... good grief. New parts are ordered and should be here within a few days. Sure hope this fixes at least two of the issues I've been having.
I guess my first rotary rebuild had gone a little too smoothly after all. Now I know what not to do next time (and this time for that matter).
So I am the orginal ower of 1980 RX7 it has 112,000 miles and has lived in a garage its whole life. Its 100% stock expect that I removed the thermo reactor and replaced it with a manifold from a 1981 RX that someone from this club was nice enough to send to me for free (just had to pay postage). I had that backfire problem that was fixed for good getting away from the thermo reactor to plain old cast iron. A few quick bends of one custom pipe and reusing most of the stock exhast and I was very happy with this change. Anyway last spring I finally decided to follow one of the many post on removing the rats nest. Seemed like a good idea at the time since I was having problems with acceleration misfires. So I took my time followed instructions from several post and got the engine looking nice and very simple compared to when I started. So after firing it I am now dealing with idle issues and no power at all when accelerating. I could really use some advise from someone who has gotten pass this step. I still wonder if I have the two vacumm advance connections to distributor connected to the best loaction on the space manifold. So what did I do today was to crank it over and then recheck every thing again not seeing any thing that would be causing this problem. Unless I am just missing something with this conversion strip down. I could use some good picutres of a carb setup with rats nest removed that shows the connections to the distributor.
Finally got the engine back together today. Took about a week of cleaning, waiting for parts, painting, etc. but the block is finally back in one piece.
From the prior 2mm of end-float we're down to a crisp 0.046mm which is great by me. Only concerns now are whether that o-ring somehow slipped out during assembly or if the oil pan will stay sealed up with just rtv (the rest of the engine has a gasket and thus there is a larger gap between the pan and front cover). Hopefully this fixes or improves my clutch issues, idle issues, and a few other things.
I'm also taking this opportunity to clean, rust treat, and paint some things around the engine-bay since everything is out. Hopefully the car will be a bit more solid when all is set and done; time will tell.
Finally took the car out for a drive, it's been raining nonstop or I have too much stuff to do to drive. It makes me so happy when I drive this thing!
Kept playing with my timing and carb over the last few weeks, but finally quit. I tried using a timing gun, but tossed that out and just went with how it felt. After I was happy, put the gun back on it and it's about 11 degrees beyond factory specs on leading and 4 on trailing. It really cleaned up the smell too!
Next is convincing the wife that I need the new 205/60 BFGs😜. Probably not gonna happen, but we will see.
I rebuilt and restored my combination switch. Unlike you lucky LHD drive guys that can still buy brand new Mazda ones, all RHD combo switches are obsolete and haven't been available from Mazda for years.
I found identical stalks from other models (including one from a Ford due to the parts sharing that was in place in the early 80s!), modified them to fit the RX-7 switch housing, removed and took apart all the switches and cleaned all the carbon off the contacts (headlight contacts were toast as expected) and re-greased all the springs and bearings.
Before
After
A few people have touched upon this stuff before in this section but I took a bunch of detailed photos and I'm going to do a comprehensive how to guide which I'll publish on AusRotary and link here.

 04-06-20, 08:20 PM