
What did you do to your FB today?
 03-23-12, 08:53 PM
#376
My 7 is my girlfriend.
iTrader: (5)
Join Date: Feb 2006
Location: London, Ontario, Canada
Posts: 3,162
Likes: 0
Received 1 Like
on
1 Post
Finally... Done

We're talking between 25-30 hours of handsanding, buff and drill polishing and hand polishing. One of the front lips was pitted so bad there's still a lot that I just couldn't take out, but they will look great until someone puts their face right next to them.
Now I just have to get the barrels blasted and decide on a colour. And polish the large center hex nut, then reassemble.
 03-23-12, 09:38 PM
#378
pics , or link to pics please
I hung around alot while the guy did mine. I am usually a DIY guy all the way but I got the impression that any first effort on my part would not be up to my standards!!!!!!!!
I'm happy with the decision cause I ended up with a totally custom leather interior that is first rate. Still looks good after 15 years.
I'm happy with the decision cause I ended up with a totally custom leather interior that is first rate. Still looks good after 15 years.
03-23-12, 11:36 PM
#379
Those rims can only be called "Tasty." Excellent work.
Tonight, I field-stripped my MOP & got to work cleaning up the starter. Tomorrow AM will see a McFadden-Dale run for o-rings for the MOP. Then back to the slave pit, and more stuff to clean.
Tonight, I field-stripped my MOP & got to work cleaning up the starter. Tomorrow AM will see a McFadden-Dale run for o-rings for the MOP. Then back to the slave pit, and more stuff to clean.


 03-24-12, 02:04 PM
#389
Banned. I got OWNED!!!

Join Date: May 2011
Location: Socal
Posts: 80
Likes: 0
Received 0 Likes
on
0 Posts
03-24-12, 02:14 PM
#392
Waffles - hmmm good
iTrader: (1)
Just buy one of these.
Miata OEM Factory Ashtray Cup Holder on this page
http://www.mmmiata.com/catalogsite/cupholders.php

Google miata cup holders and make sure its for a 1st gen miata. You can find them
on ebay as well. I have them in my SA and I think I paid $24.00 for em.
Miata OEM Factory Ashtray Cup Holder on this page
http://www.mmmiata.com/catalogsite/cupholders.php
Google miata cup holders and make sure its for a 1st gen miata. You can find them
on ebay as well. I have them in my SA and I think I paid $24.00 for em.
03-24-12, 02:28 PM
#393
Banned. I got OWNED!!!
Join Date: May 2011
Location: Socal
Posts: 80
Likes: 0
Received 0 Likes
on
0 Posts
Just buy one of these.
Miata OEM Factory Ashtray Cup Holder on this page
http://www.mmmiata.com/catalogsite/cupholders.php
Google miata cup holders and make sure its for a 1st gen miata. You can find them
on ebay as well. I have them in my SA and I think I paid $24.00 for em.
Miata OEM Factory Ashtray Cup Holder on this page
http://www.mmmiata.com/catalogsite/cupholders.php
Google miata cup holders and make sure its for a 1st gen miata. You can find them
on ebay as well. I have them in my SA and I think I paid $24.00 for em.
 03-24-12, 07:58 PM
#395
Banned. I got OWNED!!!
Join Date: May 2011
Location: Socal
Posts: 80
Likes: 0
Received 0 Likes
on
0 Posts
I have a hook up at a local Mazda dealership that's looking into it for me. I think the car above is an SA model though isn't it? It doesn't seem like it would be easy to retrofit one of these into the 81-85 model 7's.. but anyways, he said he can get them for $20 a piece, brand new from Mazda.
03-24-12, 08:55 PM
#396
Haha now back to the "What did you do to your FB today?" topic (even though I absolutely love that interior, I am so extremely jealous and wish I had the cash to have that done..anyways, back on topic!!), I got some stuff done.
I took my GMB water pump back off, along with the entire water pump housing. Why you may ask, and I will tell. I was in a rush - always a terrible thing when working on a car if you know what I mean - and I didn't scrape off the entire old gasket that went between the water pump housing and the block or the one that goes from the water pump housing to the actual water pump. So I opened my hood after the car had warmed up last night and the gasket between the housing and the block was literally pissing coolant!! There was a squirt-gun-sized stream flowing it out at an arc towards me, hitting where my shock attaches to the frame on the driver's side. If it would have been better lit I would have taken a picture for humor, it was a bit entertaining.
On that note, I RTV'ed the hell out of a new water pump to housing gasket, housing to block gasket, and outlet gasket. While I tightened this down and had the time I reinstalled my fan, shroud, all the belts, and parts of my interior. So after some good drying time overnight and morning tomorrow, with some work, I might be able to get her back on the road for the first time this year!!
03-24-12, 10:54 PM
#397
Awesome interior. I'm still trying to figure out a good cupholder. I picked up a center console lid cover from a Volvo 850 that has slide out front and rear cupholders, but it's like 5" thick and I don't see a way to cover it that will look good.
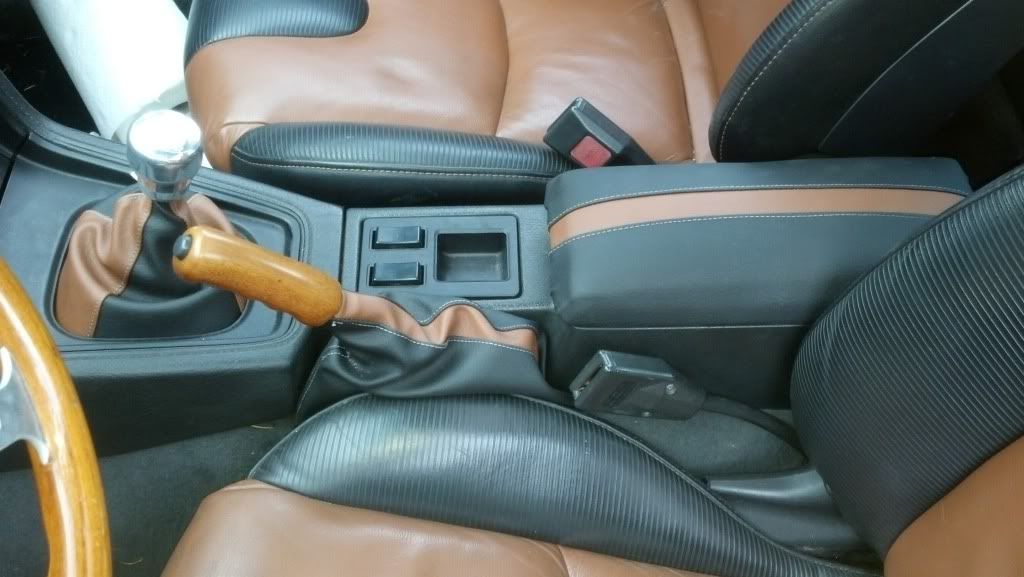
To add to the thread, didn't do it today, but this week I pulled out the center console lid I had wrapped in leather, switched it to black/brown to match the rest of the interior. Also installed Black Dragons heavy duty headlight harness and euro style halogens. Picked up a rising sun style air filter cover(the milling work is crap, I think I'm going to paint those areas white). Finally got around to a radiator flush.

To add to the thread, didn't do it today, but this week I pulled out the center console lid I had wrapped in leather, switched it to black/brown to match the rest of the interior. Also installed Black Dragons heavy duty headlight harness and euro style halogens. Picked up a rising sun style air filter cover(the milling work is crap, I think I'm going to paint those areas white). Finally got around to a radiator flush.
03-25-12, 11:36 PM
#399
Got the shifter and boots all back in
Starter and driveshaft are in
Freshly-chromed vacuum hardlines for the brake booster and the water pipe from the heater core to the lower rad connection are in
MOP is rebuilt, but not installed; there's an error in the archived thread regarding MOP (OMP) rebuild and o-ring size that I will write up after I get the correct rings tomorrow.
New heater hoses are in.
Oil filler spout is in; had to use a little RTV to secure it since that particular spout has been in and out a few times and no longer friction fits tightly.
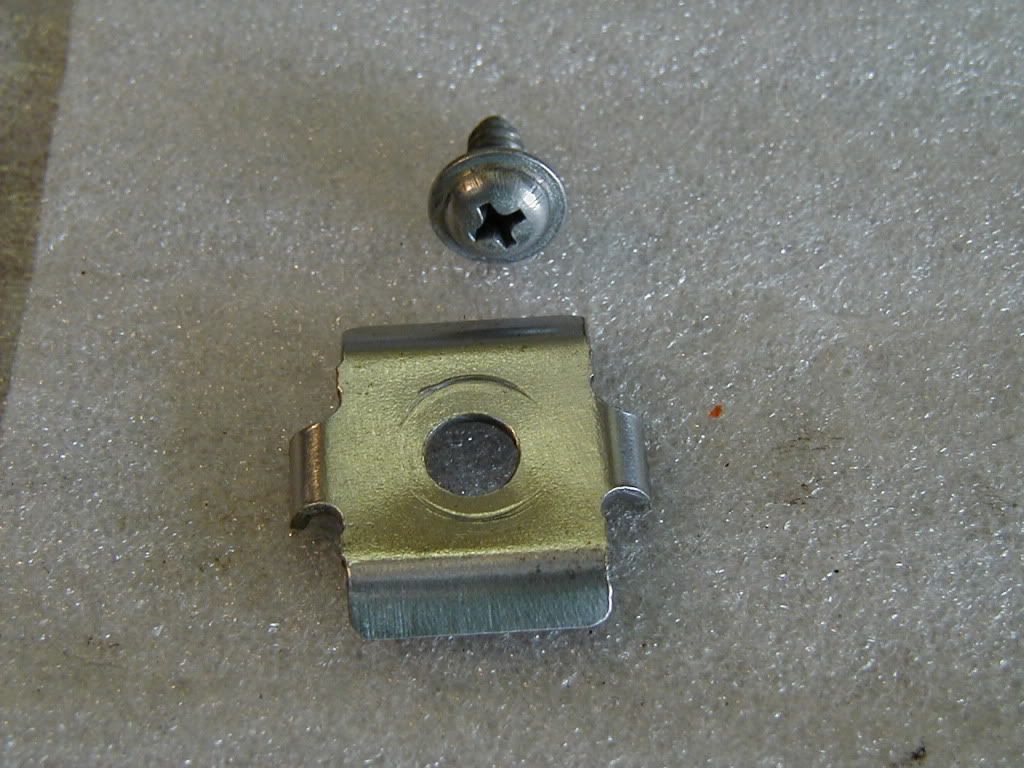
Nickel electro-plated (by hand; brush-plating method) the self-tapping screws that hold the above hardlines in place, as well as a couple of the fuel and brakeline holddown clips. Intend to do the rest over time; no more painting to prevent rust on tiny bits!
Starter and driveshaft are in
Freshly-chromed vacuum hardlines for the brake booster and the water pipe from the heater core to the lower rad connection are in
MOP is rebuilt, but not installed; there's an error in the archived thread regarding MOP (OMP) rebuild and o-ring size that I will write up after I get the correct rings tomorrow.
New heater hoses are in.
Oil filler spout is in; had to use a little RTV to secure it since that particular spout has been in and out a few times and no longer friction fits tightly.
Nickel electro-plated (by hand; brush-plating method) the self-tapping screws that hold the above hardlines in place, as well as a couple of the fuel and brakeline holddown clips. Intend to do the rest over time; no more painting to prevent rust on tiny bits!