
Cerberus Project: Restoration and Upgrade
 06-12-07, 03:29 PM
#1
Technician
Thread Starter
iTrader: (1)
Join Date: Aug 2006
Location: Virginia
Posts: 1,008
Likes: 0
Received 0 Likes
on
0 Posts
Cerberus Project: Restoration and Upgrade
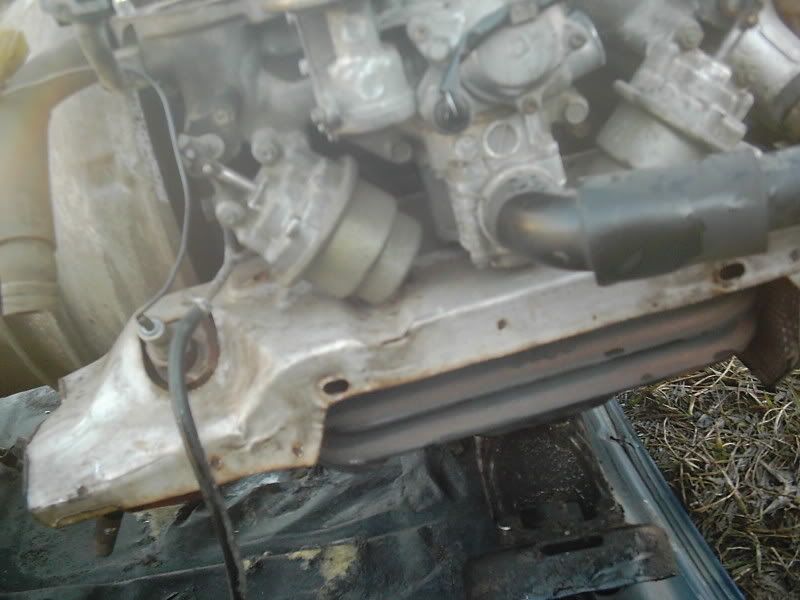
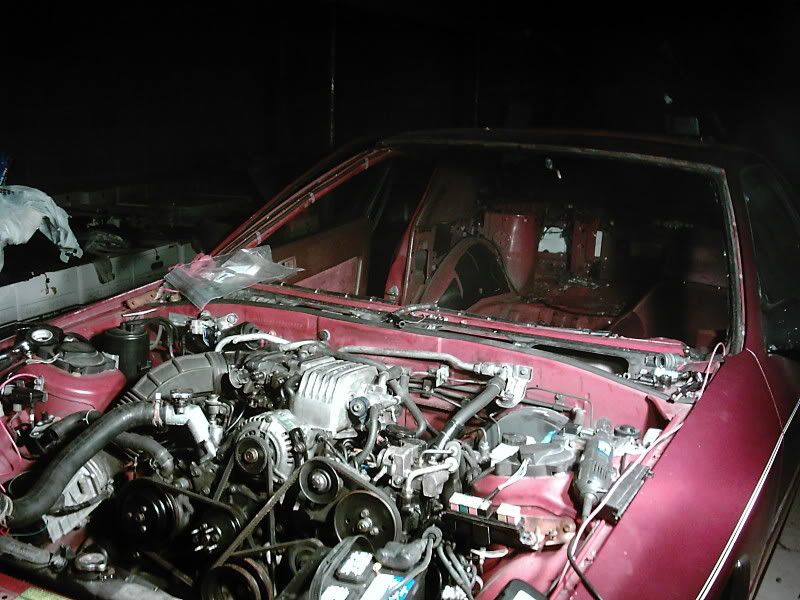
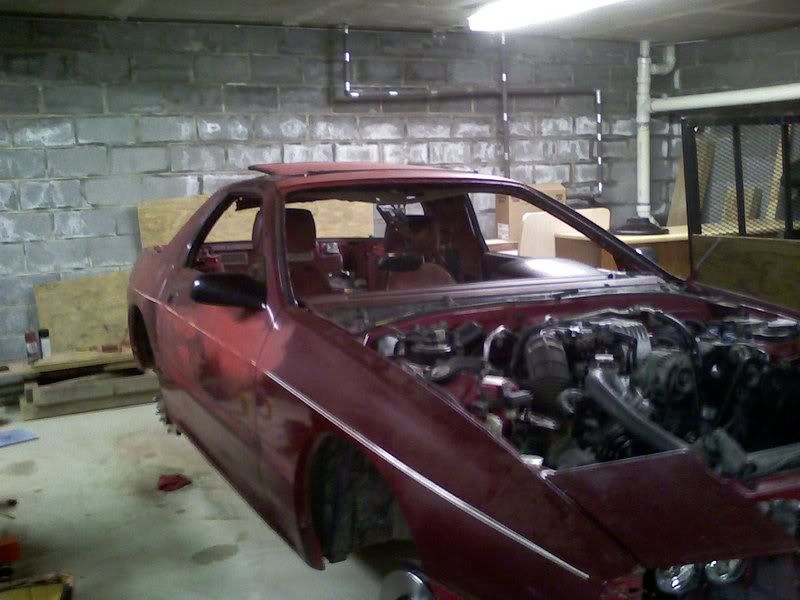
This project has taken less than 3 months from start to where it is now. It is almost a complete restoration of a 1986 roller with a parts coming from a 1987. Here is a photor testament to what I've done. Towards the end of the restoration I became under the gun to get it up and running and out of the garage where it was being worked on so I stopped taking lots of pictures and focused all my efforts into the rebuild. Enjoy.
What initiated this was an accident that I endured a little while ago because of a drivers side blow out and the very wrong time. It resulted in me hitting multiple pylons and destroying the body of the car.
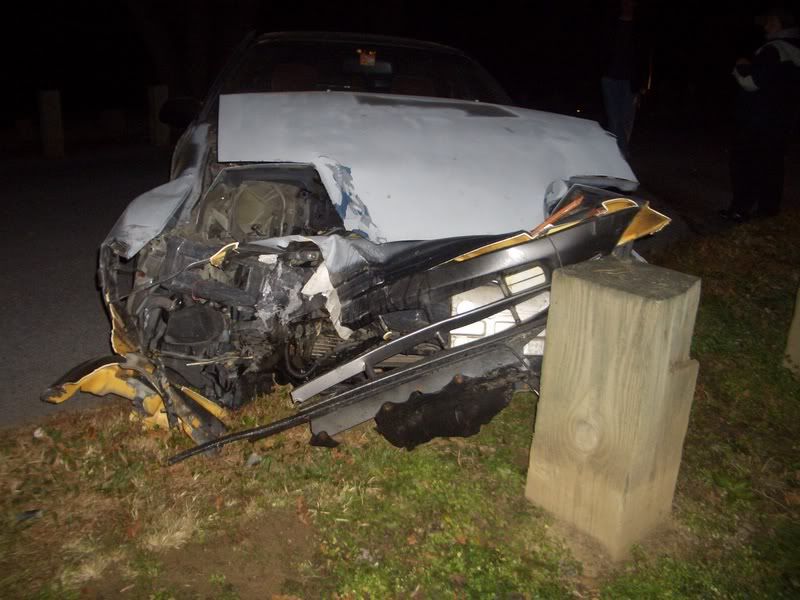
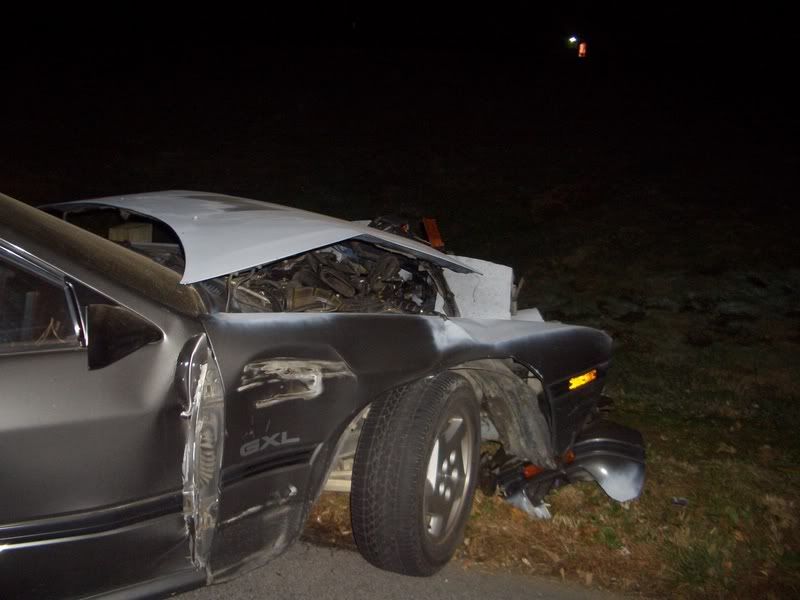
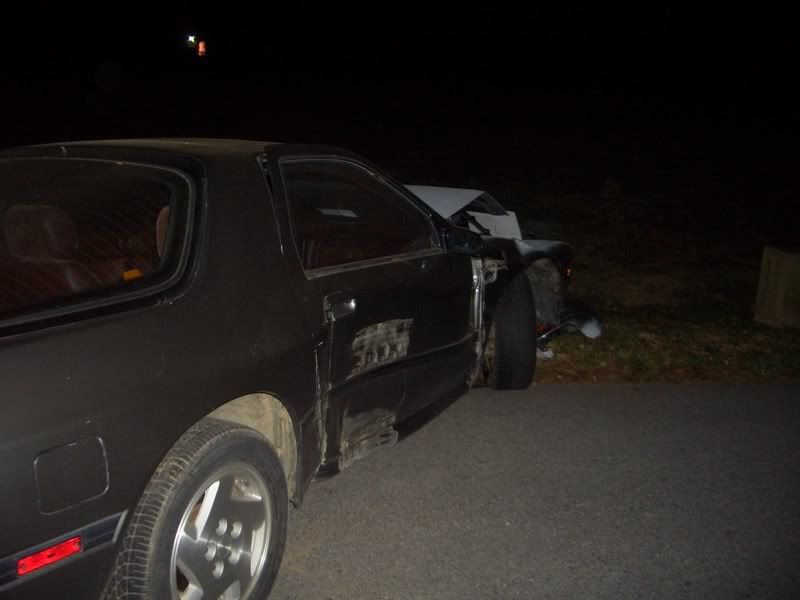
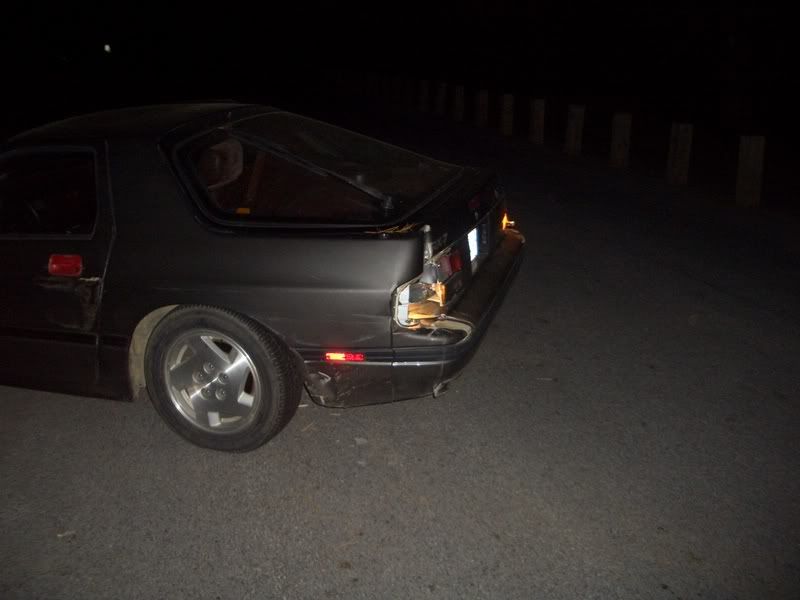
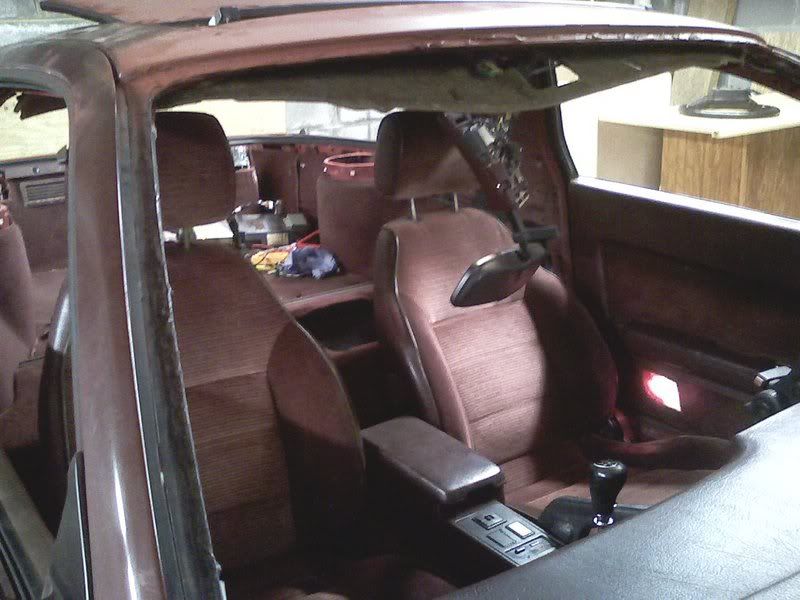
From that wreck I was able to keep the engine and drivetrain, as well as the inside which was almost in prestine condition. Which led me to the tedious process of me removing the engine and interrior to be placed in a roller chasis that was donated to me.

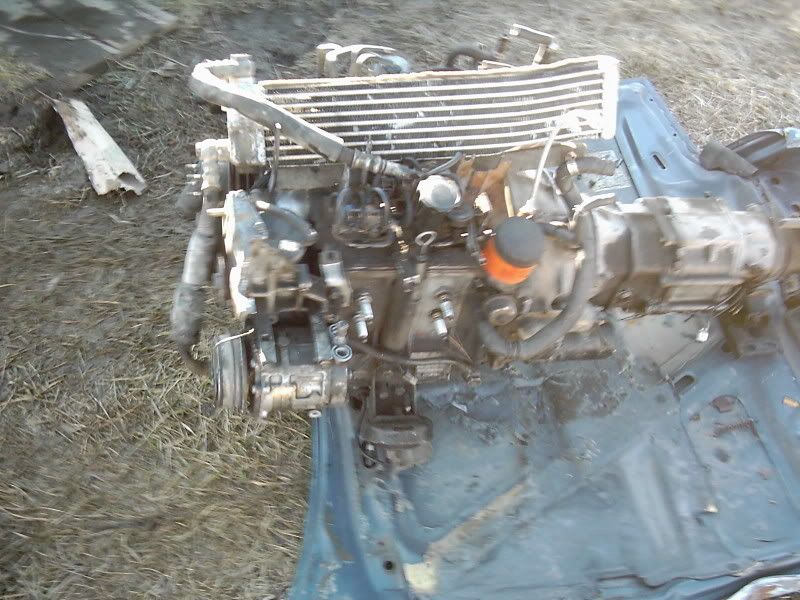
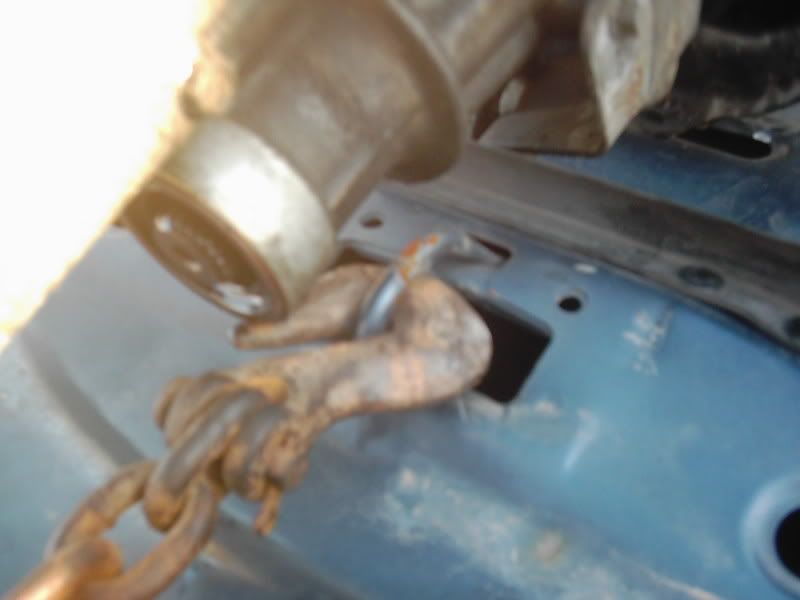
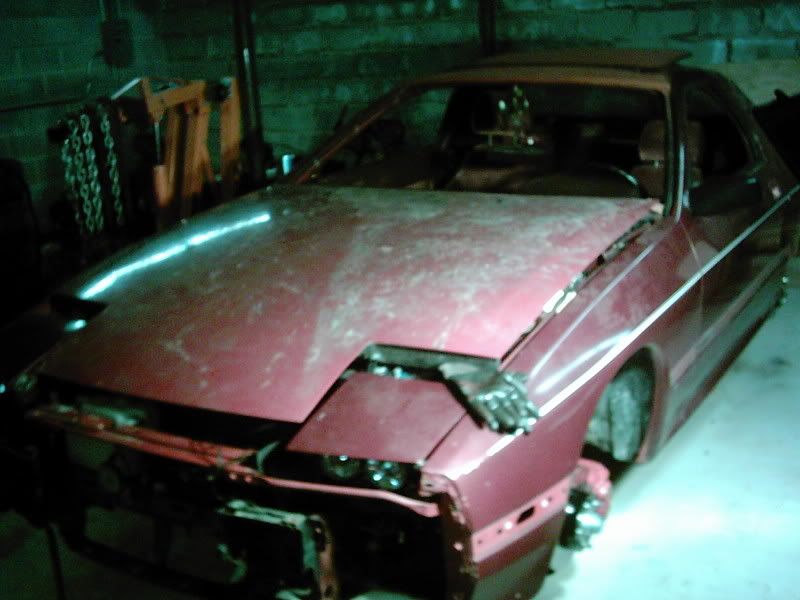
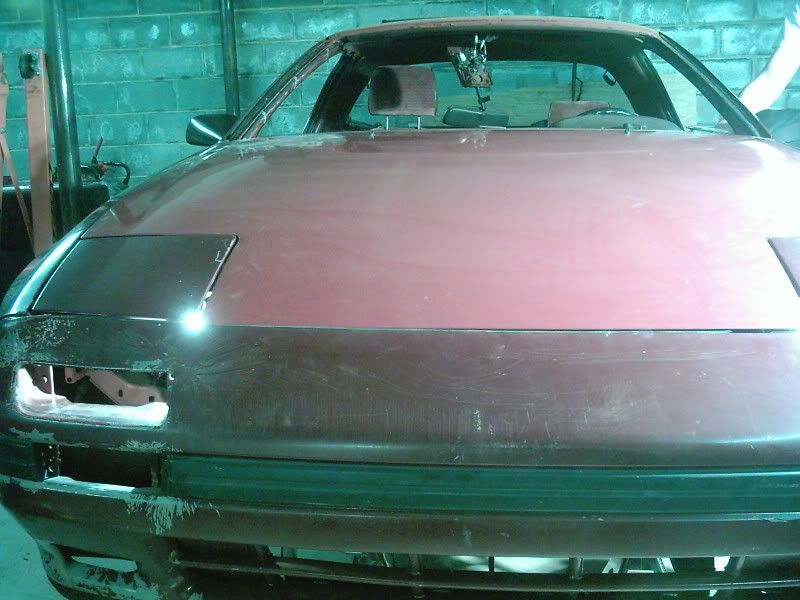
You may wonder what that chain is hooked up to. You may indeed be wondering why it's attached to the anchor on a hood, and why that engine is on the hood. That very fact is becaues of the sheer distance the car was from the house:
The next installment is where the fun begins.
What initiated this was an accident that I endured a little while ago because of a drivers side blow out and the very wrong time. It resulted in me hitting multiple pylons and destroying the body of the car.
From that wreck I was able to keep the engine and drivetrain, as well as the inside which was almost in prestine condition. Which led me to the tedious process of me removing the engine and interrior to be placed in a roller chasis that was donated to me.
You may wonder what that chain is hooked up to. You may indeed be wondering why it's attached to the anchor on a hood, and why that engine is on the hood. That very fact is becaues of the sheer distance the car was from the house:
The next installment is where the fun begins.
 06-12-07, 03:51 PM
#2
Technician
Thread Starter
iTrader: (1)
Join Date: Aug 2006
Location: Virginia
Posts: 1,008
Likes: 0
Received 0 Likes
on
0 Posts
The Roller is in.
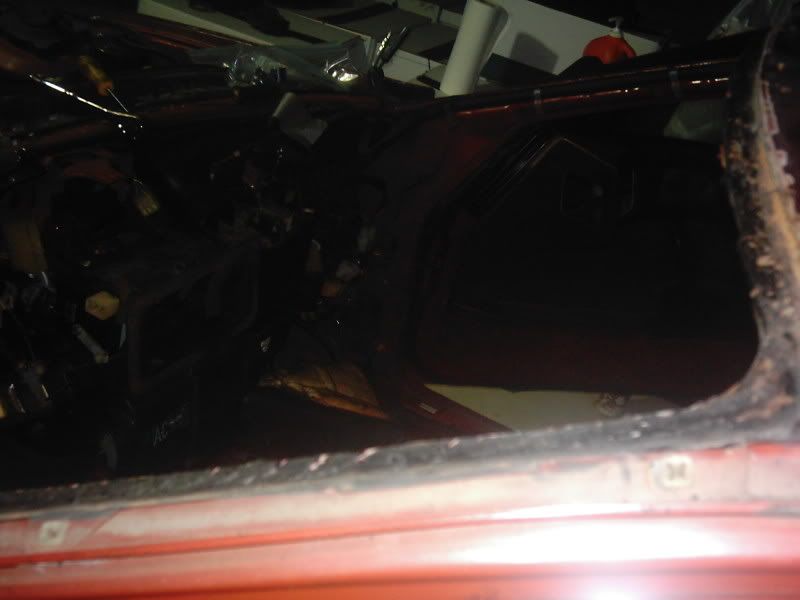
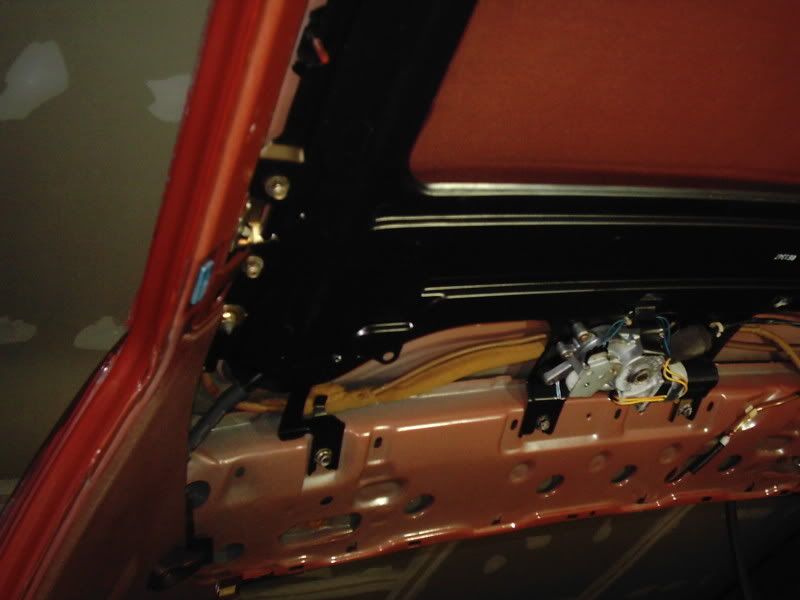
The roller, although at the right price, was a little bit more labor intensive than I had originally hoped. I was going for a straight replacement of the drivetrain and then turn it on. Unfortunatly prior to me picking up the car torentual down pours had hit the area and this particular car had a broken sunroof... in the up position at the time.
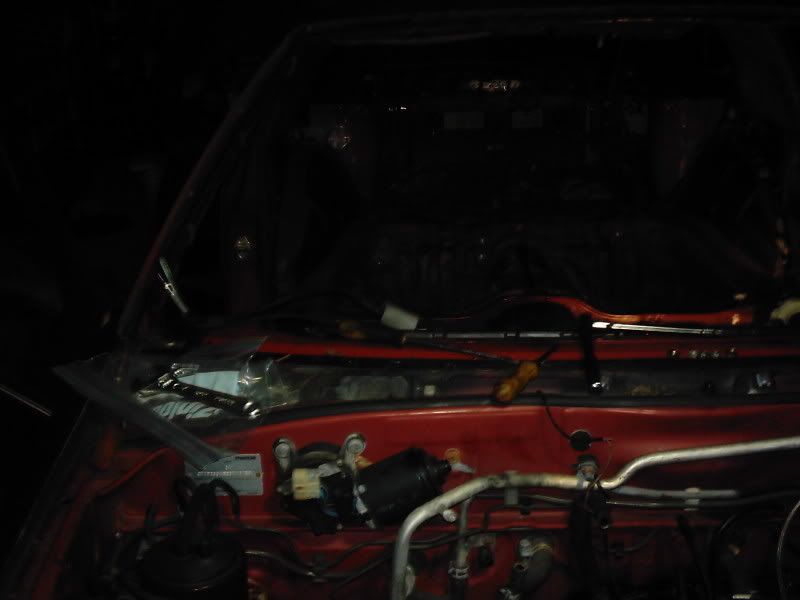
So this is what I had to work with:
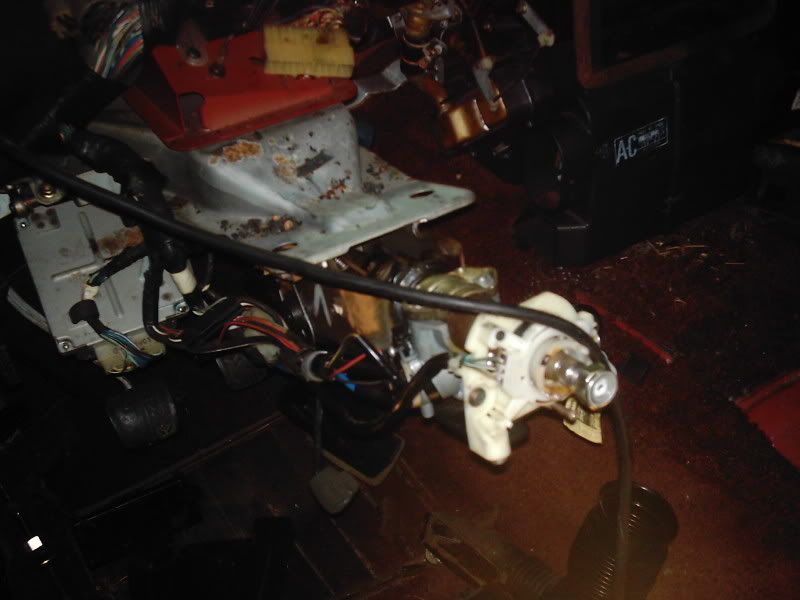
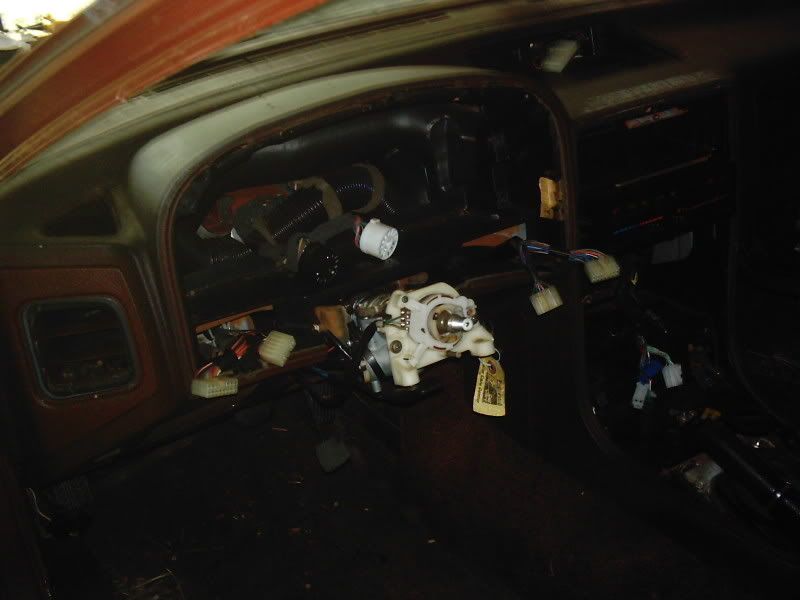
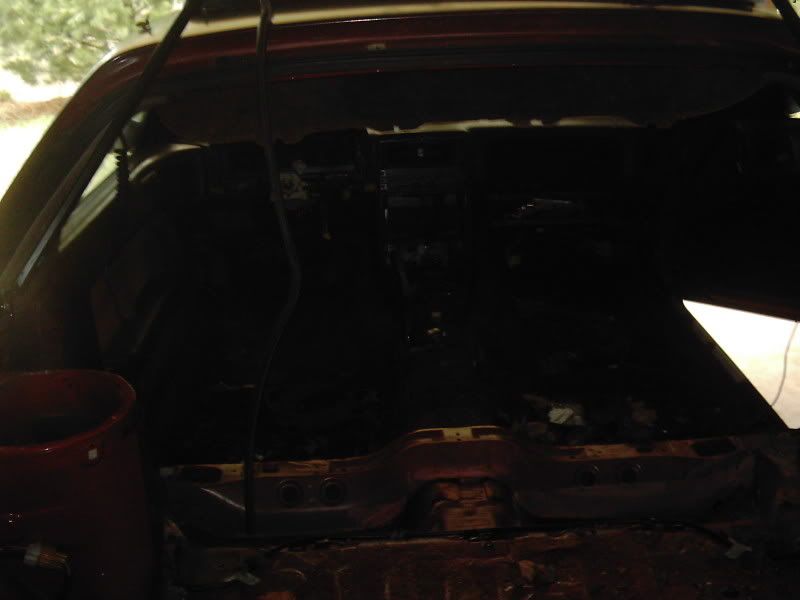
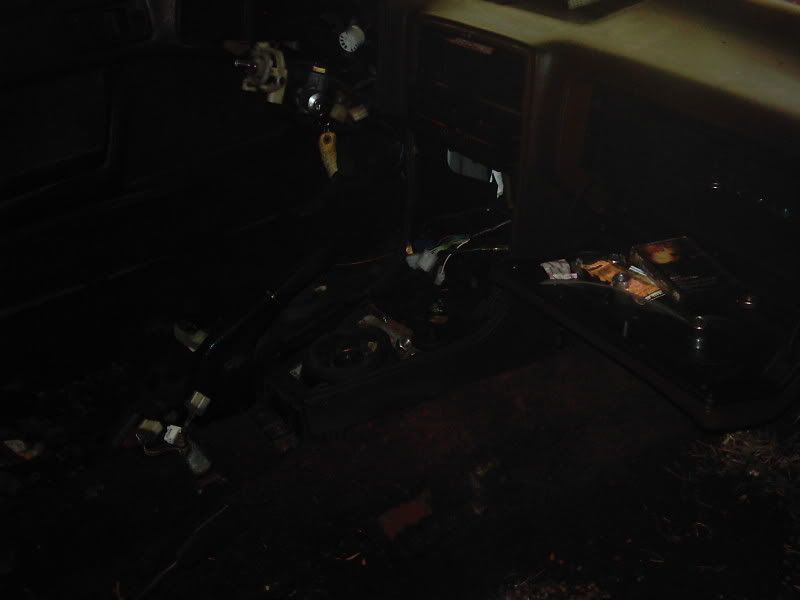
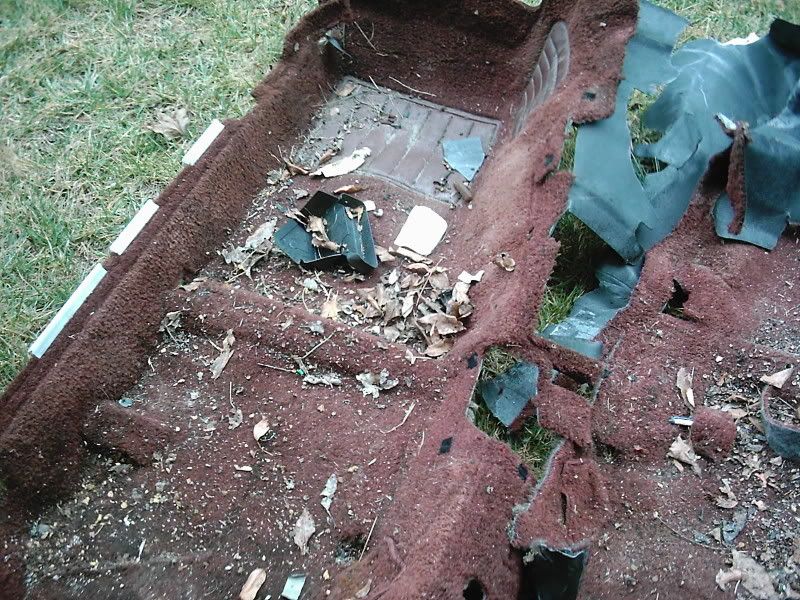
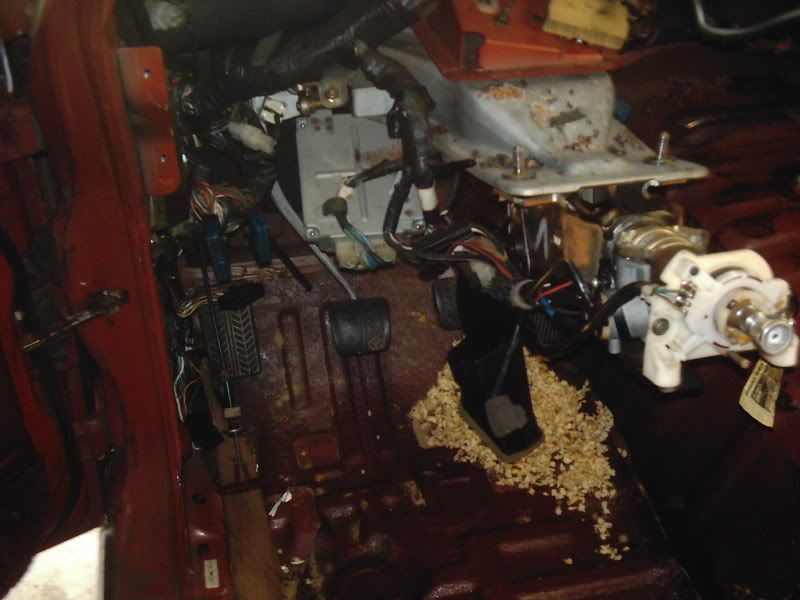
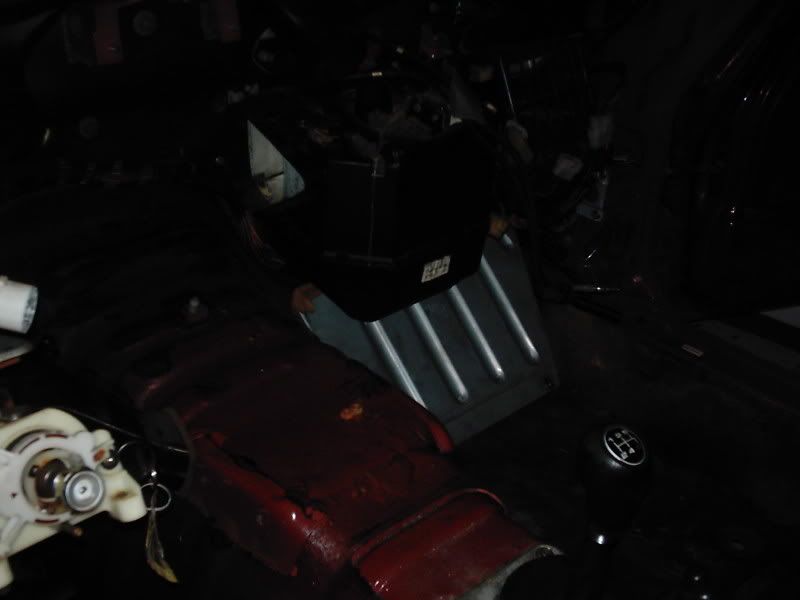
I had done little work at this point. The biggest thing being the removal of the dash and windshield. The cars background was a cause for concern as the previous owner had some trouble with field mice and them camping out in the engine which is why this car became a roller. Unfortunatly they also became partial to the interior:
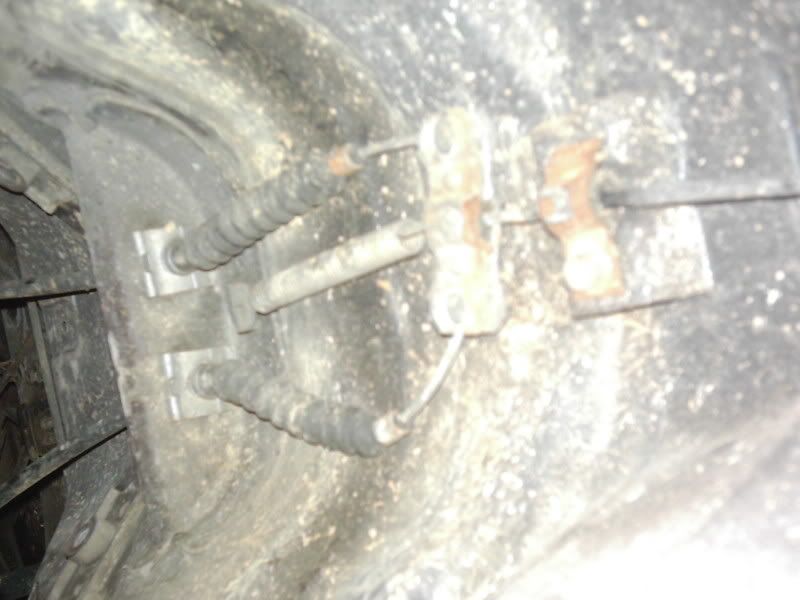
The previous owner also cut the emergency brake lines for one reason or another (don't worry I replaced them)
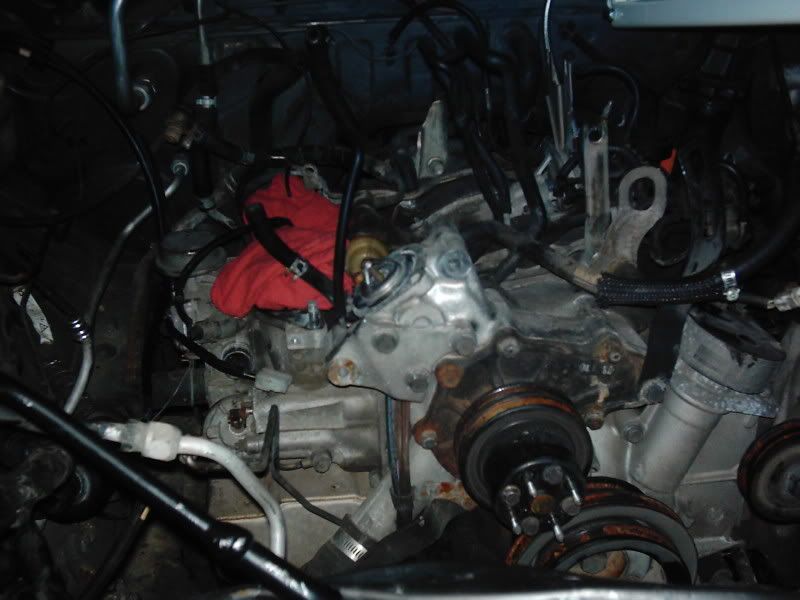
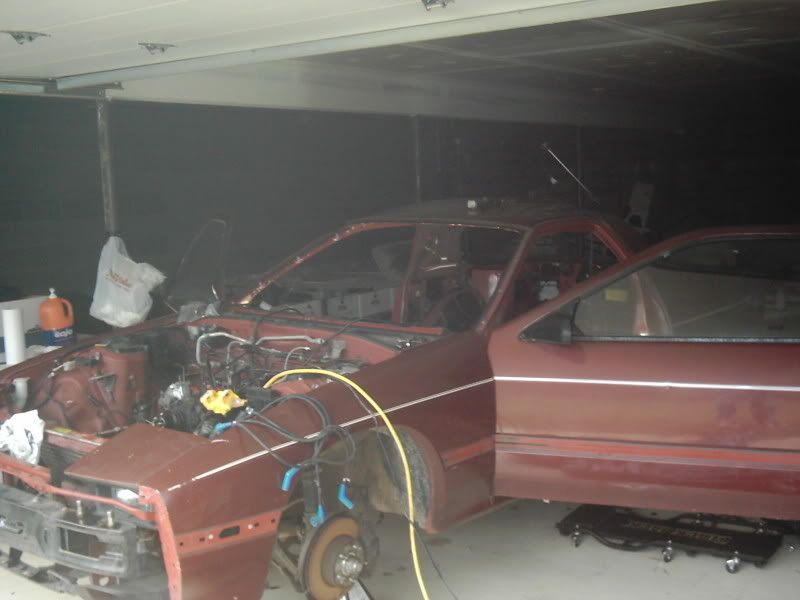
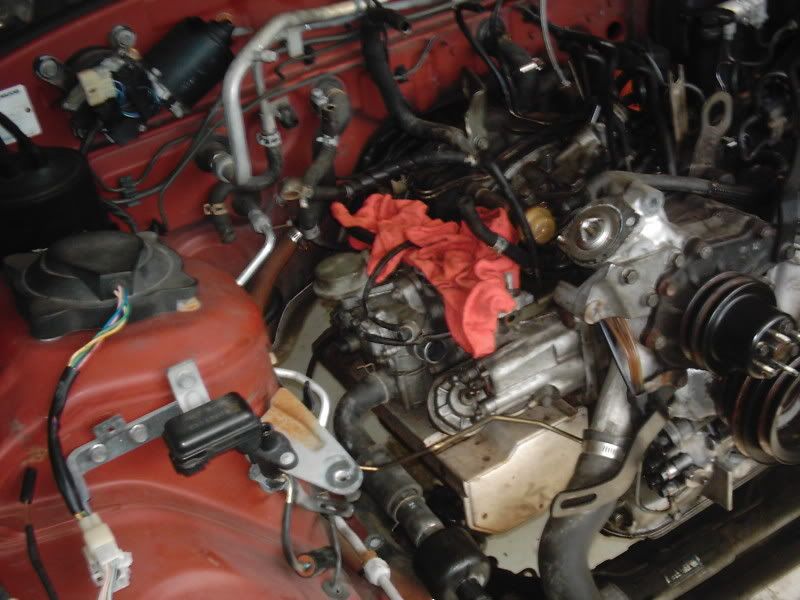
The engine was also mounted, as well as the transmission:
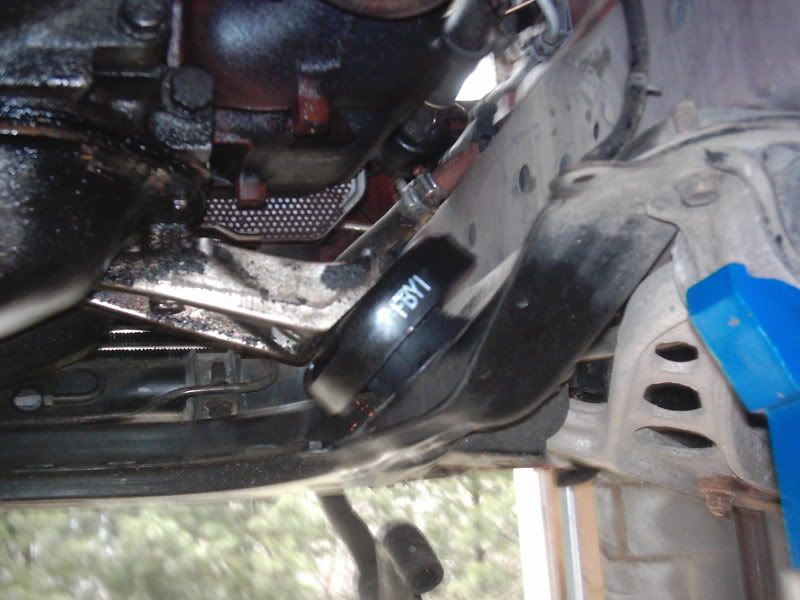
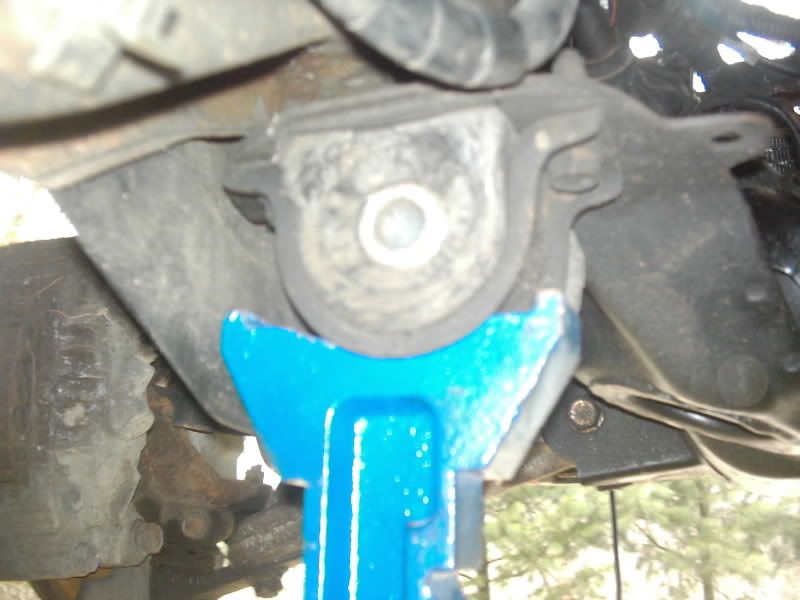
The engine was mounted on fresh motor mounts by the way:
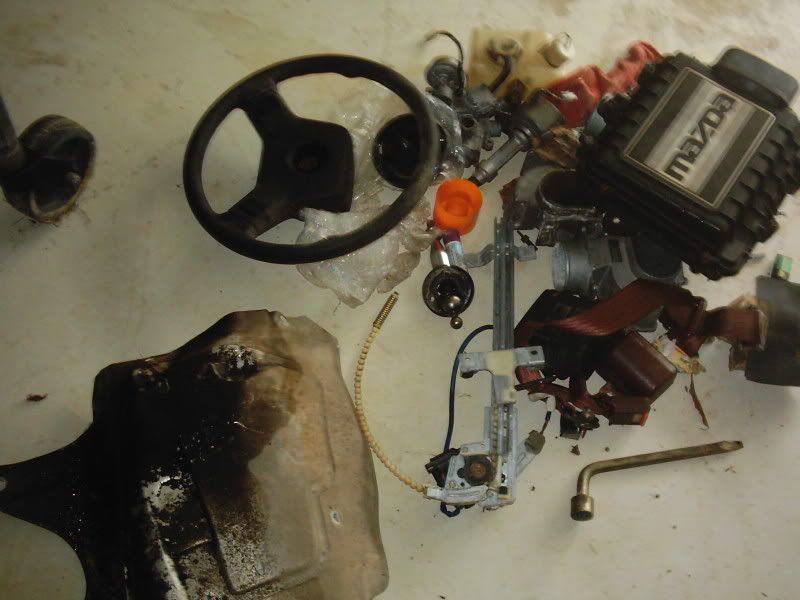
Some extra things that came with the car:
Next came the stripping and once over of the roller:
So this is what I had to work with:
I had done little work at this point. The biggest thing being the removal of the dash and windshield. The cars background was a cause for concern as the previous owner had some trouble with field mice and them camping out in the engine which is why this car became a roller. Unfortunatly they also became partial to the interior:
The previous owner also cut the emergency brake lines for one reason or another (don't worry I replaced them)
The engine was also mounted, as well as the transmission:
The engine was mounted on fresh motor mounts by the way:
Some extra things that came with the car:
Next came the stripping and once over of the roller:
06-12-07, 03:59 PM
#3
Technician
Thread Starter
iTrader: (1)
Join Date: Aug 2006
Location: Virginia
Posts: 1,008
Likes: 0
Received 0 Likes
on
0 Posts
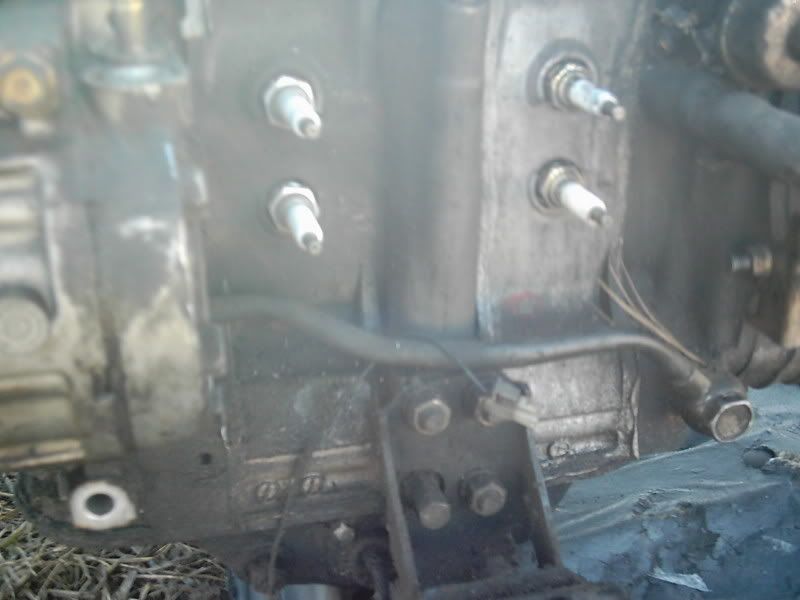
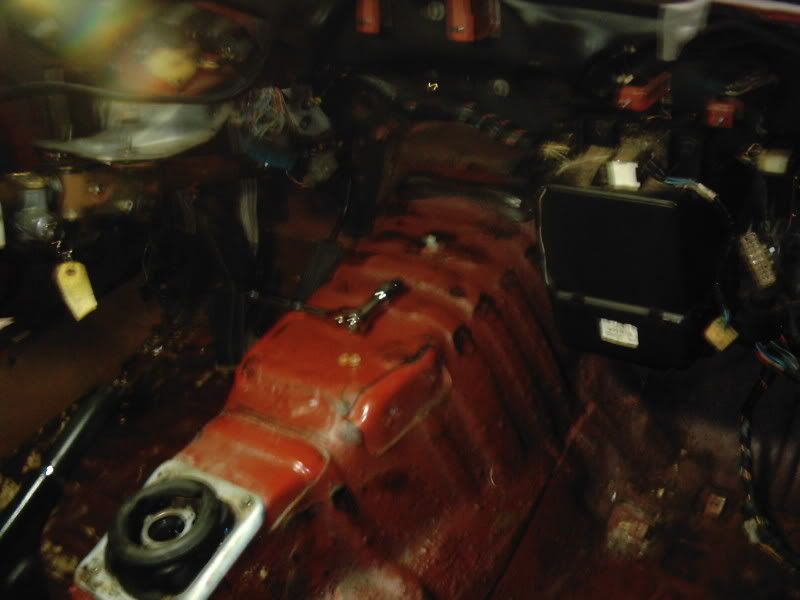
The once through:
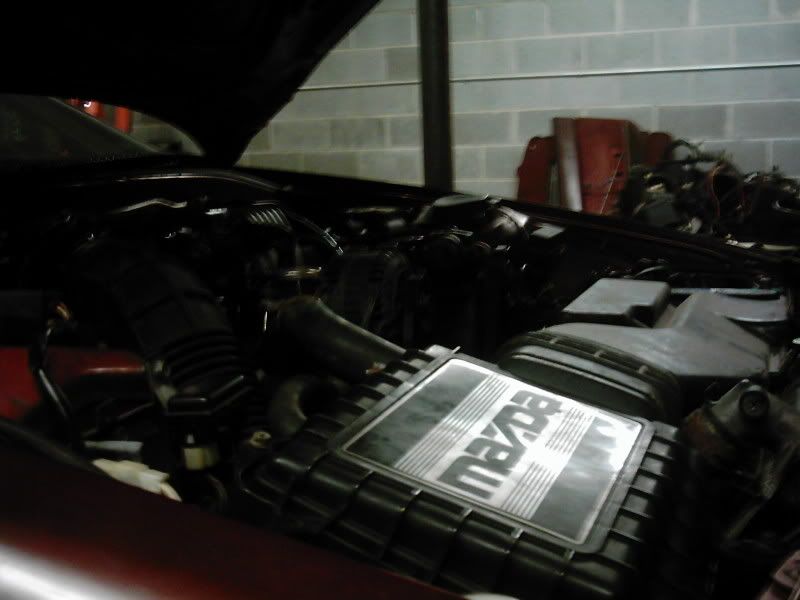
(just one last engine shot before we get going on the once through)
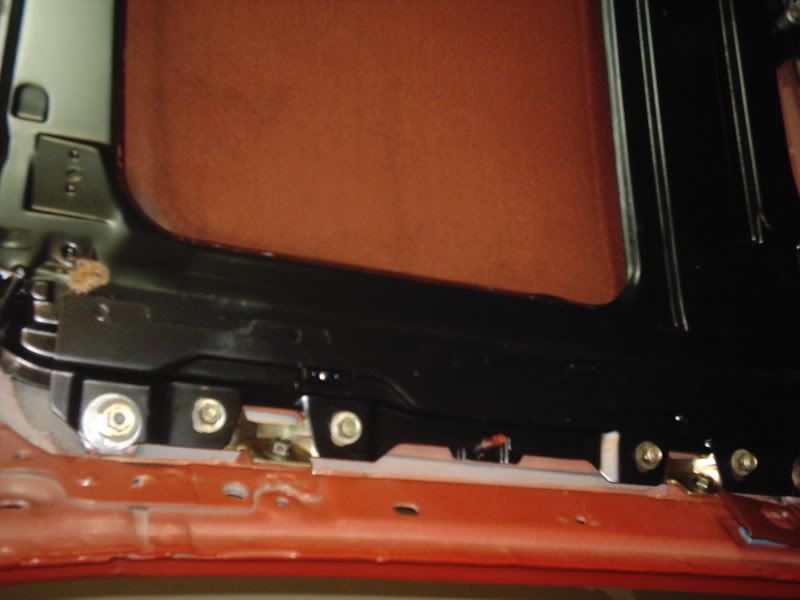
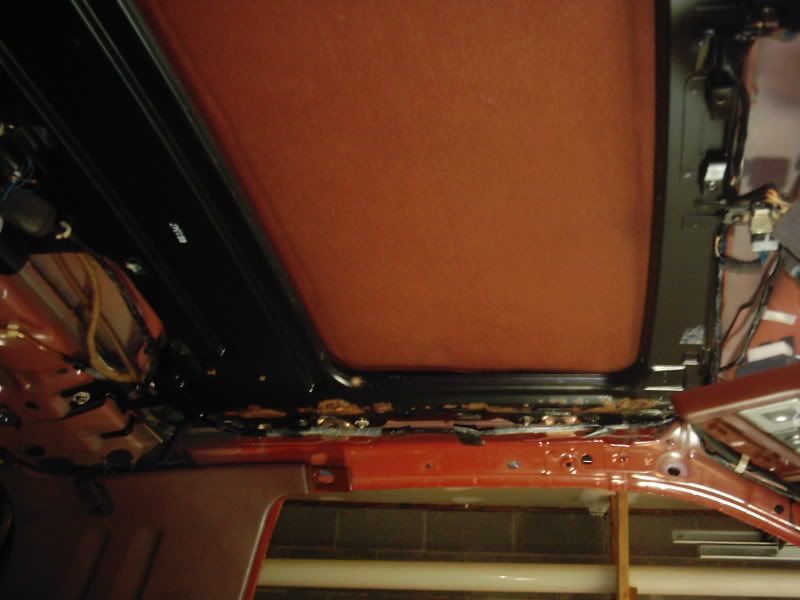
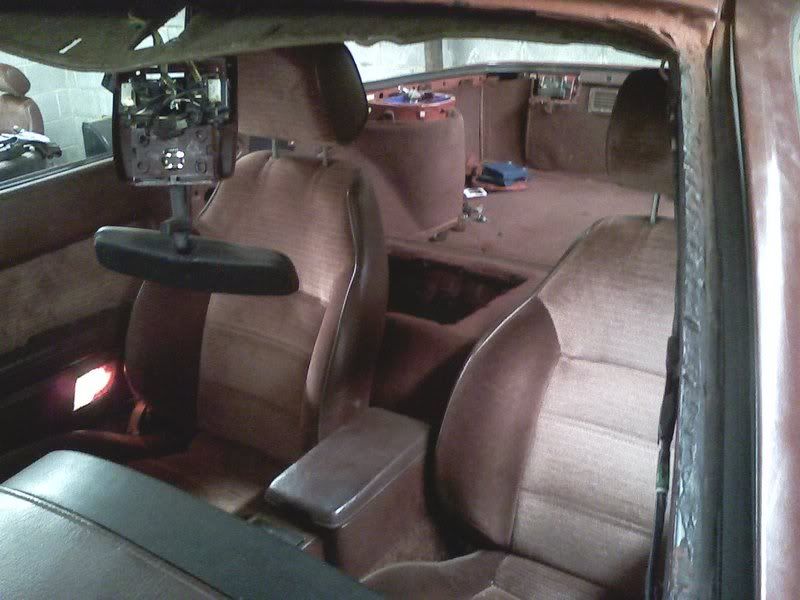
I removed the head liner and as much of the interrior as possible, and here are some snap shots:
I noticed some rust on the winshield assembly, so I removed and replaced it completly with the one from the donor car.
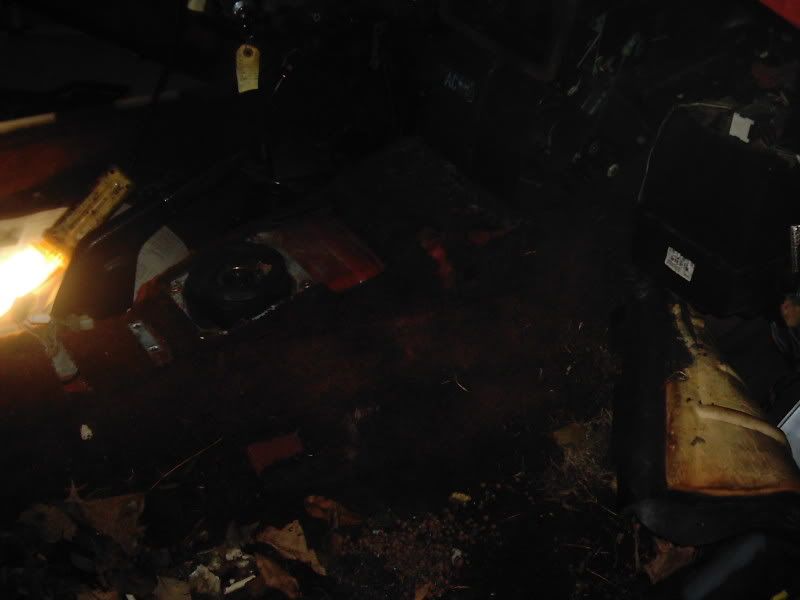
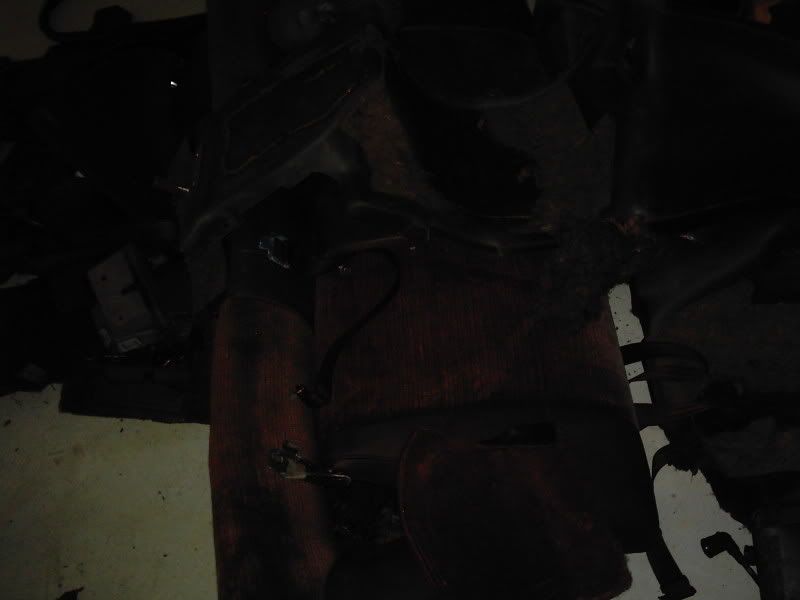
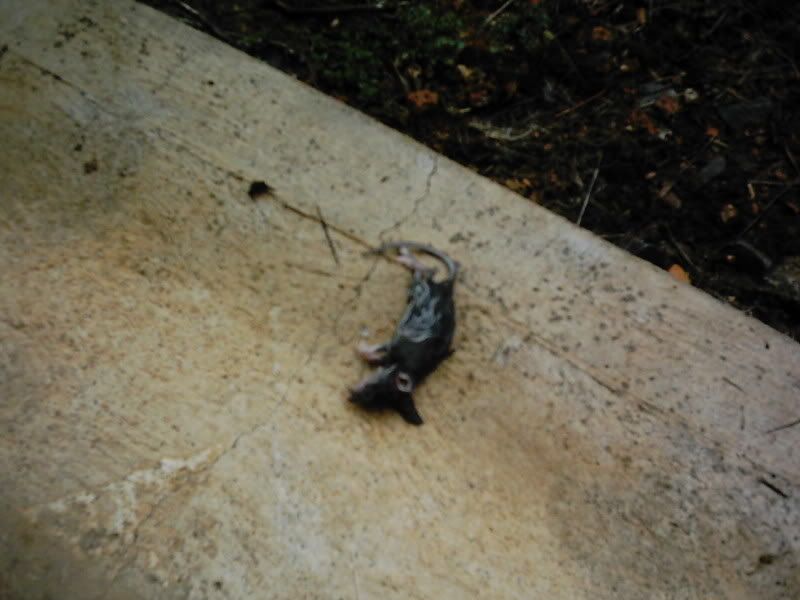
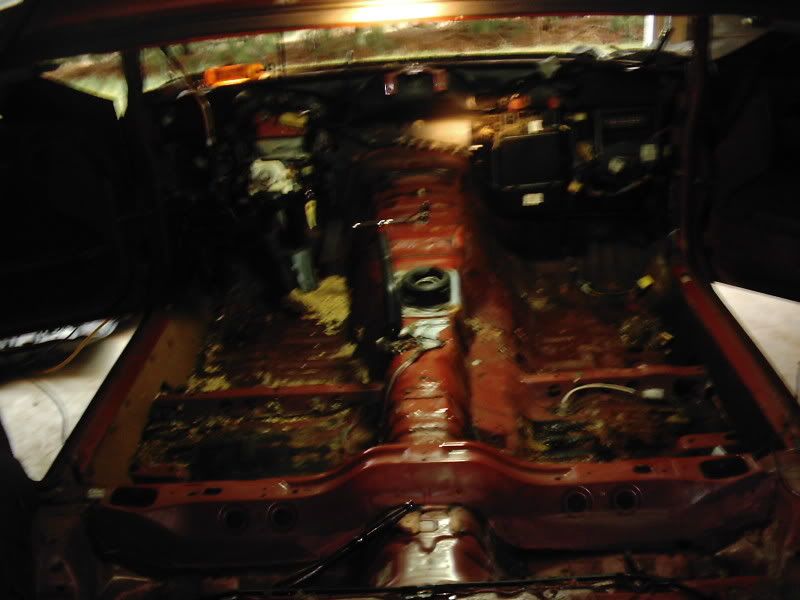
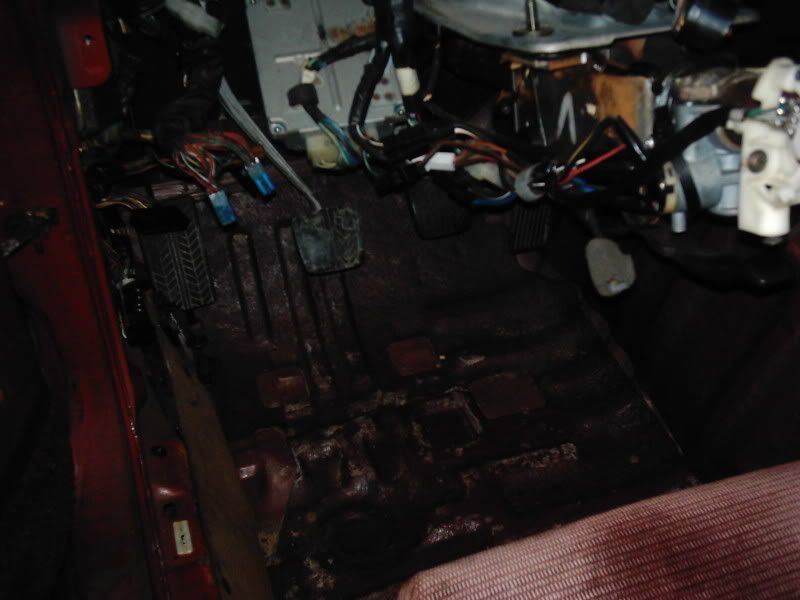
I also removed the carpet as it was completly ruined. It smelled... and I found some surprises:
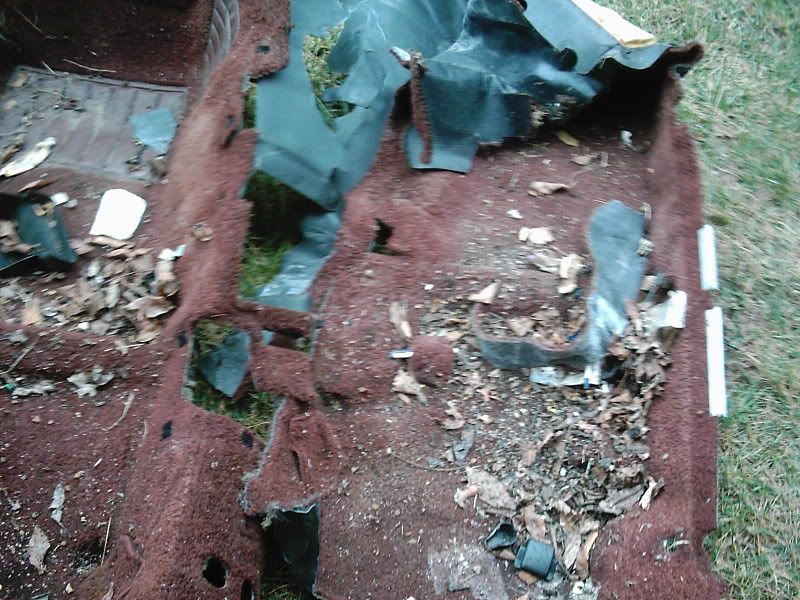
He was undearneath the carpet... I assume drowned.
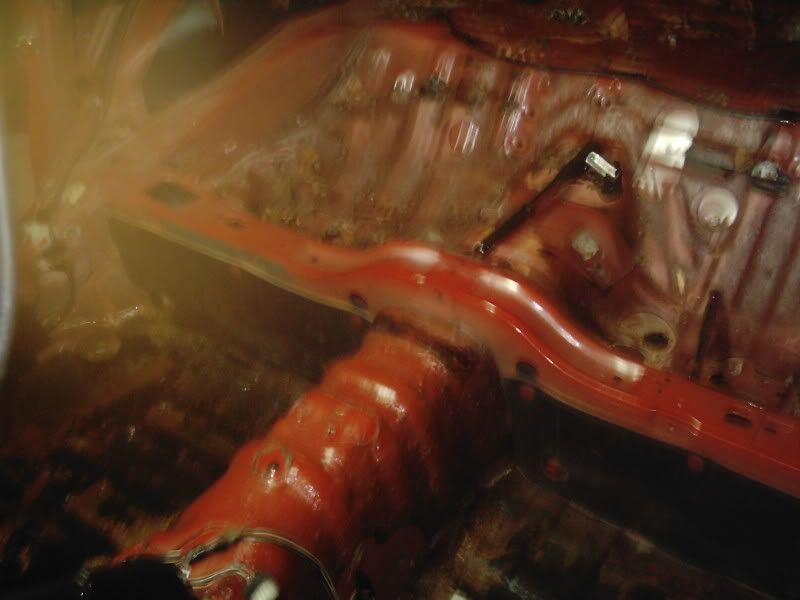
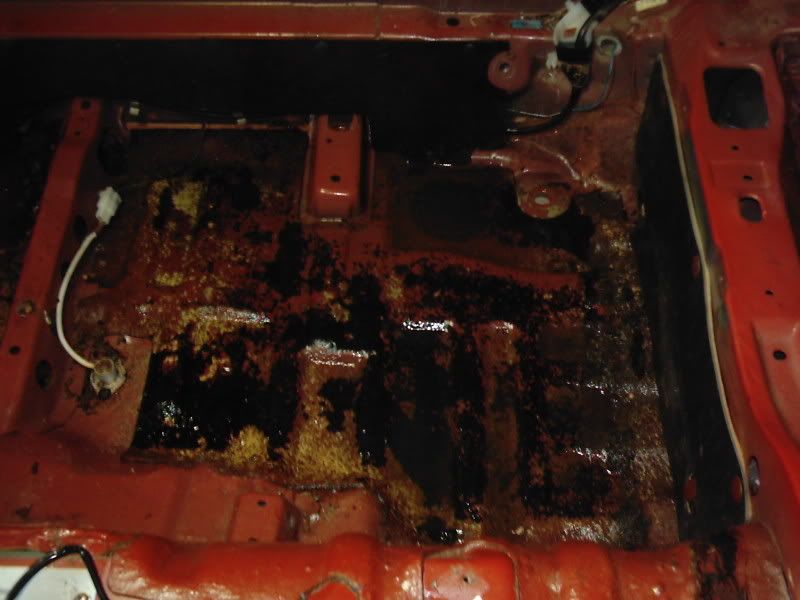
The inside of the car, notice the shiney bits? That is standing water about .5 inch deep:
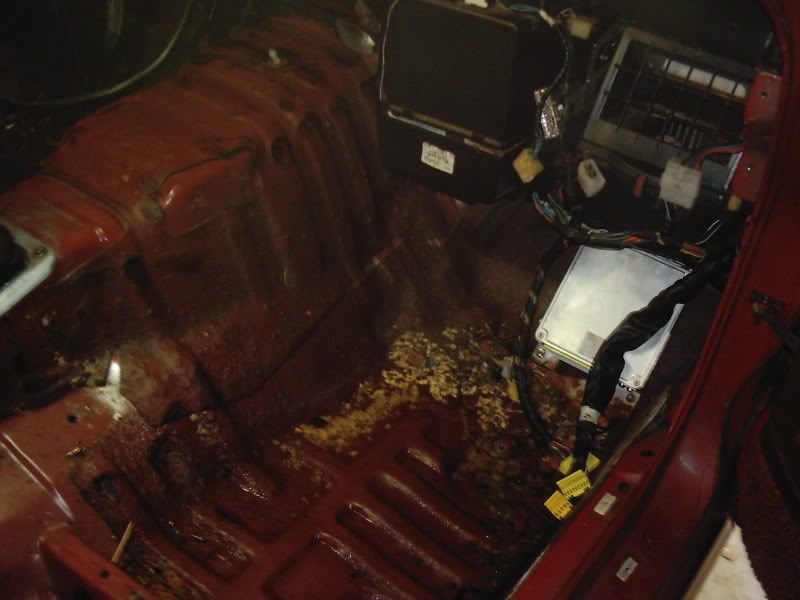
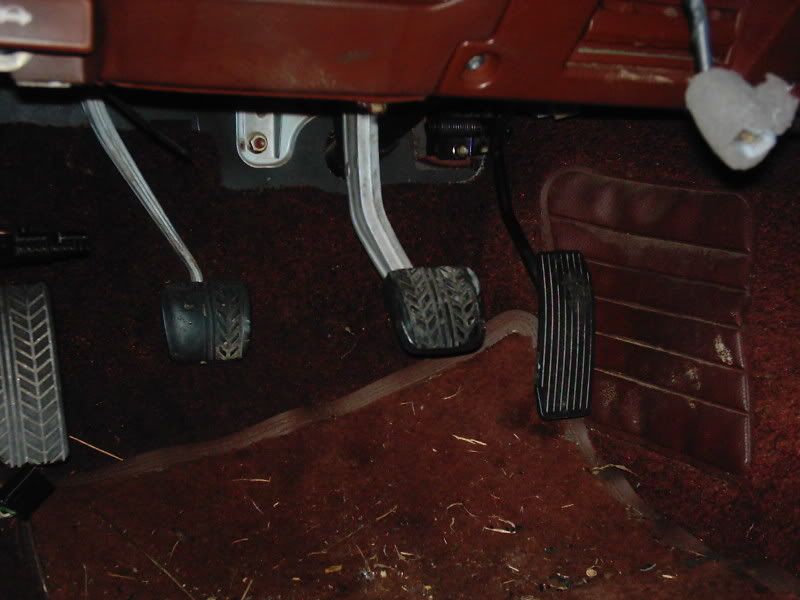
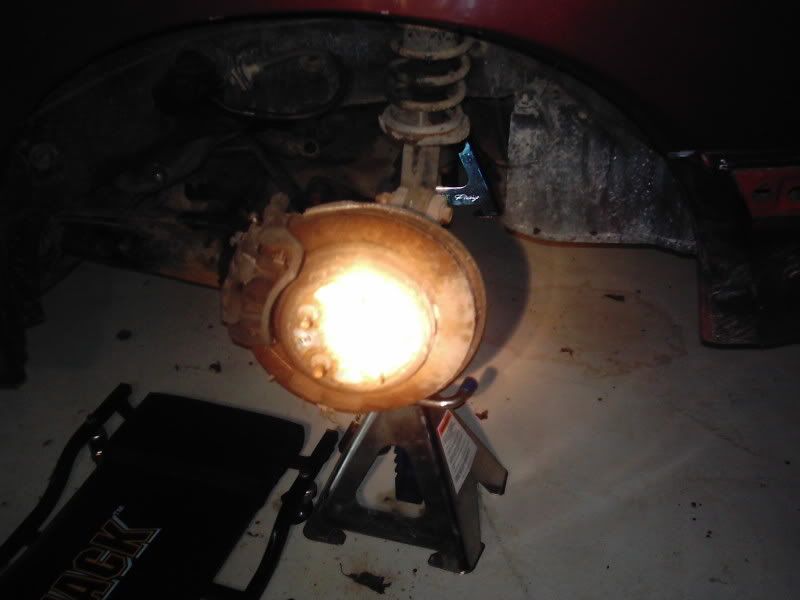
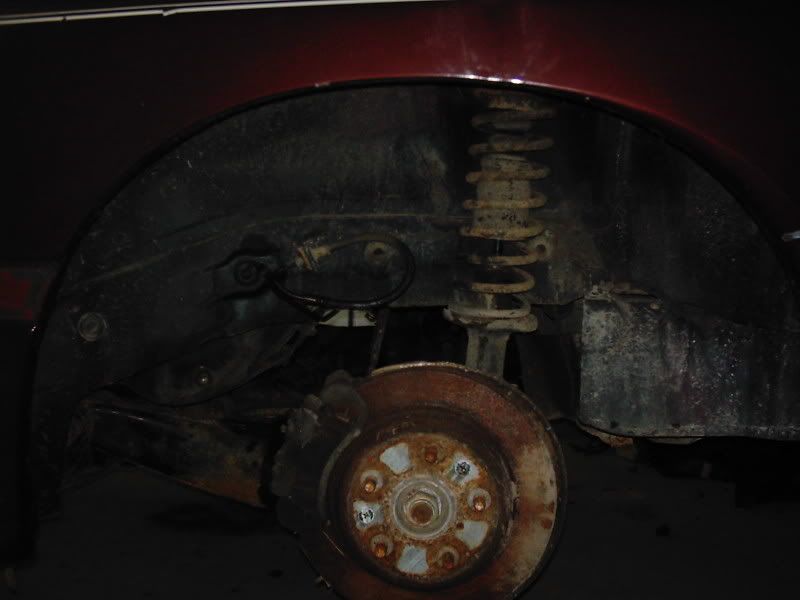
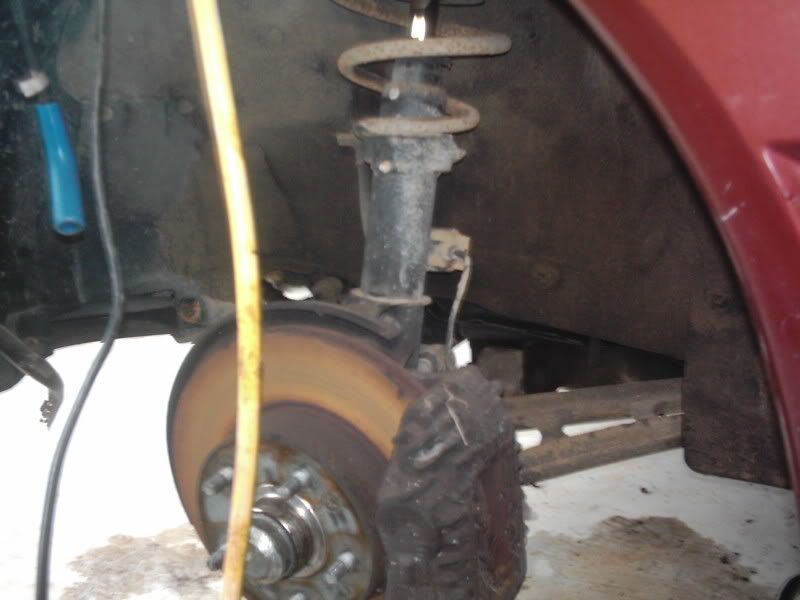
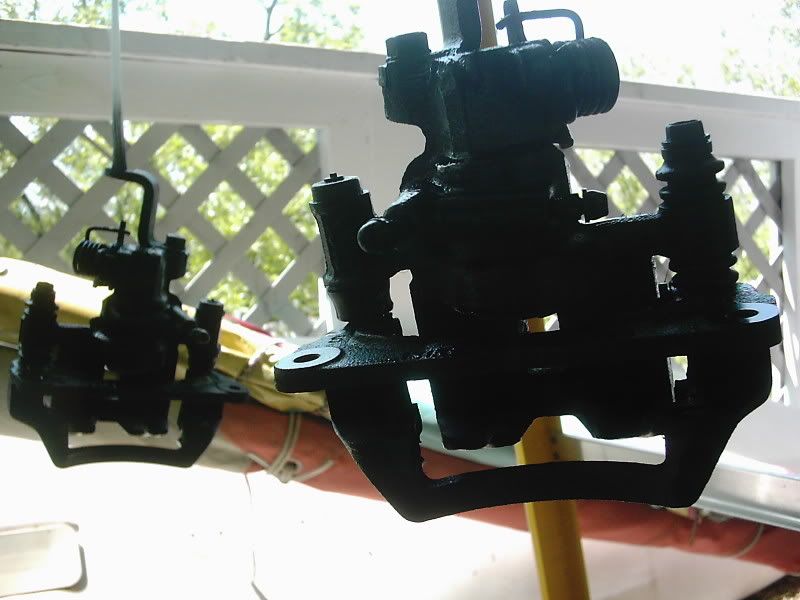
I also inspected the brakes:


I removed the head liner and as much of the interrior as possible, and here are some snap shots:
I noticed some rust on the winshield assembly, so I removed and replaced it completly with the one from the donor car.
I also removed the carpet as it was completly ruined. It smelled... and I found some surprises:
He was undearneath the carpet... I assume drowned.
The inside of the car, notice the shiney bits? That is standing water about .5 inch deep:
I also inspected the brakes:
06-12-07, 04:07 PM
#4
Technician
Thread Starter
iTrader: (1)
Join Date: Aug 2006
Location: Virginia
Posts: 1,008
Likes: 0
Received 0 Likes
on
0 Posts
Once Through Cont.:
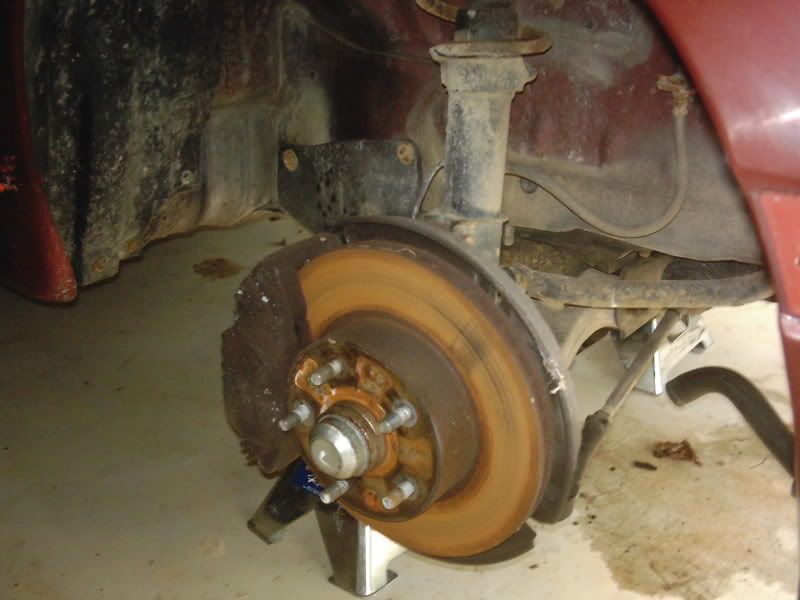
I didn't trust the brakes to say the least, so I made note to pick up some new components (mostly rotors).
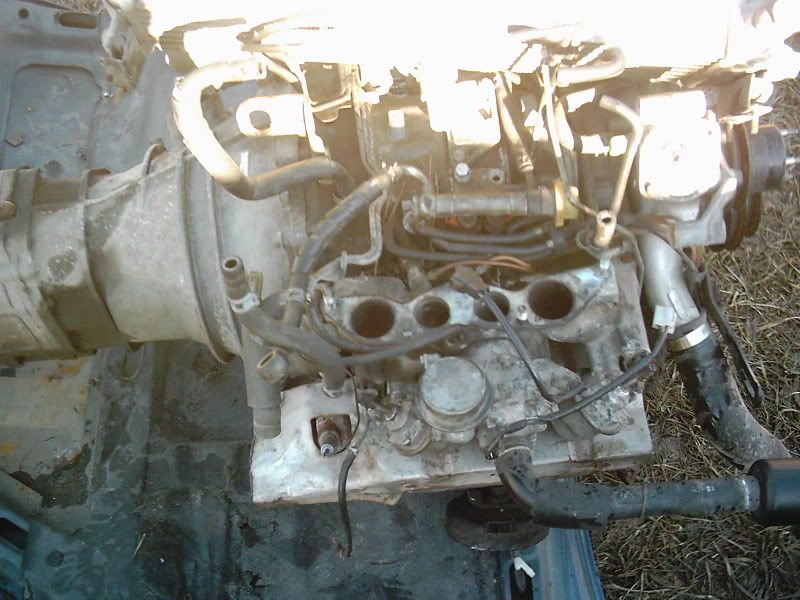
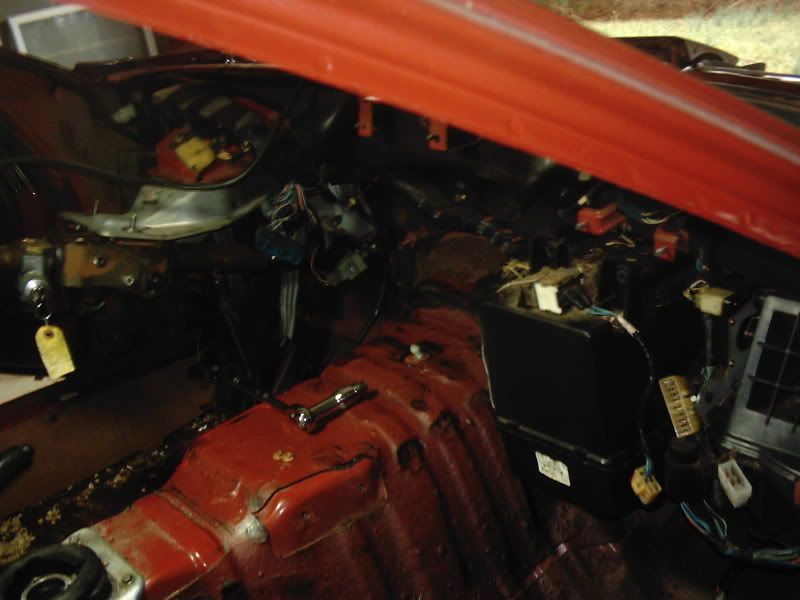
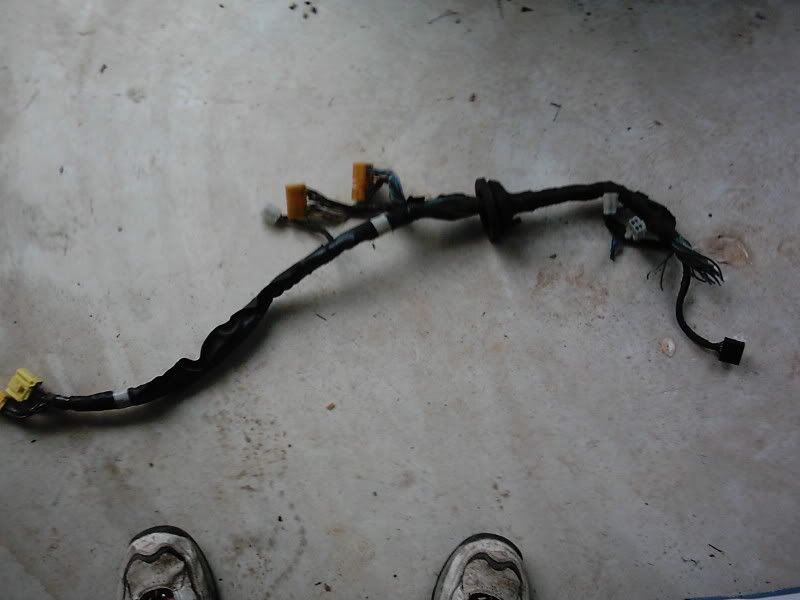
I also noticed some damaged and missing pieces:
like the engine harness...
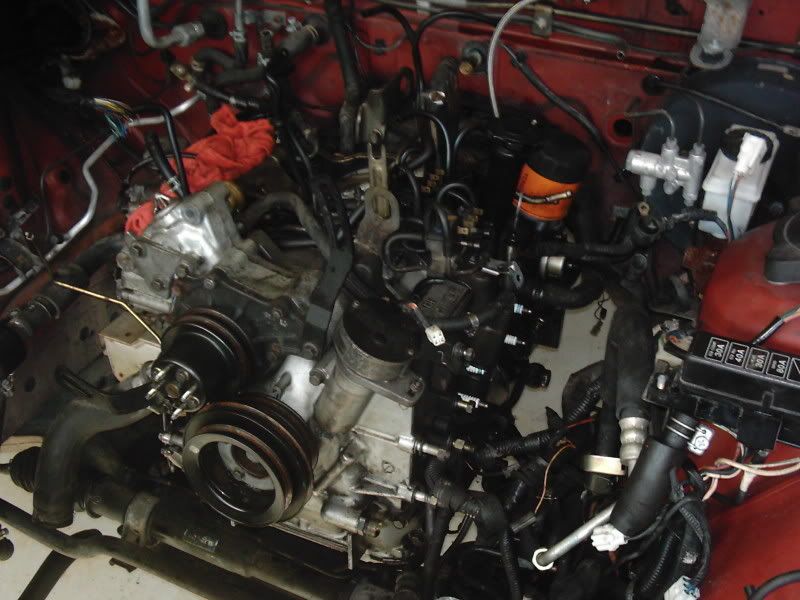
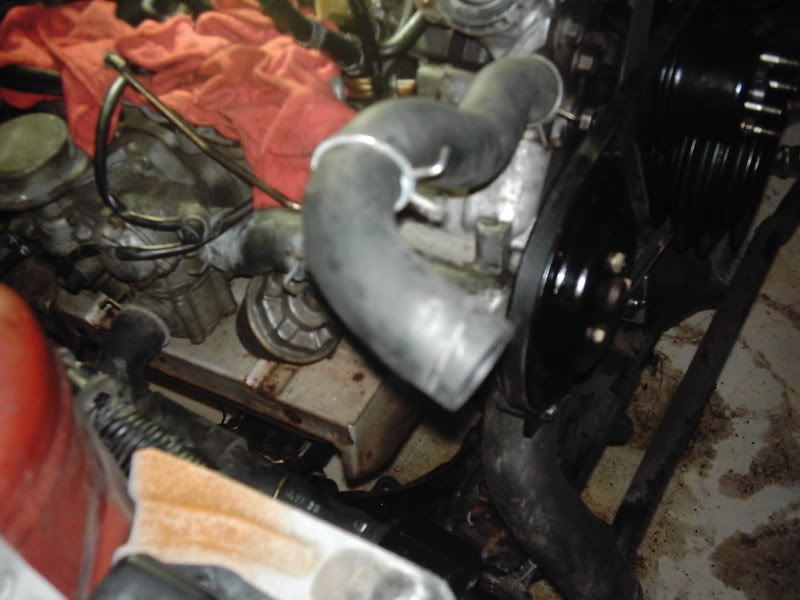
(that was two days work by the way) The next day I decided to actually do some engine work  :
:

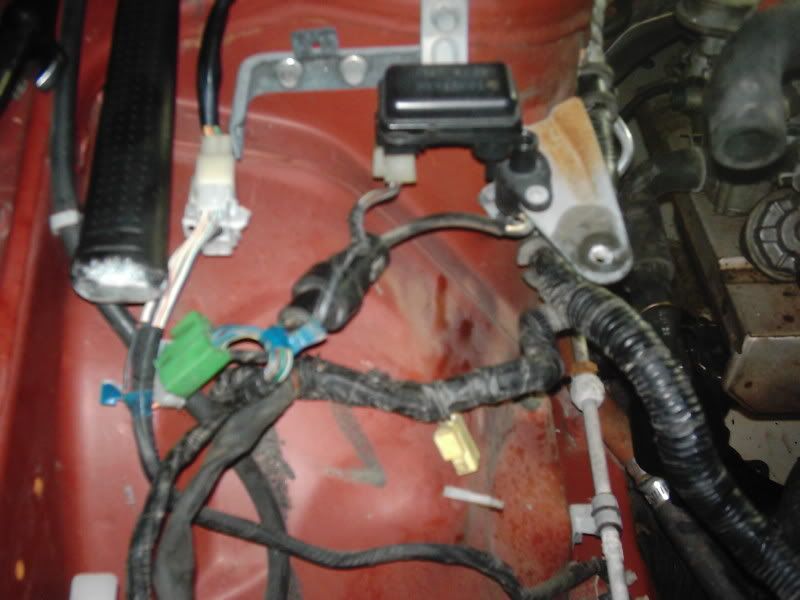
I also replaced the engine harness:
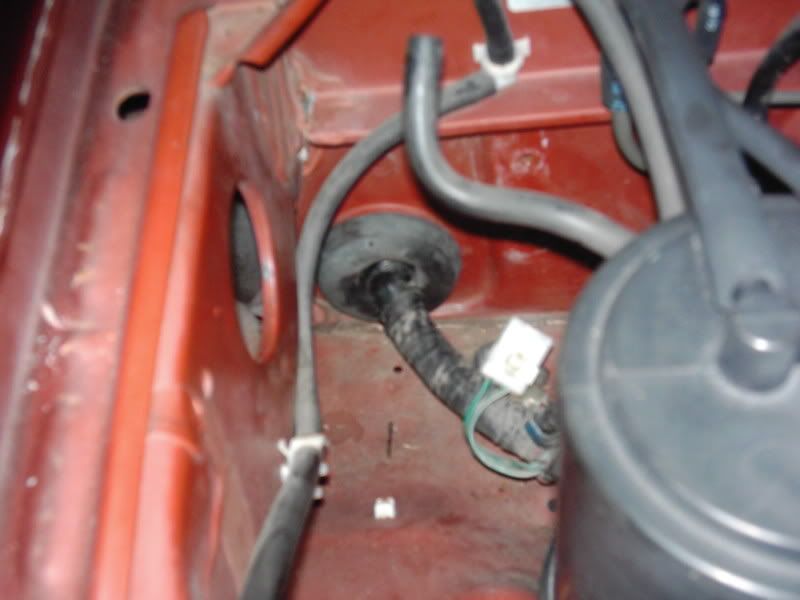
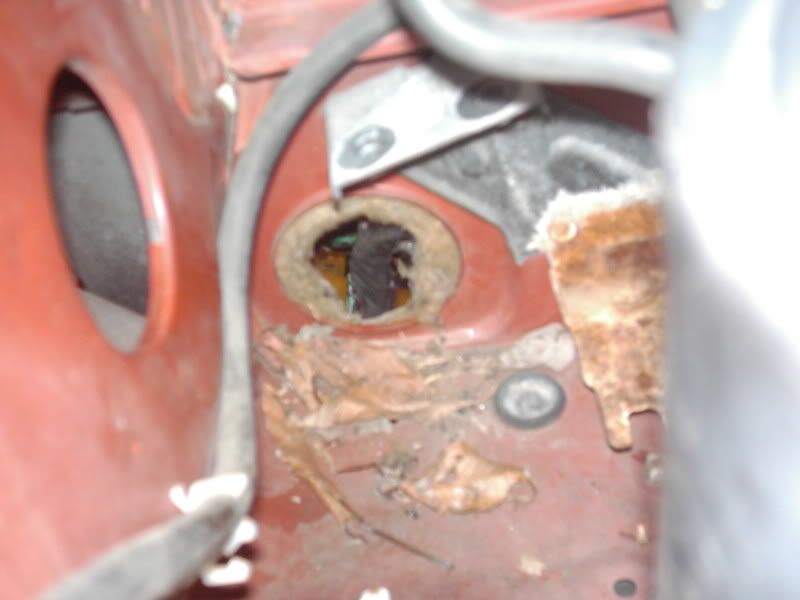
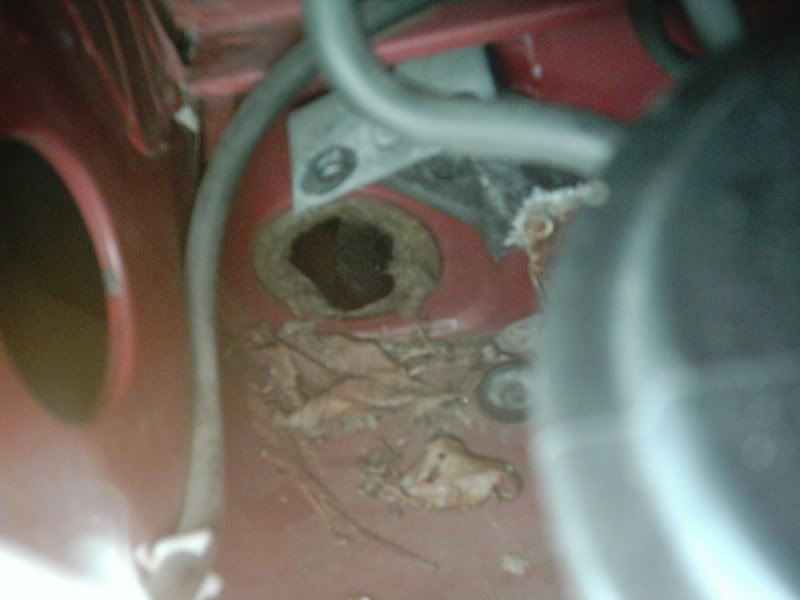
Cleaned up the mouse nest:
Installed a trusted ecu:
Installed clutch MC and SS Line:
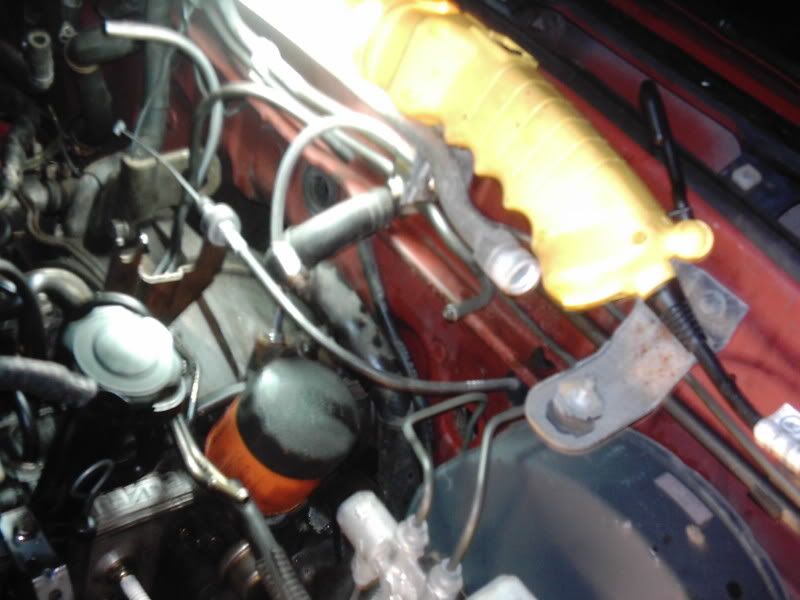
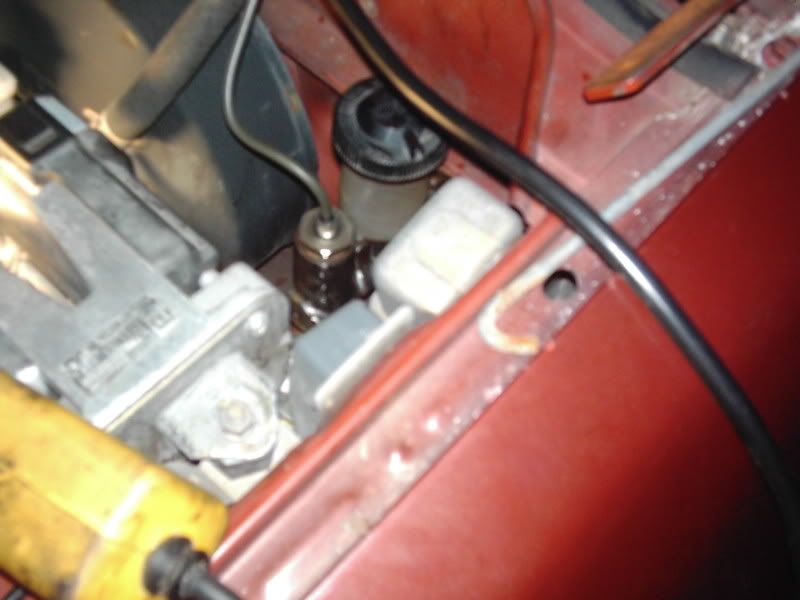
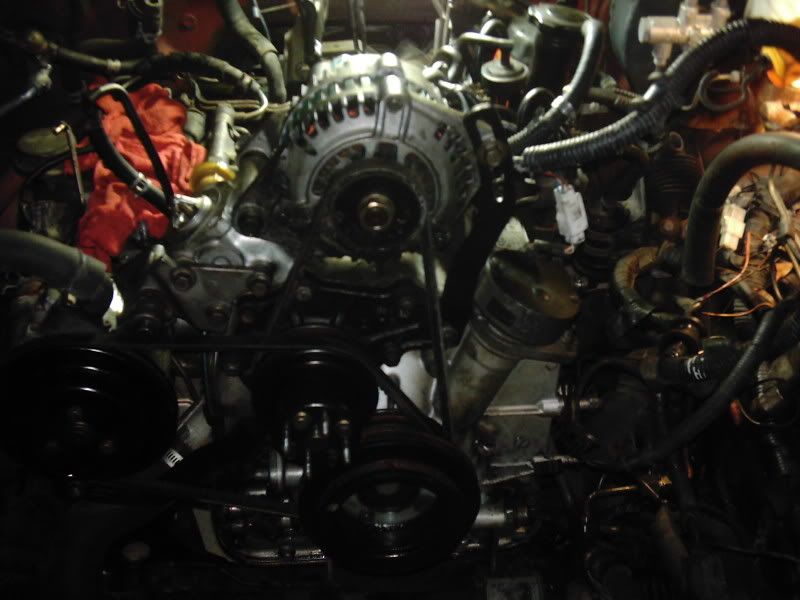
and a better view of the engine:
I also noticed some damaged and missing pieces:
like the engine harness...
(that was two days work by the way) The next day I decided to actually do some engine work
I also replaced the engine harness:
Cleaned up the mouse nest:
Installed a trusted ecu:
Installed clutch MC and SS Line:
and a better view of the engine:
06-12-07, 04:15 PM
#5
Technician
Thread Starter
iTrader: (1)
Join Date: Aug 2006
Location: Virginia
Posts: 1,008
Likes: 0
Received 0 Likes
on
0 Posts
A couple days break from pictures:
I spent a few days making sure the engine was hooked up correctly and installing a few parts here and there for the engine. It then became time to crank it up:
Before:
After:
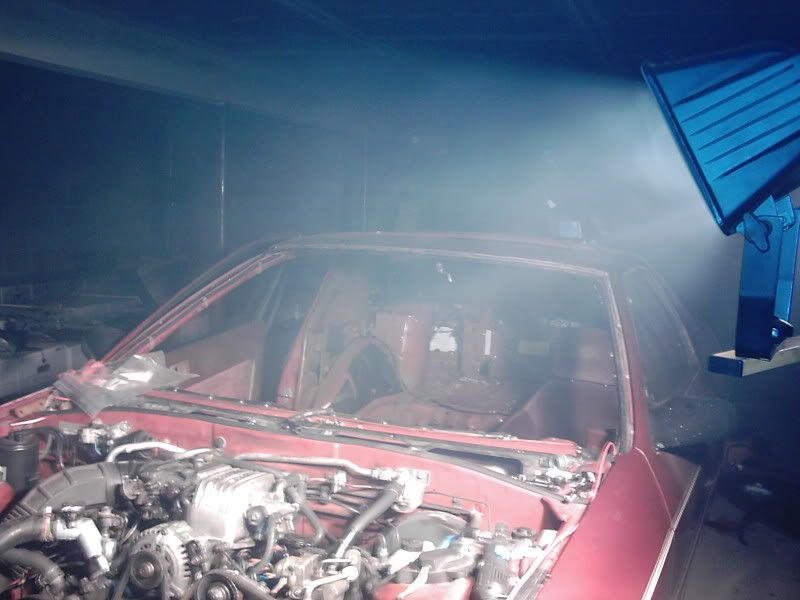
(The smoke was from the oil as well as the carb cleaner)
For some reason this reminds me of drugs:
About this time I also received a nice package from need-a-t2...

So in celebration I made some videos of the engine running (3rd and 4th it actually runs):


Before:
After:
(The smoke was from the oil as well as the carb cleaner)
For some reason this reminds me of drugs:
About this time I also received a nice package from need-a-t2...
So in celebration I made some videos of the engine running (3rd and 4th it actually runs):
06-12-07, 04:31 PM
#6
Technician
Thread Starter
iTrader: (1)
Join Date: Aug 2006
Location: Virginia
Posts: 1,008
Likes: 0
Received 0 Likes
on
0 Posts
Change of focus:
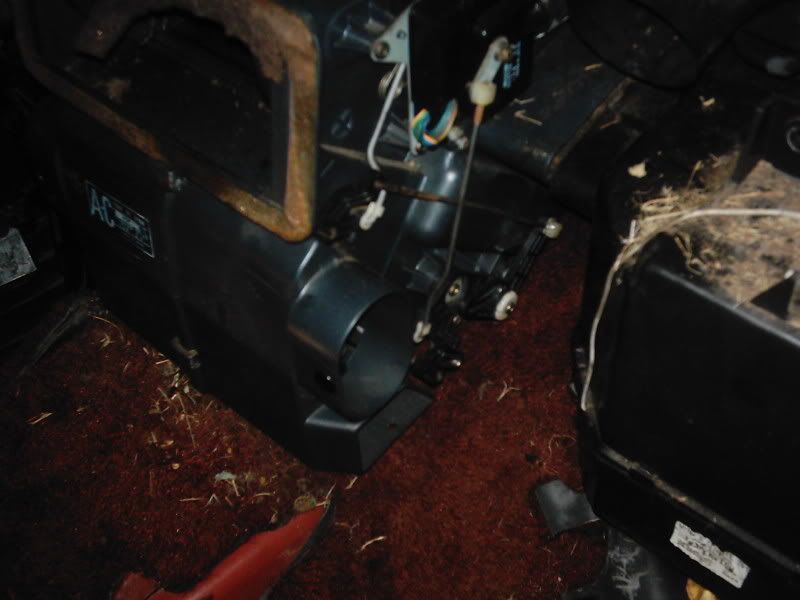
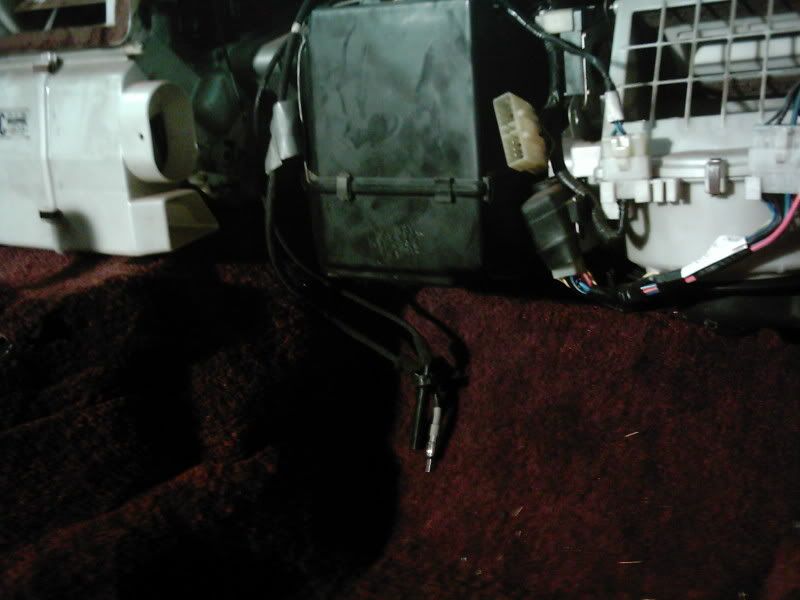
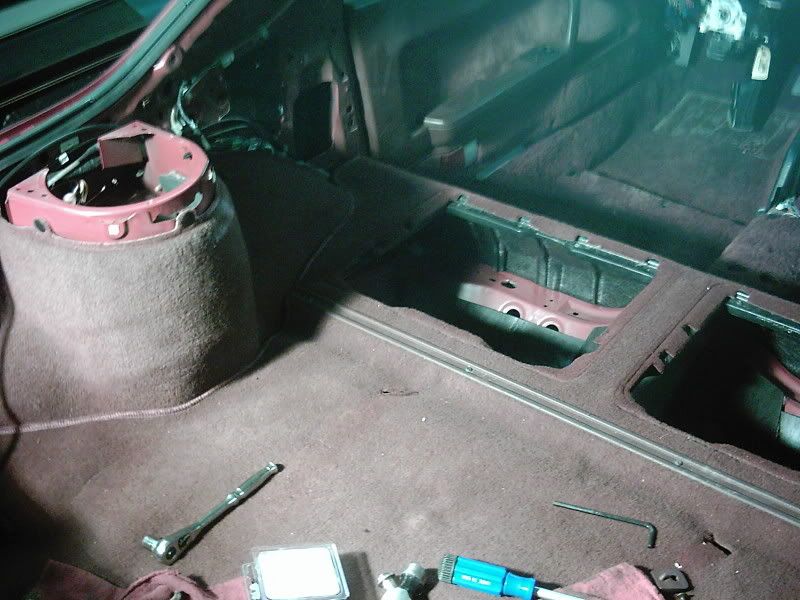
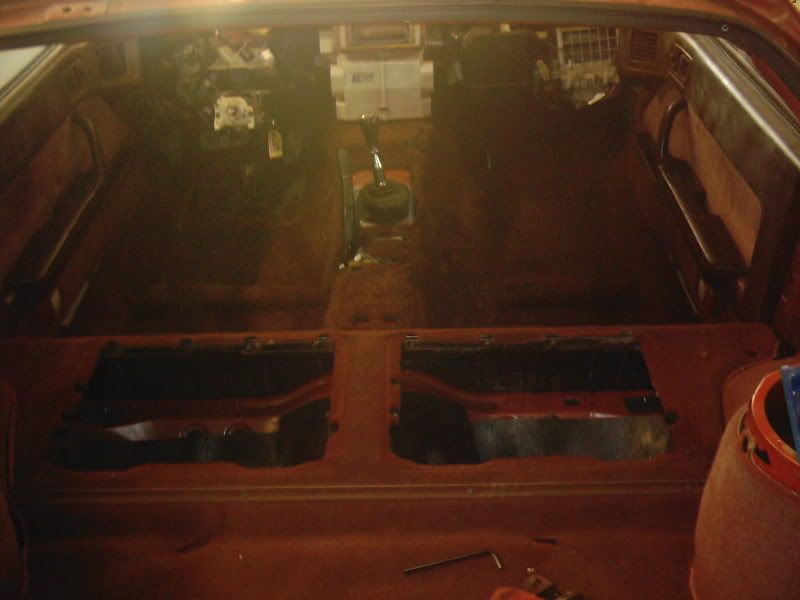
By this time I had gotten complaints about the noise and smoke so I decided to work on the inside of the car; replacing the carpet the climate control, even the rear seats for the hatches. About this time too I fixed the sunroof (I won't post those pics just see the walk through).
Nice fresh carpet, and climate control, YEA!

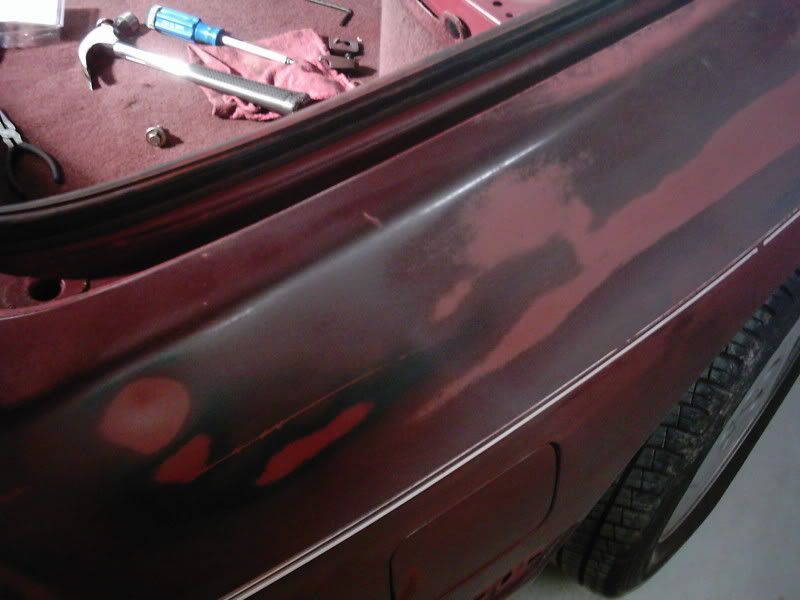
I also started doing a little body work, and noticed that this is the 2nd paint job on the car...
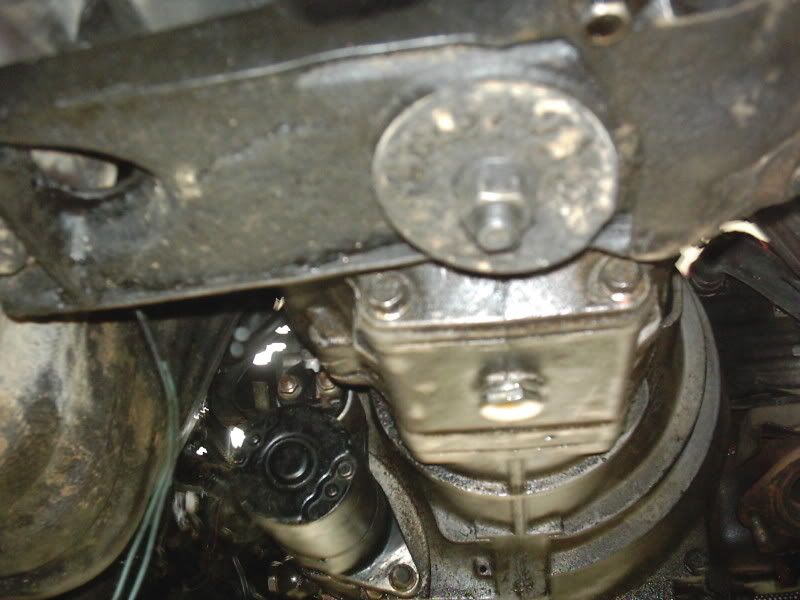
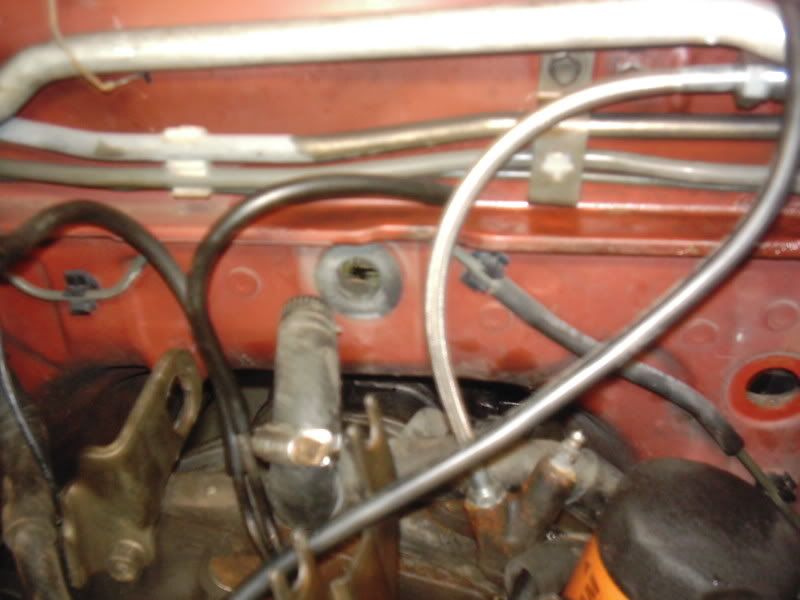
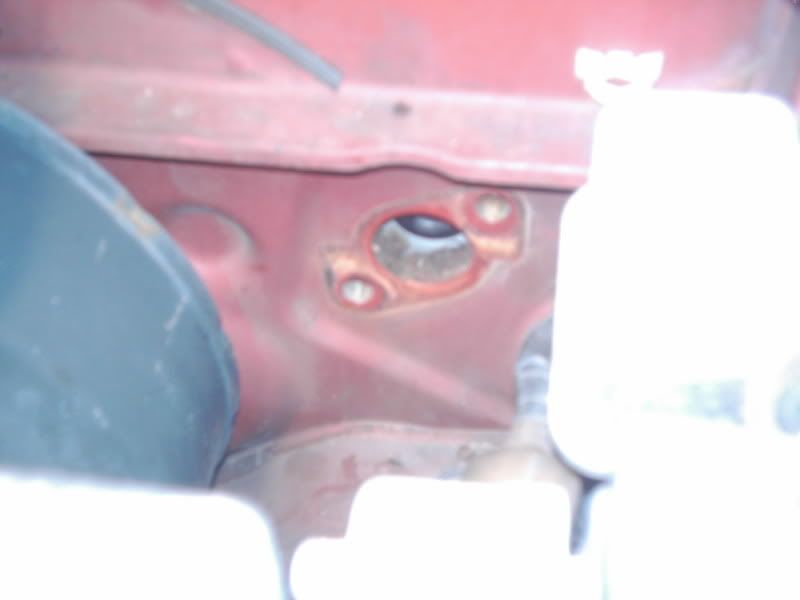
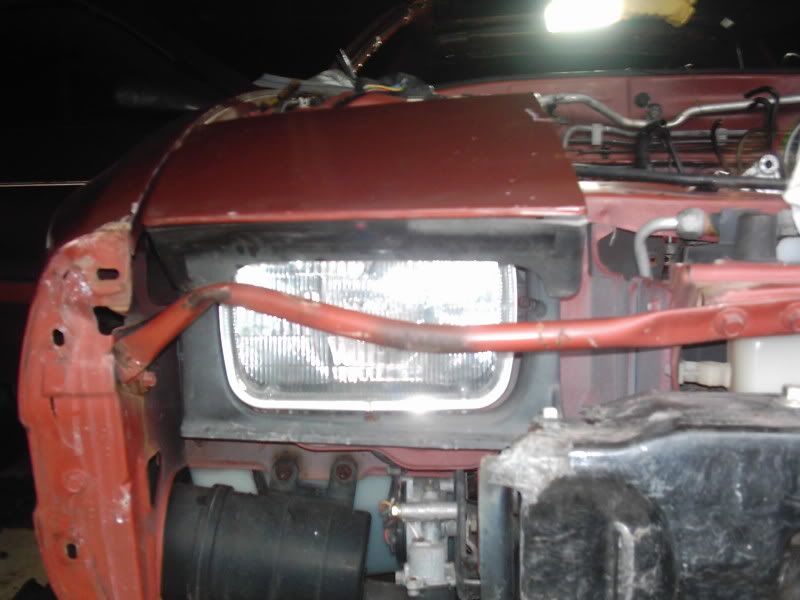
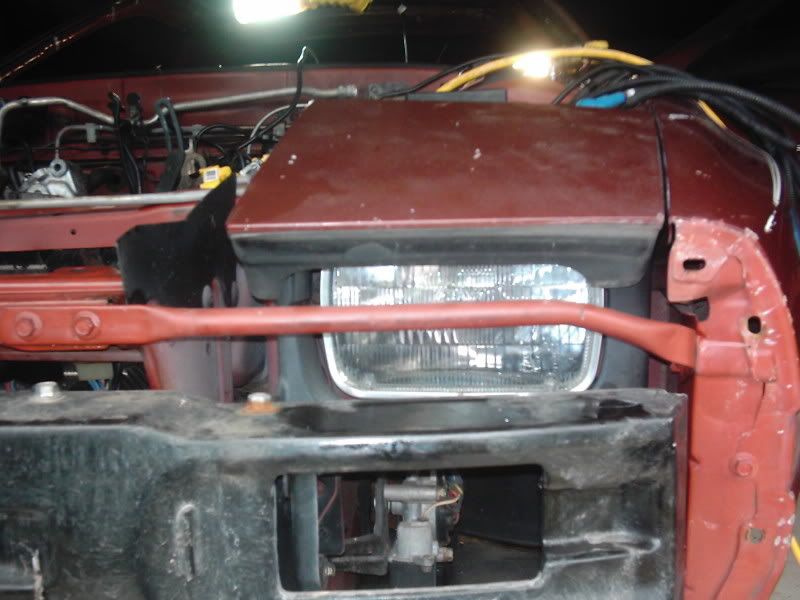
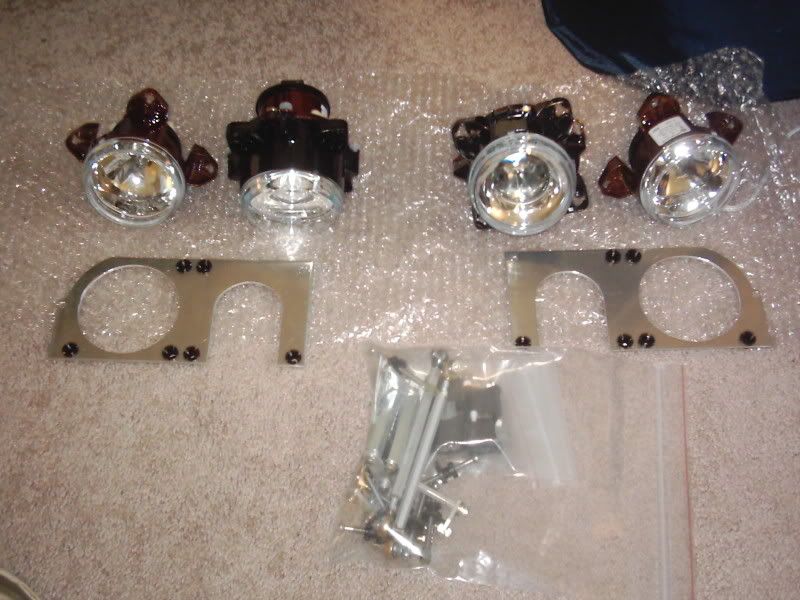
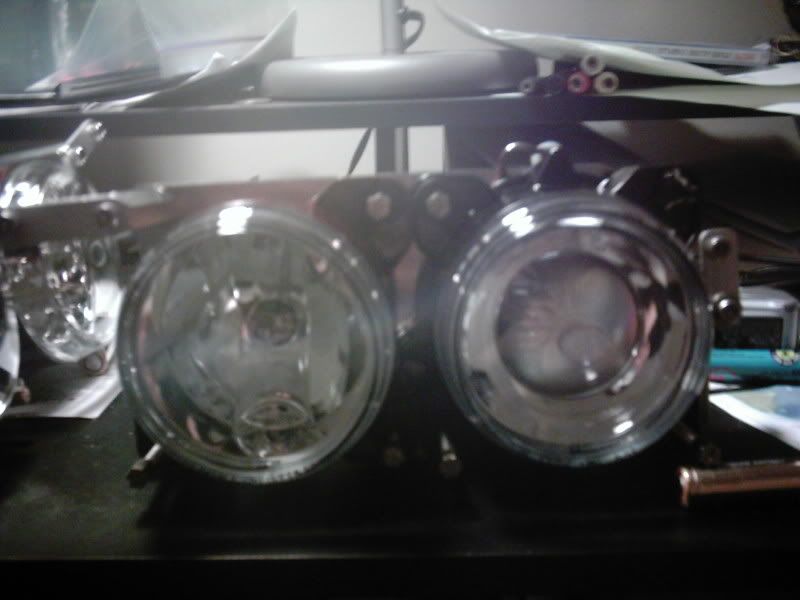
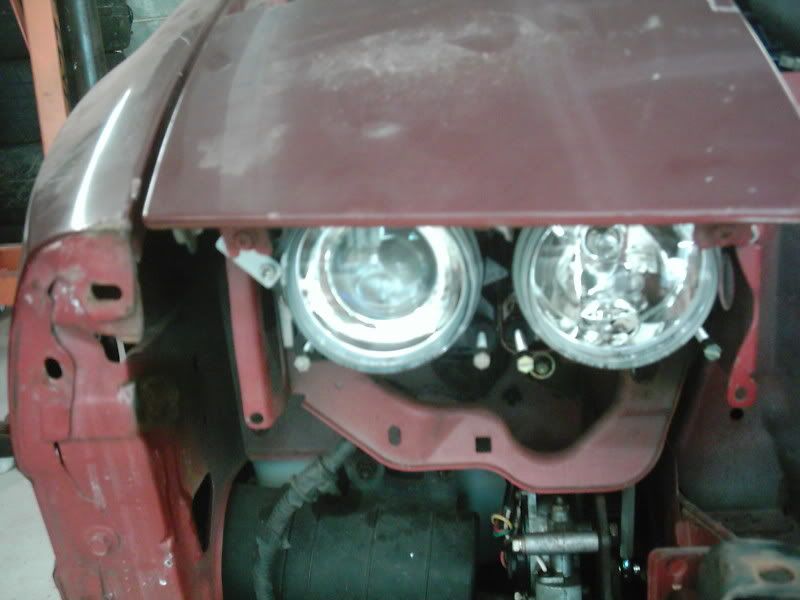
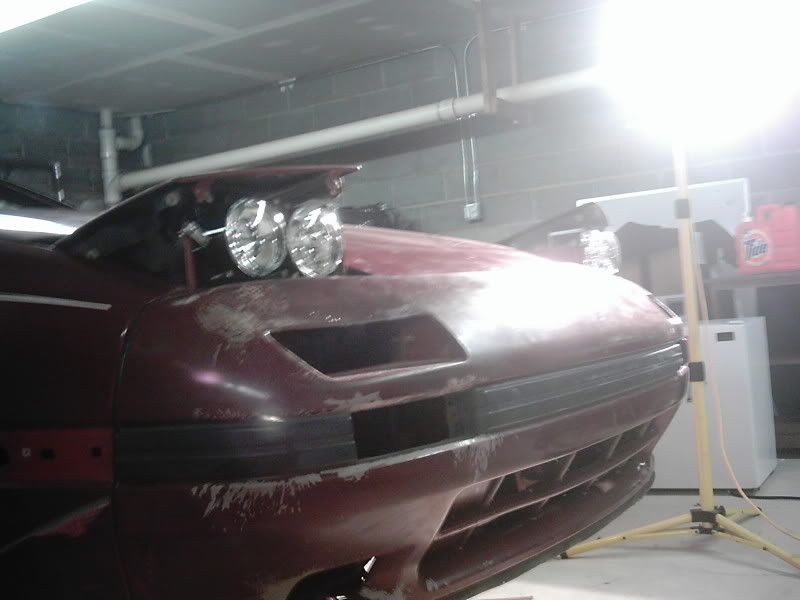
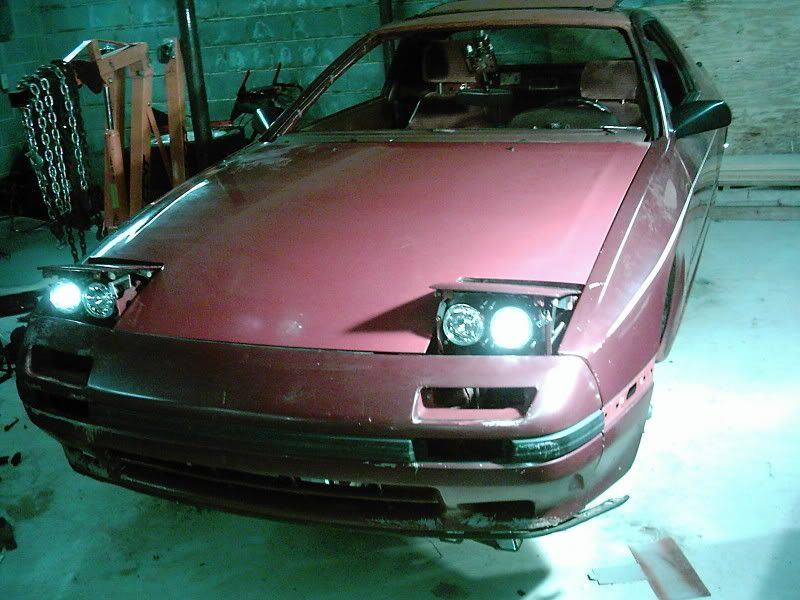
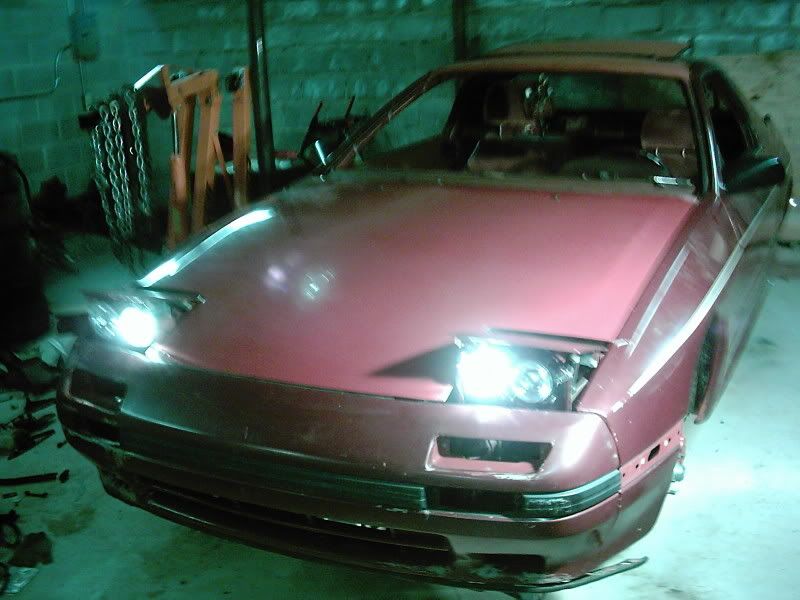
I got around to installing those lights too:
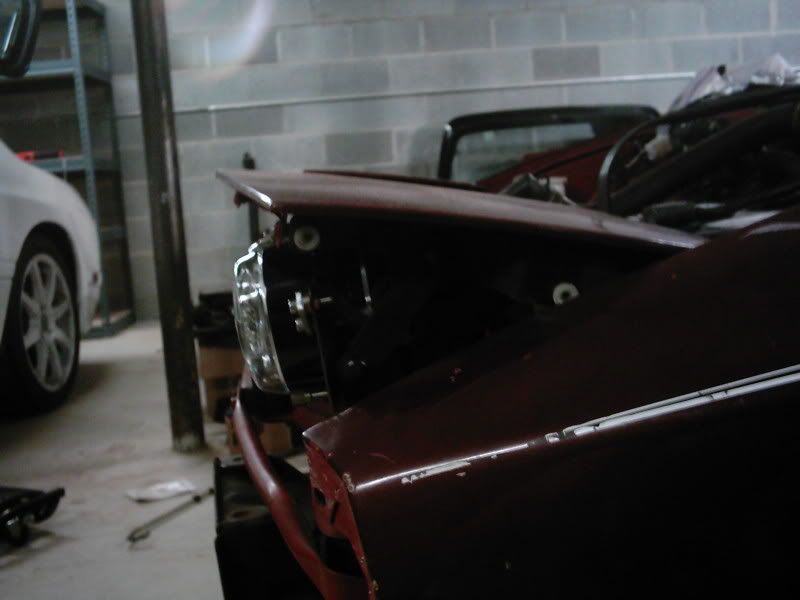
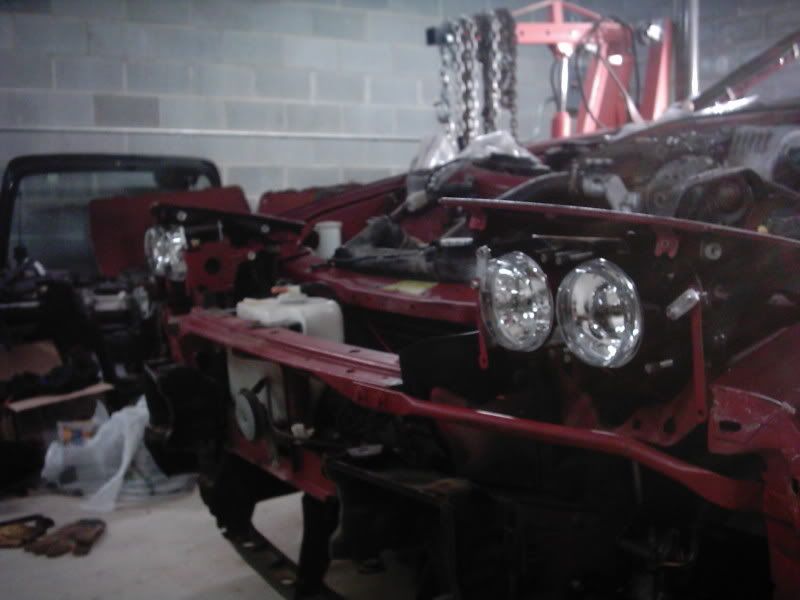
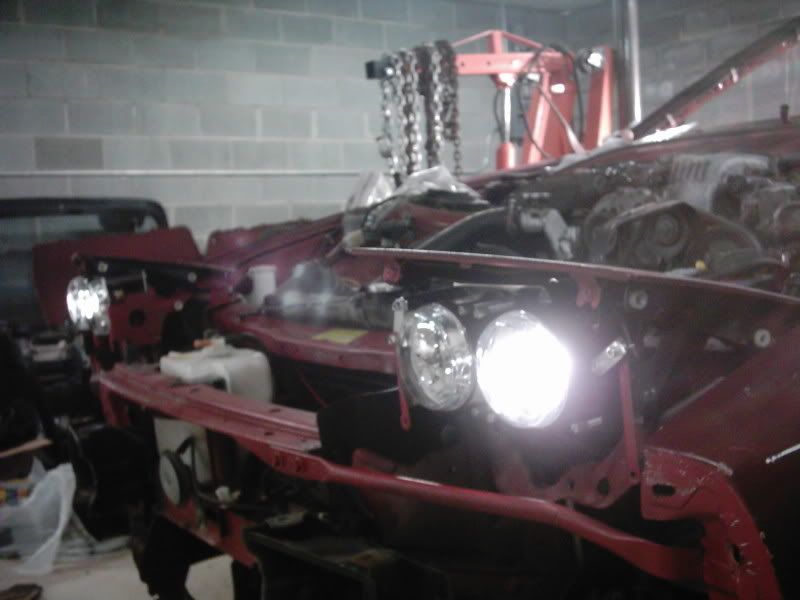
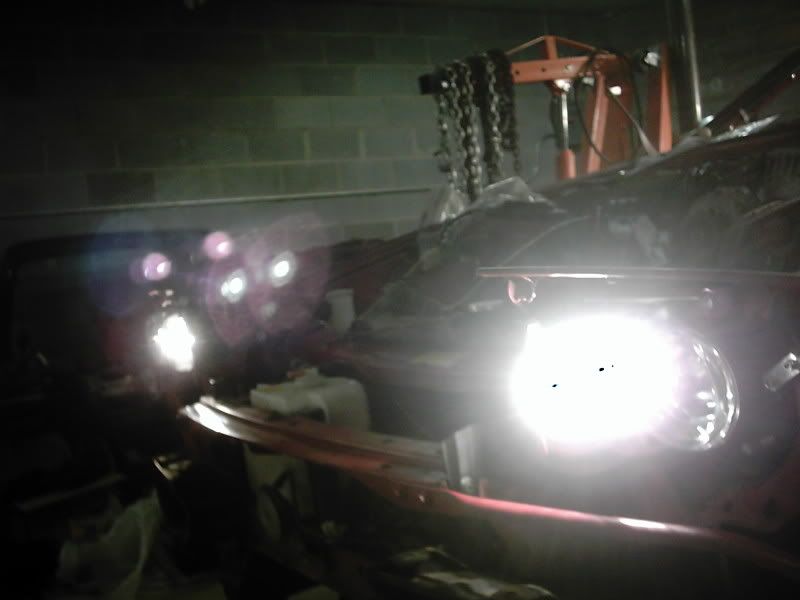
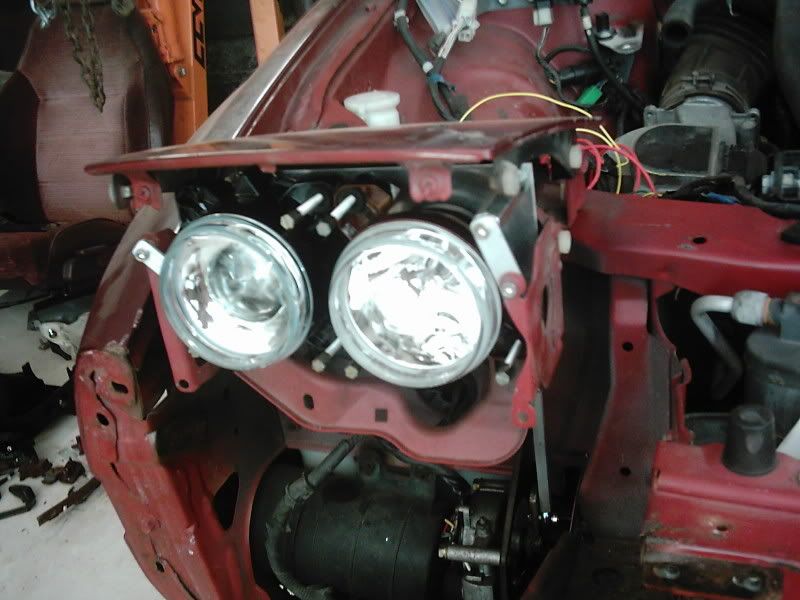
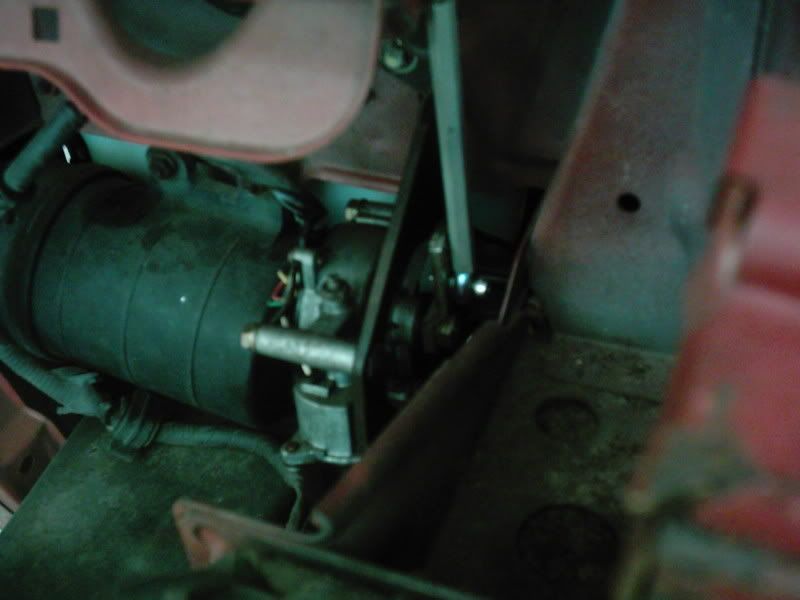
That nut down there was a pain in the butt:
I also got the climate control to work:
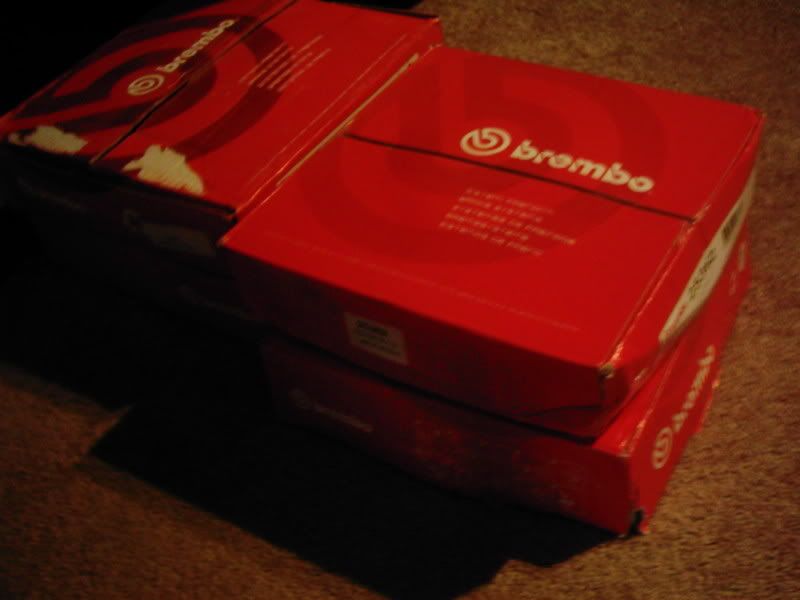
Soon afterwards I had a package come in from Brembo:
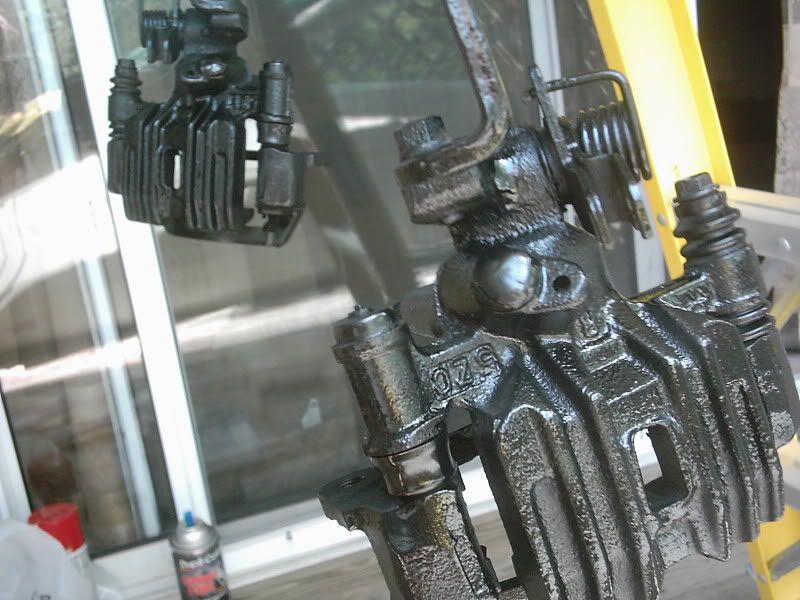
But I couldn't just leave my old calipers on there how they were of course, so i decided to dress them up too:
Nice fresh carpet, and climate control, YEA!
I also started doing a little body work, and noticed that this is the 2nd paint job on the car...
I got around to installing those lights too:
That nut down there was a pain in the butt:
I also got the climate control to work:
Soon afterwards I had a package come in from Brembo:
But I couldn't just leave my old calipers on there how they were of course, so i decided to dress them up too:
06-12-07, 04:39 PM
#7
Technician
Thread Starter
iTrader: (1)
Join Date: Aug 2006
Location: Virginia
Posts: 1,008
Likes: 0
Received 0 Likes
on
0 Posts
I gave a nice base coat of caliper paint in black (I would have done this better if I had the time, but I was under the gun by this time) and then coated red once that flashed (but of course no pictures):
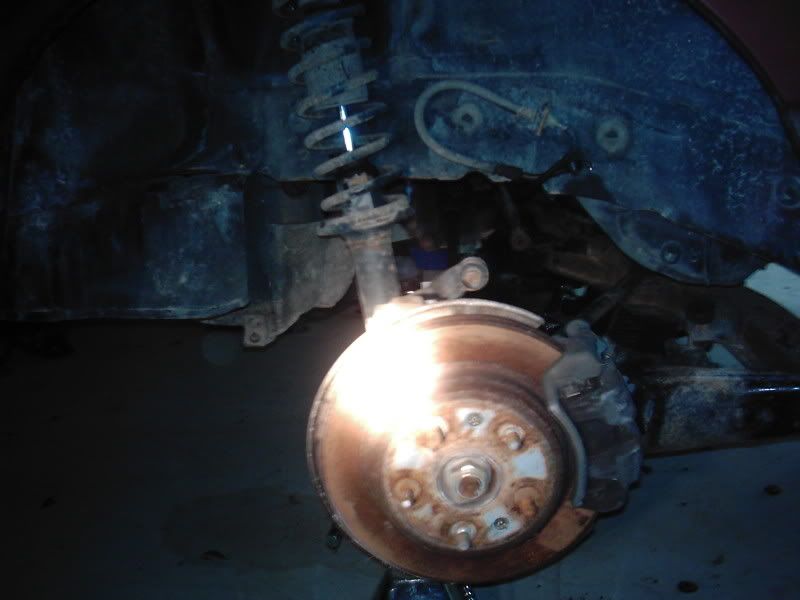
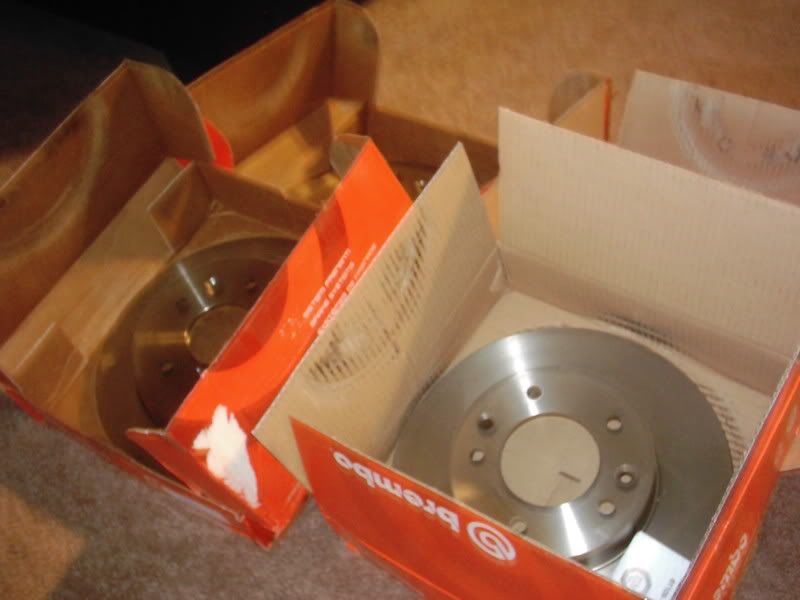
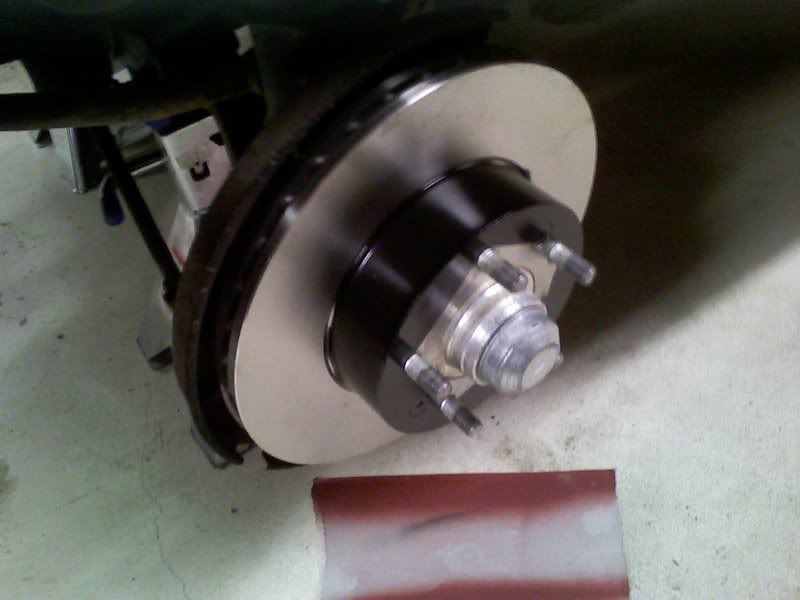
But I also sprayed the hats of the new rotors:
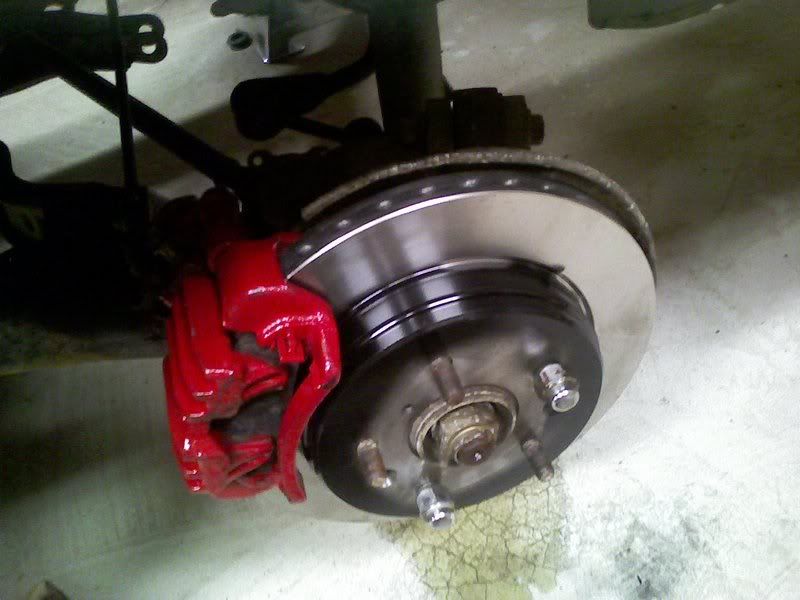
and with a red caliper (some ss brake lines too, but don't tell Ice Mark):
I finally got around to installing more interrior pieces

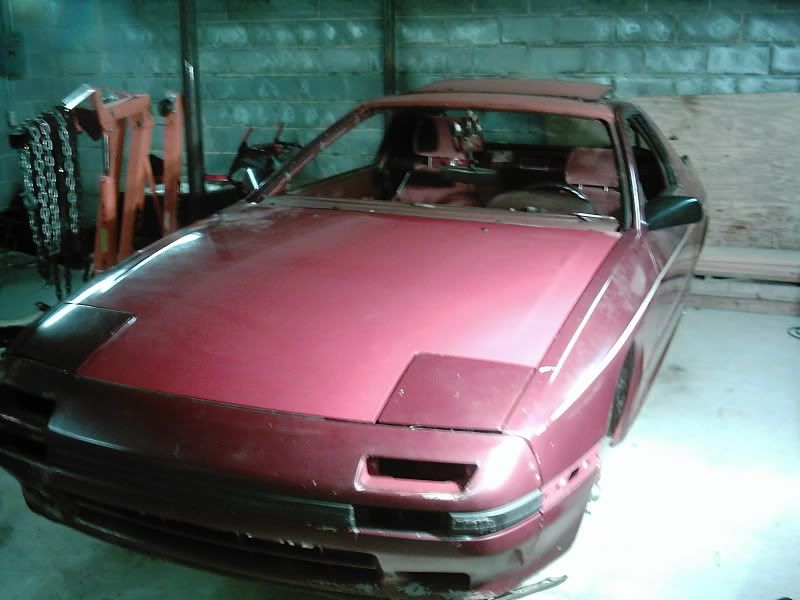
By now I had only a few things left to do, which included the exhaust, the hood, and the windshield. Unfortunatly I have the exhaust pictures and movie on my cell phone and won't be able to load them up for quite some time, but I did manage to find an aluminum hood in a junk yard dirt cheap
 :
:
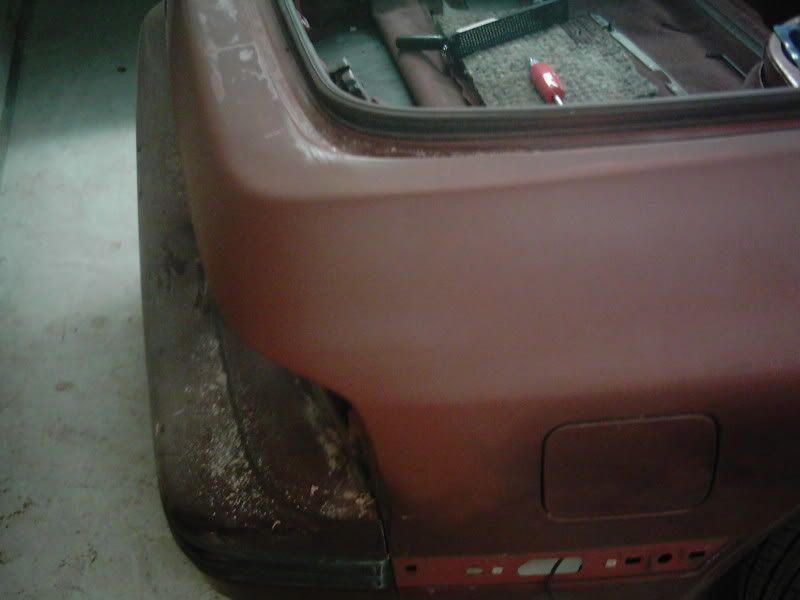
It's not mounted yet, but I did a clean off to show the contrast:
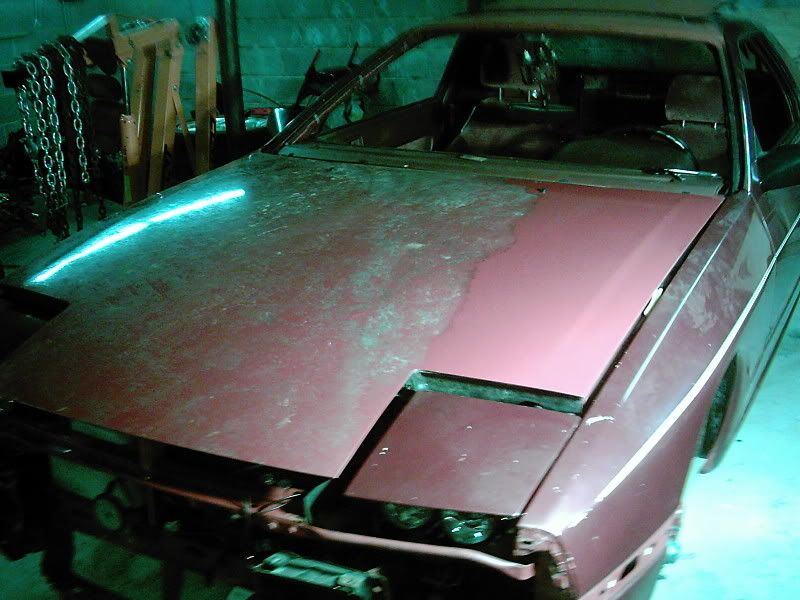
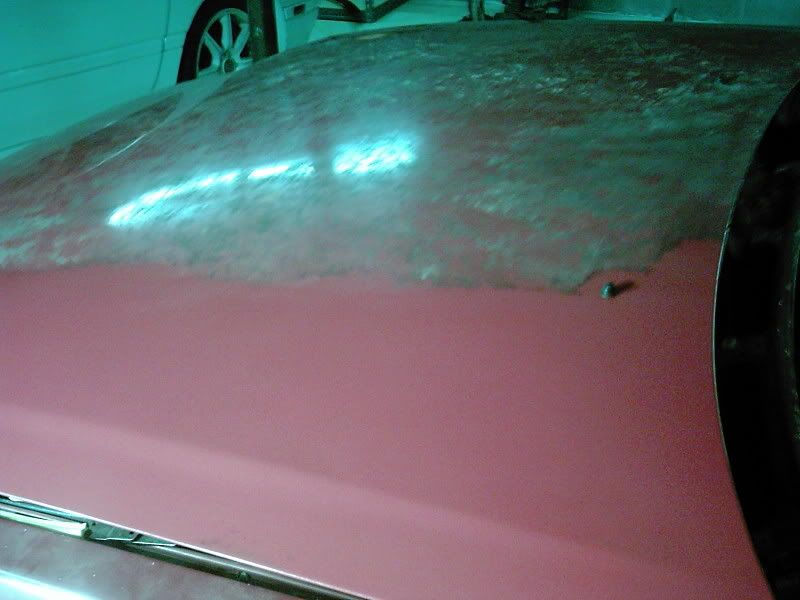
Cleaned off and seated/mounted correctly:

Glamor shot:
Trending Topics
06-12-07, 04:42 PM
#9
Technician
Thread Starter
iTrader: (1)
Join Date: Aug 2006
Location: Virginia
Posts: 1,008
Likes: 0
Received 0 Likes
on
0 Posts
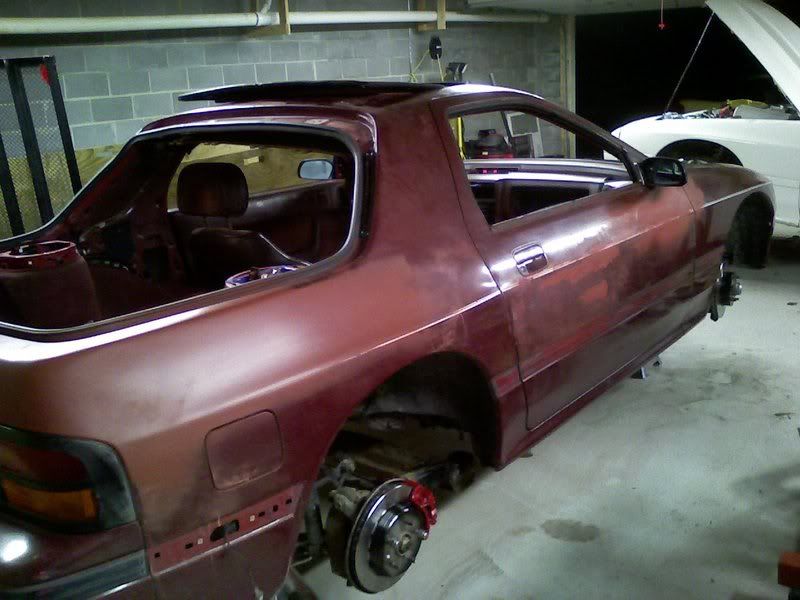
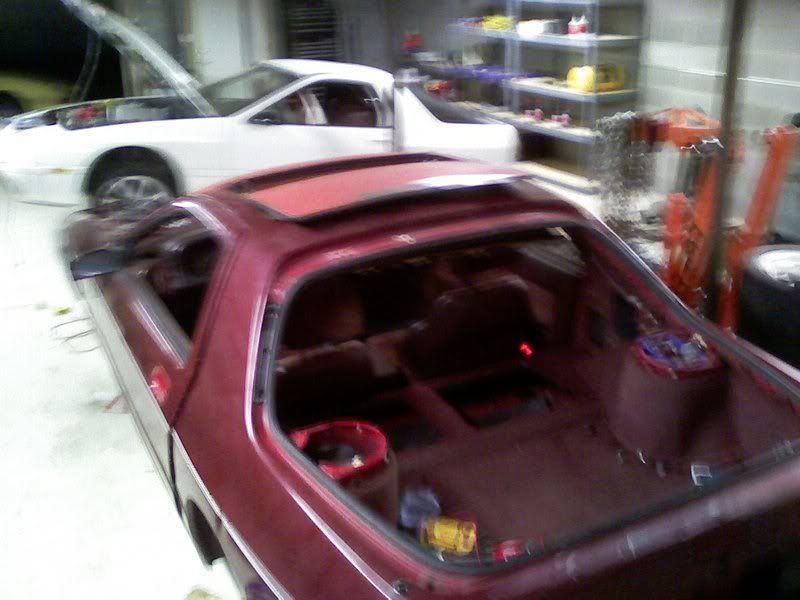
Some more Glamor Shots:
And that's that. I'm still waiting to go out and buy a windshield and get it installed. Then it can go on the road, and well... you know... RX7 stuff. But I'll be putting new paint on it soon enough too. But I figured since i'm stuck waiting on the windshield you can oooo and ahhhh and poke fun while I wait too. Hope you enjoyed it!
I'm glad you enjoyed it ColdSeven.
And that's that. I'm still waiting to go out and buy a windshield and get it installed. Then it can go on the road, and well... you know... RX7 stuff. But I'll be putting new paint on it soon enough too. But I figured since i'm stuck waiting on the windshield you can oooo and ahhhh and poke fun while I wait too. Hope you enjoyed it!
nice
06-13-07, 03:41 PM
#12
Technician
Thread Starter
iTrader: (1)
Join Date: Aug 2006
Location: Virginia
Posts: 1,008
Likes: 0
Received 0 Likes
on
0 Posts
great job man, good luck on the whole thing, were did you get those lights anyway? they look nice
06-30-07, 06:42 AM
#14
Technician
Thread Starter
iTrader: (1)
Join Date: Aug 2006
Location: Virginia
Posts: 1,008
Likes: 0
Received 0 Likes
on
0 Posts
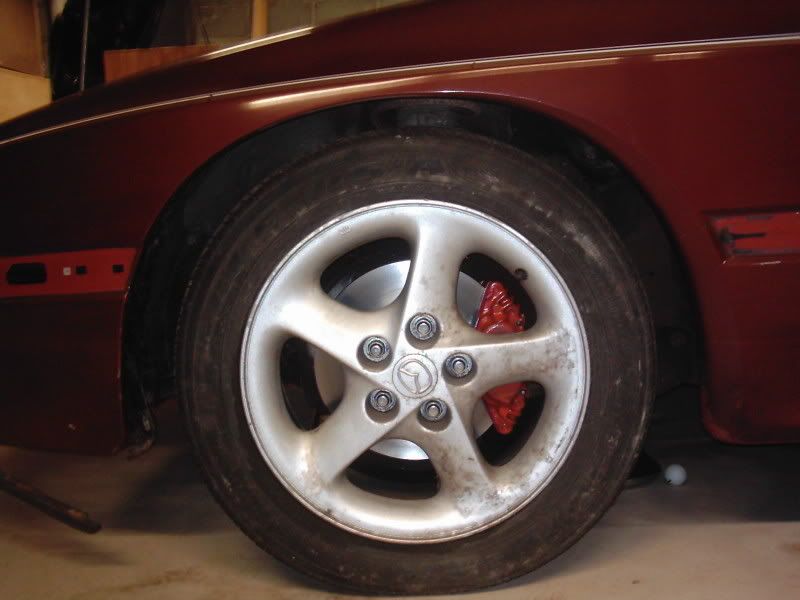
Picture of my rims and Caliper... one day I'll get that overly large brake kit... one day.
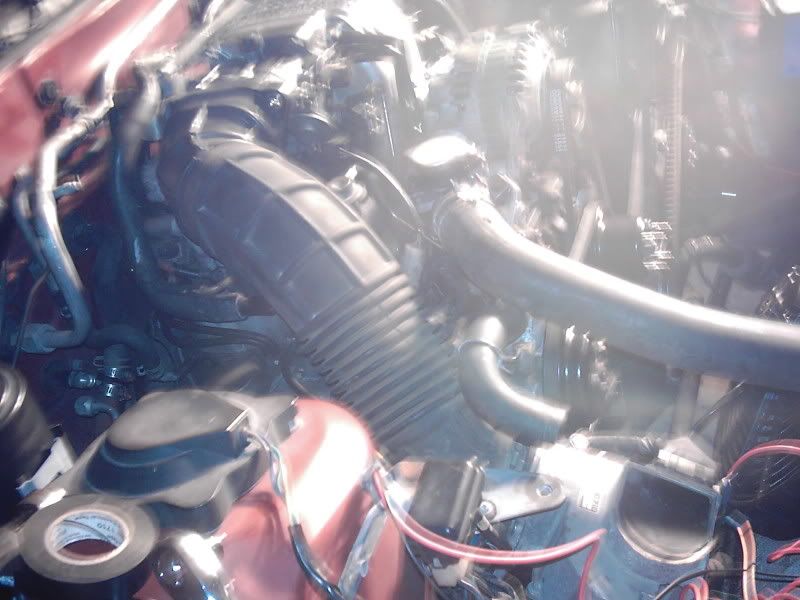
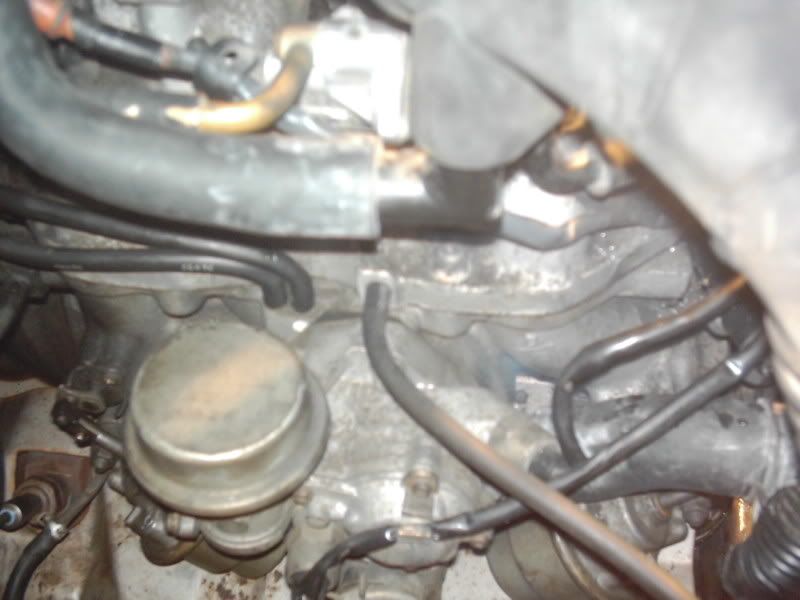
Finished installing some engine stuff, including: the cruise control actuator, the ice box, and the snorkle.
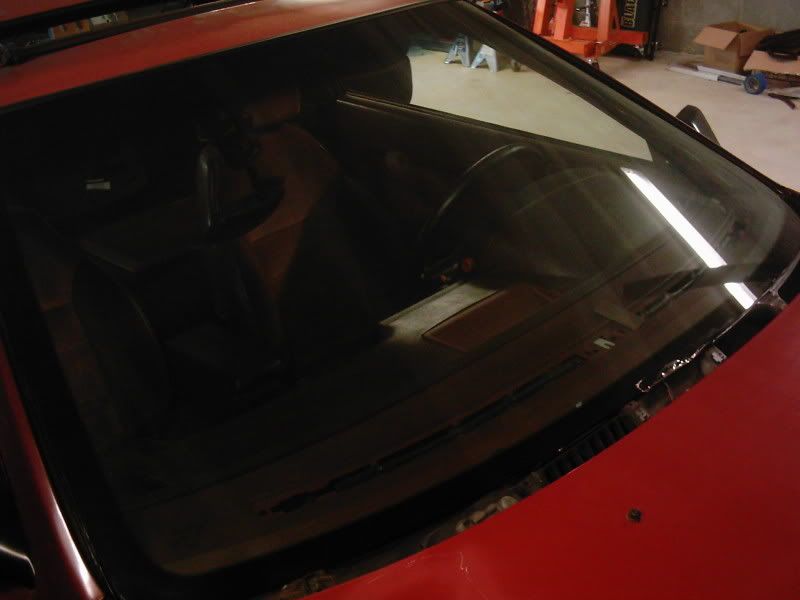
Brand spanking new windshield.
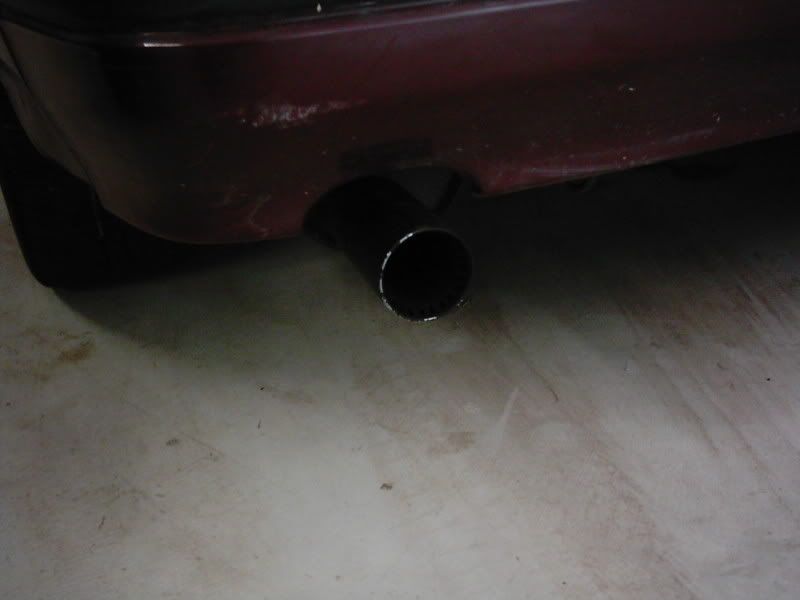
The only picture of the exhaust that's on the car. It's stock right now, but by the time i'm done, it will be very nice indeed.

and overcourse a glamour shot.
06-30-07, 08:45 AM
#16
Technician
Thread Starter
iTrader: (1)
Join Date: Aug 2006
Location: Virginia
Posts: 1,008
Likes: 0
Received 0 Likes
on
0 Posts
The lights come from Need-A-T2. He had a group buy awhile ago, but still makes them individually for people, you'll need to PM him for a price. It's fair I feel, but it's probably going to be more than the group buy price he set in the beginning (which coincided right when i has my accident... hmmmmm).
06-30-07, 10:09 AM
#18
Technician
Thread Starter
iTrader: (1)
Join Date: Aug 2006
Location: Virginia
Posts: 1,008
Likes: 0
Received 0 Likes
on
0 Posts

Also this is only the beginning. I'm now saving for a complete suspension upgrade, complete with ball mounts, tein coilovers, three point front strut brace, edfc, as well as new bushings, and cross members. (still debating on if I should put out the money for a strut mount in the rear. Prior to all that though I will be replacing the ACV and vacuum pump actuators for solinoids and an rpm switch. I may even replace the other actuator on the throttle body too (the name of it escapes me at the moment).
In all actuality it only took me about 2 months and most of that was spent waiting to get enough money to buy parts. If i had enough up front I imagine I could have had it all done and finished in less than a month.
Last edited by lax-rotor; 06-30-07 at 10:15 AM.
06-30-07, 12:03 PM
#19
Congrats on the awesome job my friend. I can sympathize with having to wait so long to get a job like that done. I had to wait a few months to save up for gaskets, a clutch kit, and tune-up stuffs before I could put in my rebuild. And then I broke my foot a week later and am home on disability. As soon as this cast comes of I'm doing some donuts.
06-30-07, 01:09 PM
#21
Technician
Thread Starter
iTrader: (1)
Join Date: Aug 2006
Location: Virginia
Posts: 1,008
Likes: 0
Received 0 Likes
on
0 Posts
Congrats on the awesome job my friend. I can sympathize with having to wait so long to get a job like that done. I had to wait a few months to save up for gaskets, a clutch kit, and tune-up stuffs before I could put in my rebuild. And then I broke my foot a week later and am home on disability. As soon as this cast comes of I'm doing some donuts.
Nice... you're saving the life of a 7.
07-07-07, 06:44 PM
#22
Technician
Thread Starter
iTrader: (1)
Join Date: Aug 2006
Location: Virginia
Posts: 1,008
Likes: 0
Received 0 Likes
on
0 Posts
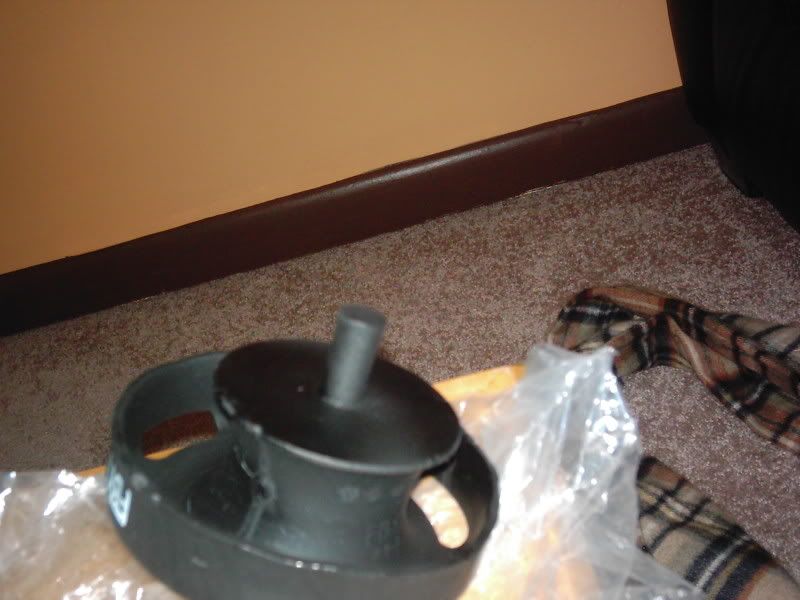
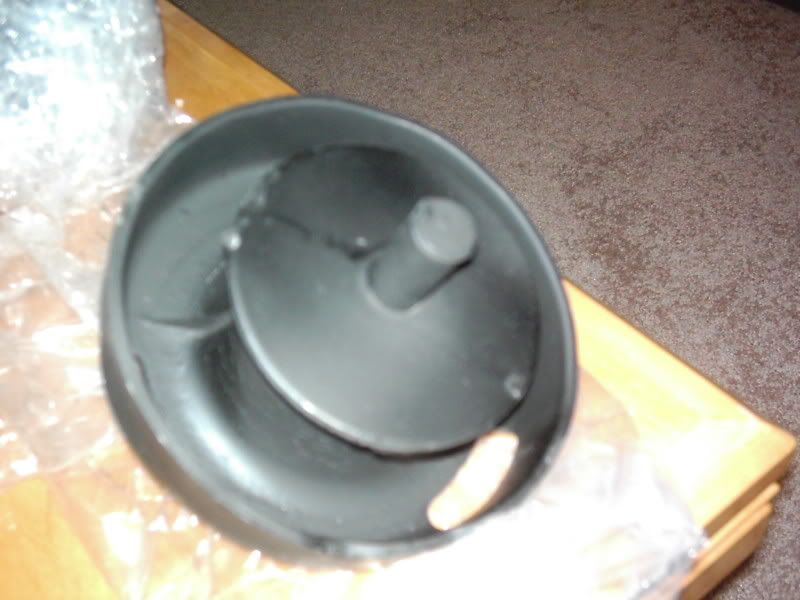
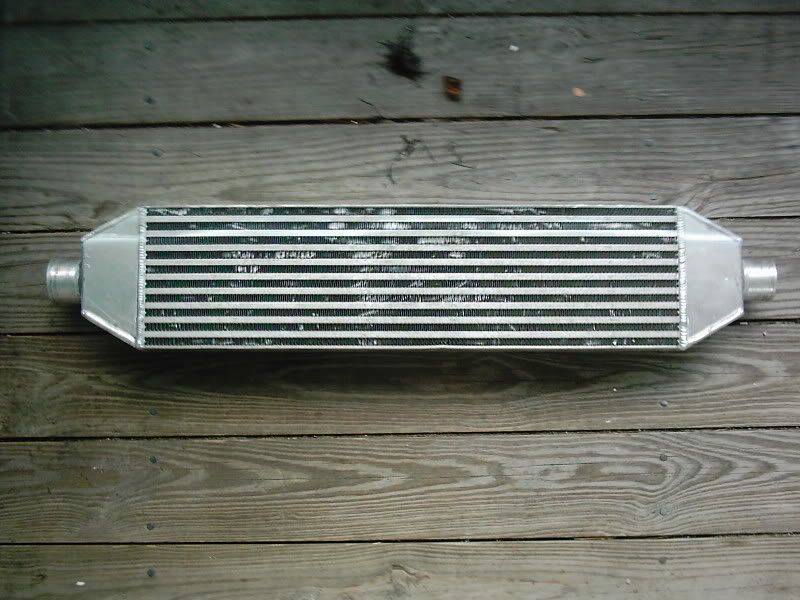
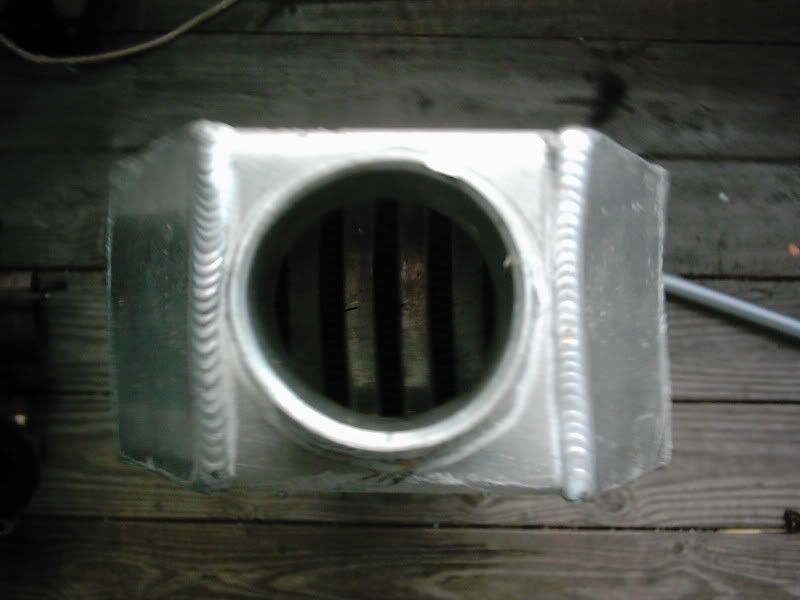
Christmas came a little bit early this year: I got some suck 'n cool
What could these possibly be for?????????????????????
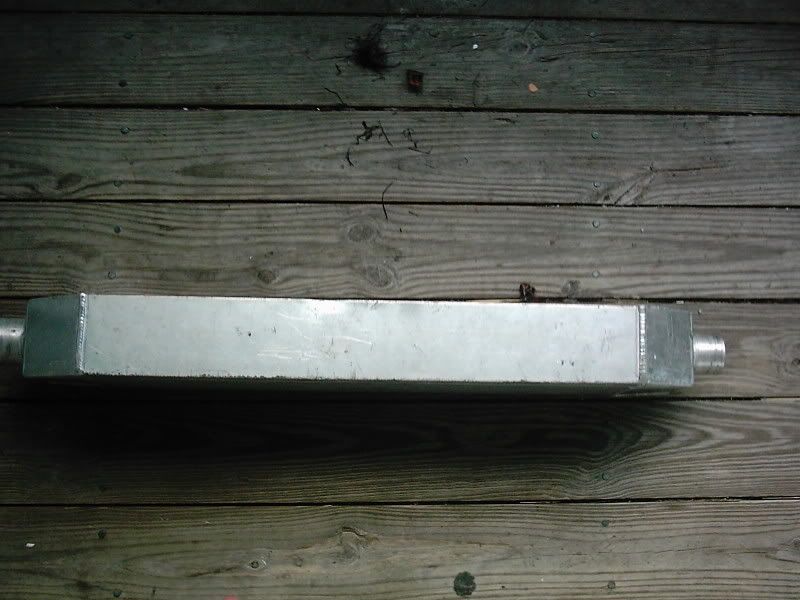
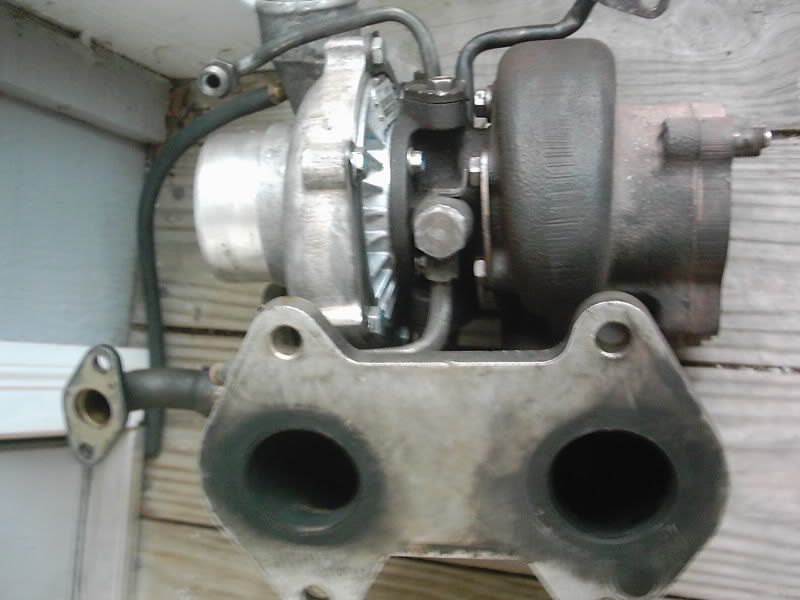
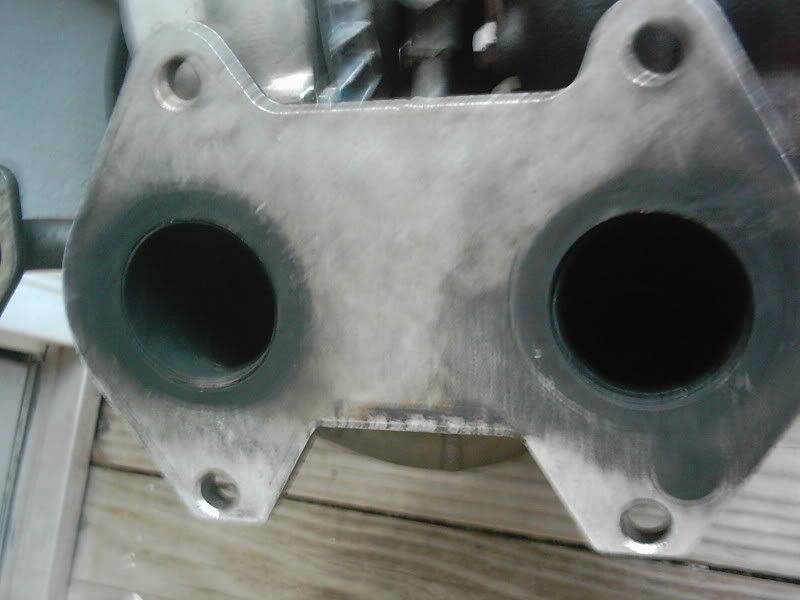
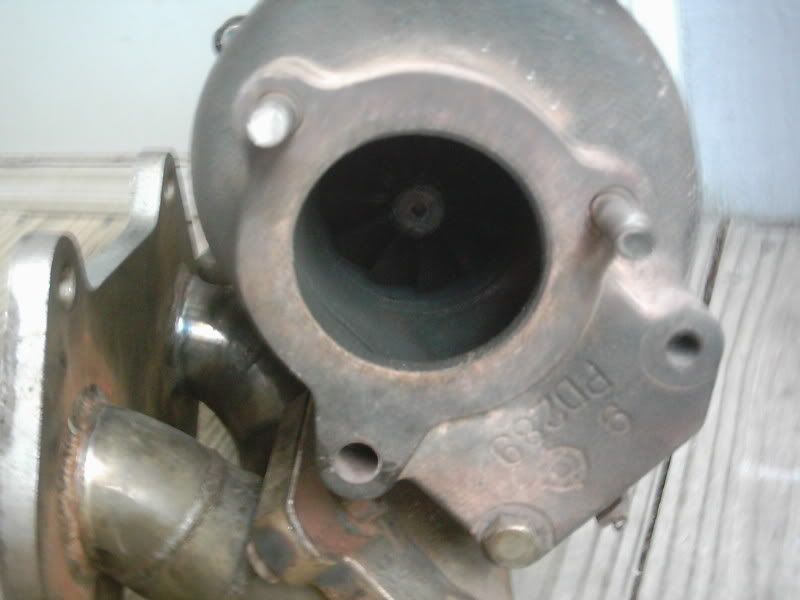
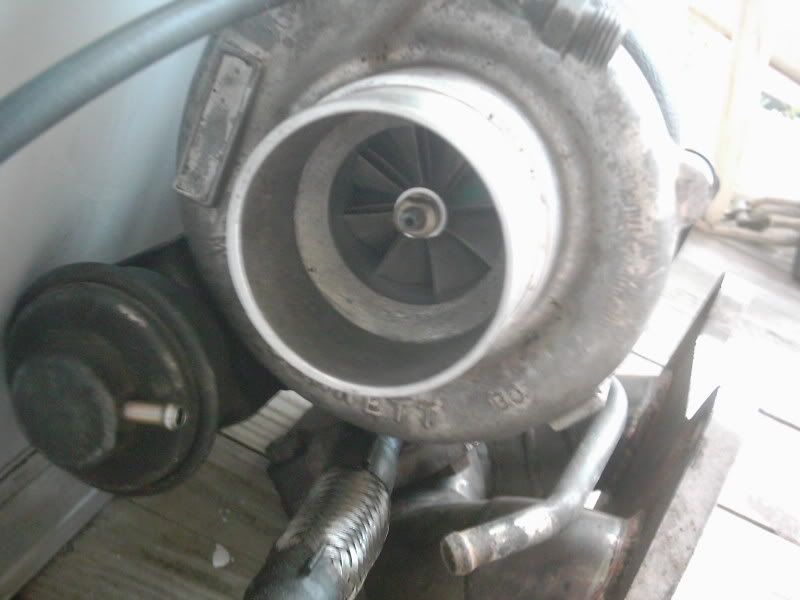
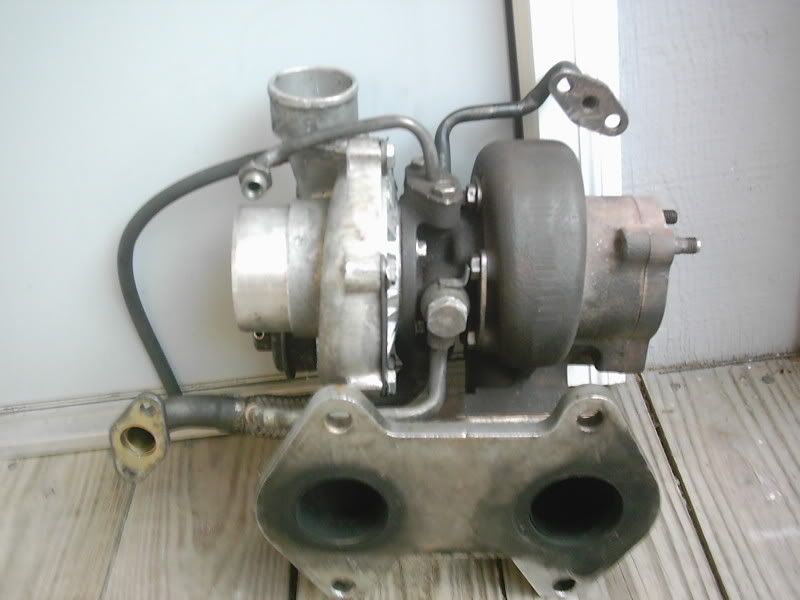
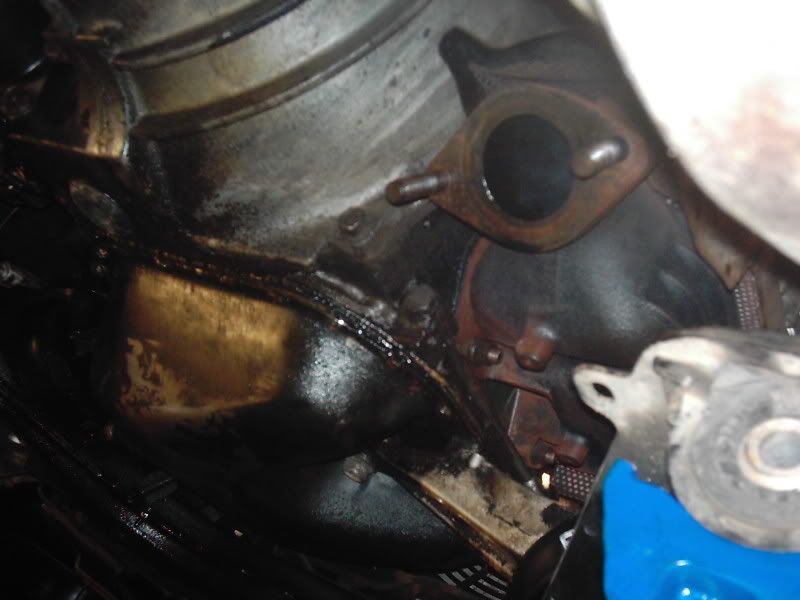
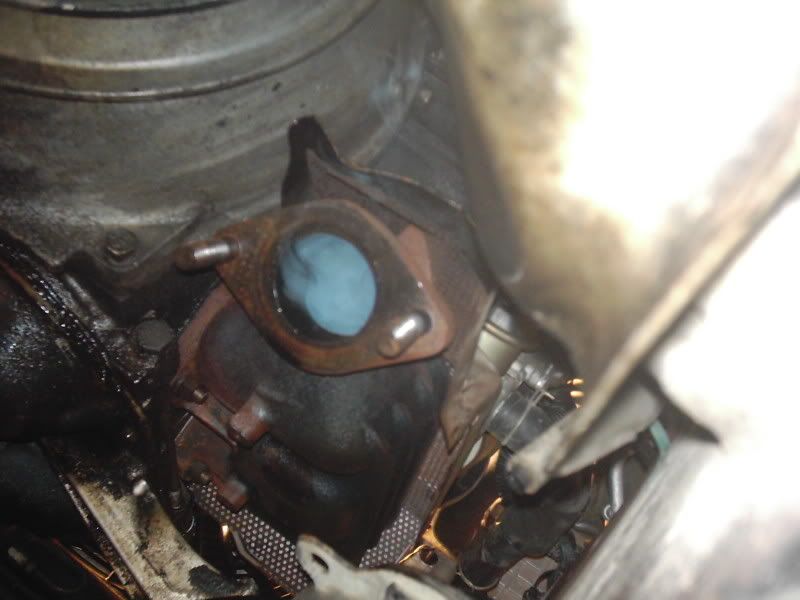
Plans include the removal of the internal waste gate (because it's already shot) and the modification of the manifold to accept an external waste gate which will be fed back into the down pipe. That's the plan anyways.
Plans include the removal of the internal waste gate (because it's already shot) and the modification of the manifold to accept an external waste gate which will be fed back into the down pipe. That's the plan anyways.
07-08-07, 08:27 PM
#25
everything will be okay
iTrader: (15)

Join Date: Oct 2005
Location: Cedar Rapids, IA
Posts: 1,650
Likes: 0
Received 0 Likes
on
0 Posts
oh, THATS where my intercooler got shipped to! (yeah, you can send it back to me, if you want
very nice. it looks like your doing things right, taking your time, and not half-assing anything.
looking good, cant wait to see future steps!
very nice. it looks like your doing things right, taking your time, and not half-assing anything.
looking good, cant wait to see future steps!